
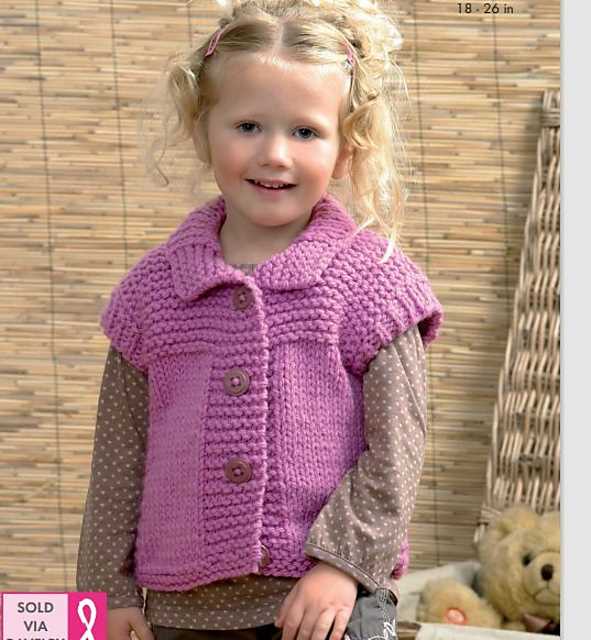
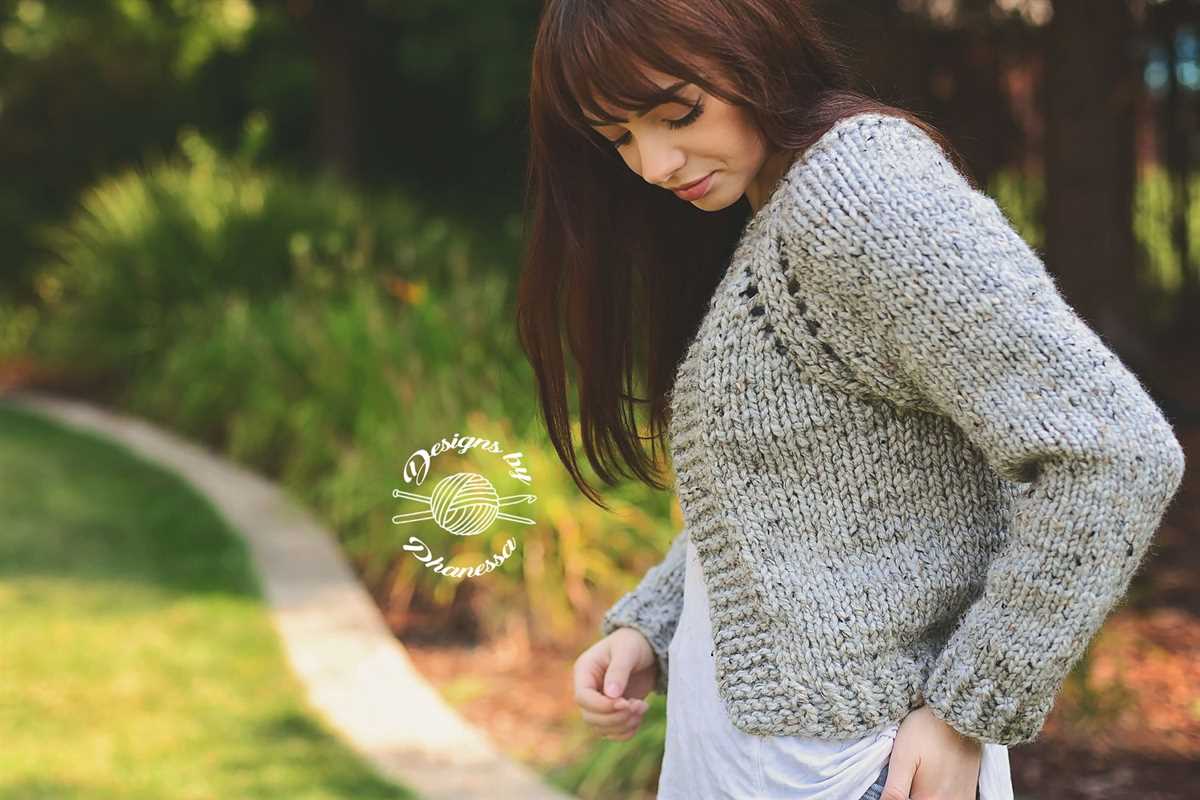
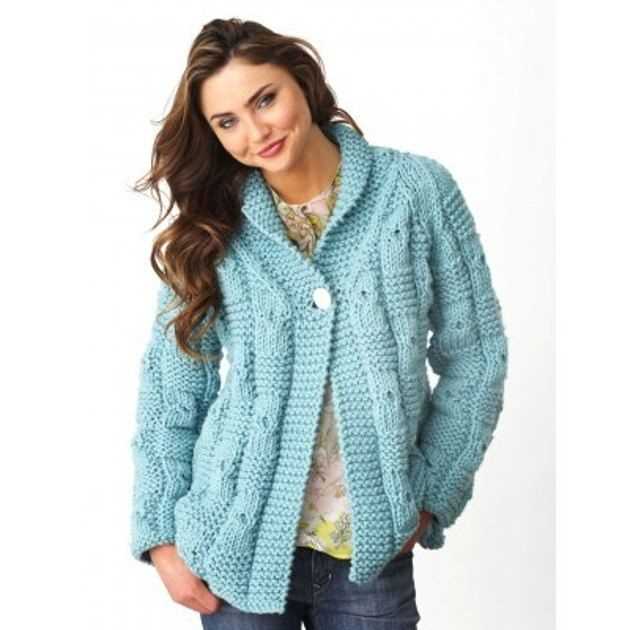
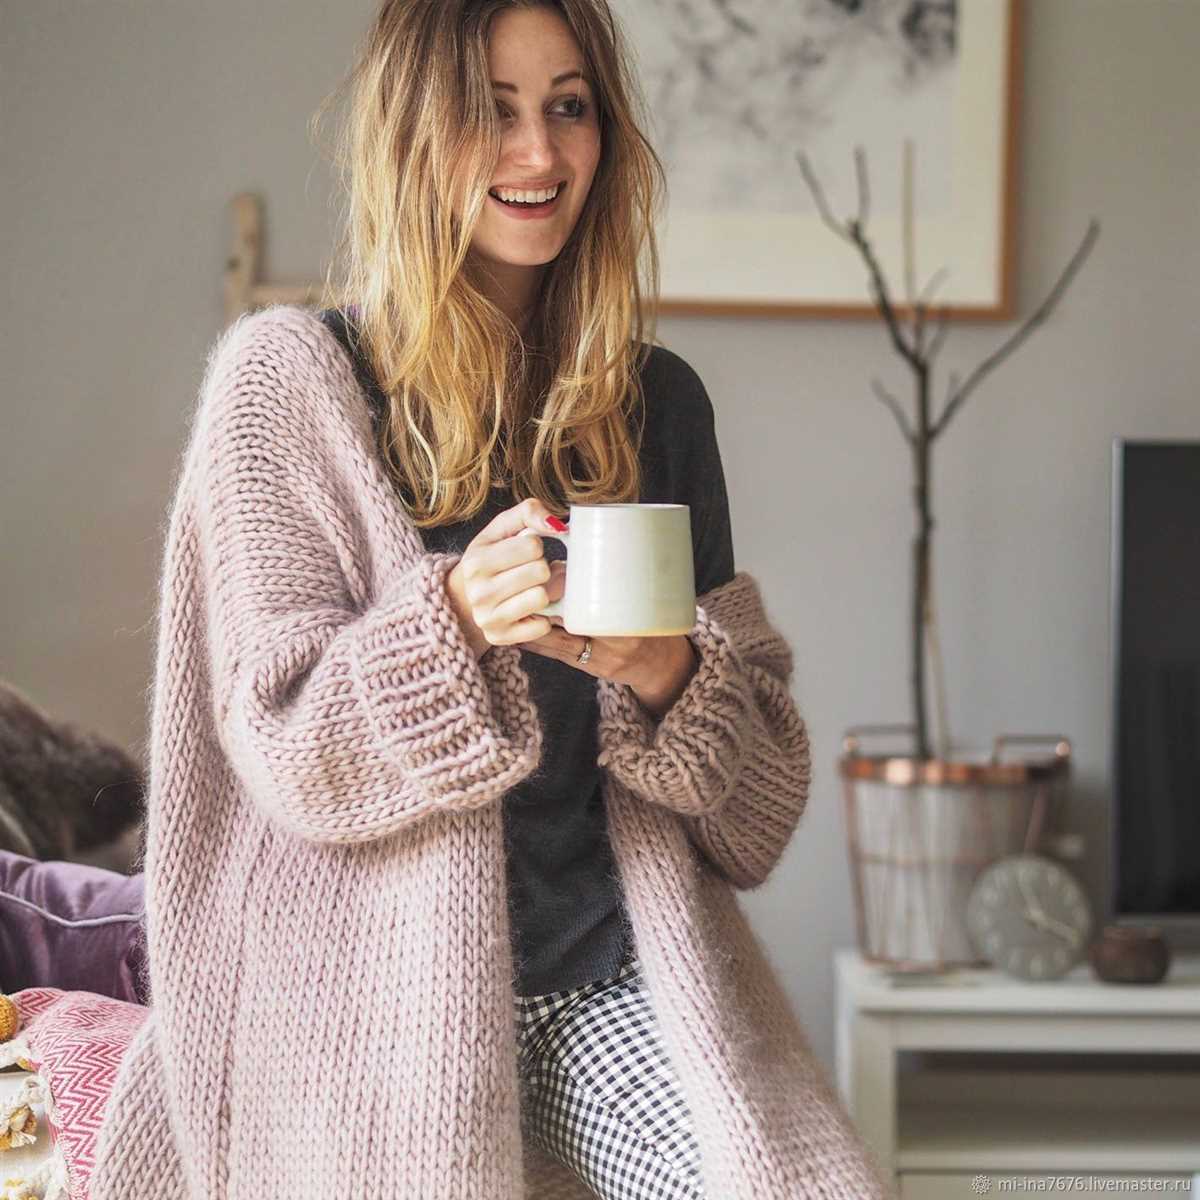
Knitting is a popular and relaxing hobby that allows you to create beautiful and cozy clothing items. One of the most beloved knitwear pieces is a chunky cardigan. Chunky cardigans are a staple in any wardrobe, providing warmth and style during the colder months. Whether you are a beginner or an experienced knitter, exploring different knitting patterns can be a fun way to challenge your skills and create unique garments.
Creating a chunky cardigan may seem like a daunting task, but with the right pattern and materials, it can be an enjoyable and rewarding project. In this article, we will explore a versatile and trendy chunky cardigan knitting pattern that will keep you warm and fashionable. This pattern is suitable for knitters of all levels, so whether you are a beginner or an expert, you can easily follow along and create a stunning cardigan.
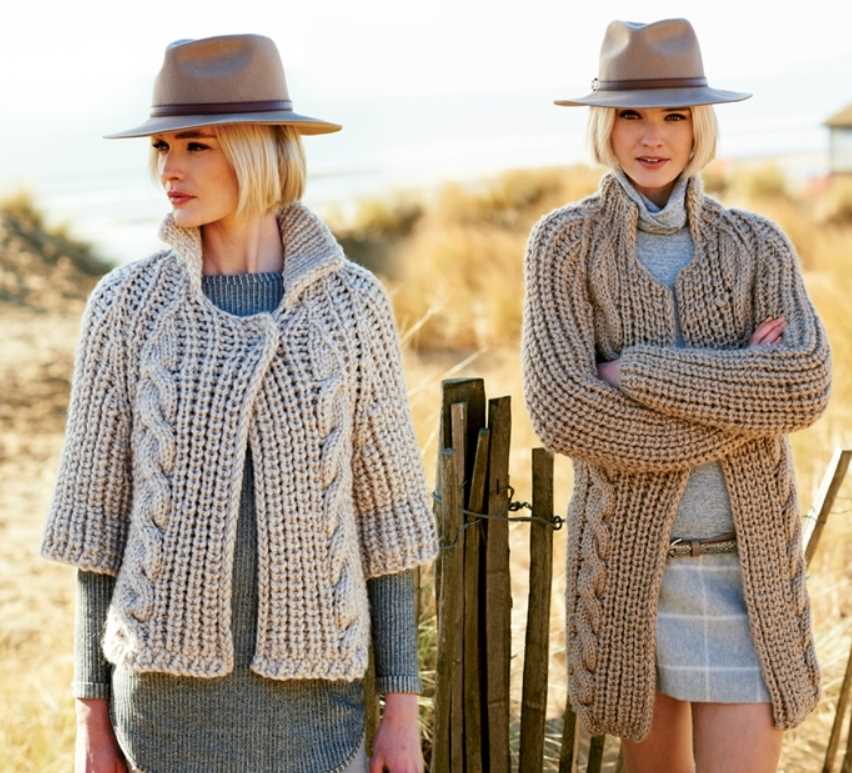
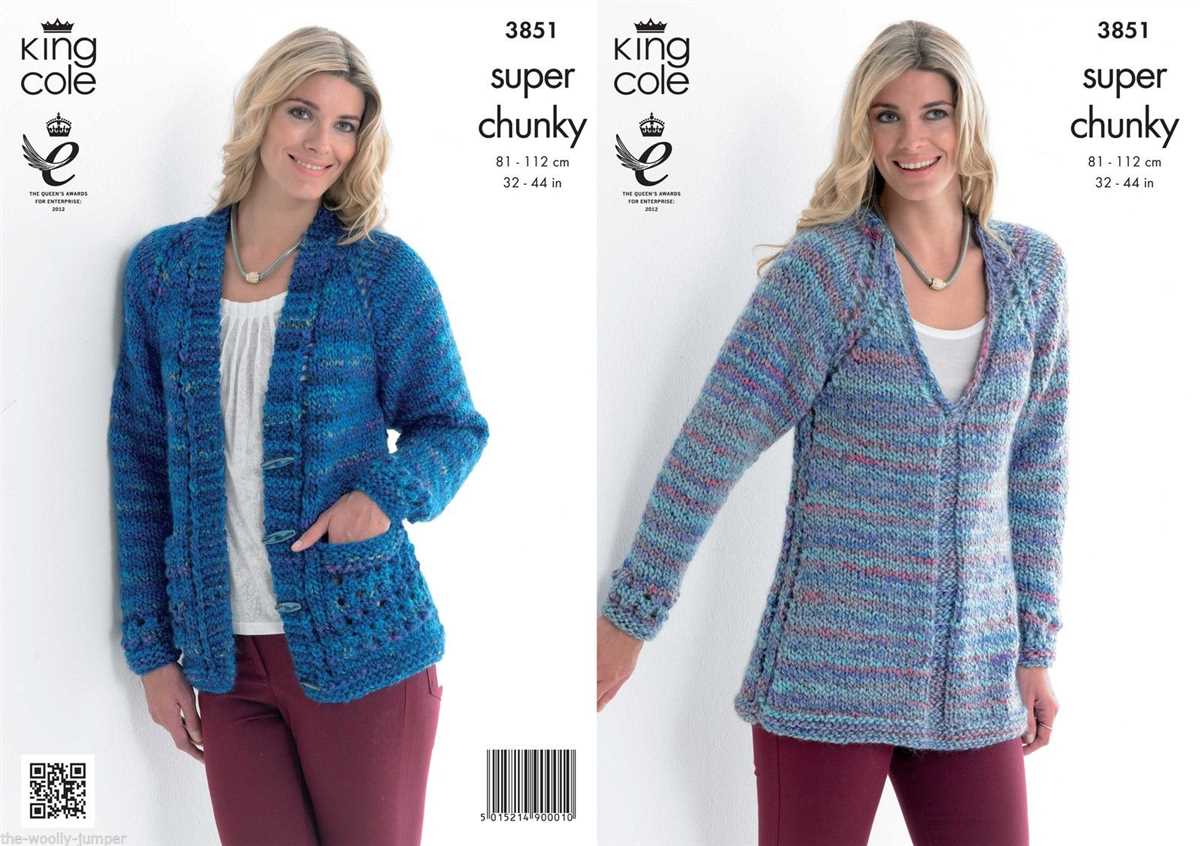
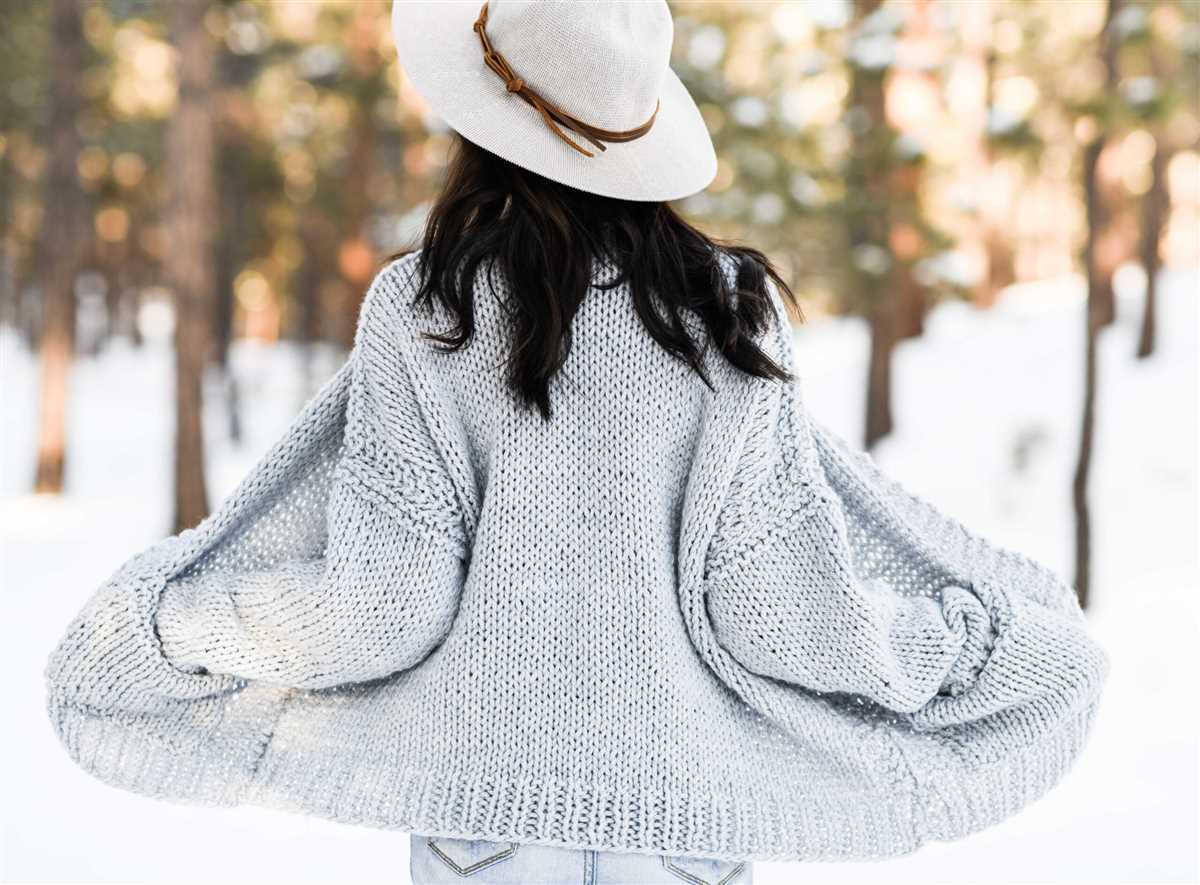
This chunky cardigan pattern features a classic design with a cozy oversized fit, making it perfect for layering over your favorite outfits. The pattern uses a chunky yarn and large knitting needles, which not only create a modern and trendy look but also make the knitting process quicker and easier. The cardigan is worked in pieces and then sewn together, allowing you to customize the fit and length of the sleeves. With its simple construction and stylish design, this chunky cardigan will become a staple in your winter wardrobe.
Chunky Cardigan Knitting Pattern
Knitting a chunky cardigan is a great way to create a cozy and stylish addition to your wardrobe. This pattern is perfect for those who want to take on a slightly more advanced knitting project and enjoy the process of creating a beautiful garment.
The chunky cardigan knitting pattern requires knowledge of basic knitting stitches such as knit, purl, and yarn over. It also introduces more complex techniques like cable knitting and shaping the cardigan. The use of chunky yarn not only adds warmth to the cardigan but also makes it a quick and satisfying project to complete.
Materials
- Chunky yarn in your desired color
- Knitting needles in the appropriate size
- Cable needle
- Stitch markers
- Tapestry needle
Instructions
Step 1: Cast on the required number of stitches for the cardigan using your chosen yarn and needles. Make sure to gauge the appropriate size based on your measurements.
Step 2: Begin knitting the body of the cardigan following the specified pattern. This may include a combination of knit and purl stitches, as well as cables and other textured stitches.
Step 3: Work on shaping the cardigan by increasing or decreasing stitches as directed in the pattern. This will give the cardigan its desired fit and silhouette.
Step 4: Continue knitting until you reach the desired length for the body of the cardigan. This may be different for each individual, so make sure to check the pattern for guidance.
Step 5: Move on to knitting the sleeves and follow the pattern’s instructions for shaping and length. This may involve decreasing stitches gradually to create a tapered sleeve.
Step 6: Once all pieces are completed, you can then seam them together using a tapestry needle and mattress stitch. Make sure to follow the pattern’s guidance for assembling the cardigan.
Step 7: Finally, add any finishing touches such as buttons or a ribbed collar to complete the chunky cardigan.
By following this chunky cardigan knitting pattern, you can create a cozy and fashionable garment that will keep you warm throughout the colder months. Enjoy the process of knitting and unleash your creativity by choosing the perfect yarn color and personalizing the cardigan to your liking.
Choosing the Right Yarn and Needles
When it comes to knitting a chunky cardigan, choosing the right yarn and needles is essential. The right combination can make all the difference in the final product, ensuring an attractive and well-fitting piece.
Yarn Weight: The first consideration when selecting yarn for a chunky cardigan is the weight. Chunky or bulky weight yarn is typically recommended for this type of project as it creates a thick and cozy fabric. This weight also allows for faster progress and a quicker knit.
Types of Yarn:
Wool: Wool is a popular choice for chunky cardigans due to its warmth and durability. It has excellent insulating properties, making it perfect for colder climates. Look for yarns made of 100% wool or wool blends that include other fibers such as silk or alpaca for added softness.
Cotton: For those who prefer a lighter and more breathable option, cotton yarn can be a good choice. It is ideal for spring and summer cardigans or for those who have sensitive skin and may find wool itchy or uncomfortable.
Needle Size: The size of the needles used for the project will also determine the outcome of the cardigan. Generally, larger needles in the 9mm-12mm range are recommended for chunky cardigans. These larger needles will help create the desired drape and stitch definition for the chunky yarn.
Other Considerations:
Tension: It is important to check the tension or gauge recommended by the knitting pattern before selecting your yarn and needles. This will ensure that your stitches per inch match the pattern’s specifications, resulting in a well-fitting garment.
Color and Texture: Consider the color and texture of the yarn that you want for your chunky cardigan. You may want a solid color for a classic look or prefer a variegated yarn for a more unique and eye-catching effect. Take into account your personal style and the outfit combinations you have in mind.
By carefully considering these factors, you can choose the right yarn and needles for your chunky cardigan project, resulting in a beautiful and cozy finished garment.
Understanding the Gauge
When knitting a chunky cardigan, understanding the gauge is crucial to achieving the desired fit and size of the finished garment. The gauge refers to the number of stitches and rows per inch in your knitted fabric. It is determined by the combination of your chosen yarn, needle size, and your individual knitting tension.
To determine the gauge, it is important to knit a gauge swatch before starting your project. This involves knitting a small sample of the pattern stitch using the recommended yarn and needle size. The swatch should be large enough to measure accurately, typically a 4×4 inch square. It is recommended to wash and block the swatch before measuring, as the knitting may change slightly after blocking.
After completing the gauge swatch, take a measuring tape and count the number of stitches and rows within the 4×4 inch square. This will give you your gauge measurement. For example, if you have 16 stitches and 20 rows, your gauge would be 16 stitches and 20 rows = 4 inches.
The gauge is important because it determines the size of the finished garment. If your gauge is tighter than the pattern suggests, your garment will turn out smaller, and if the gauge is looser, the garment will be larger. To achieve the correct gauge, you may need to adjust your needle size or your knitting tension. It is important to follow the pattern instructions regarding gauge, as this will ensure that the measurements and fit of the cardigan are accurate.
Some factors that can affect gauge include the type and weight of yarn, the size of the needles, and the individual tension of the knitter. Changing any of these factors can alter the gauge, so it is important to carefully select the materials and adjust accordingly to achieve the desired gauge for your chunky cardigan knitting project.
Cast-On and Ribbing

Before beginning your chunky cardigan project, you will need to cast on your stitches. The number of stitches you cast on will depend on the size of the cardigan you want to make. Refer to the knitting pattern for the specific measurements and instructions. To cast on, hold the knitting needle in your right hand and the yarn in your left hand. Leave a long tail of yarn and make a slipknot. Slide the slipknot onto the needle, pulling it tight. Insert the needle into the slipknot and wrap the yarn around the needle from front to back. Pull the yarn through the slipknot, creating a new loop on the needle. Repeat this process until you have cast on the required number of stitches.
Once you have cast on your stitches, you will begin the ribbing section of your cardigan. Ribbing is a common pattern used in knitting to create a stretchy and decorative edge. It is often used for cuffs, hems, and collars. To create ribbing, you will alternate between two different stitches: knit and purl. The most common ribbing pattern is the 1×1 rib, which consists of one knit stitch followed by one purl stitch. To knit a stitch, insert the right needle into the first stitch on the left needle from left to right. Wrap the yarn around the right needle and pull it through the stitch, slipping the stitch off the left needle. To purl a stitch, insert the right needle from right to left into the first stitch on the left needle. Wrap the yarn around the right needle and pull it through the stitch, slipping the stitch off the left needle. Repeat these two stitches until you have completed the ribbing section as specified in the knitting pattern.
Key phrases:
- Cast on
- Slipknot
- Knitting needle
- Yarn
- Stitches
- Ribbing
- Stretchy
- Decorative
- Cuffs
- Hems
- Collars
- Knit stitch
- Purl stitch
- 1×1 rib
Knitting the Body
When it comes to knitting the body of a chunky cardigan, there are a few key steps and techniques to keep in mind. These will ensure that your cardigan turns out cozy and with the right fit.
Choosing the Right Yarn
First and foremost, it’s important to choose the right yarn for your chunky cardigan. Opt for a bulky or super bulky weight yarn that will give your cardigan that signature chunky look and feel. Consider the fiber content as well, as different fibers can affect the drape and durability of the finished garment.
Calculating the Stitch Count
Before you begin knitting the body, it’s crucial to calculate the stitch count based on your desired measurements. This will ensure that the cardigan fits properly and achieves the intended shape. Take accurate measurements of your bust, waist, and hips, and refer to the pattern instructions to determine the appropriate stitch count.
Once you have the stitch count, you can start knitting the body of the cardigan in the desired stitch pattern. Whether you’re working in stockinette stitch, ribbing, or a textured pattern, be mindful of your tension and gauge to maintain consistency throughout.
Shaping and Lengthening
As you knit the body, you may need to incorporate shaping techniques to create a tailored fit. This can include increases or decreases at designated points to shape the waist or provide room for the bust. Follow the pattern instructions carefully to ensure that you’re shaping the cardigan correctly.
Additionally, consider the desired length of your cardigan. Measure from the base of your neck to your desired hemline and adjust the number of rows accordingly. Keep in mind that the length can significantly affect the overall look and feel of the cardigan.
- Choose the right yarn for a chunky look.
- Calculate the stitch count based on measurements.
- Pay attention to tension and gauge.
- Incorporate shaping techniques for a tailored fit.
- Adjust the length to achieve the desired look.
Adding Pockets
Adding pockets to a chunky cardigan is a great way to add both style and functionality to your garment. Not only do pockets provide a convenient place to keep your hands warm, but they can also be a fashionable addition to the overall design of the cardigan.
There are several different ways to add pockets to a chunky cardigan. One option is to knit the pockets separately and then sew them onto the cardigan. This allows for more flexibility in terms of pocket size and placement. You can choose to knit the pockets in a contrasting color or use the same yarn as the cardigan for a more seamless look.
Another option is to incorporate the pockets into the cardigan as you knit. This method involves picking up stitches along the edges of the desired pocket location and knitting them directly into the cardigan. This creates a more integrated and cohesive look, but may be less adjustable in terms of pocket size and placement.
Regardless of the method you choose, it’s important to consider the size and functionality of the pockets. Make sure they are large enough to comfortably fit your hands and any items you may want to keep in them. It’s also a good idea to reinforce the pocket edges with a sturdy stitch or additional fabric to prevent stretching or tearing over time.
Adding pockets to your chunky cardigan can be a fun and rewarding process. It allows you to personalize your garment and make it truly unique. Whether you opt for knitted or sewn pockets, be sure to take your time and carefully plan out the placement and design. With a little effort and creativity, you can create a cardigan that is not only stylish, but also practical.
Creating the Sleeves
Once you have finished knitting the body of your chunky cardigan, it’s time to move on to the sleeves. The sleeves will be worked separately and then attached to the body of the cardigan.
Step 1: Using the same size knitting needles that you used for the body of the cardigan, cast on the required number of stitches for the sleeve. You can find the specific instructions for your chosen knitting pattern to determine the appropriate number of stitches.
Step 2: Work in the specified stitch pattern for the sleeve, following the instructions in your knitting pattern. This may involve a combination of knit and purl stitches, as well as increases or decreases to shape the sleeve. Repeat the pattern until the sleeve measures the desired length, as indicated in your knitting pattern.
Step 3: Once the sleeve is the desired length, you will need to shape the sleeve cap. This involves decreasing stitches gradually to create a rounded shape. Follow the instructions in your knitting pattern to shape the sleeve cap.
Step 4: Repeat Steps 1-3 to create the second sleeve for your cardigan. Make sure to work the second sleeve in the same manner as the first, following the same stitch pattern and shaping instructions.
Step 5: Once both sleeves are complete, it’s time to attach them to the body of the cardigan. Use a tapestry needle and matching yarn to sew the sleeves to the armholes of the cardigan. Make sure to match up the seams and distribute the stitches evenly along the armhole.
Step 6: Once the sleeves are securely attached, weave in any loose ends and block your cardigan according to the instructions in your knitting pattern. This will help to shape the cardigan and give it a professional finish.
Following these steps will ensure that you create properly fitted sleeves for your chunky cardigan. Take your time and refer to the instructions in your knitting pattern as needed. Enjoy the process of bringing your cardigan to life and creating a cozy and stylish garment.
Joining the Sleeves and Body
Once you have completed knitting the sleeves and body of your chunky cardigan, the next step is to join them together. This process involves sewing the sleeves to the body, creating the armholes and completing the overall shape of the cardigan.
To start, lay the cardigan pieces flat, with the right sides facing up. Line up the armhole edges of the sleeves with the corresponding armhole edges of the body. This will ensure that the sleeves are evenly attached and aligned with the body.
Step 1: Thread a tapestry needle with a piece of yarn that matches the color of your cardigan. Begin sewing from the underarm area of one sleeve, inserting the needle through both the sleeve and body fabric. Take small, even stitches to secure the pieces together.
Step 2: Continue sewing along the armhole, making sure to maintain an even tension and spacing between stitches. Use a whip stitch or mattress stitch to join the pieces, depending on your preferred sewing method.
Step 3: Repeat the sewing process on the other sleeve, following the same technique as before. Take your time to ensure that the stitches are neat and secure, as this will contribute to the overall durability and appearance of the cardigan.
Once the sleeves are attached to the body, you can weave in any loose yarn ends and give the cardigan a final blocking if necessary. Then, try on your finished chunky cardigan and admire your handiwork!
Knitting the Collar
When knitting a chunky cardigan, the collar is an important element that adds warmth and style to the garment. The collar can be knit in various ways, depending on the desired design. One common method is to pick up stitches along the neckline and knit in ribbing or another stitch pattern. This creates a stretchy and snug collar that sits comfortably around the neck.
To begin knitting the collar, start by picking up stitches along the edge of the cardigan’s neckline. Use a knitting needle that is suitable for the yarn you are using, ensuring that it is the correct size to achieve the desired gauge. The number of stitches you pick up will depend on the size of your cardigan and the stitch pattern you choose for the collar.
The collar can be knit straight or in a circular fashion. If knitting straight, you will work back and forth in rows, following the stitch pattern until the collar reaches the desired length. Alternatively, if knitting in a circular fashion, you can join the stitches in the round and continue working in the round. This method eliminates the need for seaming and produces a seamless collar.
When knitting the collar, it is important to maintain an even tension and follow the pattern instructions carefully. Take care to keep track of your stitch count and any increases or decreases that may be required.
If desired, you can also incorporate additional design elements into the collar, such as cables, lace, or colorwork. These details can add visual interest and elevate the overall look of the cardigan.
Once the collar is complete, it can be folded over and stitched down to the inside of the cardigan to create a neat and finished edge. Alternatively, the collar can be left unattached, allowing it to drape naturally. Either way, the collar will add warmth and style to your chunky cardigan.
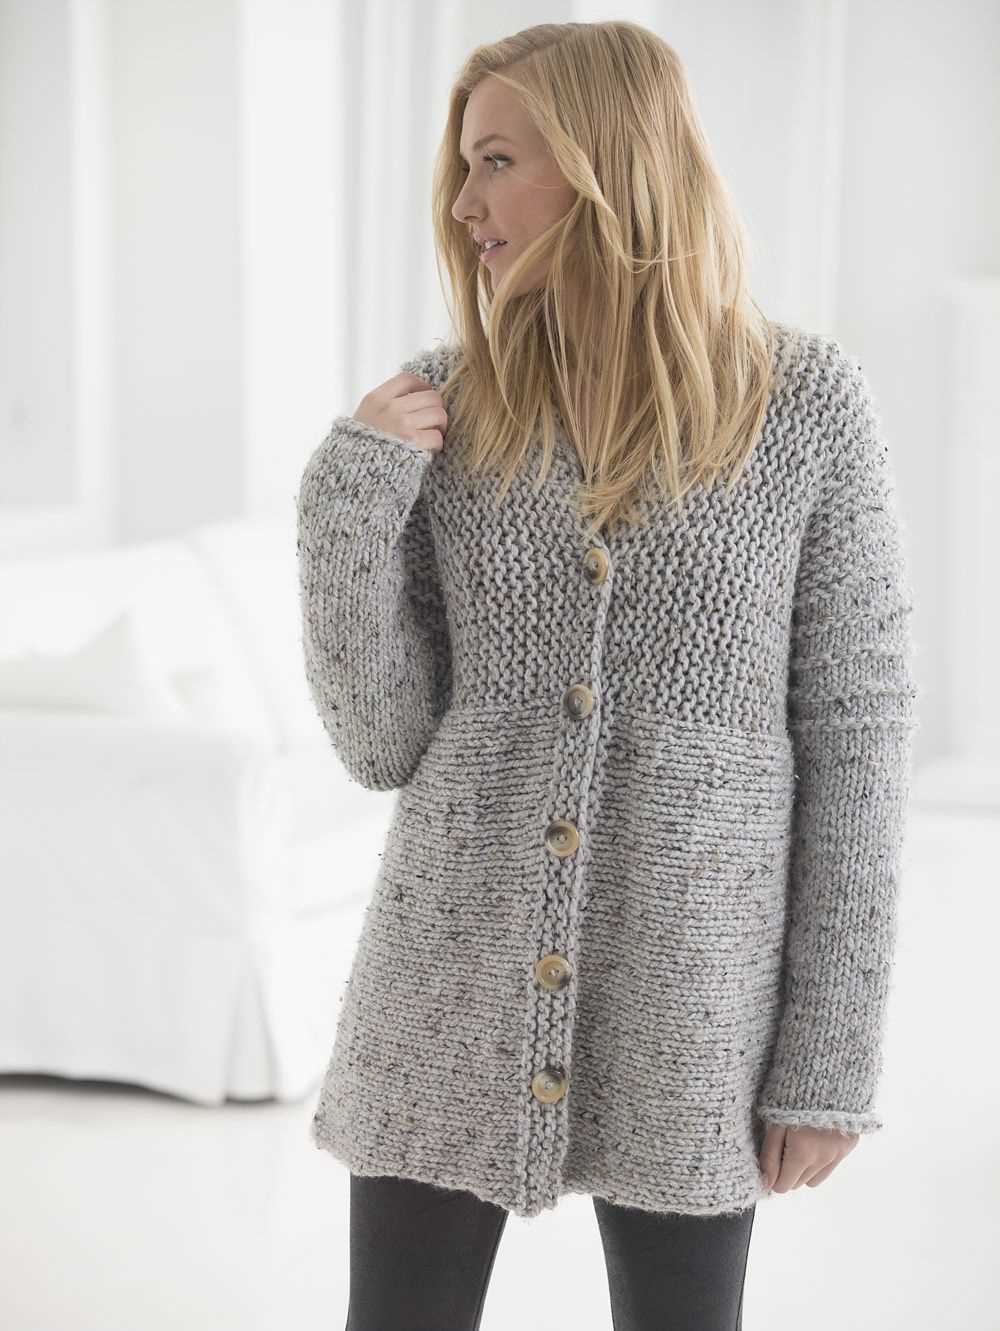
Finishing Touches: Buttons and Buttonholes
When it comes to completing your chunky cardigan, adding buttons and buttonholes is an essential step that can really elevate the final look of your garment. The choice of buttons and the placement of buttonholes can greatly impact the overall aesthetic and functionality of your cardigan.
Choosing the Right Buttons: When selecting buttons for your chunky cardigan, it’s essential to consider the size, color, and style that will complement your knitting pattern. Large and sturdy buttons work well for chunky knits, as they can withstand the weight of the garment and provide a secure closure. Wooden or metal buttons can add a rustic or contemporary touch, while colorful or patterned buttons can add a pop of personality.
Once you have chosen the perfect buttons, it’s time to decide on the placement of buttonholes. Creating Buttonholes: Whether you opt for vertical or horizontal buttonholes, it’s important to make them the right size to accommodate your chosen buttons. The size of your button should determine the width and height of your buttonhole. You can create buttonholes using various techniques, such as yarn overs or binding off and casting on stitches, depending on your knitting pattern and preferences.
TIP: To ensure accurate spacing and alignment of your buttonholes, you can use stitch markers or pins to mark the desired placement before beginning the buttonhole row.
Finishing the Buttonband: Once your buttonholes are complete, it’s time to finish the buttonband. This is the strip of knitting that runs vertically along the opening of your cardigan, where the buttons and buttonholes will be attached. You can choose to knit the buttonband separately and sew it onto your cardigan, or you can pick up stitches along the edges of the front panels and knit it in one continuous piece.
- Option 1: If you prefer a neater and more polished look, you can knit the buttonband separately. This allows for more control over the finished edges and ensures that the buttonholes align perfectly with the buttons.
- Option 2: If you prefer a more seamless look, you can pick up stitches along the edges of the front panels and knit the buttonband in one piece. This method creates a continuous and integrated look.
TIP: When picking up stitches for the buttonband, make sure to pick up an appropriate number of stitches to prevent any puckering or stretching. You can refer to your knitting pattern for guidance or use a general rule of thumb, such as picking up approximately 3 stitches for every 4 rows.
Once your buttonband is complete, you can sew the buttons onto the opposite side of the cardigan, aligning them with the buttonholes. Use a strong and durable thread that matches the button color for a seamless finish.
Blocking and Finishing
Once you have completed knitting your chunky cardigan, it’s time to give it a professional finish by blocking it. Blocking is the process of shaping and stretching the knitted garment to ensure it maintains its shape and size. It also helps to even out the stitches and create a smooth, polished look.
To block your cardigan, start by thoroughly wetting it. Fill a sink or basin with lukewarm water and gently submerge the cardigan, making sure it is completely soaked. You can add a mild detergent or wool wash to the water if desired. Let the cardigan soak for about 15-20 minutes, allowing the fibers to absorb the water.
Next, carefully remove the cardigan from the water and gently squeeze out the excess moisture. Avoid wringing or twisting the fabric, as this can damage the fibers. Lay the cardigan flat on a clean, dry towel and roll it up, pressing down firmly to remove even more moisture. Unroll the towel and lay the cardigan flat on a blocking mat or a clean, dry surface.
Now it’s time to shape the cardigan. Start by pinning the edges of the cardigan to the desired measurements, using blocking pins. Make sure the front bands are even and parallel, and the sleeves have a smooth, straight line. If you want to add a bit of waist shaping, you can use extra pins to create gentle curves or darts.
Allow the cardigan to dry completely in this blocked shape. Depending on the thickness of the yarn and the humidity in your environment, this can take anywhere from 24 to 48 hours. Once the cardigan is dry, gently remove the blocking pins and admire your beautifully finished garment!
Care Instructions and Tips
Proper care and maintenance is essential to keep your chunky cardigan looking its best. Follow these care instructions and tips to ensure its longevity and to maintain its beautiful texture and shape.
Cleaning:
- Hand wash your cardigan using cold water and a mild detergent.
- Gently squeeze out excess water, being careful not to wring or twist the fabric.
- Lay your cardigan flat on a towel and reshape it to its original size and shape.
- Allow it to air dry completely before wearing or storing.
Storage:
- When not in use, store your cardigan in a clean and dry place.
- Keep it folded or hung to avoid any stretching or wrinkling.
- Avoid storing it in direct sunlight or in damp areas to prevent any damage or discoloration.
Tips:
- Avoid wearing heavy jewelry or sharp objects that could snag the fabric.
- Avoid contact with rough surfaces that may cause pilling.
- Consider using a fabric shaver to remove any pilling that may occur over time.
- For any stains or spills, attend to them immediately by gently blotting the affected area with a clean cloth or paper towel.
- If necessary, consult a professional dry cleaner who specializes in knitwear for more intensive cleaning.
By following these care instructions and tips, you can enjoy your chunky cardigan for years to come. With proper care, it will continue to be a cozy and stylish addition to your wardrobe.