
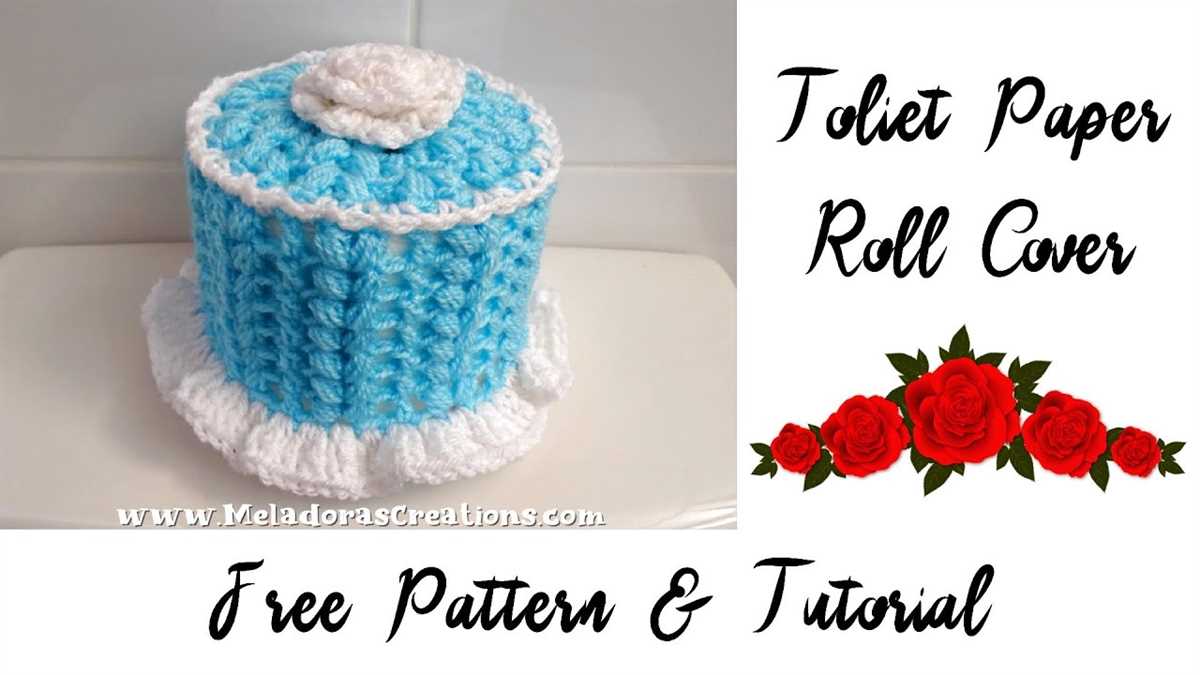
Knitting is a great hobby that allows you to create unique and personalized items. One of the popular projects is knitting a toilet roll cover. This simple yet practical item not only adds a touch of charm to your bathroom decor but also helps to keep the toilet roll clean and protected.
If you are new to knitting, don’t worry! Knitting a toilet roll cover is a beginner-friendly project that you can easily tackle. All you need is some basic knitting skills, a pair of knitting needles, and some yarn of your choice.
In this article, we will provide you with a step-by-step knitting pattern to create your own toilet roll cover. Whether you prefer a simple design or want to get creative with different colors and patterns, this pattern will guide you through the process.
Toilet Roll Cover Knitting Pattern
Are you tired of boring toilet paper rolls sitting on your bathroom counter? Want to add a touch of charm and creativity to your bathroom decor? With this toilet roll cover knitting pattern, you can easily create unique and stylish covers for your toilet paper rolls.
This knitting pattern is perfect for beginners and experienced knitters alike. It provides detailed instructions on how to create a custom-sized cover that fits snugly over a standard toilet paper roll. The pattern includes step-by-step instructions, as well as helpful tips and tricks to ensure your project turns out beautifully.
Materials:
- Worsted weight yarn in your desired color
- Size 8 knitting needles
- Tapestry needle
Instructions:
- Cast on 40 stitches.
- Rows 1-10: Knit each row.
- Rows 11-20: Purl each row.
- Rows 21-30: Knit each row.
- Row 31: Purl each stitch.
- Rows 32-40: Knit each row.
- Bind off all stitches.
Once you have completed the knitting portion of the pattern, you can seam the sides of the cover together using a tapestry needle and the yarn. Simply fold the knitted piece in half lengthwise and sew the edges together, leaving one end open for the toilet paper roll to slide into.
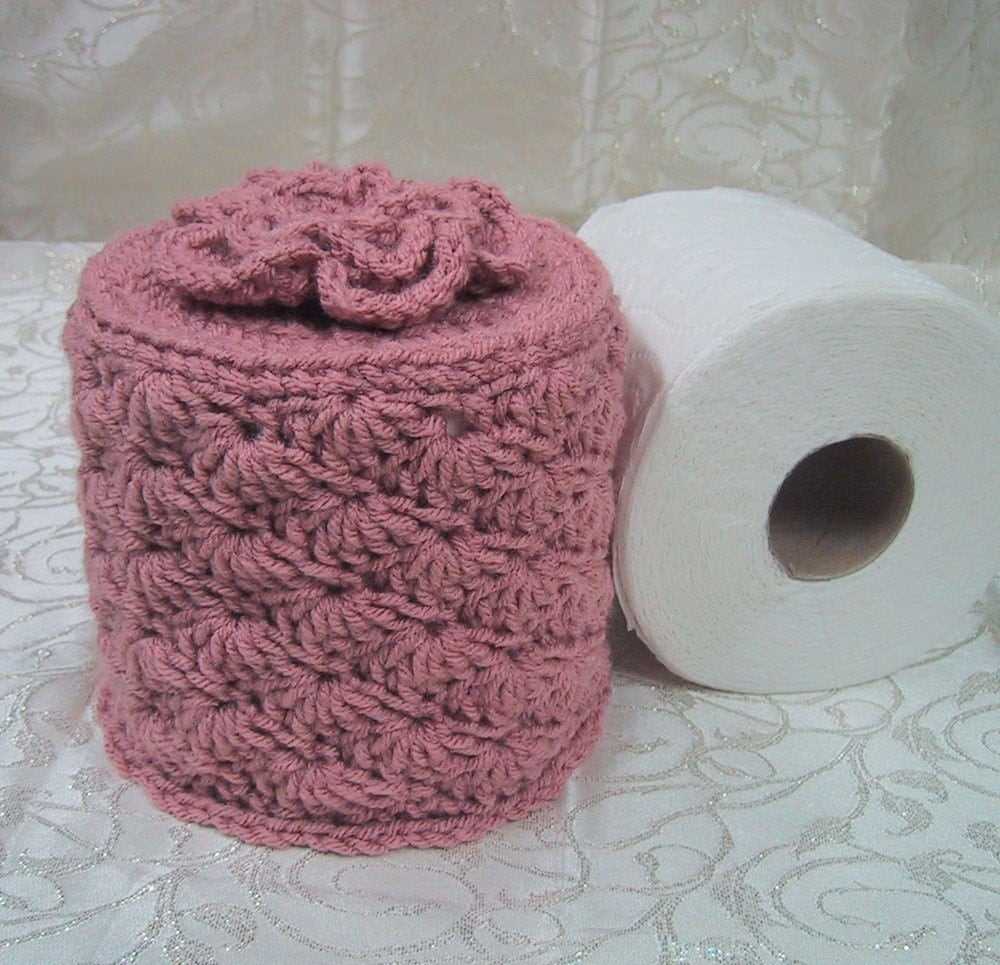
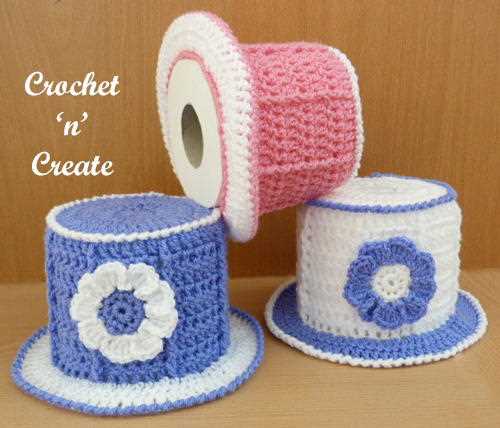
This toilet roll cover knitting pattern allows you to get creative with color and design. You can experiment with different yarns, stitch patterns, and embellishments to create covers that match your personal style and bathroom decor. Whether you prefer a classic, elegant look or a fun and whimsical design, this pattern is versatile enough to accommodate any aesthetic.
Why Knit a Toilet Roll Cover?
Knitting a toilet roll cover may seem like an unusual choice, but there are actually several reasons why people enjoy making these unique and practical items.
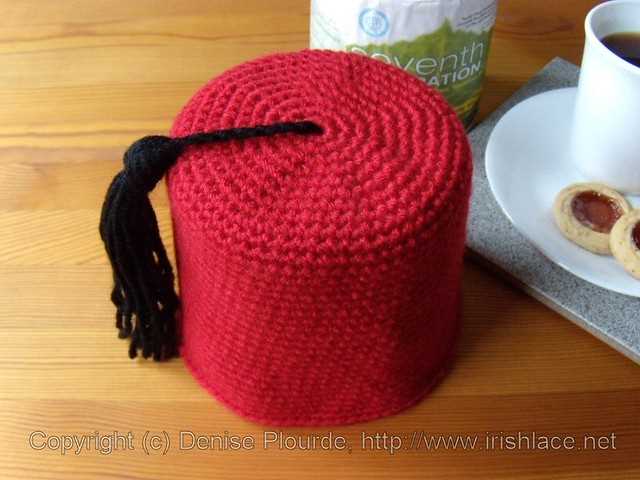
Creative Expression: Knitting provides a creative outlet for many people, allowing them to experiment with different patterns, colors, and textures. Knitting a toilet roll cover offers a fun and quirky project that showcases individual style and creativity.
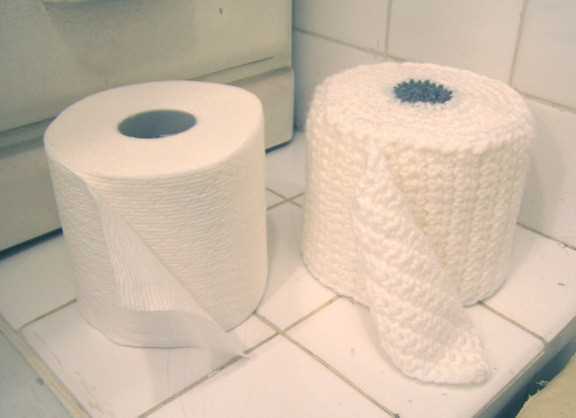
Environmentally Friendly: By knitting a toilet roll cover, you can reduce waste and contribute to a more sustainable lifestyle. Instead of using disposable plastic packaging for toilet paper, a reusable knit cover can be a great alternative. Plus, it adds a touch of charm to your bathroom decor.
Gifts and Home Decor: Knitted toilet roll covers make excellent gifts for friends and family. They can be personalized to match a recipient’s taste or home decor, making them a thoughtful and unique present. Additionally, these covers can add a touch of warmth and personality to any bathroom.
Practice and Skill-building: Knitting a toilet roll cover can be a great project for both beginners and experienced knitters alike. It allows beginners to practice basic knitting techniques, such as casting on, knitting, purling, and casting off. For more advanced knitters, it provides an opportunity to experiment with new stitches or patterns.
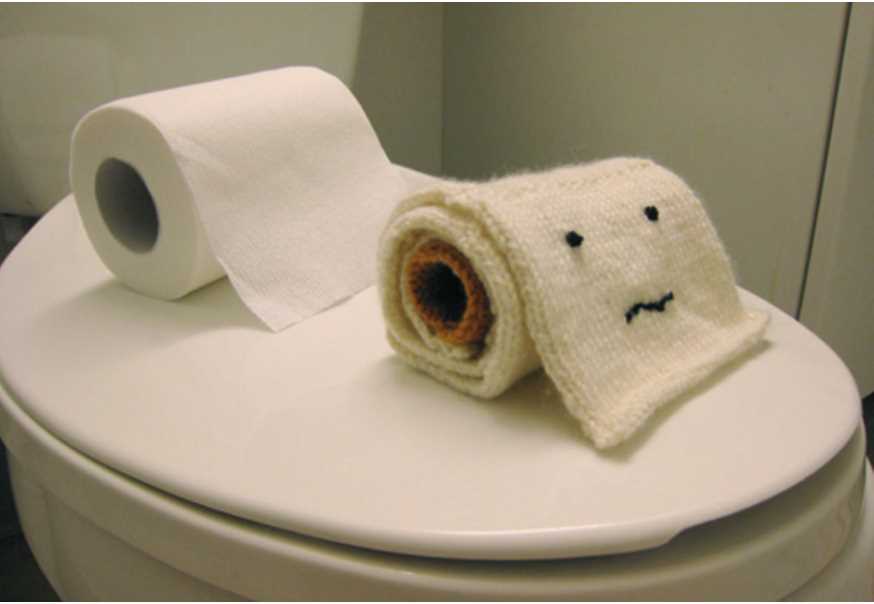
Conversation Starter: Having a knit toilet roll cover in your bathroom can be a conversation starter and a playful addition to your decor. Guests will surely notice the unique handmade touch and may even inquire about the story behind it.
In conclusion, knitting a toilet roll cover offers a chance for creative expression, contributes to a more sustainable lifestyle, can be personalized for gifts or home decor, provides a practice opportunity for knitting skills, and adds a playful touch to a bathroom. So, why not give it a try and see the delightful results for yourself?
Choosing the Right Yarn and Needles
When it comes to knitting a toilet roll cover, choosing the right yarn and needles is crucial to achieve the desired result. The yarn and needle selection will determine the size, texture, and overall appearance of the final product.
Yarn
For a toilet roll cover, it is best to choose a yarn that is durable and easy to wash. Cotton yarn is a popular choice as it is soft, absorbent, and can withstand frequent use and washing. Acrylic yarn is another option that is affordable, easy to care for, and comes in a wide range of colors. Avoid using delicate or fuzzy yarns as they may not hold up well to the wear and tear of daily use.
When selecting yarn, consider the thickness or weight. A medium weight or worsted yarn is generally appropriate for a toilet roll cover. Thicker yarns can result in a bulkier cover, while thinner yarns may not provide enough coverage. It is also important to ensure that the chosen yarn will provide enough yardage to complete the project without running out.
Needles
The right needle size will depend on the thickness of the selected yarn and the desired tension or gauge. Generally, a pair of 4.5mm or 5mm straight knitting needles is a good choice for a toilet roll cover. However, if you prefer to use circular needles, make sure to choose the appropriate length for the size of the project.
It is also important to consider the material of the needles. Bamboo or wooden needles can provide a good grip on slippery yarns, while metal needles may be more suitable for faster knitting. Experimenting with different needle materials can help you find the best option for your knitting style and the chosen yarn.
Overall, taking the time to choose the right yarn and needles for your toilet roll cover project will ensure that you create a functional and aesthetically pleasing finished piece. Consider the durability, washability, and texture of the yarn, as well as the size and material of the needles, to achieve the best results.
Getting Started: Cast On and Knit Rows
When starting a new knitting project, it’s important to begin with the proper cast on technique. For the toilet roll cover knitting pattern, a simple long tail cast on method is recommended. This cast on method creates a neat and stretchy edge that will fit snugly around the toilet roll.
To begin the long tail cast on, measure out a length of yarn that is approximately three times the desired width of the cover. This extra length will be used to create the foundation row of stitches. Make a slipknot at the end of the yarn, leaving a long tail. Place the slipknot on one of the knitting needles, holding the needle in your right hand if you are right-handed, or in your left hand if you are left-handed.
With the slipknot placed on the needle, hold the needle in your right hand (or left hand for left-handed knitters) and the other needle in your left hand. Position the yarn between your thumb and index finger of your right hand, and the tail of the yarn between your thumb and index finger of your left hand. With your right hand, bring the needle behind the thumb and index finger of your left hand, then in front of the thumb and index finger of your right hand, and then back behind the thumb and index finger of your left hand.
Continue this motion, known as “wrapping the yarn”, until the desired number of stitches is cast on. Each time the yarn is wrapped, it should go over the needle, creating a loop. After casting on all the stitches, you should have a row of loops on the knitting needle. This foundation row is now ready to start knitting the rows of the toilet roll cover.
To knit the rows, hold the needle with the cast on stitches in your right hand (or left hand for left-handed knitters) and the other needle in your left hand. Insert the right-hand needle into the first loop on the left-hand needle from left to right, behind the loop. Take the yarn and wrap it around the right-hand needle counterclockwise.
With the yarn wrapped around the right-hand needle, use the right-hand needle to pull the loop through the first loop on the left-hand needle, creating a new loop. Slip the old loop off the left-hand needle, leaving the new loop on the right-hand needle. Repeat this process for each loop on the left-hand needle, transferring them to the right-hand needle.
As you knit each row, the toilet roll cover will start to take shape. Continue knitting rows until the desired length is reached, following the instructions in the knitting pattern for any variations or stitch patterns. Once the knitting is complete, you can finish off the cover by binding off the stitches and sewing the edges together.
Creating the Ribbing
Before starting on the main body of the toilet roll cover, you’ll first need to create the ribbing at the bottom. This adds a nice decorative touch and also helps to secure the cover around the toilet roll. To create the ribbing, you’ll be using a combination of knit and purl stitches.
To begin, cast on the required number of stitches onto your knitting needles. The number of stitches will depend on the size of your toilet roll and the desired width of the ribbing. Once you have cast on, you can start by knitting the first row. This will create a row of knit stitches.
For the next row, you’ll need to create the ribbing pattern by alternating between knitting and purling stitches. To do this, you’ll need to knit the first stitch, then purl the next stitch, and continue alternating between the two stitches until the end of the row. Repeat this pattern for the next few rows to create the ribbing.
Continue knitting the ribbing until it reaches the desired length. This will depend on how tall you want the ribbing to be on your toilet roll cover. Once you have reached the desired length, you can then move on to the main body of the cover, which will involve different knitting patterns and stitches.
Knit the Body of the Cover
Now that you have cast on the required number of stitches, you can begin knitting the body of the cover. The body is where you will create the main fabric that will surround the toilet roll.
To knit the body, you will repeat a specific pattern or stitch until the desired length is achieved. One popular stitch pattern is the stockinette stitch, which creates a smooth and even texture. To knit stockinette stitch, simply alternate between knitting one row and purling the next row. This will create a fabric with a smooth side, known as the right side, and a bumpy side, known as the wrong side.
If you prefer a different stitch pattern, you can choose from a variety of options such as ribbing, garter stitch, or seed stitch. Each stitch pattern will give the cover a unique texture and appearance.
As you knit the body of the cover, make sure to frequently check the length to ensure that it will properly fit a toilet roll. You can measure the length by placing the knitting on top of a toilet roll to gauge the size. Additionally, don’t forget to count your rows to keep track of your progress.
Once you have reached the desired length for the cover, you can move on to the next step, which is typically knitting the top border or completing any additional decorative elements.
Shaping the Top
Once you have completed knitting the main body of the toilet roll cover, it’s time to start shaping the top. This will give the cover a neat and finished look, as well as provide a snug fit for the toilet roll.
To shape the top, you will need to decrease the stitches gradually. This can be done by knitting two stitches together at regular intervals. Start by knitting one stitch, then knit the next two stitches together. Repeat this pattern until you reach the end of the row.
To maintain the pattern, it may be necessary to adjust the number of stitches on each row. For example, if you have a pattern that requires a multiple of four stitches, you may need to decrease the number of stitches in the row before shaping the top.
Continue shaping the top in this manner until you have decreased enough stitches to create the desired shape. You can then bind off the remaining stitches, ensuring that the top is securely closed.
Once the top is shaped and bound off, your toilet roll cover is almost complete! You can add any additional embellishments or decorations at this point, such as buttons, bows, or embroidery. These finishing touches will give your toilet roll cover a personal touch and make it truly unique.
Finishing Touches: Bind Off and Weave in Ends
As you near the end of your knitting project, it’s time to think about the finishing touches. One important step in completing your toilet roll cover is the bind off. This is the process of securing the last row of stitches and creating a finished edge. To bind off, work the first two stitches as usual, then pass the first stitch over the second stitch and off the needle. Continue this process until you have one stitch left, then cut the yarn, leaving a tail for weaving in.
After binding off, it’s time to weave in the loose ends. This is an important step to ensure that your toilet roll cover looks neat and professional. To weave in ends, thread the yarn tail onto a tapestry needle and insert it under several stitches on the wrong side of the fabric. Then, bring the yarn through a few stitches in the opposite direction to secure it. Trim any excess yarn, being careful not to cut the main fabric.
It’s a good idea to weave in the ends as you go, rather than waiting until the end of the project. This will help to prevent tangling and make the finishing process quicker and easier. Remember to weave in all ends, including those from color changes or joining new yarn, to ensure a polished final result.
Adding Decorative Elements
Once you’ve mastered the basic knitting pattern for a toilet roll cover, you may want to add some decorative elements to make it truly unique. There are many ways you can personalize your cover and make it stand out.
1. Embellishments: One way to enhance your toilet roll cover is by adding embellishments. You can use small buttons, beads, or sequins to create unique designs. Sew them onto the cover in patterns or randomly for a whimsical touch. Be careful not to make the embellishments too bulky, as they may affect the shape of the cover.
2. Color combinations: Experiment with different color combinations to create interesting effects. Use contrasting colors for a bold look, or stick to a monochromatic scheme for a more minimalist design. You can also try variegated yarns that change color as you knit, adding a touch of visual interest to the cover.
3. Textured stitches: Instead of sticking to basic knit or purl stitches, try incorporating different textured stitches into your knitting pattern. This can create a more intricate design and add depth to the cover. You can experiment with techniques like cables, bobbles, or lace patterns to achieve different textures.
4. Fair Isle knitting: If you’re up for a challenge, consider adding a Fair Isle pattern to your toilet roll cover. This traditional knitting technique involves working with multiple colors in the same row to create intricate designs. Fair Isle patterns can range from simple geometric shapes to intricate motifs, and they can give your cover a unique and vibrant look.
5. Personalized details: Finally, consider adding personalized details to your toilet roll cover. You can incorporate initials or names into the design using intarsia or duplicate stitch techniques. This can make the cover a thoughtful gift or a personalized item for your own bathroom.
With these decorative elements, you can take your toilet roll cover to the next level and create a truly one-of-a-kind piece. Get creative and have fun experimenting with different techniques and designs!
Washing and Care Instructions
Proper washing and care instructions are essential to ensure that your knitted toilet roll cover remains in good condition and continues to add a touch of charm to your bathroom decor. Here are some tips to keep in mind:
Washing:

- Hand washing is recommended to preserve the delicate knitwork. Fill a basin with cool water and add a mild detergent.
- Gently submerge the toilet roll cover in the soapy water and lightly agitate it with your hands to remove any dirt or stains.
- Allow the cover to soak for about 10-15 minutes, then drain the soapy water and refill the basin with clean, cool water.
- Rinse the cover thoroughly by submerging it in the clean water and again lightly agitating it to remove any remaining detergent.
- Gently squeeze out excess water from the cover, being careful not to wring or twist it. Lay it flat on a clean towel and roll up the towel to absorb more moisture.
- Finally, reshape the cover and leave it to air dry flat on a clean, dry surface.
Care:
- Avoid machine washing or drying the toilet roll cover, as this can cause it to lose its shape and possibly get damaged.
- Keep the cover away from sharp objects or rough surfaces that could snag or pull at the knitwork.
- It’s a good idea to store the cover in a drawer or cabinet when not in use to protect it from dust and potential damage.
- If the cover gets soiled or stained, prompt cleaning is recommended to prevent the stain from setting.
By following these washing and care instructions, you can ensure that your knitted toilet roll cover remains clean, fresh, and ready to add a touch of handmade beauty to your bathroom for years to come.
Alternative Designs and Patterns
If you’re looking for alternative designs and patterns for your toilet roll cover, there are many options to choose from. Here are a few ideas to inspire you:
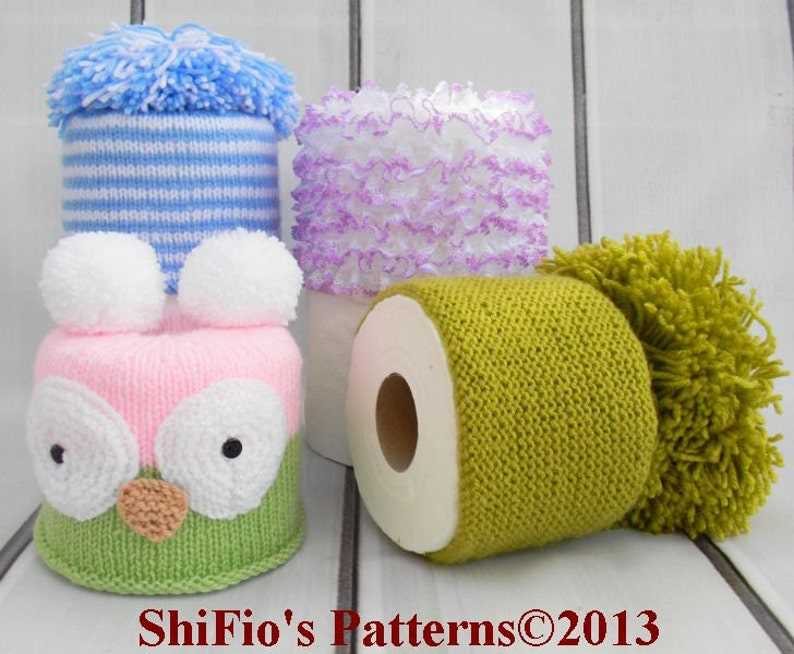
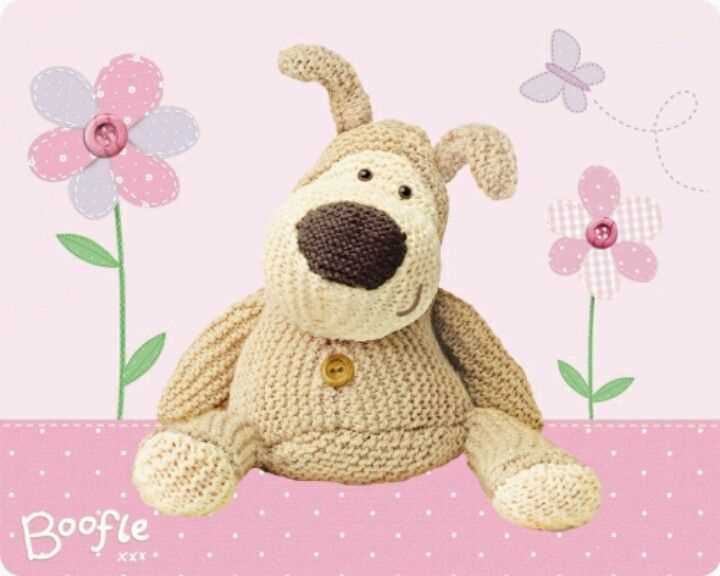
- Animal-themed covers: Consider knitting a toilet roll cover in the shape of an animal, such as a cat, dog, or owl. These whimsical designs can add a fun touch to your bathroom decor.
- Lace patterns: For a more elegant look, you can try knitting a toilet roll cover with a lace pattern. There are many beautiful lace stitch patterns available that can give your cover a delicate and sophisticated appearance.
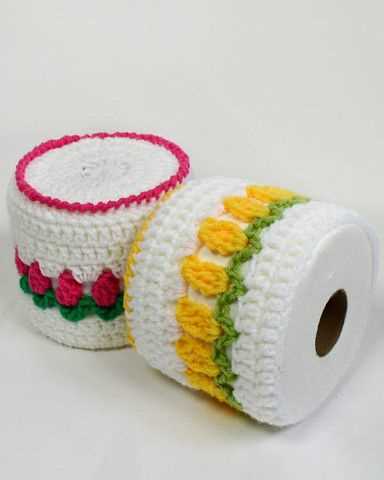
- Colorful patterns: Instead of using a single color for your toilet roll cover, why not experiment with different colors? You can create stripes, polka dots, or even a colorful mosaic pattern to make your cover stand out.
- Seasonal designs: Another idea is to knit toilet roll covers that reflect the different seasons. For example, you can knit a cover with snowflakes for winter, flowers for spring, or leaves for autumn.
No matter what design or pattern you choose, knitting a toilet roll cover can be a fun and creative way to add a personal touch to your bathroom. So grab your knitting needles and get started on your next project!