
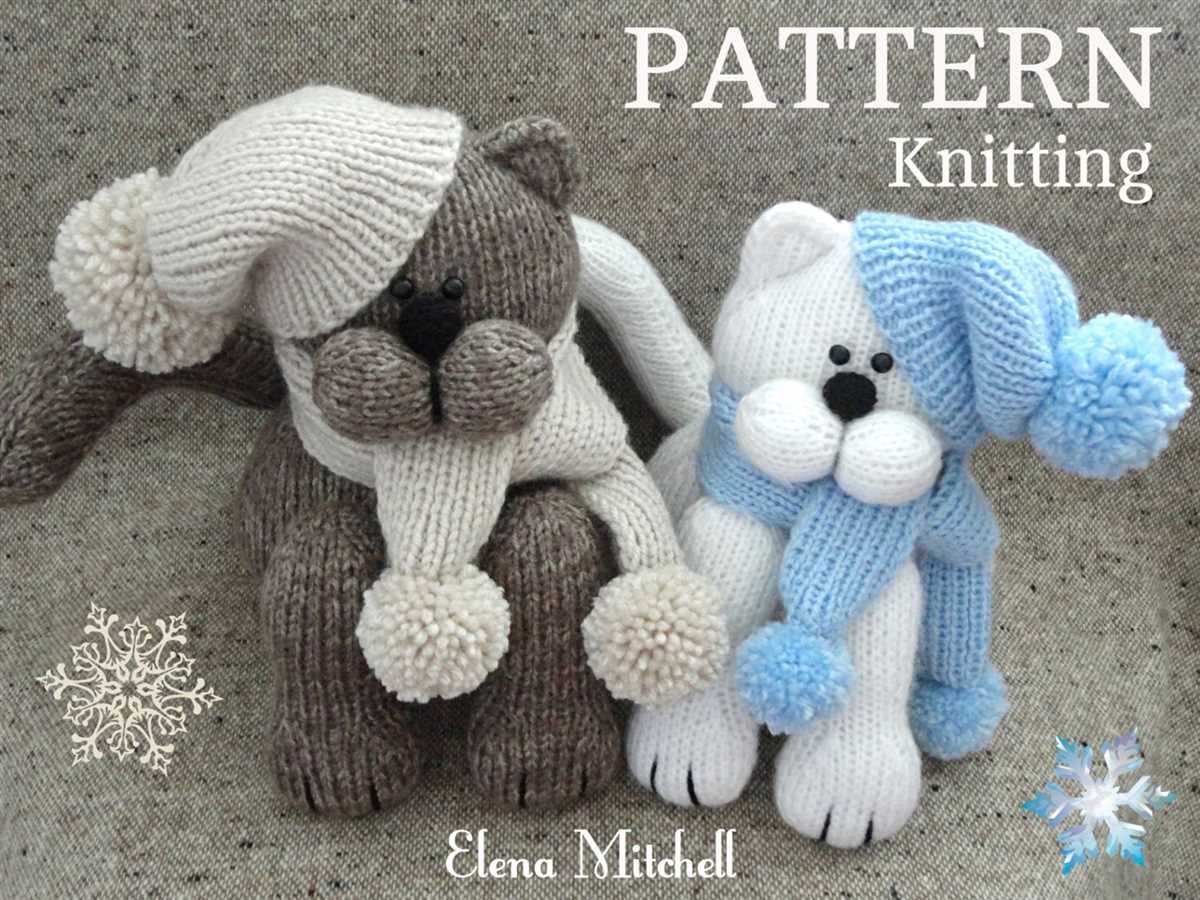
Knitting is not only a great way to relax and express your creativity, but it can also be a fun and practical way to make toys for your beloved furry friends. If you are a cat owner or a cat lover, knitting a toy for your cat can be a wonderful way to keep them entertained and engaged.
One popular cat toy knitting pattern is the knitted catnip mouse. This small and adorable toy is not only easy to knit, but it is also a favorite of many cats. Additionally, it can be a great way to use up leftover yarn and make something useful out of it.
To make a knitted catnip mouse, you will need basic knitting skills such as casting on, knitting, purling, and decreasing. The pattern usually involves knitting the mouse body in one piece and then sewing it up, stuffing it with catnip, and adding some finishing touches like eyes and ears.
Not only can knitting toys for your cat be a fun and rewarding hobby, but it can also provide mental and physical stimulation for your furry friend. The act of playing with a knitted toy can help keep your cat active and engaged, preventing boredom and promoting exercise. So why not give it a try and knit a toy for your cat today?
Choosing the right yarn and needles
When it comes to knitting a cat toy, choosing the right yarn and needles is essential for creating a durable and enjoyable toy for your furry friend. There are a few factors to consider when selecting the materials for your knitting project.
Yarn
When choosing yarn for a cat toy, it’s important to opt for a sturdy and resilient material. Nylon or acrylic blends are great options as they are durable and can withstand rough play. It’s best to avoid delicate or fuzzy yarns that could easily unravel or shed, as these may be hazardous if ingested by the cat. Additionally, consider the color of the yarn, as some cats may be attracted to bright or contrasting colors.
Needles
The right needles will depend on the yarn you choose and your personal knitting style. For a cat toy, it’s generally recommended to use smaller needles, such as size US 4 or US 5 (3.5mm or 3.75mm), as this will result in a tighter knit fabric that can better withstand scratching and biting. Circular needles may also be useful for knitting small, round toys, as they allow for easy knitting in the round. However, if you prefer traditional straight needles, they can still be used effectively for knitting cat toys.
- Choose a sturdy and durable yarn, such as nylon or acrylic blends.
- Avoid delicate or fuzzy yarns that could unravel or shed.
- Consider the color of the yarn, as some cats may be attracted to bright colors.
- Opt for smaller needles, like size US 4 or US 5 (3.5mm or 3.75mm), for a tighter knit fabric.
- Circular needles may be useful for knitting small, round toys.
- Straight needles can still be used effectively for cat toy knitting.
Basic Knitting Techniques
Knitting is a popular craft that involves creating fabric by looping yarn with knitting needles. Whether you’re a beginner or an experienced knitter, it’s essential to have a good understanding of basic knitting techniques. These techniques lay the foundation for more advanced patterns and projects.
Casting On: The first step in any knitting project is casting on. This is the process of creating the first row of stitches on your needle. There are several casting on methods to choose from, including the long-tail cast-on, the knit cast-on, and the cable cast-on. Each method creates a slightly different edge, so it’s worth experimenting to find the one you prefer.
- Knit Stitch: The knit stitch is one of the most basic knitting stitches and forms the basis of many patterns. It creates a smooth and flat fabric. To knit, insert the right needle into the first stitch on the left needle, wrap the yarn around the right needle, and pull it through the stitch. Slide the old stitch off the left needle, and you’ve completed a knit stitch.
- Purl Stitch: The purl stitch is another essential knitting stitch. It creates a bumpy texture that is commonly used for ribbing and other decorative elements. To purl, insert the right needle from right to left into the first stitch on the left needle, wrap the yarn around the right needle, and pull it through the stitch. Slide the old stitch off the left needle, and you’ve completed a purl stitch.
- Decreases: Decreasing stitches is a technique used to shape your knitting and create different designs. There are various ways to decrease stitches, such as knitting two stitches together (K2tog) or slipping, knitting, and passing the slipped stitch over (SKP). Decreases are often used in shaping sleeves, necklines, and other areas of a garment.
- Increases: Just like decreases, increasing stitches is necessary to shape your knitting. Common increase methods include knitting into the front and back of a stitch (KFB), yarn overs (YO), and make one stitches (M1). Increases are often used for creating sleeves, adding fullness to a garment, or making decorative patterns.
These are just a few basic knitting techniques to get you started. As you become more comfortable with these techniques, you can explore more advanced stitches and patterns. Knitting is a versatile and creative craft that allows you to make beautiful and functional items, so have fun and let your imagination run wild!
Creating the body of the toy
When knitting a toy for your cat, the first step is to create the body. This will serve as the main structure of the toy, providing a sturdy foundation for the rest of the design. To create the body, you will need to follow the knitting pattern instructions and use the specified yarn and needle size.
Start by casting on the required number of stitches onto the knitting needle. The number of stitches will vary depending on the size of the toy you want to create. Make sure to check the pattern for the exact number of stitches needed. Once the stitches are cast on, join them in the round using the magic loop method or double-pointed needles, if preferred.
Next, begin knitting in the round, following the pattern’s instructions for the body. This may involve knitting a certain number of rows or following a specific stitch pattern. Pay attention to any shaping or decreases that need to be made to create the desired shape of the toy. These instructions will help give the body its form and make it appealing to your cat.
As you knit the body, make sure to periodically check your gauge to ensure that you are maintaining the correct tension. Too loose of a gauge may result in a floppy toy, while too tight of a gauge may make it difficult for your cat to play with. Adjust your knitting accordingly to achieve the desired tension.
Continue knitting until you reach the desired length for the body of the toy. This length may vary depending on your cat’s preferences and the overall design of the toy. Once the length is achieved, follow the pattern’s instructions for binding off the stitches. This will secure the stitches and complete the body of the toy.
Remember to weave in any loose ends of yarn and trim them neatly to finish off the toy. The completed body will serve as the foundation for the rest of the toy, allowing you to move on to creating additional features such as ears, tail, and embellishments. With the body complete, you are one step closer to creating a fun and engaging toy for your beloved feline friend.
Adding details and features
In order to make a cat toy truly engaging for your furry friend, it’s important to add details and features that will keep them entertained. Here are a few ideas to incorporate into your cat toy knitting pattern:
1. Incorporate different textures
Cats love to explore and interact with different textures, so consider using various types of yarn or adding embellishments like buttons or ribbons. This will provide a tactile experience for your cat and make the toy more interesting to play with.
2. Include hidden surprises
Adding hidden surprises to your cat toy can make it even more enticing. You can hide small bells or crinkle material inside the toy to create an element of surprise and encourage your cat to engage with it. Just make sure the surprises are securely tucked away, so your cat won’t accidentally ingest them.
3. Incorporate dangling elements

Cats love to bat at and chase dangling objects, so consider incorporating some dangling elements into your toy design. You can attach feathers, strings, or even small toys to the toy, making it more interactive and engaging for your cat.
4. Add a pocket for catnip
Most cats are attracted to catnip, so why not add a small pocket to your cat toy where you can insert some dried catnip. This will make the toy even more appealing to your cat and provide them with a stimulating scent that they will enjoy.
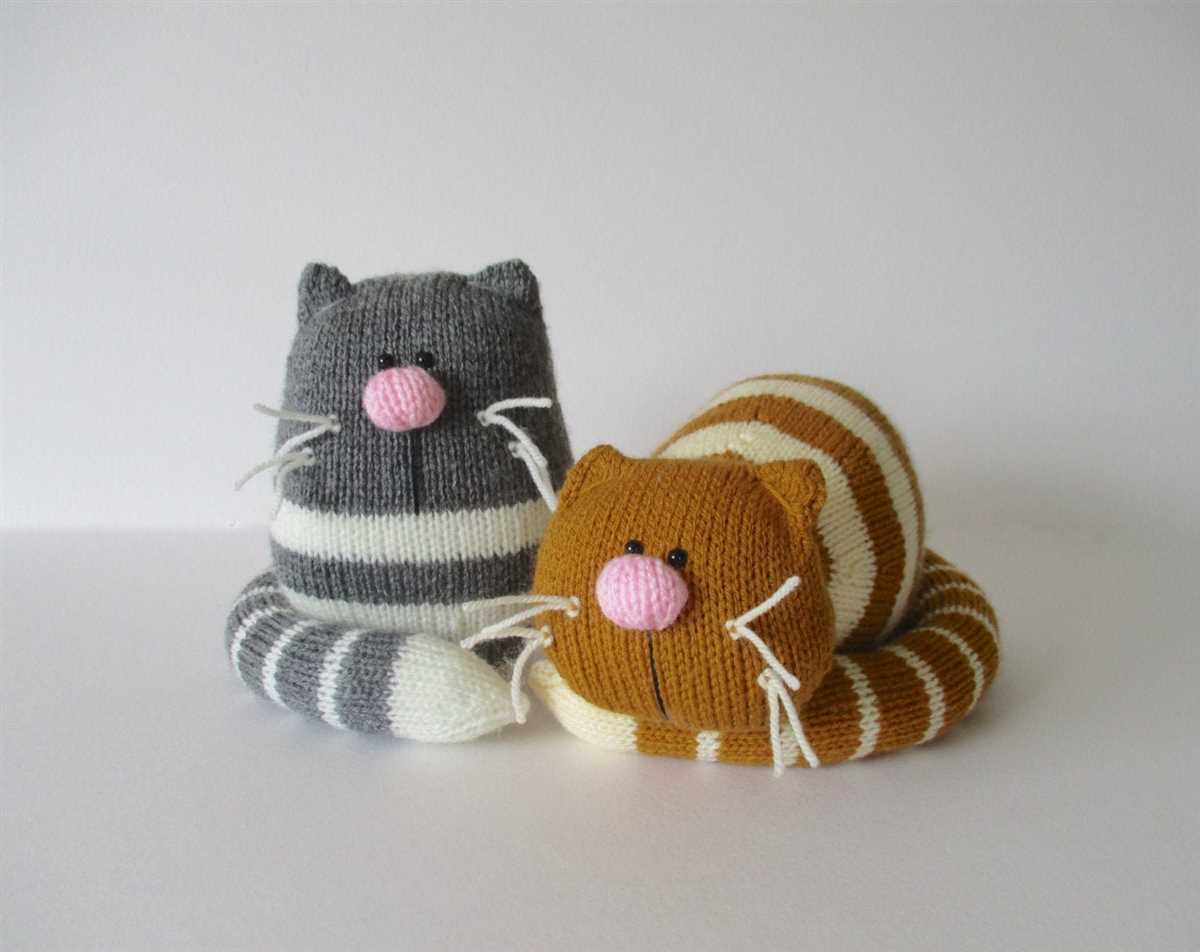
5. Create different shapes and sizes
Varying the shapes and sizes of your cat toys can keep your cat interested and engaged. Consider knitting toys in different shapes like mice, birds, or fish. You can also make some toys larger or smaller to provide variety and cater to different play preferences.
By adding these details and features to your cat toy knitting pattern, you can create a toy that is not only visually appealing but also provides an interactive and entertaining experience for your cat.
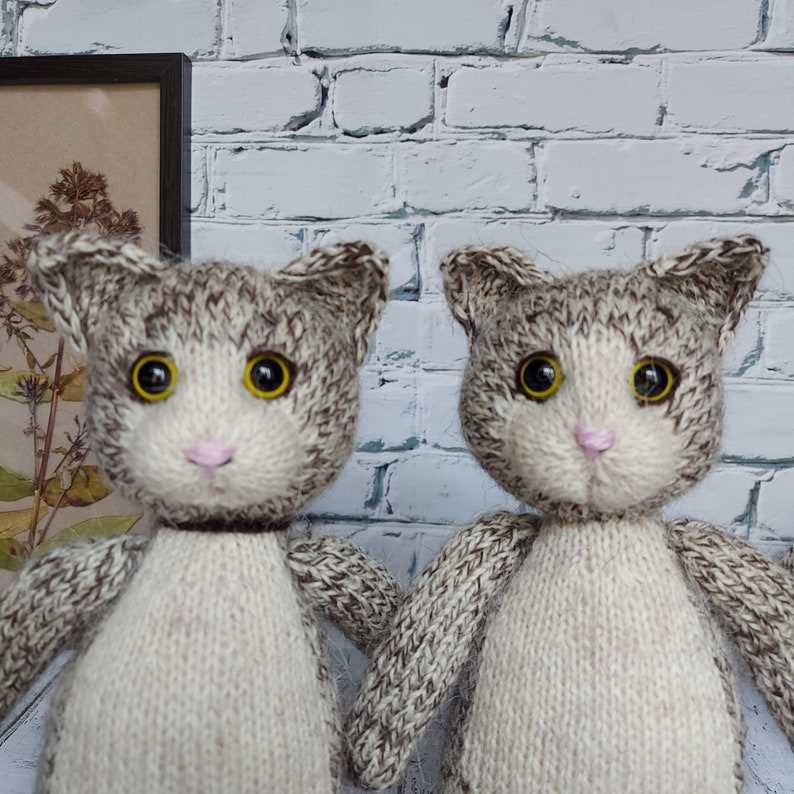
Embroidering the face
When it comes to creating a knitted cat toy, one of the most important steps is embroidering the face. The face is what brings the toy to life and gives it personality. There are several different techniques that can be used to embroider the face, depending on the desired look.
The simplest technique is using embroidery floss to stitch the eyes and nose onto the knitted toy. Using a contrasting color of floss, create small stitches in the shape of an oval for the eyes. For the nose, stitch a small triangle shape slightly below the eyes. This technique is quick and easy, perfect for beginners or those looking for a minimalist look.
For a more realistic look, you can use duplicate stitch to embroider the face. Duplicate stitch involves using a contrasting color of yarn to “copy” the stitches of the knitted fabric. This technique allows for more detail and shading, making the face look more three-dimensional. To create the eyes and nose, simply follow the knitting stitches, using the duplicate stitch to fill in the desired shape.
Another option is to use felt or fabric to create the face. You can cut out shapes for the eyes, nose, and mouth and use fabric glue or hand-stitching to attach them to the toy. This technique allows for more creativity and customization, as you can experiment with different colors and shapes. Additionally, using fabric can add a soft and fuzzy texture to the face.
Summary
- Embroidering the face is an important step in creating a knitted cat toy.
- Simplest technique includes using embroidery floss to stitch the eyes and nose.
- Duplicate stitch can be used for a more realistic look, allowing for more detail and shading.
- Using felt or fabric can add a creative touch and a soft texture to the face.
Adding stuffing and finishing touches

Once you have finished knitting your cat toy, it’s time to add the stuffing and give it the finishing touches. Start by carefully choosing the right stuffing material. Opt for cat-friendly options, such as polyester fiberfill or organic cotton. Avoid using materials that could be potentially harmful to your cat, such as small beads or plastic pellets.
Step 1: Begin by inserting the stuffing into the main body of the toy. Use small amounts of stuffing at a time to ensure an evenly distributed fill. Gently push the stuffing into the corners and curves of the toy to create a round and plump shape.
Step 2: Once the body is fully stuffed, it’s time to stitch it closed. Thread a tapestry needle with the same yarn used for knitting and carefully sew the opening closed using a whipstitch or mattress stitch. Make sure your stitches are secure and tight to prevent any loose stuffing from escaping.
Next, move on to the finishing touches to add some playful features to your cat toy.
- Eyes and nose: Use small buttons, beads, or embroidery thread to create the eyes and nose of the toy. Make sure they are securely attached to prevent any choking hazards.
- Whiskers: Cut several pieces of yarn and attach them to either side of the toy’s face to create whiskers. You can secure them by tying a knot or stitching them in place.
- Tail: If your cat toy has a tail, stuff it lightly and stitch it closed using the same technique as the body. You can also add some extra yarn or fabric trim to make it more interactive for your cat.
Once you have completed all the finishing touches, give your cat toy a final inspection to ensure everything is securely attached. Now, your cat toy is ready to provide hours of entertainment for your furry friend!
Personalizing your cat toy
If you enjoy knitting and want to create a special toy for your furry friend, customizing your cat toy is a great option. Adding personalized touches to your cat’s toy can make it even more appealing and engaging for them. There are several ways you can personalize a cat toy, and here are a few ideas to get you started.
1. Colors: Choose colors that your cat loves. Cats are known to have different preferences when it comes to colors, so opt for shades that they are drawn to. You can even consider using your cat’s favorite color as the main shade of the toy.
- For example, if your cat loves blue, incorporate different shades of blue yarn into the toy.
2. Shapes: Experiment with different shapes and sizes for the toy. While some cats might prefer a classic ball shape, others might be more fascinated by irregular shapes or even toys in the shape of their favorite animal.
- You can try making a mouse-shaped toy for your cat to play with.
3. Textures: Cats love exploring different textures, so adding various textures to the toy can make it more interesting for them. Incorporate yarns with different textures, such as fluffy or fuzzy yarn, as well as ribbons or strings.
- Consider adding a small pocket to the toy filled with catnip for an extra enticing texture.
4. Embellishments: Add small embellishments to the toy to make it unique and eye-catching. These can include buttons, charms, or even tiny bells that jingle when your cat plays with the toy.
- Make sure the embellishments are securely attached to the toy, ensuring the safety of your cat.
By personalizing your cat’s toy, you not only create a one-of-a-kind item but also provide your furry friend with an engaging and entertaining plaything. Experiment with different colors, shapes, textures, and embellishments to discover what your cat loves the most. Remember to always supervise your cat during playtime to ensure their safety. Happy knitting!
Tips and tricks for successful knitting
Knitting is a craft that requires patience, attention to detail, and practice. Whether you’re a beginner or an experienced knitter, it’s always helpful to have some tips and tricks up your sleeve to ensure successful projects. Here are some tips that will help you improve your knitting skills:
1. Choose the right yarn and needles
When starting a knitting project, it’s important to choose the right yarn and needles for the pattern. Different yarns and needle sizes will create different results. Ensure that the yarn is suitable for the project and that the needles are the correct size to achieve the desired gauge.
2. Practice proper tension
Tension refers to how tightly or loosely you hold the yarn while knitting. Consistent tension is key to making your stitches even and uniform. Practice finding a tension that feels comfortable to you and produces the desired results.
3. Count your stitches and rows
Keeping track of your stitches and rows is essential for following a pattern and ensuring that your project is the correct size. Use stitch markers or a row counter to help you keep track of your progress and avoid mistakes.
4. Learn new techniques
Continuously expanding your knitting skills can help you tackle more complex patterns and create more diverse projects. Take the time to learn new techniques, such as cables, lace, or colorwork, and practice them until you feel comfortable incorporating them into your projects.
5. Take breaks and rest your hands
Knitting for long periods can strain your hands and wrists. Make sure to take regular breaks and stretch your fingers and wrists to prevent discomfort or injuries. Giving your hands a break also helps you maintain focus and concentration when you return to your project.
6. Use lifelines

A lifeline is a life-saving technique that involves threading a contrasting piece of yarn through a row of stitches. This serves as a marker and allows you to easily rip back to that point if you make a mistake. Adding lifelines can save you a lot of frustration and time when fixing errors.
7. Block your finished project
Blocking is the process of shaping and stretching your finished knitting to the desired size and shape. It helps even out stitches, opens up lacework, and gives your project a polished look. Follow the blocking instructions for your specific yarn and project to ensure the best results.
In conclusion, with the right tools, techniques, and mindset, knitting can be a rewarding and enjoyable craft. Remember to be patient with yourself, practice regularly, and seek inspiration from other knitters. Don’t be afraid to experiment and make mistakes – they’re all part of the learning process. Happy knitting!