
Knitting is a beautiful craft that allows you to create cozy and stylish accessories for yourself or your loved ones. One popular knitting project is making belts. A knitted belt not only serves as a practical accessory to hold up your pants or skirt, but it also adds a unique touch to your outfit.
When it comes to knitting belts, there are many patterns and designs to choose from. Whether you’re a beginner or an experienced knitter, you can find a pattern that suits your skill level and personal style. From simple and classic designs to more intricate patterns, the possibilities are endless.
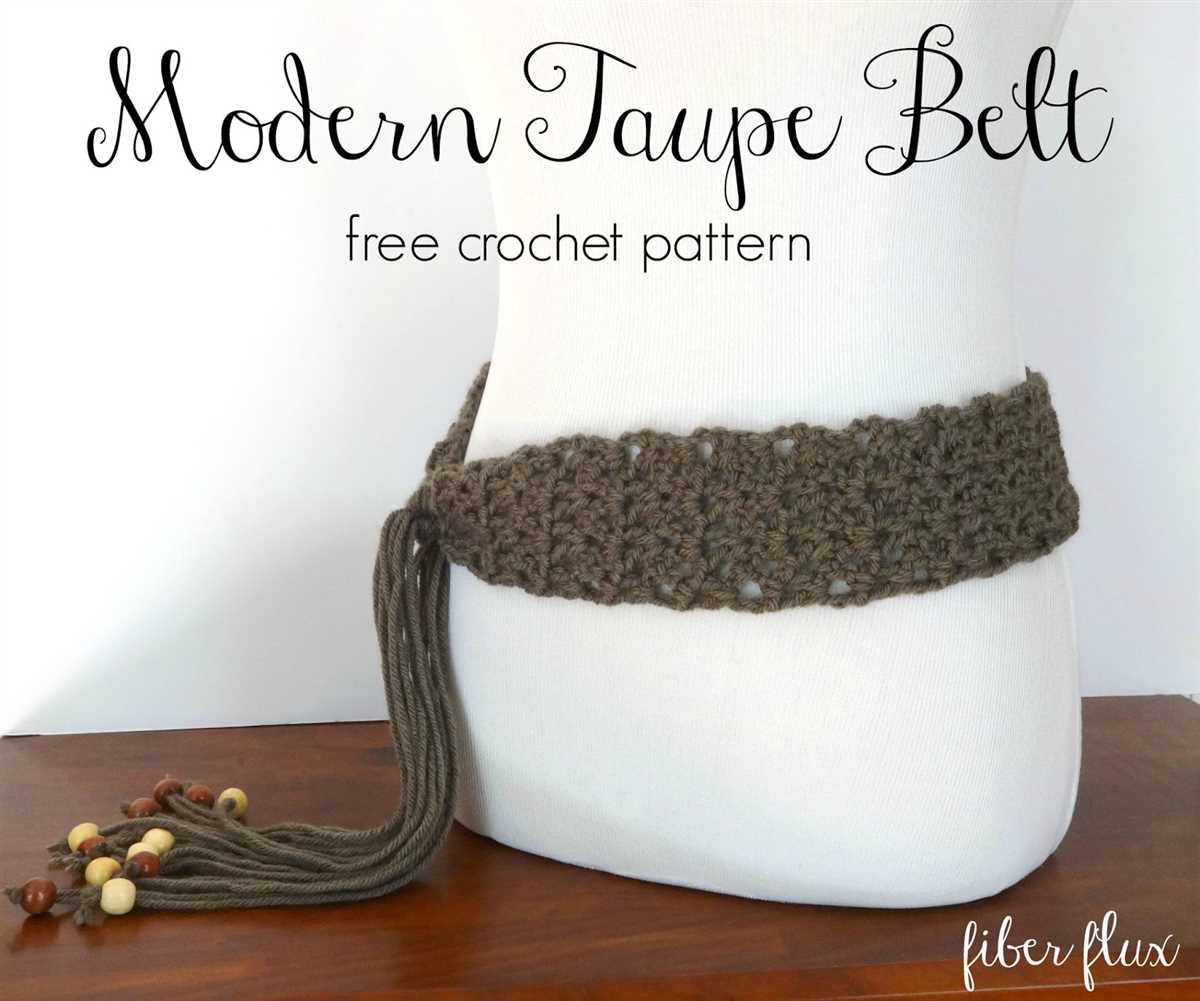
One popular belt knitting pattern is the seed stitch belt. This pattern creates a textured and reversible fabric that looks great with any outfit. The seed stitch involves alternating knits and purls, which gives the belt a bumpy texture. You can customize the width and length of the belt to fit your preference.
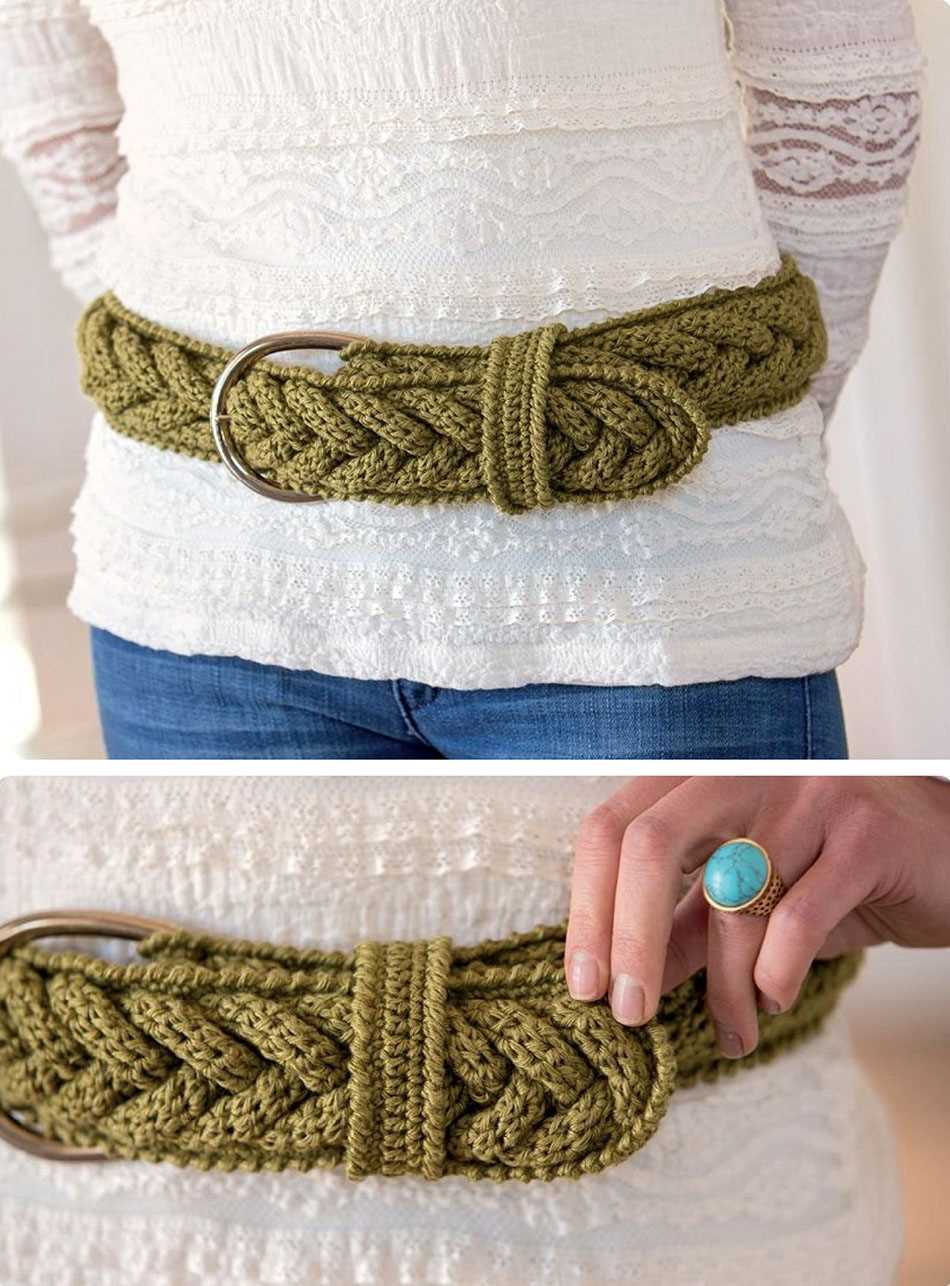
If you’re looking for a more intricate design, you can try the cable knit belt pattern. Cable knitting involves crossing stitches to create beautiful braided patterns. This pattern requires a bit more skill and concentration, but the end result is definitely worth it. A cable knit belt adds a touch of sophistication to any outfit.
Whether you choose a simple seed stitch belt or a more complex cable knit design, knitting a belt is a fun and rewarding project. Not only do you get to indulge in your love for knitting, but you also get to create a beautiful accessory that you can wear with pride. So grab your knitting needles and start creating your own belt today!
Materials needed for belt knitting
When it comes to knitting a belt, there are a few essential materials that you will need to have on hand. Having the right tools and supplies can make the knitting process much easier and more enjoyable. Here are some of the materials that you will need:
- Yarn: Choose a yarn that is suitable for a belt. It should be strong and durable, as it will need to withstand the pressure of being worn and used regularly. Consider using a cotton or cotton blend yarn for a lightweight and comfortable belt.
- Knitting needles: Select a pair of knitting needles that are appropriate for the thickness of your chosen yarn. The size will depend on your gauge and personal preference. Circular or straight needles can be used, depending on your comfort level.
- Tape measure: A tape measure is essential for ensuring that your belt is the correct length. It will help you measure your progress as you knit and determine how much more you need to knit.
- Tapestry needle: You will need a tapestry needle for finishing the ends of your belt and weaving in any loose ends. Choose a needle with a large eye that can easily accommodate your yarn.
- Scissors: A pair of scissors is necessary for cutting your yarn and trimming any excess. Make sure they are sharp and suitable for cutting your chosen yarn.
Having these materials ready before you start knitting will ensure that you have a smooth and successful knitting experience. Once you have gathered all the necessary materials, you can begin the enjoyable process of knitting your own belt!
Choosing the right yarn for your belt
When it comes to knitting a belt, choosing the right yarn is essential. The yarn you choose will determine the durability, flexibility, and overall appearance of the finished belt. Here are a few key factors to consider when selecting yarn for your belt project:
Material:
The material of the yarn plays a crucial role in the functionality and appearance of the belt. Cotton yarn is an excellent choice for belts as it is strong, durable, and has a natural stretch. It also comes in a wide range of colors and is easy to care for. Another option is using acrylic yarn, which is lightweight, soft, and offers excellent stitch definition. Acrylic yarn is a good choice for belts that require more flexibility.
Weight:
The weight of the yarn will determine the thickness and heaviness of the belt. Depending on the desired look and feel, you can choose between different weights of yarn. For a chunky and robust belt, opt for a bulky or super bulky weight yarn. If you prefer a more delicate and lightweight belt, a fingering or sport weight yarn will work best. Consider the overall design and purpose of the belt to determine the appropriate weight of yarn.
Color:
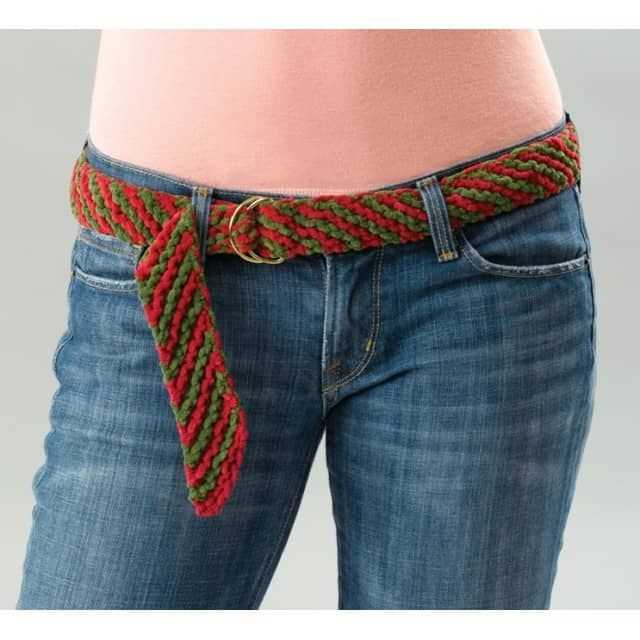
The color of the yarn can greatly impact the appearance and style of the belt. Consider the outfit or accessories you plan to pair the belt with, and choose a color that complements or contrasts with them. Bright and vibrant colors can add a pop of color to a neutral outfit, while neutral tones can create a classic and versatile belt. Additionally, variegated or self-striping yarns can add visual interest and texture to the belt.
By considering the material, weight, and color of the yarn, you can choose the perfect yarn for your belt knitting project. Experiment with different possibilities and have fun creating a belt that not only serves its purpose but also reflects your personal style.
Selecting the appropriate knitting needles
When it comes to knitting belts, selecting the appropriate knitting needles is crucial in achieving the desired result. The choice of needles will depend on various factors, including the type of yarn you are using and the desired thickness and texture of the belt.
Material: Knitting needles are available in different materials, such as wood, bamboo, metal, and plastic. Each material has its own unique properties that can affect the knitting process. For example, wooden needles can be lighter and warmer to the touch, while metal needles can provide better stitch definition. Consider your personal preferences and the characteristics of the yarn you are using to choose the most suitable material for your project.
Size: The size of knitting needles is measured in millimeters or US sizes. The size of the needles will determine the gauge and the size of the stitches. For a belt knitting pattern, thicker needles might be preferred to create a chunkier and more substantial fabric. However, if you are aiming for a finer and daintier belt, smaller needles might be more appropriate. It is important to refer to the pattern instructions and make a swatch to ensure that the chosen needles will result in the desired gauge and size.
Type: Knitting needles come in different types, such as straight needles, circular needles, and double-pointed needles. Straight needles are the most traditional and commonly used for flat knitting, while circular needles are versatile and can be used for both flat and circular knitting. Double-pointed needles are often used for knitting in the round or for intricate patterns. Consider the type of knitting technique and the construction of your belt pattern to determine the most suitable needle type.
Overall, selecting the appropriate knitting needles for your belt project is essential in achieving the desired outcome. Consider factors such as material, size, and type to ensure a comfortable knitting experience and a beautiful finished belt.
Casting on stitches for your belt
Before you begin knitting your belt, you will need to cast on the stitches. Casting on is the process of creating the first row of stitches on your knitting needle. There are several methods you can use to cast on stitches, depending on the desired look and stretchiness of your belt.
One popular method is the long-tail cast on. To do this, you will need to estimate the amount of yarn you will need for your belt, and then leave a long tail before making your slip knot. The tail should be about three times the width of your finished belt. Then, using both strands of yarn (the tail and the working yarn), you will create the first row of stitches by making a series of loops on your knitting needle.
Another method is the cable cast on. This method is often used when you want a neat, firm edge for your belt. To do the cable cast on, you will start with a slip knot and then insert your needle into the slip knot. Then, using your working yarn, you will create a new stitch by pulling the yarn through the slip knot loop. Repeat this process until you have the desired number of stitches on your needle.
No matter which method you choose, make sure to cast on the correct number of stitches for your belt width. You can use a gauge swatch to determine the number of stitches needed per inch and multiply that by the desired width of your belt. Double-check your cast on stitches before beginning your actual knitting to ensure you have the correct number. Once you have successfully cast on your stitches, you are ready to start knitting your belt pattern!
Knitting the main body of the belt
In order to start knitting the main body of the belt, you will need to cast on the required number of stitches. The number of stitches will depend on the width of the belt you desire. To cast on, hold the knitting needles together in your right hand and make a slip knot. Insert the left-hand needle through the loop of the slip knot and bring the yarn behind the left-hand needle. With your right hand, wrap the yarn around the left-hand needle counterclockwise, then pull the new loop through the slip knot. This completes the first cast on stitch. Repeat this process until you have cast on the desired number of stitches.
Once you have cast on the stitches, you can begin to knit the main body of the belt. Hold the needle with the cast-on stitches in your left hand and the empty needle in your right hand. Insert the right-hand needle into the first stitch on the left-hand needle from left to right. With your right hand, wrap the yarn counterclockwise around the right-hand needle. Using the right-hand needle, pull the loop of yarn through the stitch on the left-hand needle, creating a new stitch on the right-hand needle. Slide the original stitch off the left-hand needle. This completes one knit stitch. Repeat this process for each stitch on the left-hand needle, knitting across the row.
Continue knitting rows in this manner until the main body of the belt reaches the desired length. To ensure even tension and avoid gaps between stitches, be sure to pull the yarn snugly after completing each stitch. It is also important to maintain a consistent knitting rhythm. You can use a stitch marker to mark the beginning of each row if desired. Once you have reached the desired length, you can proceed to the next step in the belt knitting pattern.
Creating a textured pattern for your belt
When it comes to knitting a belt, adding a textured pattern can make it more interesting and unique. There are several techniques and stitches that you can use to create different textures for your belt.
One option is to incorporate cables into your belt pattern. Cables are created by crossing stitches over each other, which adds depth and dimension to the fabric. You can choose from various cable patterns, such as braided cables or twisted cables, depending on the look you want to achieve.
Another option is to use a seed stitch pattern. The seed stitch is created by alternating knit and purl stitches in a specific pattern. This creates a bumpy texture that adds visual interest to your belt. You can also experiment with different sizes of seed stitch, such as a larger seed stitch for a more pronounced texture.
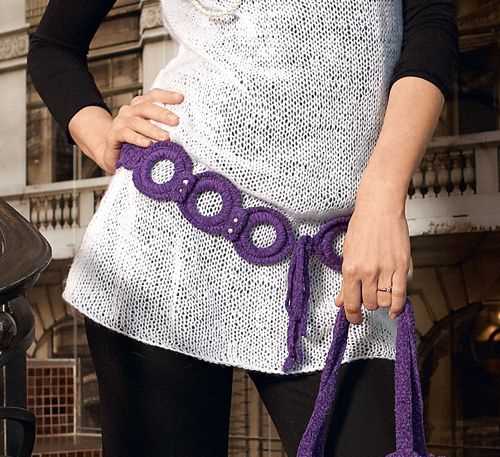
If you prefer a more intricate pattern, you can try lace knitting for your belt. Lace patterns often feature delicate and intricate designs, making them perfect for a feminine and elegant belt. There are numerous lace stitch patterns to choose from, ranging from simple eyelet patterns to intricate lace motifs.
Additionally, you can combine different textured stitches to create a unique pattern for your belt. For example, you can alternate between sections of cable stitches and seed stitch, or mix lace patterns with ribbing. The possibilities are endless, and you can let your creativity shine by experimenting with different stitch combinations.
By incorporating a textured pattern into your belt, you can elevate its style and make it a standout accessory. Whether you choose cables, seed stitch, lace, or a combination of different stitches, the key is to have fun with your knitting and create something that reflects your personal style.
Adding a decorative border to your belt
If you’re looking to elevate the look of your belt and add a touch of flair, adding a decorative border is the perfect solution. A decorative border can make your belt stand out and add an extra dimension to your knitting project. There are several ways you can achieve this, depending on your knitting skills and the style you want to achieve.
1. Lace border
One popular option for adding a decorative border to your belt is to incorporate a lace pattern. Lace patterns can range from simple to intricate, and they add an elegant and feminine touch to any knitting project. You can choose from a wide range of lace patterns, such as leaves, flowers, or geometric designs, depending on your personal preference.
To incorporate a lace border into your belt, you’ll need to follow a lace knitting pattern and adjust the number of stitches and rows to fit your belt’s width and length. Make sure to choose a lace pattern that is compatible with your chosen yarn and knitting needle size to achieve the desired effect.
2. Ribbed border
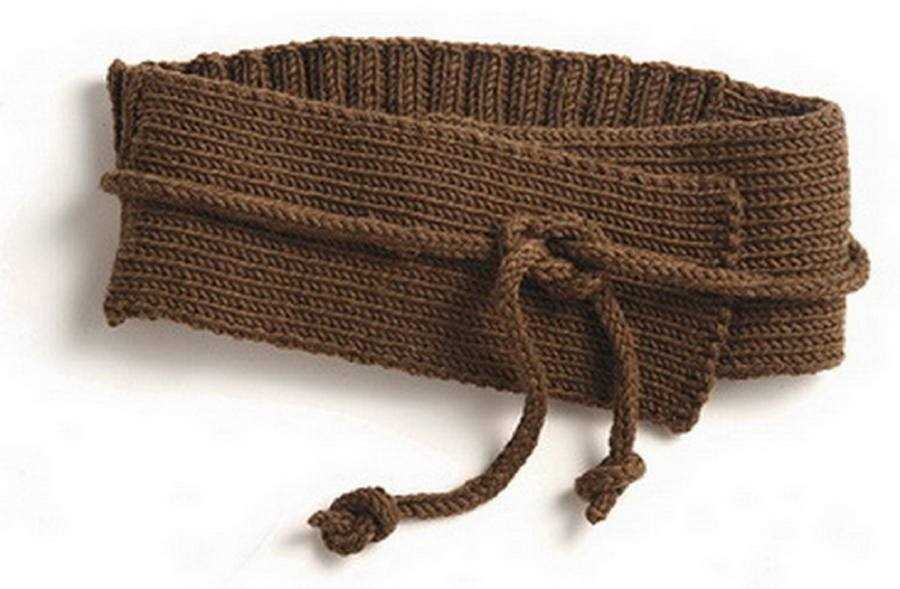
If you prefer a more structured and classic look, a ribbed border is a great option. Ribbing adds texture and elasticity to your belt, making it comfortable to wear and ensuring a snug fit. You can choose between different ribbing patterns, such as 1×1 or 2×2 ribbing, depending on the width you desire.
To add a ribbed border, simply alternate between knit and purl stitches in the desired ribbing pattern for a specified number of rows. This will create the classic ribbed look that is both timeless and versatile.
3. Colorwork border
If you want to add a pop of color to your belt, consider incorporating a colorwork border. Colorwork involves knitting with multiple yarn colors to create patterns and designs. You can choose to knit a simple stranded colorwork border using two contrasting colors or experiment with more complex Fair Isle or intarsia techniques.
When adding a colorwork border, make sure to choose colors that complement each other and the overall color scheme of your belt. Also, pay attention to tension and gauge, as colorwork can sometimes affect the elasticity and drape of your knitted fabric.
By adding a decorative border to your belt, you can personalize and customize your knitting project to suit your style. Whether it’s a delicate lace border, a classic ribbed edge, or a vibrant colorwork design, the possibilities are endless. Get creative and have fun experimenting with different techniques and patterns to enhance the look of your belt.
Shaping and Decreasing Your Belt
When knitting a belt, it is important to shape and decrease it properly to achieve the desired fit and style. Shaping the belt will give it a curved or tapered look, while decreasing will make it narrower.
There are several ways to shape and decrease your belt, depending on the knitting pattern you are using. One common method is to use decreases such as k2tog (knit two stitches together) or ssk (slip, slip, knit) to gradually reduce the number of stitches. These decreases can be spread evenly throughout the belt or placed strategically to create specific shaping.
Another way to shape your belt is by using short rows. Short rows involve knitting a partial row and then turning the work before reaching the end of the row. This technique creates extra fabric in certain areas, allowing you to shape the belt without decreasing or increasing stitches. You can use wrap and turn or German short row methods for shaping with short rows.
To create even more shaping, you can incorporate increases along with decreases. Increases such as m1 (make one) or yarn over can be used to add stitches and create a wider section of the belt, while decreases can be used to narrow it back down. This combination of increases and decreases can create interesting patterns and textures in your belt.
Remember to follow the specific instructions and guidelines provided in your knitting pattern for shaping and decreasing your belt. This will ensure that your belt turns out the way you envisioned and fits comfortably around your waist. With careful shaping and decreasing techniques, you can create a unique and stylish belt that will be the perfect accessory for any outfit.
Finishing and binding off your belt
Once you have completed knitting your belt, it’s time to finish off your project and bind off. This final step will give your belt a neat and polished look.
Steps to finish and bind off your belt:
- Weave in loose ends: Start by weaving in any loose ends of yarn from your knitting. This can be done using a tapestry needle. Thread the yarn through the needle and sew it back and forth through the stitches on the wrong side of the belt. Make sure to secure the end of the yarn by making a small knot.
- Trim excess yarn: Once all the loose ends are woven in, trim any excess yarn that is sticking out. Use sharp scissors to carefully cut the yarn close to the belt. Be careful not to cut any stitches.
- Block the belt: Blocking is an important step in knitting, especially for belts. It helps to give the belt a more professional finish and ensures that the stitches are even. Wet your belt and lay it flat on a towel, shaping it to the desired width and length. Allow it to dry completely before moving on to the next step.
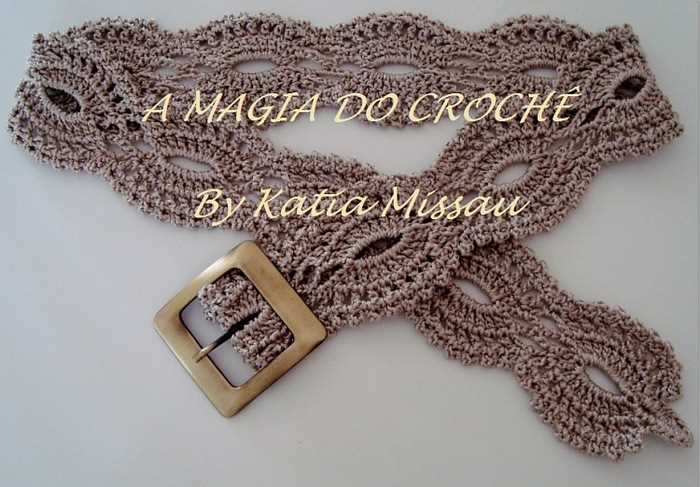
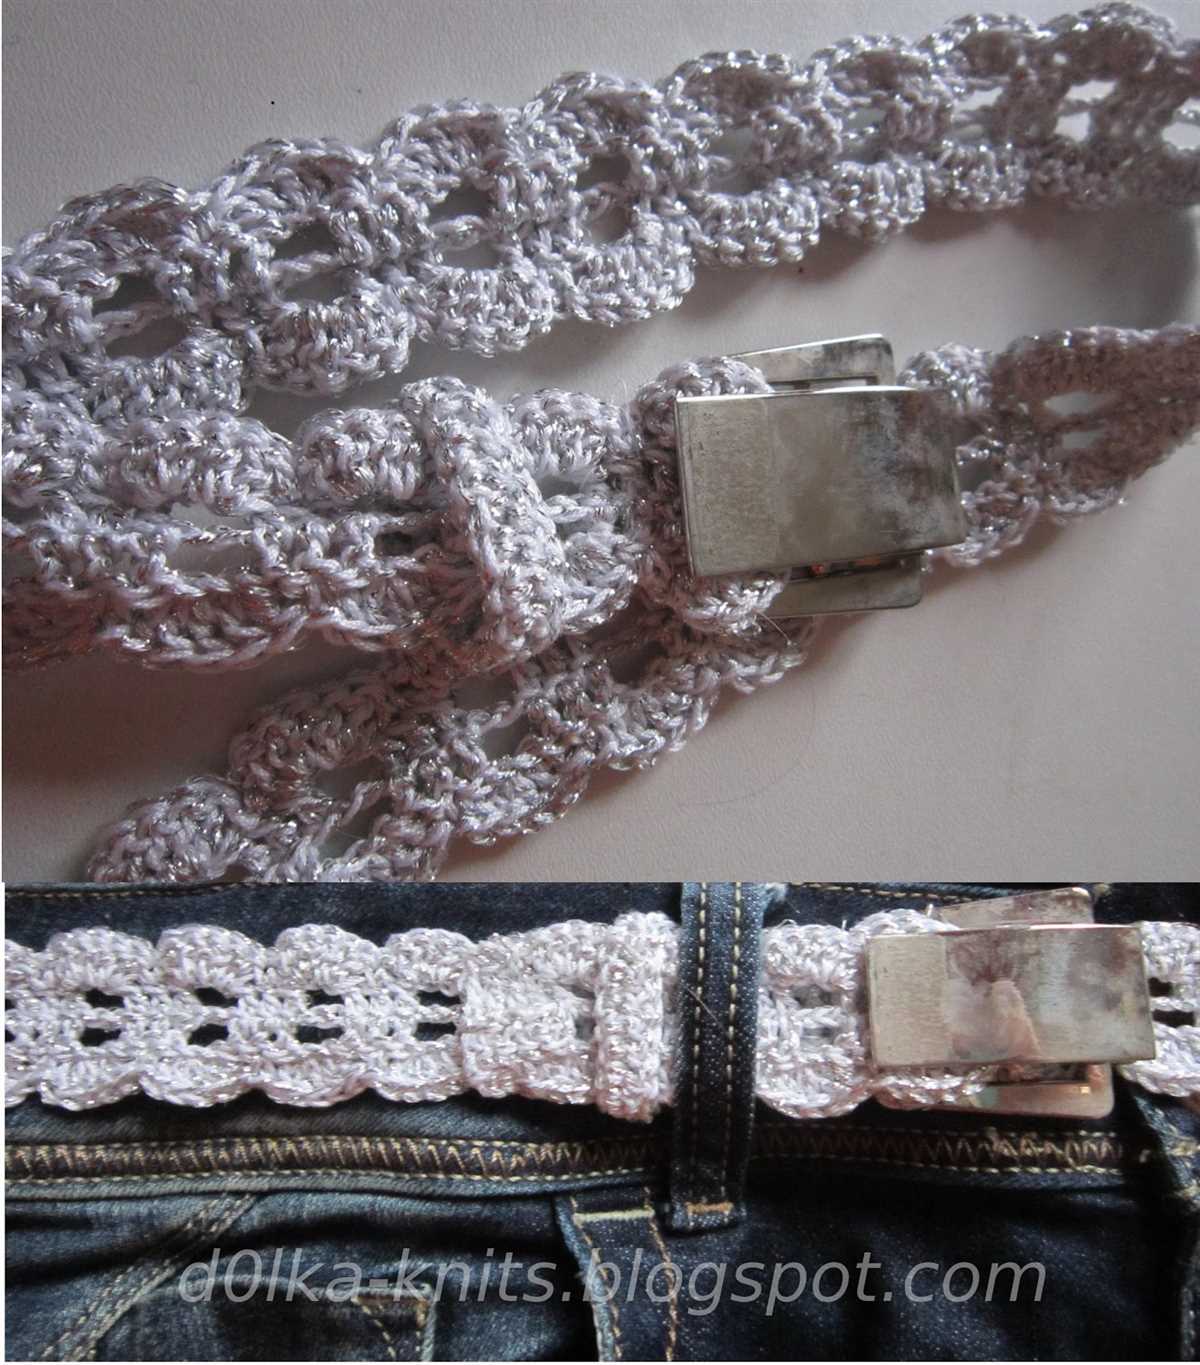
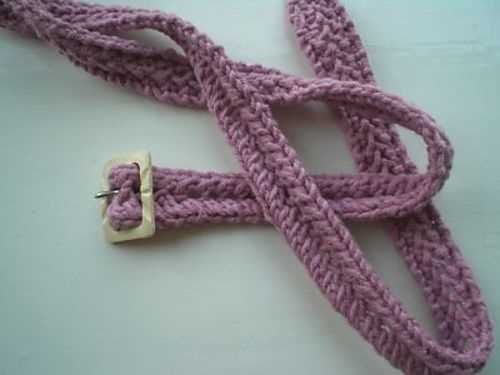
- Attach any hardware: If you plan to use a buckle or any other type of hardware with your belt, now is the time to attach it. Follow the instructions provided with the hardware to ensure correct placement and secure attachment.
- Final touches: After attaching the hardware, give your belt a final check to make sure everything is secure and in place. Straighten out any twisted stitches or uneven edges. Take a moment to admire your finished belt and the hard work you put into creating it!
By following these steps, you will be able to finish and bind off your belt, giving it a professional and polished appearance. Whether you plan to wear it yourself or gift it to someone, your belt is now ready to be used and enjoyed.
Optional Embellishments for Your Knitted Belt
Once you have finished knitting your belt, you might want to add some extra details to make it unique and personalized. There are various embellishments you can consider, depending on your preference and the style you want to achieve.
Here are a few optional embellishments you can try:
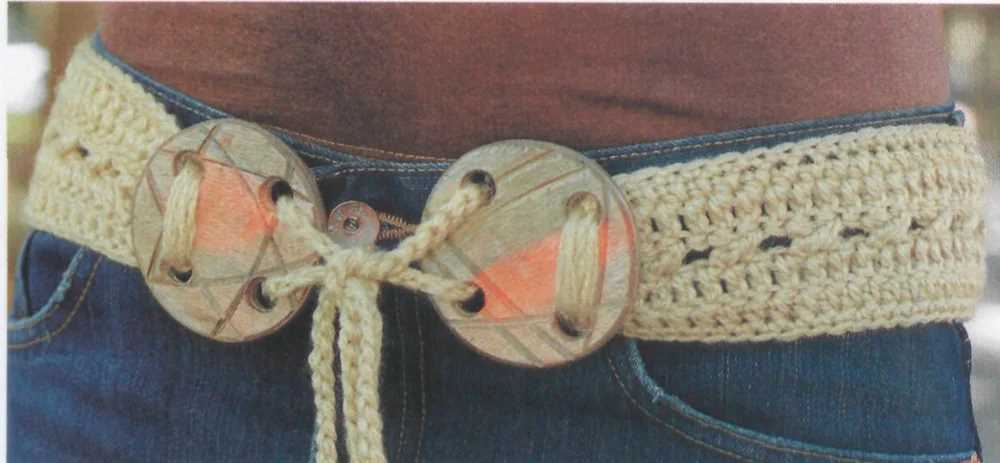
- Buttons: Sewing buttons onto your belt can add a touch of elegance or a pop of color. Choose buttons that complement the color of your belt and secure them in a row or a cluster.
- Ribbon or Lace: You can attach a thin ribbon or lace along the edges of your knitted belt. This will give it a delicate and feminine look.
- Tassels: Tassels can be a fun addition to your belt. You can either knit tassels or attach ready-made tassels to the ends of your belt.
- Embroidery: If you enjoy embroidery, you can add some decorative stitches to your belt. Choose a design or motif that matches your style and embroider it onto your belt.
- Beads or Sequins: For a touch of sparkle, you can sew beads or sequins onto your belt. Just make sure to use a thread that matches the color of your belt for a seamless look.
Remember, these embellishments are optional, and you can choose to add as many or as few as you like. The key is to have fun and create a belt that reflects your personal style and creativity.
With these optional embellishments, your knitted belt will not only be functional but also a fashionable accessory that can enhance your outfits. So, let your imagination run wild, and get ready to show off your unique and stylish belt!
Q&A:
What is a belt knitting pattern?
A belt knitting pattern is a set of instructions or a design for creating a belt using knitting techniques. It specifies the type of yarn, the size of the needles, and the specific stitches and techniques to be used to create the belt.
Are there different types of belt knitting patterns?
Yes, there are different types of belt knitting patterns available. Some patterns may use basic knitting stitches like garter stitch or stockinette stitch, while others may incorporate more complex stitch patterns or cable motifs to create unique and decorative belts.
What materials are needed for knitting a belt?
To knit a belt, you will need yarn in your desired color and material, knitting needles in the appropriate size, and any additional notions or embellishments you may want to add, such as buttons or buckles. It’s best to choose a durable yarn that will hold up well as a belt.
Can beginners knit a belt using a knitting pattern?
Yes, beginners can definitely knit a belt using a knitting pattern. Some belt patterns may be more suitable for beginners, as they may involve simpler stitches and techniques. It’s always a good idea to start with a basic pattern and gradually increase the complexity as your knitting skills improve.
Where can I find belt knitting patterns?
You can find belt knitting patterns in a variety of places. Online knitting communities, knitting websites, and pattern databases often offer a wide range of belt patterns to choose from. Additionally, knitting books and magazines may also contain belt knitting patterns.