
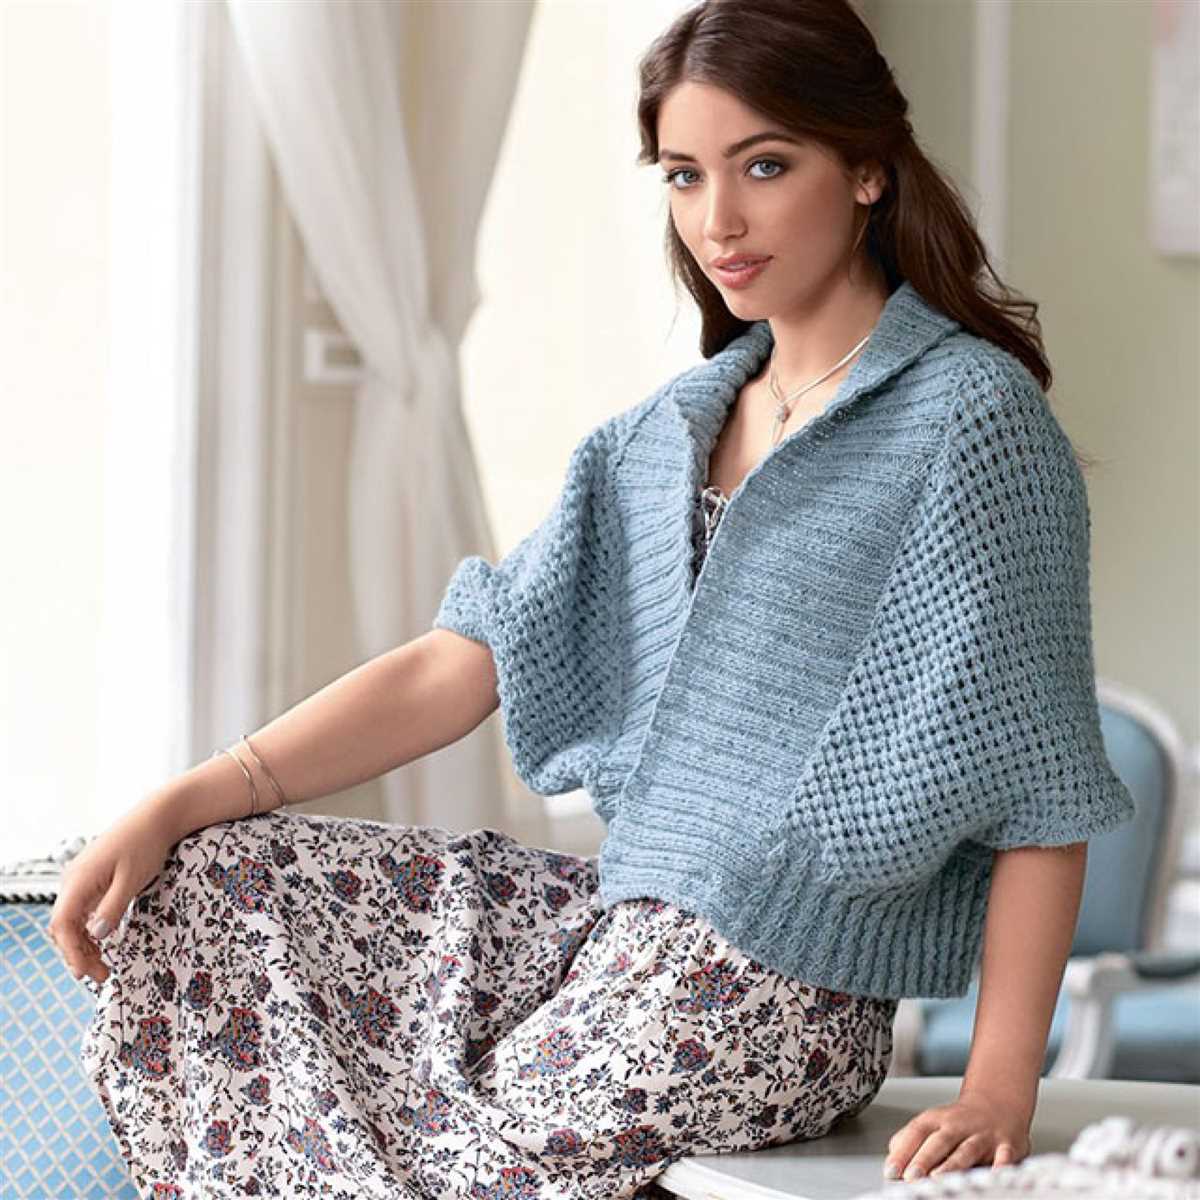
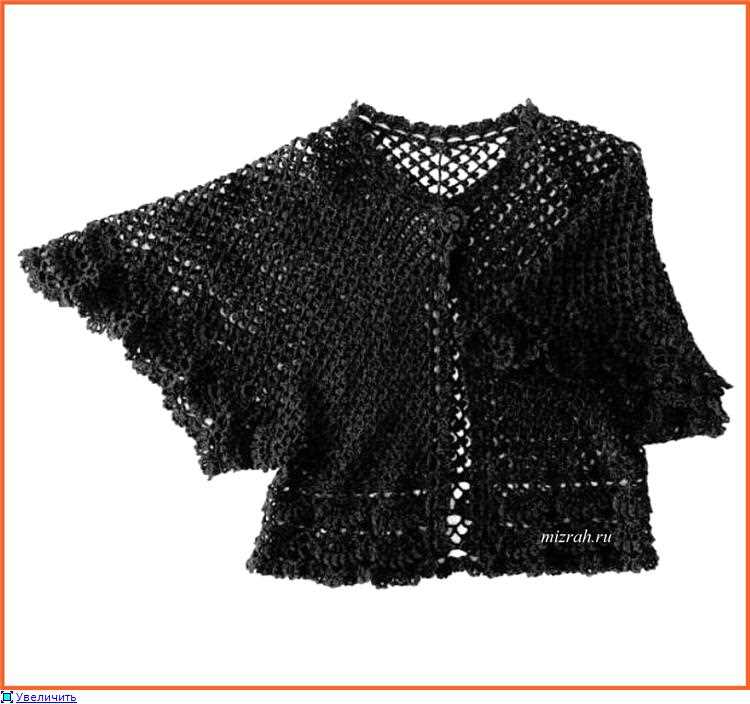
Are you looking for a stylish and trendy cardigan pattern to knit? Look no further! The bell sleeve cardigan is the perfect addition to your wardrobe and a fun project for any knitting enthusiast. With its unique and chic design, this cardigan is sure to turn heads wherever you go.
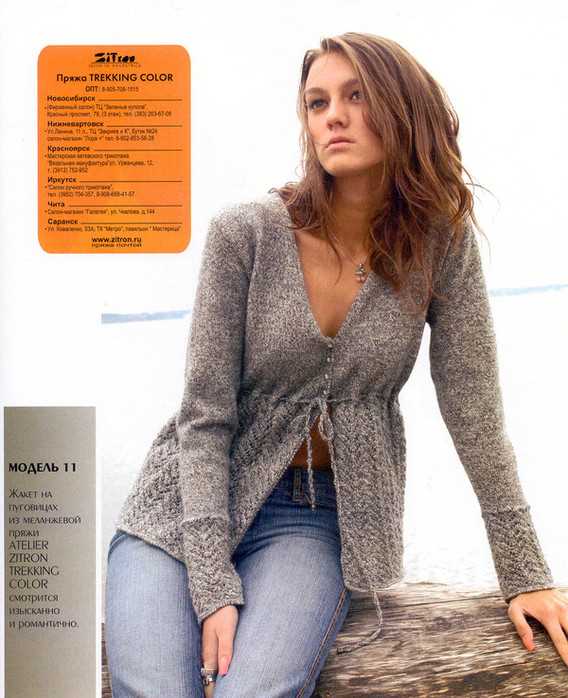
This knitting pattern is ideal for intermediate knitters who are looking to take their skills to the next level. The bell sleeves add a touch of elegance and drama to the cardigan, making it a versatile and statement piece. Whether you prefer a classic neutral color or want to experiment with bold and bright shades, this pattern allows you to customize your cardigan to match your personal style.
Not only is this cardigan beautiful, but it is also cozy and comfortable to wear. Knitted with a soft and warm yarn, this garment will keep you warm during chilly autumn or winter days. The bell sleeves provide an extra layer of insulation and make this cardigan perfect for layering over your favorite tops.
Bell Sleeve Cardigan Knitting Pattern
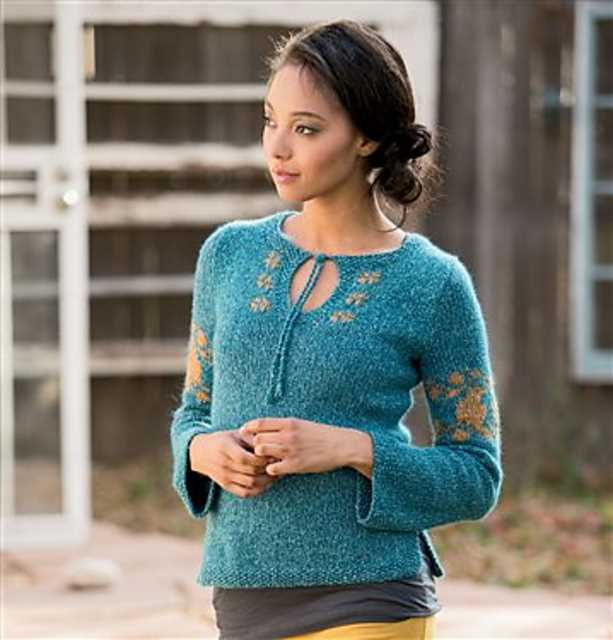
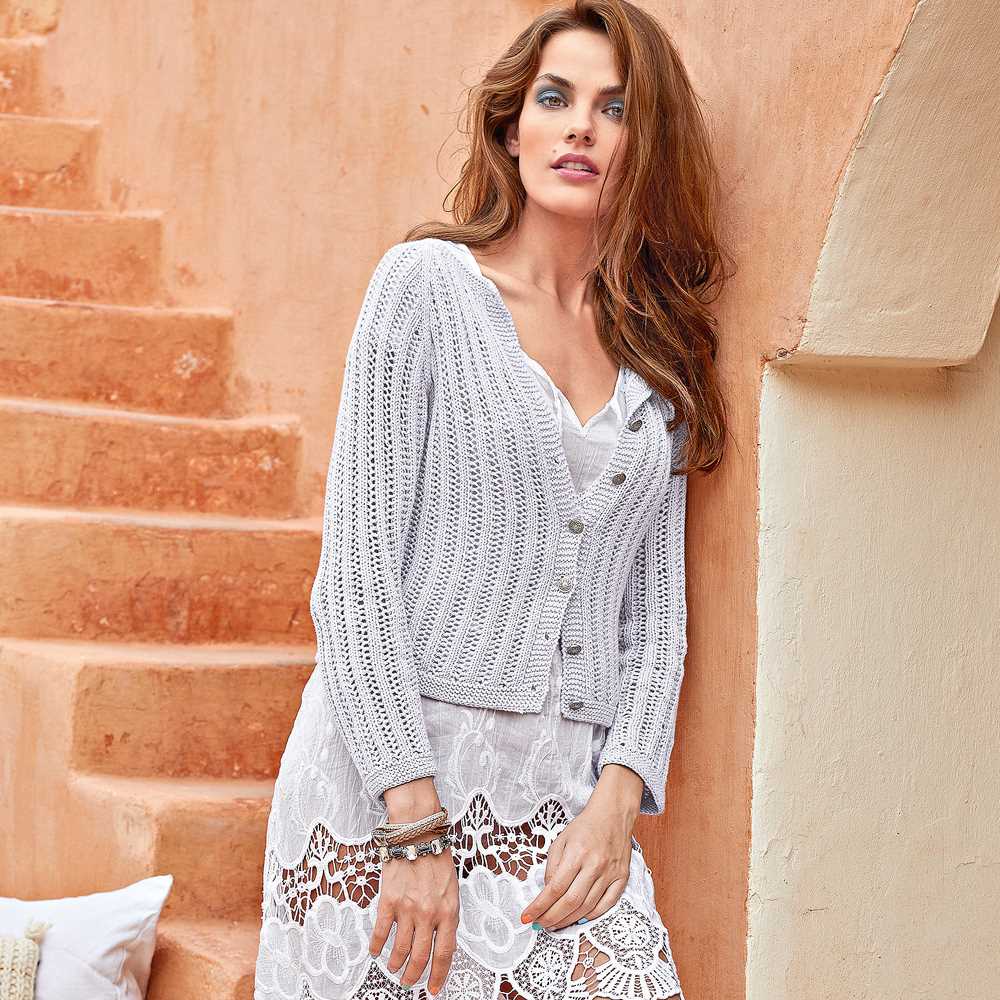
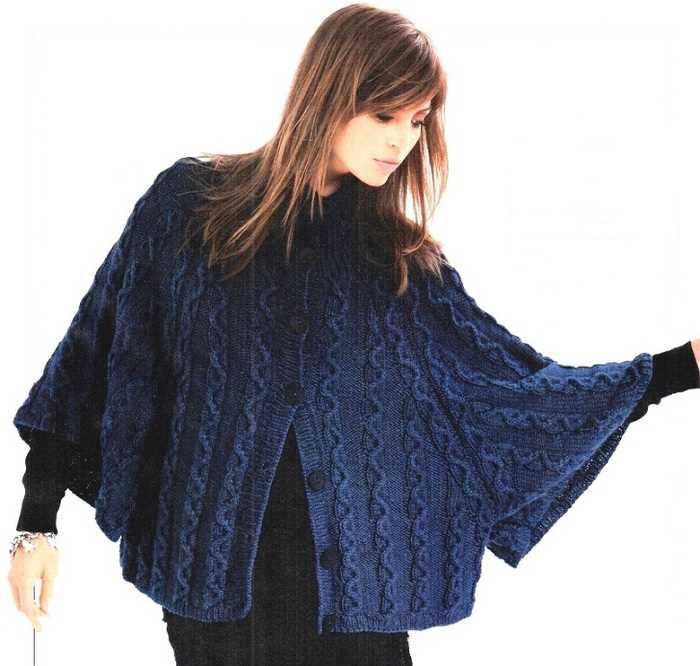
The bell sleeve cardigan is a stylish and versatile garment that can be knitted in a variety of patterns and designs. This type of cardigan features sleeves that flare out at the cuffs, giving it a bell-like shape. It is a popular choice for those who want to add a feminine touch to their wardrobe.
When knitting a bell sleeve cardigan, it is important to choose the right pattern that suits your skill level and personal style. There are many different options available, ranging from simple stockinette stitch patterns to more intricate lace or cable designs. Additionally, you can choose between a cropped or longer length cardigan, as well as the type of collar or neckline you prefer.
One popular knitting pattern for a bell sleeve cardigan is the lace and cable design. This pattern incorporates both lace and cable stitches to create a beautiful textured effect. To knit this cardigan, you will need to be comfortable with basic lace and cable knitting techniques. The result is an elegant and eye-catching garment that can be dressed up or down depending on the occasion.
Another option is to choose a pattern that incorporates a combination of different stitch patterns. For example, you can create a striped bell sleeve cardigan by alternating between different colored yarns and stitch patterns. This can add visual interest and create a unique and personalized cardigan.
It is important to follow the knitting pattern carefully and pay attention to gauge to ensure that your cardigan turns out the way you want it. Additionally, you can customize your bell sleeve cardigan by adding buttons, pockets, or other embellishments to make it truly your own.
In conclusion, the bell sleeve cardigan is a trendy and fashionable garment that can be customized to suit your personal style and skill level. Whether you choose a simple or intricate pattern, knitting a bell sleeve cardigan allows you to create a beautiful and versatile piece that can be worn in any season.
Choosing the Right Yarn
When starting a knitting project, one of the most important decisions is choosing the yarn. The yarn you choose will not only affect the look and feel of your finished project, but also how easy or challenging it is to work with. Here are some factors to consider when choosing the right yarn for your bell sleeve cardigan knitting pattern:
1. Fiber Content
The fiber content of the yarn will determine its characteristics, including its softness, drape, warmth, and breathability. Common types of yarn fibers include wool, cotton, acrylic, alpaca, and blends. Take into account the desired qualities of your cardigan – whether you want it to be cozy and warm or lightweight and breathable – and choose a fiber content that aligns with your preferences.
2. Weight and Gauge
The weight of the yarn, often indicated by a number from 0 to 7 on the yarn label, will affect the size and texture of your finished project. The recommended gauge for your bell sleeve cardigan pattern is typically specified in the instructions. Make sure to choose a yarn that matches the recommended gauge to ensure that your cardigan turns out the right size. You may need to swatch and adjust your needle size to achieve the correct gauge.
3. Color and Texture
The color and texture of the yarn can greatly impact the overall look of your cardigan. Consider the style and aesthetic you want to achieve, and select a yarn color that complements your design. Texture can also add interest and dimension to your project, so choose a yarn with a texture that suits your taste.
4. Washing Instructions
Pay attention to the washing instructions on the yarn label. Some yarns require special care, such as hand washing or dry cleaning, while others can be safely machine washed. Consider your lifestyle and the level of maintenance you are willing to put into caring for your cardigan, and choose a yarn that aligns with your preferences.
Selecting the Appropriate Needles
When it comes to knitting a bell sleeve cardigan, selecting the appropriate needles is crucial for achieving the desired results. The size and type of needles you choose can greatly impact the overall look and feel of the finished cardigan.
Size: The size of the needles determines the tension and size of the stitches. It is essential to refer to the knitting pattern’s recommended needle size to ensure accurate gauge and fit. Using smaller needles will result in a tighter and denser fabric, while larger needles will yield a looser and more open fabric. Therefore, it is important to select the appropriate needle size to match the desired drape and texture of the bell sleeve cardigan.
Type: The type of needle also plays a significant role in the knitting process. There are various types of knitting needles available, including straight needles, circular needles, and double-pointed needles. The choice of needle type depends on personal preference and the specific requirements of the knitting project. Straight needles are ideal for flat knitting, while circular needles are versatile and suitable for both flat and circular knitting. Double-pointed needles are commonly used for knitting in the round or small circumference projects such as sleeve cuffs. Consider the pattern instructions and your knitting style when selecting the appropriate needle type for the bell sleeve cardigan.
Material: Knitting needles are available in various materials, such as metal, wood, bamboo, and plastic. Each material offers different qualities and properties that can affect the knitting process and the finished product. Metal needles are known for their smoothness and speed, while wood and bamboo needles provide warmth and grip. Plastic needles can be lightweight and less slippery. Consider your personal preference, knitting style, and the yarn being used when choosing the material of the needles for the bell sleeve cardigan.
Gauge Swatch
Before starting the bell sleeve cardigan knitting pattern, it is important to create a gauge swatch. A gauge swatch is a small sample of knitting that helps determine the correct needle size and tension needed to achieve the desired measurements.
How to create a gauge swatch:
- Note down the suggested gauge: The knitting pattern usually specifies the gauge which is the number of stitches and rows required to create a 4-inch square. This information is crucial as it ensures that the finished garment will have the correct measurements.
- Choose the appropriate yarn: Select the same yarn that will be used for the cardigan project. Yarns with different thickness and composition can affect the gauge and final measurements.
- Choose the recommended needle size: Look for the suggested needle size in the pattern instructions. This is usually given as a starting point and may need to be adjusted based on the swatch results.
- Cast on the required number of stitches: Using the recommended needle size, cast on the number of stitches stated in the pattern for the gauge swatch.
- Knit a few rows: Knit a few rows in the chosen stitch pattern to get a sample fabric that closely resembles the final cardigan.
- Measure the gauge: Once you have knitted a few rows, measure the gauge by counting the number of stitches and rows within a 4-inch square. Compare this measurement with the pattern’s suggested gauge.
- Adjust if necessary: If your gauge does not match the pattern’s gauge, you may need to change your needle size. If your gauge has too few stitches, try using a smaller needle. If your gauge has too many stitches, try using a larger needle. Repeat the process until the gauge matches the pattern’s requirements.
Creating a gauge swatch may seem like an extra step, but it is an important one to ensure that your finished cardigan will have the correct measurements. Taking the time to create a gauge swatch will help you avoid any unexpected surprises and ensure a successful knitting project.
Casting On
When starting a knitting project, one of the first steps is casting on. This is the process of creating the initial row of stitches on the knitting needle. There are various methods for casting on, but one commonly used method is the long tail cast on.
The long tail cast on begins with a slipknot, which is placed on one of the knitting needles. The working yarn is then held in the right hand, with the tail end wrapped around the thumb and the working end wrapped around the index finger. The needle is inserted into the slipknot, and the working end is brought through the slipknot and placed on the needle.
This process is repeated for each stitch, with the thumb and index finger maintaining tension on the yarn. The number of stitches to cast on is determined by the pattern, and it is important to cast on the correct number of stitches to achieve the desired size and fit of the finished garment.
- Slipknot: A loop made by twisting the yarn around itself and pulling the end through the loop.
- Working yarn: The yarn that is used to create the stitches.
- Long tail cast on: A method of casting on that uses both the tail and working ends of the yarn.
Once all the stitches have been cast on, the next step is to begin knitting the first row. The casting on process sets the foundation for the project, and it is important to take care and pay attention to ensure that the stitches are not too tight or too loose. With practice and experience, the casting on process becomes easier and more natural.
Knitting the Body
Once you have finished knitting the sleeves of your bell sleeve cardigan, it’s time to move on to the body. The body is worked in a combination of knit and purl stitches to create a textured pattern that complements the bell sleeves.
To start, you will need to join the sleeves to the main body of the cardigan. This is typically done by picking up stitches along the edges of the sleeves and then continuing to knit in the round. Make sure to distribute the stitches evenly so that the cardigan doesn’t become too tight or too loose in certain areas.
Once the sleeves are joined, you can begin knitting the body of the cardigan. The pattern may call for a certain number of rows of knit or purl stitches, followed by a row of increases or decreases to shape the waist or hips. Be sure to follow the pattern carefully, as it will provide specific instructions for the body section.
If you prefer a longer cardigan, you may need to knit additional rows to achieve the desired length. It’s always a good idea to try the cardigan on as you go to ensure the fit is right and make any necessary adjustments.
When you reach the desired length for the body, you will need to bind off the stitches to finish. This can be done using a standard bind off method, or you can choose a stretchier bind off if you prefer a looser edge. Once the body is complete, you can move on to knitting the collar or any additional finishing touches specified in the pattern.
Shaping the Sleeves
Shaping the sleeves is an important step in knitting the bell sleeve cardigan. It determines the overall fit and adds a stylish touch to the finished garment. To shape the sleeves, follow the pattern instructions provided:
1. Increase Rows: The pattern will specify the number of rows to increase. Typically, this is done by knitting or purling into the front and back of stitches or by making yarn overs. This gradually widens the sleeves to create the bell shape.
2. Sleeve Cap: The sleeve cap is the part of the sleeve that fits over the shoulder. It is usually shaped with decreases to create a more tailored look. The pattern will specify the type of decrease to use, such as knit two together or slip slip knit. Pay attention to the pattern instructions and shape the sleeve cap accordingly.
3. Bind Off: Once the desired sleeve length is reached, the sleeves are bind off to secure the stitches. The bind off method can vary depending on the desired finish. A simple bind off is typically used, but the pattern may specify a different method, such as a picot bind off for a decorative edge.
By following these shaping instructions, you can achieve the desired bell sleeve effect for your cardigan. It is important to read and understand the pattern before starting, as it will provide specific instructions for shaping the sleeves. Remember to take your time and enjoy the process of creating a beautiful bell sleeve cardigan!
Joining the Sleeves and Body
Once you have completed knitting the sleeves and body separately, it is time to join them together to create the bell sleeve cardigan. This step is crucial in creating the seamless look of the cardigan and ensuring a comfortable fit.
To start, lay the sleeves and body pieces flat on a table or surface, with the right sides facing up. Align the underarm seams of the sleeves with the side seams of the body. This will ensure that the cardigan is symmetrical and balanced.
Step 1: Using a tapestry needle, thread a length of yarn through the first stitch of the underarm seam of one sleeve. Then, insert the needle through the corresponding stitch on the side seam of the body piece.
Step 2: Continue weaving the yarn through the stitches, working in a diagonal or horizontal direction. Make sure to maintain an even tension and avoid pulling too tightly, as this can distort the shape of the cardigan.
Step 3: Repeat the process for the other sleeve, joining it to the opposite side seam of the body. Take care to match the stitch count and placement to ensure an even and seamless finish.
Once all the stitches have been joined, weave in any loose ends and trim off excess yarn. This will give the cardigan a polished and professional look. Finally, try on the cardigan to check the fit and make any necessary adjustments.
By following these steps and taking your time to carefully join the sleeves and body, you will achieve a beautiful and stylish bell sleeve cardigan that is ready to be worn and admired.
Creating the Bell Sleeves
When knitting a bell sleeve cardigan, one of the distinctive features is the bell-shaped sleeves. These sleeves give the cardigan a unique and elegant look, making it a stylish choice for any occasion. To create the bell sleeves, specific knitting techniques and patterns need to be followed.
Casting on and knitting the sleeves: Begin by casting on the required number of stitches for the sleeves. The number of stitches may vary depending on the size of the cardigan and the desired width of the sleeves. Once the stitches are cast on, you can start knitting the sleeves using the specified stitch pattern, such as ribbing or stockinette stitch. It’s important to keep track of your rows and make any required increases or decreases to shape the sleeves properly.
Shaping the bell sleeves: To create the bell shape, you will need to gradually increase the number of stitches as you knit towards the cuff. This can be achieved by making regular increases at specific intervals or by using specific stitch patterns that naturally create a wider shape. It’s important to follow the pattern instructions carefully to achieve the desired shape and size of the bell sleeves.
Once the sleeves are complete, you can continue knitting the rest of the cardigan, such as the body and collar, following the pattern instructions. Finally, when all the pieces are finished, they can be seamed together to create the final bell sleeve cardigan.
Knitting the Buttonbands
Once you have finished knitting the main body of the bell sleeve cardigan, it’s time to move on to the buttonbands. The buttonbands are the strips of knitting that run down the front of the cardigan and hold the buttons in place.
To knit the buttonbands, you will need to pick up stitches along the edge of the front of the cardigan. This can be a bit tricky, but with a little patience and practice, you will get the hang of it. Start by attaching your yarn to one of the corners of the cardigan and then use a knitting needle to pick up stitches evenly along the edge.
Tip: Use a smaller needle size than what you used for the main body of the cardigan when picking up stitches for the buttonbands. This will help to ensure that the buttonbands are nice and tight and don’t sag.
Once you have picked up all the necessary stitches, you can begin knitting the buttonbands. You can either knit the buttonbands in a basic garter stitch pattern, or you can get creative and try a different stitch pattern, such as ribbing or moss stitch. The choice is up to you and your personal preference.
Tip: Don’t forget to incorporate buttonholes into the buttonbands. Buttonholes can be created by simply binding off a few stitches and then casting them back on in the next row. Make sure to space the buttonholes evenly along the buttonband to ensure that the buttons will line up correctly.
Once you have completed knitting the buttonbands, you can block them to ensure that they lay flat and straight. Blocking involves wetting the buttonbands, shaping them to the desired size, and allowing them to dry flat. This step will give your cardigan a professional finish and make it look even more polished.
Tip: Don’t forget to sew on the buttons once the buttonbands are dry. Choose buttons that complement the style and color of your cardigan, and make sure to sew them on securely.
Blocking and Finishing
Blocking
Once you have finished knitting your bell sleeve cardigan, it is important to block it to give it a professional and polished look. Blocking involves washing and shaping your finished garment to help it maintain its shape and drape. Before blocking, make sure to read the yarn label for any specific blocking instructions.
First, fill a basin or sink with lukewarm water and add a gentle detergent. Gently submerge your knitted cardigan into the water, making sure it is fully saturated. Let it soak for about 15-20 minutes.
Next, remove the cardigan from the water and gently squeeze out the excess moisture, being careful not to wring or twist the fabric. Lay the cardigan flat on a clean towel and roll it up, pressing down to absorb more of the water.
Now it’s time to shape your cardigan. Lay it flat on a blocking mat or towel, making sure to smooth out any wrinkles or unevenness. Use rustproof pins to secure the edges in place, gently stretching the fabric to achieve the desired dimensions. Pay extra attention to the bell sleeves, ensuring that the bell shape is well-defined.
Allow the cardigan to dry completely, which could take up to 24 hours or longer depending on the yarn and climate. Once it is dry, carefully remove the pins and admire your beautifully blocked bell sleeve cardigan.
Finishing
After blocking, you can add any finishing touches to your bell sleeve cardigan to enhance its overall appearance. This can include sewing in any loose ends, attaching buttons or other closures, and adding any desired embellishments.
If there are any loose ends from joining yarn or changing colors, use a tapestry needle to weave them back into the fabric discreetly. Make sure to secure the ends well to prevent unraveling or fraying.
If your cardigan calls for buttons, sew them on securely using a matching or coordinating thread. Take care to evenly space the buttons and ensure they are aligned with the corresponding buttonholes.
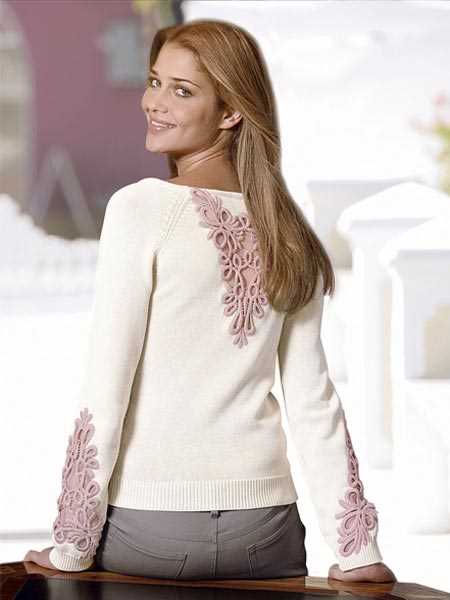
If you want to add some extra flair to your cardigan, consider adding decorative accents such as embroidery, lace, or beading. These embellishments can be sewn on by hand using a needle and thread, or you can use fabric glue for a no-sew option.
Once you have completed these finishing steps, your bell sleeve cardigan will be ready to wear or to give as a thoughtful handmade gift.
Sewing on Buttons
Buttons are a functional and decorative element in clothing and sewing on buttons is an essential skill for any seamstress or tailor. Whether you are fixing a missing button or adding a new one to a handmade garment, following the proper sewing techniques will ensure a secure and professional finish.
Sewing Supplies:
- Needle: Choose a needle with an eye large enough to accommodate your thread, but small enough to pass through the buttonholes easily.
- Thread: A strong thread that matches the color of your buttons is recommended.
- Scissors: Use sharp scissors to cut the thread and remove any excess.
- Button: Select a button that fits the buttonhole and complements your garment.
Sewing Buttons Step-by-Step:
- Thread the needle: Cut a length of thread and thread it through the eye of the needle. Double the thread for added strength.
- Secure the thread: Tie a knot at the end of the thread to secure it in place.
- Position the button: Determine the placement of the button on the garment, ensuring it aligns with the buttonhole.
- Sew the button: Push the needle through the fabric from the wrong side to the right side at one of the buttonholes. Place the button over the needle and pass the needle through an adjacent buttonhole. Repeat this process several times to secure the button in place.
- Secure the thread: Once the button is sufficiently secure, tie a knot on the wrong side of the fabric to secure the thread. Trim any excess thread.
Tips:
- Use a thimble if necessary to protect your fingers while pushing the needle through thick fabrics.
- For added security, sew the button on using a shank. To create a shank, place a small button or a folded piece of fabric between the button and the fabric before stitching it in place.
- Consider reinforcing the button area with interfacing or adding a button reinforcement patch to prevent the button from pulling through the fabric over time.
Sewing on buttons is a simple yet important skill that every sewing enthusiast should master. With practice and attention to detail, you can sew buttons securely and ensure they stay in place for the life of your garment.
Care Instructions
Proper care and maintenance of your bell sleeve cardigan are essential to keep it looking its best and ensure its longevity. Follow these care instructions to preserve the quality and appearance of your hand-knit garment:
Washing
Hand wash your cardigan gently in cold water using a mild detergent or wool wash. Avoid soaking or scrubbing the garment to prevent damage. Rinse thoroughly and gently squeeze out excess water. Do not wring or twist the fabric.
Drying

Lay the cardigan flat on a clean towel and gently reshape it to its original form. Avoid hanging or stretching as it can cause the fabric to lose its shape. Allow the cardigan to air dry by placing it in a well-ventilated area away from direct sunlight or heat sources.
Storage
When not in use, store your bell sleeve cardigan folded or rolled in a clean, dry place. Avoid hanging it as it may stretch the fabric. To prevent moths or other pests from damaging the garment, consider using mothballs or cedar chips in the storage area.
Summary
By following these care instructions, you can ensure that your bell sleeve cardigan remains soft, cozy, and in excellent condition. Hand washing, gentle drying, and proper storage will help maintain the beauty and longevity of your hand-knit masterpiece.