
Knitting is a craft that has been enjoyed by people for centuries. It’s a versatile and relaxing activity that allows you to create beautiful and functional items using just a pair of needles and some yarn. If you’re new to knitting and want to start with something simple, straight needles are a great choice. They are easy to use and perfect for beginners who are still getting the hang of the basics.
When it comes to beginner knitting patterns, straight needles offer a wide variety of options. From scarves and hats to blankets and baby clothes, there is no shortage of projects you can tackle. Straight needle patterns are also great for building your skills and confidence as you progress in your knitting journey.
One of the advantages of using straight needles is that they are readily available and inexpensive. You can find them at any craft store or even online. They also come in a range of sizes, allowing you to create different textures and stitch patterns. Whether you prefer thick or thin yarn, straight needles are versatile enough to handle any type of project.
So, if you’re ready to dive into the world of knitting and want to start with beginner patterns, grab your straight needles and get ready to create something beautiful!
Beginner Knitting Patterns Straight Needles
If you are a beginner knitter who prefers to work with straight needles, there are plenty of simple and beginner-friendly patterns available for you to try. Straight needles are a great option for those who are just starting out, as they are easy to handle and can be used to create a wide range of projects.
One popular beginner pattern for straight needles is the garter stitch scarf. This pattern involves knitting every row, creating a simple and textured fabric. With just a few skeins of yarn and a pair of straight needles, you can create a cozy scarf that is perfect for the colder months. This pattern is a great way to practice your knitting skills and create a wearable accessory.
Simple Garter Stitch Hat
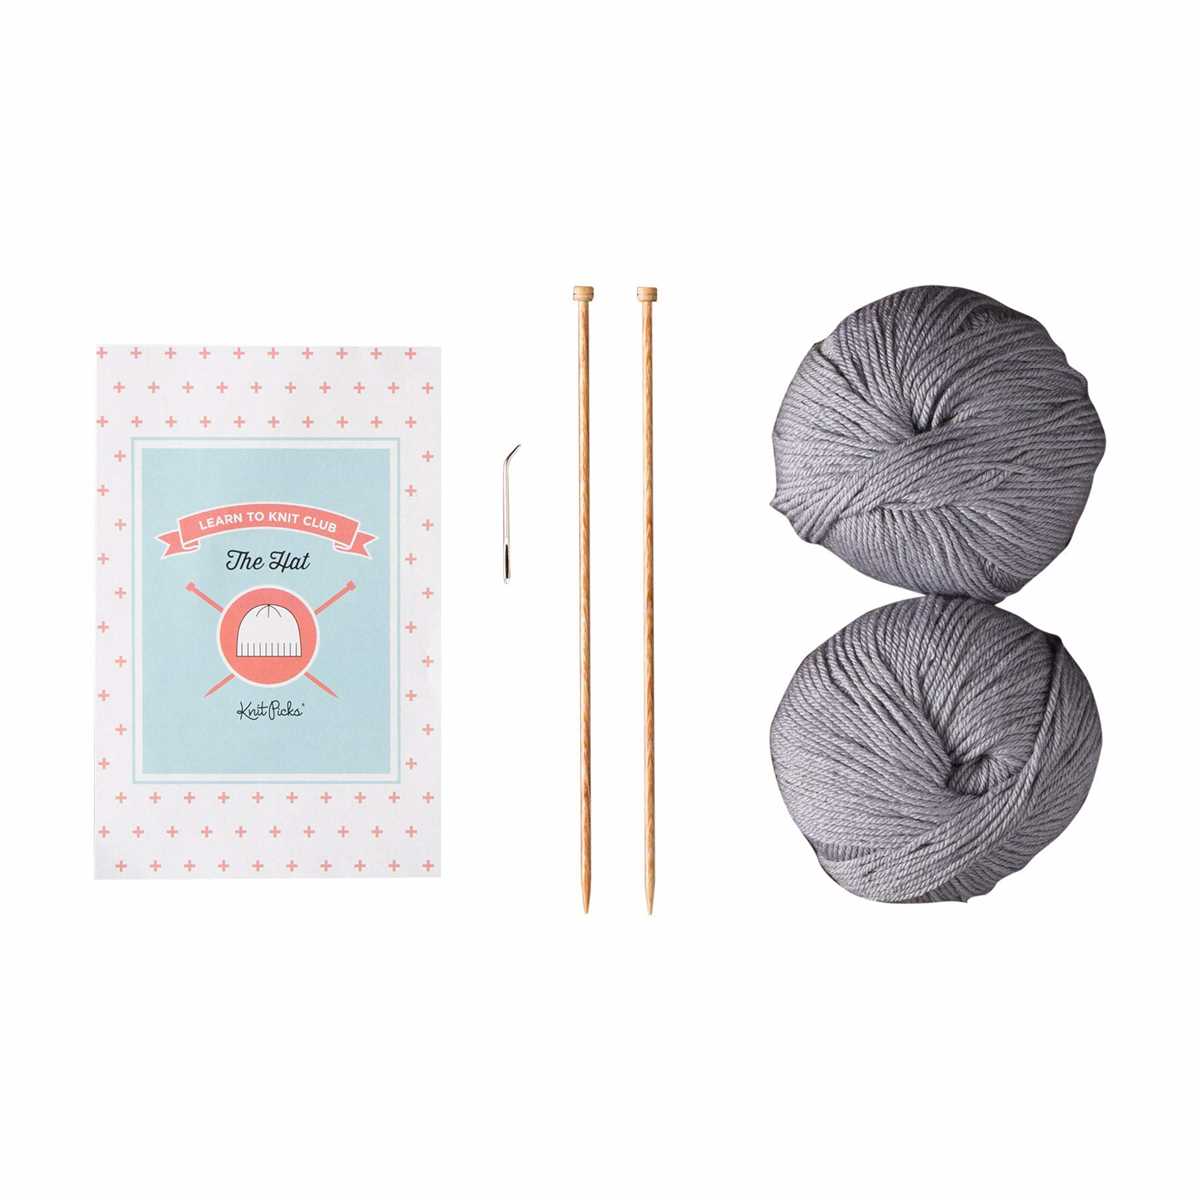
- Materials: Worsted weight yarn, size 8 straight needles, yarn needle
- Instructions:
- Cast on 80 stitches.
- Work in garter stitch (knit every row) for 8 inches.
- Decrease rows:
- Row 1: Knit 8, knit 2 together, repeat to end of row (72 stitches).
- Row 2: Knit all stitches.
- Row 3: Knit 7, knit 2 together, repeat to end of row (64 stitches).
- Row 4: Knit all stitches.
- Continue this decrease pattern, knitting one less stitch between decreases, until you have 8 stitches remaining.
Another simple pattern for straight needles is a dishcloth. This project is a great way to practice your knitting skills while creating a practical item for your kitchen. With just basic knit and purl stitches, you can create a textured cloth that is perfect for cleaning up spills and washing dishes. Plus, dishcloths make great gifts!
When starting out with knitting, it’s important to choose patterns that are suitable for your skill level. With straight needles, you have the option to create a variety of simple and beginner-friendly projects. Whether you’re making a scarf, hat, or dishcloth, these patterns will help you develop your knitting skills and create beautiful handmade items.
Choosing the Right Yarn for Beginner Projects
When starting out with knitting, it’s important to choose the right yarn for your beginner projects. The type of yarn you select can greatly affect the look, feel, and ease of knitting your project.
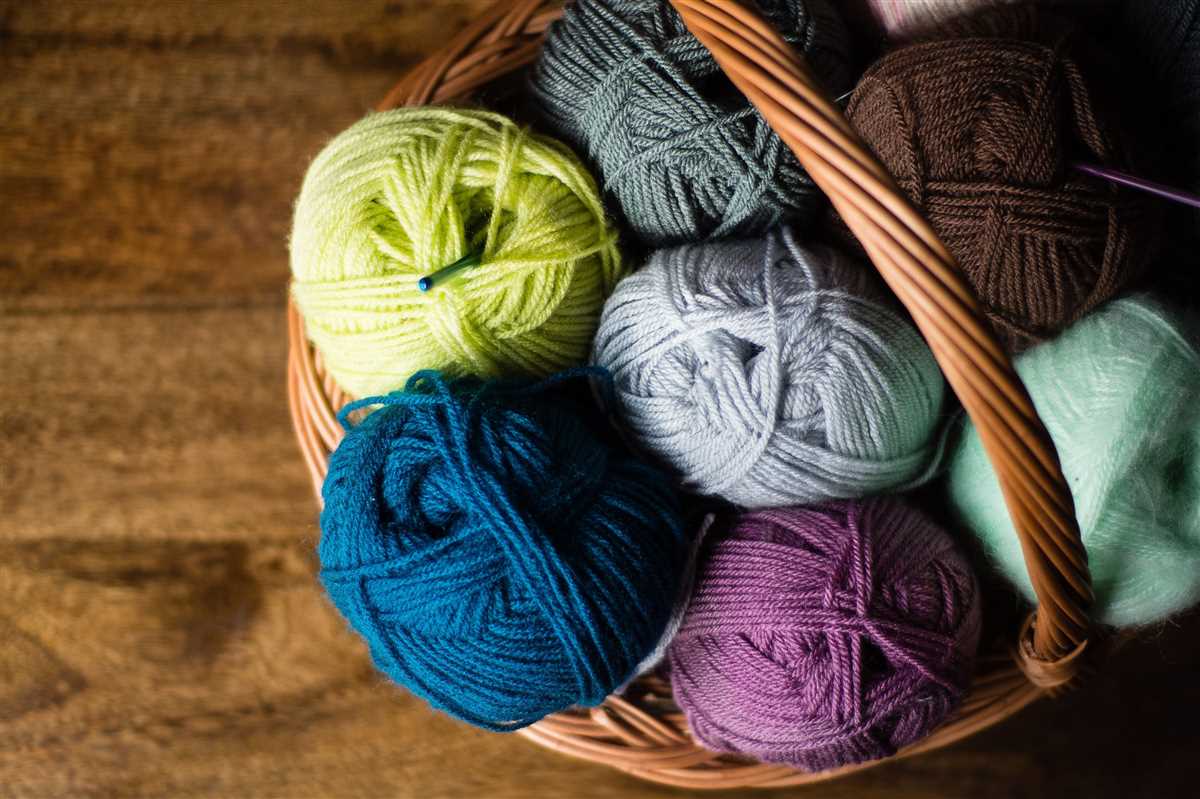
Consider the weight: One of the first things to consider when choosing yarn for a beginner project is its weight. Yarn weight refers to the thickness of the yarn and it can range from super fine to super bulky. As a beginner, it’s generally recommended to start with a medium-weight yarn, also known as worsted weight. This weight is versatile, easy to work with, and suitable for a wide range of projects.
Opt for smooth texture: Another important factor to consider is the texture of the yarn. For beginner projects, it’s best to choose a yarn with a smooth texture. Smooth yarns are easier to handle and knit with, allowing you to see your stitches clearly and make any necessary adjustments. Avoid yarns with a lot of fuzz or fluff, as these can make it more challenging to work with and can hide your stitches.
Choose a forgiving fiber: The type of fiber used in the yarn can also make a difference for beginner knitters. Certain fibers have more stretch and forgiveness, which can be helpful as you are learning and making mistakes. Wool and acrylic yarns are popular choices for beginners, as they are both durable and forgiving. These fibers are also widely available and come in a variety of colors and textures.
Consider your project: Lastly, consider the type of project you will be working on when selecting your yarn. If you are knitting a scarf or a blanket, you may want to choose a yarn that is soft and warm. If you are knitting a dishcloth or a bag, you may want to choose a yarn that is durable and easy to clean. The intended use of your project will help guide you in choosing the right yarn.
In conclusion,
Choosing the right yarn for your beginner knitting projects is important for a successful and enjoyable knitting experience. By considering factors such as weight, texture, fiber, and project type, you can select a yarn that is beginner-friendly and suitable for your specific project. Remember to start with a medium-weight yarn, opt for a smooth texture, choose forgiving fibers, and consider the intended use of your project. With the right yarn, you’ll be well on your way to creating beautiful handmade items with your knitting skills.
Basic Knit Stitch Tutorial
Learning the basic knit stitch is an essential skill for anyone interested in knitting. This simple stitch forms the foundation of many knitting patterns and can be easily mastered with a little practice.
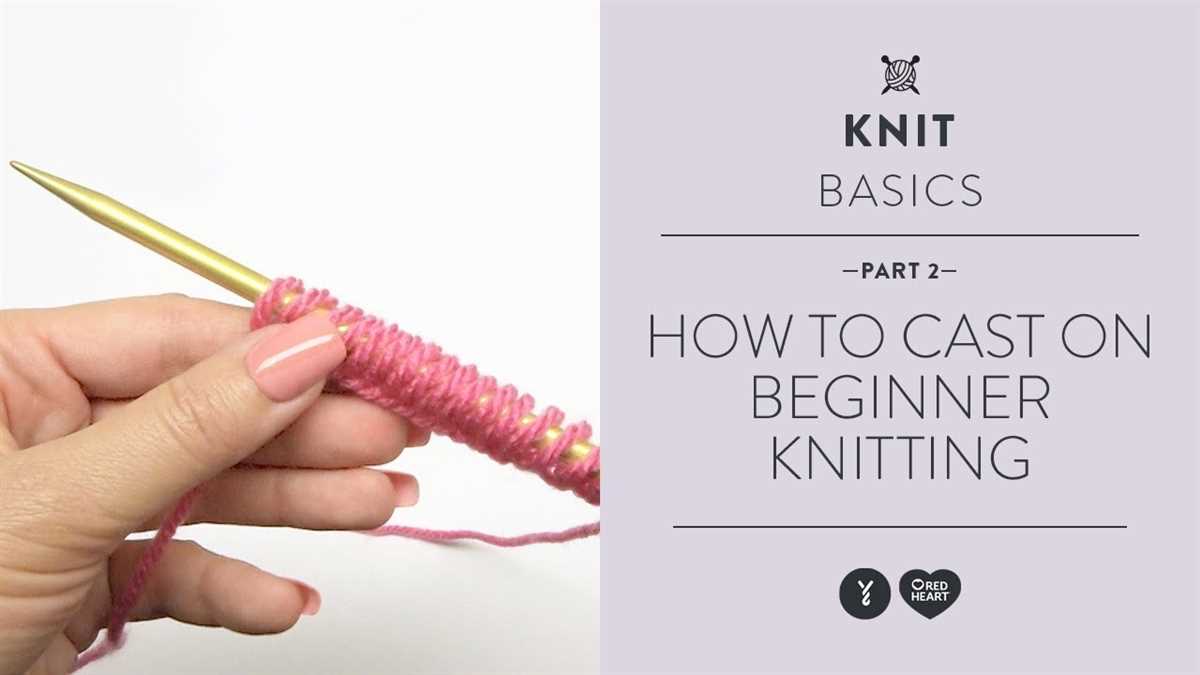
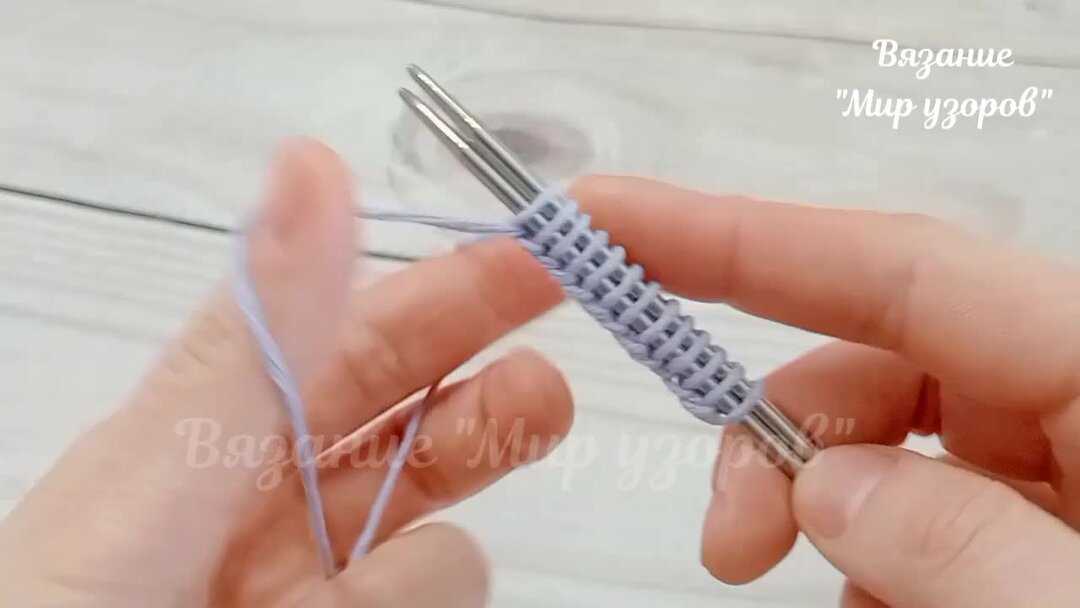
To begin, you will need a pair of straight knitting needles and some yarn. Choose a medium-weight yarn that is easy to work with, such as worsted or DK weight. Start by casting on the desired number of stitches onto one of the needles. The slipknot is a commonly used method for casting on and creates a secure loop to begin your project.
Once you have your stitches cast on, hold the needle with the stitches in your right hand and the empty needle in your left hand. Insert the tip of the empty needle into the first stitch on the left-hand needle from front to back.
Next, bring the yarn over the right-hand needle, from back to front, creating a loop around the needle. This loop is called the yarnover.
Then, use the right-hand needle to pull the loop through the stitch on the left-hand needle. This action transfers the stitch from the left-hand needle to the right-hand needle.
Repeat these steps for each stitch, always inserting the right-hand needle into the next stitch on the left-hand needle, creating a yarnover, and then pulling the loop through. As you continue knitting, you will notice a pattern of smooth and even stitches forming on the right-hand needle. This is the basic knit stitch.
Remember to keep your tension even and avoid pulling the yarn too tightly or too loosely. Practice the knit stitch on a small swatch of fabric until you feel comfortable with the technique. Once you have mastered the basic knit stitch, you will be ready to tackle more complex knitting patterns using straight needles.
Basic Purl Stitch Tutorial
The purl stitch is one of the basic stitches in knitting and is the opposite of the knit stitch. While the knit stitch creates a smooth v-shape on the right side of the fabric, the purl stitch creates a bumpy texture on the right side. It is often used in patterns to create ribbing, cables, and other textured designs.
To do the purl stitch, insert the right-hand needle from right to left into the first stitch on the left-hand needle. Wrap the yarn counterclockwise around the right-hand needle and pull it through the stitch, sliding the stitch off the left-hand needle. You now have a new stitch on the right-hand needle.
Repeat this process for each stitch on the left-hand needle, working from right to left. Remember to keep the tension of the yarn consistent and use the correct amount of pressure when pulling the yarn through the stitch to create an even and tidy look.
Here are a few tips for mastering the purl stitch:
- Practice tension control: The tension of the yarn is important to create an even and consistent stitch. Experiment with different ways of holding the yarn and find a method that feels comfortable and allows you to control the tension.
- Pay attention to stitch orientation: When working the purl stitch, make sure the right-hand needle is inserted correctly into the stitch. It should be going from right to left, with the tip of the needle pointing towards the left.
- Take breaks if needed: Learning a new stitch can be challenging and may require some practice. If you find yourself getting frustrated or fatigued, take breaks and come back to it later. Knitting should be enjoyable and relaxing!
With practice, you’ll soon become comfortable with the purl stitch and be able to incorporate it into a variety of knitting projects. It’s an essential skill for any beginner knitter and opens up a world of possibilities for creating beautiful and intricate designs.
Garter Stitch Scarf Pattern
Looking for a simple knitting project to get started? The garter stitch scarf pattern is an ideal choice for beginners. This pattern uses straight needles, making it easy to follow along and practice basic knitting techniques.
To begin, gather your materials: a pair of straight knitting needles and your choice of yarn. It’s recommended to use a medium weight yarn, such as worsted or aran, for this pattern. You’ll also need a pair of scissors and a tapestry needle to weave in the ends.
Instructions:
- Cast on: Start by making a slip knot and placing it on one of the knitting needles. Then, cast on the desired number of stitches. For a standard scarf, you can cast on anywhere from 20 to 40 stitches.
- Knit: Once you have cast on your stitches, begin knitting every row. This is known as the garter stitch. Hold the knitting needle with the cast-on stitches in your right hand, and the empty needle in your left hand. Insert the left needle into the first stitch on the right needle from left to right, behind the right needle. Wrap the yarn counterclockwise around the right needle and pull it through the stitch. Slide the stitch off the left needle and onto the right needle. Repeat this process for each stitch until you reach the end of the row.
- Repeat: Continue knitting every row in the garter stitch pattern until your scarf reaches your desired length. You can measure the length by laying the scarf flat and stretching it out.
- Bind off: Once your scarf is the desired length, it’s time to bind off. Knit two stitches onto your right needle. Using your left needle, lift the first stitch over the second stitch and off the right needle. Knit one more stitch onto your right needle, and repeat the process of lifting the first stitch over the second stitch. Continue this pattern until you have one stitch left on your right needle. Cut the yarn, leaving a tail of about 6 inches, and thread it through the last stitch. Pull tight to secure.
- Weave in ends: Finally, use a tapestry needle to weave in any loose ends. Thread the needle with the tail of yarn and insert it into the scarf, following the stitch pattern. Trim any excess yarn.
With these simple instructions, you’ll have a cozy garter stitch scarf in no time. This pattern is perfect for practicing your knitting skills and creating a versatile accessory for yourself or as a gift.
Stockinette Stitch Hat Pattern
Making a hat using the stockinette stitch is a great project for beginners. This simple yet stylish pattern can be easily worked with straight needles, making it accessible to those who haven’t yet mastered knitting in the round.
To get started, you’ll need a pair of straight needles and a skein of your favorite yarn. Begin by casting on the desired number of stitches, typically around 80-100 stitches for an adult-sized hat. A larger number of stitches will result in a looser, slouchier fit, while a smaller number will create a snugger, more fitted hat.
Once you’ve cast on, begin working the stockinette stitch: knit one row, purl one row. Continue to alternate between knitting and purling until the hat reaches the desired length. For a beanie-style hat, you can knit until the piece measures around 8-10 inches. If you prefer a slouchier style, you can continue knitting until the piece measures 12-14 inches.
After reaching the desired length, it’s time to finish off the hat. To do this, simply cut the yarn, leaving a long tail, and thread it through the remaining stitches. Pull tight to close up the top of the hat and secure the yarn. Finally, weave in any remaining ends.
This stockinette stitch hat pattern is a versatile and classic project that’s perfect for beginners. It can be customized with different yarn colors and textures to suit your personal style. Whether you’re knitting for yourself or as a gift, this pattern is sure to result in a cozy and fashionable hat that you’ll love to wear.
Ribbed Headband Pattern
Are you a beginner knitter looking for a simple and stylish project? Look no further than this ribbed headband pattern. This pattern is perfect for those who are new to knitting and want to create something practical and fashionable.
Materials Needed:
- Straight knitting needles
- Worsted weight yarn
- Tapestry needle
- Scissors
Instructions:
- Cast on 16 stitches.
- Row 1: *K2, P2* until the end of the row.
- Row 2: *P2, K2* until the end of the row.
- Repeat rows 1 and 2 until the headband reaches your desired length.
- Bind off all stitches.
- Use the tapestry needle to weave in any loose ends.
- Trim any excess yarn with scissors.
Notes:
- The ribbed pattern gives the headband a stretchy and snug fit.
- You can customize the width of the headband by casting on more or less stitches.
- This pattern is great for using up leftover yarn or for trying out different color combinations.
- You can also add embellishments like buttons or flowers to personalize your headband.
With this ribbed headband pattern, you’ll be able to create a stylish accessory in no time. Whether you’re keeping your hair out of your face or adding a finishing touch to your outfit, this headband will be a versatile addition to your wardrobe.
Seed Stitch Dishcloth Pattern
If you’re new to knitting and looking for a simple project to practice your skills, this seed stitch dishcloth pattern is perfect for you. Dishcloths are a great beginner project as they are small, practical, and allow you to practice different stitch patterns.
The seed stitch is a textured pattern created by alternating knit and purl stitches in a specified pattern. This pattern is worked on straight needles, making it accessible to beginners who may not yet be comfortable with circular needles.
- Materials: To make this dishcloth, you will need:
- – Worsted weight cotton yarn (about 50-60 yards)
- – US size 8 (5mm) straight knitting needles
- – Yarn needle for weaving in ends
Instructions:
- Begin by casting on 40 stitches using the long tail cast on method.
- Row 1: Knit all stitches.
- Row 2: Purl all stitches.
- Repeat Rows 1 and 2 until the dishcloth measures approximately 8 inches in length, or desired size.
- Bind off all stitches using a basic bind off method.
- Weave in any loose ends.
This seed stitch dishcloth makes a great addition to your kitchen or a thoughtful handmade gift. The combination of knit and purl stitches creates a textured surface that is perfect for scrubbing dishes or wiping countertops. Experiment with different colors of cotton yarn to create a set of coordinating dishcloths.
As you work on this pattern, you’ll become more comfortable with the basic knitting stitches and gain confidence in your knitting abilities. Soon, you’ll be ready to tackle more complex projects with ease!
Moss Stitch Baby Blanket Pattern
Knitting a baby blanket is a perfect project for beginners, and the moss stitch pattern adds a beautiful texture to the finished piece. This pattern uses straight needles, making it accessible to those who may not have circular knitting skills yet.
To start, gather your materials: a pair of straight knitting needles and your choice of baby-weight yarn. You’ll also need a tapestry needle for weaving in ends.
Materials:
- Straight knitting needles (size 8 or as preferred)
- Baby-weight yarn (approximately 800 yards)
- Tapestry needle for weaving in ends
Next, cast on an even number of stitches, such as 100 or 120, depending on the desired width of your blanket. Start by knitting the first row.
The moss stitch pattern is created by alternating knit and purl stitches. Here’s how to knit the pattern:
- Row 1: *Knit 1, purl 1* repeat across the row
- Row 2: *Purl 1, knit 1* repeat across the row
Continue knitting rows 1 and 2 until your blanket reaches the desired length. To finish, bind off all stitches and weave in any loose ends.
The moss stitch pattern creates a textured fabric that is perfect for keeping a baby warm. The blanket can be made in any color or combination of colors to suit your preference. It also makes a thoughtful and personalized gift for a new arrival.
Easy Knitted Slippers Pattern
If you’re a beginner knitter looking for a simple project, this easy knitted slippers pattern is perfect for you. With just basic knitting stitches and straight needles, you can create a cozy pair of slippers to keep your feet warm and stylish.
To get started, you’ll need a pair of straight knitting needles, worsted weight yarn, and a tapestry needle for finishing. This pattern is worked flat, back and forth in rows, so you don’t need circular needles or double-pointed needles.
To make the slippers, you’ll knit the sole first, which is a rectangle shape. Then, you’ll fold the rectangle in half and sew up the sides to create the slipper shape. The top of the slipper is then stitched closed, leaving a small opening for your foot to slip in.
Materials:
- Straight knitting needles size US 8
- Worsted weight yarn
- Tapestry needle
Instructions:
- Cast on 36 stitches.
- Knit every row until the piece measures 8 inches.
- Bind off all stitches.
- Fold the rectangle in half, aligning the cast-on edge with the bound-off edge.
- With a tapestry needle, sew up the two sides of the slipper, leaving a small opening for your foot at the top.
- Weave in any loose ends and repeat the above steps for the second slipper.
That’s it! You now have a cozy pair of knitted slippers to keep your feet warm and comfortable. Feel free to customize your slippers by adding pom-poms, buttons, or other embellishments. Enjoy your new handmade slippers!
Next Steps: Intermediate Knitting Techniques
Now that you’ve mastered the basic knitting techniques using straight needles, it’s time to take your skills to the next level with some intermediate knitting techniques. These techniques will allow you to create more complex and intricate designs, and open up a whole new world of possibilities for your knitting projects. Here are some next steps you can take to further enhance your knitting skills:
1. Cable Knitting
One of the most popular intermediate knitting techniques is cable knitting. This technique involves crossing stitches to create a twisted “cable” effect. Cable knitting can add texture and interest to your projects, and is often used in sweaters, scarves, and hats. There are many different cable patterns to choose from, ranging from simple to more complex designs. Once you’ve mastered the basic cable technique, you can start experimenting with different cable patterns to create unique and beautiful designs.
2. Lace Knitting
Lace knitting is another intermediate technique that adds a delicate and elegant touch to your projects. Lace patterns are created by combining a series of yarn overs and decreases to create holes and intricate lace motifs. Lace knitting is commonly used in shawls, socks, and lightweight accessories. It requires careful attention to detail and the ability to read lace charts, but the results are well worth it. As you gain more experience with lace knitting, you can begin to experiment with different lace stitch patterns and create your own unique designs.
3. Colorwork
Colorwork is a technique that involves knitting with multiple colors to create patterns and motifs. There are several different colorwork techniques to explore, including stranded knitting (also known as Fair Isle), intarsia, and slip stitch colorwork. Colorwork can be used to create beautiful designs on garments, accessories, and even home decor items. It requires precision and attention to detail, as well as the ability to manage multiple yarns at once. Start with simpler colorwork patterns to get the hang of working with multiple colors, and then gradually move on to more complex designs as you become more comfortable.
Remember, practice makes perfect! As with any new skill, it’s important to practice regularly and be patient with yourself as you learn these intermediate knitting techniques. Start with smaller projects to practice each technique before diving into larger, more complicated projects. Don’t be afraid to make mistakes – they’re a natural part of the learning process. By continuing to challenge yourself and try new techniques, you’ll continue to grow as a knitter and create beautiful, one-of-a-kind pieces.
Check out our advanced knitting patterns for even more inspiration and challenges as you continue to develop your knitting skills!