
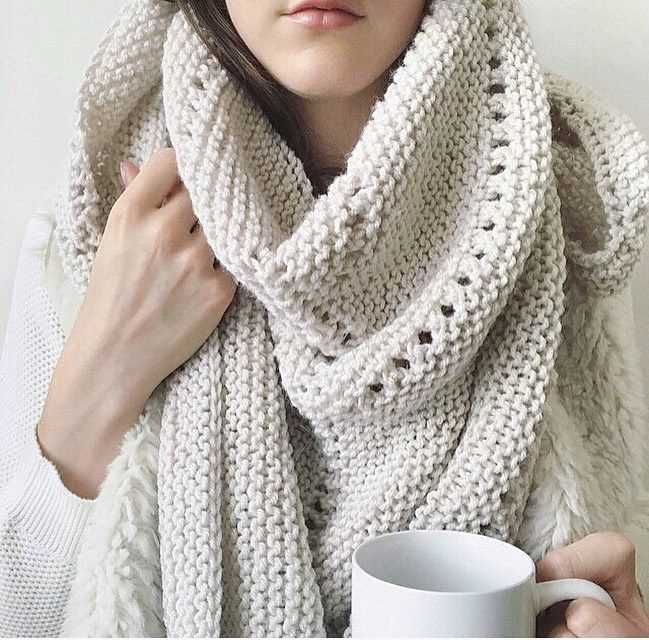
Are you a beginner knitter who wants to start with a fun and easy project? Look no further than knitting a scarf! Scarves are a perfect beginner project because they are simple, practical, and allow you to practice basic knitting stitches.
Whether you’re looking to knit a scarf for yourself or as a gift for a loved one, there are plenty of beginner-friendly scarf patterns to choose from. These patterns typically require basic knitting stitches such as knit and purl, making them perfect for those who are just starting out.
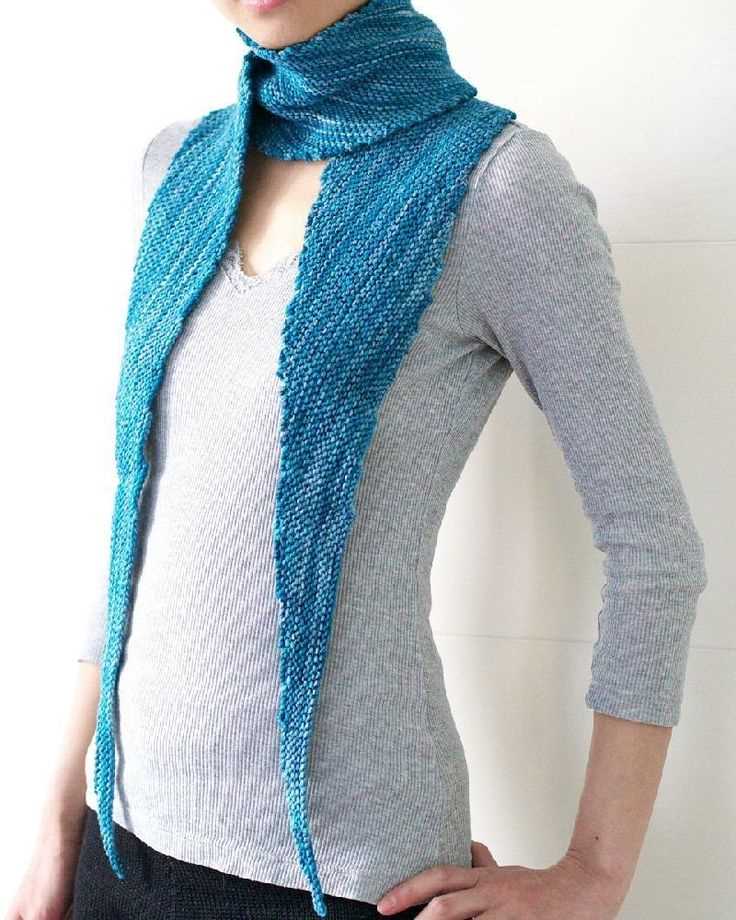
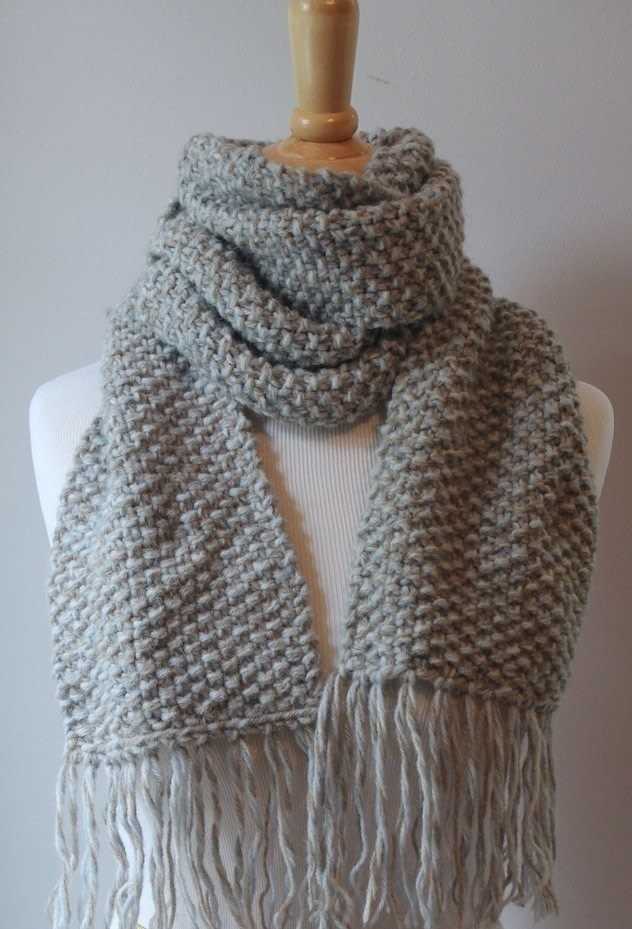
One popular beginner knitting pattern for a scarf is the garter stitch scarf. The garter stitch is created by knitting every row, resulting in a fabric that lies flat and has a lovely textured appearance. This pattern is great for practicing basic knitting techniques and can be customized with different yarns and colors.
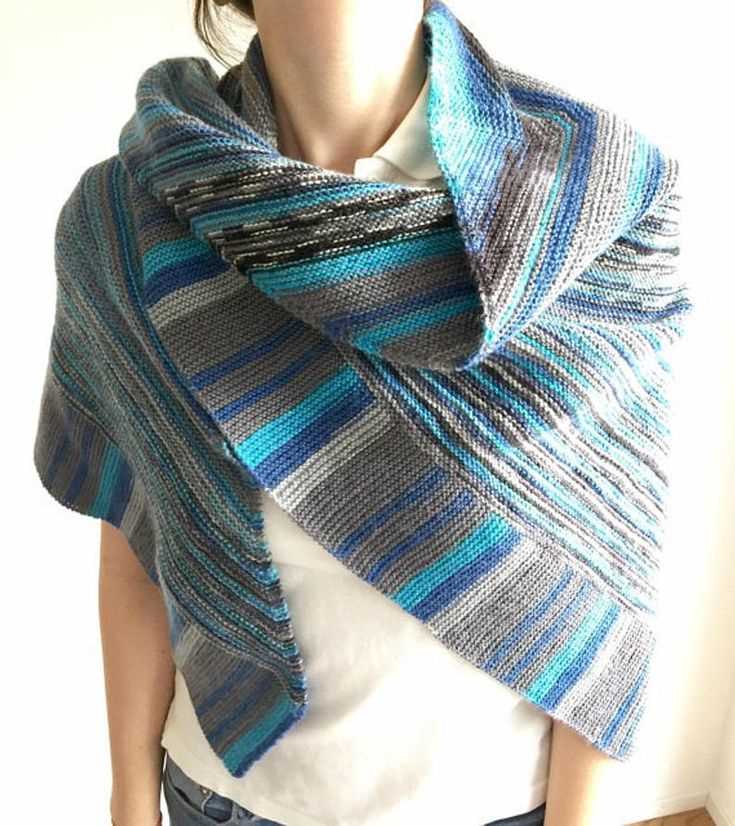
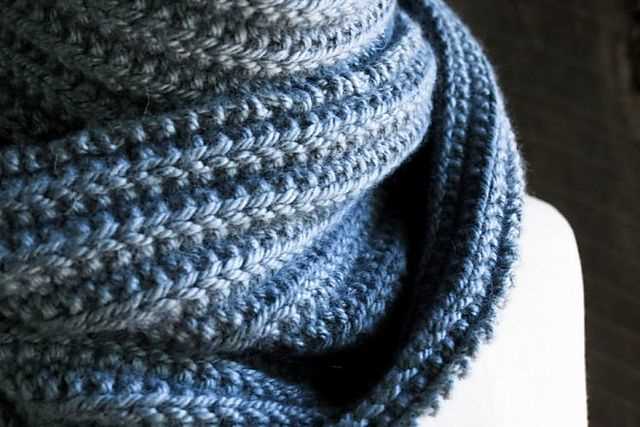
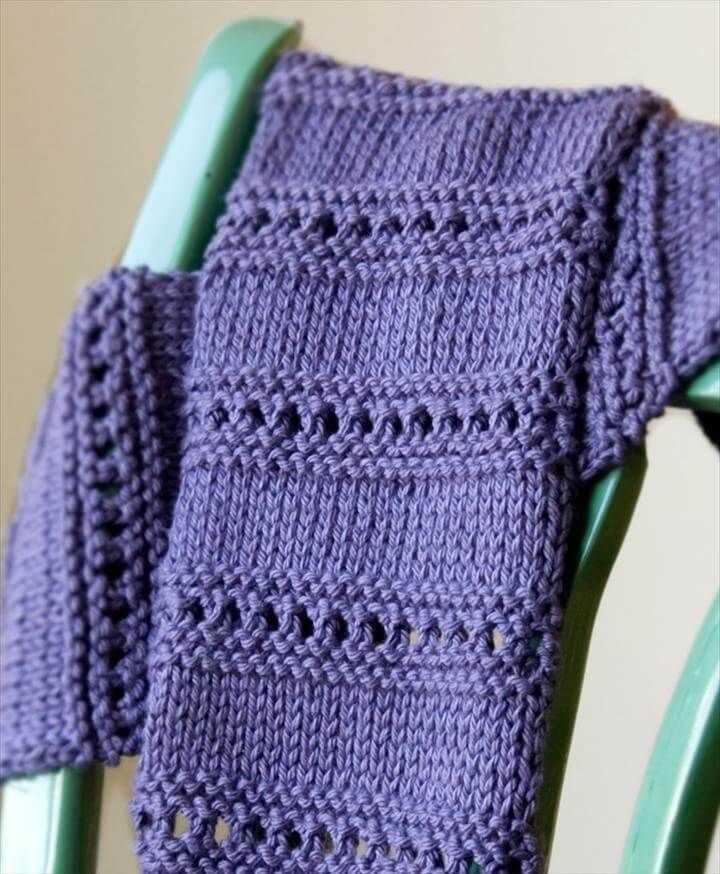
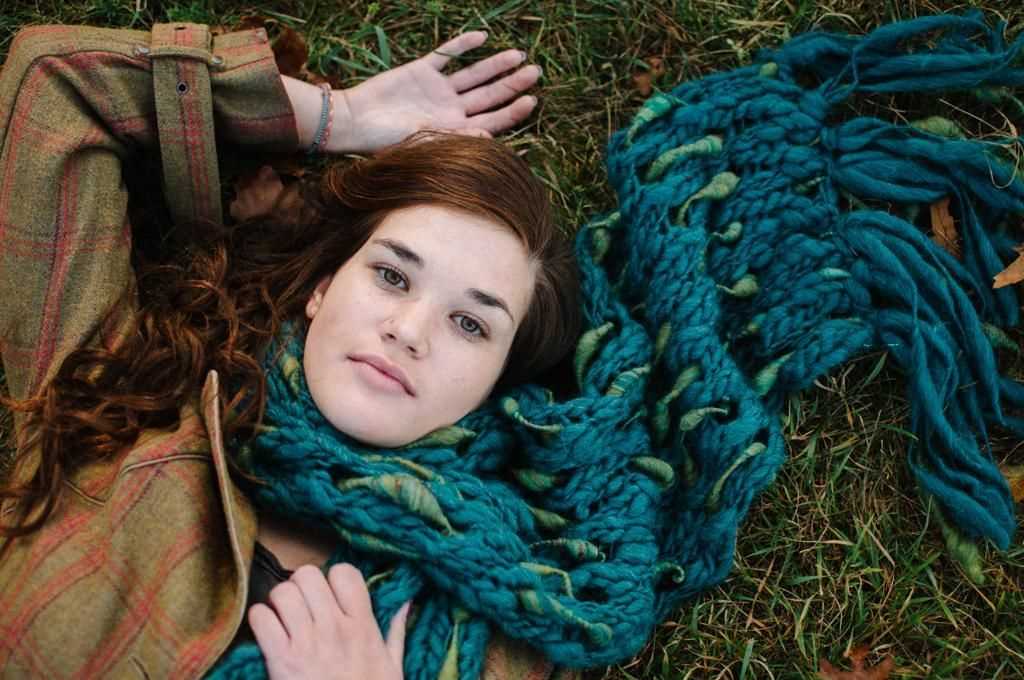
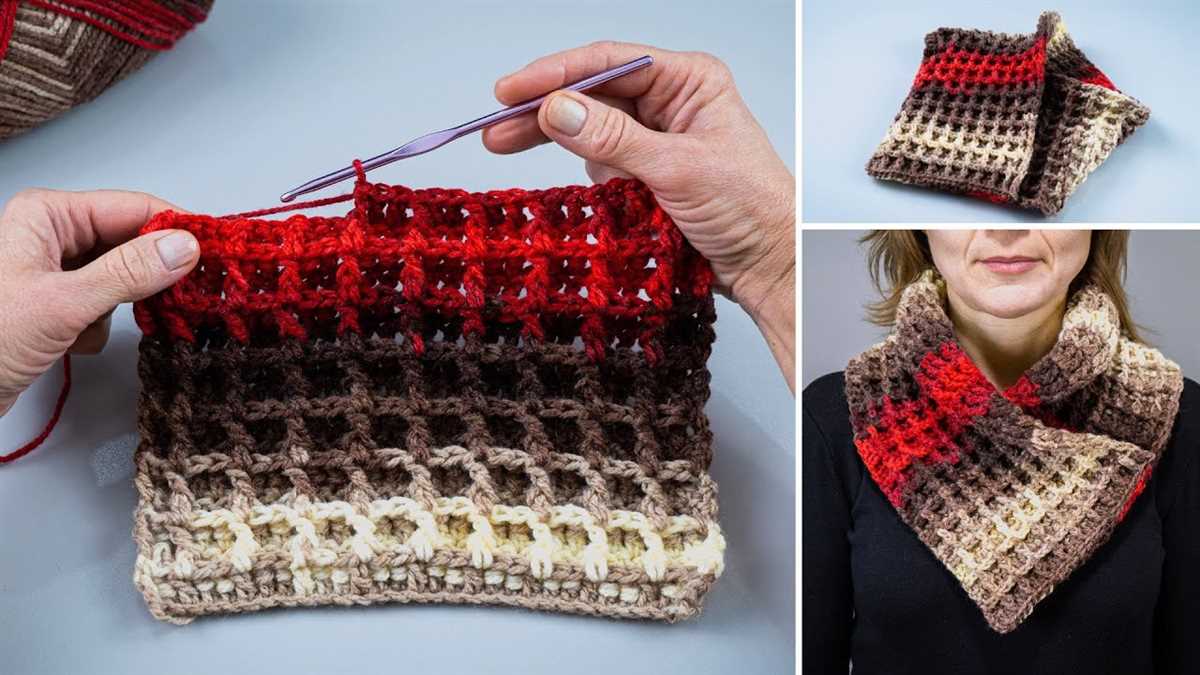
If you’re feeling a bit more adventurous, you can try the ribbed scarf pattern. This pattern alternates between knit and purl stitches, creating a stretchy and textured fabric. The ribbed scarf is great for practicing different stitch patterns and is perfect for keeping you warm and cozy during the colder months.
So why wait? Grab your knitting needles and choose a beginner knitting pattern for a scarf. With a little practice, you’ll be able to create a beautiful and functional accessory that you can wear with pride or give as a thoughtful gift.
Beginner Knitting Patterns Scarf
If you’re new to knitting and looking for a project to practice your skills, a scarf is a great place to start. Scarves are versatile, functional, and can be customized to suit your style. There are plenty of beginner knitting patterns available that will help you create a beautiful scarf with basic stitches and techniques.
One popular beginner knitting pattern for a scarf is the garter stitch scarf. This pattern uses only the knit stitch, making it perfect for beginners who are still learning the basics. The garter stitch creates a soft, textured fabric that looks great and is easy to knit. To make a garter stitch scarf, all you have to do is cast on the desired number of stitches and knit every row until you reach the desired length. You can use any type of yarn and needles for this pattern, making it a versatile choice.
If you’re looking to add a bit more variety to your scarf, you can try a pattern that incorporates different stitches. For example, the ribbed scarf pattern is a great option for beginners who want to learn how to knit the rib stitch. The rib stitch creates a stretchy fabric with alternating knit and purl stitches, giving the scarf a textured look. To make a ribbed scarf, you will need to know how to knit and purl, but it’s a great way to practice these basic stitches. You can choose any combination of knit and purl stitches to create the ribbed pattern, making it a versatile and customizable choice.
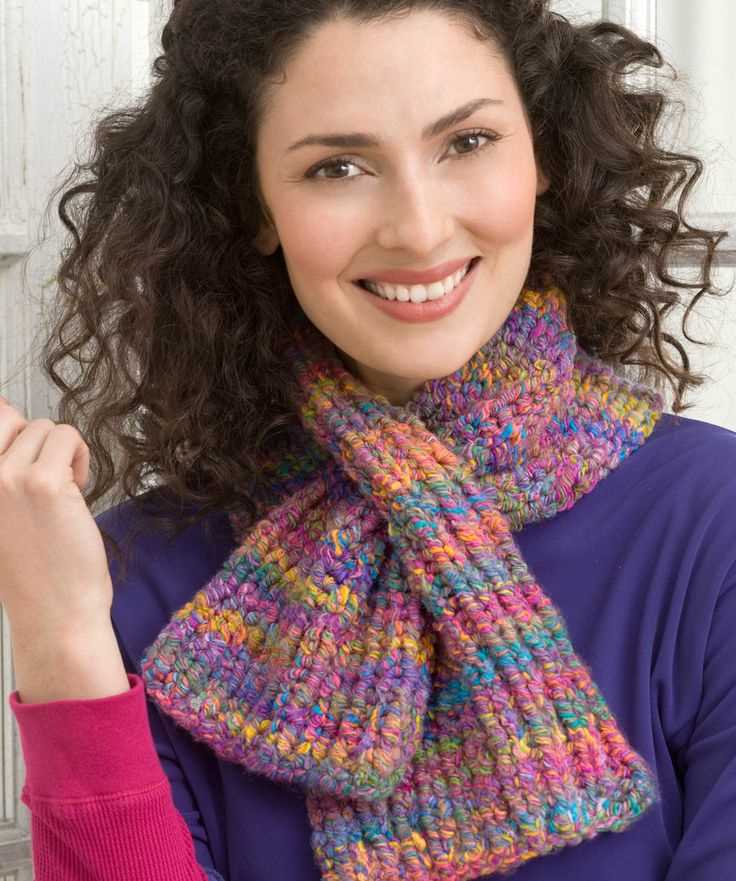
- Another beginner knitting pattern for a scarf is the seed stitch scarf. The seed stitch is a simple stitch pattern that creates a woven texture using a combination of knit and purl stitches. It’s a great choice for beginners who want to learn how to knit and purl in the same row. To make a seed stitch scarf, you will need to alternate knit and purl stitches in each row. This pattern is easy to memorize and produces a beautiful, textured fabric.
- If you’re feeling more adventurous, you can try a beginner lace scarf pattern. Lace patterns may seem intimidating, but there are beginner-friendly options available. The feather and fan stitch, for example, is a popular lace pattern that is easy to knit and creates a delicate, lacy fabric. To make a feather and fan lace scarf, you will need to know how to knit, purl, yarn over, and knit two stitches together. This pattern is a great way to practice basic lace knitting techniques while creating a stunning accessory.
With these beginner knitting patterns for scarves, you can start honing your knitting skills and create beautiful accessories that you can wear or gift to others. Whether you choose a simple garter stitch scarf or a more intricate lace pattern, you’ll find that knitting scarves is a rewarding and enjoyable experience.
What is knitting?
Knitting is a versatile crafting technique that uses yarn and needles to create various fabric items, such as scarves, sweaters, and blankets. It involves interlocking loops of yarn to form a structure, creating a knitted fabric with a unique texture.
knitting consists of two basic stitches: knit stitch and purl stitch. The knit stitch is created by inserting the right-hand needle into the front of the loop on the left-hand needle, wrapping the working yarn around the needle, and pulling the loop through. The purl stitch, on the other hand, is created by inserting the right-hand needle into the back of the loop on the left-hand needle, wrapping the yarn around the needle, and pulling the loop through.
One of the most common uses of knitting is for creating scarves. Scarves are relatively simple projects that are perfect for beginners to practice their knitting skills. They can be made using a variety of different stitch patterns, such as garter stitch, stockinette stitch, or rib stitch. Scarves can also be customized by using different colors and types of yarn.
- Knitting can be a relaxing and creative hobby, allowing individuals to unwind while creating something beautiful and functional.
- It is also a popular craft for making handmade gifts, as knitted items are often cherished and appreciated by the recipient.
- In addition to scarves, knitting can be used to make a wide range of other items, such as hats, socks, and mittens.
- There are endless possibilities when it comes to knitting, with countless patterns and techniques to explore.
In conclusion, knitting is a versatile and enjoyable craft that allows individuals to create unique fabric items using yarn and needles. From scarves to sweaters, knitting offers endless opportunities for creativity and self-expression.
Choosing the right yarn and needles
When starting a knitting project, one of the most important decisions you need to make is choosing the right yarn and needles. The choice of yarn and needles can greatly affect the outcome and overall look of your knitting project.
Yarn: There are different types of yarn available, each with its own characteristics. It is important to choose yarn that suits the project you are working on. For beginners, it is recommended to start with medium or bulky weight yarn as it is easier to work with. The type of fiber used in the yarn also matters, as it can affect the softness, warmth, and durability of the finished scarf. Wool, acrylic, and cotton are popular choices for scarves.
Needles: The size and material of the needles also play a role in your knitting project. Needle sizes are measured in millimeters and can vary depending on the thickness of the yarn. For a beginner knitting a scarf, it is recommended to start with larger needles, such as US size 10 (6 mm), as they are easier to handle and work with. The material of the needles can also affect the ease of knitting. Metal and wooden needles are commonly used, each offering a different feel and grip while knitting.
To ensure success in your knitting project, it is important to match the yarn weight and needle size recommended in the pattern or instructions. Swatching is also a good practice to test the gauge and make adjustments if necessary. By choosing the right yarn and needles, you can enhance your knitting experience and create a beautiful scarf.
Essential knitting techniques
Knitting is a versatile craft that allows you to create beautiful garments and accessories. Whether you’re a beginner or an experienced knitter, there are a few essential techniques you should know in order to successfully complete your knitting projects.
Casting on: Casting on is the process of creating the first row of stitches on your knitting needle. There are several different methods, such as the long tail cast on, the knit cast on, and the cable cast on. Each method has its own advantages and creates a slightly different edge. Casting on is an important skill to master, as it determines the size and stretchiness of your finished piece.
Increase and decrease:
Increases: Increasing stitches is used to make your knitting wider or to create shaping in your project. The most common increase method is the knit front and back (KFB) stitch, where you knit into the front and back of the same stitch to create a new stitch. Other increase methods include yarn overs (YO) and make one (M1) stitches.
Decreases: Decreasing stitches is used to make your knitting narrower or to create shaping. The most common decrease method is the knit two together (K2tog) stitch, where you knit two stitches together as if they were one. Other decrease methods include slip, slip, knit (SSK) and slip, knit, pass (SKP). It’s important to learn and practice these techniques to achieve the desired shape and fit in your knitting projects.
Knit and purl stitches:
Knit stitch: The knit stitch is the most basic stitch in knitting. It creates a smooth, v-shaped fabric. To knit, insert the right-hand needle through the front of the stitch on the left-hand needle, wrap the yarn around the right-hand needle, and pull the loop through to create a new stitch.
Purl stitch: The purl stitch is the reverse of the knit stitch. It creates a bumpy, horizontal fabric. To purl, insert the right-hand needle through the front of the stitch on the left-hand needle, wrap the yarn around the right-hand needle in the opposite direction as a knit stitch, and pull the loop through to create a new stitch.
Finishing techniques:
Binding off: Binding off, also known as casting off, is the process of creating the last row of stitches on your knitting needle and securing them. To bind off, knit the first two stitches, insert the left-hand needle into the first stitch on the right-hand needle, lift it over the second stitch and off the needle, and repeat until all stitches are bound off.
Weaving in ends: Weaving in ends is the final step in finishing your knitting project. It involves using a tapestry needle to thread the loose yarn ends through your knitted fabric, securing them and preventing unraveling. This step gives your project a polished and professional look.
By mastering these essential knitting techniques, you’ll be well-equipped to tackle a variety of beginner knitting patterns, including scarves, hats, and dishcloths. With practice and patience, you’ll soon be creating beautiful and functional knitted items to enjoy or gift to others.
Casting on
When starting a knitting project, the first step is to cast on. Casting on creates the foundation row of stitches on your knitting needles. It is important to cast on tightly enough to give your project stability, but not too tight that it becomes difficult to work with. There are several methods of casting on, each with its own advantages and uses.
One of the most common methods of casting on is the long-tail cast on. To do this, you will need to estimate the amount of yarn needed for your desired number of stitches, allowing extra length for the tail. Hold the yarn between your thumb and index finger, with the tail end over your thumb and the working yarn over your index finger. Insert the needle under the yarn on your thumb, then scoop it over the yarn on your index finger, creating a loop on the needle. Repeat this process for the desired number of stitches.
An alternative method of casting on is the knit cast on. This method creates a row of knit stitches along the edge of your project. To do this, start with a slip knot on your needle. Insert your right-hand needle into the slip knot from left to right, then wrap the working yarn around the needle counterclockwise. Pull the new loop through the slip knot, then slip the loop on the right-hand needle onto your left-hand needle. Repeat this process for the desired number of stitches.
Knit Stitch
The knit stitch is one of the most basic and essential stitches in knitting. It is often the first stitch that beginners learn and forms the foundation for many knitting projects. Knitting a stitch involves inserting the right needle through the front of the stitch on the left needle, wrapping the yarn around the right needle, and pulling the loop through to create a new stitch on the right needle.
The knit stitch is commonly abbreviated as “k” in knitting patterns. It is a versatile stitch that can be used to create a variety of patterns and textures in knitted fabric. When knit stitches are worked in a continuous row, they create a smooth and flat surface known as the stockinette stitch. This stitch is commonly used for scarves, hats, and sweaters.
When working the knit stitch, it is important to maintain consistent tension to ensure that the stitches are an even size. Tension refers to the tightness or looseness of the yarn as it is wrapped around the needle. Too tight tension can result in tight and stiff fabric, while too loose tension can create loose and sloppy stitches.
To practice the knit stitch, you can start by casting on a small number of stitches using a smooth and medium-weight yarn. Hold the knitting needles in your preferred way, with the needle with the stitches in your left hand and the empty needle in your right hand. Insert the right needle into the first stitch on the left needle, wrap the yarn around the right needle from back to front, and pull the loop through to create a new stitch. Continue knitting across the row in this manner until all the stitches have been worked.
Once you have mastered the basic knit stitch, you can explore different variations and techniques to create different effects in your knitting. Some examples include knitting through the back loop, knitting in the round, and combining knit stitches with other stitch patterns. With practice and patience, the knit stitch can become a valuable skill that allows you to create beautiful and functional knitted items.
Purl Stitch
The purl stitch is one of the basic knitting stitches that beginners learn. It is the opposite of the knit stitch and creates a raised bump on the fabric. The purl stitch is commonly used to create ribbing, texture, and patterns in knitting projects. It is an essential stitch for knitting scarves, sweaters, hats, and many other items.
To create the purl stitch, insert the right needle from back to front into the first stitch on the left needle. Hold the yarn in front of the work and wrap it counterclockwise around the right needle. Use the right needle to pull this wrapped yarn through the stitch, creating a new purl stitch on the right needle. Slip the original stitch off the left needle. Repeat this process for each stitch on the left needle until all stitches have been purled.
In knitting patterns, the purl stitch is often abbreviated as “p” or “P”. For example, a pattern may instruct you to “purl 2, knit 2” in a repeating pattern. This would mean to purl the first 2 stitches, then knit the next 2 stitches, and continue this pattern throughout the row. By combining purl stitches with knit stitches, you can create a variety of interesting patterns and textures in your knitting projects.
The purl stitch is a versatile and important stitch in knitting. It allows you to add texture and depth to your knitting projects and can be used in a variety of patterns and designs. With practice, the purl stitch becomes second nature and you will be able to create beautifully crafted items with ease.
Binding Off
Once you have completed your scarf and are ready to finish it off, the next step is binding off. Binding off is the process of closing off your stitches so that they don’t unravel. It is an essential skill in knitting and is used to create a clean, finished edge.
To bind off, you will work the stitches as usual, but instead of transferring the stitch from the left needle to the right needle, you will pass the first stitch over the second stitch and off the needle. This creates a new stitch and closes off the previous stitch. Repeat this process for each stitch in your row until you have only one stitch left. Cut the yarn, leaving a long tail, and pull the tail through the last stitch to secure it.
There are different methods of binding off, each with its own unique look and stretchiness. The simple bind off is the most basic method and creates a firm edge. It is suitable for most projects, including scarves. If you want a stretchier edge, you can try the stretchy bind off method. This method is great for projects that need a little extra give, such as socks or hats. Another option is the picot bind off, which creates a decorative edge with small loops. This method is often used for shawls or delicate accessories.
When binding off, it’s important to maintain an even tension throughout your work to ensure that the edge is not too tight or too loose. You can practice binding off on a scrap piece of yarn before attempting it on your actual project. With a bit of practice, you’ll soon be binding off your scarves and other knitting projects with confidence!
Key phrases:
- Binding off
- Stitches
- Unravel
- Finished edge
- Left needle
- Right needle
- New stitch
- Simple bind off
- Stretchy bind off
- Picot bind off
- Tension
Understanding knitting patterns
Knitting patterns can sometimes be overwhelming for beginners, but with a little patience and practice, they can become a valuable tool for creating beautiful projects. They provide step-by-step instructions on how to create various stitches and techniques, allowing knitters to bring their ideas to life.
Reading a knitting pattern
When you first look at a knitting pattern, it may seem like a foreign language. However, with a basic understanding of the abbreviations and symbols used, you can quickly decode the instructions. Most knitting patterns use abbreviations for stitches, such as K for knit and P for purl, along with symbols to represent specific actions, like increase or decrease. These abbreviations and symbols are usually explained at the beginning of the pattern or in a separate glossary.
Following the instructions
Once you understand the abbreviations and symbols, it’s time to follow the instructions. Knitting patterns usually include a list of materials needed, gauge information, and sizing options. It’s important to pay attention to these details to ensure that your finished project turns out as expected.
The pattern will then provide a series of instructions for each row or round, specifying which stitches to knit, purl, or perform other techniques. It’s important to follow these instructions carefully and keep track of your progress by marking off each row as you complete it.
Customizing a pattern
While knitting patterns provide a great starting point, they can also be personalized to suit your preferences. Once you become familiar with different stitch patterns and techniques, you can easily modify a pattern by adding or removing stitches, changing the color scheme, or adding embellishments.
Practice and patience
Understanding knitting patterns takes practice, and it’s completely normal to make mistakes along the way. It’s important to be patient with yourself and not get discouraged. As you gain more experience and confidence, reading and following knitting patterns will become easier, opening up a whole world of knitting possibilities.
Basic Scarf Knitting Pattern
Knitting a scarf is one of the best projects for beginners as it allows you to practice basic knitting techniques while creating a functional and stylish accessory. With this basic scarf knitting pattern, you can easily make a simple scarf that will keep you warm and cozy during the colder months.
To get started, you will need a pair of knitting needles and a ball of yarn in your desired color. It’s important to choose a yarn that is suitable for scarves, such as a soft and warm wool blend.
Instructions:
- Cast on the desired number of stitches, depending on how wide you want your scarf to be. A good starting point is usually around 30-40 stitches for a standard width scarf.
- Begin by knitting each stitch in the row. This is called the garter stitch and it creates a nice texture.
- Continue knitting every row until the scarf reaches your desired length. You can knit as many rows as you like to make the scarf shorter or longer.
- When you’re satisfied with the length, bind off all the stitches to finish the scarf.
Tips:
- To keep track of your progress, it’s helpful to use stitch markers or a row counter.
- If you want to add some variation to your scarf, you can experiment with different stitch patterns, such as ribbing or seed stitch.
- Don’t be afraid to get creative with your yarn choices. You can use different colors or even combine different types of yarn for a unique look.
Once you’ve finished knitting your basic scarf, you can add some personal touches by adding fringe or tassels to the ends. This will give your scarf an extra flair and make it even more stylish.
By following this basic scarf knitting pattern, you’ll be able to create a beautiful and cozy scarf that you can wear with pride or give as a thoughtful handmade gift to a loved one.
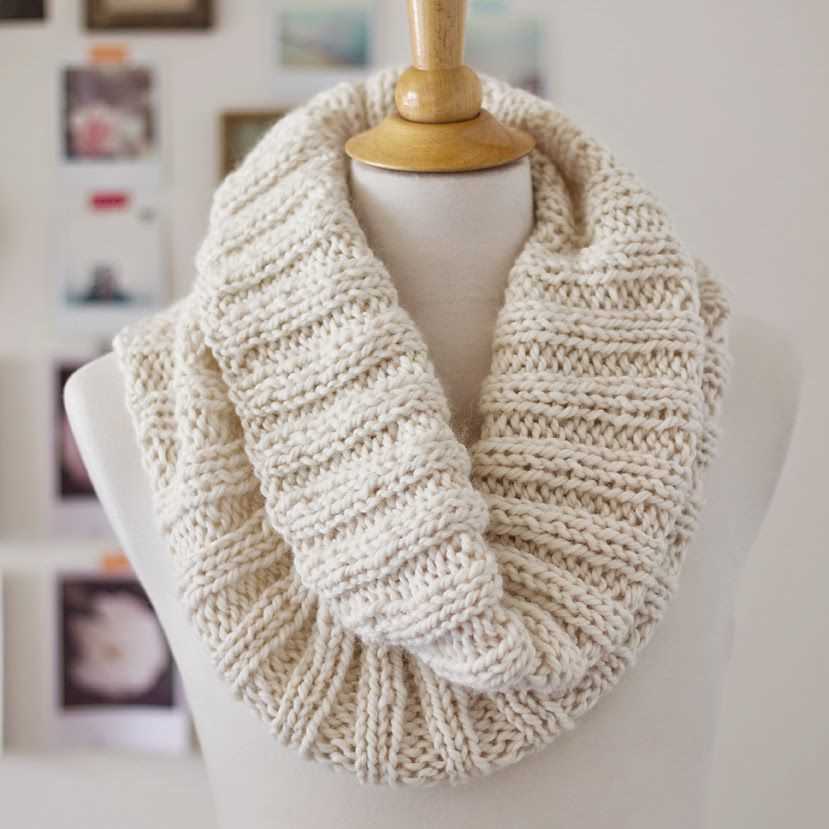
Knitting variations: ribbed scarf
When it comes to knitting scarves, one popular variation is the ribbed scarf pattern. This pattern creates a textured, stretchy fabric that is perfect for keeping you warm and cozy during the colder months. The ribbed pattern is achieved by alternating knit and purl stitches in a specific sequence.
To start knitting a ribbed scarf, you will need to cast on an even number of stitches. The most common ribbed pattern is the 1×1 rib, which means you will alternate between knitting one stitch and purling one stitch throughout the entire row. This creates a horizontal ribbed effect that adds depth and dimension to the scarf.
One great thing about the ribbed scarf pattern is that it is reversible, meaning it looks the same on both sides. This makes it an excellent choice if you prefer a scarf that is versatile and can be worn with either side facing out. The ribbed texture also helps to trap heat and insulate, making it an ideal choice for an extra warm and cozy scarf.
To add even more interest to your ribbed scarf, you can experiment with different ribbed patterns. For example, you can try a 2×2 rib, which means knitting two stitches and purling two stitches in a repeating sequence. This creates a chunkier and more textured fabric compared to the 1×1 rib.
Overall, the ribbed scarf pattern is a great choice for beginners as it is relatively simple yet yields beautiful and functional results. Whether you opt for the classic 1×1 rib or decide to try a different ribbed pattern, you are sure to create a stylish and cozy accessory that will keep you warm throughout the winter season.
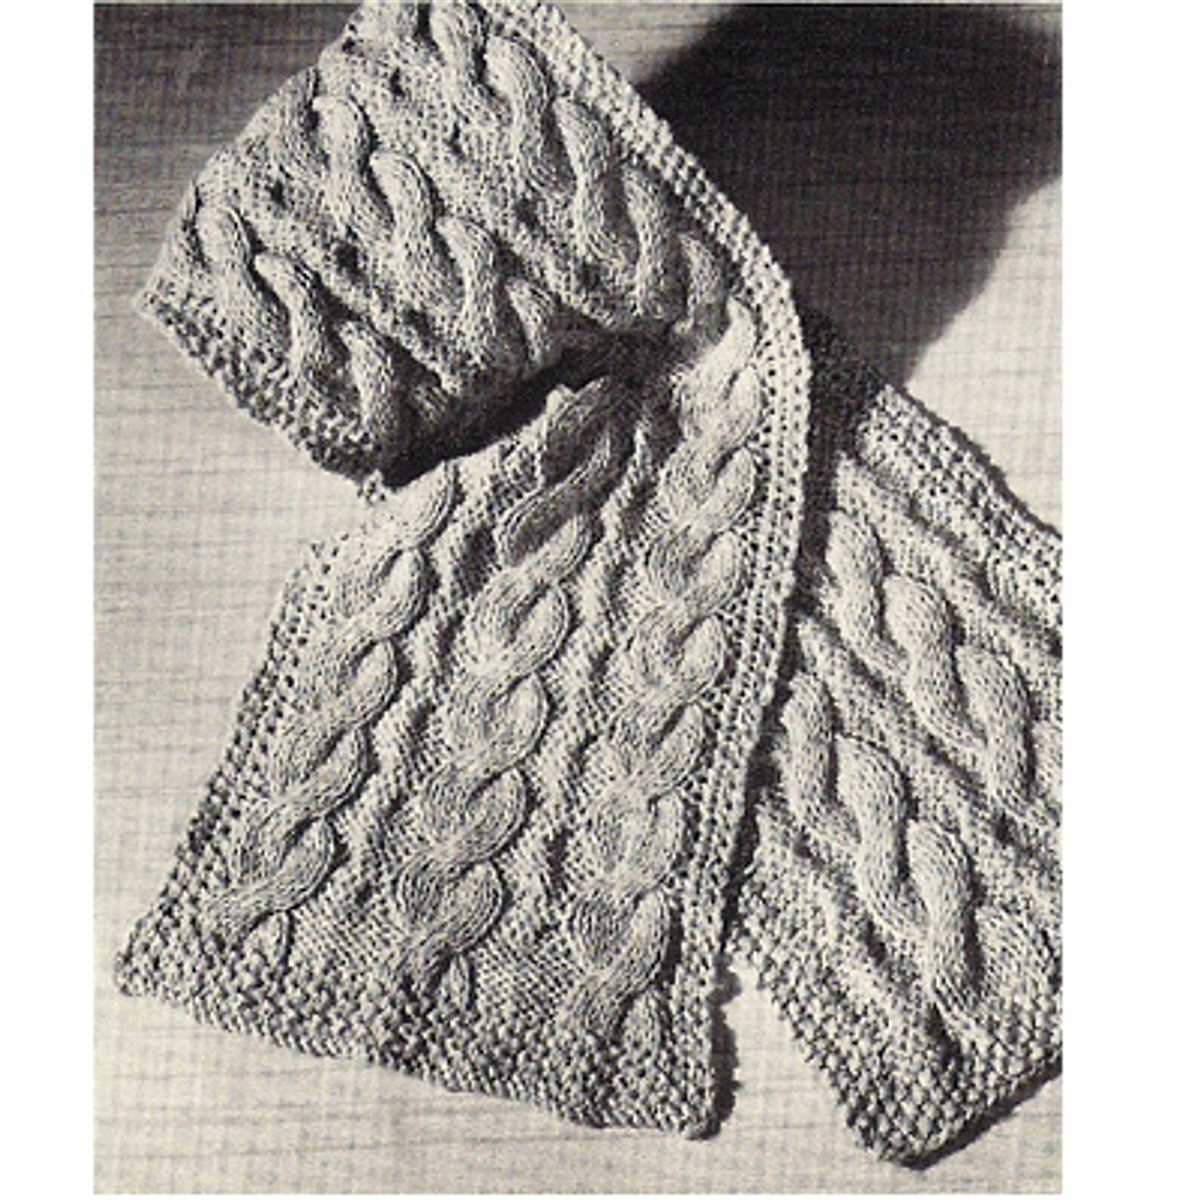
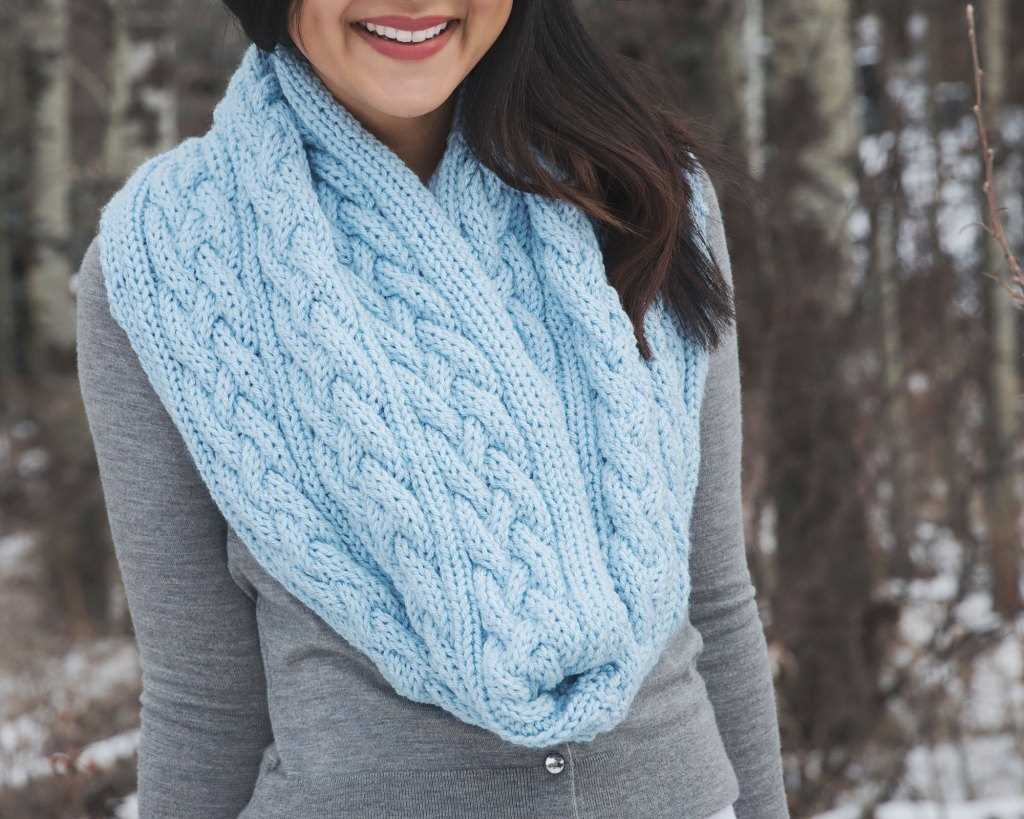
Knitting variations: cable knit scarf
In addition to the basic beginner scarf patterns, there are also more advanced knitting techniques for those looking to challenge themselves or create more intricate designs. One popular variation is the cable knit scarf.
Cable knitting is a technique where stitches are crossed over each other to create a twisted, braided pattern. The resulting fabric has a beautiful, textured appearance that adds visual interest to any project. To knit a cable knit scarf, you will need to have a basic understanding of knitting stitches such as knit, purl, and yarn overs, as well as be comfortable following a pattern.
How to knit a cable knit scarf:
- Choose a cable knit scarf pattern that suits your skill level and desired design.
- Gather the necessary materials, including knitting needles, yarn, and cable needle.
- Cast on the required number of stitches as specified in the pattern.
- Follow the pattern instructions for the cable stitch. This typically involves knitting and purling stitches in a specific order and using a cable needle to hold stitches while crossing them over.
- Continue knitting the pattern rows, repeating the cable stitches as directed.
- When you reach the desired length for your scarf, bind off the stitches as instructed.
- Weave in any loose ends and block your finished scarf to give it a polished look.
A cable knit scarf makes for a stylish and cozy accessory, perfect for keeping warm during the colder months. It also serves as a great gift idea for friends and family. With a little practice, you’ll be able to create beautiful cable knit scarves that showcase your knitting skills and creativity.
Summary

Cable knitting is a more advanced technique that adds texture and visual interest to scarves. By following a cable knit scarf pattern and mastering the cable stitch, you can create beautiful, braided designs. Knitting a cable knit scarf is a great way to challenge yourself and create unique, handmade accessories. Whether you’re a beginner or an experienced knitter, cable knitting offers a rewarding and enjoyable project option. So pick up your knitting needles and give cable knitting a try!