
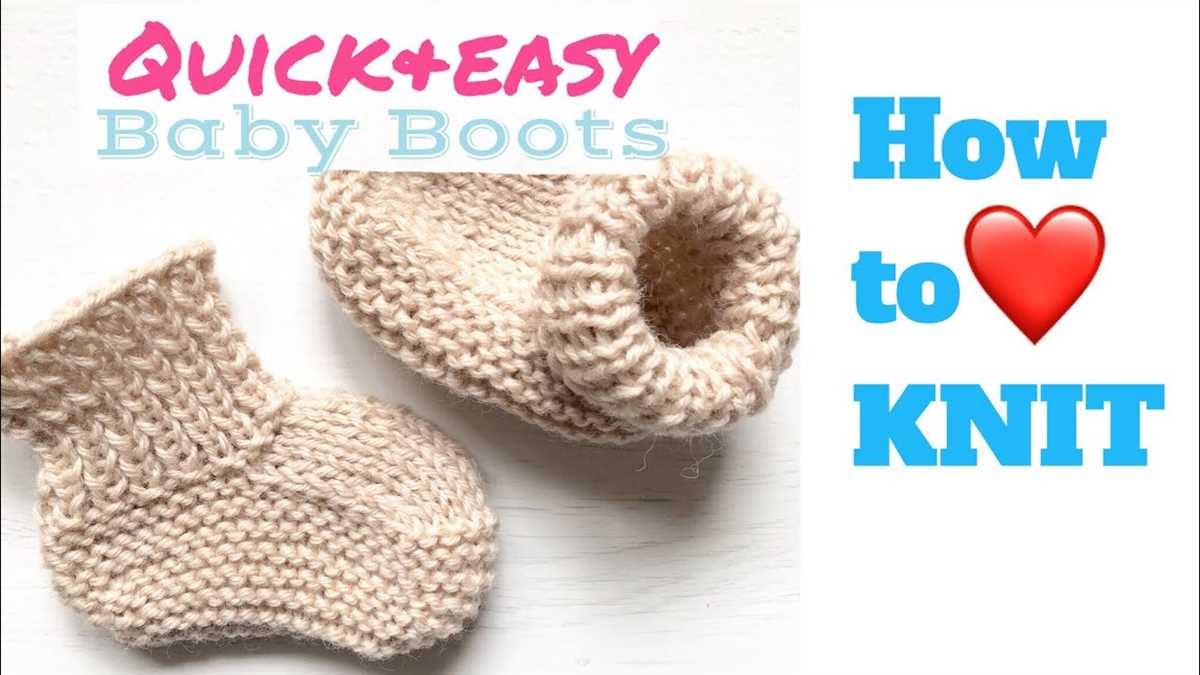
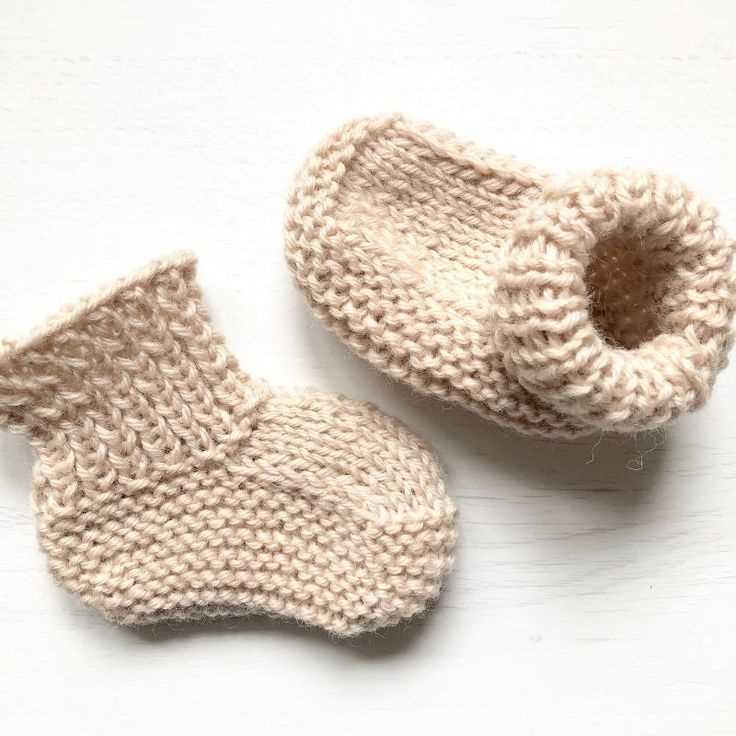
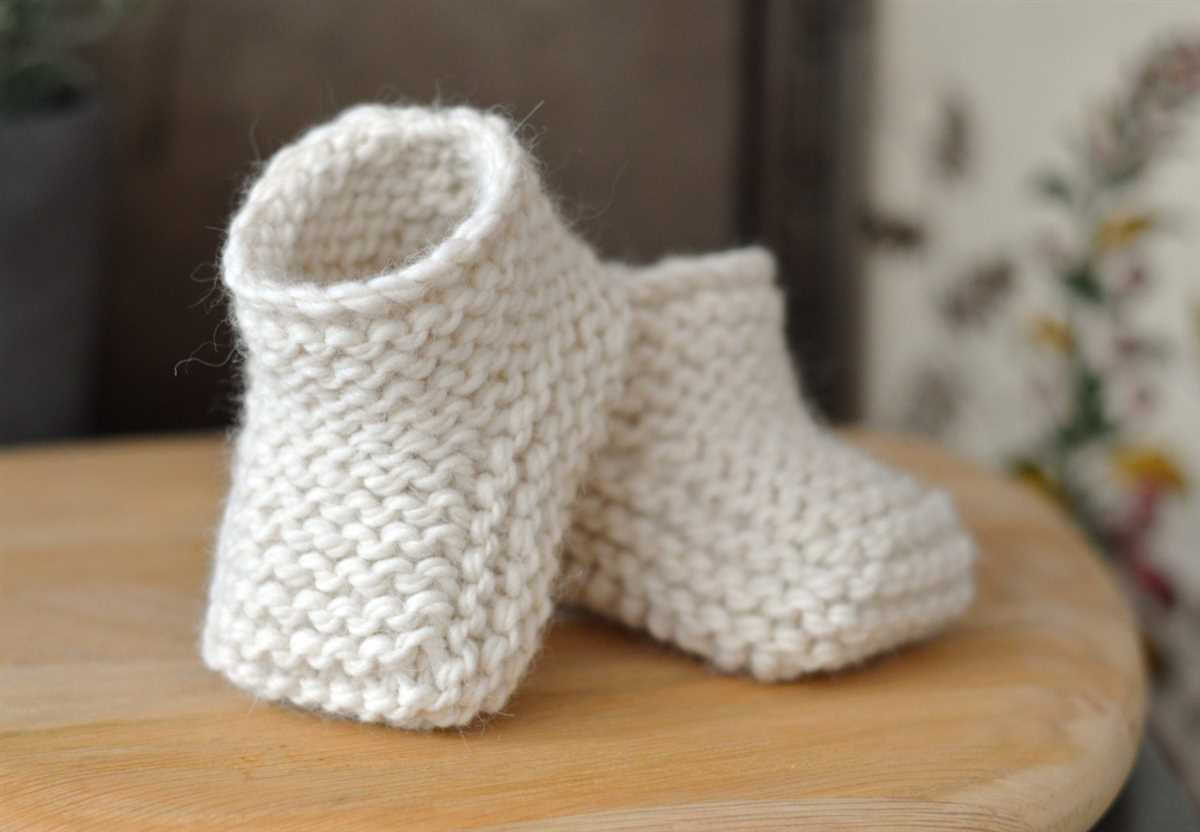
Knitting baby booties is a popular and enjoyable pastime for many knitters, and it’s easy to see why. Not only are baby booties small and quick to knit, but they also make a practical and adorable gift for any new baby. Whether you’re an experienced knitter or a beginner looking for a fun project, this easy baby bootie knitting pattern is perfect for you.
This baby bootie knitting pattern is designed with simplicity in mind, making it ideal for knitters of all skill levels. Even if you’ve never knit booties before, you’ll find this pattern easy to follow and quick to complete. With just a few basic stitches and techniques, you’ll have a pair of adorable booties ready for any little feet.
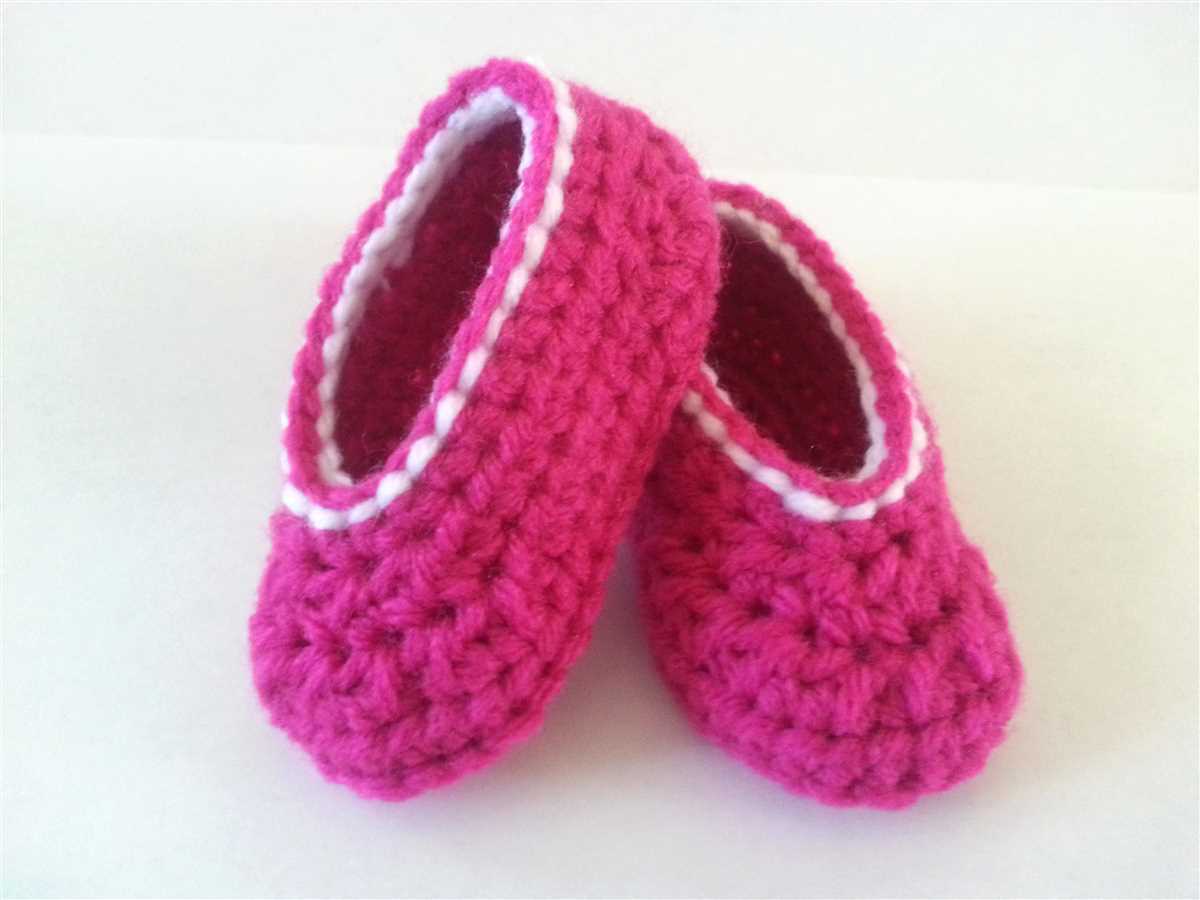
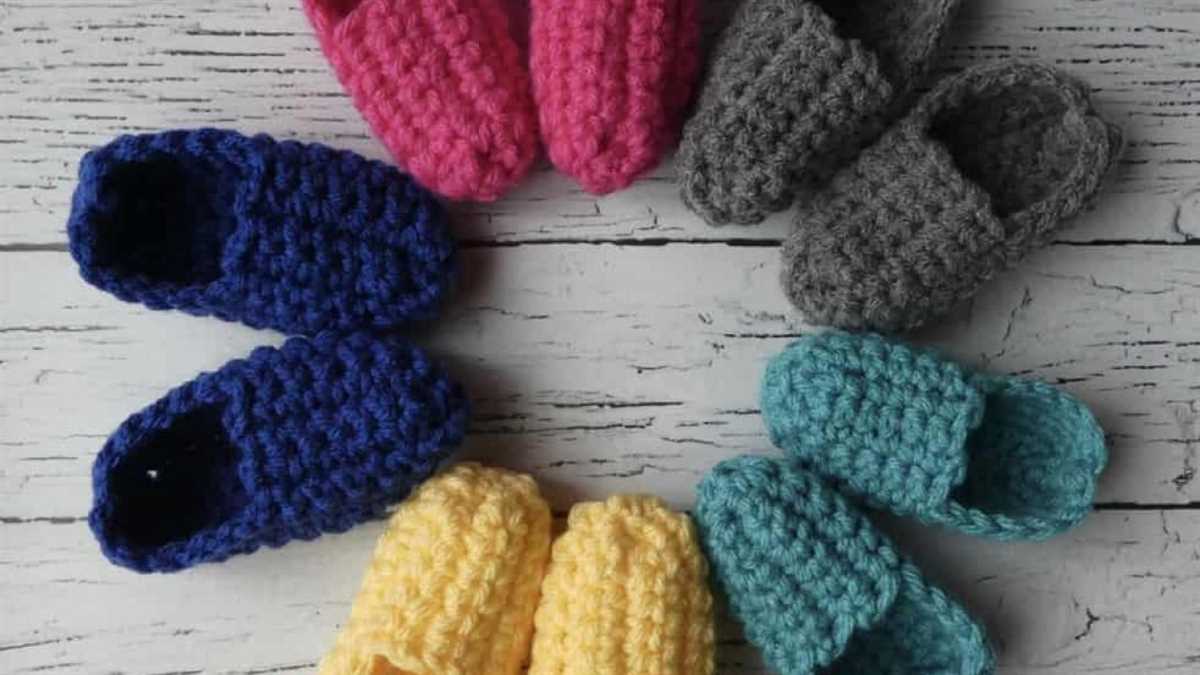
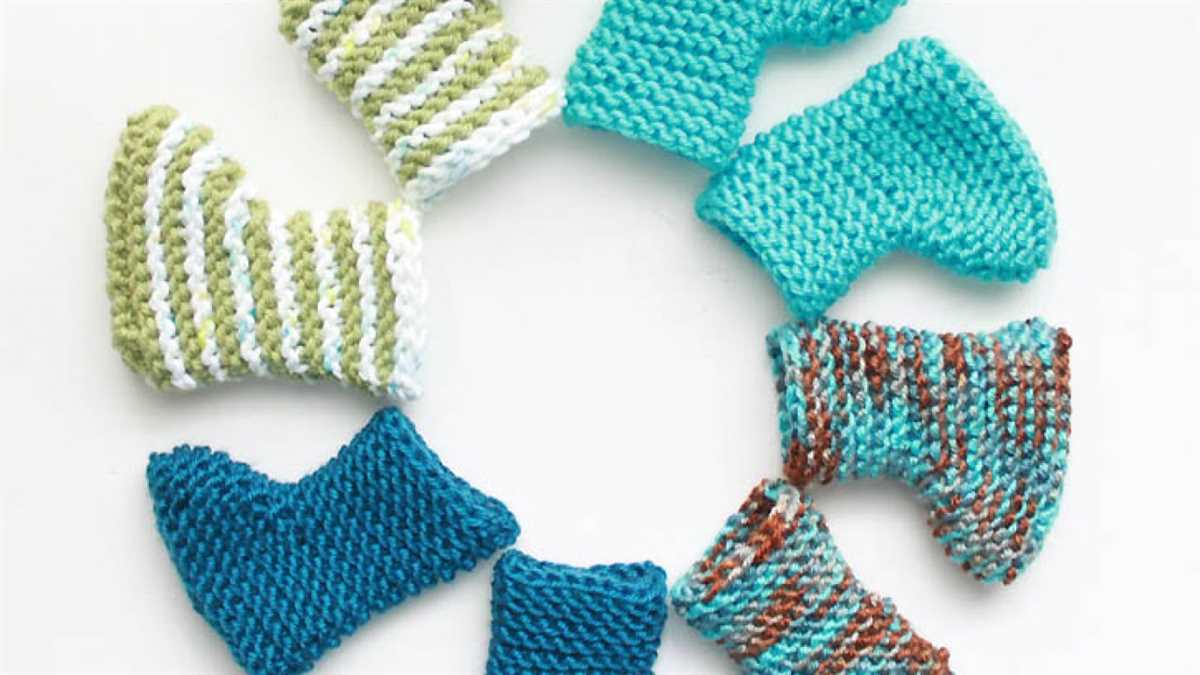
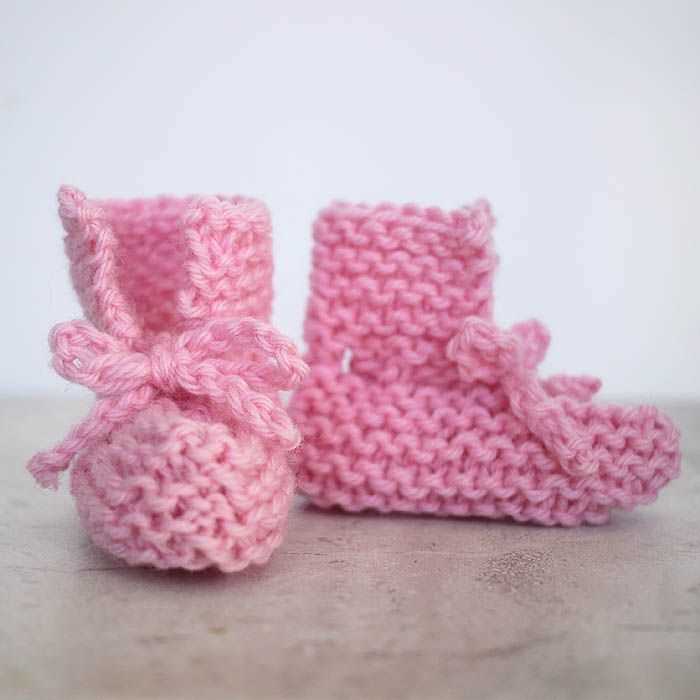
One of the great things about this pattern is its versatility. You can choose any color of yarn to match the baby’s wardrobe or gender, and you can even experiment with different yarn weights to achieve the desired size and warmth. Plus, the simple design leaves ample room for customization, so you can add your own special touches and embellishments.
So, what are you waiting for? Grab your knitting needles and get started on this easy baby bootie knitting pattern today. Whether you’re knitting for your own baby or for a loved one, these booties are sure to be a hit. With their softness, warmth, and undeniable cuteness, your little one will be stepping out in style in no time.
Baby Bootie Knitting Pattern Easy: Step-by-Step Instructions and Tips
Knitting baby booties can be a fun and rewarding project for both beginners and experienced knitters. With a few basic knitting techniques and a simple pattern, you can create adorable booties that will keep baby’s feet warm and stylish.
To get started, you will need some basic knitting supplies including yarn, knitting needles, and a tapestry needle. Choose a soft and washable yarn suitable for baby booties. Acrylic or cotton yarns are good choices for their durability and ease of care.
Step 1: Casting On
Begin by casting on the required number of stitches using the long tail cast on method. Make sure to leave a long tail for seaming later. The number of cast on stitches will depend on the size of the booties you are making, so refer to your pattern for specific instructions.
Step 2: Knitting the Cuff
After casting on, you will start knitting the cuff of the bootie. This can be done in a simple rib stitch or any other stitch pattern of your choice. Follow the pattern instructions for the desired length of the cuff.
Step 3: Shaping the Bootie
Next, you will begin shaping the foot of the bootie. This involves increasing and decreasing stitches to create the desired shape. You may need to switch to double-pointed needles or use the magic loop method as you decrease the number of stitches.
Step 4: Creating the Sole
Once you have shaped the foot, it’s time to create the sole of the bootie. This can be done by working a series of short rows or by knitting in the round. Follow your pattern for specific instructions on how to create the sole.
Step 5: Finishing and Seaming
After completing the sole, you will finish the bootie by seaming the edges together. Use a tapestry needle to stitch the sides and toe of the bootie, leaving an opening for the foot. Make sure to weave in any loose ends securely.
Once you have finished one bootie, repeat the steps to make a matching pair. You can customize your booties by adding embellishments such as buttons, bows, or pom-poms. Remember to always follow the pattern instructions and adjust for any sizing or stitch preference.
Choosing the Right Yarn and Needles
When it comes to knitting baby booties, choosing the right yarn and needles can make a big difference in the final outcome. The yarn you select should be soft and gentle against a baby’s delicate skin, as well as durable enough to withstand regular use and washing. It’s also important to consider the season and climate when choosing the yarn weight. For colder weather, a thicker yarn is recommended, while a lighter yarn can be used for warmer months.
To ensure the perfect fit and desired texture for your baby booties, selecting the right needles is equally important. The pattern you’re using should specify the recommended needle size, which will depend on the thickness of the yarn and the desired gauge. Using the wrong needles can result in a bootie that is too loose or too tight, and may also affect the overall look and feel of the finished product.
Yarn:
- Choose soft and gentle yarn
- Consider durability
- Think about the season and climate
- Select the appropriate yarn weight
Needles:
- Refer to the recommended needle size in the pattern
- Consider the yarn thickness and desired gauge
- Avoid using the wrong size needles
By taking the time to choose the right yarn and needles for your baby booties, you’ll be ensuring a comfortable fit and a high-quality finished product that is both practical and beautiful.
Getting Started: Casting On and Making the Sole
When it comes to knitting baby booties, getting started with the right techniques is essential. One of the first steps in creating a pair of baby booties is casting on. Casting on is the process of creating the initial stitches on your knitting needle. For this easy baby bootie pattern, you will need to cast on using the long tail cast on method. This method is commonly used in knitting and creates a sturdy foundation for your booties.
To make the sole of the baby bootie, you will need to cast on a certain number of stitches and then work in a specific pattern to create the desired shape and size. In this pattern, you will be knitting the sole in garter stitch, which means you will knit every row. This simple stitch creates a textured fabric that is both soft and durable for baby’s little feet. The garter stitch also provides a nice stretch, ensuring a comfortable fit for your baby.
To begin, cast on the required number of stitches using the long tail cast on method. Make sure to leave a long tail at the beginning of your cast on, as this will be used later for seaming the sole. Once you have cast on your stitches, you can begin knitting the sole in garter stitch. Knit every row until the sole reaches the desired length. The pattern will provide specific measurements for different sizes, allowing you to customize the booties to fit your baby perfectly.
As you progress with knitting the sole, it is important to keep track of your row count to ensure the booties are symmetrical. You can use stitch markers or simply count your rows as you go. Once the sole has reached the desired length, you can move on to the next step in the pattern, which is shaping the toe and instep of the bootie. This is where the true shape of the bootie will start to take form.
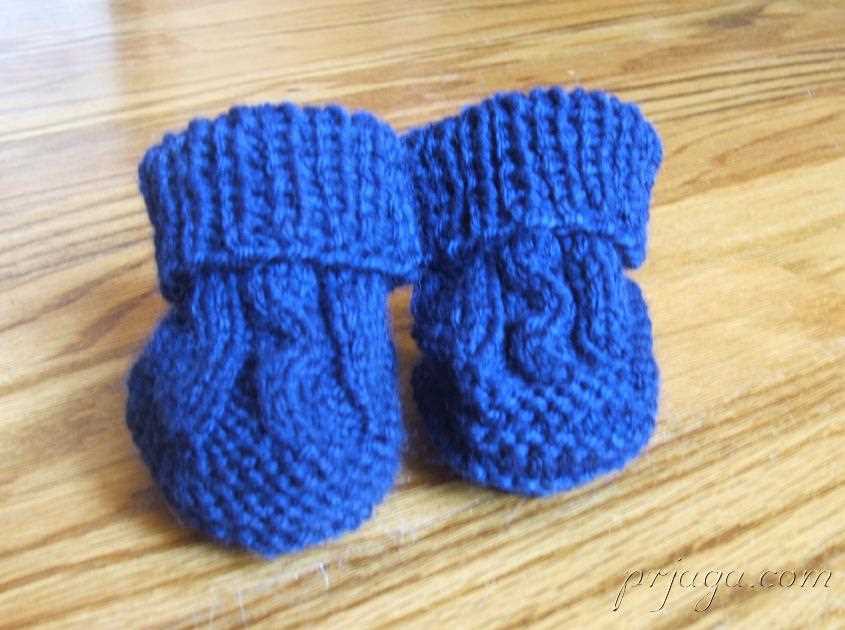
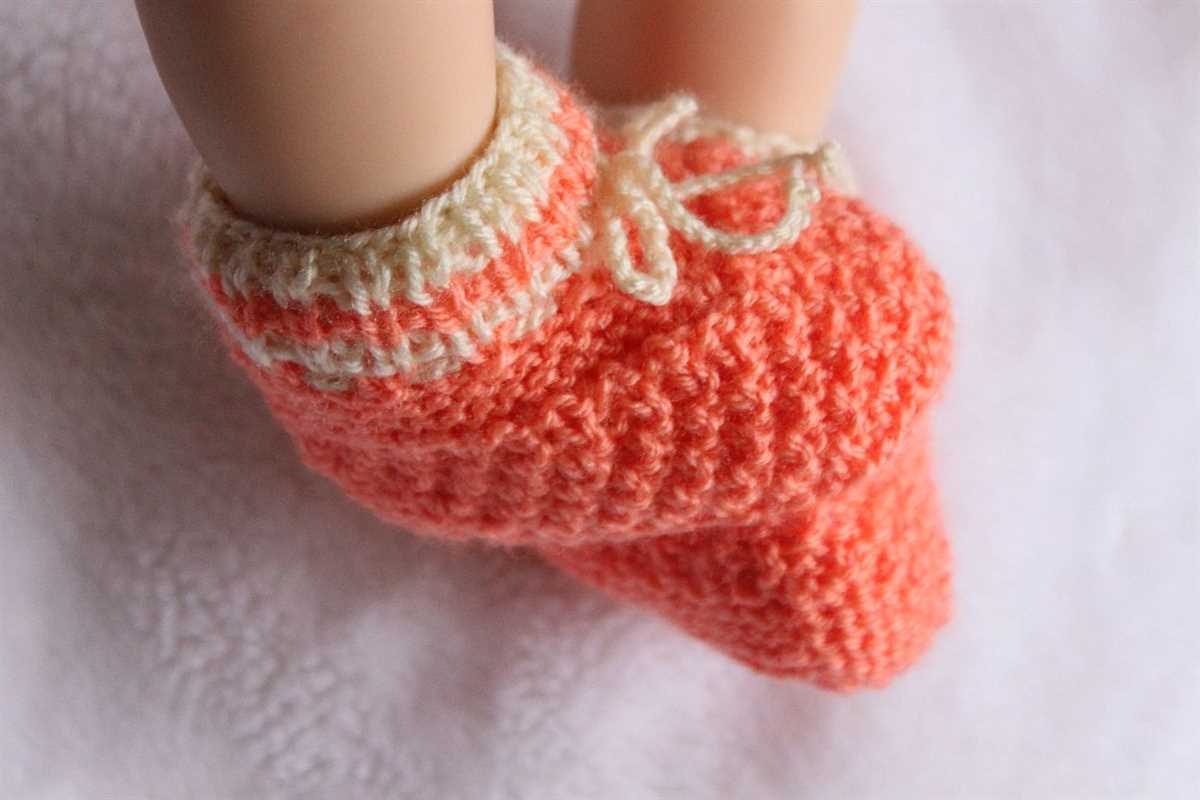
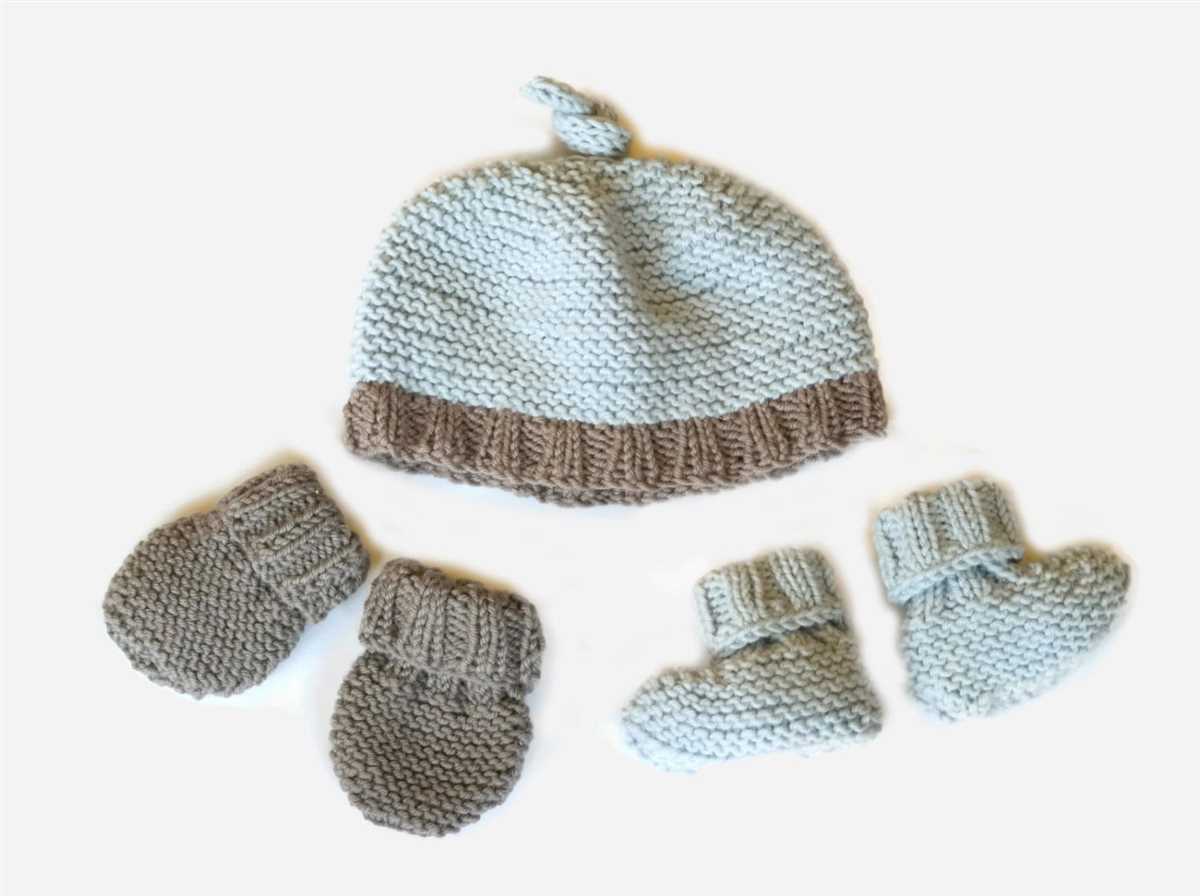
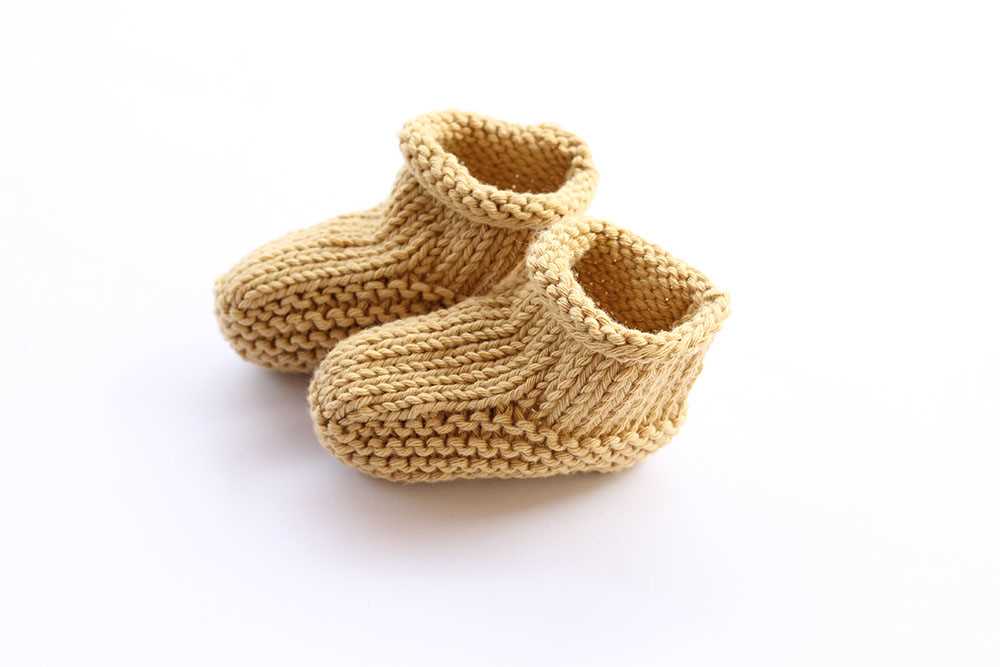
Knitting the Cuff
Once you have completed the sole of the baby bootie, it’s time to move on to knitting the cuff. The cuff is the part of the bootie that goes around the ankle and helps to keep it secure on the baby’s foot. It also adds a decorative touch to the bootie. Knitting the cuff is relatively simple, and you can choose from a variety of stitch patterns to create different looks.
To start knitting the cuff, you will need to pick up stitches along the edge of the sole. This is done by inserting your knitting needle into the edge of the sole and pulling a loop of yarn through. You will then continue to pick up stitches evenly along the edge, making sure to maintain the correct stitch count specified in the pattern. Once all the stitches are picked up, you will join them in the round by knitting the first stitch of the cuff together with the last stitch of the sole.
Once you have joined the cuff in the round, you can begin knitting the desired stitch pattern. Some popular options for baby bootie cuffs include ribbing, garter stitch, and seed stitch. These stitch patterns add texture and stretch to the cuff, making it more comfortable for the baby to wear. You can also experiment with different colors of yarn or add embellishments like buttons or bows to personalize the booties.
When knitting the cuff, it’s important to pay attention to the length specified in the pattern. The cuff should be long enough to comfortably fit around the baby’s ankle without being too tight or too loose. You can try the bootie on a baby doll or measure the circumference of a baby’s ankle to ensure the cuff is the right size. Once you have completed knitting the cuff, you can bind off the stitches and weave in any loose ends. Your baby booties are now ready to be worn or given as a special gift!
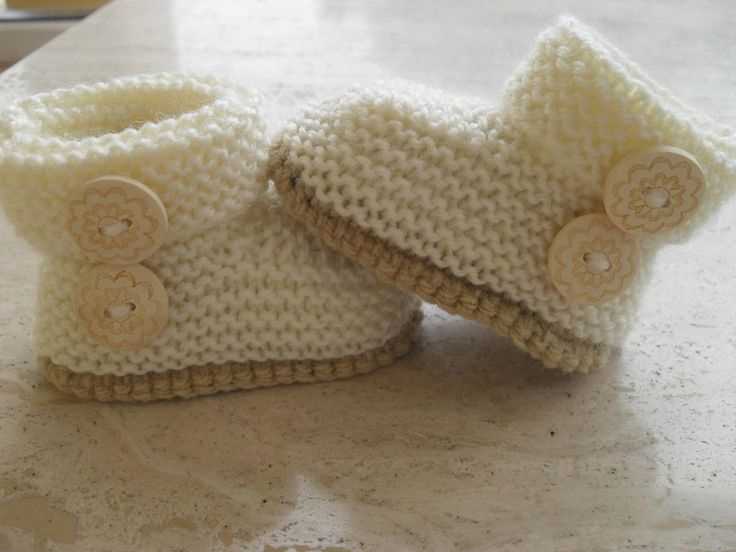
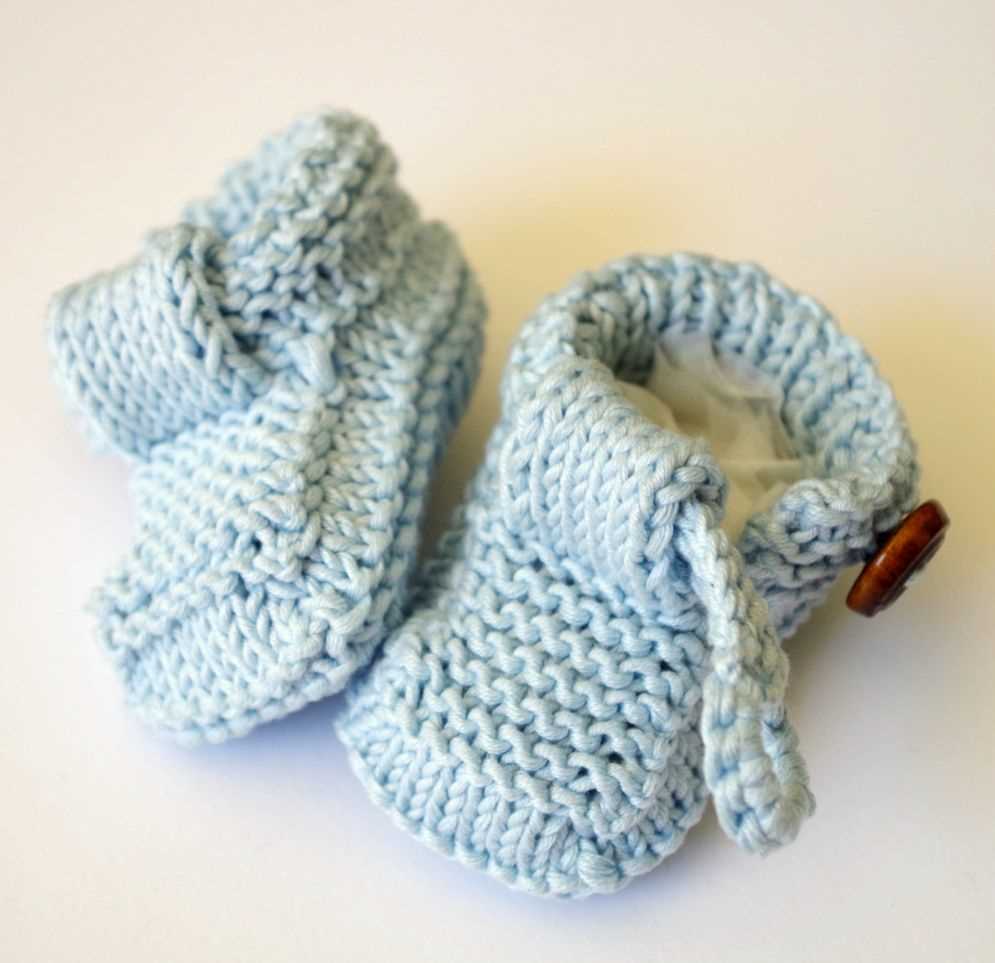
Adding a Cute Button or Embellishment
One way to make a baby bootie even more adorable is by adding a cute button or embellishment. This small detail can add a touch of whimsy and personality to the booties, making them even more special for the little one wearing them.
Buttons: When choosing a button for your baby booties, opt for one that is small and lightweight. Avoid buttons that are too big or bulky, as they may be uncomfortable for the baby. You can choose a button in a complementary color to the yarn you used for the booties, or you can go for a contrasting color to make the button stand out. Sew the button securely onto the bootie, making sure it is attached tightly so it won’t come loose during wear.
Embellishments: In addition to buttons, there are many other embellishments you can add to your baby booties. Consider using small bows, flowers, or pom poms to decorate the booties. These can be made from the same yarn as the booties or from a contrasting yarn for added visual interest. Attach the embellishments securely to the booties using a needle and thread, making sure they are secure and won’t pose a choking hazard to the baby.
When adding a button or embellishment to your baby booties, always consider the safety and comfort of the baby. Avoid using small parts that could come loose and be swallowed, and make sure any attachments are securely fastened. With a cute button or embellishment, your baby booties will be even more adorable and unique.
Shaping the Toe: Decreasing Stitches
When knitting baby booties, one of the essential steps is shaping the toe by decreasing stitches. This creates a rounded and tapered end to the bootie, ensuring a comfortable fit for the baby’s foot.
To start decreasing stitches, you will typically divide the stitches evenly between two or three double-pointed needles. This allows for easier manipulation of the stitches during the decreasing process. You can also use stitch markers to mark the beginning and end of each section.
There are different methods for decreasing stitches, including the knit two together (k2tog) and the slip, slip, knit (ssk) techniques. These decrease methods can be alternated or combined to achieve the desired shape.
- Knit Two Together (K2tog): This is the most common decrease method and involves knitting two stitches together as if they were one. Insert the right needle into the next two stitches from left to right, then knit them as a single stitch. This reduces the stitch count by one.
- Slip, Slip, Knit (ssk): This decrease method creates a left-leaning decrease. Slip the next two stitches from the left needle to the right needle one at a time as if to knit. Then insert the left needle into the front loops of these two slipped stitches and knit them together through the back loops. This decreases the stitch count by one and creates a left-leaning slant.
Continue decreasing stitches in this manner, following the pattern instructions, until the desired number of stitches remains. Typically, you will continue decreasing until only a few stitches are left. Finally, cut the yarn, leaving a tail for sewing, and carefully thread it through the remaining stitches to secure the toe of the bootie.
Finishing Off: Binding Off and Weaving in Ends
After completing the final row of your knitted baby bootie, it’s time to finish off your work by binding off and weaving in any loose ends.
To bind off, simply knit two stitches as usual, then use your left needle to lift the first stitch over the second stitch and off the right needle. Continue this process, knitting one stitch and lifting the previous stitch over it, until you have only one stitch remaining. Cut your yarn, leaving a tail, and pull it through the final stitch to secure it.
Next, take a tapestry needle and thread the loose end of the yarn onto it. Weave the needle through the back of your knitting, going in different directions to ensure the end is securely hidden. Trim any excess yarn, being careful not to cut through your stitches.
Repeat this binding off and weaving in ends process for any other loose ends you may have, such as if you changed colors or added a decorative element to your bootie. Taking the time to properly finish off your knitting will give your booties a professional and polished look.
Sewing the Bootie Seam

After knitting the baby bootie pieces, it’s time to sew the seam together to complete the bootie. Sewing the bootie seam is an essential step in the process of making a pair of cute and cozy booties for your little one.
Materials needed:
- Knitting needle
- Tapestry needle
- Matching yarn or thread
- Scissors
Start by placing the two knitted pieces with the right sides facing each other. Align the edges of the pieces and secure them in place with pins or stitch markers. This will help keep the pieces aligned while sewing the seam.
Thread the tapestry needle with matching yarn or thread. Starting from one end, insert the needle through both layers of fabric, going from the inside to the outside. Pull the yarn through, leaving a small tail on the inside for later weaving in.
Using a method such as mattress stitch or whip stitch, sew the seam together. Make sure to sew through both layers of fabric, going back and forth between the two sides to create a neat and secure seam.
Continue sewing until you reach the other end of the bootie. Secure the yarn or thread by weaving it in the inside of the bootie, and trim any excess yarn or thread with scissors.
Repeat the sewing process for the second bootie to complete your pair of baby booties. Once the seams are sewn, turn the booties right side out and gently shape them with your hands.
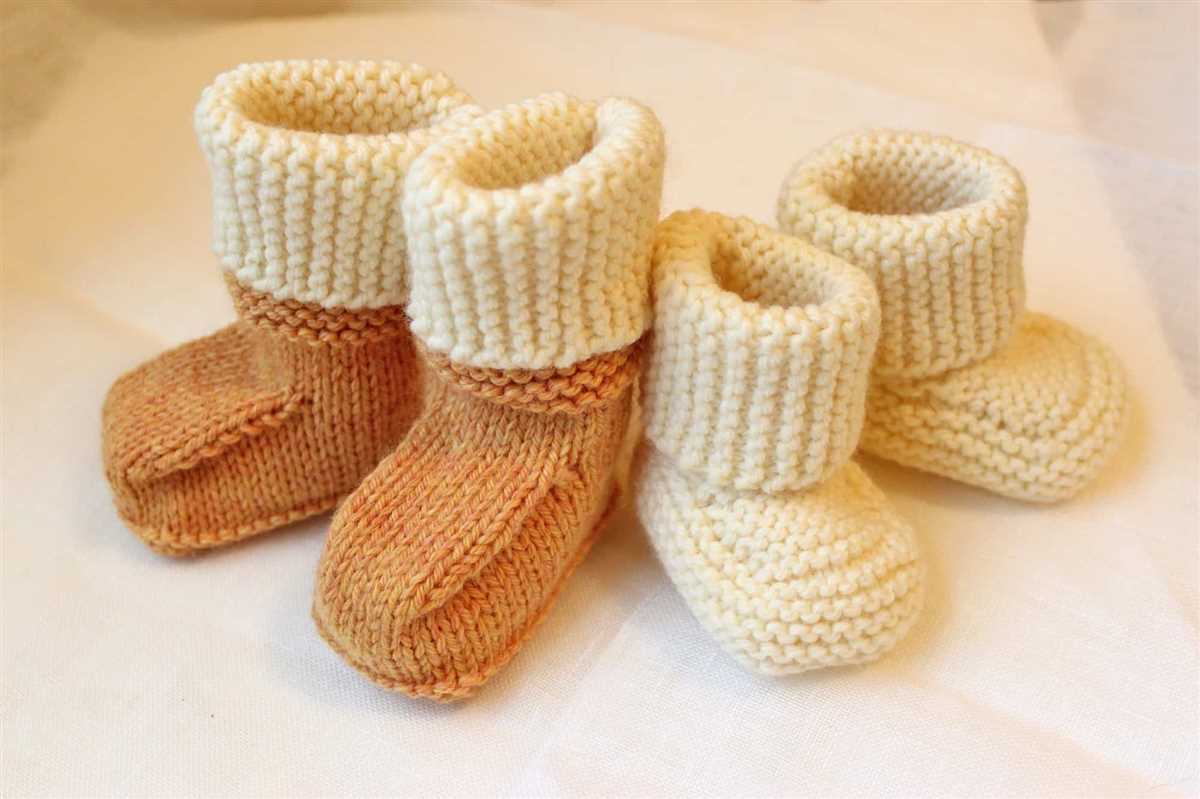
Making a Matching Pair
When knitting baby booties, it’s essential to create a matching pair that will keep your little one’s feet warm and cozy. Whether you’re a beginner or an experienced knitter, following a simple knitting pattern can help you achieve the desired outcome.
Choosing the Right Yarn: Start by selecting a soft and warm yarn that is suitable for baby booties. Look for yarn that is specifically labeled as “baby yarn” or “baby soft” to ensure it is gentle on the baby’s delicate skin.
Measuring and Gauge: Before you begin knitting, measure the baby’s foot to determine the appropriate size. Use a measuring tape to measure the length and width of the foot. Additionally, check the gauge mentioned in the knitting pattern to ensure that your bootie will come out the correct size.
Gathering the Materials:
- Knitting needles in the recommended size
- A tapestry needle for weaving in ends
- A stitch marker to keep track of your progress
- Buttons, ribbon, or other embellishments for added style
Following the Knitting Pattern:
- Cast on the required number of stitches and join in the round.
- Follow the pattern instructions step by step, which may include knitting, purling, decreasing, and shaping the bootie.
- Make sure to read and understand any abbreviations or special stitches used in the pattern.
- Work the pattern until you reach the desired length for the foot and cuff of the bootie.
Completing the Pair: Once you finish knitting the first bootie, it’s time to make a matching pair. Use a stitch marker to mark the beginning of the round, and follow the same pattern instructions to create the second bootie.
Remember, making a matching pair of baby booties requires attention to detail and careful following of the knitting pattern. Take your time, and soon you’ll have a beautiful set of booties for your little one to enjoy!
Customizing Your Baby Booties
When knitting baby booties, there are plenty of opportunities to add your own personal touch and customize them to your liking. Whether you want to make them more stylish, unique, or simply match them to a specific outfit, here are some ideas to help you get started.
Color Selection
One of the easiest ways to customize baby booties is by choosing the right colors. You can go with traditional pastel shades for a classic look, or opt for bold and vibrant colors for a more modern feel. Consider using contrasting colors for the cuffs or adding a pop of color to the toe area for an eye-catching detail.
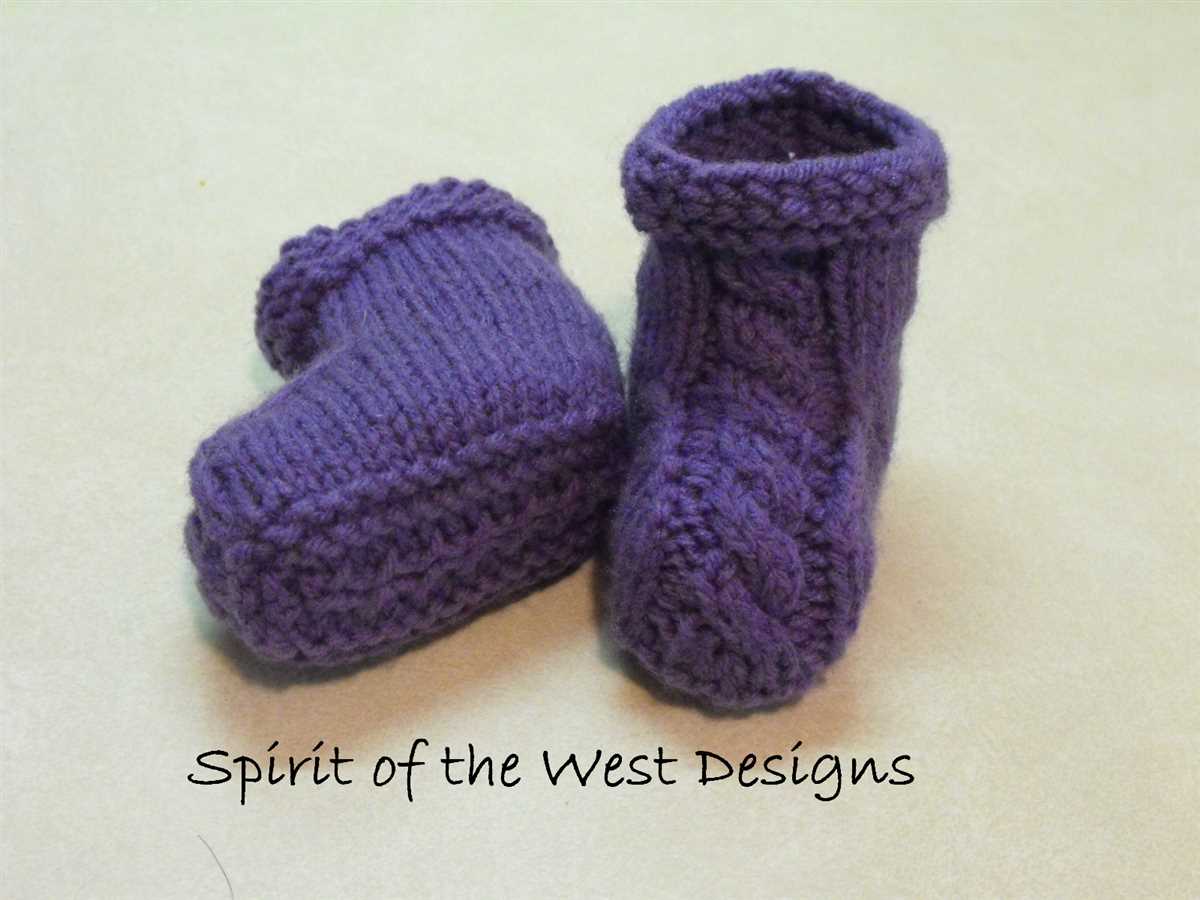
Pattern Variation
If you are comfortable with more advanced knitting techniques, you can experiment with different patterns to give your booties a unique texture. Try using a cable stitch for added dimension or incorporate lace motifs for an elegant touch. You can also mix and match patterns for a fun and playful look.
Embellishments
Adding embellishments is another great way to customize your baby booties. You can attach small buttons or bows to the cuffs for a cute and feminine look. Consider using appliques or embroidered motifs to personalize the booties with names, initials, or cute animal designs. Be sure to use baby-safe materials and secure any embellishments properly.
Size Adjustment
Every baby has unique feet, so customizing the size of the booties is important for a perfect fit. Take accurate measurements of the baby’s feet and adjust the pattern accordingly. You can also add elastic bands or ribbons to ensure the booties stay securely in place without being too tight.
Material Choice
The type of yarn you choose can greatly affect the look and feel of the baby booties. Opt for soft and breathable materials like cotton or bamboo for summer months, or use cozy and warm yarns like wool or acrylic for colder seasons. Experimenting with different textures can also add an interesting element to the finished booties.
By customizing your baby booties, you can create a unique and special item that reflects your own style and personality. Whether you choose to play with colors, patterns, embellishments, size adjustments, or material choices, the options are endless. Have fun and enjoy the process of creating something beautiful for your little one.
Tips for Washing and Caring for Knitted Baby Booties
Knitted baby booties require special care to ensure they stay in good condition and last a long time. Here are some tips for washing and caring for your knitted baby booties:
1. Follow the Care Instructions:

Before washing your baby booties, always check the care instructions provided with the yarn. Different yarns may have different washing instructions, such as hand-washing only or machine-washable on a gentle cycle. Following these instructions will help keep your booties looking their best.
2. Hand Wash or Machine Wash on Gentle Cycle:
If the yarn allows for machine washing, place your baby booties in a lingerie bag or pillowcase to protect them from getting tangled or stretched. Use a small amount of gentle detergent and wash them on a gentle or delicate cycle. Avoid using harsh detergents or bleach, as they may damage the booties or cause colors to fade.
3. Air Dry:
After washing, it’s best to air dry your knitted baby booties to prevent them from shrinking or losing their shape. Lay them flat on a clean towel or dry them on a drying rack. Avoid hanging or wringing them, as this can stretch or distort the booties.
4. Store Properly:
When not in use, store your knitted baby booties in a dry, clean place to protect them from dust, dirt, and moisture. You can keep them in a drawer, a shoebox, or a dedicated storage container to ensure they stay in good condition until they are needed again.
5. Repair as Needed:
Over time, knitted baby booties may develop small holes or loose threads. Check them regularly and repair any damage using matching yarn and a tapestry needle. This will help prolong the life of your baby booties and keep them looking their best.
By following these tips for washing and caring for your knitted baby booties, you can ensure that they stay soft, cozy, and adorable for your little one to enjoy.