
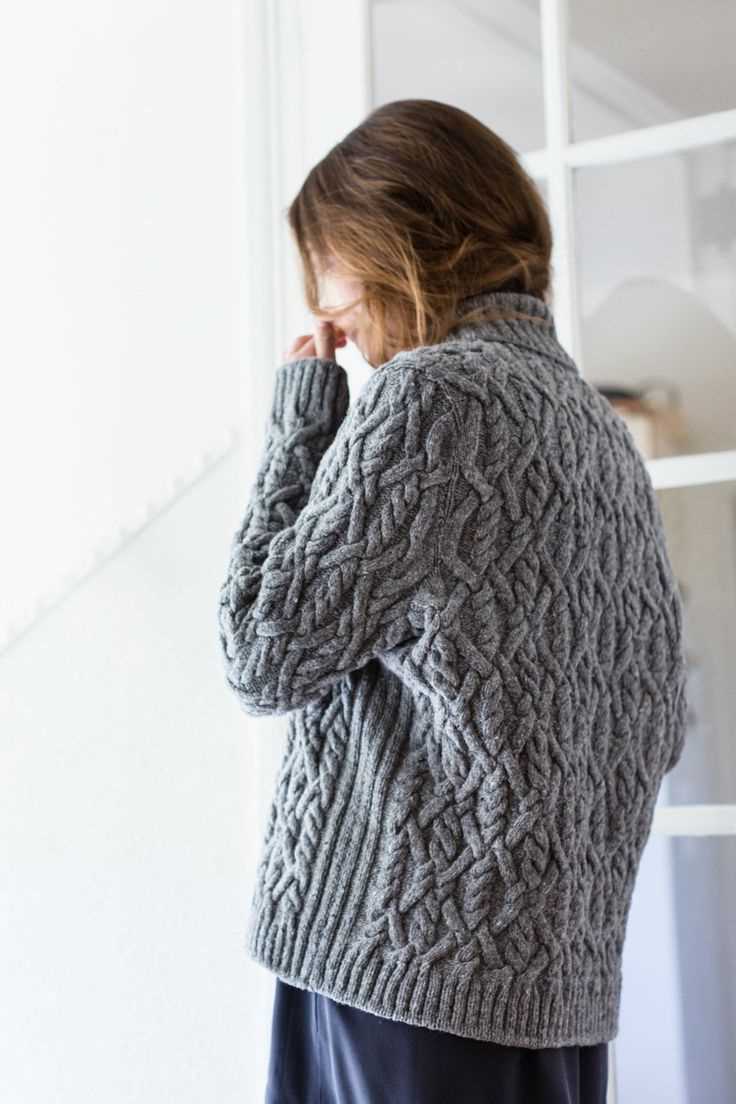
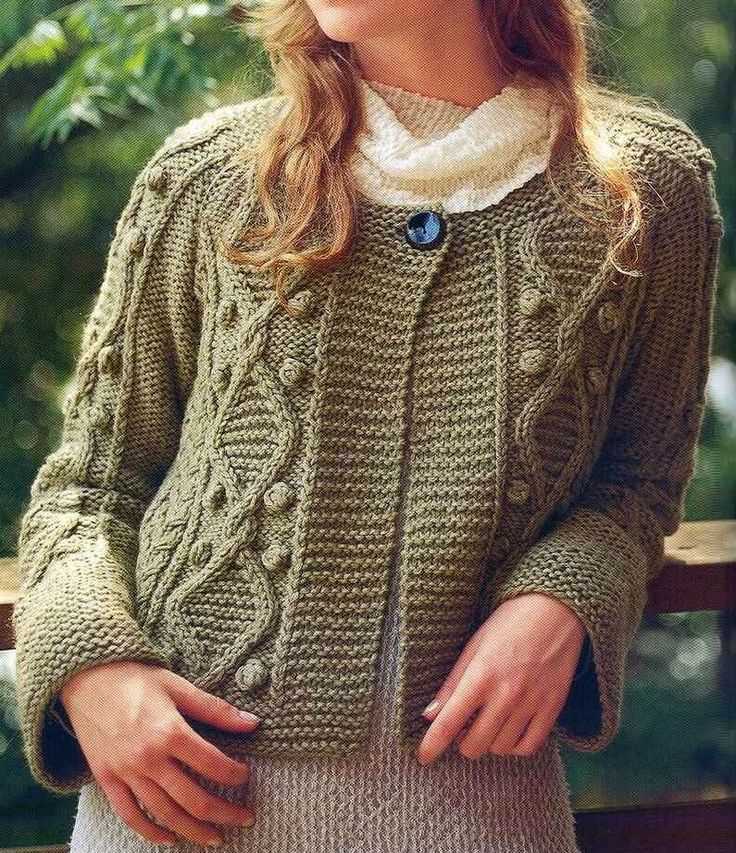
If you enjoy knitting and you’re looking for a new project, why not try your hand at knitting an Aran cardigan? This classic style of cardigan originated in the Aran Islands of Ireland and is known for its intricate cable patterns and cozy warmth. With this knitting pattern, you can create a beautiful and timeless garment that will keep you snug during the colder months.
The Aran cardigan knitting pattern is not for the faint of heart, as it requires intermediate to advanced knitting skills. However, with a little practice and patience, you’ll be able to master the unique stitches and techniques that give this cardigan its distinctive look. The pattern typically calls for a medium-weight yarn and a set of circular knitting needles, as well as a cable needle for the intricate cable designs.
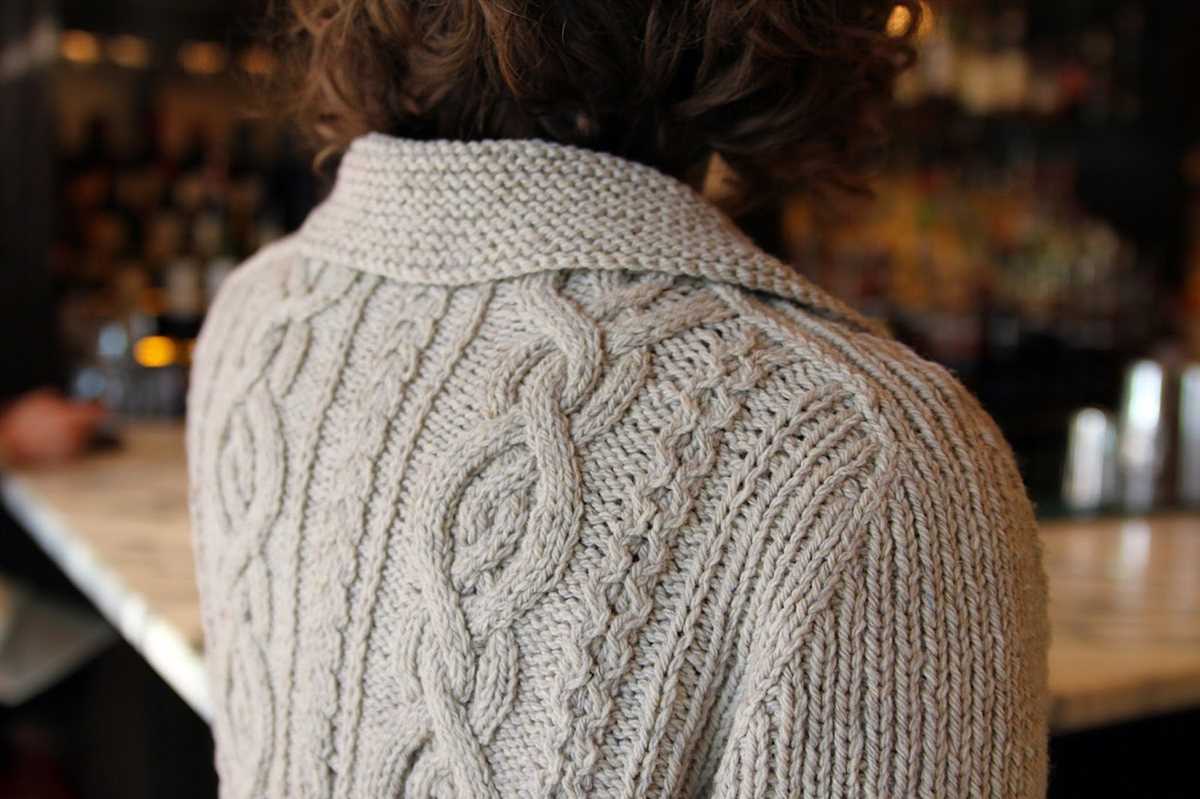
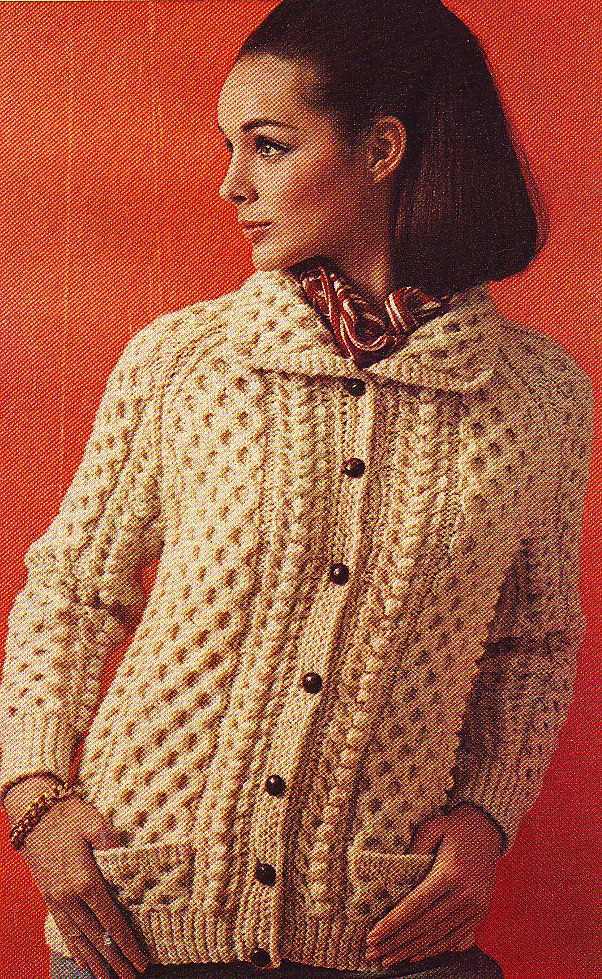
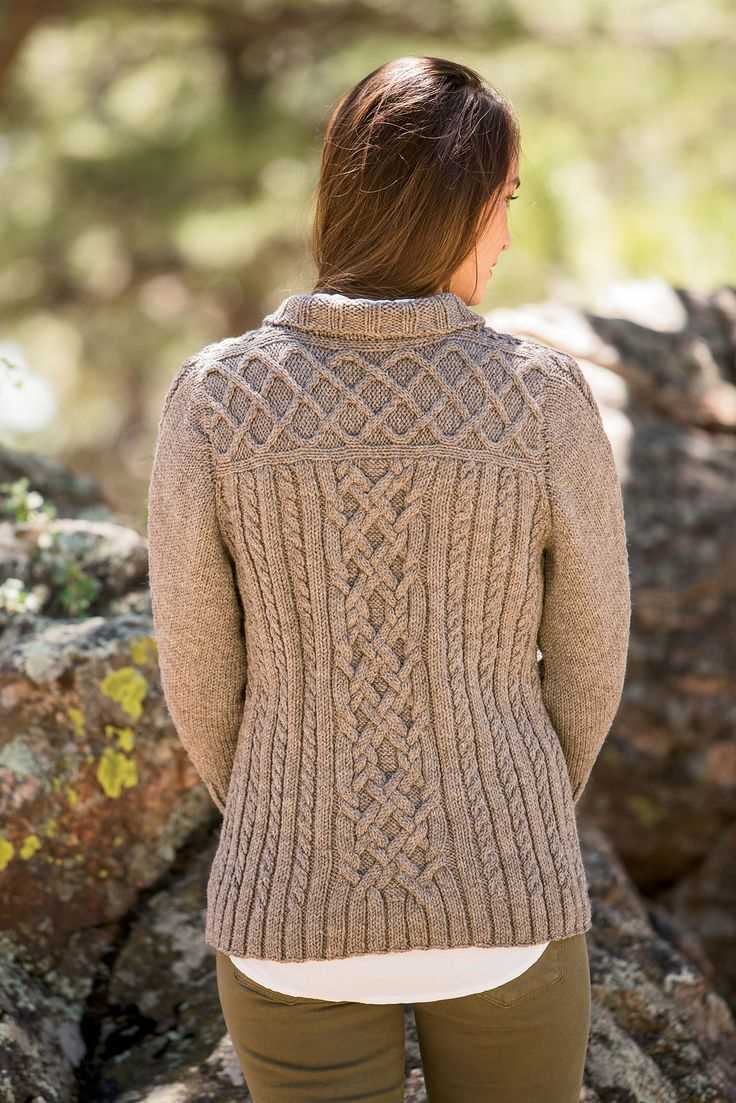
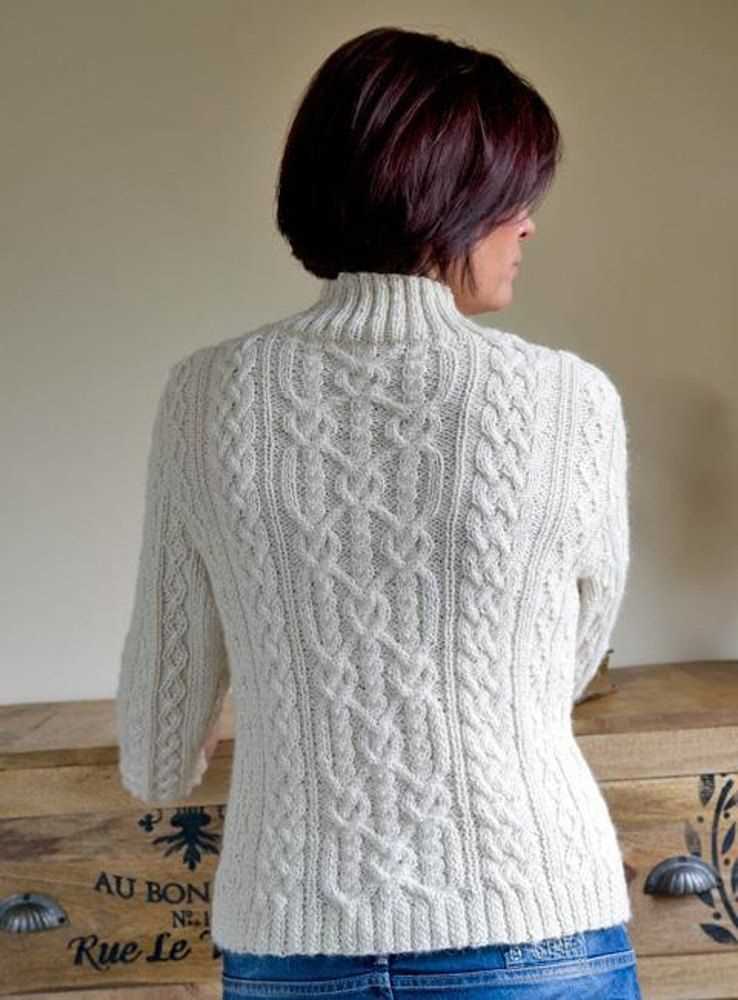
One of the highlights of knitting an Aran cardigan is the endless variety of cable patterns you can incorporate into your design. From classic twists and braids to more intricate diamond and honeycomb patterns, each cable stitch adds its own unique texture and visual interest to the finished garment. You can choose to follow a specific cable pattern from a knitting pattern book or get creative and design your own.
The History of Aran Cardigans
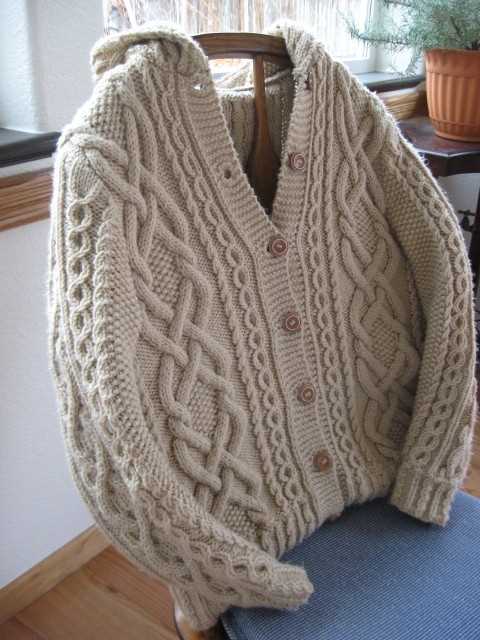
The Aran cardigan is a beloved knitwear item that has a rich history dating back to the early 1900s. Originating from the Aran Islands in Ireland, these cardigans were traditionally hand-knitted by the local fishermen’s wives. Each garment was unique, with intricate patterns passed down through generations and representing different families or clans.
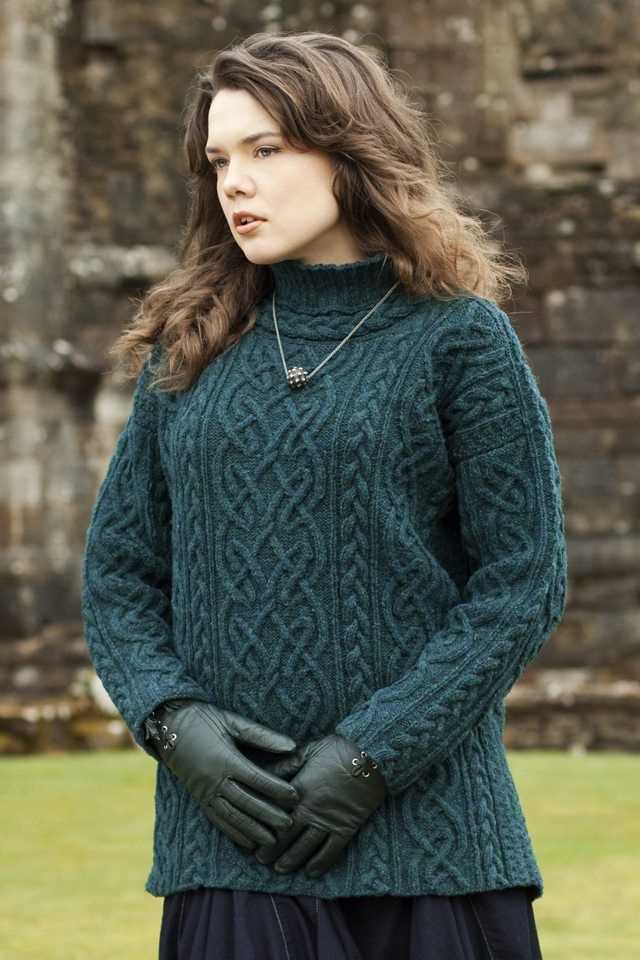
The distinctive patterns found on Aran cardigans have deeper meanings beyond their aesthetic appeal. They were believed to bring good luck and protection to the wearer, with each stitch symbolizing a different aspect of island life. For example, cables symbolize the fishing ropes used by the fishermen, while diamond patterns represent the fields and prosperity of the island.
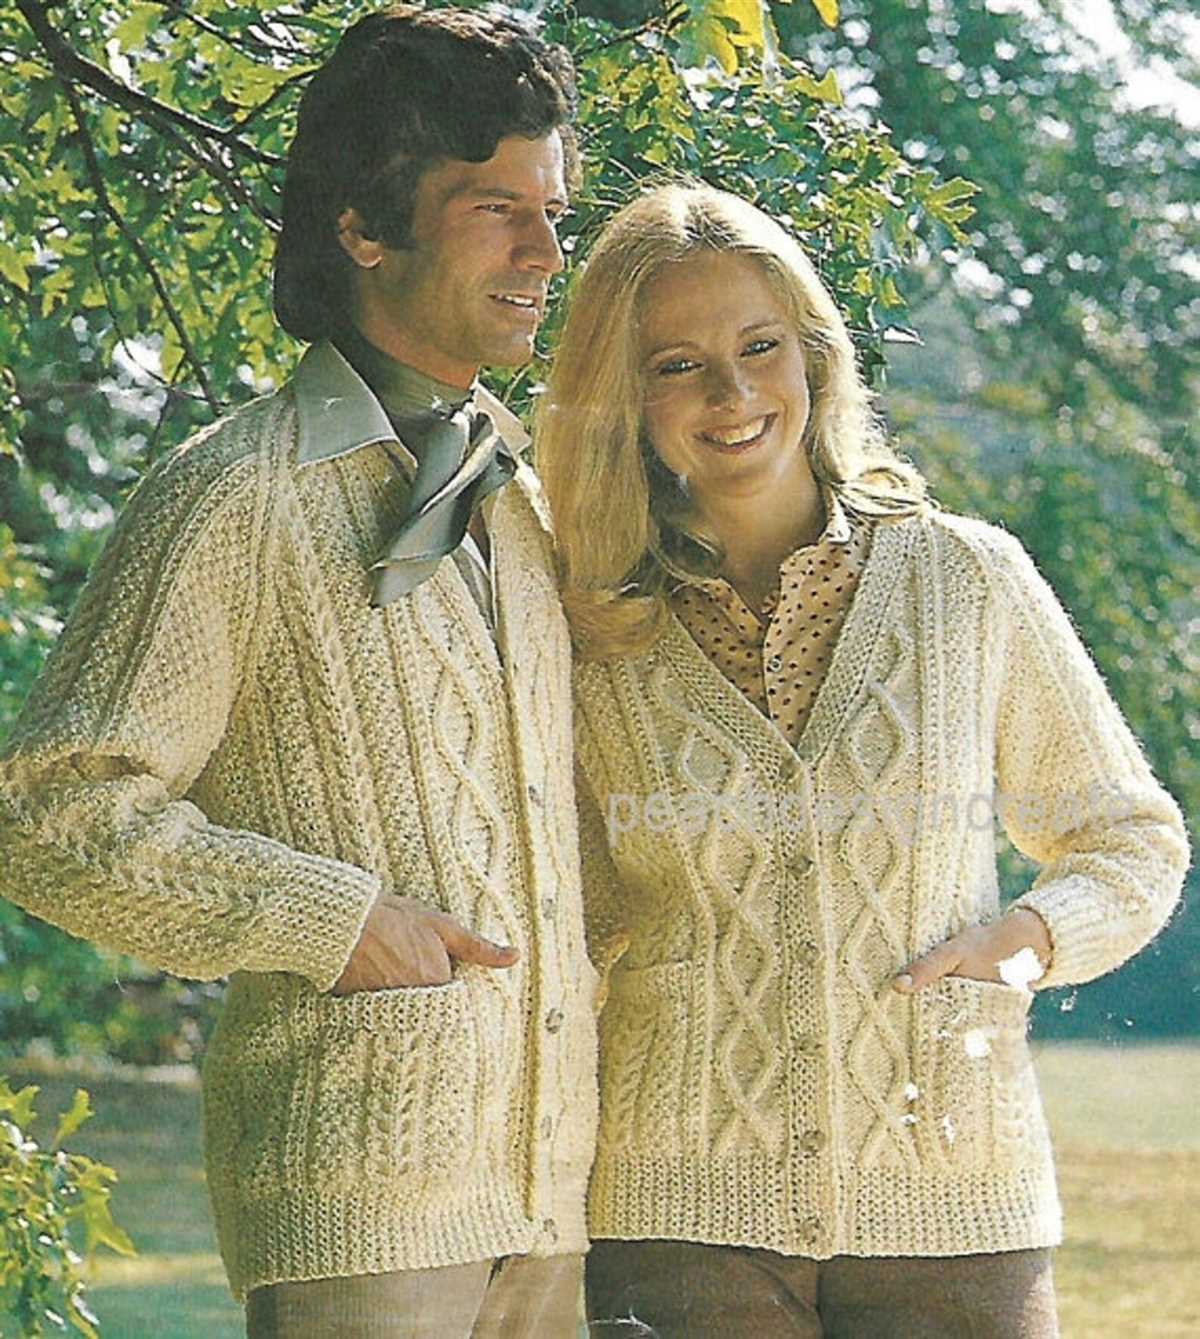
During the mid-20th century, Aran cardigans gained popularity beyond the islands and became a fashion trend worldwide. The rich history and symbolism associated with these sweaters, combined with their warmth and durability, made them highly sought after. Famous personalities such as Grace Kelly and Steve McQueen were often seen wearing Aran cardigans, further contributing to their popularity.
Today, the tradition of hand-knitting Aran cardigans is kept alive by skilled artisans who continue to create these timeless pieces. While technological advancements have made it possible to produce Aran cardigans on a larger scale, there is still a demand for handcrafted garments, which showcase the intricate patterns and craftsmanship that are unique to each piece.
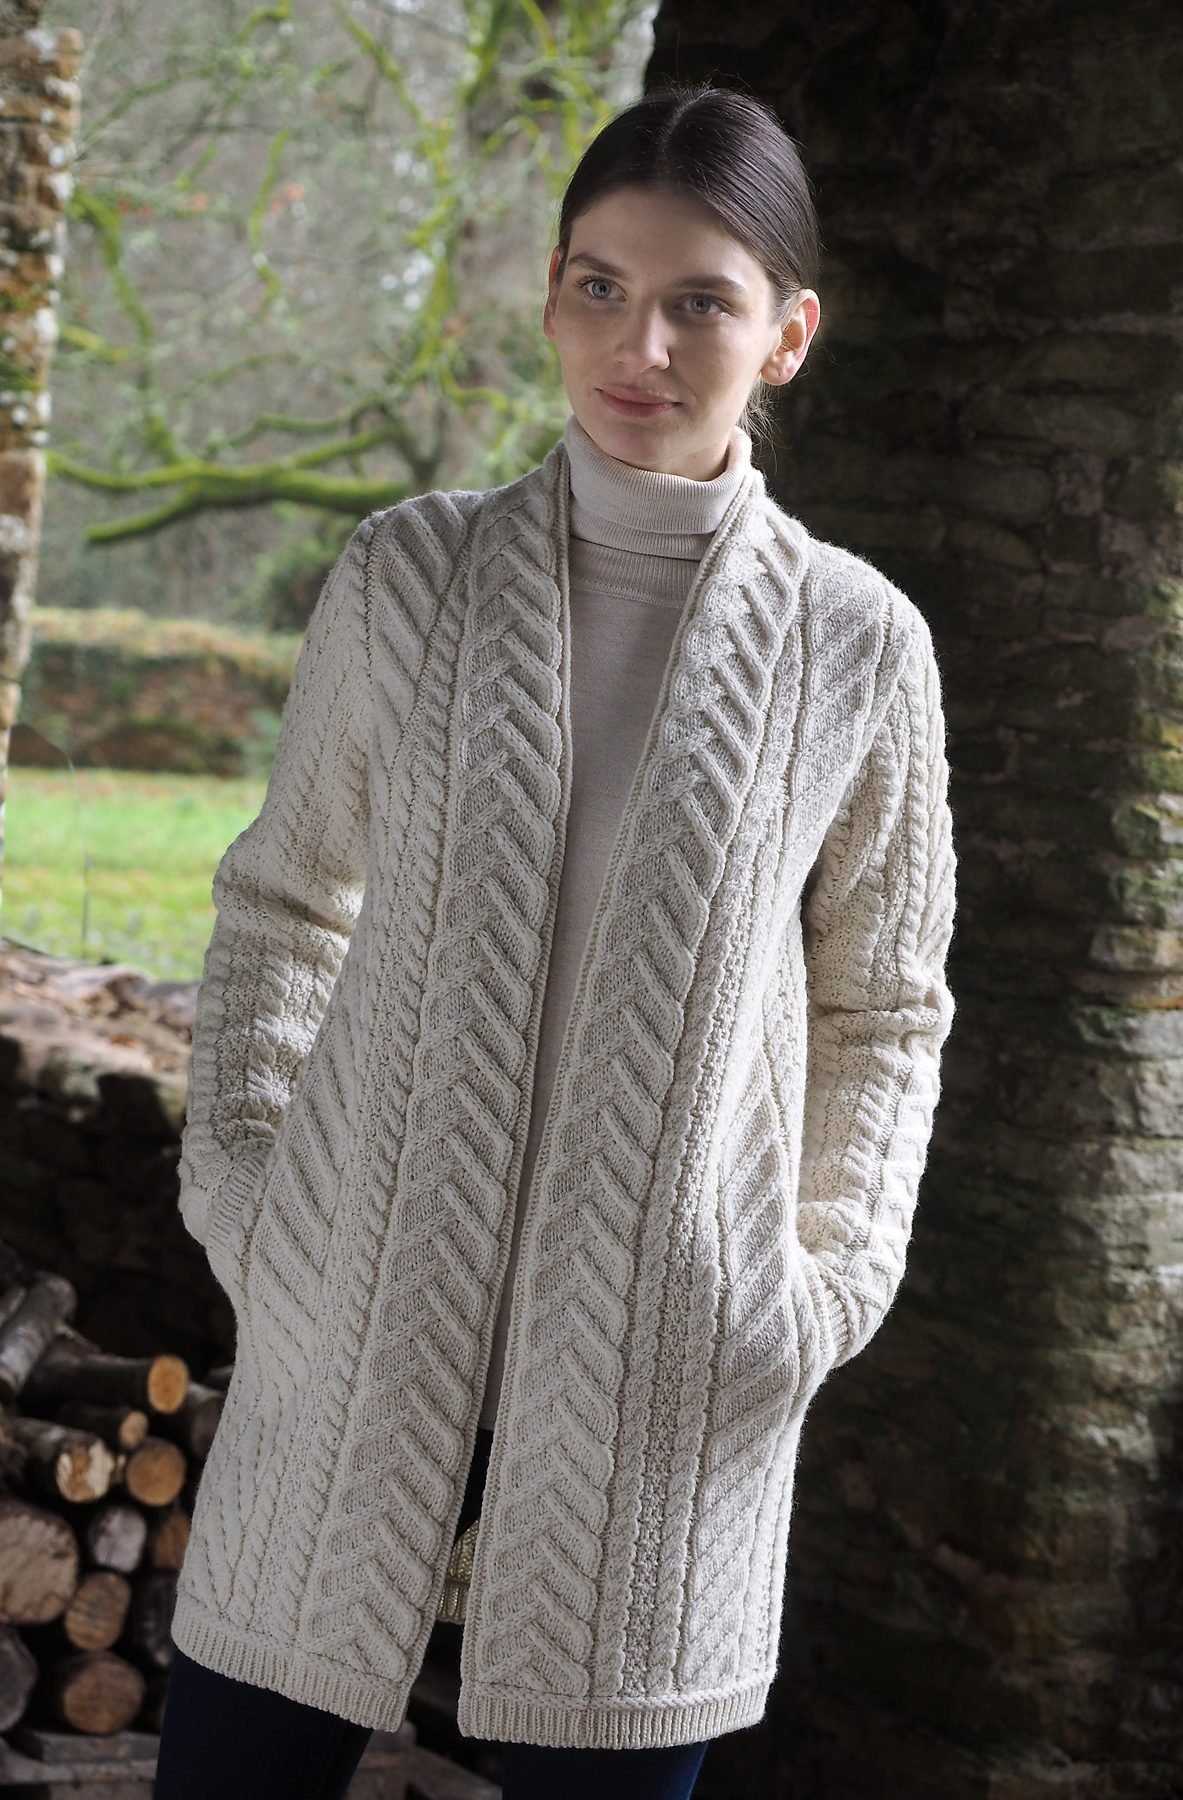
With their rich history, symbolic patterns, and enduring popularity, Aran cardigans remain a staple in both traditional and contemporary fashion. Whether worn as a cozy sweater or a stylish layering piece, these cardigans continue to captivate and inspire, bridging the gap between past and present, and connecting wearers to the heritage of the Aran Islands.
Choosing the Right Yarn for Your Aran Cardigan
When it comes to knitting an Aran cardigan, choosing the right yarn is crucial. The yarn you choose will not only determine the look and feel of your finished project but also affect its durability and how it will hold up over time. Here are a few important factors to consider when selecting the perfect yarn for your Aran cardigan.
Fiber Content: One of the first things to consider is the fiber content of the yarn. Traditional Aran cardigans are typically knit with wool yarn, as it provides excellent warmth and is breathable. However, you can also consider blends that combine wool with other fibers such as alpaca or silk for added softness or drape.
Weight: The weight of the yarn will determine the thickness and heaviness of your Aran cardigan. Aran weight yarn, which is a medium-weight yarn, is often used for these types of projects. However, you can also experiment with other weights, such as bulky or worsted, to achieve different effects. Keep in mind that the weight of the yarn may also affect the size of your stitches and the overall gauge of your project.
Texture: Aran cardigans are known for their intricate cable and texture patterns. When choosing yarn, consider how well it will showcase these patterns. Yarn with good stitch definition will highlight the details of the cables and create a visually stunning finished product. Look for yarn that has a smooth texture and is not too fuzzy or fluffy.
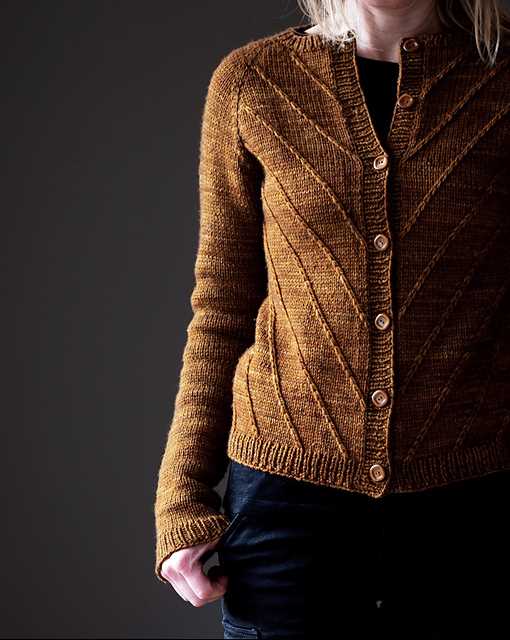
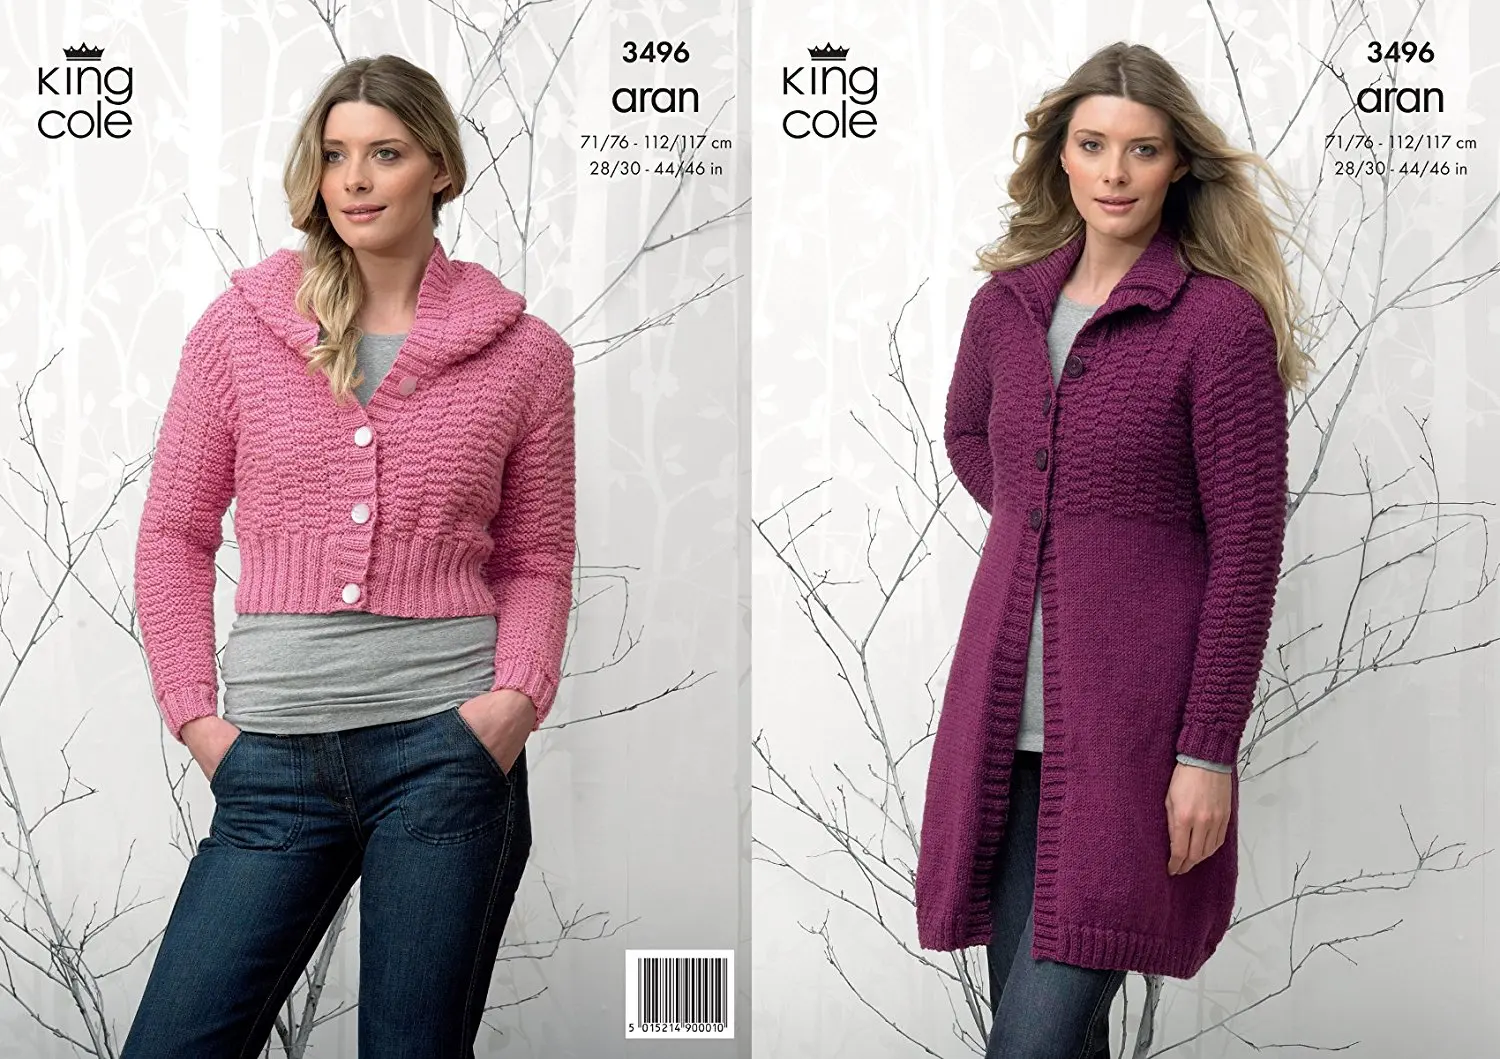
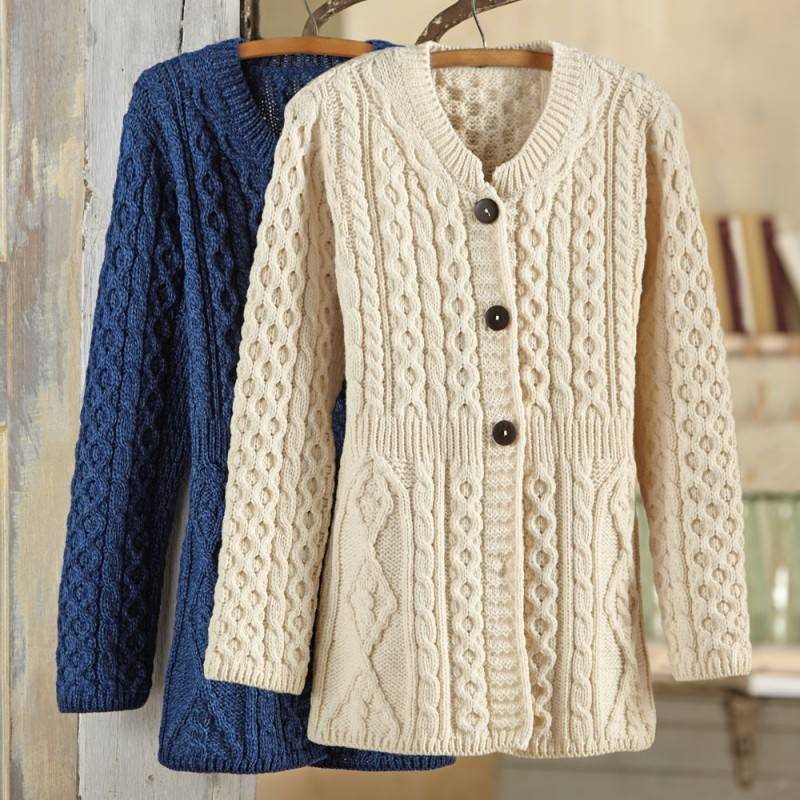
Color: While traditional Aran cardigans are often knit in natural or neutral colors, feel free to experiment with different shades to add your personal touch. Yarns come in a wide range of colors, from vibrant hues to subtle pastels. Consider the overall aesthetic you want to achieve and choose a color that complements your wardrobe and personal style.
Quality and Durability: Finally, don’t forget to consider the quality and durability of the yarn. Investing in a high-quality yarn will ensure that your Aran cardigan lasts for years to come. Look for yarn that is tightly spun and has a good reputation for wear and tear resistance. Taking the time to choose the right yarn will result in a cardigan that you can enjoy and cherish for a long time.
By considering factors such as fiber content, weight, texture, color, and quality, you can choose the perfect yarn for your Aran cardigan project. Remember, knitting is not just about the end product, but also the process, so enjoy the journey of selecting and working with the yarn to create a beautiful and cozy Aran cardigan.
Essential Knitting Tools for Your Aran Cardigan
When it comes to knitting your own Aran cardigan, having the right tools is essential to ensure a successful and enjoyable knitting experience. Whether you’re a beginner or an experienced knitter, here are some must-have knitting tools that will help you create a beautiful Aran cardigan.
Knitting Needles
- Choose a set of high-quality knitting needles that are the appropriate size for your Aran cardigan pattern. Different patterns may require different needle sizes, so it’s important to have a variety of sizes on hand.
- Consider using circular needles for larger sections of your cardigan, as they can hold a larger number of stitches and distribute the weight more evenly.
Tape Measure
Accurate measurements are crucial when knitting an Aran cardigan, as the fit will greatly impact the final look of the garment. A tape measure is an essential tool for taking measurements of your body and ensuring that you are knitting to the correct size.
Stitch Markers
Stitch markers are small, circular markers that can be placed on your knitting needles to help you keep track of specific points in your pattern. They are useful for marking the beginning of a round, a specific stitch pattern, or any other important points in your knitting.
Cable Needle
Aran cardigans often feature intricate cable patterns, and a cable needle is an essential tool for creating these beautiful designs. A cable needle is a small, double-pointed needle that is used to hold stitches aside while you work on other stitches.
Tapestry Needle
A tapestry needle, also known as a yarn needle, is used for weaving in loose ends and seaming your finished Aran cardigan. It’s important to choose a tapestry needle that has a large eye, so it’s easy to thread your yarn through.
By having these essential knitting tools on hand, you’ll be well-equipped to take on the challenge of knitting your own Aran cardigan. Remember to read and follow your pattern carefully, and don’t be afraid to ask for help or seek out online tutorials if you come across any difficulties. Happy knitting!
Getting Started: Casting On for Your Aran Cardigan
When embarking on a knitting project, such as an Aran cardigan, it is important to begin with the proper cast-on technique. The cast-on method you choose will depend on the look and stretchiness you desire for your cardigan. In this tutorial, we will explore two popular cast-on methods: the long-tail cast-on and the cable cast-on.
The Long-Tail Cast-On: To begin, you will need a long tail of yarn, approximately three times the width of your finished cardigan. Make a slip knot near the end of the tail and place it on one of the knitting needles. Hold the needle with the slip knot in your right hand, and with your left hand, bring the working yarn (the end attached to the ball) over your thumb and the tail yarn over your index finger. This will create a “V” shape between your thumb and index finger.
- Insert the right knitting needle through the “V” shape from front to back, going under the yarn on your thumb.
- Spread your thumb and index finger apart slightly, creating a loop around the needle.
- Bring the needle back through the “V” shape, this time going over the yarn on your index finger.
- Slide the new loop onto the left knitting needle, making sure it is not too tight or too loose.
- Repeat these steps until you have cast on the required number of stitches for your cardigan.
The Cable Cast-On: This method is especially useful if you want a more elastic edge for your cardigan. Start by making a slip knot and placing it on the left knitting needle. Hold the needle with the slip knot in your right hand, and with your left hand, insert the right knitting needle from left to right through the slip knot. The right needle should be positioned behind the left needle.
- Bring the yarn over the top of the right needle, creating a loop around it.
- With your left hand, bring the right knitting needle down and behind the left needle.
- Insert the right needle from left to right into the loop on the left needle.
- Slip the new loop onto the left knitting needle.
- Repeat these steps until you have cast on the desired number of stitches for your cardigan.
Once you have successfully cast on the required number of stitches, you can begin working on the body of your Aran cardigan. Remember to keep your tension consistent and follow the pattern instructions carefully to ensure a successful knitting experience.
Knitting the Body of Your Aran Cardigan
Once you have completed knitting the sleeves for your Aran cardigan, it’s time to move on to the body. The body of the cardigan is typically knit in one piece, starting from the bottom and working your way up to the armholes.
Step 1: Cast On
Begin by casting on the required number of stitches for the size you are making. Refer to your knitting pattern for the specific stitch count. You can use a long-tail cast on or any other preferred method.
Step 2: Ribbing
Next, you will work the ribbing for the bottom hem of the cardigan. This is usually done in a knit 1, purl 1 (K1, P1) ribbing pattern. Follow the pattern instructions for the number of rows or inches you need to knit for the ribbing.
Pro Tip: Use a stitch marker to mark the beginning of your rounds if you are knitting in the round.
Step 3: Main Body
After completing the ribbing, you will switch to the main stitch pattern for the body of the cardigan. This could be a combination of cables, bobbles, and other traditional Aran stitches. Follow the pattern instructions for the stitch pattern and any shaping you need to do for the waist or hips.
Step 4: Armholes
Once you have reached the desired length for the body, it’s time to create the armholes. You will need to place the stitches for the sleeves on hold and continue working only on the body stitches. Follow the pattern instructions for the specific number of stitches to place on hold and the number of stitches to continue knitting for the body.
Pro Tip: Use stitch holders or waste yarn to hold the sleeve stitches while you work on the body.
Step 5: Finishing
Continue knitting the body until you reach the desired length for the cardigan. At this point, you can follow the pattern instructions for any additional shaping or finishing touches, such as a garter stitch border or a button band.
Once the body is complete, you can move on to the neckline and button band, and then start seaming the sleeves and attaching them to the body. Enjoy the process of knitting your Aran cardigan, and soon you’ll have a cozy and beautiful garment to wear!
Working the Sleeves of Your Aran Cardigan
Once you have completed the body of your Aran cardigan, it’s time to move on to the sleeves. The sleeves are an important element of the overall design and can greatly affect the fit and style of the cardigan. It is important to follow the instructions carefully and make sure you understand the pattern before starting.
Step 1: Casting on
To begin, you will need to cast on the required number of stitches for the sleeve. The pattern will specify how many stitches to cast on based on your size. Make sure to use the correct size needles and yarn to achieve the desired gauge. It may be helpful to use stitch markers to mark the beginning and end of the round.
Step 2: Knitting the cuff
Once you have cast on the stitches, you will typically start knitting the cuff of the sleeve. This is often done in a ribbing pattern to create a stretchy and snug fit. The pattern will specify the number of rows or inches to work in the ribbing pattern. It is important to maintain an even tension throughout this section.
Step 3: Shaping the sleeve
After completing the cuff, you will begin shaping the sleeve by increasing or decreasing stitches. This is done to create the desired width and shape of the sleeve. The pattern will provide instructions on when and how to work these shaping rows. Pay close attention to the stitch counts and markers to ensure accuracy.
Step 4: Continuing the pattern
Once the shaping is complete, you will continue working the body of the sleeve in the Aran stitch pattern. This may involve working cables, twists, and textured stitches. It is important to read and understand the pattern instructions for each row and repeat the pattern as specified. Take your time and check your work frequently to avoid mistakes.
Step 5: Finishing the sleeve
When you have reached the desired length for your sleeve, you will typically end with a few rows of ribbing to match the cuff. This helps create a cohesive look and ensures a snug fit. Once you have completed the final rows, you can bind off your stitches and weave in any loose ends. Try on the sleeve and make any necessary adjustments before starting the second sleeve.
In conclusion, working the sleeves of your Aran cardigan requires attention to detail and following the pattern instructions carefully. By taking your time and double-checking your work, you can create beautifully shaped and well-fitting sleeves that complement the overall design of your cardigan.
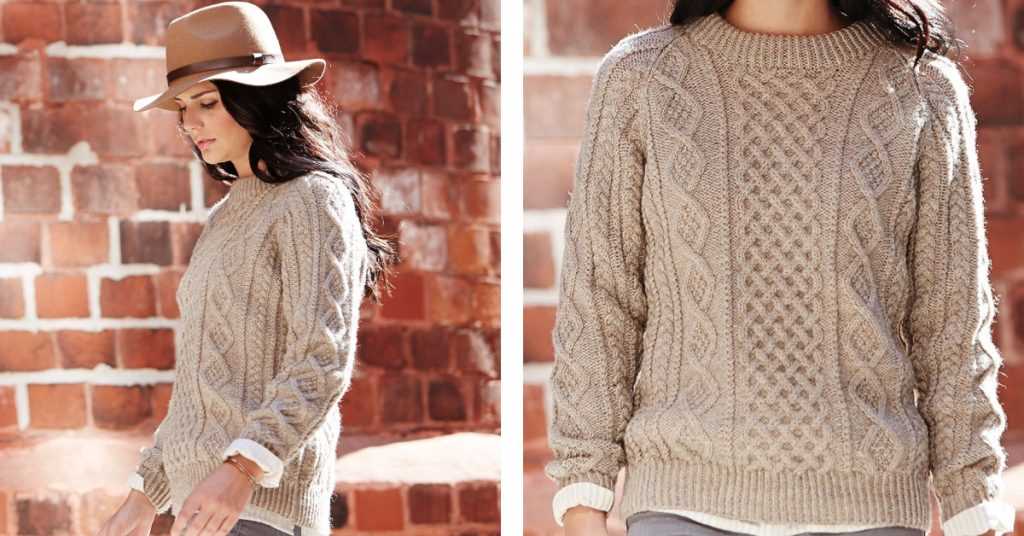
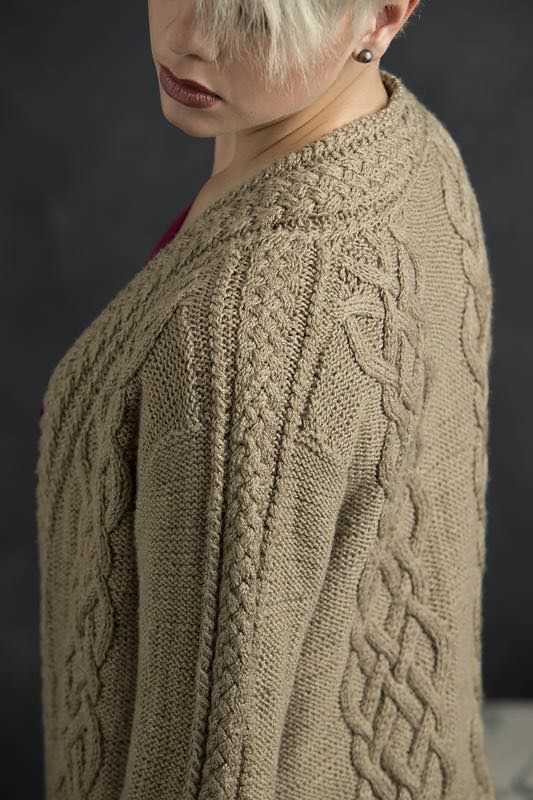
Creating the Intricate Cable Patterns
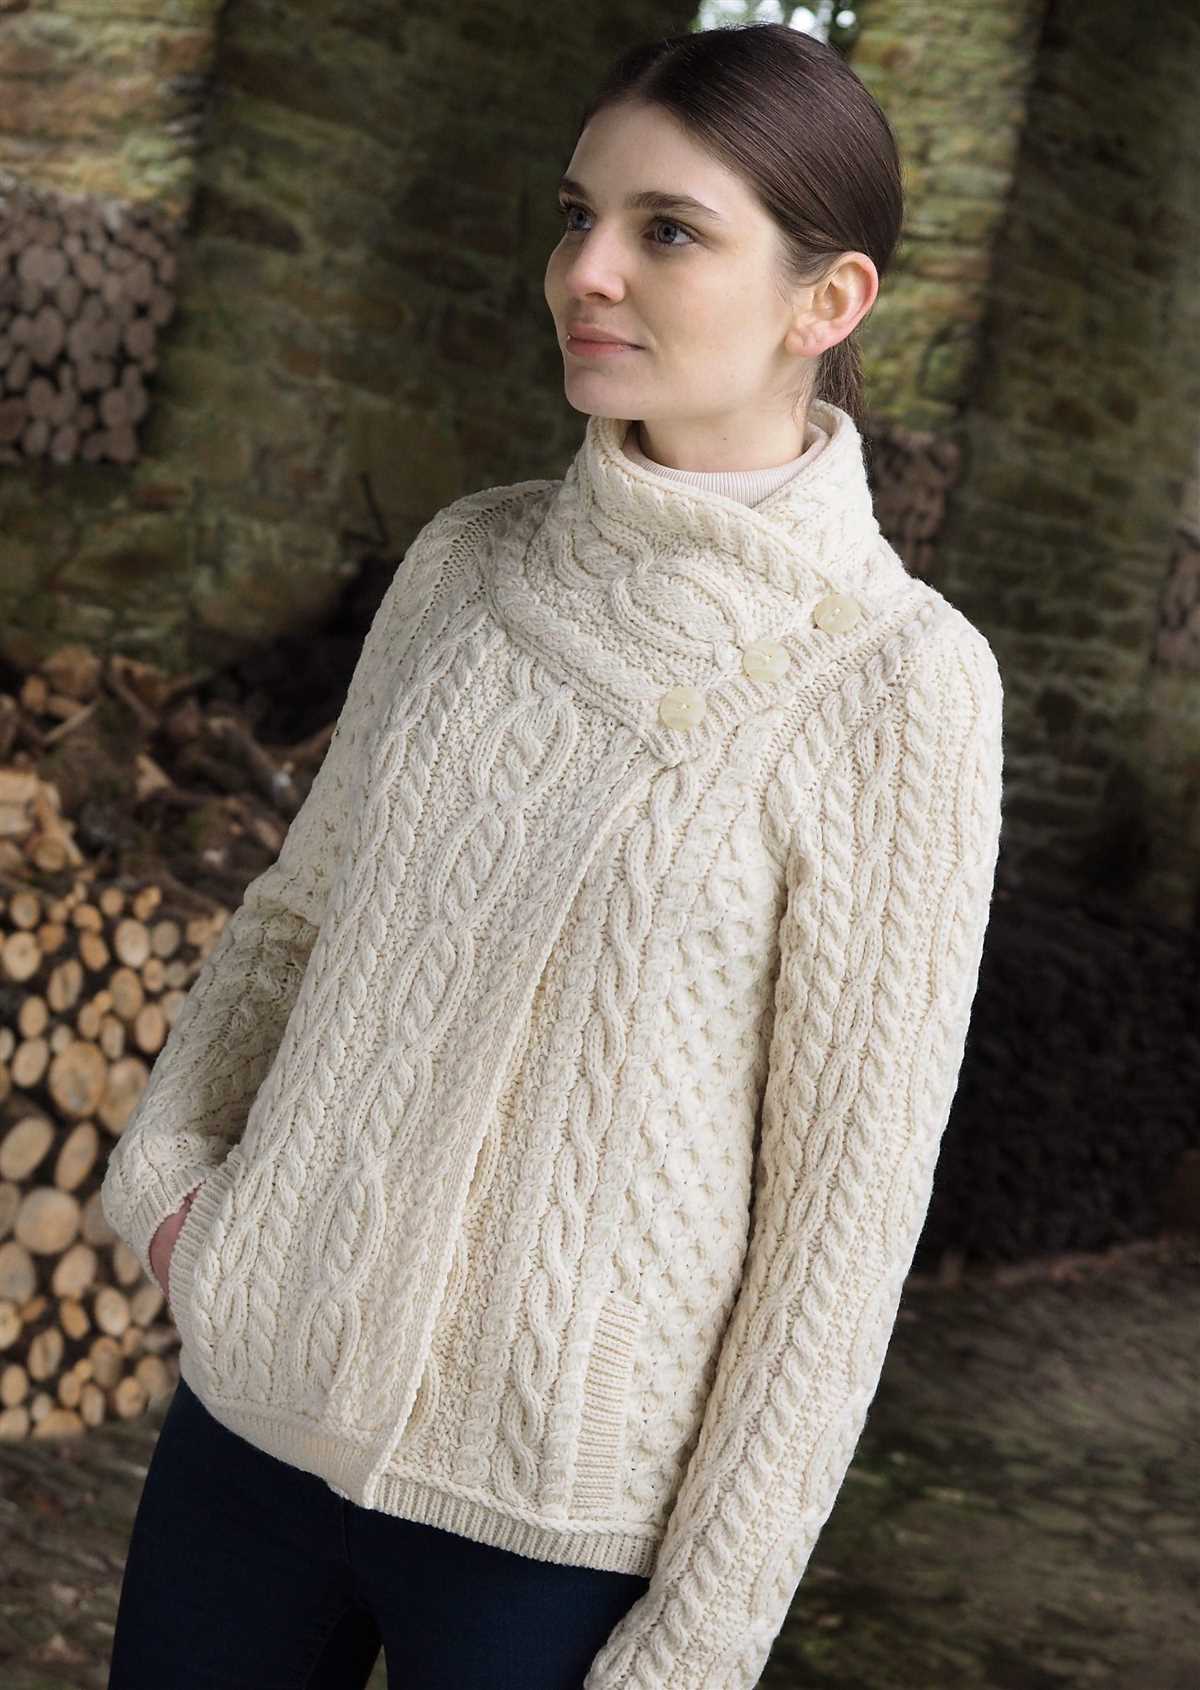
When it comes to knitting an Aran cardigan, one of the most striking and distinguishing features are the intricate cable patterns. These cable patterns are created by crossing stitches over each other, giving the fabric a textured and three-dimensional look. This technique requires careful attention to detail and precision, as each cable is formed by manipulating the stitches in a specific sequence.
To create the cable patterns, knitters use cable needles or double-pointed needles. These needles are used to hold the stitches in a specific order while crossing them over each other. The knitter then works the stitches in a predetermined pattern to achieve the desired cable pattern. This process requires concentration and patience, as mistakes can easily be made if the stitches are crossed incorrectly or out of order.
- Cable Crossings: Cable crossings are the heart of creating the intricate cable patterns. The number of stitches involved in each cable crossing and the direction in which the stitches are crossed determine the final design. Knitters must carefully follow the instructions provided in the Aran cardigan knitting pattern to ensure the correct cable crossings.
- Charted Patterns: Many knitters prefer to use charted patterns to create cable designs. These patterns provide a visual representation of the cable crossings and the sequence of stitches to be worked. The charts are typically read from right to left and from bottom to top, with each symbol representing a specific stitch or cable crossing.
- Tension and Gauge: Achieving the correct tension and gauge is crucial when knitting cable patterns. The tension determines how tight or loose the stitches are, and the gauge ensures that the finished piece will have the desired dimensions. Knitters should always swatch before starting the project to ensure that their tension and gauge match the pattern specifications.
Creating the intricate cable patterns in an Aran cardigan requires skill, precision, and attention to detail. With the right tools, careful following of instructions, and practice, knitters can create beautiful and intricate cable designs that make their cardigans stand out.
Adding the Finishing Touches to Your Aran Cardigan
Once you have finished knitting your Aran cardigan, it is time to add the finishing touches to complete the garment. These final steps will elevate your cardigan from a simple piece of knitting to a beautifully crafted and wearable item.
Blocking: Before adding any finishing touches, it is important to block your cardigan. This process involves wetting the garment and then gently shaping it to the desired dimensions. Blocking helps to even out any inconsistencies in tension and gives your cardigan a polished and professional look. To block a woolen Aran cardigan, fill a sink or tub with lukewarm water and a gentle wool wash. Submerge the cardigan and let it soak for about 15 minutes. Gently squeeze out the excess water, being careful not to wring or twist the fabric. Lay the cardigan flat on a clean towel, reshape it to the correct size, and leave it to dry completely.
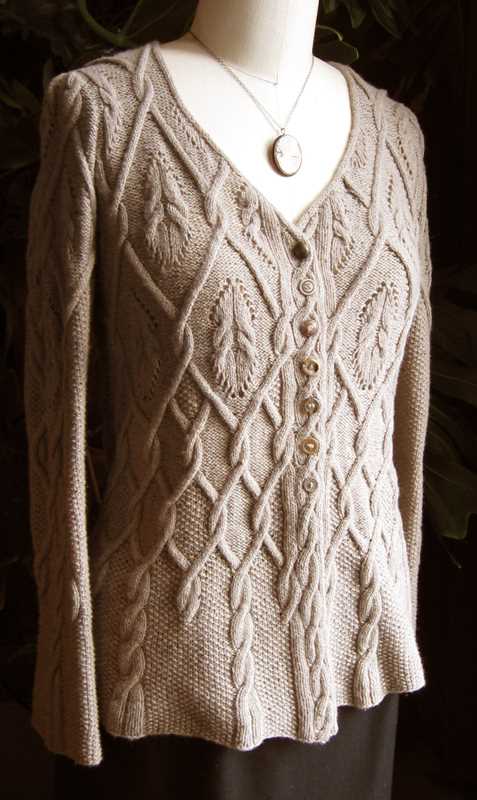
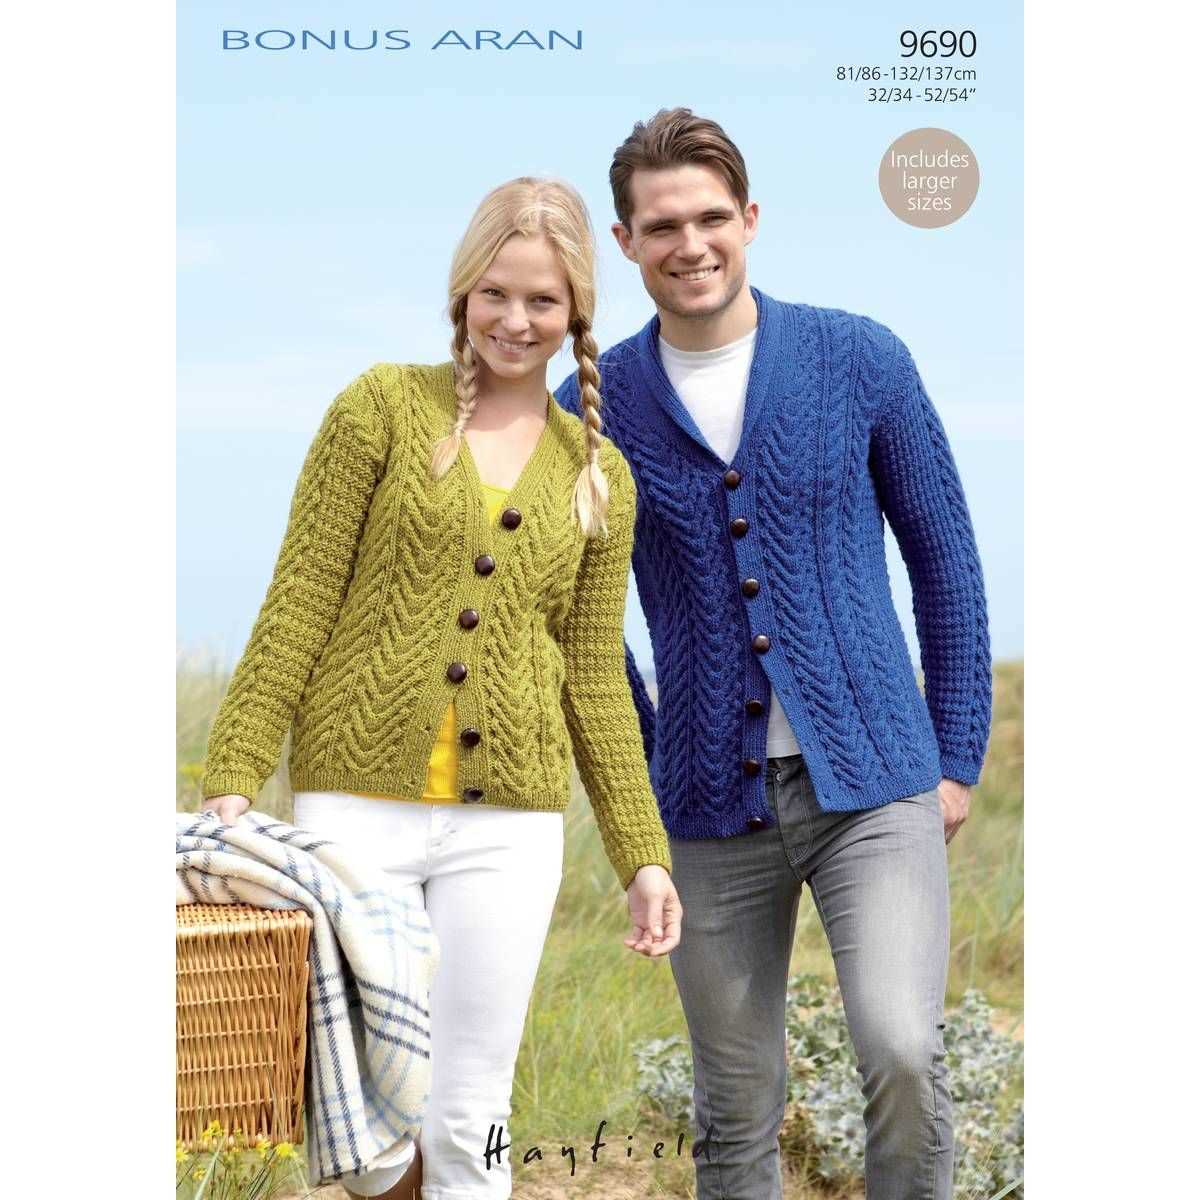
Adding Buttons:
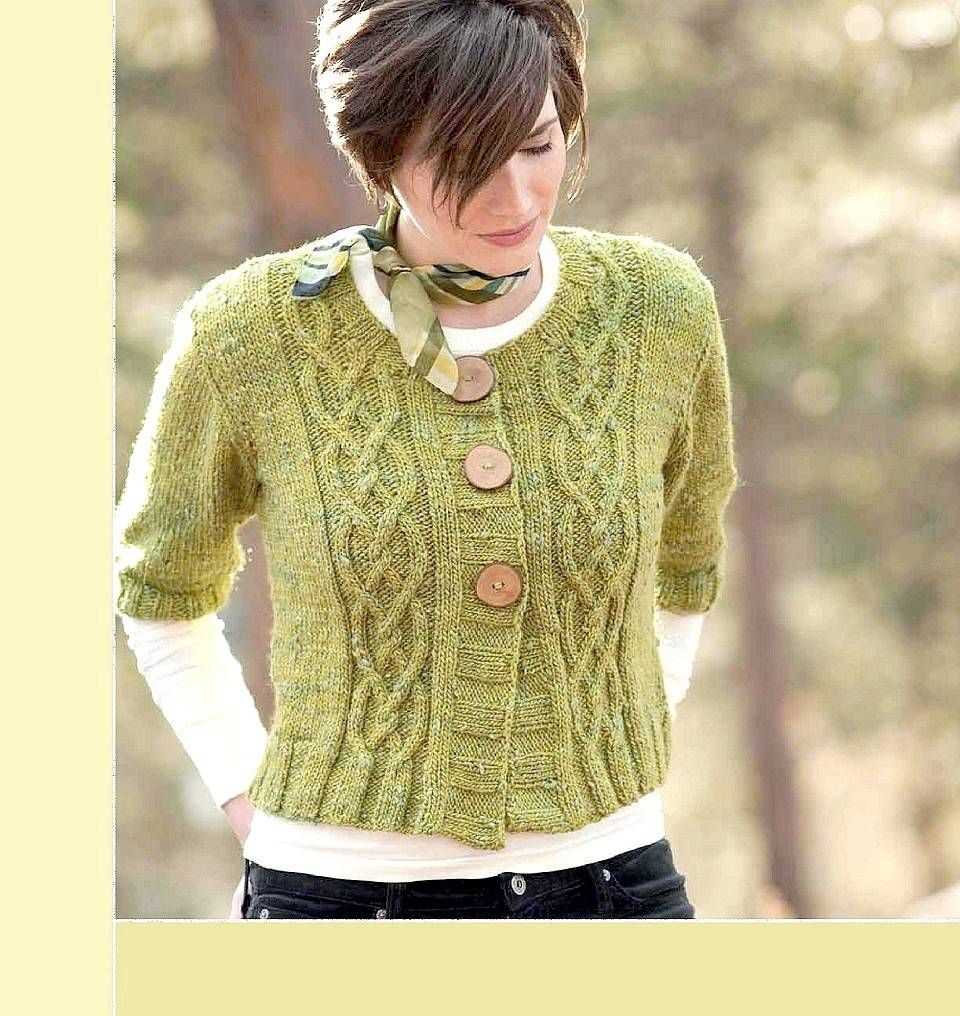
One of the final steps in finishing your Aran cardigan is to sew on the buttons. Choose buttons that complement the style and color of your cardigan. Traditionally, Aran cardigans are fastened with wooden buttons, but you can also use metal or fabric-covered buttons for a more contemporary look. Start by placing the cardigan on a flat surface and marking the buttonhole placements with pins. Then, using a strong thread and a needle, sew the buttons onto the opposite side of the cardigan, aligning them with the buttonholes. Make sure to sew them securely but not too tightly, allowing the buttons to move freely when fastening and unfastening the cardigan.
Finishing the Edges:
The edges of an Aran cardigan can be finished in a few different ways, depending on the style and design. One common method is to add a ribbed or garter stitch border along the front opening and cuffs. This helps to prevent the edges from curling and adds a neat and polished finish to the cardigan. Alternatively, you can also use a contrasting color yarn to create a decorative edge, such as a picot or scalloped edging. Additionally, you may choose to add button bands or a collar to give your cardigan a more structured and tailored look.
Completing these final finishing touches will not only enhance the appearance of your Aran cardigan but also add durability and functionality. Take your time and enjoy this last step in the knitting process, knowing that your hard work will result in a beautiful and timeless garment.
Washing and Blocking Your Finished Aran Cardigan
Once you have finished knitting your Aran cardigan, it is important to properly wash and block it to ensure the best fit and appearance. Here are the steps to follow:
1. Prepare the Cardigan: Before starting the washing process, make sure to remove any excess yarn or loose threads. Use a pair of scissors to carefully trim them away.
2. Fill a Tub or Basin: Fill a clean tub or basin with lukewarm water. Avoid using hot water as it can cause the yarn to shrink or distort.
3. Add Wool Wash: Add a small amount of wool wash or mild detergent specifically designed for handwashing delicate items. Gently swirl the water to create suds.
4. Soak the Cardigan: Place the cardigan into the water and gently push it down to ensure it is fully submerged. Allow it to soak for about 15 minutes, gently agitating the water every few minutes.
5. Drain and Rinse: Carefully remove the cardigan from the water and gently press out excess water. Refill the tub or basin with clean lukewarm water and rinse the cardigan by submerging it and agitating the water. Repeat this rinsing process until the water runs clear.
6. Remove Excess Water: After the final rinse, press the cardigan against the sides of the tub or basin to remove as much water as possible. Avoid twisting or wringing the garment, as this can cause stretching.
7. Block the Cardigan: Lay out a clean towel on a flat surface and place the cardigan on top of it. Gently reshape the cardigan according to its measurements and desired fit. Use rustproof pins to secure the edges and maintain the shape. Allow the cardigan to air dry completely.
8. Finishing Touches: Once the cardigan is dry, carefully remove the pins and give it a gentle shake to fluff the fibers. You can also lightly steam the cardigan with a handheld steamer to help relax any remaining wrinkles or creases.
By following these steps, you can ensure that your finished Aran cardigan maintains its shape, fit, and beauty for years to come.
How to Customize Your Aran Cardigan Pattern
Knitting an Aran cardigan is a great way to create a cozy and stylish garment. One of the advantages of knitting your own cardigan is the ability to customize the pattern to fit your personal style and preferences. Here are a few tips on how to make your Aran cardigan truly unique:
1. Choose the Right Yarn
The yarn you choose can greatly affect the look and feel of your cardigan. Consider the season and climate you plan to wear it in. If you want a lightweight cardigan for spring or summer, opt for a cotton or linen blend. For a warmer and cozier cardigan, choose a wool or alpaca blend. Additionally, different yarns will give your cardigan different textures, so experiment with different types to find the perfect fit for you.
2. Add Personalized Stitch Patterns
One of the defining features of an Aran cardigan is the intricate stitch patterns. While traditional Aran patterns are beautiful, don’t be afraid to add your own twist. Mix and match different stitch patterns to create a unique design. You can also incorporate other stitch patterns from different knitting styles or cultures to make your cardigan one-of-a-kind.
3. Modify the Fit
Every knitter has different body measurements and preferences when it comes to fit. Take the time to adjust the pattern to fit your body shape perfectly. You can modify the length of the sleeves, the width of the body, or the length of the cardigan itself. Remember to make notes as you go along so that you can replicate the fit in future projects.
4. Incorporate Personal Embellishments
To truly customize your Aran cardigan, consider adding personal embellishments. You can add buttons, beads, or embroidery to give your cardigan a personalized touch. These small touches can make your cardigan truly unique and showcase your personal style.
By following these tips, you can create an Aran cardigan that is not only beautiful and cozy but also uniquely tailored to your preferences. Happy knitting!
Tips and Tricks for Successful Aran Cardigan Knitting
Knitting an Aran cardigan is a rewarding project that allows you to create a cozy and stylish garment. Whether you’re an experienced knitter or a beginner, here are some tips and tricks to help you achieve success with your Aran cardigan.
Choose the Right Yarn
When selecting yarn for your Aran cardigan, it’s important to choose a high-quality yarn that matches the pattern’s gauge. Look for a yarn that has good stitch definition and is suitable for the desired level of warmth. Don’t be afraid to experiment with different yarn weights and fibers to achieve the desired texture and drape.
Swatch for Gauge
Before starting your Aran cardigan, it’s crucial to swatch for gauge. This means knitting a small sample using the recommended needle size and stitch pattern to ensure that your stitches match the pattern’s gauge. Swatching is essential to ensure that the finished garment will fit properly and have the intended dimensions.
Use Stitch Markers
Stitch markers are invaluable tools when knitting an Aran cardigan. They can help you keep track of important stitch patterns and decreases, making it easier to follow the pattern instructions. Use stitch markers to mark the beginning of rounds or rows, cable crossings, or any other crucial points in the pattern.
Take Your Time with Cables
Cables are a signature feature of Aran knitting, giving the cardigan its distinctive textured look. Take your time when knitting cables and follow the chart or written instructions carefully. It can be helpful to use a cable needle to hold the stitches and prevent them from unraveling while you work on the cable pattern.
Block Your Finished Cardigan
After completing your Aran cardigan, blocking is an essential step to give the garment a polished and professional finish. Blocking helps even out stitches, relaxes the fabric, and enhances the drape and fit of the cardigan. Follow the blocking instructions specific to your yarn and fiber content to achieve the best results.
By following these tips and tricks, you’ll be well on your way to knitting a successful Aran cardigan that you can cherish and enjoy for years to come.
Where to Find Aran Cardigan Patterns Online
In this article, we have explored the beauty and versatility of Aran cardigan knitting patterns. From their rich history and symbolism to their timeless style and cozy warmth, Aran cardigans are truly a beloved garment. If you are eager to start knitting your own Aran cardigan, there are several online resources where you can find patterns to suit your taste and skill level.
1. Ravelry
Ravelry is a popular online community for knitters and crocheters, and it offers a vast library of patterns for various projects, including Aran cardigans. You can search for patterns based on different criteria such as difficulty level, yarn weight, and size. Ravelry also allows you to connect with other knitters, share your projects, and seek advice.
2. Knitting magazines
Many knitting magazines feature Aran cardigan patterns in their issues. Subscribing to knitting magazines or purchasing individual issues can provide you with a wide range of design options and inspiration. Some popular knitting magazines include Knit Simple, Interweave Knits, and Vogue Knitting.
3. Craft websites
Various craft websites, such as LoveCrafts and Knitting Patterns Galore, offer both free and paid Aran cardigan patterns. These websites often have user-friendly search filters to help you find the perfect pattern based on your preferences. You may also come across user ratings and reviews to help you make an informed decision.
4. Independent designers
Many independent designers have their own websites or online shops where they sell their unique Aran cardigan patterns. These patterns often have a modern twist and provide an opportunity to support small businesses. Social media platforms like Instagram and Pinterest are also great places to discover and follow independent designers.
Whether you choose to explore Ravelry, knitting magazines, craft websites, or support independent designers, the options for finding Aran cardigan knitting patterns online are abundant. Take your time to search, compare different designs, and select a pattern that resonates with your personal style and knitting skills. Once you find the perfect pattern, you’ll be ready to embark on a knitting journey and create your very own beautiful Aran cardigan!