
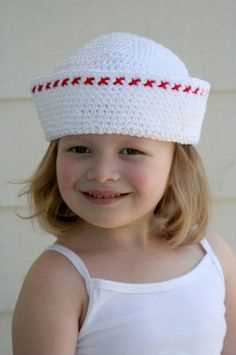
If you’re looking for a fun and stylish accessory to add to your wardrobe, look no further than a knitted sailor hat! This classic design has been a favorite for generations, and now you can create your own with this easy-to-follow pattern. Whether you’re a beginner knitter or an experienced pro, this project is sure to challenge and delight you.
The great thing about this pattern is that it’s versatile and can be customized to suit your personal style. You can choose different colors of yarn to create a hat that matches your favorite outfit, or you can experiment with different patterns and stitches to make the hat uniquely yours. Plus, knitted hats are a great way to stay warm and cozy during the colder months while still looking fashionable.
This pattern is suitable for knitters of all skill levels. If you’re new to knitting, don’t worry – we’ve included step-by-step instructions and helpful tips to guide you through the process. And if you’re a more experienced knitter, feel free to get creative and add your own unique touches to the design. So grab your knitting needles and let’s get started on creating a stylish sailor hat that you’ll love to wear!
Choosing the right yarn
When knitting a sailor hat, choosing the right yarn is essential to achieve the desired result. The yarn you choose will not only determine the overall look and feel of the hat, but also affect its durability and wearability. Here are some factors to consider when selecting yarn for your project.
1. Fiber content
The first thing to consider is the fiber content of the yarn. Different fibers have different characteristics and properties. For a sailor hat, you want a yarn that is warm, soft, and comfortable, so natural fibers like wool, alpaca, or cashmere are good options. These fibers are known for their warmth and softness, making them ideal for a cozy hat.
2. Weight and thickness
The weight and thickness of the yarn will determine the size and drape of your sailor hat. Chunky or bulky yarns will result in a thicker and warmer hat, while fingering or sport weight yarns will create a lightweight and more delicate hat. Consider the intended use of the hat and the season in which it will be worn when choosing the weight and thickness of your yarn.
3. Color and texture
The color and texture of the yarn will also play a role in the overall look of your sailor hat. Consider the recipient’s personal style and preferences when selecting the color, and think about whether you want a solid-colored hat or one with a pattern or texture. Variegated or self-striping yarns can add visual interest to the hat, while a classic solid color can give it a timeless look.
4. Care instructions
Finally, consider the care instructions for the yarn. Some yarns may require special care, such as hand washing or dry cleaning, while others can be machine washed and dried. Think about how much time and effort you’re willing to put into caring for the hat and choose a yarn with care instructions that align with your preferences.
By considering these factors, you can choose the right yarn for your knitted sailor hat that will result in a beautifully crafted and comfortable accessory.
Getting started: casting on
When starting your knitting project, the first step is to cast on. Casting on is the process of creating the first row of stitches on your knitting needle. There are several different methods of casting on, but the most commonly used method is the long-tail cast on.
To begin the long-tail cast on, you will need to first estimate the length of yarn you will need. Generally, you will need about three times the width of your finished project. Double this length and add a little extra for good measure. Once you have your estimated length, make a slipknot near the end of the yarn.
Step 1: Hold the slipknot in your right hand, with the tail of the yarn over your thumb and the working yarn over your index finger. The tail of the yarn should be on the bottom and the working yarn should be on top.
Step 2: Insert the needle through the slipknot from front to back and catch the working yarn with the needle, pulling it through the slipknot. You should now have a loop on the needle.
- Place the needle in your left hand, holding it between your thumb and index finger. The working yarn should be coming from the slipknot and winding around your index finger.
- With your right hand, bring the needle over the working yarn, forming a loop.
- Bring the needle under the working yarn, then over the top of the loop on the needle.
- Slide the loop off your thumb and onto the needle. This is your first stitch.
Repeat steps 2-4 until you have cast on the desired number of stitches.
Once you have finished casting on, you are ready to begin knitting your pattern. Remember to keep your stitches loose and even as you work, and to follow the instructions carefully to achieve the desired result. Happy knitting!
Knitting the brim
When knitting a sailor hat, one of the important parts to consider is the brim. The brim is what gives the hat its characteristic look and shape. It is typically knitted using a ribbing stitch pattern to ensure a snug fit around the wearer’s head.
To knit the brim, you will need to cast on the required number of stitches, which will depend on the size of the hat you are making. The number of stitches can usually be found in the pattern or can be calculated based on the gauge and measurements.
Once you have cast on the stitches, you will begin knitting the brim using the ribbing stitch pattern. This is typically done by alternating between knit stitches and purl stitches in a specific pattern, such as knitting two stitches, purling two stitches, and repeating this sequence until the desired length is achieved.
For beginners, it may take some practice to get used to the ribbing stitch pattern, but with a little patience and persistence, you will be able to create a beautiful and functional brim for your sailor hat. Remember to keep an even tension while knitting to ensure a consistent and professional-looking result.
Once the brim is complete, you can continue knitting the rest of the hat according to the pattern instructions. The brim will serve as a foundation for the rest of the hat and will help it stay in place when worn. It is an essential part of the sailor hat design and adds to its overall aesthetic appeal.
Creating the body of the hat
The body of the knitted sailor hat is made up of multiple rounds of knitting in a rib stitch pattern. To begin, cast on the required number of stitches, typically around 100-120 stitches, depending on the size of the hat. Use a circular needle so that it is easier to manage the large number of stitches.
Once you have cast on the stitches, join the ends together to form a round and place a stitch marker to indicate the start of each round. This will help you keep track of your progress as you knit.
To create the rib stitch pattern, alternate between knitting and purling stitches in each round. This will give the hat a stretchy and textured look. The number of knit and purl stitches in each round will depend on the desired rib pattern. A common rib pattern is to knit two stitches, then purl two stitches, and repeat this sequence until the end of the round.
Continue knitting in the rib stitch pattern for the desired length of the hat body, usually around 6-8 inches. Adjust the length based on your preference and the intended size of the hat.
Once you have reached the desired length, you can proceed to the next step, which is shaping the crown of the hat. This involves decreasing the number of stitches gradually to create the rounded top of the hat.
Shaping the top of the hat
When knitting a sailor hat, shaping the top is an important step to achieve the desired fit and look. The shaping is usually done by decreasing stitches gradually to form a rounded crown. Below are the steps to shape the top of the hat:
1. Begin decreasing stitches

Start by following the pattern instructions to determine when to begin decreasing stitches. This is usually done after reaching a certain height or stitch count. To decrease stitches, you can use a variety of techniques such as knitting two stitches together (k2tog), slanting decreases (ssk), or centered double decreases (cdd), depending on the desired look. The specific decrease method may vary depending on the pattern you are using.
2. Maintain the stitch pattern
While decreasing stitches, it is important to maintain the stitch pattern of the hat. This may require adjusting the stitch count or modifying the pattern slightly to ensure that the decreases blend seamlessly with the rest of the design. It’s important to carefully read and interpret the pattern instructions to maintain consistency and achieve the desired outcome.
3. Create a rounded crown
As you continue to decrease stitches, the crown of the hat will gradually take shape and become rounded. This is achieved by evenly distributing the decrease stitches around the circumference of the hat. Making regular decreases at strategic points helps to shape the crown and create a smooth transition from the wider brim to the narrower top.
By following these steps and carefully executing the decrease stitches, you can shape the top of the sailor hat to achieve the desired fit and appearance. Remember to refer to the pattern instructions for specific details on when and how to decrease stitches.
Adding decorative elements
When knitting a sailor hat, there are several decorative elements that can be added to enhance the overall design. These elements can be used to personalize the hat or to create a specific theme or style.
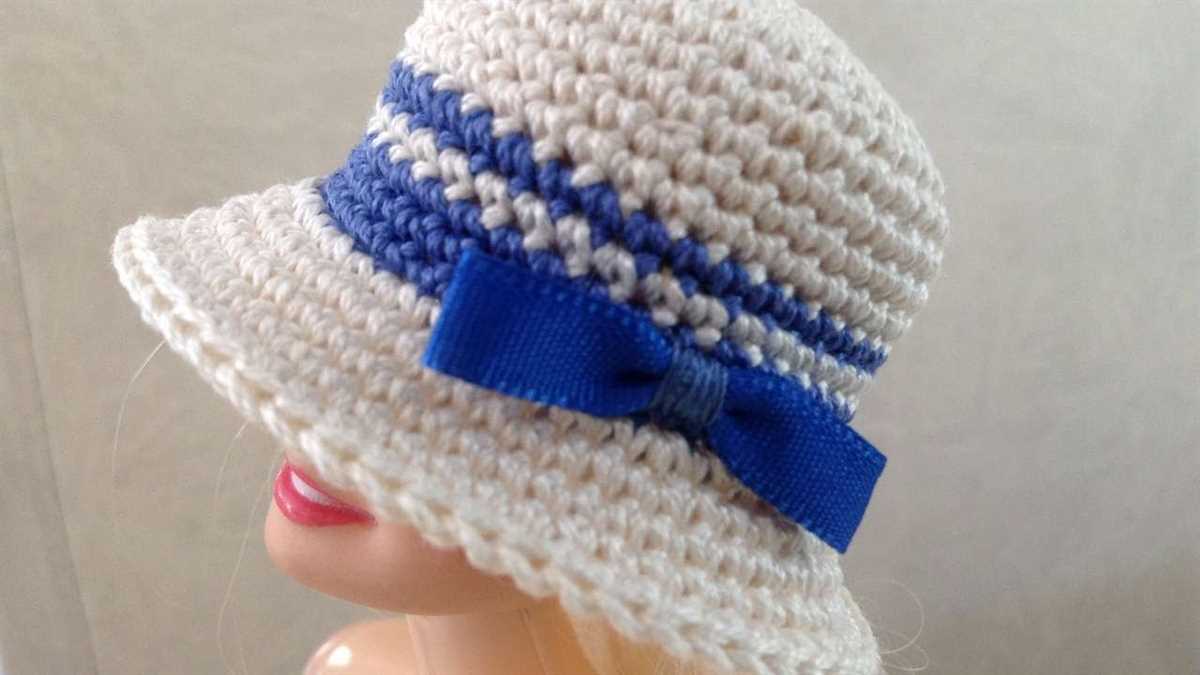
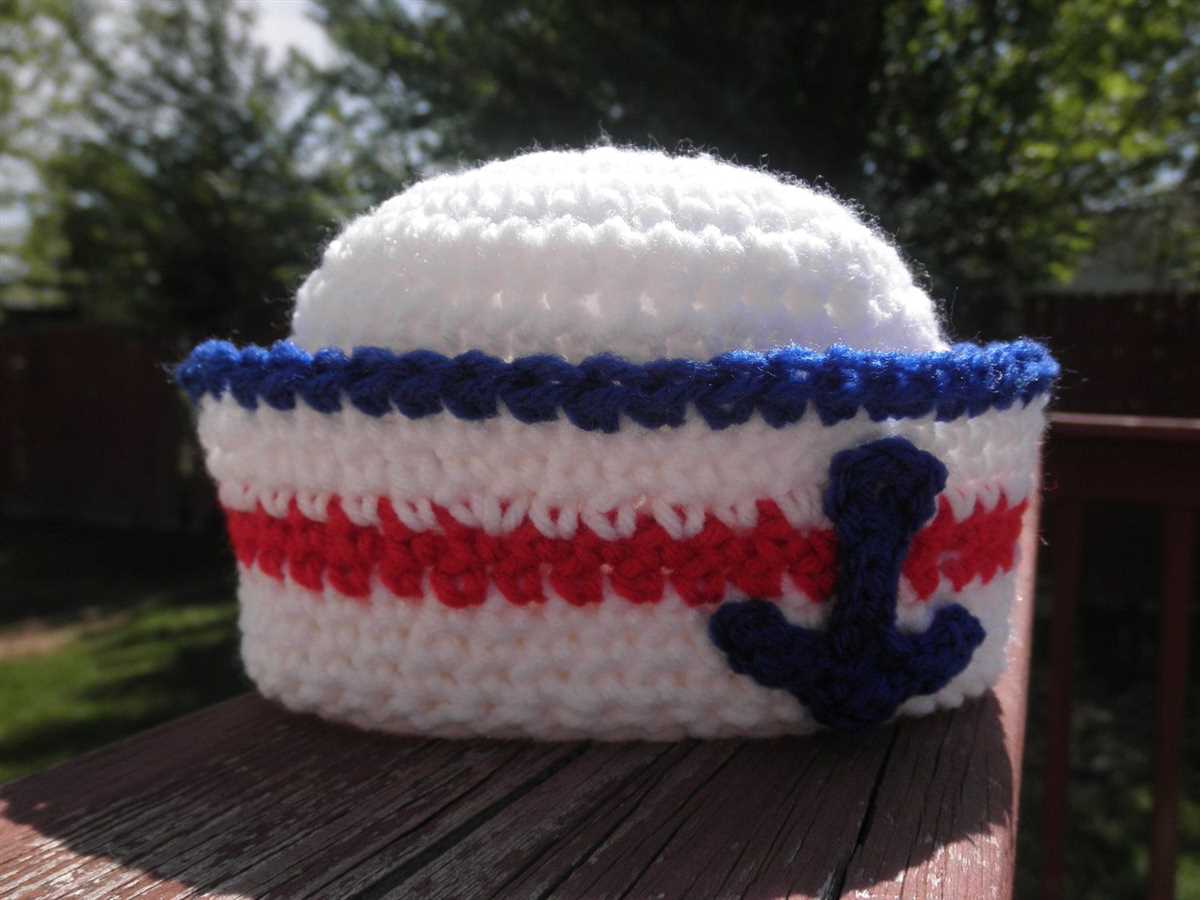
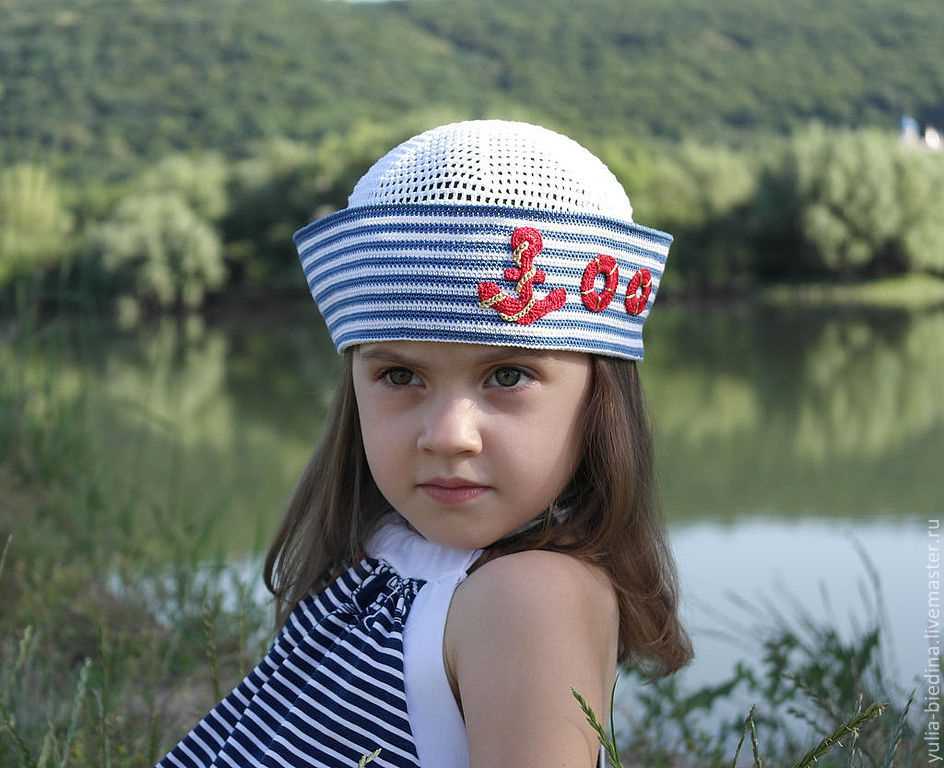
Stripes are a classic decorative element that can be easily incorporated into a sailor hat. Whether you choose to use contrasting colors or different shades of the same color, stripes can add visual interest and create a vibrant design.
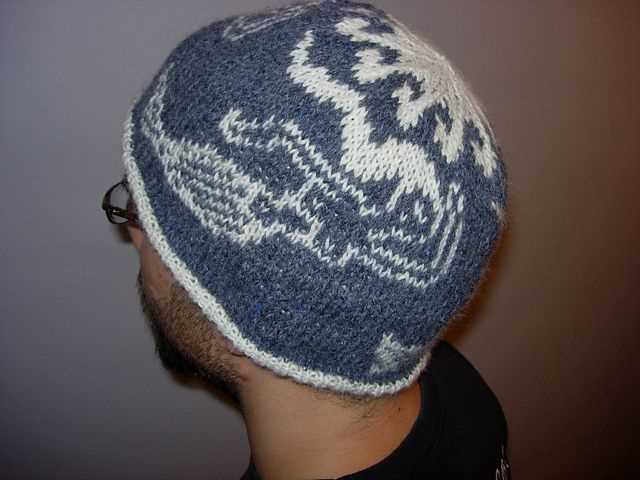
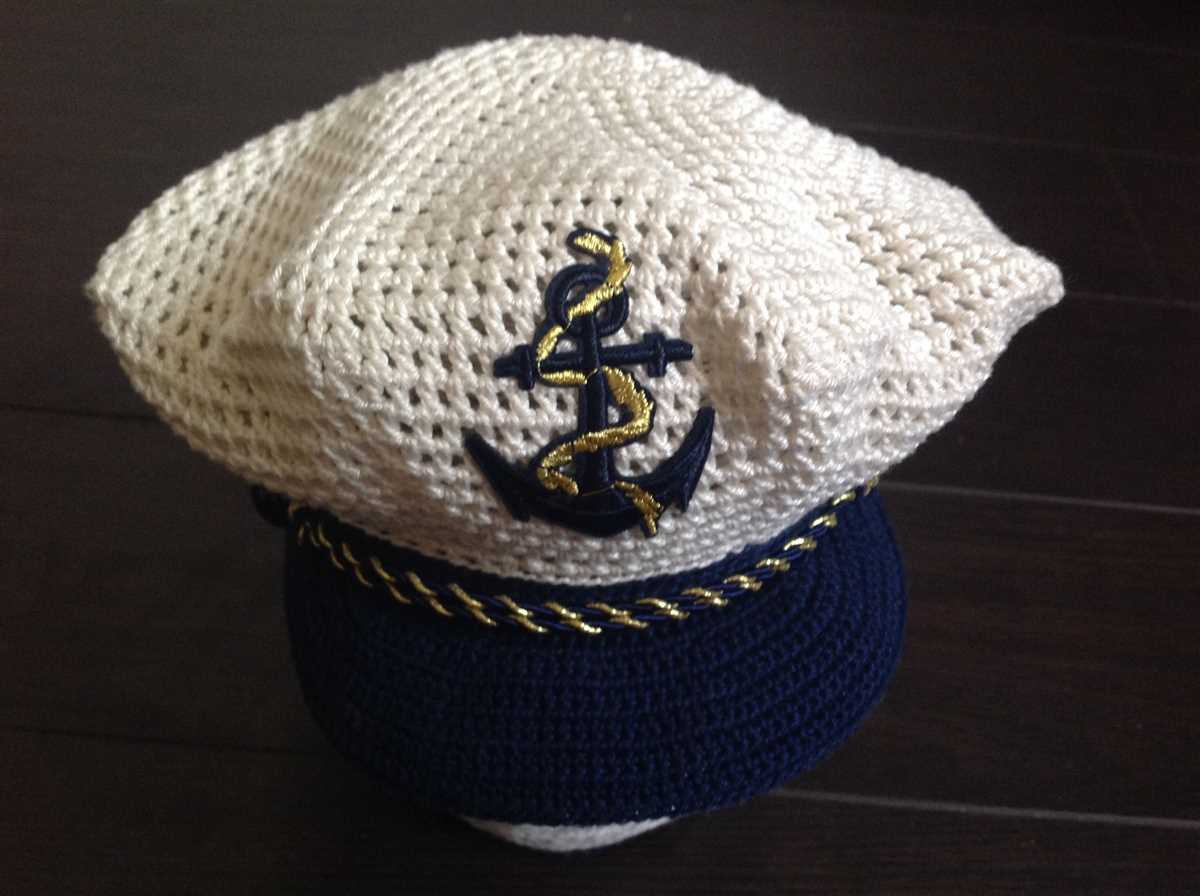
Anchor motifs are another popular decorative element for sailor hats. Knitting an anchor motif on the front or side of the hat can instantly give it a nautical feel. This can be done using intarsia or stranded colorwork techniques, depending on your preference and skill level.
Braided or twisted cables can also be used to add texture and dimension to a sailor hat. These decorative elements can be knitted directly into the hat or added as a separate band or trim. Cables can create a more intricate and detailed design, making the hat stand out.
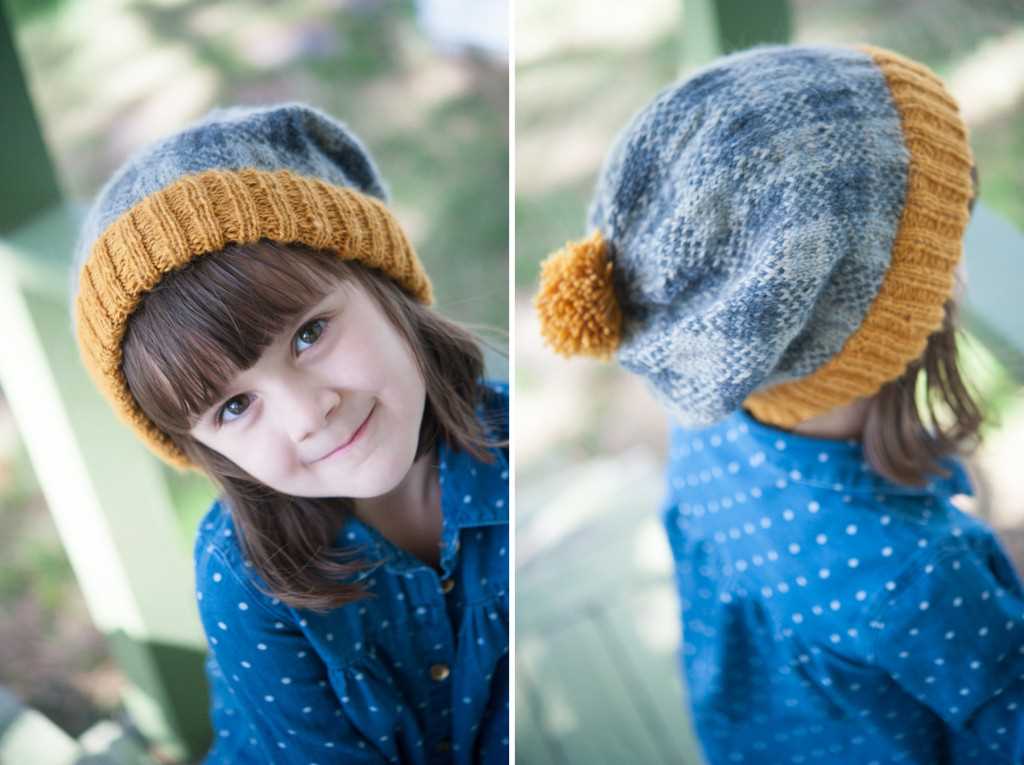
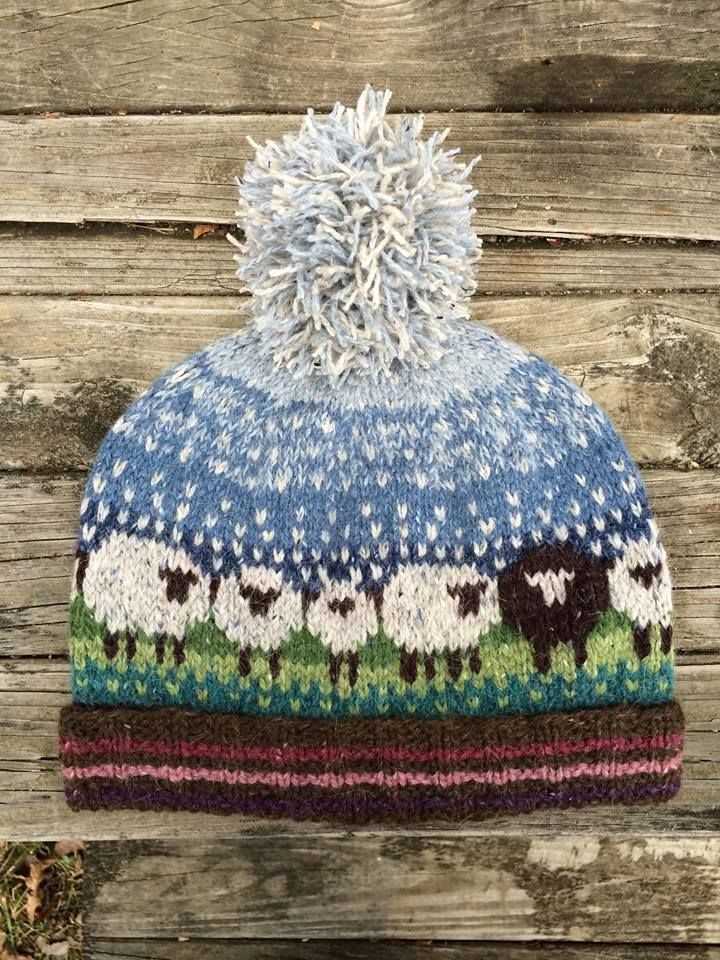
Pom pom is a playful addition that can give the sailor hat a fun and whimsical touch. Whether you choose a matching or contrasting color, a pom pom can add an element of charm and make the hat more visually appealing.
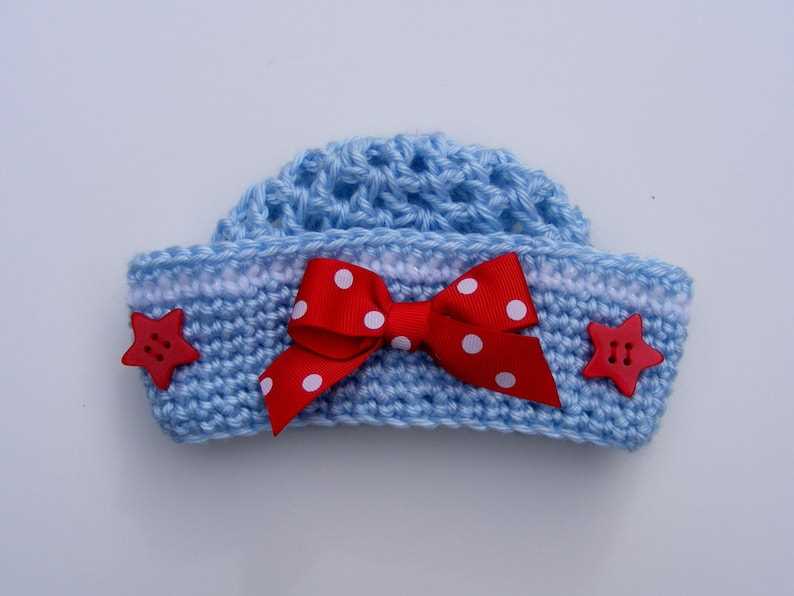
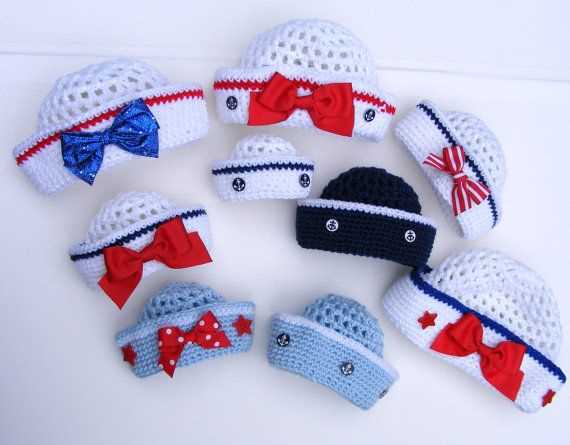
Buttons can be used as decorative elements on a sailor hat as well. Whether you sew them onto the hat or use them to secure a strap, buttons can add a touch of elegance and create a unique look.
Finishing touches: blocking and weaving in ends
After completing the knitted sailor hat, there are a few finishing touches that can greatly enhance its appearance and ensure a more polished final product. This includes blocking the hat and weaving in any loose ends.
Blocking is an important step to shape and resize the hat to its intended dimensions. It involves dampening the knitted fabric and gently stretching it into the desired shape. This can be done by pinning the hat to a blocking board or using a blocking mat with T-pins to hold its shape. Allow the hat to dry completely before removing the pins, and it will retain its shape beautifully.
Weaving in ends is another essential step to achieve a professional-looking finish. When knitting, it’s common to have yarn tails left over from joining new balls of yarn or changing colors. These loose ends can be unsightly and may unravel over time if left unsecured. To weave in the ends, thread them onto a tapestry needle and carefully thread them through the stitches on the wrong side of the hat. It’s best to weave the ends in along the same color section, so they blend in seamlessly. Trim any excess yarn once the ends are woven in, and the hat will look clean and polished.
By taking the time to block the hat and weave in any loose ends, you can elevate the finished product and ensure that it looks its best. These simple finishing touches make a world of difference and contribute to the overall quality and appearance of the knitted sailor hat.
Tips and Tricks for Achieving a Perfect Fit
When knitting a sailor hat, achieving a perfect fit is important for both comfort and style. Here are some tips and tricks to help you achieve the perfect fit for your knitted sailor hat:
1. Choose the Right Yarn Weight and Needle Size
Using the correct yarn weight and needle size is crucial for achieving a perfect fit. Make sure to check the gauge specified in the pattern and adjust your needle size if necessary. Using a heavier yarn weight will result in a larger hat, while using a lighter yarn weight will create a smaller hat.
2. Measure Your Head Size
Before starting your sailor hat, it’s important to measure your head size to ensure a proper fit. Use a soft measuring tape to measure the circumference of your head, just above your ears. Compare your measurements to the size chart provided in the pattern to determine the appropriate size to knit.
3. Consider Adding Ribbing or Elastic
If you want to ensure a snug fit for your sailor hat, consider adding ribbing or elastic to the brim. Ribbing creates a stretchy edge that conforms to your head, while elastic can be inserted through a casing to provide additional give and help keep the hat in place.
4. Try It On as You Go
As you knit your sailor hat, periodically try it on to check the fit. This will allow you to make any necessary adjustments to the length or width of the hat to achieve your desired fit. Remember that different stitch patterns may result in different amounts of stretch, so it’s important to try it on and assess the fit regularly.
5. Block and Shape the Hat

Once you have finished knitting your sailor hat, blocking and shaping can help refine the fit. Wet blocking or steam blocking can help shape the hat to your desired size and remove any irregularities. Use a blocking board or a head-shaped form to shape the hat and allow it to dry in the desired shape.
6. Customize the Hat to Your Preferences
Finally, don’t be afraid to customize your knitted sailor hat to your own preferences. You can adjust the height of the hat or modify the brim to achieve the perfect fit for your style. Feel free to experiment and make the hat uniquely yours!
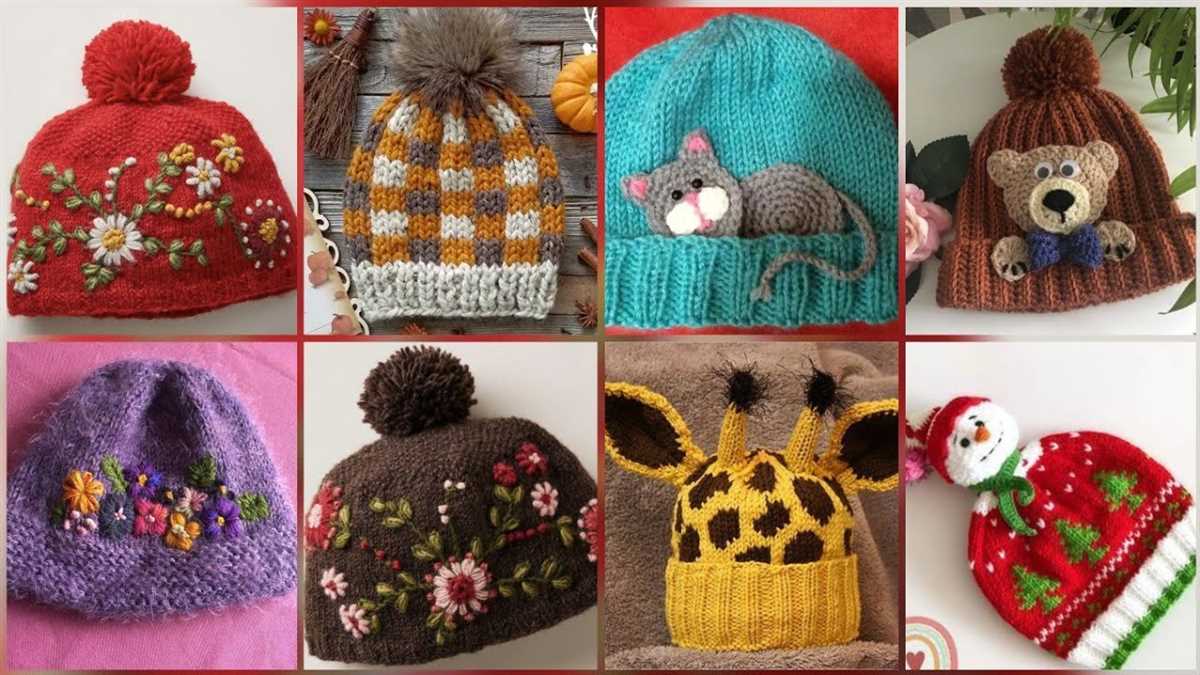
Variations and customization options
Once you have mastered the basic pattern for the knitted sailor hat, you can start exploring variations and customization options to make your hat unique. Here are a few ideas to get you started:
- Color variations: Experiment with different colors to create a hat that matches your personal style. You can use a single color or incorporate multiple colors to create stripes or patterns.
- Texture variations: Play around with different stitches and textures to add dimension to your hat. For example, you can incorporate cables or lace patterns for a more intricate design.
- Embroidery and embellishments: Add embroidery or embellishments like buttons, pompoms, or ribbons to customize your hat further. This is a great way to add a personal touch or make the hat more festive for special occasions.
- Earflaps or brim: If you want extra warmth or a different look, consider adding earflaps or a brim to your sailor hat. You can find patterns or tutorials online to guide you through the process.
Remember, knitting is a creative and versatile craft, so don’t be afraid to experiment and make the hat truly your own. Whether you choose to stick to the classic sailor hat design or add your own unique twist, the most important thing is to enjoy the process and have fun!