
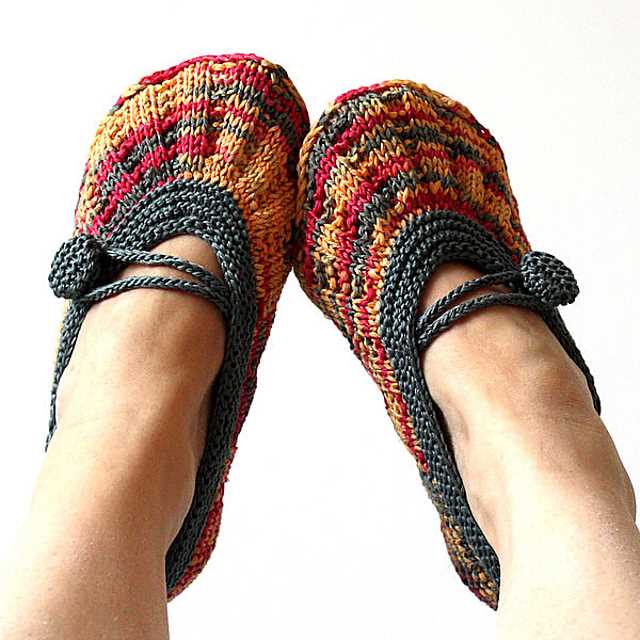
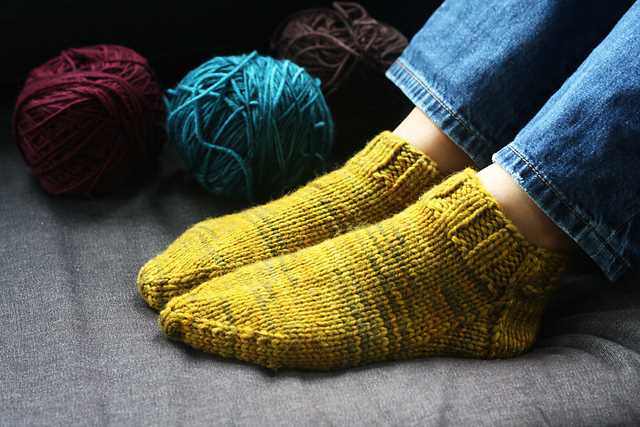
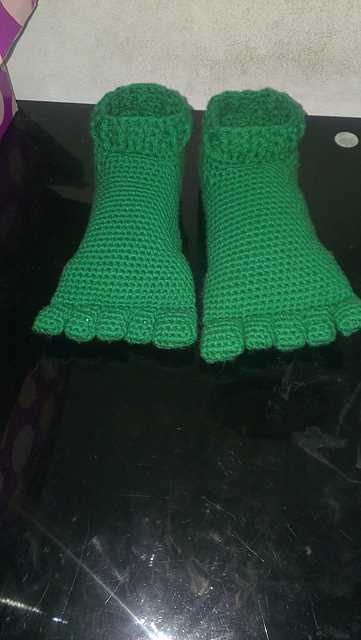
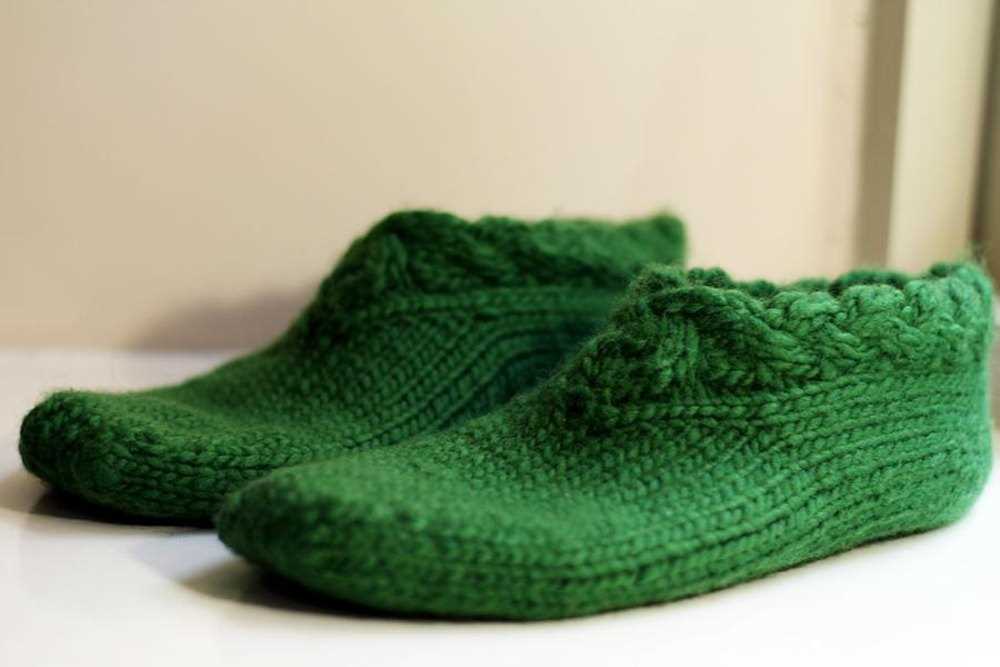
When the weather gets chilly and you’re craving warmth and comfort, there’s nothing better than slipping into a pair of cozy slippers. If you’re a knitting enthusiast, why not make your own pair of bulky slippers?
Knitting your own slippers not only allows you to customize the style and color to your liking, but it also provides the satisfaction of creating something with your own hands. Plus, with a bulky yarn and larger knitting needles, you’ll have a pair of slippers that work up in no time!
This knitting pattern is perfect for beginners and experienced knitters alike. The instructions are easy to follow and include step-by-step photos to guide you. With a few basic knitting techniques, you’ll have a pair of slippers that are not only warm and cozy, but also stylish and unique.
So grab your knitting needles and get ready to create the perfect pair of slippers to keep your feet warm all winter long. Whether you’re making them for yourself or as a gift for a loved one, these bulky slippers are sure to be a hit. Get started today and enjoy the satisfaction and warmth of handmade slippers!
How to choose the right yarn for your slippers
When knitting slippers, choosing the right yarn is crucial to ensure their comfort, durability, and overall quality. Here are some factors to consider when selecting the yarn for your bulky slippers knitting project:
Yarn weight:
One of the first things to consider is the weight of the yarn. For bulky slippers, you’ll want to choose a yarn that is thick and chunky. This will help provide extra warmth and insulation, making the slippers cozy and perfect for colder seasons.
Fiber content:
The fiber content of the yarn is another important consideration. For slippers, it is best to choose a yarn that is soft and has good insulation properties. Natural fibers like wool or alpaca are excellent choices, as they offer warmth, breathability, and moisture-wicking properties. However, if you prefer a more budget-friendly option, acrylic yarns can also work well.
Durability:
Since slippers are meant to be worn and walked in, durability is key. Look for a yarn that is sturdy and can withstand regular use without losing its shape or developing holes easily. Yarns with added nylon or other synthetic fibers can provide added strength and longevity.
Color and pattern:
Lastly, consider the color and pattern of the yarn. Slippers are a great opportunity to have fun with different colors and patterns, so choose a yarn that appeals to your personal style. Whether you prefer bold, vibrant hues or more subdued, neutral tones, there are plenty of options to choose from.
By taking these factors into consideration when selecting your yarn, you can ensure that your bulky slippers are not only comfortable and warm but also durable and visually appealing. Happy knitting!
Getting started: essential knitting techniques
When starting your knitting project, it’s important to have a good grasp of the essential techniques that will be used throughout the process. Whether you’re a beginner or an experienced knitter, understanding these techniques will help ensure that your project turns out just as you envisioned.
Casting On

The first step in any knitting project is casting on. This is the process of creating the initial row of stitches on your knitting needle. There are several methods for casting on, including the long-tail cast on, the knitted cast on, and the cable cast on. Each method has its own advantages and creates a slightly different edge, so choose the one that best suits your project.
Basics of Knitting
Once you have cast on your stitches, you’re ready to start knitting! The basic knit stitch involves inserting the right needle into the first stitch on the left needle, wrapping the yarn around the right needle, and pulling it through the stitch. This creates a new stitch on the right needle while the old stitch is transferred to the right needle. The purl stitch, which creates a different texture, is essentially the reverse of the knit stitch.
- Knit Stitch: Insert right needle into first stitch on left needle, wrap yarn around right needle, and pull it through the stitch.
- Purl Stitch: Insert right needle into first stitch on left needle, wrap yarn under right needle, and pull it through the stitch from top to bottom.
Increasing and Decreasing
To shape your knitting project, you’ll need to know how to increase and decrease stitches. Increasing involves adding extra stitches to your project, while decreasing involves eliminating stitches. There are various ways to achieve these effects, such as yarn overs, knit front and back, slip slip knit, and knit two together.
- Yarn Over: Bring the yarn to the front, then over the right needle to the back, creating a new stitch.
- Knit Front and Back: Knit into the front of the stitch, then without removing the stitch from the left needle, knit into the back of the same stitch, creating two stitches from one.
- Slip Slip Knit: Slip one stitch knitwise from the left needle to the right needle, slip another stitch knitwise from the left needle to the right needle, then insert the left needle into the fronts of these two slipped stitches and knit them together through the back loops.
- Knit Two Together: Insert the right needle through the fronts of the next two stitches on the left needle, then knit them together through the back loops, creating one stitch from two.
With these essential knitting techniques under your belt, you’re now ready to tackle your bulky slippers knitting pattern with confidence. From casting on to increasing and decreasing stitches, you have the skills to bring your project to life. Happy knitting!
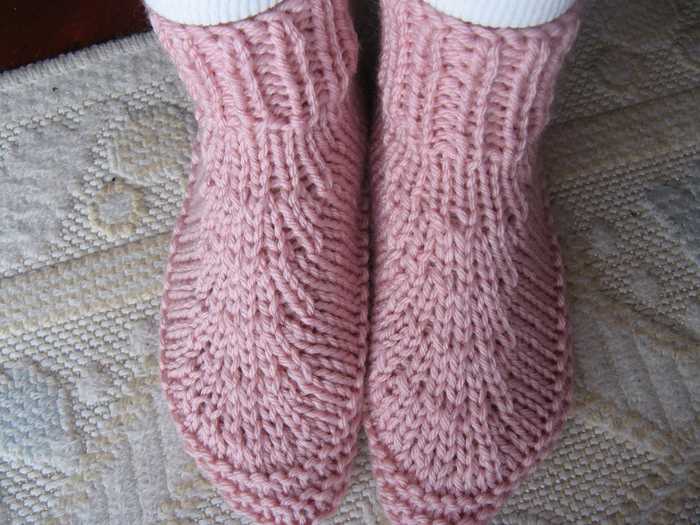
Step-by-step guide to knitting bulky slippers
If you’re looking for a cozy and warm project to knit, bulky slippers are the perfect choice. With their thick yarn and chunky texture, these slippers are not only comfortable to wear but also quick and easy to make. In this step-by-step guide, we’ll walk you through the process of knitting your own pair of bulky slippers.
Materials you’ll need:
- Bulky weight yarn (choose a color of your choice)
- Size 10 knitting needles
- Tapestry needle
- Scissors
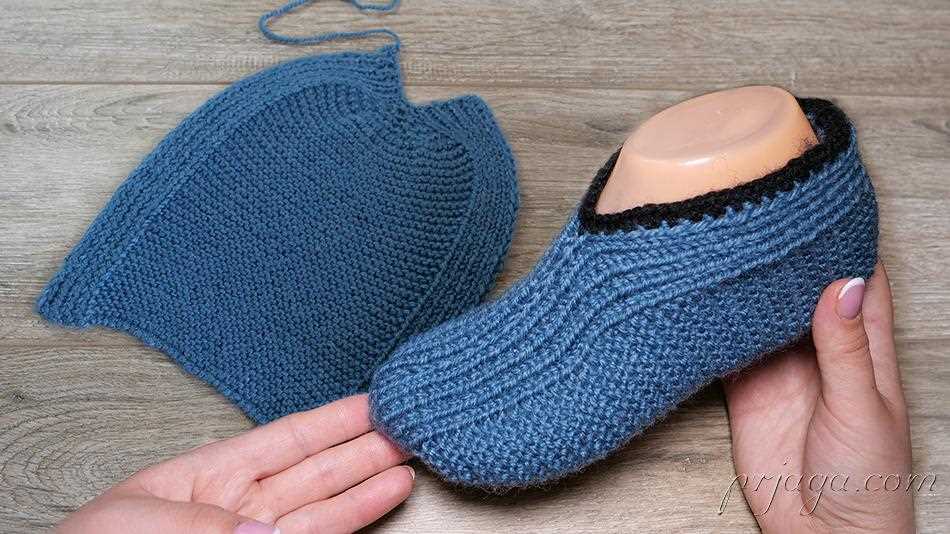
Step 1: Start by casting on the desired number of stitches for your size. You can find a size guide online or use an existing slipper as a reference. For example, for a women’s size 7 slipper, you might cast on around 30 stitches.
Step 2: Once you’ve cast on, begin knitting in the garter stitch pattern. This means knitting every row. Continue knitting in this pattern until your work measures about 2 inches.
Step 3: Next, you’ll start shaping the toe of the slipper. To do this, you’ll begin decreasing stitches. Knit 1 stitch, then knit 2 stitches together. Repeat this pattern until the end of the row. Knit the next row without decreasing.
Step 4: Continue alternating between decreasing rows and plain knit rows until you have only a few stitches left. Cut the yarn, leaving a long tail. Thread the tail through your tapestry needle and slip the needle through the remaining stitches to create a gathered effect. Secure the end of the yarn and weave in any loose ends.
Step 5: Repeat steps 1-4 to create the second slipper. Once both slippers are complete, try them on and make any necessary adjustments for fit. You can also add embellishments such as buttons or pom-poms to personalize your slippers.
With this simple guide, you can easily knit yourself a cozy pair of bulky slippers to keep your feet warm and comfortable. Enjoy the process and embrace the satisfaction of creating something with your own two hands!
Troubleshooting common knitting mistakes
Knitting is a wonderful craft that allows us to create beautiful and cozy garments, but it can also be frustrating when mistakes occur. However, with a little patience and some troubleshooting, most knitting mistakes can be fixed. Here are some common knitting mistakes and how to fix them.
Dropped stitches
Dropped stitches are one of the most common knitting mistakes that can happen to anyone. It can be easy to accidentally let a stitch slip off the needle, especially if you are a beginner. When you notice a dropped stitch, it’s important to catch it quickly before it unravels further. To fix a dropped stitch, use a crochet hook or a spare knitting needle to pick up the dropped stitch and place it back on the needle in the correct orientation.
Tension issues
Another common knitting mistake is having inconsistent tension throughout your project. This can result in stitches that are too tight or too loose, making your finished project look uneven. To fix tension issues, try using a different needle size or adjusting your knitting technique. Practice knitting with more even tension by consciously focusing on the tightness of your stitches. You can also use blocking to even out the tension in your finished project.
Twisted stitches
Twisted stitches occur when you accidentally knit or purl through the back loop instead of the front loop. This can result in twisted stitches that look different from the rest of your project. To fix twisted stitches, carefully unravel the stitch and insert the needle into the correct loop to knit or purl it. Take your time to ensure that the stitch is properly oriented before continuing with your project.
Holes in lace knitting
Lace knitting can be challenging, especially when it comes to preventing holes from forming. Holes can appear when yarnovers are not correctly paired with corresponding decreases. To fix holes in lace knitting, carefully examine the pattern and make sure you are following the instructions correctly. If you notice a hole, you can use a crochet hook or a spare needle to pick up the surrounding stitches and create a decrease to close the hole.
These are just a few examples of common knitting mistakes and how to troubleshoot them. Remember, knitting is a skill that improves with practice, and mistakes are just part of the learning process. Don’t be afraid to experiment and try different techniques to fix any issues that may arise during your knitting projects.
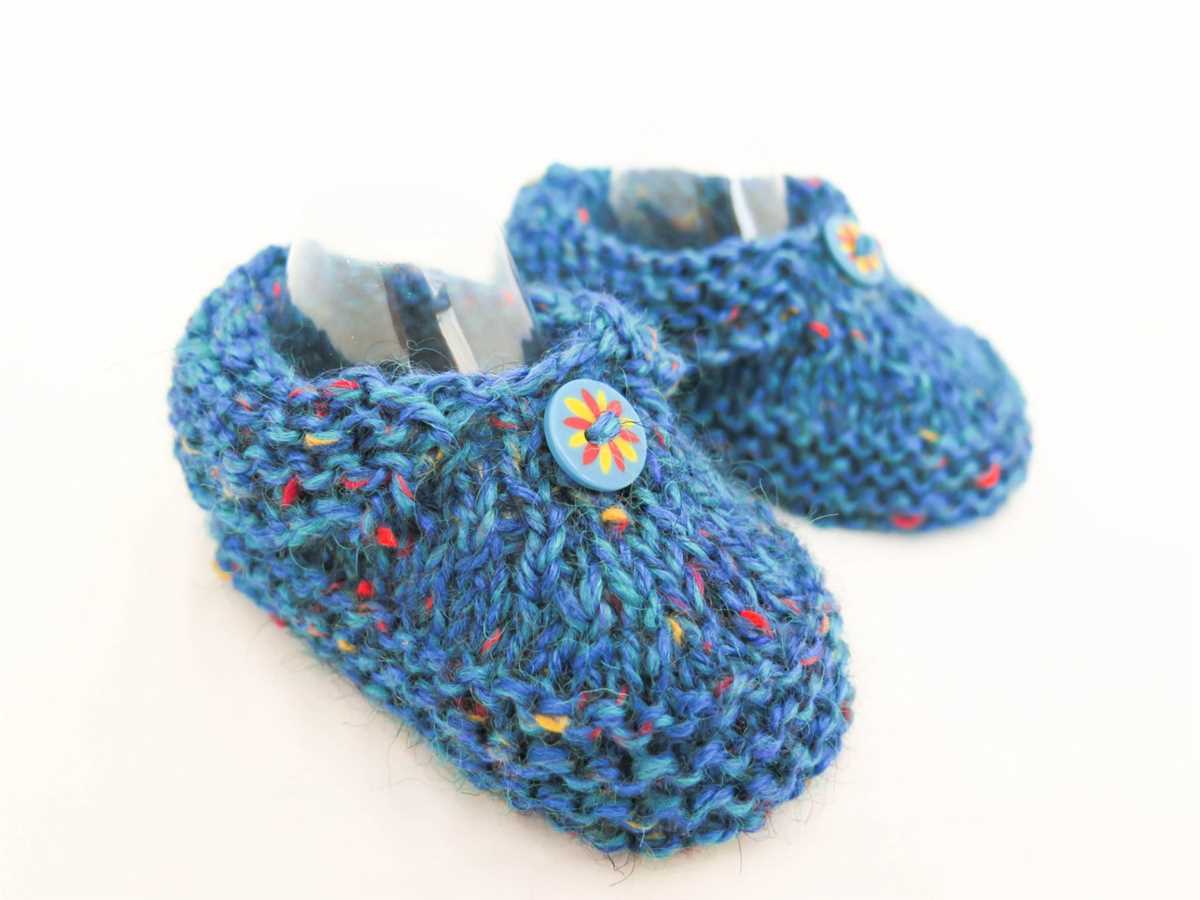
Adding decorative elements to your slippers
When knitting bulky slippers, adding decorative elements can bring a touch of personality and style to your finished project. Whether you’re making them for yourself or as a gift, these embellishments can make your slippers truly unique.
1. Embroidery: Adding embroidered designs to your slippers can be a fun and creative way to personalize them. You can use colorful yarn or embroidery floss to stitch patterns, symbols, or even initials onto the surface of the slippers. This option allows for endless possibilities and gives you the freedom to let your imagination run wild.
2. Appliques: Another option for adding decorative elements to your slippers is using appliques. You can purchase pre-made appliques, or create your own by knitting or crocheting small motifs and attaching them to the slippers. Appliques can be in the shape of flowers, animals, or any other design you prefer, and can be sewn onto the slippers securely using a needle and thread.
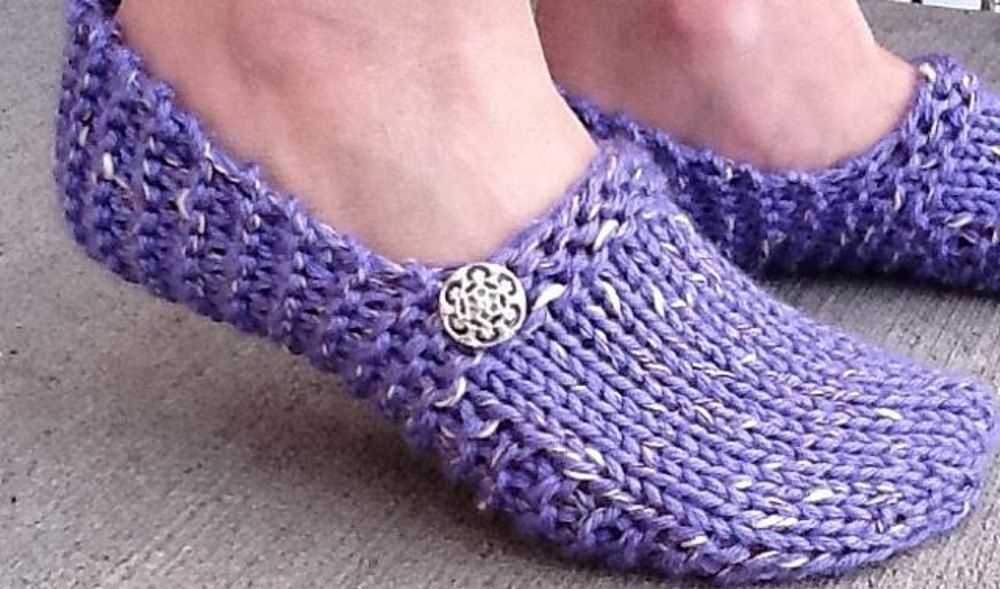
3. Button accents: Adding buttons as accents to your slippers can create a unique and eye-catching look. You can sew buttons onto the sides or front of the slippers, or use them as functional closures. Choose buttons in different colors, shapes, and sizes to add an interesting visual element to your slippers.
4. Ribbons: Another decorative element to consider is using ribbons. You can add ribbons as bows, ties, or even as a trim around the edges of the slippers. Satin ribbons can add elegance, while patterned or colorful ribbons can bring a playful touch to your design. Simply sew the ribbons onto the slippers using a needle and thread, ensuring they are securely attached.
5. Beads or sequins: For those looking for a bit of sparkle, adding beads or sequins to your slippers can create a dazzling effect. You can stitch them onto the surface of the slippers or use them to create patterns or accents. Beads and sequins can be found in various shapes, colors, and sizes, allowing you to create a design that suits your taste and style.
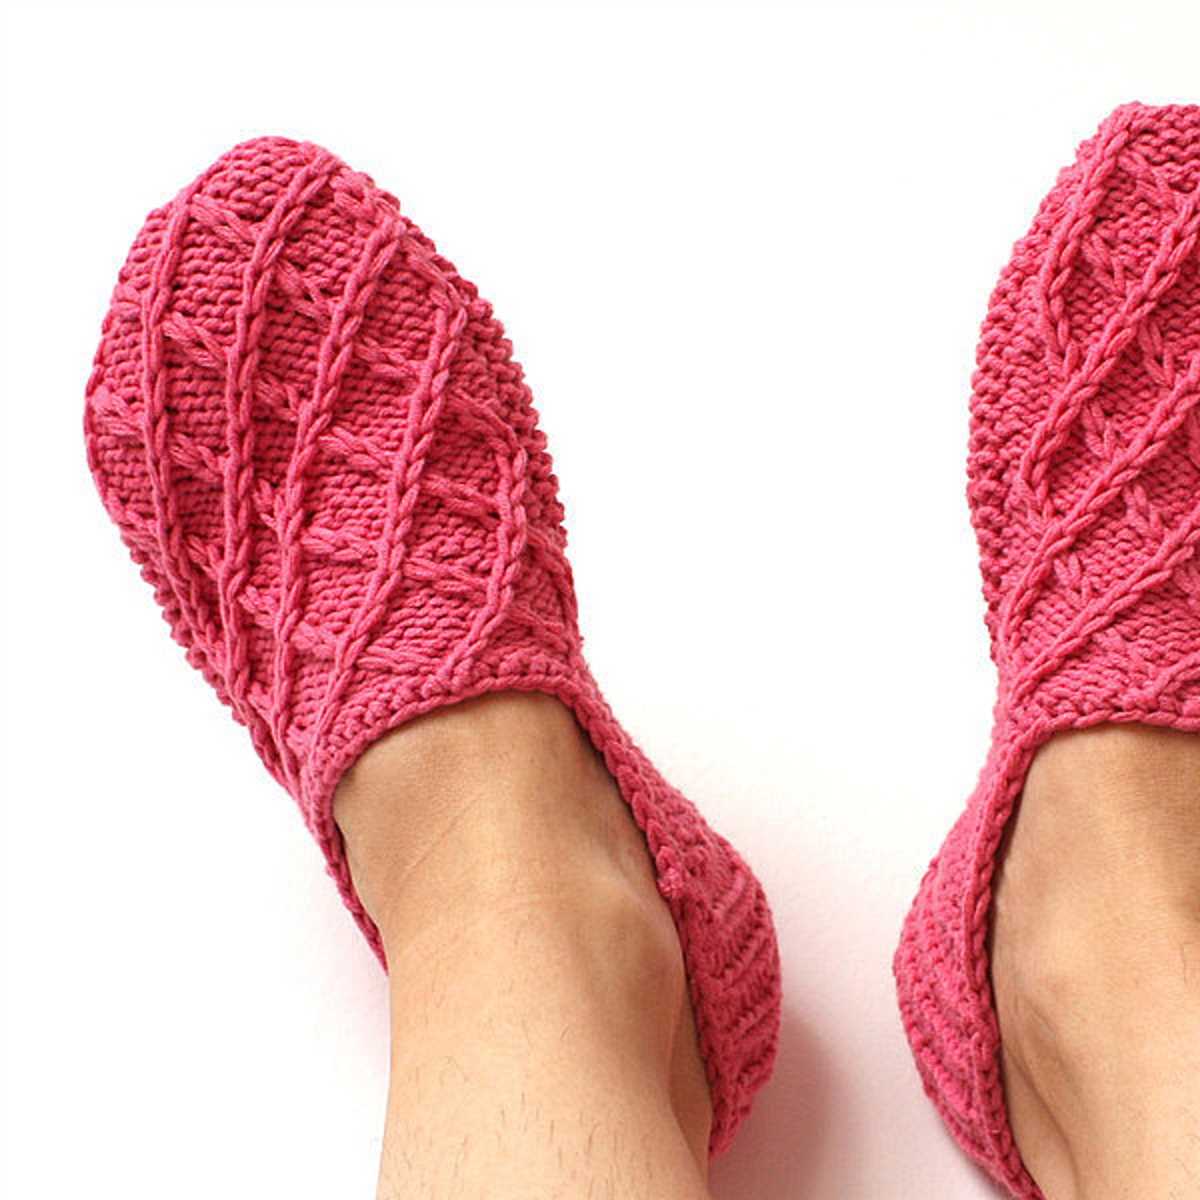
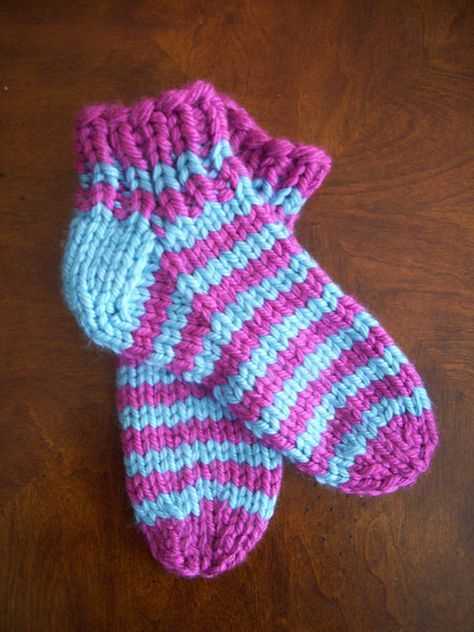
6. Contrast colors: Finally, one of the simplest ways to add decorative elements to your slippers is by using contrasting colors. For example, you can knit the main body of the slipper in one color and use a different color for the cuffs or edging. This creates a bold and eye-catching look, and allows you to showcase your knitting skills in a unique way.
When it comes to adding decorative elements to your bulky slippers, the options are endless. The key is to choose elements that reflect your personal style and taste, and have fun with the process. Whether you prefer subtle accents or bold embellishments, your slippers will be transformed into one-of-a-kind creations with these added decorative touches.
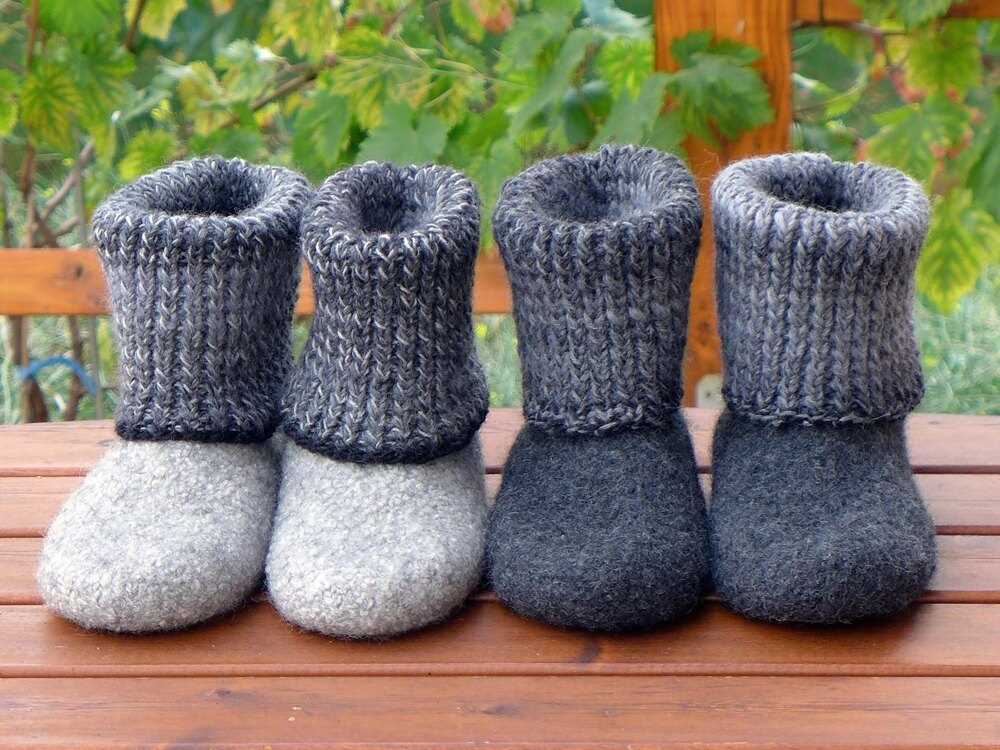
Creating different sizes and variations of slippers

When it comes to knitting slippers, one of the most important factors to consider is the size. After all, we all have different feet sizes and it’s essential to create slippers that fit comfortably. The great news is that with the bulky slippers knitting pattern, you can easily customize the size of your slippers to fit any foot size. The pattern provides detailed instructions on how to adjust the number of stitches and rows to create larger or smaller sizes. This flexibility allows you to make slippers for your whole family, ensuring a perfect fit for everyone.
In addition to adjusting the size of your slippers, the bulky slippers knitting pattern also allows for variations in the design. You can choose to create slippers with or without a cuff, add decorative buttons or pom-poms, or even experiment with different stitch patterns. The pattern provides suggestions for customization, but the possibilities are endless. Get creative and make each pair of slippers unique!
Customizing the size of your slippers
- Follow the pattern’s instructions for the base size.
- To make larger slippers, increase the number of stitches in each row by a certain percentage, or add extra stitches evenly across the rows.
- To make smaller slippers, decrease the number of stitches in each row by a certain percentage, or remove stitches evenly across the rows.
- Remember to adjust the number of rows as well, to ensure the slippers will be the correct length.
Adding variations to the design
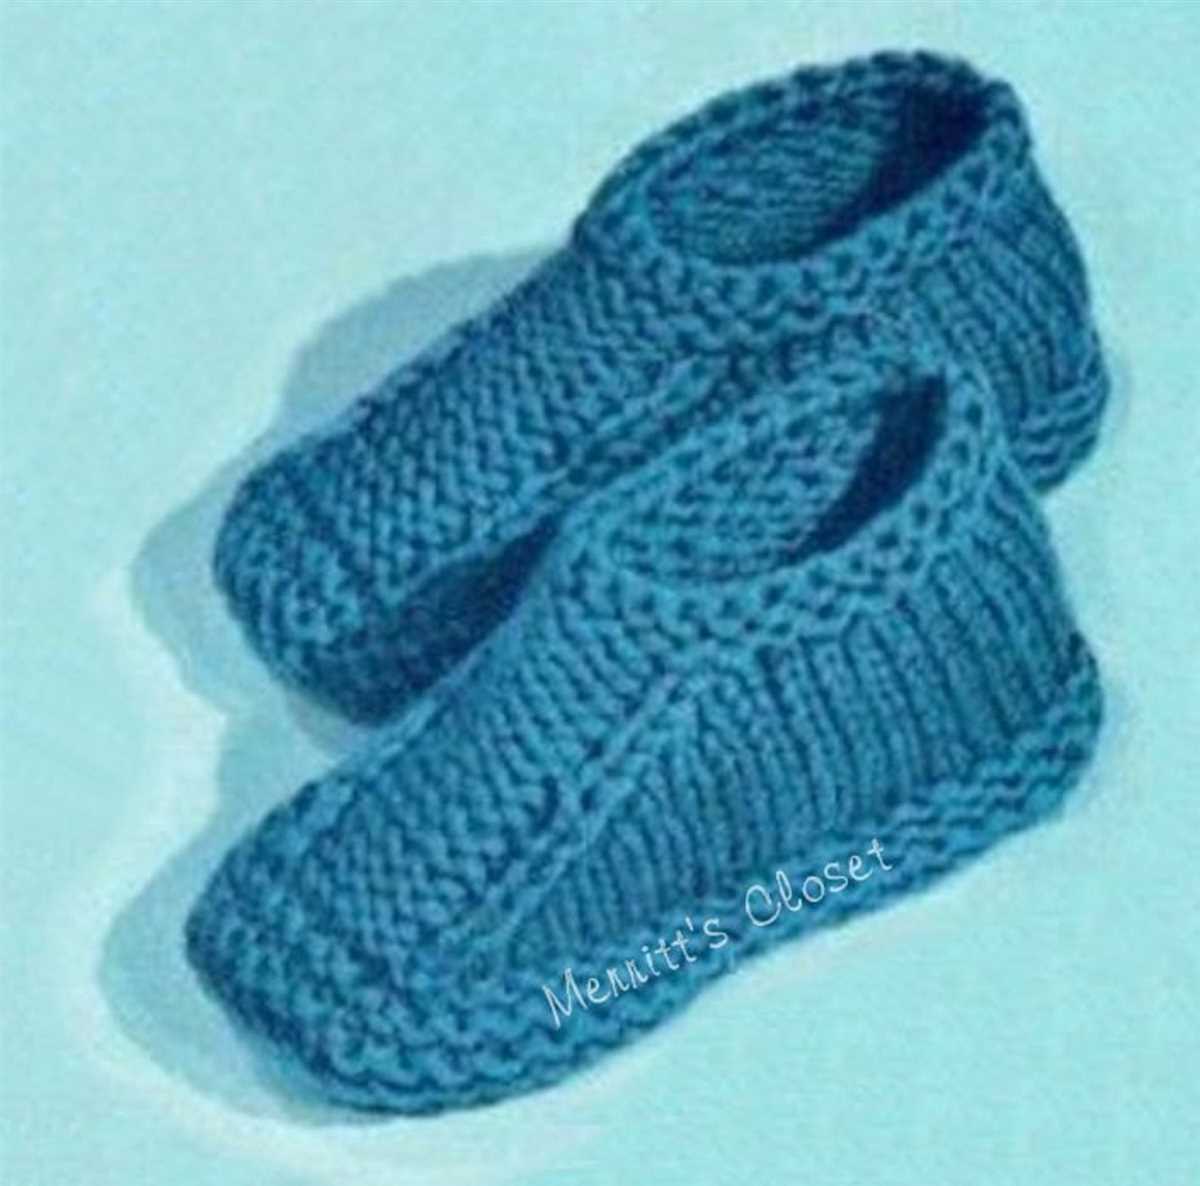
- Choose to knit slippers with or without a cuff. If you want a cuff, follow the pattern’s instructions to create the desired length.
- Add decorative buttons or pom-poms to the slippers to give them a unique touch.
- Experiment with different stitch patterns, such as ribbing or cables, to create texture and interest.
- Consider using different colors or yarn types to create a fun and personalized look.
Finishing touches: blocking and seaming

After completing the knitting of your bulky slippers, there are a few finishing touches that will give them a polished and professional look. The first step is blocking, which involves soaking the slippers in water and shaping them to the desired size. This helps to even out any irregularities in the stitches and ensures that the slippers maintain their shape once they are dry.
To block your slippers, start by filling a basin or sink with lukewarm water. Gently submerge the slippers and let them soak for about 15 minutes. Gently squeeze out any excess water, taking care not to wring or twist the slippers. Lay them flat on a clean towel and reshape them by gently tugging and smoothing the fabric. Allow the slippers to dry completely before moving on to the next step.
Once the slippers are dry, it’s time to seam them together. You can use a tapestry needle and the same yarn that you used for knitting to sew the seam. Start by aligning the edges of the slippers and securing them with pins. Thread the needle and begin sewing using a mattress stitch, which creates an invisible seam. Take care to sew through both layers of fabric, keeping your stitches even and consistent.
When you reach the end of the seam, weave in any loose ends and trim off any excess yarn. Repeat the seaming process for the second slipper. Once both slippers are seamed, give them one final blocking to ensure that the seams lie flat and blend seamlessly with the rest of the slipper. Allow the slippers to dry completely before trying them on and enjoying the cozy warmth of your hand-knit creation.
Adding non-slip soles to your slippers
Slippers are a cozy and comfortable footwear option, perfect for keeping your feet warm during the colder months. However, one common issue with slippers is that they can sometimes be slippery, especially on smooth surfaces. To address this problem, you can add non-slip soles to your slippers, ensuring better traction and stability.
There are a few different ways you can add non-slip soles to your slippers. One option is to purchase non-slip sole pads, which are adhesive-backed and can easily be attached to the bottom of your slippers. These pads are usually made of rubber or silicone, providing a grippy surface that helps prevent sliding. They come in various shapes and sizes, so you can choose the one that best fits your slippers.
If you prefer a more DIY approach, you can also create your own non-slip soles using materials like fabric paint or puffy paint. Simply apply the paint in a pattern that provides traction, such as stripes or dots, on the sole of your slippers. Allow the paint to dry completely before wearing them, and you’ll have a custom-made non-slip solution for your slippers.
Steps for adding non-slip soles to your slippers:
- Clean the soles of your slippers to remove any dirt or debris.
- Measure the size of your slippers’ soles and cut the non-slip pads to fit.
- Peel off the adhesive backing from the non-slip pads and carefully press them onto the soles of your slippers.
- If using fabric paint or puffy paint, create your desired pattern on the soles of your slippers and allow it to dry completely.
- Test the traction of your newly added non-slip soles on various surfaces to ensure they provide the desired grip.
With non-slip soles added to your slippers, you can walk confidently and comfortably on any surface, without the worry of slipping or sliding. Whether you choose ready-made non-slip sole pads or decide to create your own, this simple addition can make a big difference in the safety and functionality of your slippers.
Caring for your knitted slippers: washing and maintenance

Knitted slippers are not only cozy and warm but also require proper care to ensure their longevity. Here are some tips and guidelines on how to wash and maintain your bulky knitted slippers:
Washing
- Before washing your slippers, always check the care instructions provided by the knitting pattern or yarn manufacturer.
- If your slippers are made of machine-washable materials, you can safely wash them in a washing machine on a delicate or wool cycle. Use a mild detergent specifically designed for delicate fabrics.
- For hand-knitted slippers, it is recommended to wash them by hand to prevent any potential stretching or damage. Fill a basin or sink with lukewarm water and add a small amount of gentle detergent. Gently agitate the slippers in the water, then rinse thoroughly.
- Avoid using hot water or harsh detergents, as they can cause shrinkage or damage to the slippers.
- If your slippers have any embellishments or decorations, such as buttons or yarn pom-poms, remove them before washing to prevent them from getting damaged or tangled.
Maintenance
- To maintain the shape of your slippers, avoid wringing or twisting them after washing. Instead, gently squeeze out excess water and reshape them while damp.
- Do not hang knitted slippers to dry, as this can cause them to stretch. Instead, lay them flat on a clean towel or drying rack in a well-ventilated area away from direct sunlight or heat sources.
- If your slippers have become misshapen or stretched over time, you can try reshaping them by wetting them with water and gently stretching them back into shape. Allow them to dry completely in the desired shape.
- Regularly check your slippers for any signs of wear or damage, such as holes or loose stitches. Repair them promptly to prevent further damage and maintain their durability.
By following these washing and maintenance tips, you can ensure that your knitted slippers stay soft, cozy, and in excellent condition for many seasons to come.
Exploring creative ways to personalize your slippers

Now that you have the perfect pair of bulky slippers, it’s time to add your own personal touch to make them truly one-of-a-kind. Here are some creative ideas to inspire you:
1. Embroidery designs
Add a pop of color and personality to your slippers with custom embroidery designs. You can showcase your favorite quotes, symbols, or even your initials. Embroidery can be done by hand or using a sewing machine.
2. Pom-poms and tassels
Attach playful pom-poms or elegant tassels to your slippers for a fun and trendy look. You can make them using yarn that matches your slippers or go for contrasting colors for a bold statement.
3. Appliques and patches
Add fabric appliques or patches to your slippers to create a unique and textured design. You can find pre-made ones or create your own using fabric scraps or felt. Attach them using fabric glue or sew them on for added durability.
4. Buttons and beads
Sew colorful buttons or shiny beads onto your slippers to give them a touch of glamour. You can create patterns or designs using different sizes and shapes of buttons and beads.
5. Ribbons and bows
Tie ribbons in bows around your slippers for a feminine and charming touch. You can use satin ribbons for an elegant look or patterned ribbons for a more playful vibe.
6. Custom fabric lining
Add a cozy and personal touch to the inside of your slippers by sewing a custom fabric lining. Choose a fabric that matches your style, whether it’s floral, polka dots, or a bold print.
Personalizing your slippers is a great way to express your individuality and add a unique flair to your handmade creations. Get creative and have fun making your slippers truly your own!