
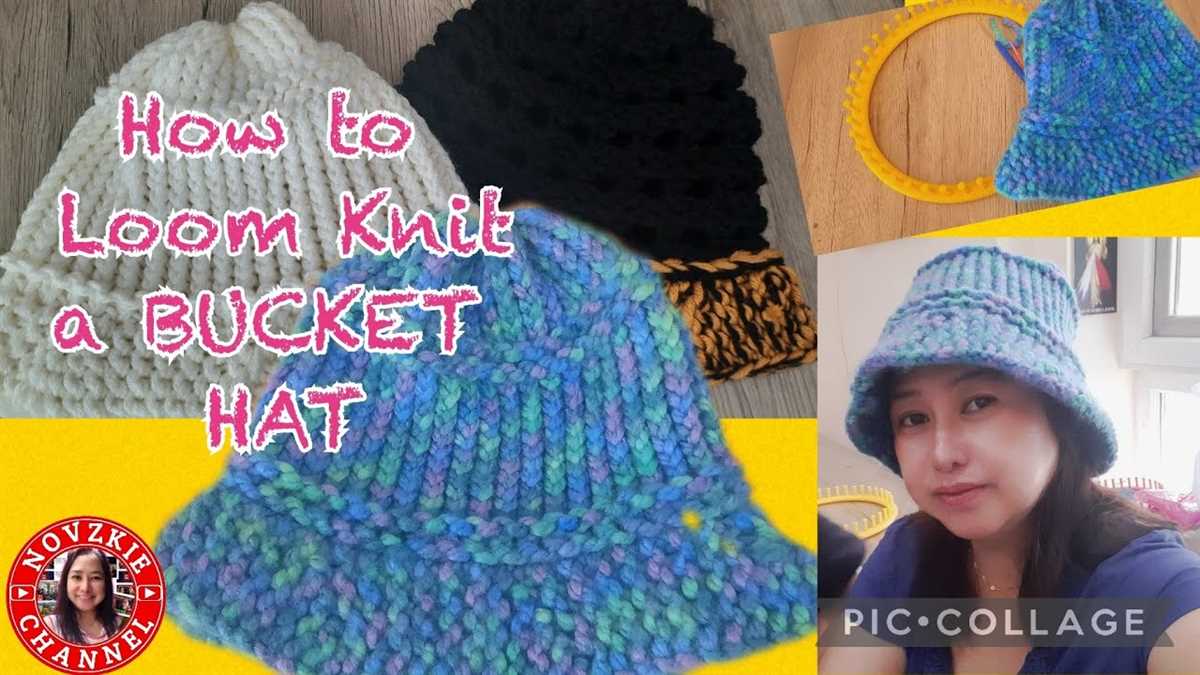
Looking for a fun and stylish accessory for the upcoming summer? Why not knit your own bucket hat? Bucket hats have made a comeback in recent years and are now a popular choice for fashion-forward individuals. They offer protection from the sun while adding a trendy and casual vibe to any outfit.
If you’re new to knitting, don’t worry! This bucket hat pattern is beginner-friendly and easy to follow. You’ll learn basic knitting techniques like casting on, knitting, purling, and casting off. With a few hours of your time and some yarn, you’ll have a unique and personalized bucket hat that you can proudly wear.
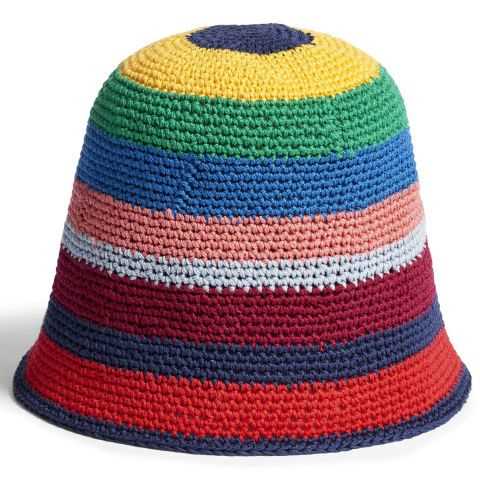
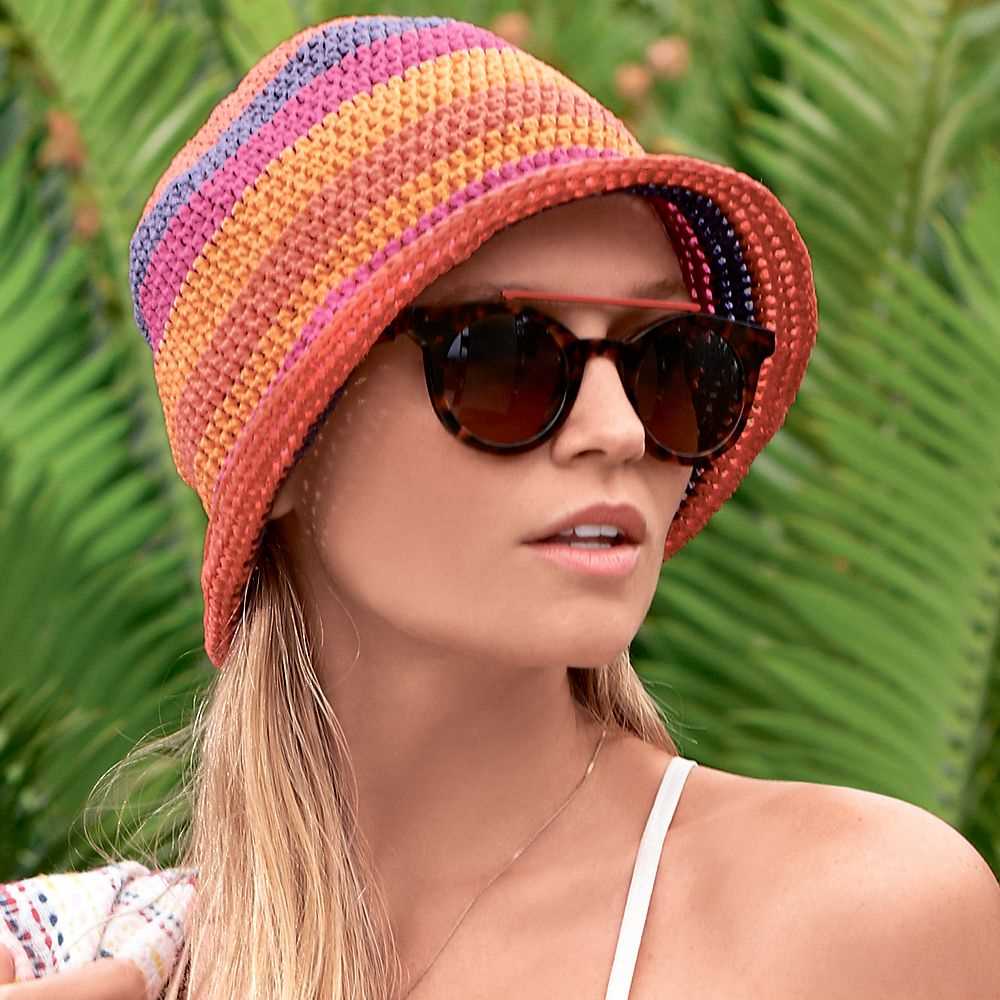
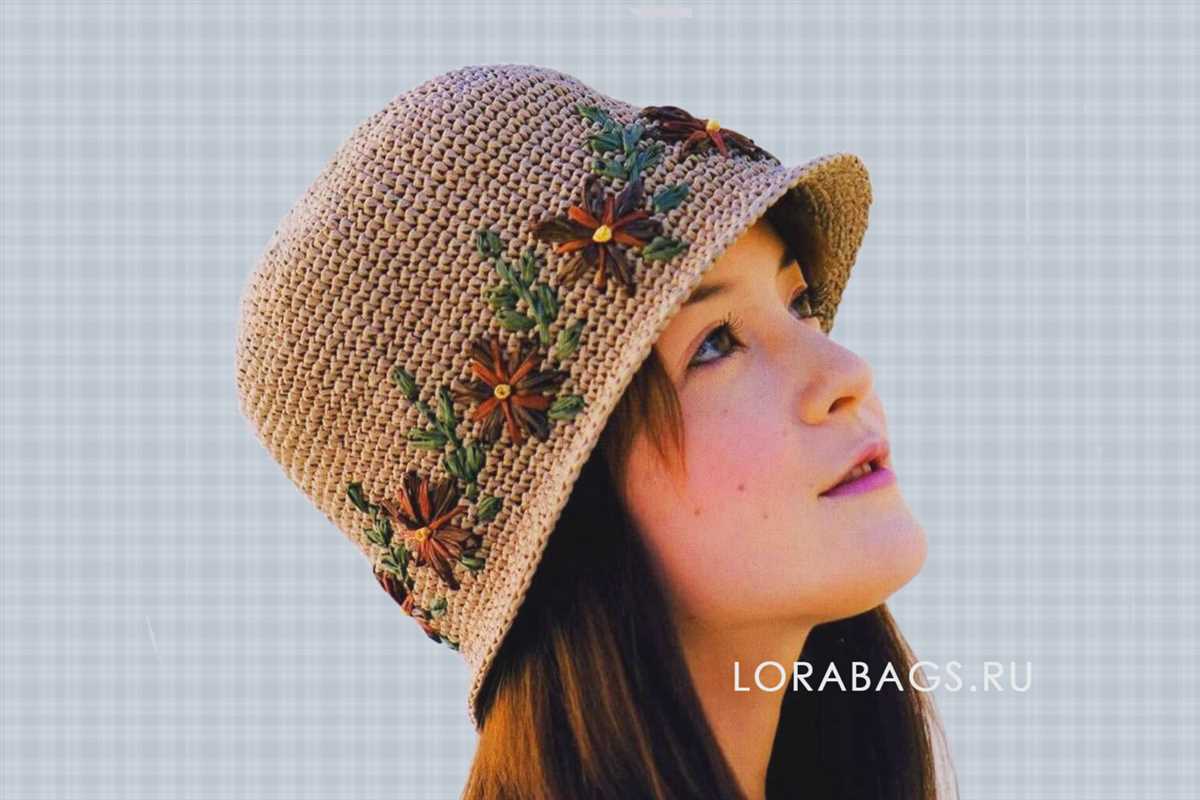
This pattern is versatile and can be customized to fit your style. Choose bold and vibrant colors for a statement piece, or opt for neutral tones for a more classic look. You can also experiment with different stitch patterns or add embellishments like pom-poms or buttons to make your hat truly one-of-a-kind.
Whether you’re heading to the beach, going for a hike, or just running errands around town, a knit bucket hat will not only protect you from the sun but also elevate your style. So grab your knitting needles, pick up some yarn, and get ready to create your very own bucket hat!
Materials
Before you begin knitting your bucket hat, make sure you have all the necessary materials. Here is a list of what you will need:
- Yarn: Choose a yarn that is suitable for the project. A medium-weight yarn, also known as worsted or aran, is recommended for a bucket hat.
- Knitting Needles: You will need a set of circular knitting needles in the appropriate size for your yarn. The size will depend on the gauge and the desired fit of your hat.
- Stitch Markers: Stitch markers are useful for keeping track of your stitches and marking important sections, such as the beginning of a round or the placement of decreases.
- Tapestry Needle: A tapestry needle is essential for weaving in the loose ends of yarn and finishing your hat neatly.
- Scissors: A pair of sharp scissors will come in handy for cutting the yarn and trimming any excess.
- Measuring Tape: A measuring tape or ruler is useful for checking your gauge and taking measurements to ensure a proper fit.
Once you have gathered all of these materials, you are ready to dive into knitting your very own bucket hat. It is always a good idea to have everything prepared before you start, as it will make the knitting process much smoother and more enjoyable.
Yarn
Yarn is a versatile material that is commonly used in knitting and crochet projects. It is made by twisting together individual strands of fiber to create a continuous thread. Yarn comes in a wide variety of colors, weights, and fibers, allowing crafters to choose the perfect yarn for their project.
When choosing yarn for a knitting project, it is important to consider the weight of the yarn. Yarn weight refers to the thickness of the yarn, which can vary from fine lace weight to bulky weight. Different yarn weights are suitable for different types of projects – finer yarns are often used for delicate lacework, while thicker yarns are great for warm and cozy items like blankets and sweaters.
There are many different types of yarn fibers available, each with its own unique characteristics. Common natural fibers include wool, cotton, silk, and bamboo, while synthetic fibers like acrylic and polyester offer durability and easy care. Some yarns are also blended with other fibers to combine the best qualities of each.
When working with yarn, it is important to consider the gauge or tension of the yarn, which refers to the number of stitches and rows per inch. This can affect the final size and appearance of the finished project, so it is important to use the recommended gauge as specified in the pattern. To determine the gauge, knitters or crocheters can create a swatch using the chosen yarn and needle or hook size, then measure the number of stitches and rows in a given measurement to check against the pattern’s gauge.
Yarn is a staple in knitting and crochet projects, allowing crafters to create beautiful and functional items. Whether you’re a beginner or an experienced knitter, choosing the right yarn for your project is an important step towards creating a successful and satisfying finished piece.
A pair of needles is an essential tool for any knitting project, including knitting a bucket hat. Needles come in various sizes, materials, and lengths, allowing knitters to choose the right type for their specific project.
When knitting a bucket hat pattern, it is important to select the appropriate needle size to achieve the desired gauge and finished size. The pattern will usually specify the recommended needle size, which can range from small, thin needles for finer projects to larger, chunkier needles for thicker yarns.
Sizes and Materials
Needles are typically labeled with both a US size and a metric size. The US size refers to the diameter of the needle, while the metric size is measured in millimeters. Knitters can use either sizing system, depending on their preference and the availability of needles in their region.
Common materials for knitting needles include metal, wood, and plastic. Metal needles are durable and smooth, allowing the yarn to glide easily. Wood needles provide a warmer feel and can be more comfortable for those with sensitive hands. Plastic needles are lightweight and affordable, making them a popular choice for beginners.
Circular Needles
Circular needles are an excellent option for knitting a bucket hat pattern, especially if the pattern calls for knitting in the round. These needles consist of two needle tips connected by a flexible cord, creating a continuous loop. They eliminate the need for seaming and can comfortably accommodate a large number of stitches.
When knitting with circular needles, it is important to choose the correct cord length. For a bucket hat, a 16-inch or 40-centimeter circular needle is typically recommended. However, if the brim of the hat requires a smaller circumference, a shorter length may be necessary.
Double-Pointed Needles
Double-pointed needles, or DPNs, are another option for knitting a bucket hat pattern, especially for smaller sections of the hat, such as the crown shaping or the brim. These needles have points on both ends and are typically used in sets of four or five.
DPNs allow for knitting in the round without the need for a circular needle or magic loop method. They are versatile and can be used for various projects, including socks, gloves, and hats. However, they may require some practice to master, as managing multiple needles can be challenging for beginners.
Notions
In order to knit a bucket hat, you will need a few notions to help you along the way. Notions are the essential tools and accessories that are needed when working on a knitting project.
Some common notions that you will need for knitting a bucket hat include:
- Knitting needles: You will need a set of circular needles or double-pointed needles, depending on your preferred knitting method. The size of the needles will depend on the gauge of your yarn and the desired size of the hat.
- Yarn: Choose a yarn that is suitable for the project, such as a worsted weight or bulky weight yarn. The amount of yarn you will need will depend on the size of the hat and the pattern you are following.
- Tapestry needle: This needle is used for weaving in ends and sewing pieces together. It has a large eye and a blunt tip, making it easy to work with.
- Stitch markers: These small rings or clips are used to mark specific stitches or sections of your knitting. They can help you keep track of your progress and ensure that you are following the pattern correctly.
- Scissors: A pair of sharp scissors is essential for cutting yarn and trimming any excess ends.
- Measuring tape: This is useful for measuring your gauge, as well as checking the length and circumference of your hat.
- Row counter: A row counter can be helpful for keeping track of the number of rows you have knitted, especially if the pattern requires a specific number of rows.
These are just some of the notions that you may need for knitting a bucket hat. Depending on the pattern you are using, there may be additional tools or accessories required. It’s always a good idea to double-check the pattern before you start to ensure that you have all the necessary notions on hand.
Gauge
Gauge is an important aspect in knitting as it determines the size and fit of the finished project. It refers to the number of stitches and rows that can be achieved within a specified measurement, typically 4 inches (10 centimeters). To achieve the correct gauge, it is crucial to use the recommended yarn weight and needle size specified in the pattern.
In knitting a bucket hat, the gauge is especially important as it will ensure that the hat fits properly and covers the head comfortably. Using a larger or smaller gauge will result in a hat that is either too big or too small. To measure gauge, the pattern will usually provide instructions on how many stitches and rows should be worked in a given measurement. This can be achieved by making a gauge swatch, which is a small sample of knitting that allows you to measure your stitches and rows per inch.
Here are some key points to remember about gauge:
- Always check the recommended gauge in the pattern before starting your project. This will ensure that your finished item turns out the right size.
- If your gauge does not match the pattern gauge, you may need to change your needle size to achieve the correct tension.
- Keep in mind that everyone knits differently, so it’s important to check your own gauge rather than relying solely on the recommended needle size.
- Take the time to make a gauge swatch and measure it accurately to ensure the best fit for your project.
- Remember that gauge can vary depending on the yarn and needles used, so it’s important to use the same materials specified in the pattern.
By paying attention to gauge, you can ensure that your bucket hat fits perfectly and looks just as you envisioned it. Remember to always measure and adjust as needed to achieve the desired results.
Size
When knitting a bucket hat, it’s important to choose the right size to ensure a proper fit. The size of the hat will depend on the circumference of the head it is being knit for. It’s important to measure the head accurately before starting the knitting process.
Measuring the head circumference:
To measure the head circumference, take a flexible measuring tape and wrap it around the widest part of the head, just above the ears and eyebrows. Make sure the tape is level and not too tight or too loose. Take note of the measurement in inches or centimeters, depending on your preference.
Sizing options:
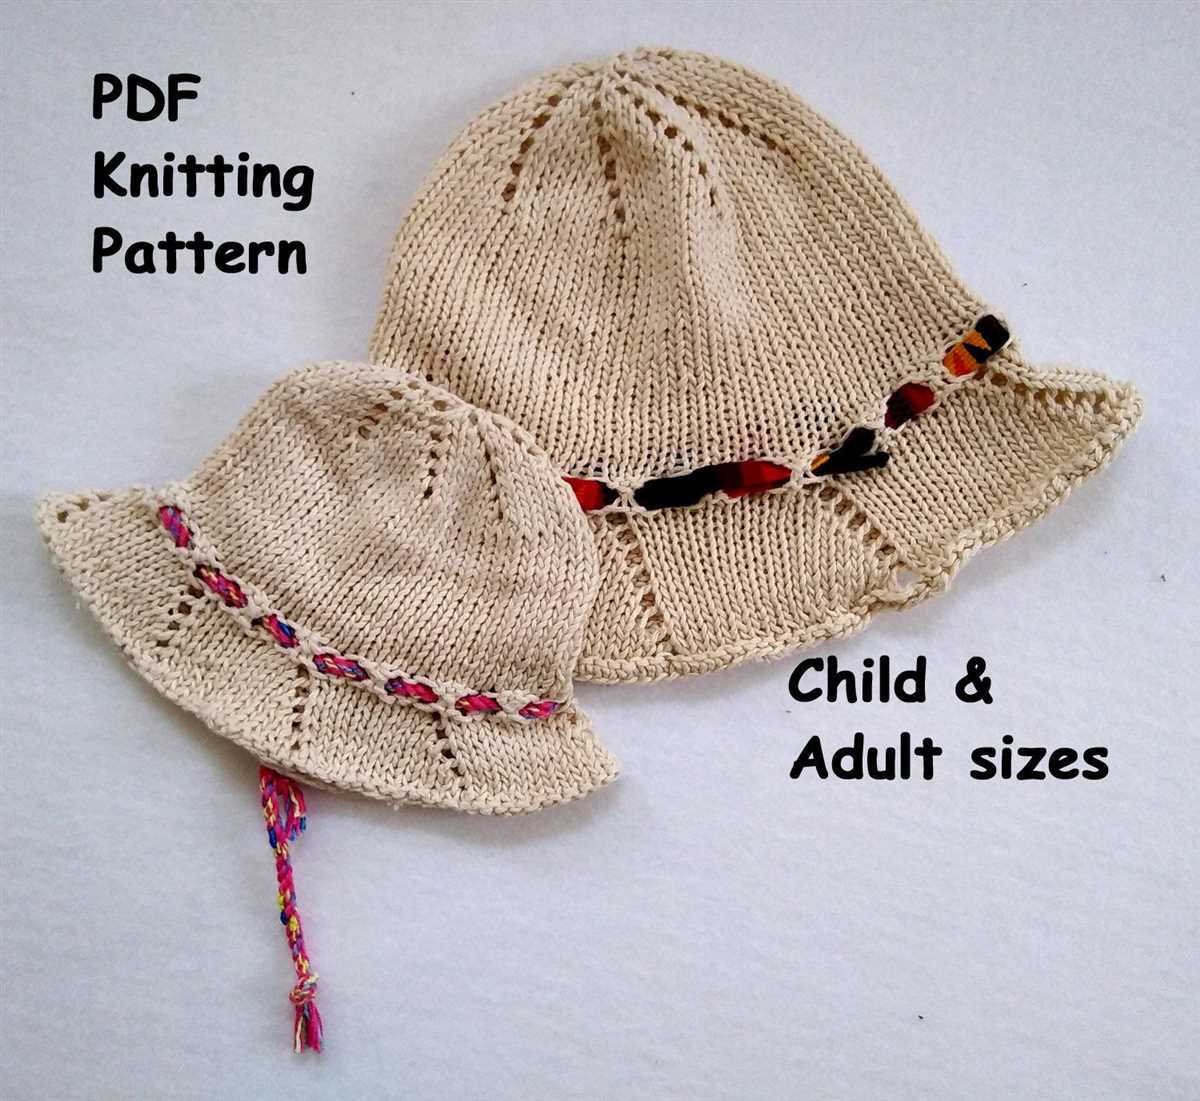
Once you have the head circumference measurement, you can choose the appropriate size for your bucket hat. Most knitting patterns will provide a range of sizes, typically ranging from infant to adult sizes. It’s important to follow the specific measurements provided in the pattern to ensure the hat fits correctly.
Adjusting the size:
If the head circumference measurement falls in between two sizes, you can adjust the size of the hat by either using a larger or smaller needle size. A larger needle size will create a looser fabric and result in a larger hat, while a smaller needle size will create a tighter fabric and result in a smaller hat.
Overall, selecting the right size for your knitted bucket hat is essential for a comfortable and well-fitting finished product. Take accurate measurements and choose the appropriate size from the pattern, or make adjustments as needed to achieve the perfect fit.
Instructions
In order to knit a bucket hat, you will need the following materials:
- Worsted weight yarn (approximately 200 yards)
- Size 7 (4.5 mm) circular needles, 16 inches long
- Set of size 7 (4.5 mm) double-pointed needles
- Stitch marker
- Tapestry needle
Casting On: Begin by casting on 96 stitches using the circular needles.
Join in a round and place a stitch marker to mark the beginning of the round.
Main Body of the Hat: Knit in a 2×2 rib stitch pattern (knit 2, purl 2) for 1 inch.
Switch to stockinette stitch (knit every round) and continue knitting until the hat measures approximately 5 inches from the cast on edge.
Decrease Rounds:
- Next round: *Knit 10, k2tog* repeat from * to * around (88 stitches remaining)
- Knit 1 round
- Next round: *Knit 9, k2tog* repeat from * to * around (80 stitches remaining)
- Knit 1 round
- Next round: *Knit 8, k2tog* repeat from * to * around (72 stitches remaining)
- Knit 1 round
Finishing: Continue this decrease pattern, knitting 1 round between decrease rounds, until there are 8 stitches remaining.
Break yarn, leaving a long tail. Thread the tail through a tapestry needle and slip the remaining stitches onto the needle. Pull tight to close the top of the hat.
Weave in any loose ends and your bucket hat is complete!
Brim
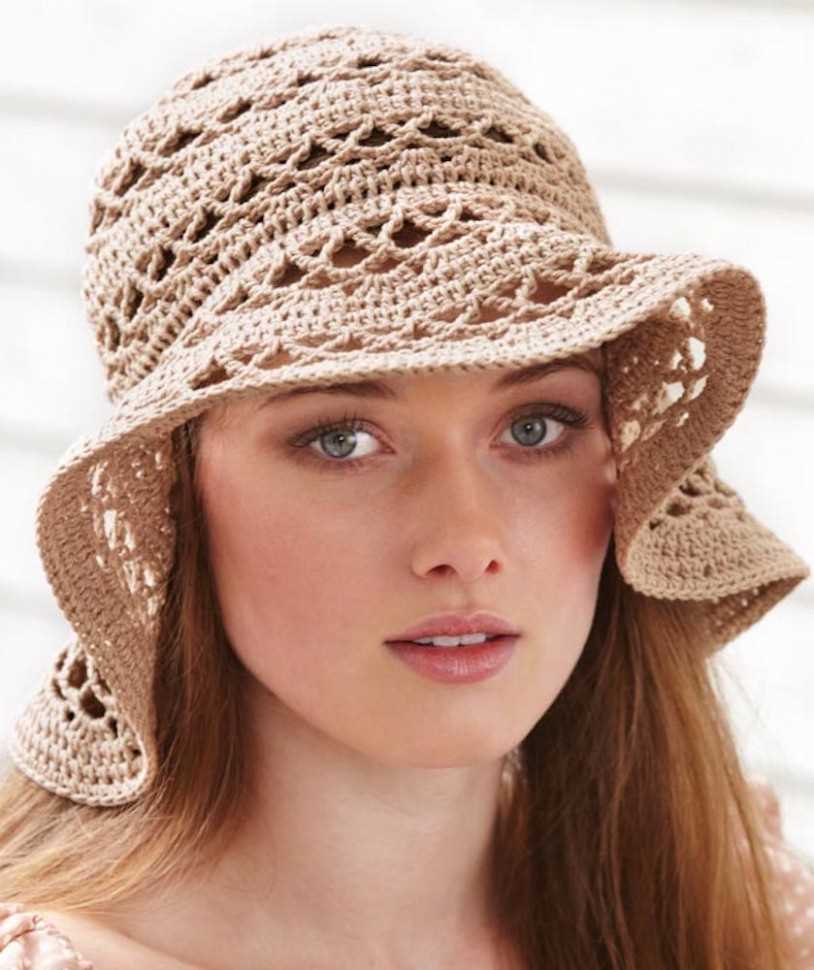
The brim is an essential part of a bucket hat as it provides shade and protection from the sun. When knitting a bucket hat, the brim can be customized in terms of width and length to suit personal preferences. It is typically knitted in a ribbed or garter stitch pattern to give it structure and elasticity.
For a classic bucket hat, the brim is usually between 2-3 inches wide, depending on the desired look. It can be knitted in a single color or in a contrasting color to add visual interest. It is important to measure the circumference of the head accurately when determining the number of stitches required for the brim.
To create a ribbed brim, knit the brim in a 1×1 or 2×2 rib stitch pattern. This involves alternating between knit and purl stitches to create a textured, stretchy fabric. A garter stitch brim is another option, where you simply knit every row. Both options provide a nice finish and help the hat stay in place on the head.
When knitting the brim, it is a good idea to use smaller needles than the body of the hat. This tighter gauge helps to create a firm, structured brim. It is also common to knit the brim in a smaller yarn weight than the body of the hat for the same reason.
Overall, the brim is an important element of a bucket hat pattern. It adds functionality and style to the hat, making it a versatile accessory for any season. With the right pattern and customization, you can create a beautiful and comfortable bucket hat with a perfectly tailored brim.
Body
Once you have completed the brim of your bucket hat, it’s time to start working on the body. To do this, you will continue knitting in the round, but with a slight change in the stitch pattern.
You will begin by knitting the first few rounds in a simple stockinette stitch, alternating between knitting and purling stitches. This will create a smooth and even texture for the main body of the hat. You can choose to knit the body in a solid color or add in some stripes or patterns for a more unique look.
Pattern:
- Knit 1 round in stockinette stitch
- Purl 1 round in stockinette stitch
- Repeat these two rounds until the body of the hat measures the desired length.
Once you have reached your desired length, you can either continue knitting in the same stitch pattern or add some texture or ribbing to the top of the hat. This can be done by following a specific pattern or by simply knitting a few rounds in a rib stitch, alternating between knitting and purling stitches.
Remember to always measure your work as you go to ensure that the hat will fit properly. You can try it on or use a tape measure to check the circumference and length. Once you are satisfied with the length of the body, you can move on to the next step of finishing the hat.
Decrease Rnds
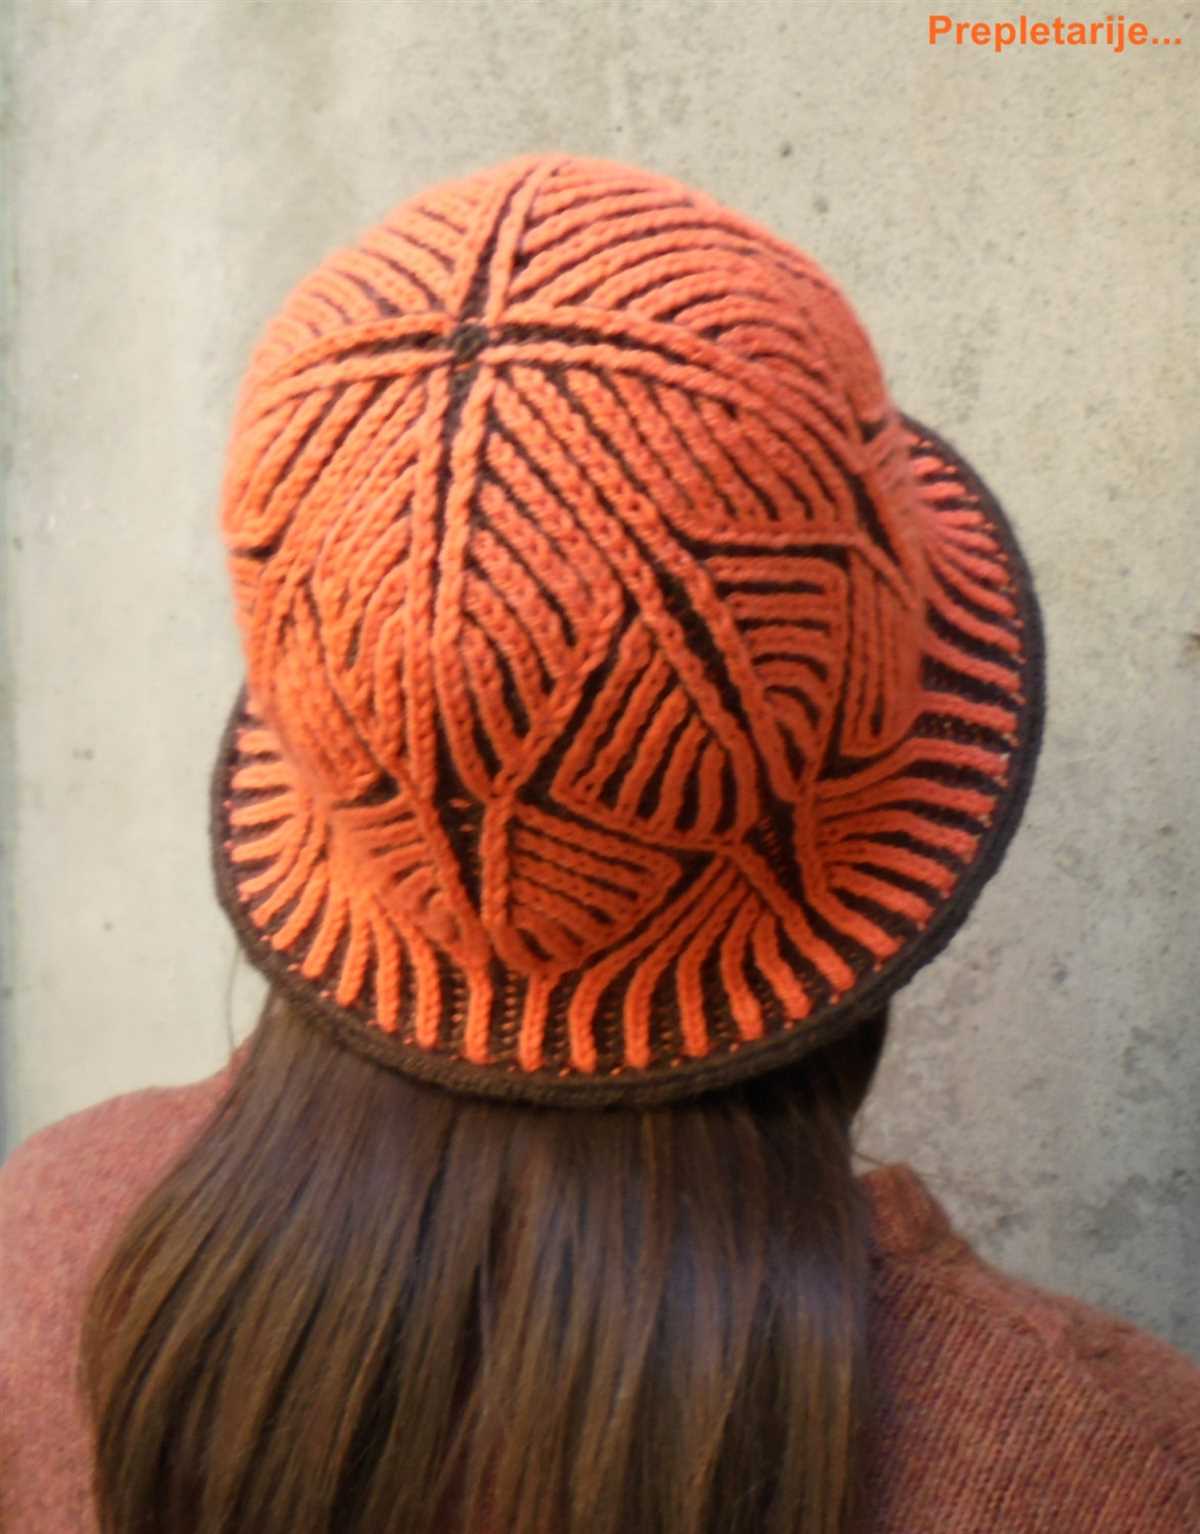
The decrease rounds are an important part of knitting a bucket hat. They help to shape the crown of the hat and create a snug fit. Here is a step-by-step guide on how to work the decrease rounds in your bucket hat pattern:
1. Decrease Round 1:
Start by knitting two stitches together. To do this, insert the right-hand needle into the next two stitches on the left-hand needle as if to knit, and then knit them together as one stitch. Repeat this decrease stitch across the round until you reach the end.
2. Decrease Round 2:
In this round, you will knit one stitch and then decrease one stitch by knitting two stitches together. Repeat this sequence of knitting one stitch and then decreasing one stitch across the round until you reach the end.
Repeat Decrease Rounds 1 and 2 alternately until the desired number of stitches remain on your needles. This will depend on your pattern and the size of the hat you are making. Make sure to follow the pattern instructions for the correct number of decrease rounds.
Remember to always read the pattern instructions carefully and double-check your stitch count after each decrease round to ensure that you are following the pattern correctly. Happy knitting!
Finishing
Once you have completed knitting your bucket hat, it’s time to finish it off and add any final touches. Here are some steps to help you finish your hat and make it look polished:
- Blocking: Block your hat by wetting it gently and shaping it to the desired size and shape. Pin it down and allow it to dry completely before removing the pins.
- Weaving in ends: Use a tapestry needle to weave in any loose ends from yarn changes or cast-on and bind-off edges. Make sure to do this neatly and securely so that the ends won’t come undone.
- Add a brim: If you want to add a brim to your bucket hat, you can pick up stitches along the edge of the hat and knit a few rounds in a contrasting color or using a different stitch pattern.
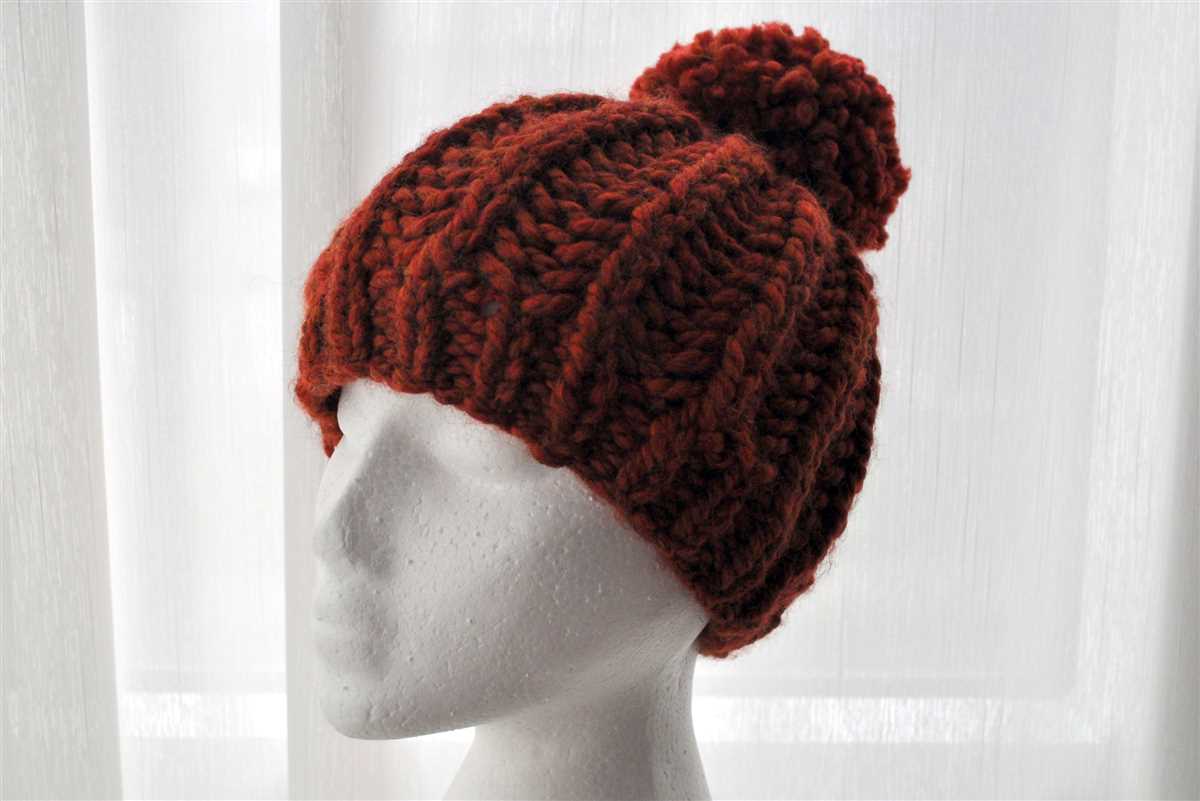
- Embellishments: You can add some fun embellishments to your hat to personalize it and make it unique. This can include adding a pom-pom, buttons, ribbons, or embroidery.
- Final inspection: Take some time to inspect your finished hat for any mistakes or imperfections. Fix any loose stitches or uneven areas if necessary.
In conclusion, finishing your bucket hat involves blocking, weaving in ends, adding a brim if desired, adding embellishments, and doing a final inspection. Taking these steps will ensure that your hat looks professional and well-made. Now you can proudly wear your handmade bucket hat and enjoy the compliments it will surely receive!
Q&A:
What materials do I need to knit a bucket hat?
To knit a bucket hat, you will need knitting needles, yarn in your desired color, a tapestry needle for sewing seams, and a crochet hook for finishing edges if desired.
What size should I knit the bucket hat?
The size of the bucket hat will depend on the circumference of the wearer’s head. To determine the size, measure the head circumference and refer to a sizing chart or pattern instructions to choose the appropriate size to knit.
How do I knit a bucket hat?
To knit a bucket hat, you will cast on the required number of stitches, work in the desired stitch pattern or plain stockinette stitch, shape the crown by decreasing stitches, and then finish the brim by working ribbing or another desired edge pattern. Finally, sew the seams and weave in any loose ends.
Can I customize the bucket hat pattern?
Yes, you can customize the bucket hat pattern by changing the stitch pattern, adjusting the size, or adding embellishments such as pom-poms or embroidery. You can also experiment with different yarn colors or yarn weights to create a unique look.