
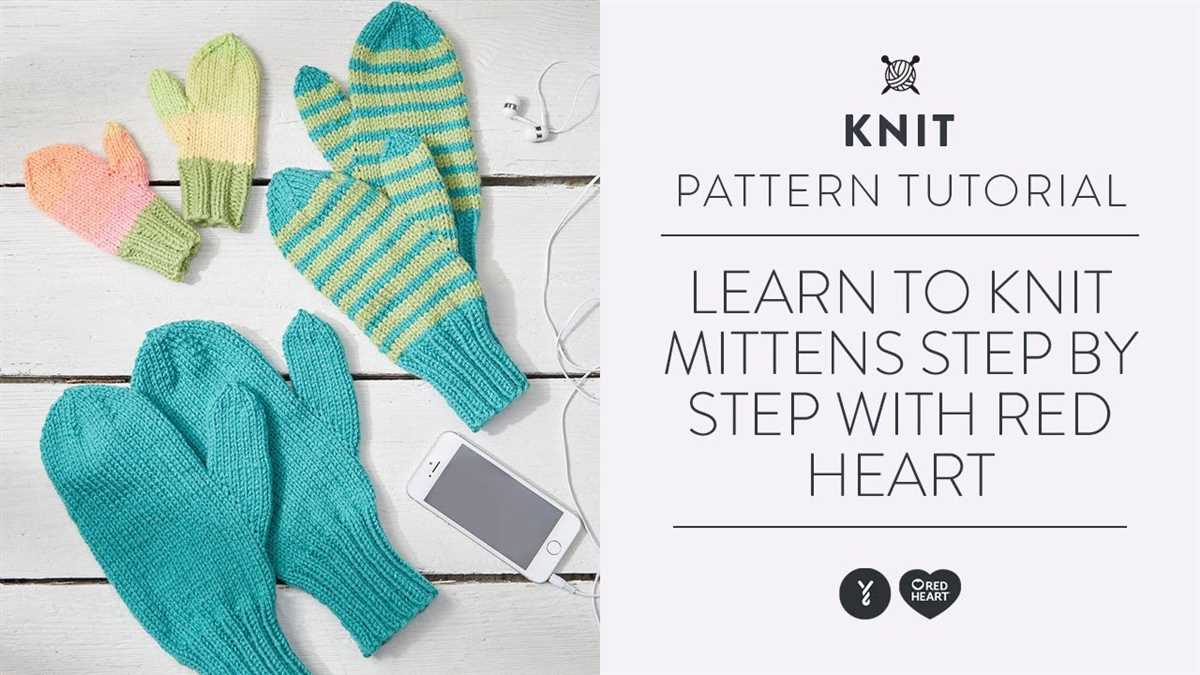
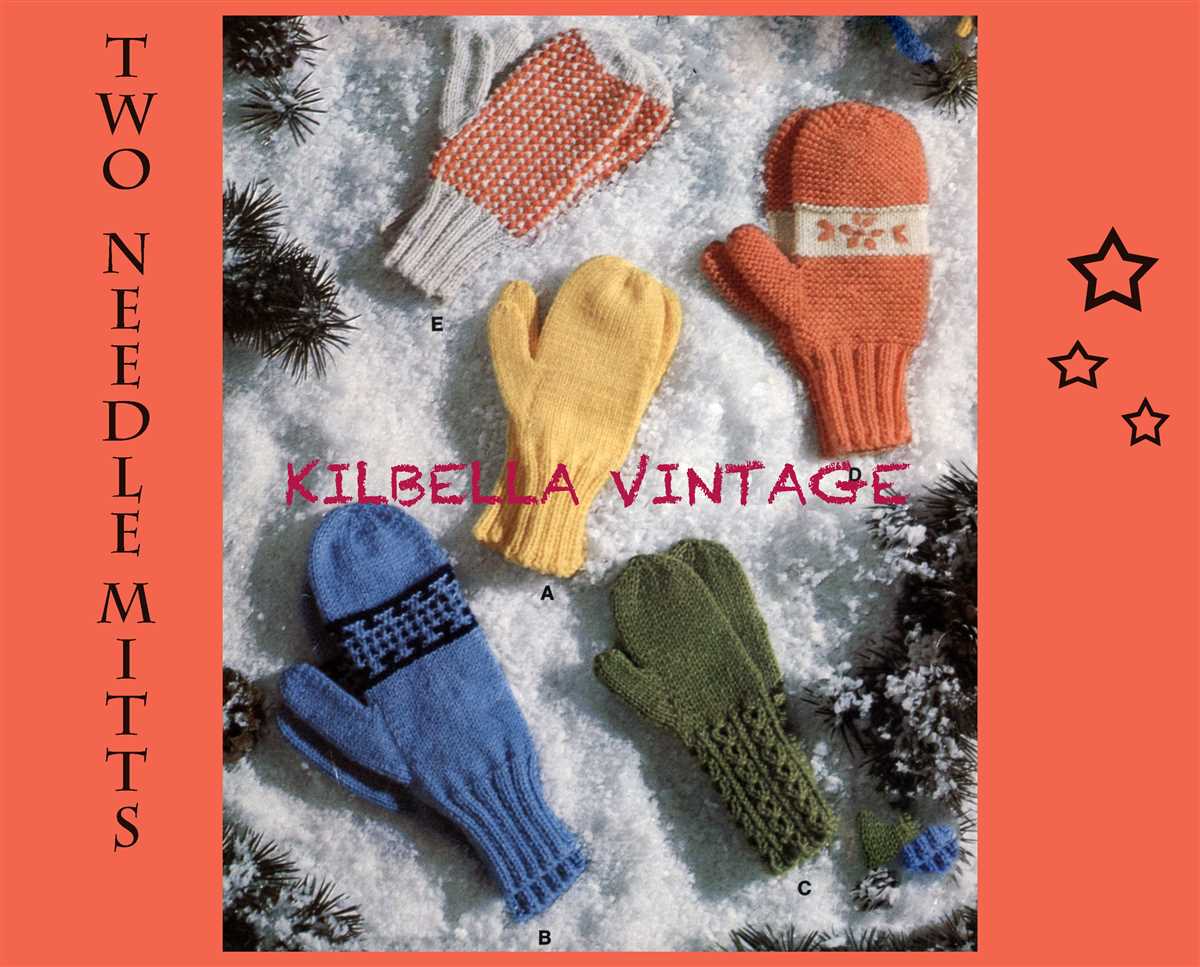
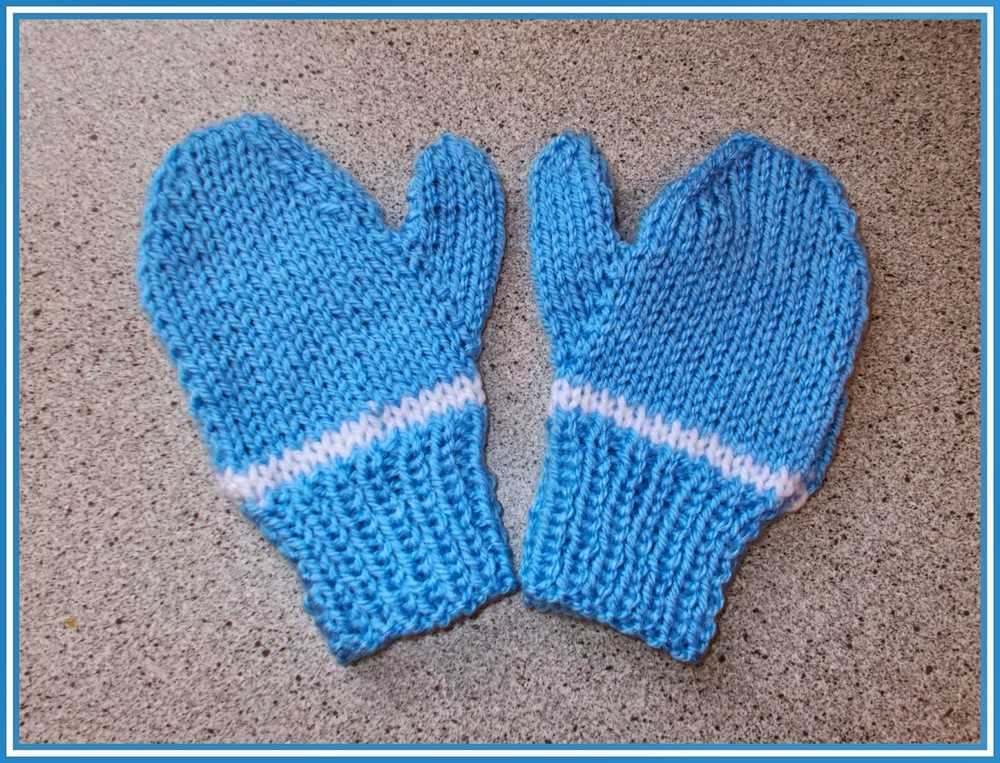
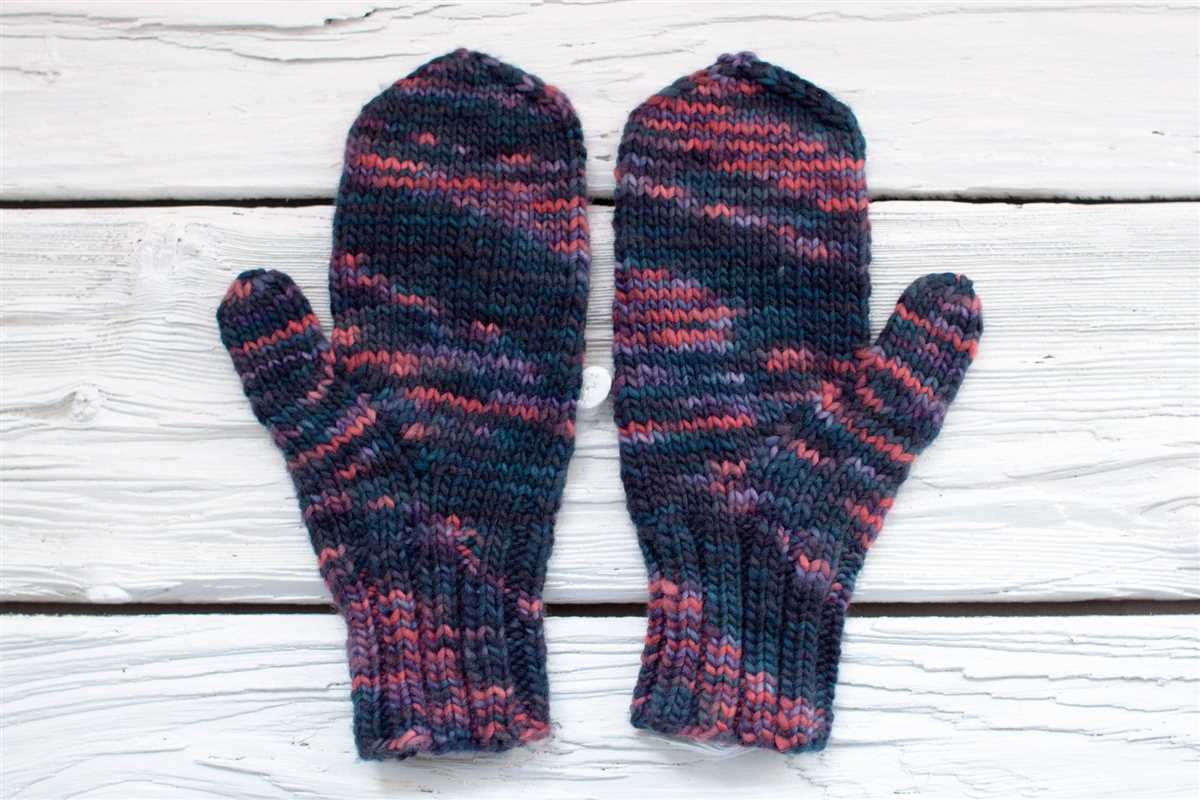
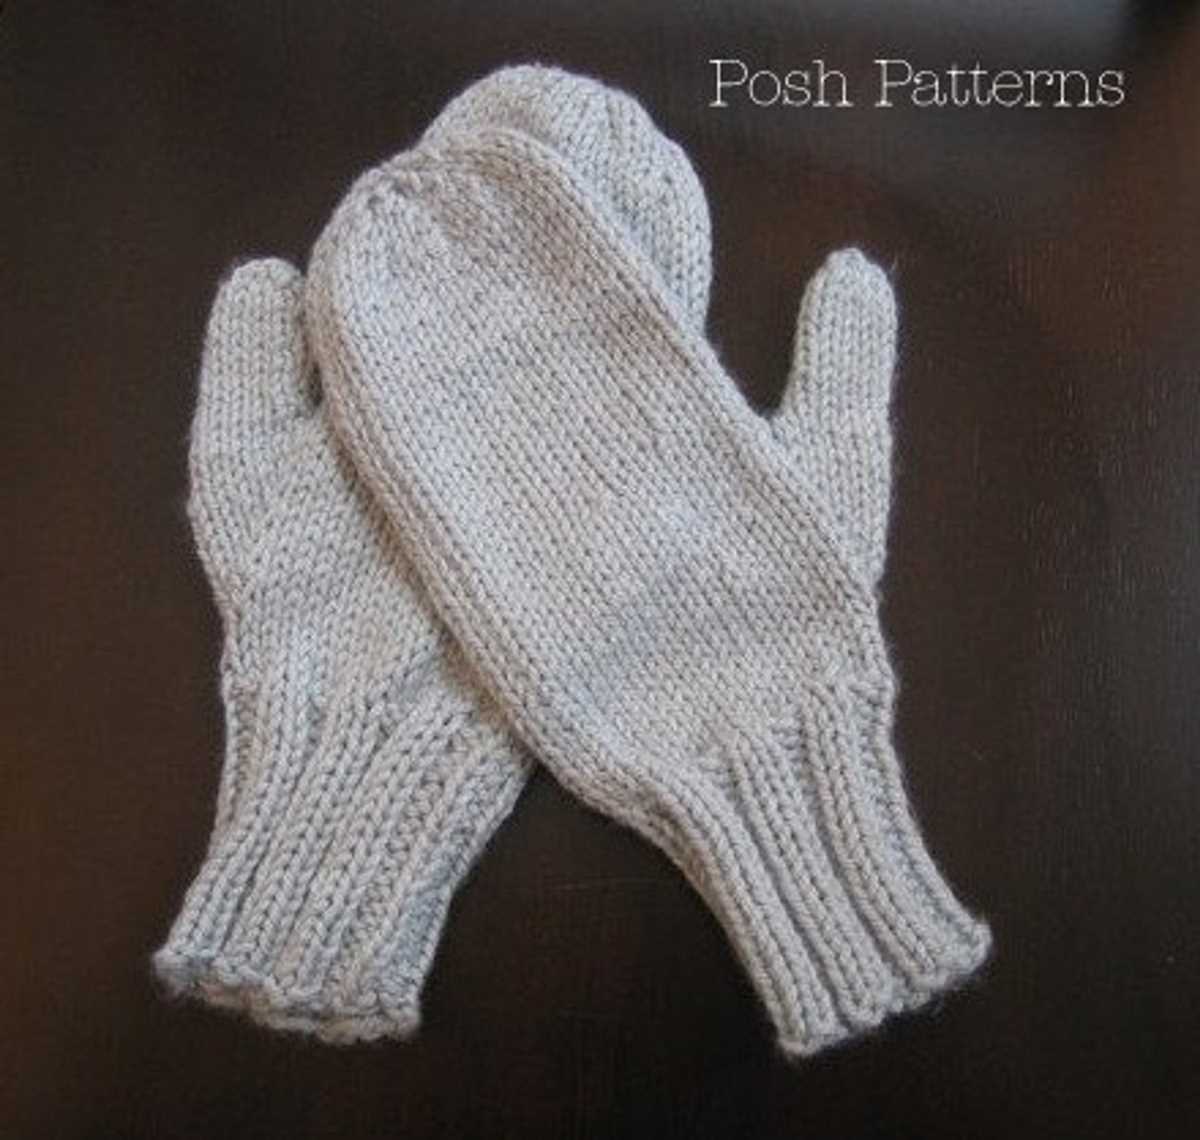
Looking for a pattern for mittens that you can knit with just two needles? Look no further! In this article, we will be sharing a free knitting pattern for two needle mittens that are perfect for keeping your hands warm during the colder months.
Knitting with two needles is a great option for those who are new to knitting or who prefer to knit without using circular or double-pointed needles. With this pattern, you will be able to create a cozy pair of mittens using basic knitting stitches and techniques.
Whether you are a beginner or an experienced knitter, this pattern is suitable for knitters of all skill levels. The mittens are knit flat and then seamed up the sides, making it a simple and straightforward project. So grab your yarn and needles, and let’s get started on knitting a pair of mittens!
Gathering materials
Before you start knitting your two needle mittens, it’s important to gather all the necessary materials. Having everything prepared beforehand will make the knitting process smoother and more enjoyable. Here are the materials you’ll need:
- Yarn: Choose a soft and warm yarn that is suitable for mittens. Look for yarns labeled as “worsted weight” or “medium weight” yarn. You’ll need two skeins, one for each mitten.
- Knitting needles: You’ll need a pair of straight knitting needles in the appropriate size for the yarn you’re using. Check the yarn label for the recommended needle size. It’s also a good idea to have a set of double-pointed needles in the same size for knitting the thumb.
- Tape measure: A tape measure will come in handy for measuring your hand and determining the size of the mittens. This will help ensure a proper fit.
- Scissors: You’ll need a pair of scissors for cutting the yarn at the end of your knitting project.
- Tapestry needle: A tapestry needle, also known as a yarn needle, is used for weaving in loose ends and sewing up any seams.
Once you have all these materials ready, you’ll be all set to start knitting your two needle mittens. Make sure you have a comfortable and well-lit space to work in. Take your time to read through the pattern and familiarize yourself with the knitting techniques required. Happy knitting!
Choosing the right yarn
When knitting two needle mittens, it is important to choose the right yarn for your project. The yarn you choose will determine the look, feel, and durability of your mittens. Here are some factors to consider when selecting your yarn:
Type of yarn:
There are many different types of yarn available, such as wool, acrylic, cashmere, and more. Each type of yarn has its own unique properties and characteristics. Wool is a popular choice for mittens as it is warm and insulating, while acrylic is a synthetic option that is often more affordable and easy to care for.
Weight of yarn:
The weight of the yarn refers to its thickness or thinness. The weight of yarn you choose will affect the size and thickness of your mittens. For mittens, it is generally recommended to choose a medium or bulky weight yarn for added warmth and durability.
Color:
The color of your yarn is also an important consideration. You may want to choose a color that complements your wardrobe or opt for a neutral shade that goes well with everything. Additionally, consider the pattern and design of your mittens and how the color of the yarn will showcase these elements.
Gauge:

The gauge refers to the number of stitches and rows per inch in your knitting. It is important to choose a yarn that matches the recommended gauge for the mittens pattern you are using. If your gauge does not match, your mittens may turn out too big or too small.
Price:

Lastly, consider your budget when choosing yarn. The price of yarn can vary greatly depending on the type, brand, and quality. It is important to find a balance between cost and quality to ensure you are happy with the final result of your mittens.
By considering these factors and taking your personal preferences into account, you can choose the right yarn for your two needle mittens project. Whether you prioritize warmth, durability, color, or price, there is a yarn out there that will be perfect for your knitting needs.
Getting the right gauge
When knitting a pattern, it’s crucial to achieve the correct gauge in order to ensure that the finished project will have the right dimensions. Gauge refers to the number of stitches and rows per inch in a knitted fabric. It is an important factor to consider as even a slight difference in gauge can significantly affect the size and fit of the final product.
In order to obtain the correct gauge, it is recommended to use the specified yarn and needle size mentioned in the pattern. The gauge information can usually be found at the beginning of the pattern and provides instructions on how to measure it. It is typically measured using a swatch, which is a small piece of fabric knitted in the same stitch pattern as the main project.
To ensure accuracy, it is important to follow these steps:
- Choose the right yarn: Using the recommended yarn in the pattern will help you achieve the intended gauge. If a specific yarn is not mentioned, opt for a similar weight and fiber composition.
- Select the correct needle size: The pattern will often suggest a specific needle size to achieve the desired gauge. It is important to use this size or adjust accordingly if your gauge differs from what is specified.
- Knit a swatch: Begin by casting on a few more stitches than indicated in the gauge information and knit a square of fabric using the recommended stitch pattern. Measure the swatch’s stitches and rows per inch, making sure to lay it flat and avoid stretching the fabric.
- Compare your swatch to the pattern’s gauge: If your swatch’s measurements match the pattern’s gauge, congratulations! You are ready to proceed with the project. If not, adjust the needle size accordingly and knit another swatch until the gauge matches the pattern.
By taking the time to achieve the correct gauge before starting your project, you can avoid any surprises and ensure that your finished mittens will fit properly.
Understanding the pattern
When working on the Two Needle Mittens knitting pattern, it is important to have a good understanding of the instructions and techniques involved. This pattern is designed for knitters who prefer using two straight needles instead of circular or double-pointed needles.
Materials:
- Yarn: The pattern recommends using a worsted weight yarn in the color of your choice.
- Needles: You will need a pair of straight knitting needles in the appropriate size for your yarn.
- Other tools: Stitch markers, a tapestry needle, and scissors will also be helpful.
Instructions:
The pattern provides step-by-step instructions for creating the mittens. It includes detailed information about the required stitches, techniques, and measurements. It is important to read through the entire pattern before beginning to ensure that you understand all the steps and are familiar with any special techniques or abbreviations that may be used.
Abbreviations and Stitch Glossary:
The pattern may include abbreviations for certain stitches or techniques. A stitch glossary is usually provided at the beginning or end of the pattern, which defines each abbreviation and provides instructions on how to complete the stitch or technique. It is important to refer to the stitch glossary as needed throughout the pattern to ensure you are executing each step correctly.
Gauge:
Gauge refers to the number of stitches and rows per inch that you should aim for in order to achieve the correct size and fit of the mittens. The pattern will specify a gauge that you should swatch and measure before beginning the project. If your gauge does not match the pattern, you may need to adjust your needle size or tension to achieve the desired measurements.
Finishing:
The pattern will also provide instructions for finishing the mittens, including how to weave in ends, sew any necessary seams, and add any decorative details or closures. It is important to follow these instructions carefully to ensure a professional and polished finished product.
With a thorough understanding of the pattern and attention to detail, you will be able to successfully knit the Two Needle Mittens and enjoy the cozy warmth they provide.
Casting on and making the cuff
Casting on is the first step in knitting the mittens. Take two double-pointed needles and start by making a slipknot. Insert one of the needles into the slipknot and tighten it. This will be your first stitch.
Continue casting on by making more stitches using the long-tail cast on method. Hold the first needle with the stitch in your right hand, and with your left hand, bring the working yarn over the needle from back to front. Hold the needle with this stitch in your left hand, and repeat the process to create more stitches.
Once you have cast on the required number of stitches for the cuff of your mittens, you can start making the cuff. The cuff is typically worked in a ribbing pattern, such as K2, P2 or K1, P1, to create a stretchy and snug fit. Repeat this ribbing pattern for the desired length of the cuff.
There are different ways to measure the length of the cuff, depending on the desired fit and style of the mittens. Some patterns recommend a specific number of rows or inches, while others suggest measuring the cuff against the wearer’s hand. The important thing is to make sure the cuff is long enough to comfortably cover the wrist and part of the lower arm.
Working on the hand section
Once you have completed the cuff section of the mittens, it’s time to move on to the hand section. This is where you will start shaping the mittens to fit your hand.
Begin by working in stockinette stitch for several rows, making sure to keep track of your stitch count. You will need to decrease the number of stitches as you go along to shape the hand.
Thumb gusset: To create a thumb gusset, you will need to increase stitches in a specific area of the thumb. This will give the mitten a curved shape and allow for movement. Follow the pattern instructions for the specific placement and rate of increase.
Hand shaping: As you continue working on the hand section, you may need to decrease stitches to create a more snug fit around the palm and fingers. Again, follow the pattern instructions for the exact placement and rate of decrease.
Continue working in stockinette stitch: Once you have finished shaping the hand, you will continue working in stockinette stitch for the desired length. Make sure to keep track of your stitch count and adjust as necessary to maintain the correct size.
Note: Feel free to customize the hand section to fit your hand shape and size. You can try the mittens on as you go along to ensure a perfect fit.
Shaping the thumb
When it comes to knitting mittens, shaping the thumb is an important step to ensure a comfortable and snug fit. Here are the key techniques and steps to shaping the thumb in the two needle mittens pattern:
1. Placement of thumb stitches
Before you begin shaping the thumb, you will need to identify the stitches that will be used to create the thumb opening. This is usually done by placing a marker on the needle at the desired location for the thumb.
2. Decreasing stitches
To start shaping the thumb, you will need to decrease stitches to create a tapered effect. This is typically done by working a series of decrease stitches on either side of the marked thumb stitches. Common decrease stitches used include knit two together (k2tog) or slip, knit, pass slipped stitch over (skp).
3. Creating the thumb gusset
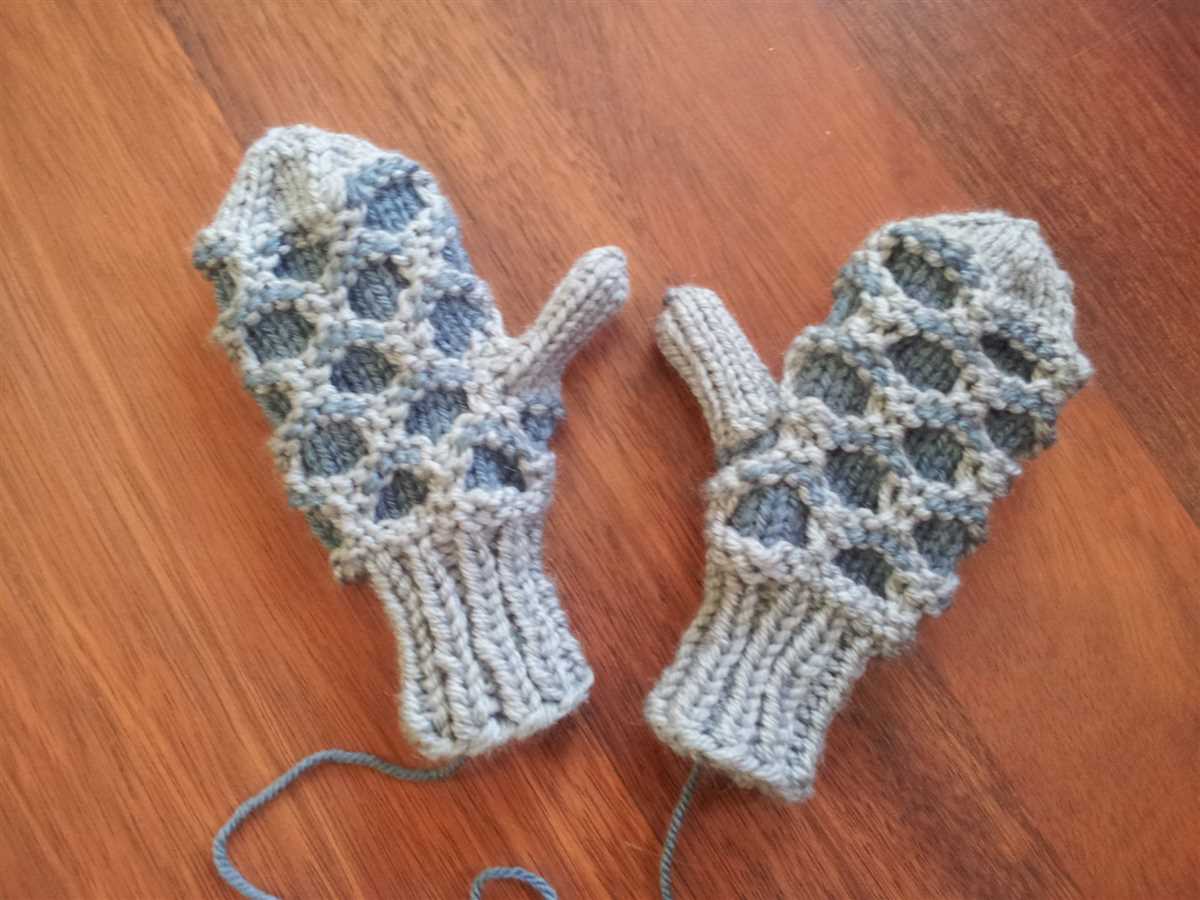
The thumb gusset is the section that allows for movement and flexibility in the thumb. To create the thumb gusset, you will need to work increases on either side of the marked thumb stitches. This can be done with techniques such as knitting into the front and back of a stitch (kfb) or using make one (m1) stitches.
4. Shaping the thumb tip
Once the thumb gusset is complete, you will need to shape the tip of the thumb. This is typically done by decreasing stitches evenly across the entire thumb stitches until you have reached the desired number of stitches remaining. This creates a rounded and snug fit for the thumb.
By following these steps and techniques, you can successfully shape the thumb in your two needle mittens to ensure a comfortable and well-fitting finished product.
Finishing the mittens
After completing the knitting portion of the mittens, you will need to finish them off to ensure a clean and polished look. Here are the steps to finish your mittens:
- Weaving in ends: Start by weaving in any loose ends of yarn from your cast on and bind off edges, as well as any other areas where you changed colors or joined new yarn. This will help secure your stitches and prevent them from unraveling.
- Seaming: If your mittens have a seam, such as a side seam or a thumb seam, you will need to seam them together. Use a tapestry needle and the same yarn you used for knitting to stitch the seam closed. Make sure to match up the stitches on each side and sew in a straight line.
- Blocking: To give your mittens a professional finish, consider blocking them. Fill a basin with lukewarm water and add a small amount of mild detergent. Submerge your mittens in the water and gently squeeze them to remove any excess air. Let them soak for about 15 minutes, then remove them and gently press out the water. Lay them flat on a clean towel and reshape them if necessary. Allow them to air dry completely.
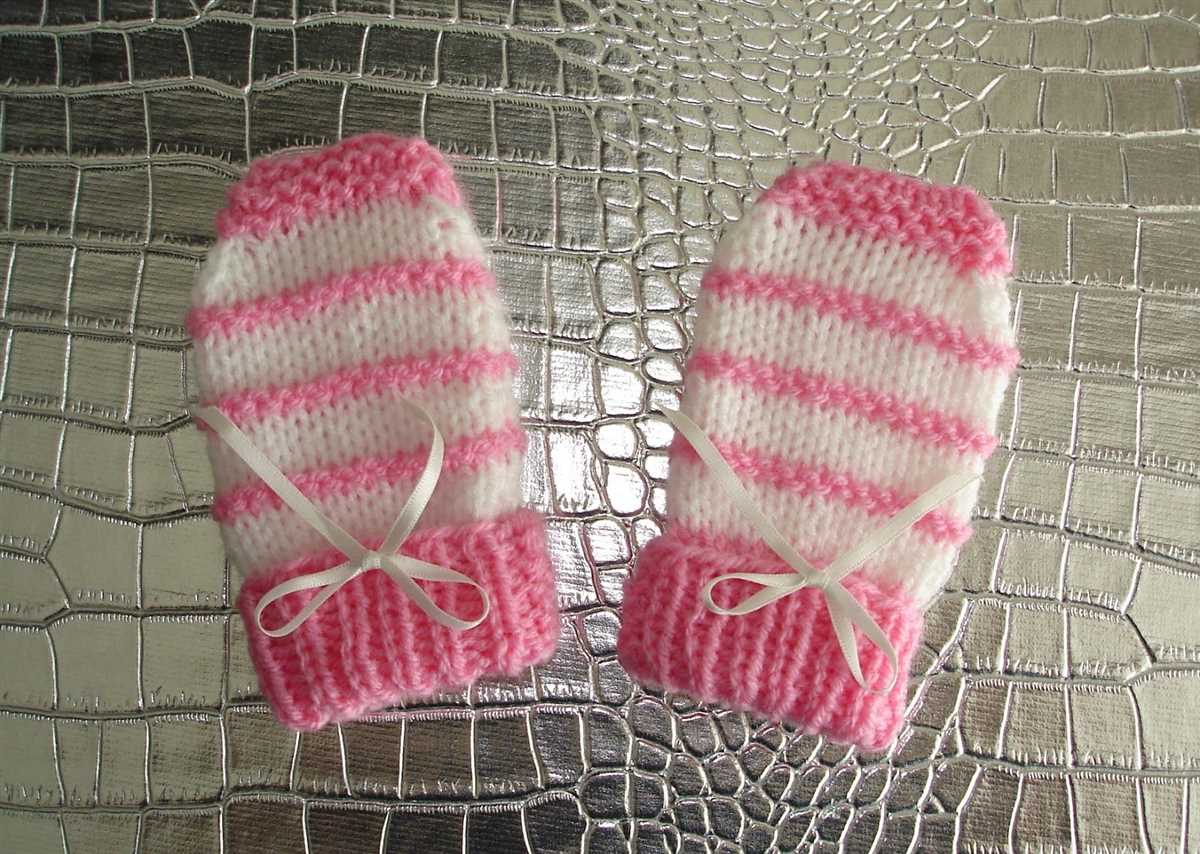
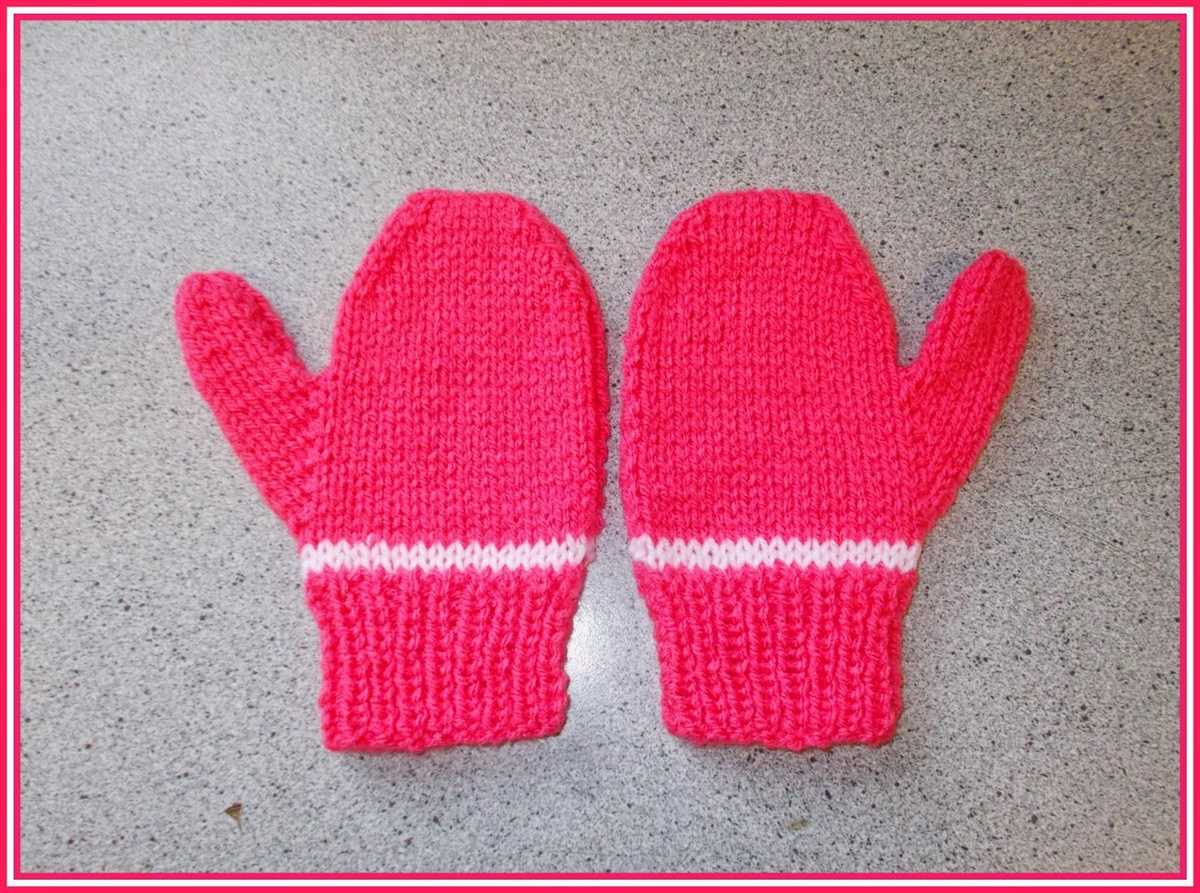
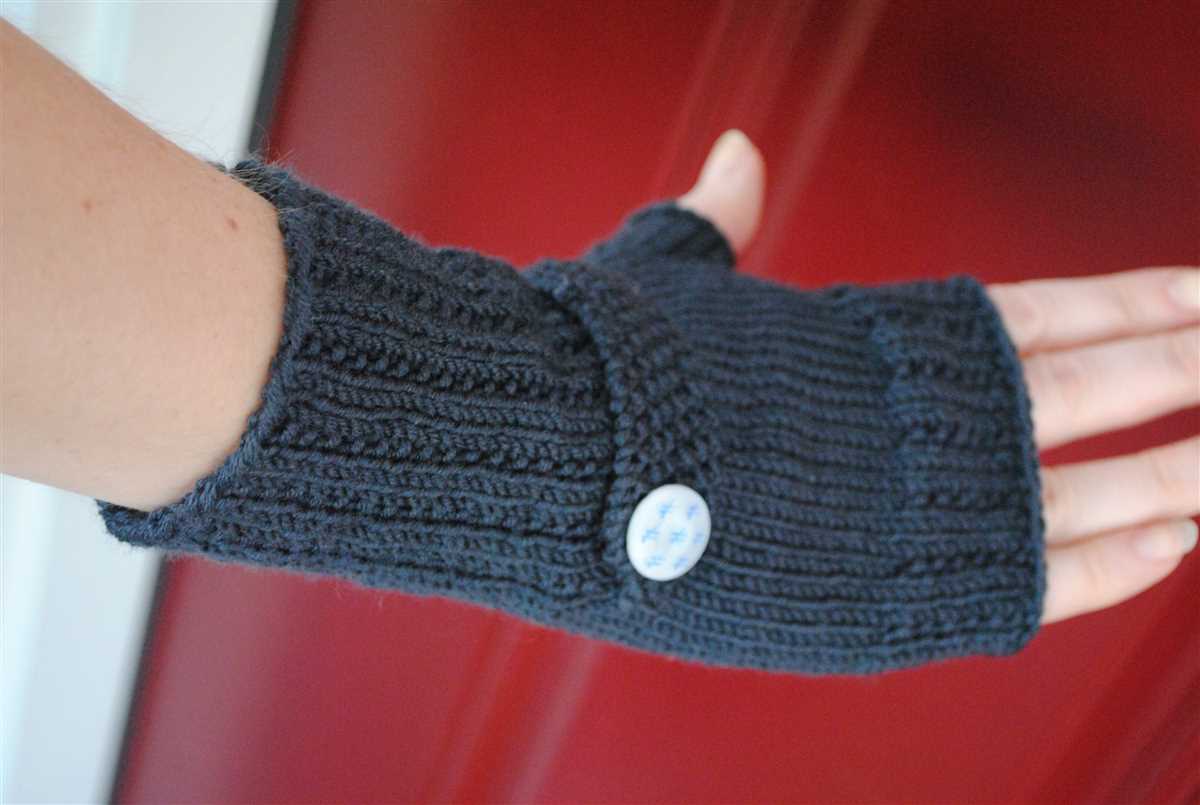
- Embellishments: If desired, you can add embellishments to your mittens, such as buttons, ribbons, or embroidery. Choose embellishments that match the style and aesthetic of your mittens and sew them on securely.
By following these finishing steps, you can ensure that your two-needle mittens have a professional and polished look. With your mittens complete, you can now enjoy the warmth and comfort they provide during the colder months!
Q&A:
What is a two needle mittens knitting pattern?
A two needle mittens knitting pattern is a pattern that allows you to knit mittens using only two knitting needles, instead of the usual four or five. It is a great option for knitters who are more comfortable using two needles or who don’t have circular or double-pointed needles.
Where can I find a free two needle mittens knitting pattern?
You can find free two needle mittens knitting patterns online on various websites. Some popular websites to find free knitting patterns include Ravelry, AllFreeKnitting, and LoveCrafts. You can also search for specific patterns using search engines like Google.
Are two needle mittens easy to knit?
Yes, two needle mittens are generally considered to be easier to knit compared to mittens using circular or double-pointed needles. The pattern usually involves basic knitting techniques such as knitting, purling, and decreasing stitches. If you are a beginner, it may be helpful to start with a basic pattern and practice the techniques before moving on to more complex designs.
Do I need special materials to knit two needle mittens?
No, you do not need any special materials to knit two needle mittens. You will need yarn of your choice, knitting needles (preferably in a suitable size for your yarn), a tapestry needle for weaving in ends, and scissors. You may also need stitch markers or holders if the pattern calls for them. It is always a good idea to check the pattern requirements before starting.
Can I adjust the size of the two needle mittens?
Yes, you can adjust the size of the two needle mittens by using different sizes of needles and adjusting the number of stitches. Most patterns will provide instructions on how to customize the size. If you want to make larger mittens, you might consider using thicker yarn or adding more stitches. If you want smaller mittens, you can use thinner yarn or decrease the number of stitches.