
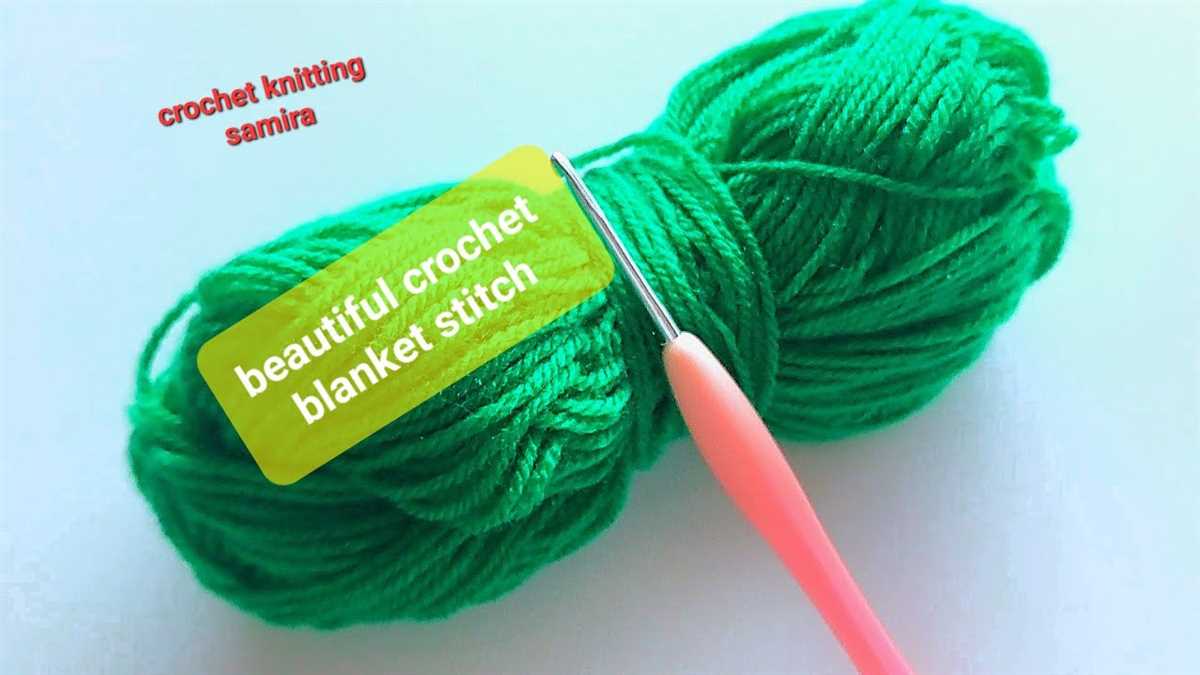
Knitting is a wonderful hobby that allows you to create beautiful and cozy accessories and clothing items. One of the most popular and satisfying projects for beginners is knitting a blanket. Not only does knitting a blanket provide you with a warm and comforting finished product, but it also allows you to practice and perfect your knitting skills.
If you’re new to knitting and want to try your hand at making a blanket, there are plenty of simple patterns available that are perfect for beginners. These patterns typically use basic stitches and techniques and are easy to follow, making them ideal for learning the ropes of knitting.
With the right pattern and a little practice, you’ll be able to create a beautiful blanket that will be treasured for years to come. In this article, we’ll explore some simple knitting blanket patterns that are perfect for beginners and provide you with the guidance and confidence you need to get started on your knitting journey.
Getting started with knitting blankets
Knitting blankets can be a relaxing and rewarding hobby, especially for beginners. Whether you’re looking to create a cozy addition to your home or a thoughtful gift for a loved one, knitting blankets allows you to tap into your creativity and create something truly unique.
Choosing the right pattern: When first starting out with knitting blankets, it’s important to choose a pattern that suits your skill level. Look for patterns labeled as “beginner” or “easy” to ensure that you’re not overwhelmed with complex stitch patterns or techniques.
Gathering your materials: To get started, you’ll need a few essential knitting materials. These include knitting needles, yarn, and a pair of scissors. It’s important to choose needles and yarn that are appropriate for the weight and thickness of your chosen pattern. Be sure to read the pattern carefully to determine the recommended needle size and yarn weight.
Learning the basic stitches: Before diving into your first blanket project, it’s helpful to master a few basic knitting stitches. The knit stitch and the purl stitch are the foundation of many knitting patterns, including blankets. Take the time to practice these stitches until you feel comfortable before moving on to your blanket project.
Following the pattern: Once you’ve selected your pattern and gathered your materials, it’s time to start knitting your blanket. Follow the instructions carefully, making note of any specific stitch patterns or rows that need to be repeated. Pay attention to gauge, which refers to the number of stitches and rows per inch, as this can affect the size and overall look of your finished blanket.
Enjoying the process: Knitting blankets can take time, so it’s important to embrace the process and enjoy the journey. Take breaks when needed, and don’t be afraid to seek help or guidance if you encounter any challenges along the way. Remember, knitting blankets is about creating something with your own hands and experiencing the joy of seeing your creation come to life.
Choosing the right yarn and needles
When it comes to knitting a blanket, choosing the right yarn and needles is crucial. The yarn you select will determine the overall look and feel of your blanket, while the needles you use will determine the size and texture of the stitches.
There are various types of yarn available, each with its own unique characteristics. For beginners, it’s recommended to choose a medium-weight or bulky yarn, as these are easier to work with and will knit up faster. Look for yarn that is soft and gentle on the skin, as you’ll want your blanket to be cozy and comfortable.
- Fiber content: Consider the fiber content of the yarn, as this will affect the warmth, durability, and care instructions of your blanket. Options include wool, acrylic, cotton, and blends.
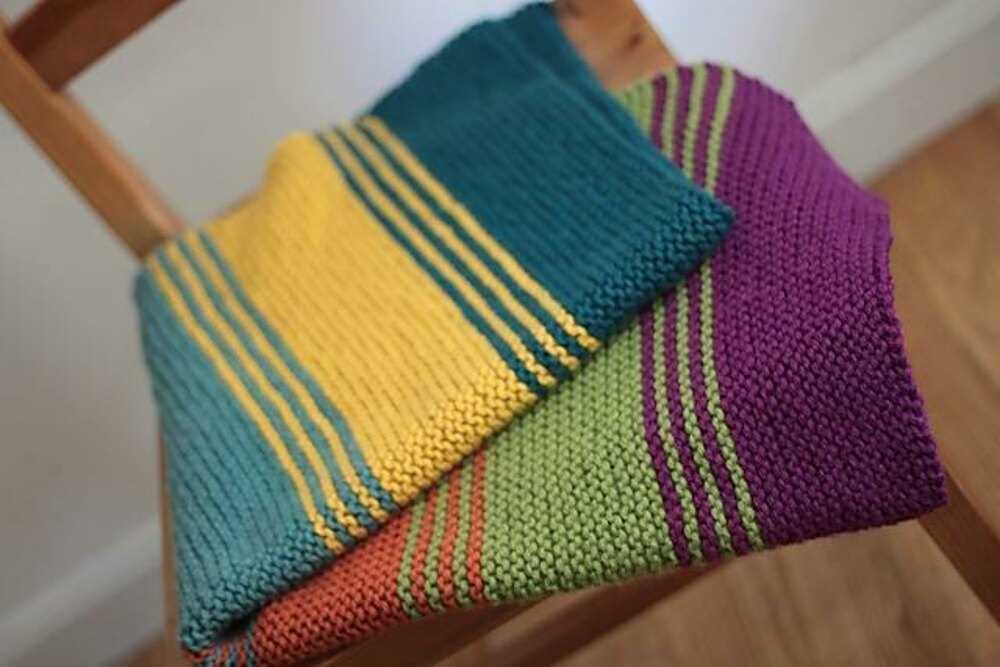
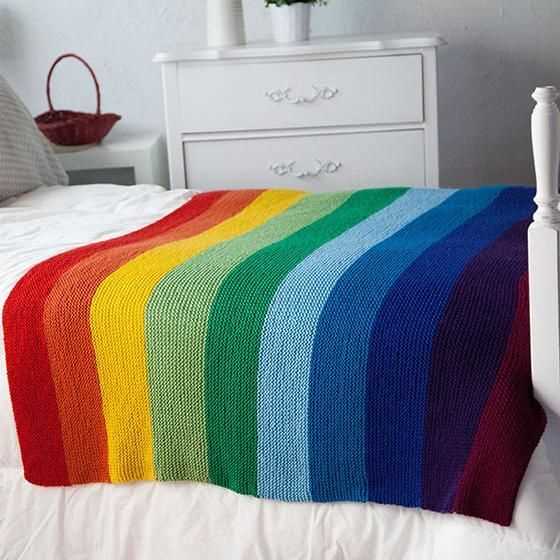
- Color and pattern: Think about the color and pattern you want for your blanket. Solid colors are versatile and timeless, while variegated or self-striping yarn can add visual interest. Take into account the recipient’s preferences and the décor of the room where the blanket will be used.
- Needle size: The size of your needles will determine the tension and drape of your finished blanket. For a simple knitting project, choose a needle size that is recommended for the yarn you’ve selected. The yarn label will often provide a recommended needle size range.
- Needle type: There are different types of knitting needles available, such as straight, circular, and double-pointed needles. For a blanket, you’ll likely want long, straight needles or circular needles to accommodate the width of the project. Circular needles are also great for distributing the weight of the blanket and reducing strain on your hands.
It’s recommended to experiment with different yarns and needle sizes to find what works best for you. Keep in mind that everyone’s knitting style and preferences may vary, so don’t be afraid to try different options until you find the perfect combination for your beginner knitting project. Enjoy the process and soon you’ll have a cozy blanket to snuggle up with!
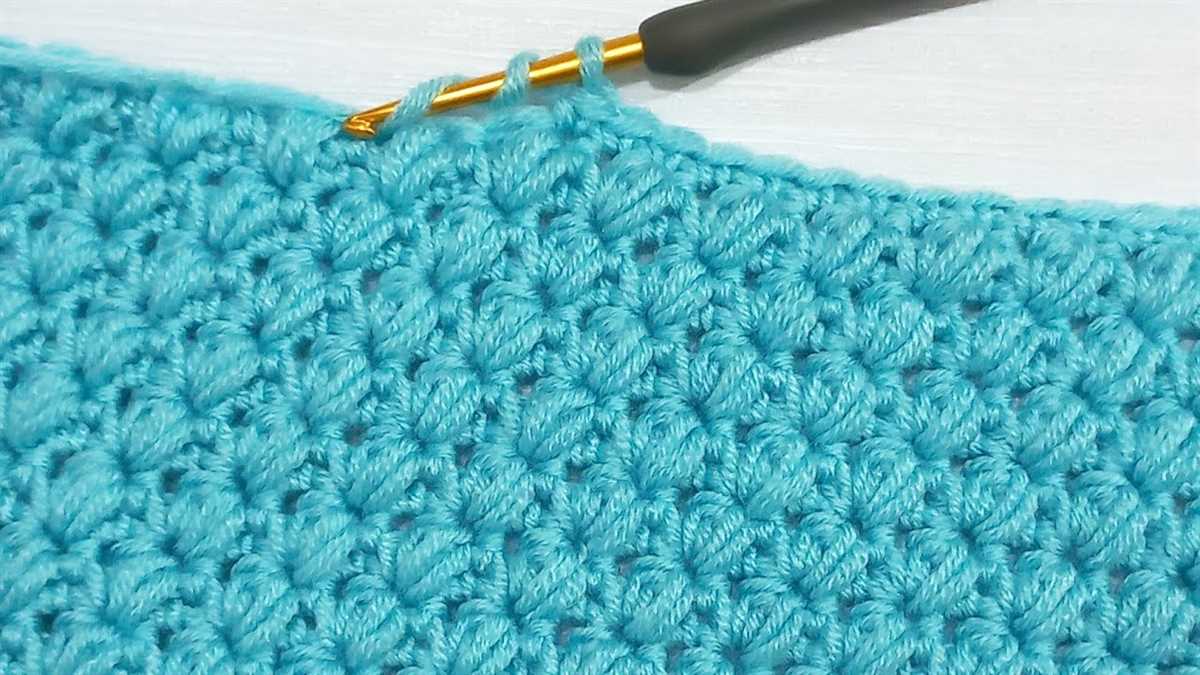
Basic knitting stitches for blanket patterns
When it comes to knitting blankets, having a solid repertoire of basic stitches is essential for creating beautiful and cozy designs. These stitches serve as the building blocks for countless blanket patterns, allowing you to experiment with different textures and designs.
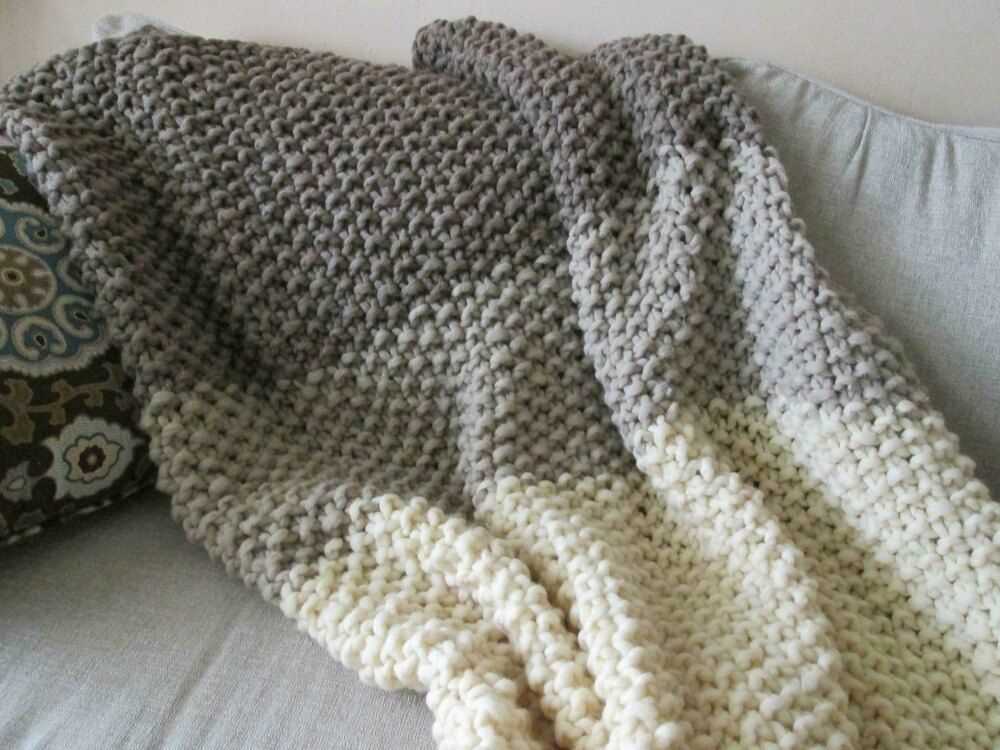
Garter stitch: One of the simplest and most popular knitting stitches, the garter stitch is created by knitting every row. This stitch creates a fabric with ridges and is perfect for beginner knitters looking to practice their basic knitting skills.
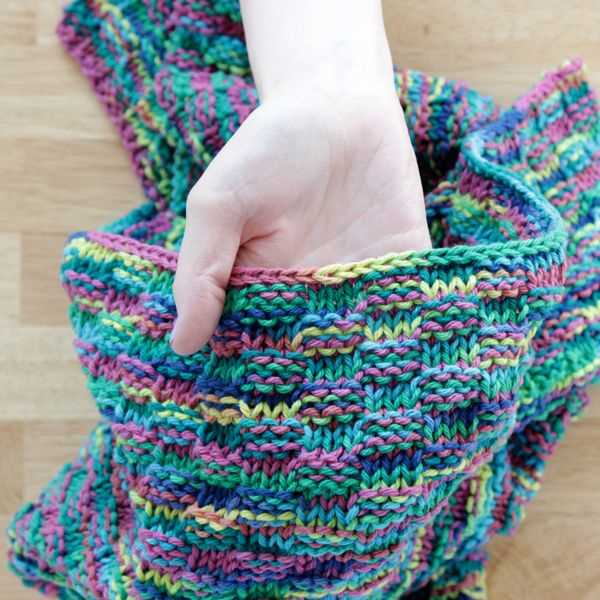
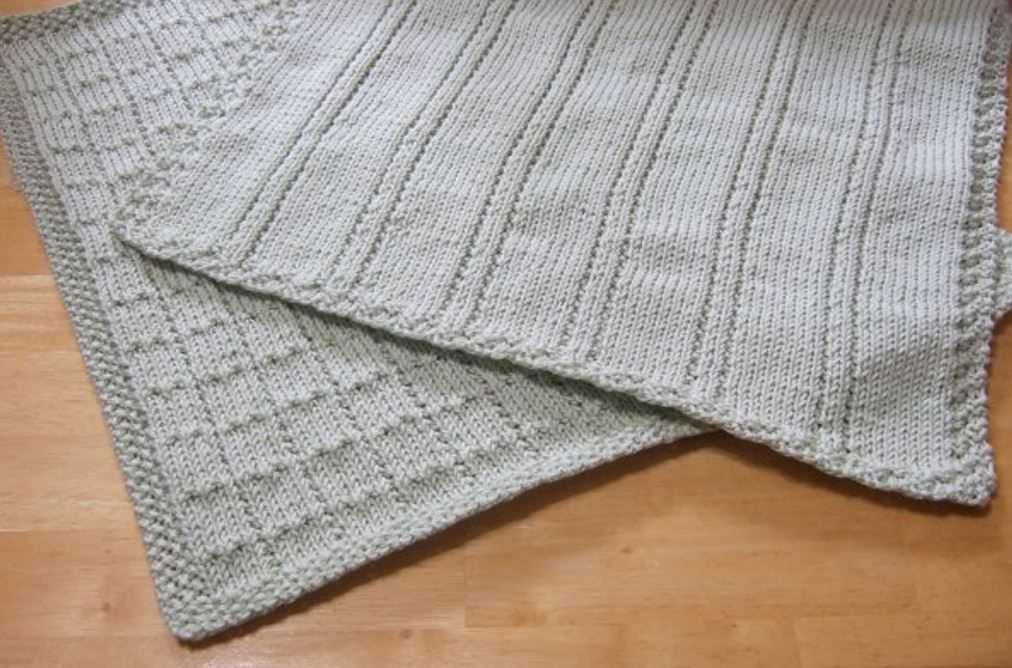
Stockinette stitch: The stockinette stitch is another essential knitting stitch for blankets. It is created by knitting one row and purling the next. This stitch produces a smooth and flat fabric with a distinct “v” pattern on one side and a bumpy texture on the other.
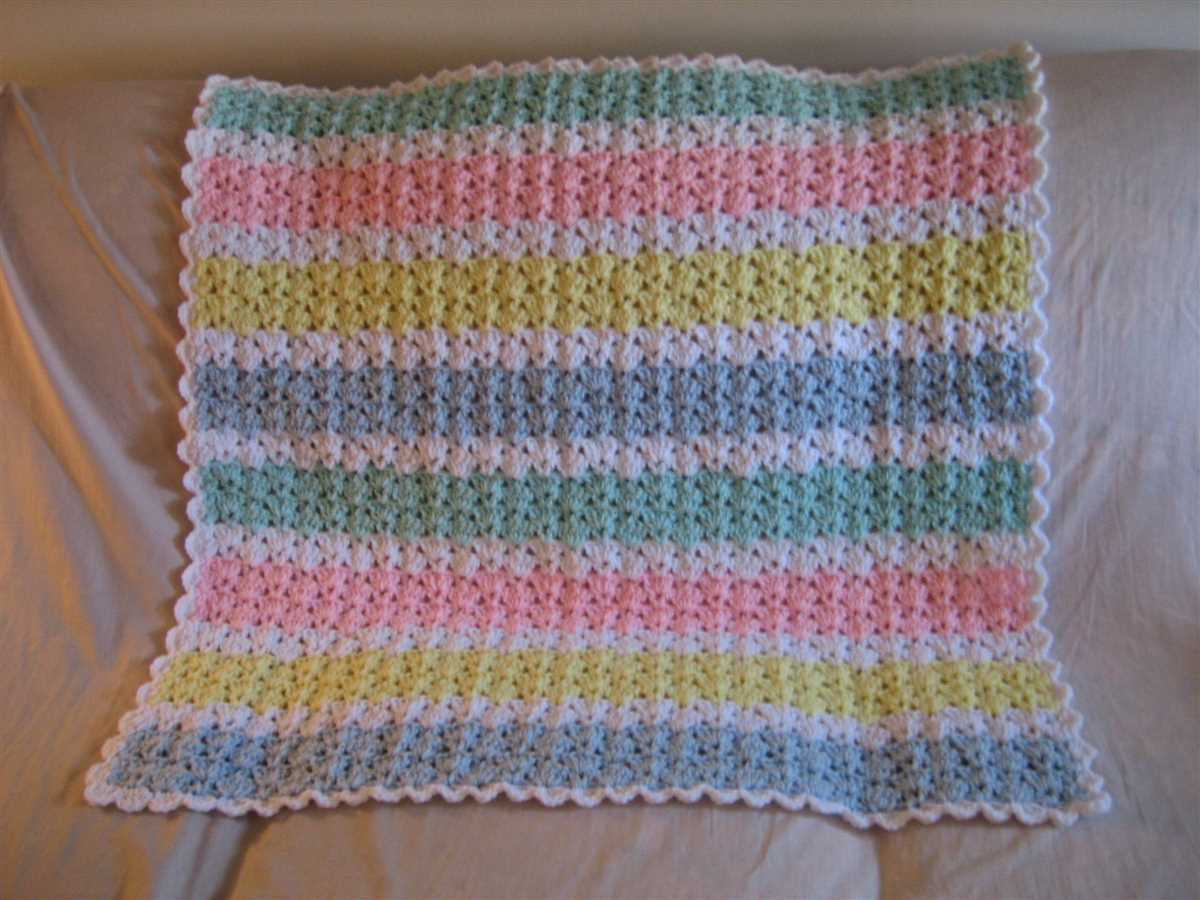
Ribbing: Ribbing is commonly used for the edges of blankets to provide structure and elasticity. It is created by alternating knit and purl stitches in a repeating pattern. Ribbing can be used to create decorative borders or to create stretchy sections within the blanket.
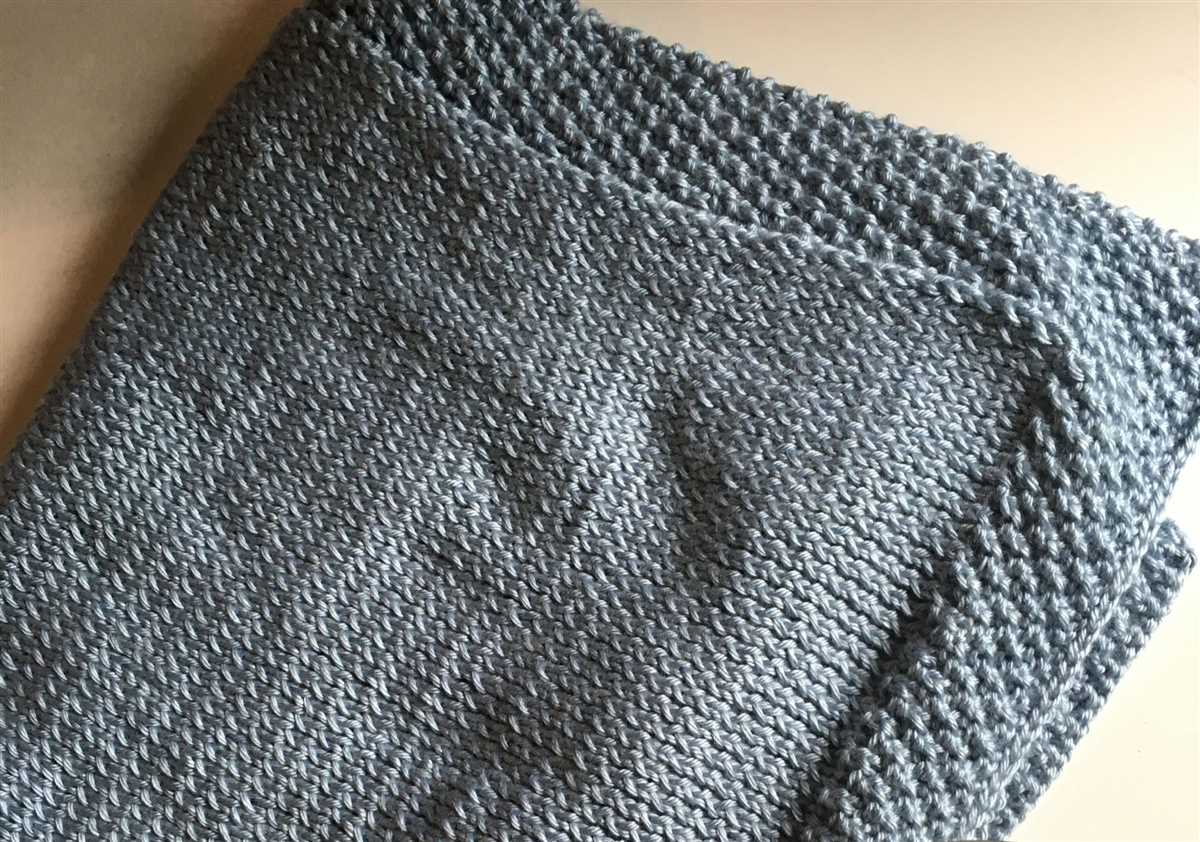
Seed stitch: The seed stitch is a textured stitch pattern created by alternating knit and purl stitches within the same row. This stitch creates a fabric with a bumpy texture, resembling scattered seeds. It is often used to add visual interest and texture to blanket designs.
Cable stitch: Cable stitches are created by crossing stitches over each other to create twisted or braided patterns. While they may seem more complex, cable stitches can add a stunning visual element to blanket designs. With practice, beginners can easily master this stitch and incorporate it into their blanket patterns.
By mastering these basic knitting stitches, you will have the foundation needed to confidently tackle a variety of blanket patterns. Whether you’re knitting a simple garter stitch blanket or a more intricate cable stitch design, these stitches will help you create beautiful and cozy blankets to keep or give as cherished gifts.
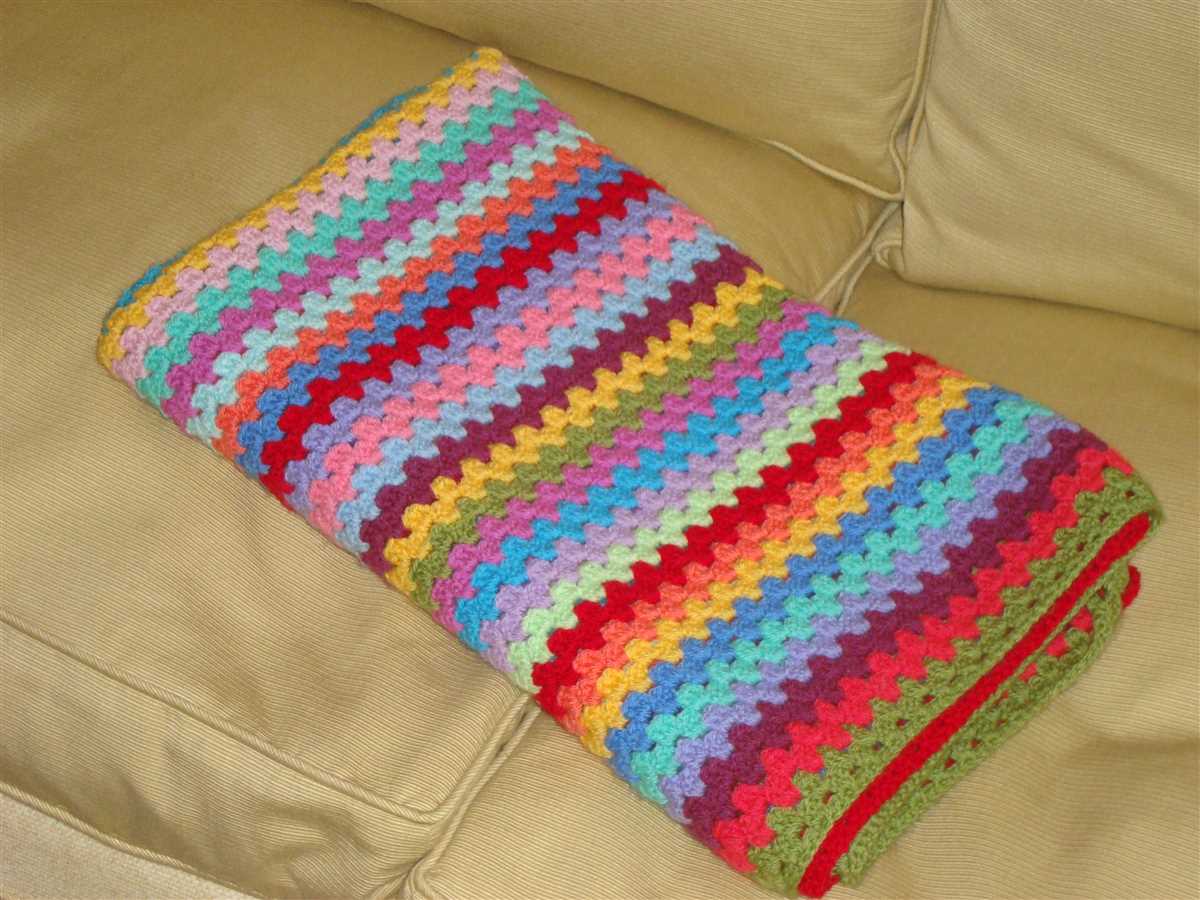
Garter Stitch Blanket Pattern
A garter stitch blanket is a perfect pattern for beginners who are just starting to learn how to knit. The garter stitch is one of the simplest and most basic knitting stitches, making it an ideal choice for beginners. This pattern is easy to follow and allows you to practice your knitting skills while creating a cozy and stylish blanket.
To begin, you will need to gather your materials. You will need a pair of knitting needles and a soft, bulky yarn in the color of your choice. The bulky yarn will create a warm and chunky blanket, making it perfect for snuggling up on those chilly nights.
Once you have your materials ready, cast on the desired number of stitches. For a standard-sized blanket, you will need to cast on a multiple of three stitches. The garter stitch is created by knitting every row, so simply knit each stitch across the row until you reach the end. Repeat this process for each row, making sure to knit every stitch. This will create a textured and reversible garter stitch pattern.
Continue knitting in the garter stitch pattern until your blanket reaches the desired size. You can make your blanket as long or as wide as you like, depending on your preference. Once you have reached the desired size, bind off your stitches to finish the blanket.
Once your garter stitch blanket is complete, you can add a border if desired. This can be done by picking up stitches along the edges and knitting a few rows in a contrasting color or a different stitch pattern. Adding a border can give your blanket a finished look and add a pop of color or texture.
A garter stitch blanket is a wonderful project for beginners to practice their knitting skills and create a cozy and stylish blanket. With its simple yet beautiful texture, this blanket is sure to be a favorite for both beginner knitters and experienced crafters alike.
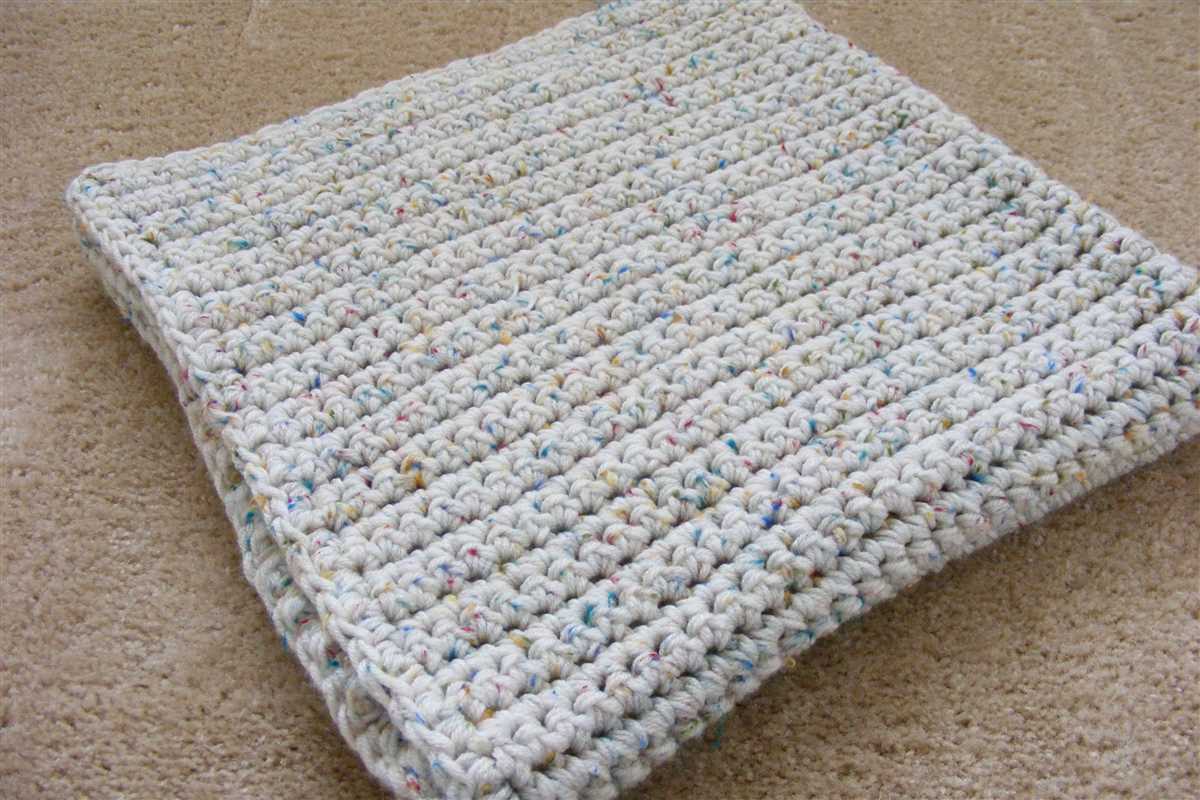
Stockinette Stitch Blanket Pattern
A stockinette stitch blanket pattern is a great project for beginner knitters looking to practice their skills and create a cozy and beautiful blanket. The stockinette stitch, also known as the stocking stitch, is one of the most basic and widely used knitting stitches. It creates a smooth fabric with a “V” pattern on one side and a purl pattern on the other side.
To make a stockinette stitch blanket, you will need a pair of knitting needles, a skein of yarn in your desired color, and basic knitting knowledge. Begin by casting on an even number of stitches, such as 100 stitches, to create a square blanket. You can adjust the size of the blanket by casting on more or fewer stitches.
Once you have cast on your stitches, begin knitting every row in the stockinette stitch pattern. To do this, knit one row, purl one row, and continue alternating between knitting and purling until your blanket reaches the desired length. Remember to always knit the right side rows and purl the wrong side rows to maintain the stockinette stitch pattern.
As you work on your stockinette stitch blanket, be sure to regularly check your tension and gauge to ensure even stitches throughout. Also, weave in any loose yarn ends as you go to avoid having to do it all at the end. Once your blanket is the desired length, simply bind off your stitches and weave in any remaining loose ends.
A stockinette stitch blanket is a versatile and classic design that can be made in any color or yarn weight to match your personal style and preference. Whether you choose a bold and vibrant color or a neutral and soft tone, your stockinette stitch blanket is sure to be a treasured item that you can enjoy or gift to loved ones.
Seed Stitch Blanket Pattern
The seed stitch is a simple knitting stitch that creates a textured pattern resembling scattered seeds. It is an excellent choice for beginners as it only requires basic knitting skills and produces a beautiful result. With this seed stitch blanket pattern, you can create a cozy and inviting blanket for yourself or as a gift for a loved one.
To start, you will need the following materials:
- Size 10 knitting needles
- Approximately 3-4 skeins of medium weight yarn, depending on the desired size of the blanket
- Scissors
Begin by casting on an even number of stitches, depending on the desired width of the blanket. For example, you could cast on 120 stitches for a standard-sized blanket.
Next, you will work in the seed stitch pattern. The seed stitch consists of alternating knit and purl stitches in a specific pattern. For each row, you will knit the purl stitches and purl the knit stitches from the previous row. This creates the textured seed stitch pattern.
Here is the pattern for each row:
- Row 1: *K1, p1* repeat to the end of the row.
- Row 2: *P1, k1* repeat to the end of the row.
- Repeat rows 1 and 2 until the blanket reaches the desired length.
Continue knitting in the seed stitch pattern, repeating rows 1 and 2, until the blanket measures your desired length. Remember to leave enough yarn for binding off at the end.
Finally, bind off all the stitches and weave in any loose ends of yarn. Your seed stitch blanket is now complete and ready to be enjoyed!
Rib Stitch Blanket Pattern
A rib stitch pattern is a great choice for beginners as it creates a textured fabric that is easy to knit. This type of pattern is perfect for blankets as it adds visual interest while still being relatively simple to execute. Here is a basic rib stitch blanket pattern that you can try:
Materials:

- Knitting needles (size will depend on the yarn you choose)
- Yarn (choose a soft and cozy yarn in your desired color)
- Tapestry needle (for weaving in ends)
Instructions:
- Cast on an even number of stitches, enough to create your desired width for the blanket.
- Row 1: *Knit 2 stitches, purl 2 stitches*. Repeat from * to * until the end of the row.
- Row 2: *Purl 2 stitches, knit 2 stitches*. Repeat from * to * until the end of the row.
- Repeat Rows 1 and 2 until your blanket reaches the desired length.
- Bind off all stitches.
- Weave in any loose ends with a tapestry needle.
And there you have it! A simple rib stitch blanket pattern that even beginners can tackle. The alternating knit and purl stitches create the ribbed texture, adding depth and visual interest to your blanket. You can customize this pattern by using different colors or adding stripes if you like. Happy knitting!
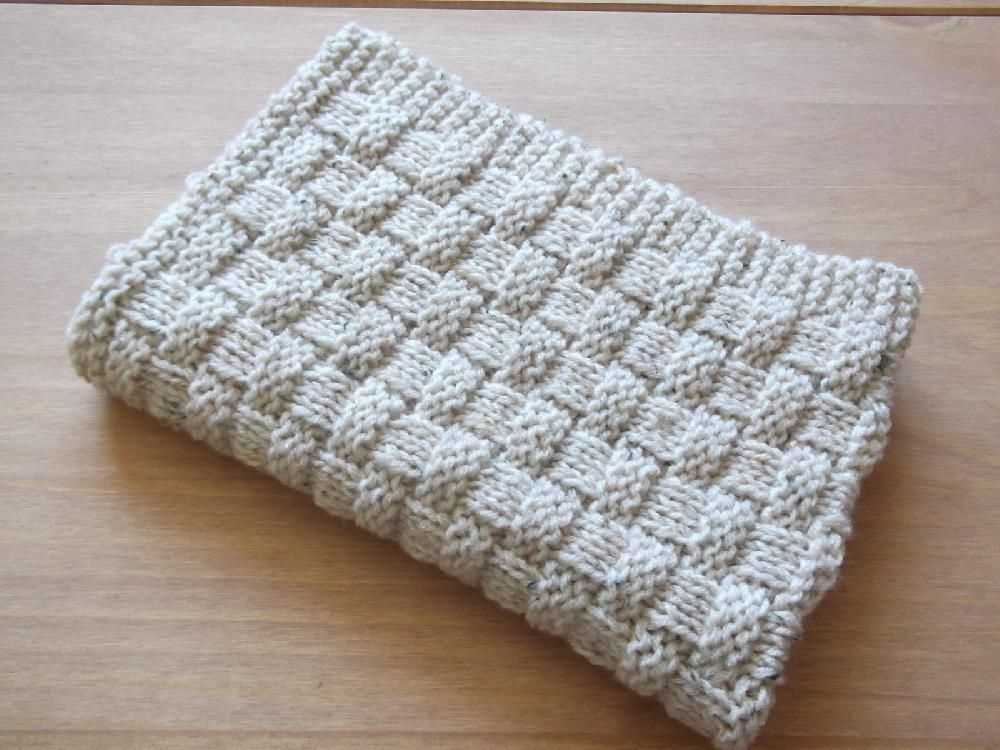
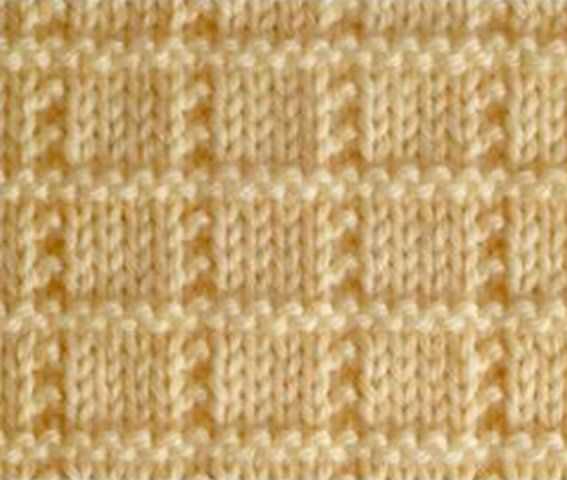
Basketweave Stitch Blanket Pattern
If you’re a beginner knitter looking to expand your skills and create a beautiful blanket, the basketweave stitch pattern is a great choice. This pattern creates a textured weaving effect that looks intricate and impressive, but is actually quite simple to knit.
To create a basketweave stitch blanket, you’ll need to know how to knit and purl. The pattern is created by alternating blocks of knit and purl stitches in a specific pattern.
Materials:
- Chunky weight yarn (color of your choice)
- Size 10 knitting needles
Instructions:
- Cast on an even number of stitches.
- Row 1: Knit all stitches.
- Row 2: Purl all stitches.
- Row 3: Knit all stitches.
- Row 4: Purl all stitches.
- Row 5: Knit 5 stitches, *purl 5 stitches, knit 5 stitches.* Repeat from * to * until the end of the row.
- Row 6: Purl 5 stitches, *knit 5 stitches, purl 5 stitches.* Repeat from * to * until the end of the row.
- Row 7: Repeat row 6.
- Row 8: Repeat row 5.
- Repeat rows 5-8 until the blanket reaches your desired length.
- Bind off all stitches.
This basketweave stitch pattern creates a beautiful and cozy blanket that is perfect for snuggling up with on a cold day. Feel free to experiment with different yarn colors and sizes to create a unique and personalized blanket. Happy knitting!
Chevron Stitch Blanket Pattern
If you’re a beginner knitter looking to try out a new stitch pattern, the chevron stitch is a great option. This pattern creates a beautiful zigzag design that adds visual interest to any blanket. Plus, it’s surprisingly easy to knit!
To start, you’ll need a pair of knitting needles and your favorite yarn. Choose a needle size that corresponds to the recommended gauge on your yarn label. It’s also helpful to have a stitch marker to keep track of your progress.
Step 1: Cast on an even number of stitches. For a small baby blanket, you could start with around 100 stitches, and for a larger adult-sized blanket, you could start with around 200 stitches.
Step 2: Begin the first row by knitting two stitches and then purling two stitches. Repeat this pattern across the entire row.
Step 3: On the second row, reverse the pattern by purling two stitches and then knitting two stitches. Repeat this pattern across the entire row.
Step 4: Continue alternating between the knit-two-purl-two and purl-two-knit-two rows until your blanket reaches the desired length. Make sure to place a stitch marker at the beginning of every row to help you keep track.
Step 5: Once your blanket is the desired length, bind off all the stitches and weave in any loose ends. You now have a beautiful chevron stitch blanket!
This chevron stitch pattern is a simple way for beginners to learn and practice new knitting techniques. Experiment with different yarn colors and sizes to create unique and personalized blankets for yourself or as gifts. Happy knitting!
Cable Stitch Blanket Pattern
Are you ready to take your knitting skills to the next level? The cable stitch is a classic pattern that adds beautiful texture and dimension to any project. With this cable stitch blanket pattern, you can create a stunning and cozy blanket that will impress your friends and family.
To get started, you will need some basic knitting supplies, including yarn in your desired color and weight, knitting needles, and a cable needle. The cable needle is used to hold stitches while you cross them over each other, creating the cable pattern. Don’t worry, it’s easier than it looks!
Materials:
- Yarn: Choose a soft and cozy yarn in your favorite color. Worsted weight or bulky yarn works well for a blanket.
- Knitting needles: Use the recommended needle size for your yarn. Circular needles are recommended for larger projects like blankets.
- Cable needle: This specialized needle is used to hold stitches while you create the cable pattern.
- Scissors: You’ll need a pair of sharp scissors for cutting the yarn.
- Yarn needle: Use a yarn needle for weaving in loose ends and finishing touches.
Instructions:
- Cast on the desired number of stitches. Typically, blankets are larger projects, so cast on a multiple of 10 stitches to make the cable pattern fit evenly.
- Knit several rows in your chosen stitch pattern as a border for the blanket.
- Start the cable pattern by following the specific instructions for the cable stitch you’ve chosen. This may involve crossing stitches to the right or left, using the cable needle to hold stitches in front or back, and knitting the stitches in a different order.
- Continue working rows in the cable pattern until the blanket reaches your desired length.
- Knit several more rows in your chosen border stitch pattern to finish off the blanket.
- Bind off all stitches and weave in any loose ends.
Remember to take your time and be patient with yourself as you learn the cable stitch. It may take a few tries to get the hang of it, but once you do, you’ll be amazed at the beautiful results. Happy knitting!
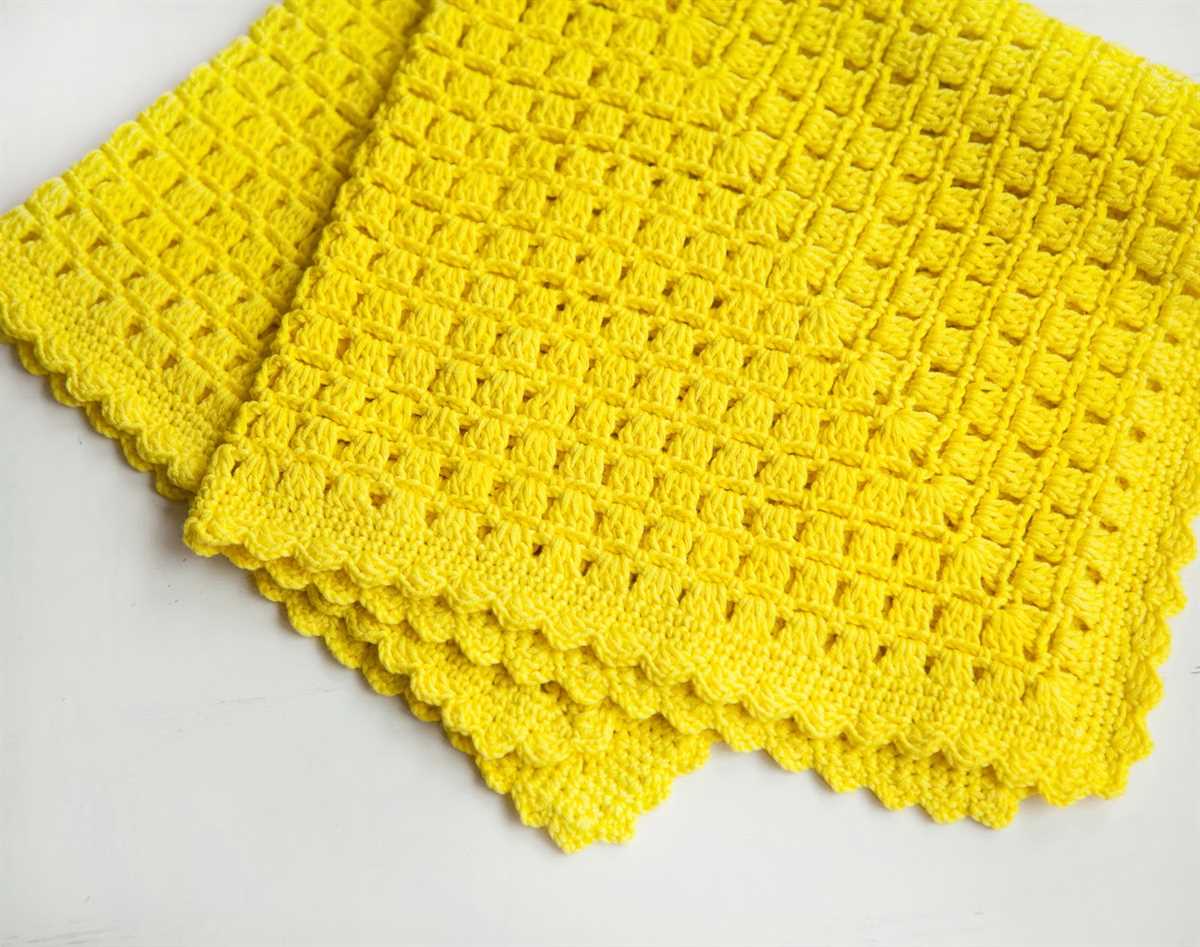
Lace Stitch Blanket Pattern
A lace stitch blanket pattern is a perfect project for beginners who want to add a touch of elegance and sophistication to their knitting. Lace stitch patterns involve creating holes or eyelets in the fabric, giving it a delicate and airy look. Here is a simple lace stitch blanket pattern that you can try:
Materials:
- Yarn of your choice (worsted weight recommended)
- Knitting needles appropriate for your yarn (size 8 recommended)
- Tapestry needle
- Scissors
Instructions:
- Start by casting on an even number of stitches. For example, cast on 100 stitches.
- Row 1: Knit all stitches.
- Row 2: Purl all stitches.
- Row 3: *Knit 2 together, yarn over. Repeat from * to the end of the row.
- Row 4: Purl all stitches.
- Repeat rows 3 and 4 until your blanket reaches the desired length.
- Bind off all stitches.
- Weave in any loose ends using a tapestry needle.
- Block your blanket by gently stretching and pinning it to the desired shape and size. Allow it to dry completely.
This lace stitch blanket pattern creates a beautiful and airy fabric perfect for lightweight and breathable blankets. Experiment with different yarn colors and weights to customize the look of your blanket. Don’t be afraid to make mistakes and learn from them as you go along. Happy knitting!
Finishing touches for your knitted blanket
Once you have finished knitting your blanket, there are a few finishing touches you can add to enhance its appearance and ensure it lasts for many years to come.
First, you may want to consider blocking your blanket. Blocking is a process where you wet your blanket and then shape it to the desired dimensions while it dries. This can help even out any uneven stitches and give your blanket a professional finish. Check the yarn label to see if blocking is recommended for your specific type of yarn.
Next, you can add decorative edges to your blanket. This can be done using a variety of knitting stitches such as ribbing, seed stitch, or lace. Choose a stitch pattern that complements the overall design of your blanket and adds a finishing touch.
Another option is to add a border around your blanket. This can be a simple garter stitch border or a more intricate design. A border not only adds a decorative element, but it also helps to stabilize the edges of your blanket and prevent them from curling.
Finally, consider adding a personalized touch to your blanket by adding a label or tag. You can create a small fabric label with your name, the date the blanket was made, or a special message. Sew the label onto one corner of your blanket to give it that extra special personal touch.
By adding these finishing touches to your knitted blanket, you can create a beautiful and professional-looking piece that will be cherished for years to come. Enjoy snuggling up with your cozy creation or give it as a thoughtful gift to someone special.