
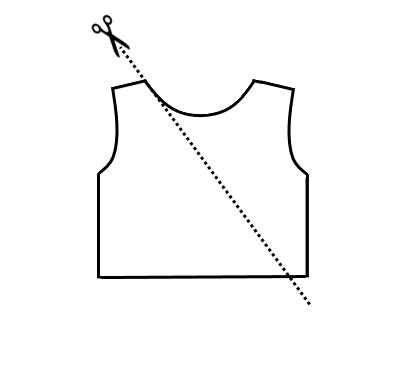
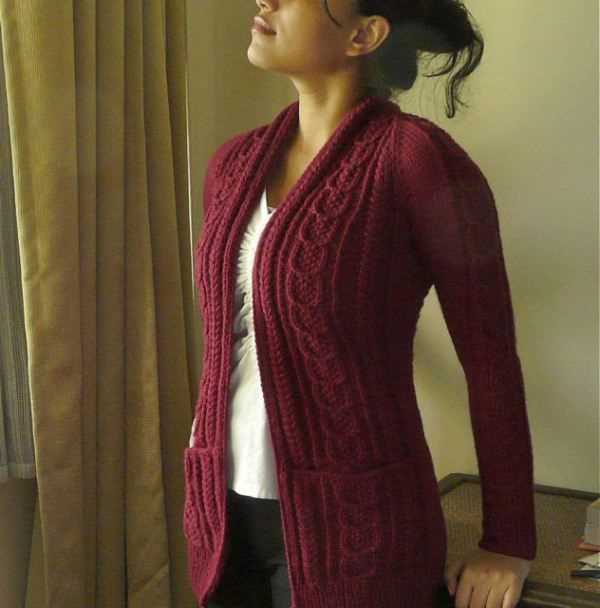
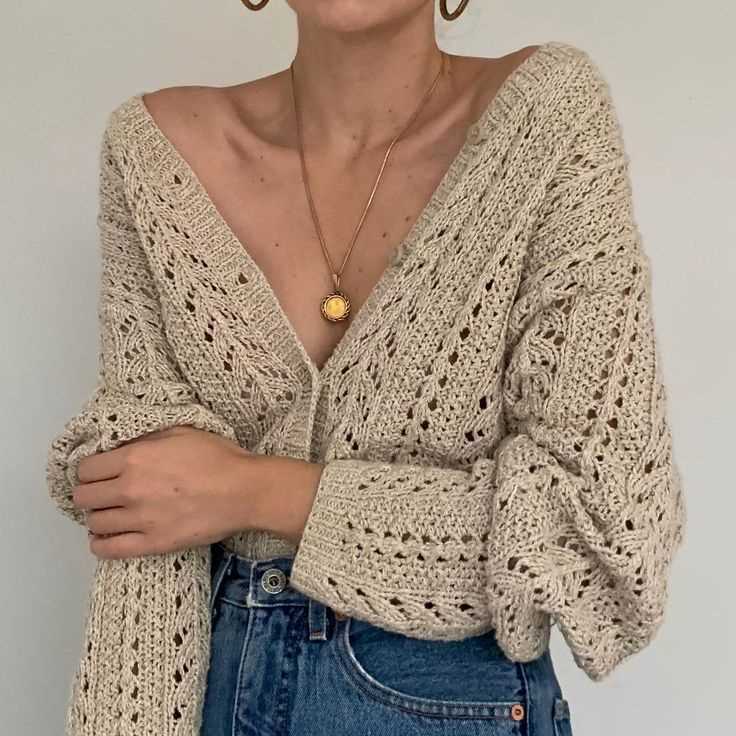
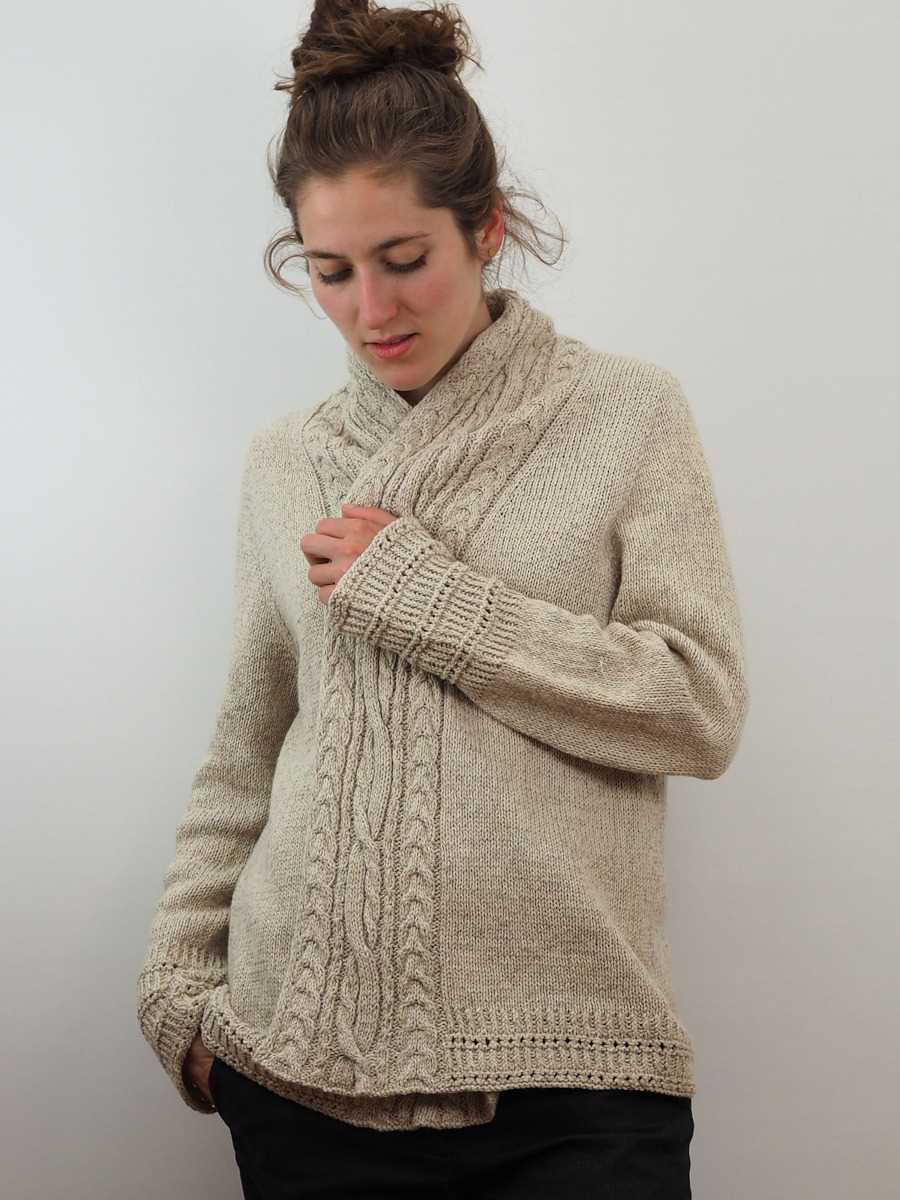
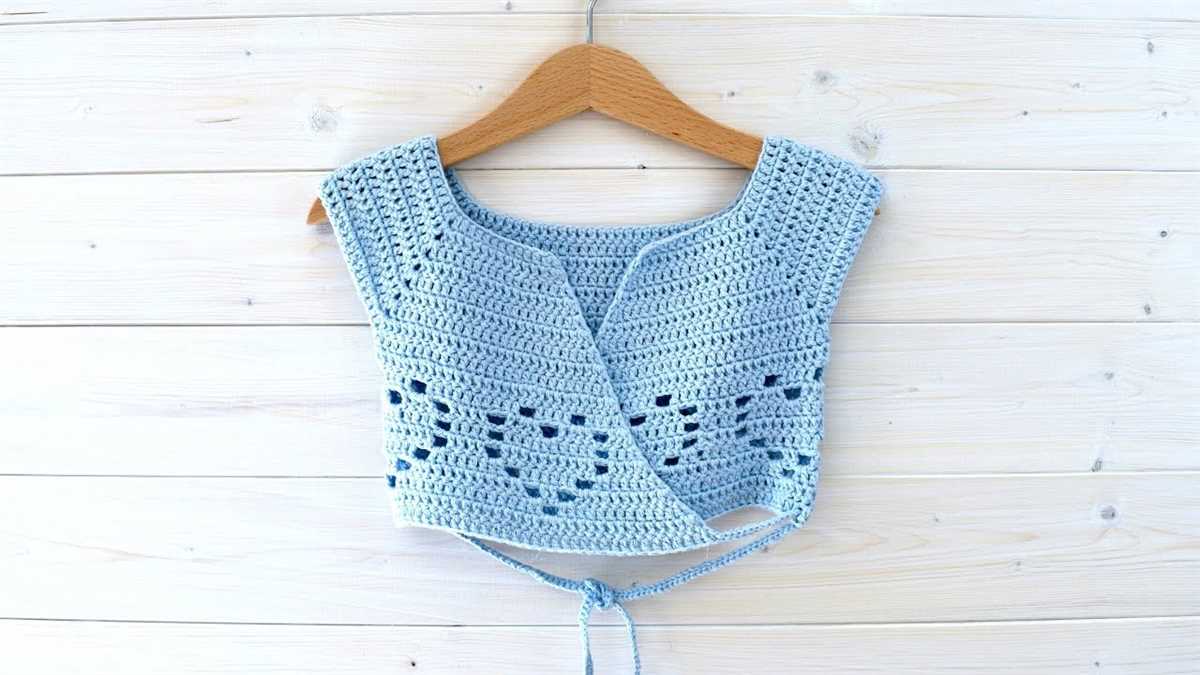
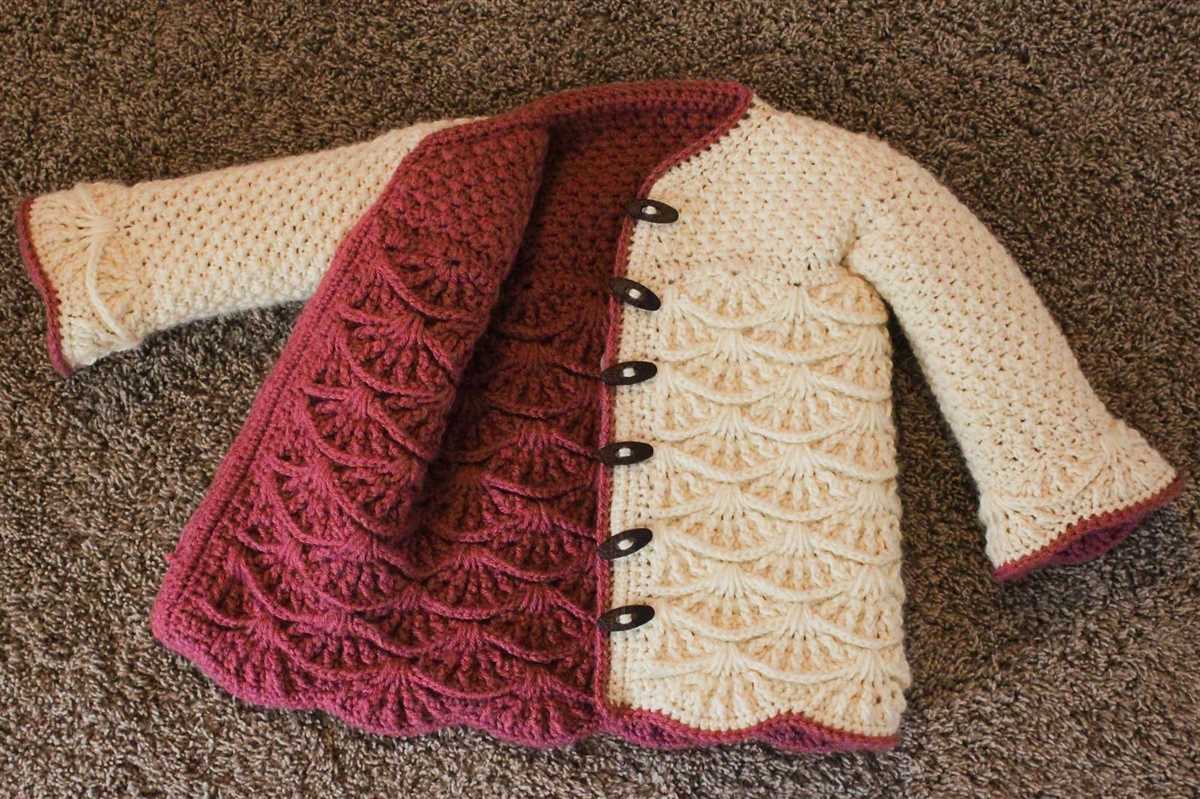
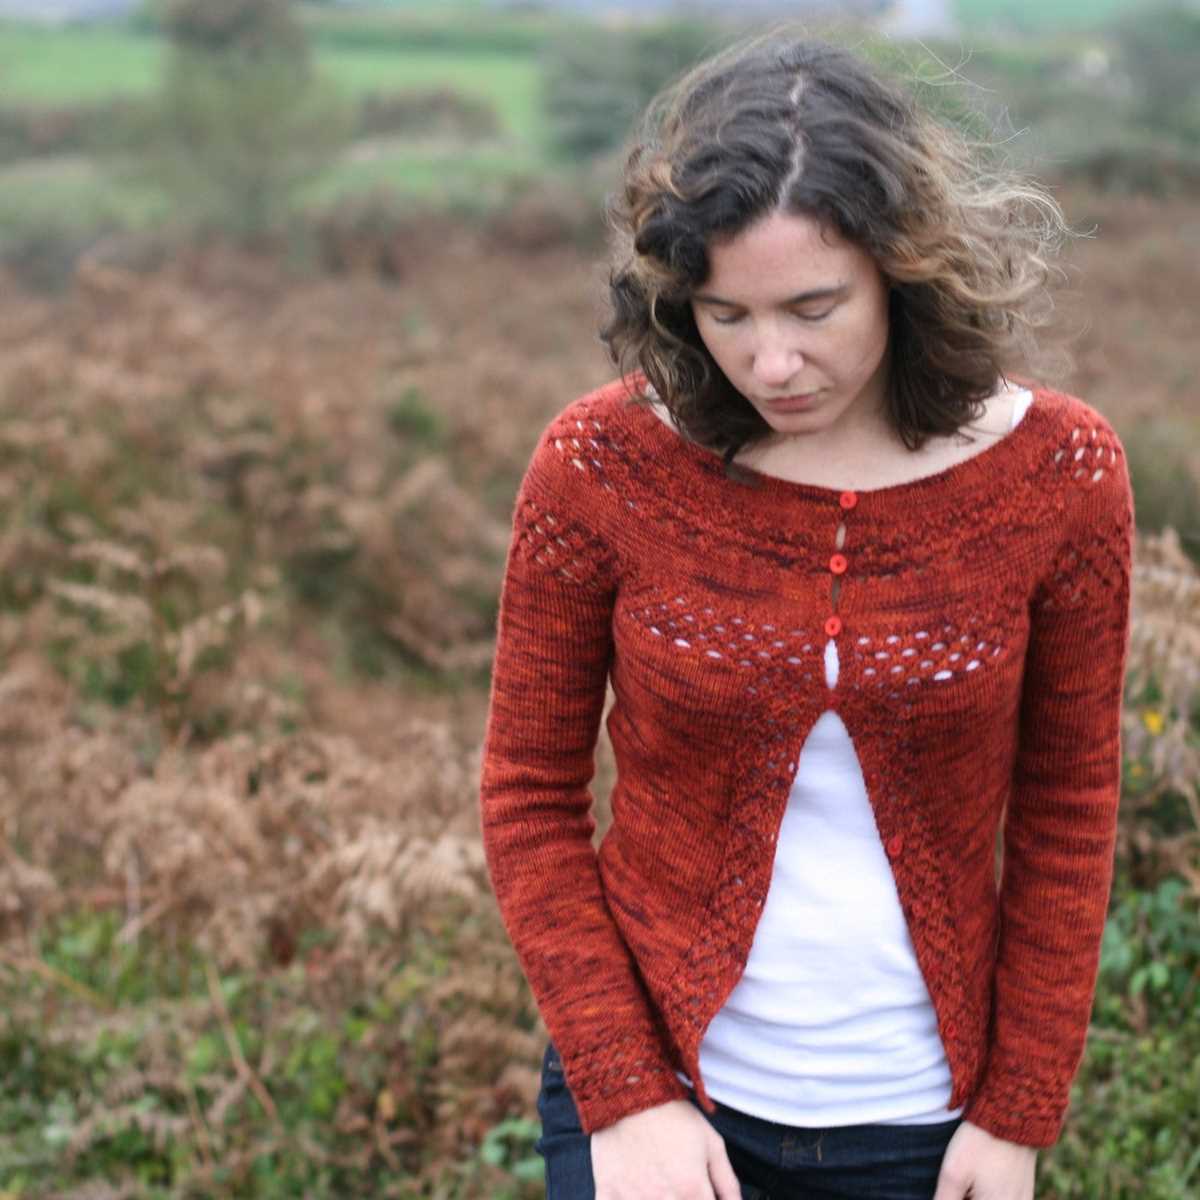
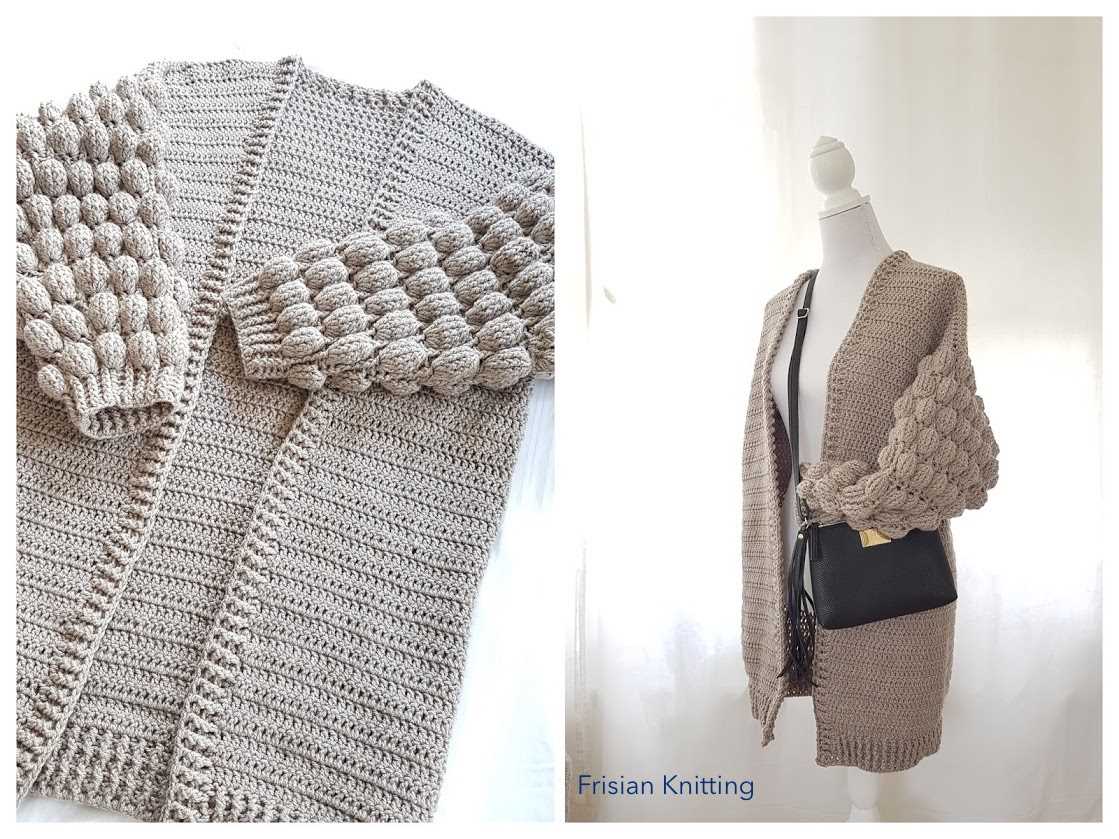
Knitting is the perfect way to create beautiful and cozy garments, and one of the most versatile patterns is the ballet wrap cardigan.
Designed to mimic the elegant and graceful lines of ballet attire, the ballet wrap cardigan is a lightweight and feminine layering piece that can be worn for both casual and formal occasions. With its delicate stitch patterns and flattering shape, this cardigan is a must-have in any knitter’s wardrobe.
Whether you are a beginner or an experienced knitter, this pattern is suitable for all skill levels. The pattern typically involves using basic stitches such as knit and purl, and can easily be adjusted to fit any size or body shape. So, grab your knitting needles and let’s get started!
Ballet Wrap Cardigan Knitting Pattern
A ballet wrap cardigan is a beautiful and versatile piece of clothing that can be worn for both casual and formal occasions. Whether you’re a ballet dancer or simply love the elegant look, knitting your own ballet wrap cardigan allows you to customize the design and fit to your liking. This knitting pattern is perfect for intermediate knitters and can be easily adjusted for different sizes.
Materials:
- 4mm knitting needles
- DK weight yarn (approximately 400-600 yards)
- Tapestry needle
Instructions:
- Cast on 100 stitches using the long-tail cast-on method.
- Work in a 1×1 rib stitch (knit 1, purl 1) for the first 4 rows.
- Switch to stockinette stitch (knit on right side, purl on wrong side) and work until the piece measures approximately 10 inches from the cast-on edge.
- Next, create the wrap portion of the cardigan. Knit the first 50 stitches, then bind off the next 10 stitches. Knit to the end of the row.
- Continue working in stockinette stitch for the next 10 inches.
- Begin shaping the neckline by binding off 10 stitches at the beginning of the next row. Knit to the end of the row.
- Next row: Knit the first 5 stitches, then bind off the next 10 stitches. Knit to the end of the row.
- Continue working in stockinette stitch for another 6 inches.
- Switch back to 1×1 rib stitch and work for 4 rows.
- Bind off all stitches using a stretchy bind-off method.
Finishing:
Weave in any loose ends using a tapestry needle. Block the cardigan to ensure it maintains its shape and drape. Sew on any desired buttons or fastenings to complete the wrap cardigan.
Choose the Right Yarn
When knitting a ballet wrap cardigan, it is important to choose the right yarn to ensure a successful and comfortable finished product. The yarn you choose will determine the drape, warmth, and overall look of the cardigan, so it is important to consider a few key factors when making your selection.
Fiber Content: The first thing to consider when choosing yarn is the fiber content. Different fibers have different properties, so think about what you want from your cardigan. If you want a cozy and warm cardigan, then a wool or alpaca yarn would be a good choice. If you want a lightweight and breathable cardigan, then a cotton or linen yarn would be more suitable.
Weight:
Weight: The weight of the yarn refers to how thick or thin the yarn is. This can affect the drape and overall look of the cardigan. For a wrap cardigan, a medium weight yarn is usually a good choice. It will provide enough warmth and structure without being too bulky or heavy. Look for yarns labeled as DK (Double Knitting) or worsted weight for this project.
Color and Texture:
Color and Texture: Consider the color and texture of the yarn when choosing for a ballet wrap cardigan. A solid color yarn will create a classic and versatile look, while a variegated or self-striping yarn can add interest and dimension to the finished garment. Similarly, a smooth and even yarn will give a more polished look, while a yarn with texture or a halo effect can create a softer and more romantic feel.
It is always a good idea to swatch with your chosen yarn to ensure that it gives you the desired gauge and fabric for your ballet wrap cardigan. Remember, the yarn you choose will greatly impact the final outcome, so take your time to find the perfect yarn for your project. Happy knitting!
Gauge and Needle Size
When knitting a ballet wrap cardigan, it is important to achieve the correct gauge in order to ensure that the finished garment has the desired fit and dimensions. Gauge refers to the number of stitches and rows per inch in a knitted fabric and is determined by the size of the knitting needles used and the tension of the knitter.
Before starting the project, it is recommended to make a gauge swatch using the specified yarn and needle size. This can be done by casting on a certain number of stitches and working a few rows in the main stitch pattern. Then, measure the swatch over a 4×4 inch (10×10 cm) square, counting the number of stitches and rows. The gauge should match the pattern’s recommended gauge.
To achieve the correct gauge, it may be necessary to adjust the size of the knitting needles. If the gauge is too tight, meaning there are more stitches and rows per inch than specified, larger needles should be used. Conversely, if the gauge is too loose, meaning there are fewer stitches and rows per inch than specified, smaller needles should be used.
The recommended needle size for the ballet wrap cardigan pattern will depend on the desired fabric density and the yarn used. Thicker yarns generally require larger needles, while finer yarns require smaller needles. The pattern should provide a recommended needle size range, and it is important to choose a size that allows you to achieve the correct gauge and create a fabric with the desired drape and texture.
Measurements and Sizing
When knitting a ballet wrap cardigan, it’s important to take accurate measurements to ensure the garment fits properly. The measurements needed for this pattern include the bust, sleeve length, and back length.
To measure the bust, wrap a measuring tape around the fullest part of the chest. The measurement should be taken with a relaxed tape, not pulled tight. This measurement will determine the width of the cardigan across the front.
The sleeve length is measured from the shoulder down to the desired length of the sleeve. It’s important to measure from the shoulder point, where the arm meets the shoulder, to ensure the sleeve is the correct length.
The back length is measured from the base of the neck down to the desired length of the cardigan. This measurement will determine how long the cardigan will be in the back.
Once you have taken your measurements, refer to the sizing chart provided in the pattern to determine the appropriate size to knit. If your measurements fall between two sizes, it’s usually best to choose the larger size for a looser fit.
Pattern Instructions
In order to make the ballet wrap cardigan, you will need the following materials:
- Yarn: You will need approximately 500 yards of DK weight yarn. Choose a color and fiber content that you like.
- Knitting Needles: Size US 6 (4.0 mm) circular needles and a set of US 6 (4.0 mm) double-pointed needles.
- Stitch Markers: You will need at least 4 stitch markers to divide the sections of the cardigan.
- Tapestry Needle: This will be used to weave in the ends of the yarn.
- Buttons: You will need 4 buttons to fasten the cardigan at the front.
Once you have gathered all the materials, you can begin knitting the cardigan following the below pattern instructions:
- Using the circular needles, cast on 100 stitches.
- Join in the round, being careful not to twist the stitches. Place a stitch marker to mark the beginning of the round.
- Work in a K1, P1 ribbing for the next 2 inches.
- Switch to stockinette stitch and continue knitting in the round until the piece measures 12 inches from the cast on edge.
- Divide the stitches evenly onto four double-pointed needles, placing a stitch marker after every 25 stitches.
- Begin working in a wrap and turn pattern to create the wrap fronts of the cardigan.
- Work the wrap and turn pattern for the desired length of the wrap, making sure to maintain the stitch pattern.
- Once the desired length is reached, begin decreasing at the wrap edges to create a pointed front.
- Continue knitting until the entire piece measures the desired length, usually around 20 inches.
- Switch back to ribbing and work a K1, P1 ribbing for the next 2 inches.
- Bind off all stitches and weave in any loose ends.
- Sew the buttons on the other side of the cardigan to correspond with the buttonholes on the wrap front.
Once you have finished the pattern instructions, you will have a beautiful ballet wrap cardigan that is perfect for layering over your dance attire or wearing on its own.
Back Panel
The back panel of the ballet wrap cardigan is an essential component of the pattern. It is the main piece that will provide coverage to the back of the wearer. The back panel is created by knitting a certain number of stitches in a specific pattern.
To start the back panel, cast on the required number of stitches using the chosen yarn and needle size. The pattern will usually specify the exact number of stitches to cast on. Once the stitches are cast on, begin working in the specified stitch pattern, which may include knit and purl stitches, as well as any other stitch variations.
Throughout the back panel, it is important to maintain consistent tension and gauge to ensure that the finished piece will fit properly. This can be achieved by knitting with even tension and checking the gauge periodically. It is also important to regularly check the length of the back panel as it is being worked, as the pattern will usually indicate the desired finished length.
The back panel is often worked in rows, using a combination of knit and purl stitches to create a textured or patterned fabric. The pattern may include shaping techniques such as increases or decreases that are used to create a tailored fit. Following the pattern instructions carefully will ensure that the back panel is created correctly.
Instructions for the Back Panel:
- Cast on the specified number of stitches using the chosen yarn and needle size.
- Work in the specified stitch pattern, following the pattern instructions.
- Check gauge and adjust tension as needed.
- Regularly measure the length of the back panel to ensure it matches the desired finished length.
- Follow any shaping instructions, such as increases or decreases, as specified in the pattern.
- Continue working until the back panel reaches the desired length.
- Bind off all stitches to finish the back panel.
Ballet Wrap Cardigan Knitting Pattern: Left Front Panel
The left front panel of the ballet wrap cardigan is an important part of the overall pattern. It is knitted separately from the other panels, and later joined together to create the finished cardigan. The left front panel starts from the bottom edge and is worked upwards, with shaping for the armhole and neck.
Pattern Instructions:
To start the left front panel, cast on the required number of stitches using the specified yarn and knitting needles. Begin by working in your chosen stitch pattern, following the instructions provided in the pattern. It is important to maintain the correct tension throughout your knitting to ensure an even and professional finish.
As you work your way up the left front panel, the pattern will instruct you to shape the armhole and neck. This is typically done by decreasing or increasing the number of stitches along certain rows. Follow the pattern instructions carefully to achieve the correct shape and fit for your cardigan.
Once you have completed the left front panel, often the pattern will instruct you to place the stitches on hold, as you will need to join it with the other panels later in the knitting process. Take care to keep your stitches secure and in the correct order as you continue with the rest of the pattern.
Overall, the left front panel is an essential component of the ballet wrap cardigan knitting pattern. It is important to carefully follow the pattern instructions and pay attention to the shaping details to ensure a successful and professional-looking finished garment.
Right Front Panel
The right front panel of the ballet wrap cardigan is knitted separately and then attached to the main body of the cardigan. To start, cast on the required number of stitches for your size using the knitting needle size recommended in the pattern. Make sure to keep track of your stitches using stitch markers if needed.
Once you have cast on the stitches, begin working the pattern according to the instructions. This may include knitting ribs, alternating knit and purl stitches, or any other specific stitch pattern mentioned in the pattern. It’s important to follow the pattern carefully to ensure the correct size and shape of the front panel.
As you work through the pattern, you may come across instructions for shaping the front panel. This could involve decreasing or increasing stitches to create shaping for the neckline, armhole, or waist. Pay close attention to these instructions and make sure to adjust your stitch count accordingly.
Continue knitting the right front panel until you reach the desired length specified in the pattern. Once you have completed the knitting, you can bind off the stitches and set aside the panel. The next step would be to repeat the same process for the left front panel before moving on to the next section of the cardigan.
Sleeves
The sleeves of the ballet wrap cardigan are an integral part of its design. They are designed to be comfortable and allow for a full range of movement while dancing. The length of the sleeves is typically long, reaching down to the wrists to provide warmth and coverage.
The pattern for the sleeves usually includes instructions for shaping them to fit the arms snugly, while still allowing for ease of movement. This may involve increases or decreases at certain points in the pattern to create a tapered or fitted look. The sleeves may also feature ribbing or other decorative stitches to add visual interest.
Some knitters may choose to customize the sleeves by adding their own embellishments, such as lace or colorwork. These details can give the cardigan a unique and personalized touch. It’s important to keep in mind that the sleeves should be knit to the same gauge and measurements as the body of the cardigan to ensure a proper fit.
Overall, the sleeves of a ballet wrap cardigan are an important component of its design, providing both comfort and style. Whether you choose to follow the pattern exactly or add your own personal touches, the sleeves will contribute to the overall look and functionality of the cardigan.
Neckband
The neckband is an important component of the ballet wrap cardigan. It is the part that frames and enhances the neckline, adding a finishing touch to the overall design.
To create the neckband, you will need to pick up stitches along the neck edge of the cardigan. This requires careful attention to detail to ensure a smooth and even finish. Start by positioning your cardigan with the right side facing you and beginning at the center back. Use a knitting needle to pick up stitches along the edge, working your way towards the front. The number of stitches to pick up will depend on the pattern instructions and your desired collar width.
Once you have picked up the stitches, you can then proceed to knit the neckband according to the pattern instructions. This may involve working a combination of knit and purl stitches in a specific pattern repeat. Be sure to follow the instructions carefully and double-check your stitch count to ensure accuracy.
After completing the neckband, you can then bind off the stitches to secure the edge. This can be done using a standard bind off method or a stretchier bind off technique, depending on your preference and the desired fit of the cardigan. Finishing touches, such as weaving in any loose ends or blocking the cardigan to shape the neckband, can also be done at this stage.
A well-executed and neatly finished neckband can elevate the look of a ballet wrap cardigan, adding a touch of elegance and professionalism to the garment. With attention to detail and careful execution, you can create a beautiful and comfortable neckband that complements the overall design of the cardigan.
Finishing Touches
When it comes to adding the finishing touches to your ballet wrap cardigan, there are a few key details to consider. These small details can make a big difference in the final look and feel of your knitted piece.
Button Placement: The placement of the buttons on your cardigan is an important decision to make. Consider the style and design of the cardigan as well as your personal preference. You can choose to have the buttons evenly spaced or have them placed closer together at the top and gradually spaced further apart towards the bottom. Experiment with different placements to find the one that suits your cardigan best.
Button Selection: The buttons you choose can also add a touch of style to your ballet wrap cardigan. Consider using buttons that complement the color and texture of your yarn. You can opt for traditional round buttons, or choose more unique shapes and designs. Don’t be afraid to get creative and select buttons that will make your cardigan stand out.
Edging: Adding a decorative edging to your cardigan can elevate its overall look. You can use a contrasting color of yarn to create a pop of color along the edges or choose a yarn with a different texture for added interest. Options for edging include seed stitch, ribbing, or a picot edge. Experiment with different edging techniques to find the one that enhances your cardigan’s design.
Blocking: Before you can truly call your ballet wrap cardigan finished, it’s important to block it. Blocking involves shaping and setting the knit garment to its intended dimensions. This step helps to even out stitches, improve drape, and ensure that the cardigan fits as intended. Follow the blocking instructions provided in your knitting pattern or consult a blocking tutorial to get the best results.
Final Details: Once your cardigan is blocked and dried, take a few moments to inspect it for any loose ends or imperfections. Use a yarn needle to weave in any loose ends and make any necessary repairs. A final steaming or pressing may be needed to smooth out any wrinkles or creases. Take pride in your finished ballet wrap cardigan and enjoy wearing your handmade creation.
Tips and Tricks
When knitting a ballet wrap cardigan, here are some tips and tricks to ensure a successful project:
1. Choose the Right Yarn
Using the right yarn is crucial for achieving the desired look and feel of the cardigan. Opt for a lightweight and soft yarn that has good drape, such as merino wool or bamboo blend. This will give your cardigan a comfortable and elegant finish.
2. Gauge and Swatch
Taking the time to swatch and get the correct gauge is important to ensure that the cardigan will fit properly. Follow the pattern instructions for gauge and make a swatch using the recommended needle size. Measure your swatch and adjust your needle size if needed to achieve the correct gauge.
3. Mark Your Progress
Knitting a ballet wrap cardigan can involve multiple sections and intricate stitch patterns. To keep track of where you are in the pattern, use stitch markers or removable markers to mark the beginning and end of each section. This will make it easier to catch any mistakes early on and help you stay organized.
4. Read the Pattern Carefully
Before you start knitting, read through the entire pattern carefully. This will give you an overview of the construction and help you understand the instructions better. Pay attention to any special stitches or techniques used in the pattern, and make sure you are familiar with them before you begin.
5. Take Breaks and Stretch
Knitting for long periods can strain your hands and wrists. Take regular breaks to stretch and rest your hands. This will help prevent repetitive strain injuries and keep you comfortable throughout the knitting process.
6. Block the Finished Cardigan
Once you have completed knitting the cardigan, blocking it is important to give it a polished and professional look. Follow the blocking instructions in the pattern to shape and stretch the garment to its final measurements. This will help even out any uneven stitches and give the cardigan a beautiful finish.
7. Enjoy the Process
Knitting a ballet wrap cardigan can be a fun and rewarding project. Enjoy the process and take the time to appreciate each stitch. Remember to be patient with yourself and don’t be afraid to ask for help if needed. Knitting is a skill that improves with practice, so enjoy the journey!
With these tips and tricks in mind, you will be able to create a beautiful ballet wrap cardigan that you can wear and cherish for years to come. Happy knitting!