
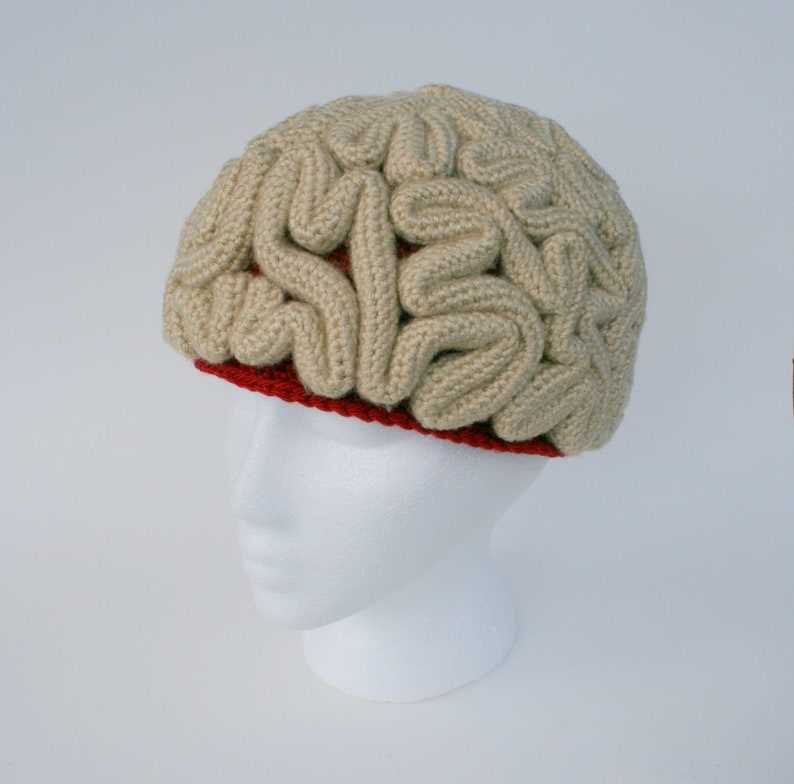
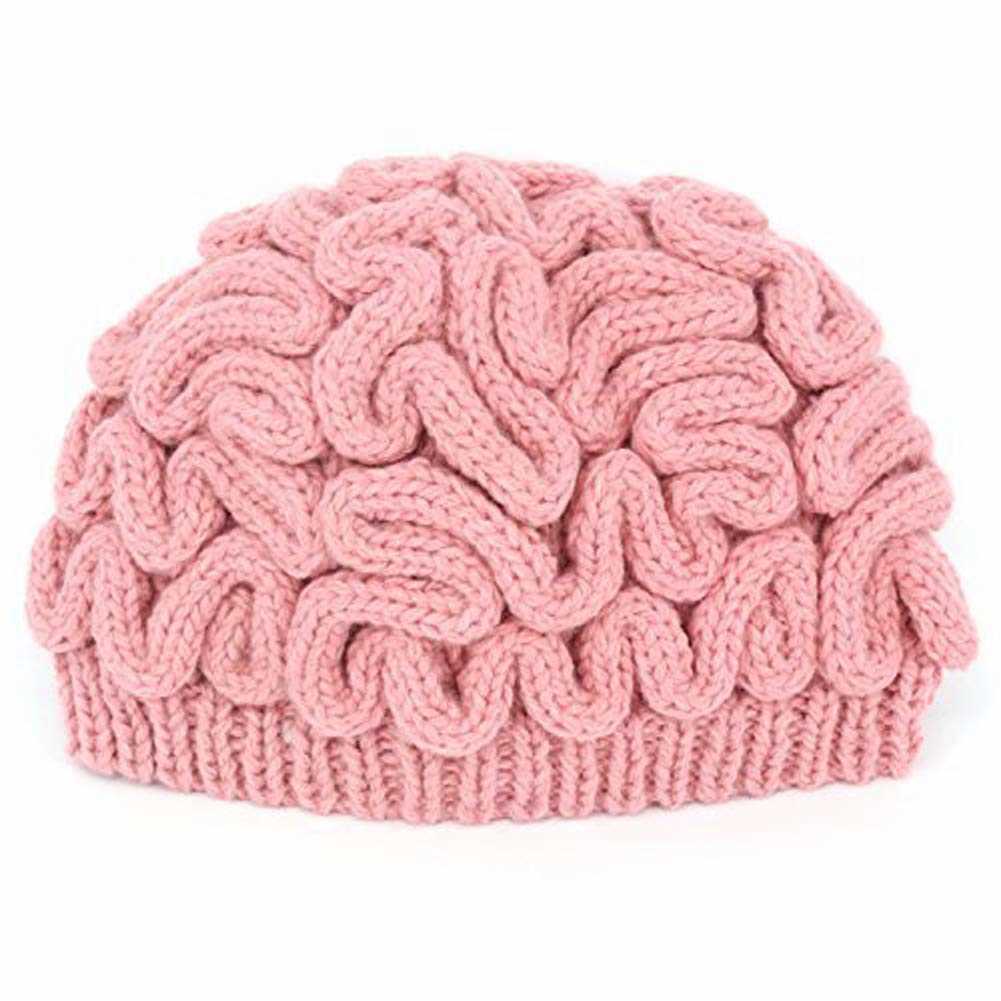
Looking for a unique and creative project to work on? Why not try knitting a brain hat? This quirky and fun pattern allows you to create a hat that resembles a human brain. It’s not only a great conversation starter but also a fantastic way to showcase your knitting skills.
Don’t worry if you’re new to knitting – this brain hat pattern is designed for all skill levels. With clear instructions and helpful tips, you’ll be able to create your very own brain hat in no time. Plus, you can customize it to match your own style by choosing your favorite yarn colors.
Not only is this brain hat a fun accessory, but it also serves a valuable purpose. It can be used to educate others about the importance of brain health and raise awareness for neurological conditions. Spread the word and show your support by knitting and wearing this unique hat!
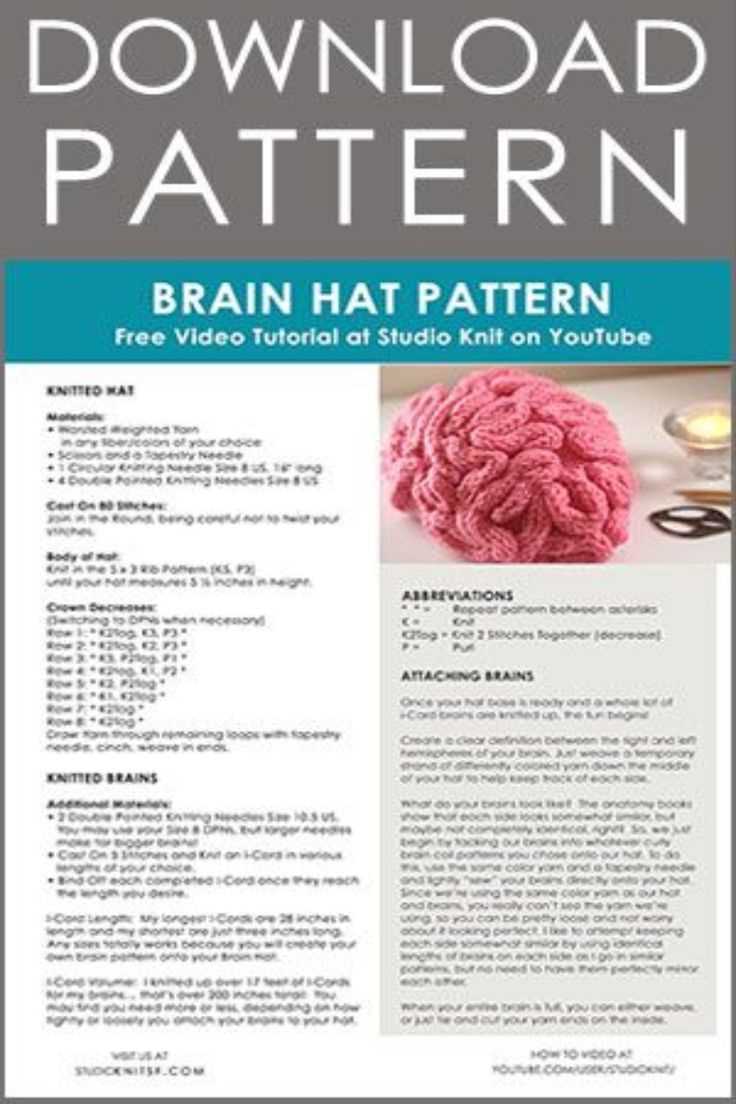
Knitted Brain Hat Pattern Free
If you’re looking for a fun and unique project, look no further than the Knitted Brain Hat. This pattern is a great way to show off your knitting skills while also creating a quirky accessory that’s sure to turn heads.
The pattern for the Knitted Brain Hat is available for free online, making it an accessible project for knitters of all levels. It’s a great way to practice different techniques, such as colorwork, shaping, and working in the round.
To get started, you’ll need the following materials:
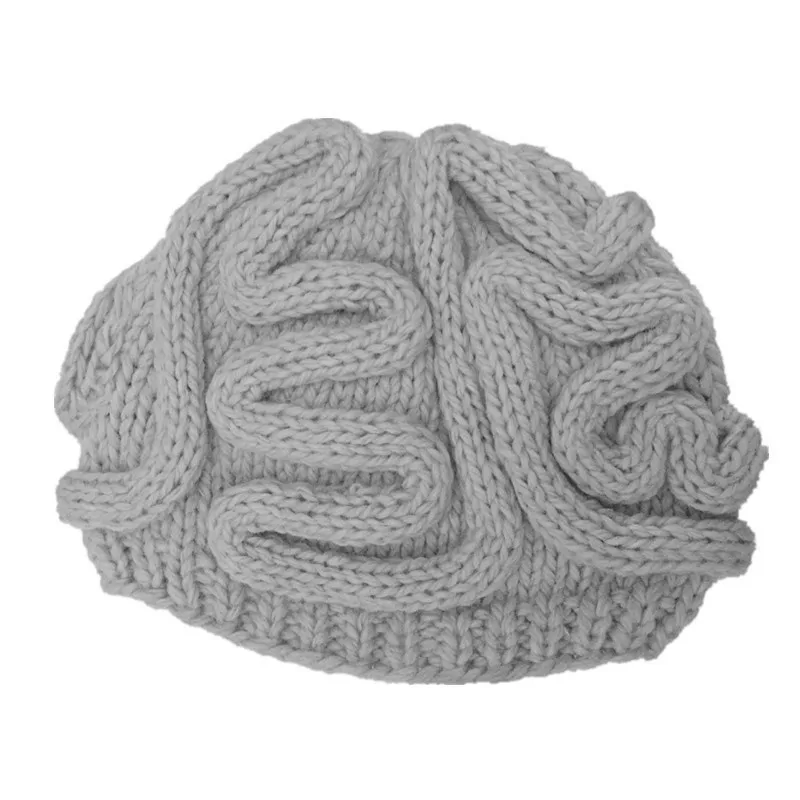
- Worsted weight yarn in gray, pink, and white
- Double-pointed needles in size US 8
- Circular needles in size US 8
- Tapestry needle
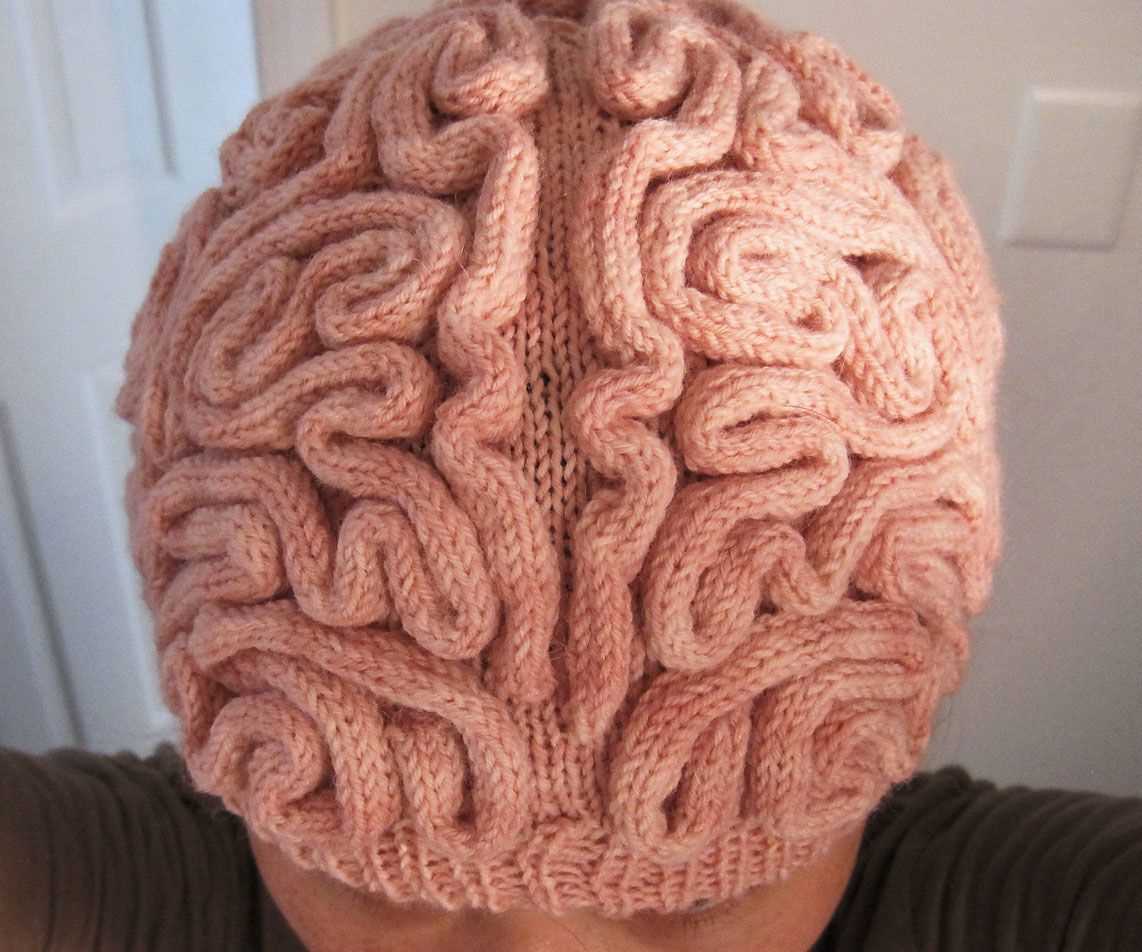
The main body of the hat is knit in the round using the circular needles, while the colorwork is done using the double-pointed needles. The pattern provides detailed instructions and charts to help you create the unique brain design.
Once you’ve finished knitting the hat, you can add additional details, such as veins or squiggly lines, using a tapestry needle and contrasting yarn. This is where you can get creative and make the hat truly your own.
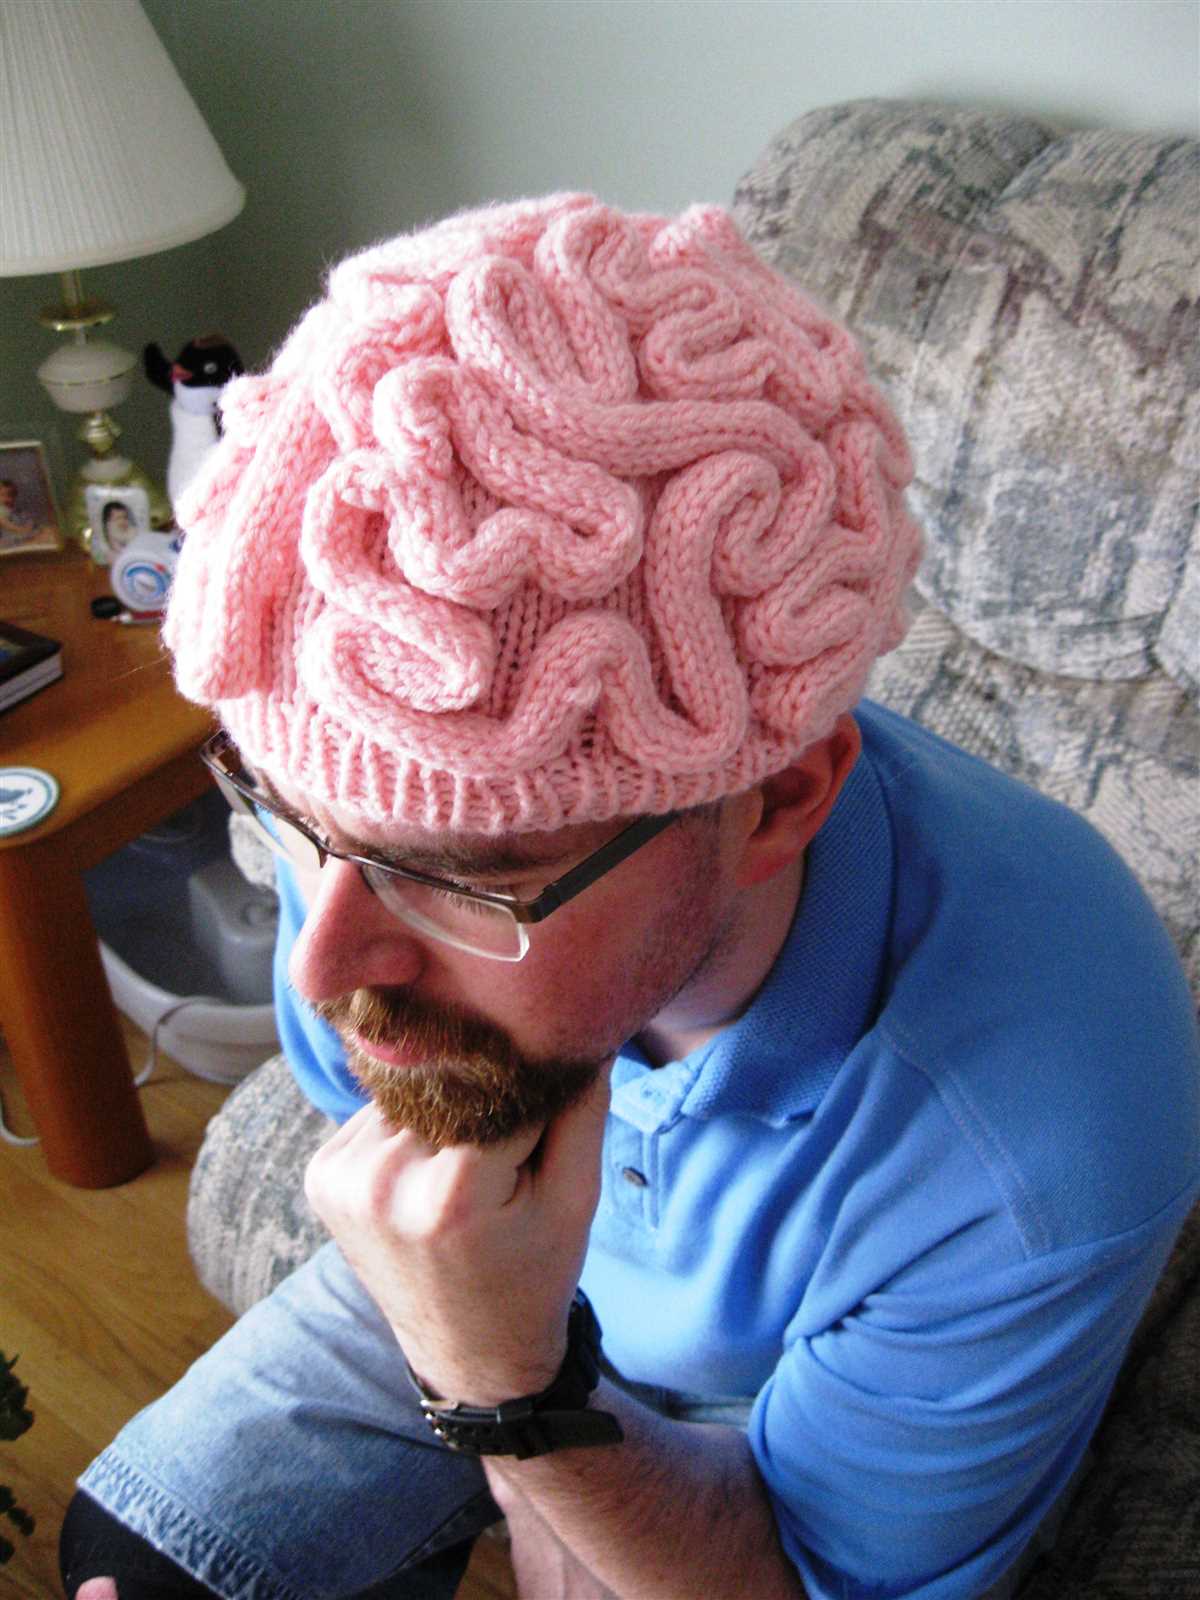
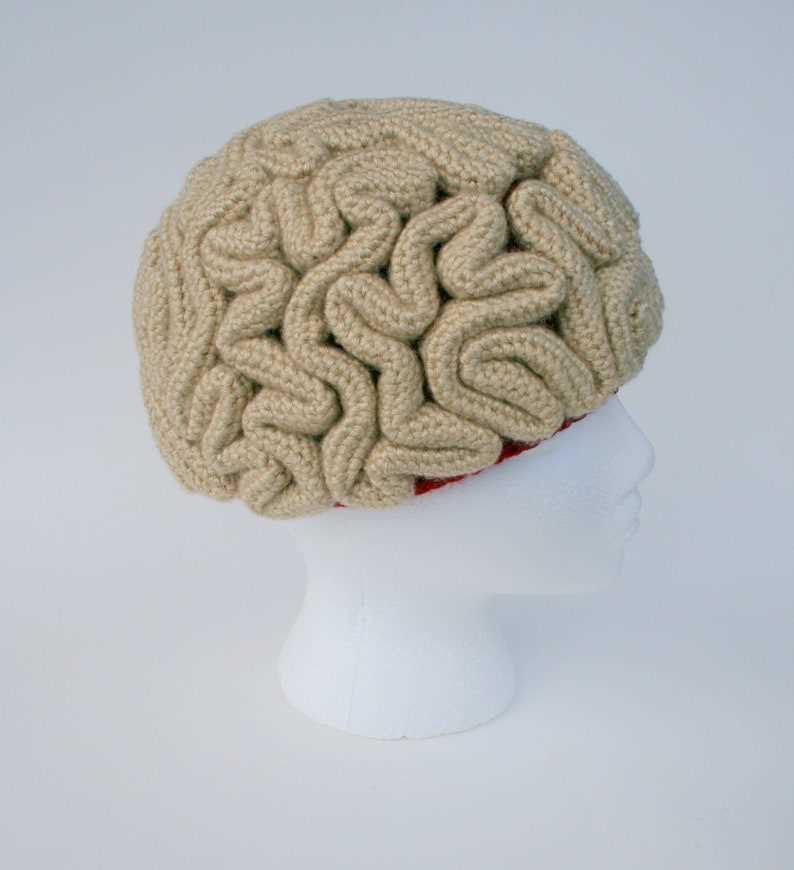
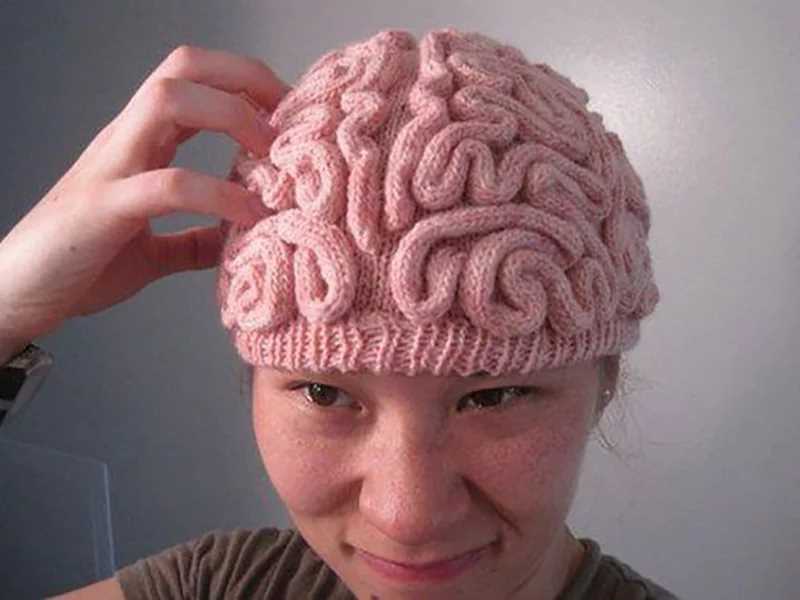
Whether you’re knitting the Knitted Brain Hat for yourself or as a gift, it’s sure to be a conversation starter. Wear it to your next knitting group or to a Halloween party, and prepare for compliments and questions about where you got such a unique accessory.
Why Knitting Brain Hats?
Knitting brain hats has become a popular trend among crafters and advocates for mental health awareness. These unique hats, adorned with a knitted brain motif, serve as a powerful symbol and conversation starter for raising awareness about mental health issues.
By creating and wearing these brain hats, individuals are able to show their support for those who may be struggling with mental health issues. The distinctive design of the hats allows wearers to openly display their compassion and understanding, making it easier for others to initiate conversations about mental health.
The act of knitting these brain hats also provides a therapeutic outlet for many crafters. Knitting has long been recognized for its relaxing and stress-relieving properties, and by channeling their creativity into creating these hats, individuals can find a sense of purpose and accomplishment. Additionally, the repetitive nature of knitting can be calming and meditative, offering a break from the challenges of daily life.
Furthermore, the availability of free knitting patterns for brain hats allows anyone with basic knitting skills to participate in this movement. These patterns ensure that the creation of brain hats is accessible to all, regardless of their financial resources or knitting expertise. This inclusivity promotes a sense of community and encourages individuals from all walks of life to come together in support of mental health.
Materials Needed
In order to knit a brain hat, you will need the following materials:
- Yarn: Choose a soft and stretchy yarn in white or light gray as the base color for the brain matter.
- Contrasting Yarn: You will also need a small amount of pink or red yarn for the details on the brain, such as the veins.
- Knitting Needles: Use a pair of knitting needles in the appropriate size for your chosen yarn. Circular needles may also be used if you prefer.
- Tapestry Needle: This needle will be used for weaving in loose ends and sewing up any seams.
- Stitch Markers: These small circular markers are helpful for keeping track of specific stitches or sections of the hat.
- Scissors: A good pair of scissors is essential for cutting the yarn and trimming any excess.
Once you have gathered these materials, you will be ready to begin knitting your brain hat and bring this unique and quirky accessory to life!
Getting Started

Welcome to the wonderful world of knitting! If you’re looking for a fun and quirky knitting project, you’ve come to the right place. In this tutorial, we’ll guide you through the process of creating a knitted brain hat. Whether you’re a beginner or an experienced knitter, this pattern is sure to bring a smile to your face and keep your head warm during the colder months.
Materials:
- Size 8 (5mm) circular knitting needles
- Size 8 (5mm) double-pointed knitting needles
- Worsted weight yarn in pink, gray, and white
- Tapestry needle
- Scissors
Pattern:
- Start by casting on 96 stitches using the circular knitting needles and pink yarn.
- Join the round and place a stitch marker to mark the beginning of the round.
- Knit in a 2×2 ribbing pattern (knit 2 stitches, purl 2 stitches) for 2 inches.
- Switch to gray yarn and knit in stockinette stitch (knit every round) for 4 inches.
- Next, switch to white yarn and knit 2 rounds.
- Begin the brain pattern by knitting 4 stitches in white, then switching to pink and knitting 8 stitches. Repeat this pattern until the end of the round.
- Continue knitting in the brain pattern for 4 inches.
- Switch back to gray yarn and knit in stockinette stitch for 2 inches.
- Finally, knit in the 2×2 ribbing pattern for another 2 inches.
- Bind off all stitches and cut the yarn, leaving a long tail.
- Weave in any loose ends and use the tapestry needle to sew the top of the hat closed.
Enjoy your new brain hat!
Step-by-Step Instructions
In order to knit a brain hat, you will need the following materials:
- 4 double-pointed knitting needles, size 7 (4.5mm)
- Worsted weight yarn in pink and gray
- Tapestry needle
- Stitch markers
- Scissors
Step 1: Cast On
Start by casting on 88 stitches using the pink yarn. Divide the stitches evenly onto three needles, with 36 stitches on the first needle and 26 stitches on each of the other two needles. Place a stitch marker to mark the beginning of your round.
Step 2: Knit the Body
Continue knitting in the round using a stockinette stitch for the body of the hat. Knit every stitch for 4 inches, or until the hat is the desired length.
Step 3: Create the Brain Pattern
To create the brain pattern, switch to the gray yarn. Follow the chart provided or create your own pattern by alternating between knitting and purling stitches to create a textured look. Repeat the pattern for approximately 2 inches.
Step 4: Decrease Stitches
To decrease stitches and shape the top of the hat, switch back to the pink yarn. Knit 2 stitches together every 4 stitches on each needle until you have 11 stitches remaining. Cut the yarn, leaving a long tail. Thread the tail through the remaining stitches and pull tight to close the top of the hat.
Step 5: Finishing Touches
Weave in any loose ends using a tapestry needle. Steam or gently block the hat to shape and smooth out any wrinkles. The hat is now ready to be worn or gifted!
Tips and Tricks
When it comes to knitting a brain hat, there are a few tips and tricks that can help make the process easier and more enjoyable. Whether you’re a beginner or an experienced knitter, these tips can help you create a beautiful and unique hat.
1. Choose the right yarn
One of the most important aspects of knitting a brain hat is choosing the right yarn. For this project, it’s best to use a soft and stretchy yarn that will be comfortable to wear. Look for a yarn that is machine washable and durable, as the hat will likely need to be washed frequently.
2. Use circular needles
Knitting a brain hat is easiest with circular needles, as they allow you to knit in the round without having to switch between needles. This eliminates the need for seams and creates a seamless and professional-looking finished product.
3. Follow a pattern
Unless you’re an experienced knitter, it’s best to follow a pattern when knitting a brain hat. There are many free patterns available online that provide step-by-step instructions and guidance. Following a pattern will ensure that your hat turns out the way you want it to and will save you time and frustration.
4. Don’t be afraid to experiment
While it’s important to follow a pattern, don’t be afraid to add your own personal touches and make the hat your own. You can experiment with different colors, stitches, and patterns to create a hat that is truly unique and reflects your personality.
5. Practice good tension control
One of the keys to knitting a brain hat is maintaining consistent tension. This will ensure that your stitches are even and that the finished hat has a smooth and professional appearance. Practice good tension control by keeping a steady rhythm and not pulling too tightly or loosely on your yarn.
- Choose the right yarn
- Use circular needles
- Follow a pattern
- Don’t be afraid to experiment
- Practice good tension control
Customization Options
When knitting a brain hat, there are various customization options available to create a unique and personalized design. Here are some ideas to consider:
Color Choice:
Selecting the right colors for your brain hat can make a big difference in its overall appearance. You can choose traditional brain colors like pink and gray, or get creative and use vibrant and bold colors to make a statement. Consider using contrasting colors for the brain folds to make them stand out.
Embroidery:
Adding embroidery to your brain hat can add a special touch and make it even more unique. You can embroider details like veins, arteries, or even names or initials on the hat to make it personalized. Using different embroidery stitches can create different textures and effects.
Accessories:
Accessorizing your brain hat can further enhance its look and appeal. You can add buttons, beads, or sequins to create a sparkling effect. Adding a pom-pom or tassel on top can also make the hat more playful and fun.
Size:
Customizing the size of the brain hat is important to ensure a proper fit. You can adjust the number of stitches and rows in the pattern to make the hat smaller or larger. It is recommended to measure the recipient’s head circumference and adjust the pattern accordingly for a comfortable fit.
Pattern Variation:
If you are experienced in knitting, you can experiment with different stitch patterns or knitting techniques to create unique variations of the brain hat. For example, you can try using cables or lace stitches to add more complexity to the design.
By exploring these customization options, you can create a one-of-a-kind brain hat that reflects your personal style and creativity. Whether you choose to stick to the traditional brain colors or go for a more unconventional approach, the final result will be a knitted masterpiece that is sure to turn heads.
Adding Embellishments
Once you have completed knitting your brain hat, you can add embellishments to make it even more unique and eye-catching. Embellishments can be added to the surface of the hat or incorporated into the knitting process itself. Here are some ideas to inspire you:
1. Embroidery
You can use colorful embroidery floss to add details to your brain hat. Consider adding stitches to outline the lobes and folds of the brain, or creating a decorative pattern using different embroidery stitches. This will give your hat a more intricate and personalized look.
2. Beads
Another option is to incorporate beads into the knitting process. You can choose beads in colors that match your hat or ones that contrast for a more striking effect. String the beads onto the yarn before knitting and knit them into the hat as you go. This will create an interesting texture and add dimension to your brain hat.
3. Pom-poms
Pom-poms are a fun and playful way to embellish your brain hat. You can make small pom-poms in various colors and attach them to the top of the hat or as accents along the sides. This will give your hat a whimsical touch and make it stand out even more.
4. Appliques
If you’re skilled in crocheting or have fabric scraps, you can create appliques to sew onto your brain hat. Consider making small brain-shaped appliques or other brain-related designs using different fabrics and shapes. Sew them onto the hat using a needle and thread to add texture and visual interest.
Remember, the sky’s the limit when it comes to embellishing your brain hat. Feel free to get creative and experiment with different materials and techniques to make your hat truly one-of-a-kind!
How to Care for Your Brain Hat

Once you have completed knitting your brain hat, it’s important to take proper care of it in order to keep it looking its best and ensure its longevity. Here are some tips to help you care for your brain hat:
1. Hand Wash Only
Do not machine wash or tumble dry your brain hat. Hand washing is the best method to preserve the shape and quality of the hat. Fill a basin or sink with lukewarm water and add a small amount of mild detergent. Gently agitate the hat in the soapy water, being careful not to stretch or squeeze it too much. Rinse thoroughly with clean water.
2. Lay Flat to Dry
Avoid wringing or twisting your brain hat. After washing, carefully squeeze out excess water without putting too much pressure on the hat. Lay it flat on a clean towel or drying rack to air dry. Reshape the hat if necessary, gently tugging on the edges to maintain the desired shape.
3. Avoid Direct Sunlight
Keep your brain hat away from direct sunlight when storing it. Prolonged exposure to sunlight can cause the colors to fade and the fibers to weaken. Instead, find a cool, dry place to store your hat where it won’t be exposed to excessive heat or light.
4. Store Carefully
Avoid storing your brain hat in a cramped space. To prevent the hat from losing its shape, it’s best to store it in a spacious drawer, an open shelf, or a hat box. If you choose to store it folded, be sure to place tissue paper inside the folds to maintain its form.
By following these care tips, you can keep your brain hat in great condition for years to come. With a little bit of attention and care, your knitted brain hat will remain a cozy and stylish accessory to show off your love for neuroscience.
Where to Find More Knitting Patterns
If you’re a knitting enthusiast looking for more patterns to try out, there are plenty of resources available online to help you expand your collection. Whether you’re a beginner or an experienced knitter, you’re sure to find something that suits your taste and skill level.
1. Knitting Blogs: Knitting blogs are a great way to discover new knitting patterns, as well as get inspiration and tips from fellow knitters. Many bloggers share their own patterns for free or for a small fee. You can easily find knitting blogs by doing a quick search on your favorite search engine.
2. Online Knitting Communities: Joining online knitting communities such as Ravelry or Knitting Paradise can give you access to a vast collection of patterns shared by fellow knitters. These communities also offer forums and discussions where you can ask for pattern recommendations or get help with your knitting projects.
3. Knitting Magazines: There are numerous knitting magazines available both in print and online. These magazines often feature a variety of patterns for different skill levels and styles. Subscribing to a knitting magazine can keep you updated with the latest trends and provide you with new patterns regularly.
4. Craft Websites and Online Marketplaces: Websites such as Etsy and Craftsy are popular platforms where independent designers sell their knitting patterns. You can browse through a wide range of patterns, sorted by category and difficulty level, and purchase them directly from the designer. Some patterns may also be available for free.
5. Yarn Brands and Retailers: Many yarn brands and retailers have their own websites where they share free knitting patterns using their yarns. These patterns are often designed specifically for their yarns, ensuring a perfect match. You can also find a variety of pattern booklets and magazines available for purchase at yarn stores.
With these resources at your fingertips, you’ll never run out of knitting patterns to try. Whether you’re looking for hats, scarves, sweaters, or other accessories, the online knitting community has you covered.
Frequently Asked Questions
Here are some frequently asked questions about the Knitted Brain Hat pattern:
Can I sell the Knitted Brain Hats I make using this pattern?
Yes, you are allowed to sell the Knitted Brain Hats that you make using this free pattern. However, please note that the pattern itself is protected by copyright and should not be distributed or sold.
What materials do I need to make the Knitted Brain Hat?
To make the Knitted Brain Hat, you will need the following materials:
- Yarn in two colors – one for the brain and one for the hat
- Knitting needles in the appropriate size for your yarn
- A tapestry needle for sewing up the hat
- Scissors
Is this pattern suitable for beginners?
This pattern is best suited for intermediate knitters who are comfortable with basic knitting techniques such as casting on, knitting, purling, decreasing, and seaming. However, if you are a beginner and are eager to give it a try, there are detailed instructions provided in the pattern that will guide you through each step.
Can I modify the size of the hat?
Yes, you can modify the size of the hat by adjusting the number of stitches and rows. The pattern provides instructions for two different sizes – adult and child. If you would like to make a larger or smaller hat, you can easily customize it by adding or subtracting stitches and rows accordingly.
How long does it usually take to knit a Knitted Brain Hat?
The time it takes to knit a Knitted Brain Hat can vary depending on your skill level and knitting speed. On average, it may take a few hours to complete the hat. However, this is just an estimate, and individual knitting times may vary.
Final Thoughts
In conclusion, the knitted brain hat pattern is a fun and unique way to show off your love for science or to simply keep your head warm. Whether you’re a beginner or an experienced knitter, this pattern can be easily customized to fit your style and preferences. With a variety of color options and embellishments, you can truly make this hat your own.
Not only is the knitted brain hat a statement piece, but it also serves as a conversation starter. It’s a great way to spark discussions about the brain, neuroscience, or the importance of education and research in these fields. By wearing this hat, you can help raise awareness and promote interest in science and brain-related topics.
Remember, knitting is not only a hobby but also a form of self-expression. The knitted brain hat allows you to express your love for science and creativity in a unique and fashionable way. So why not give it a try and create your very own brain masterpiece?