
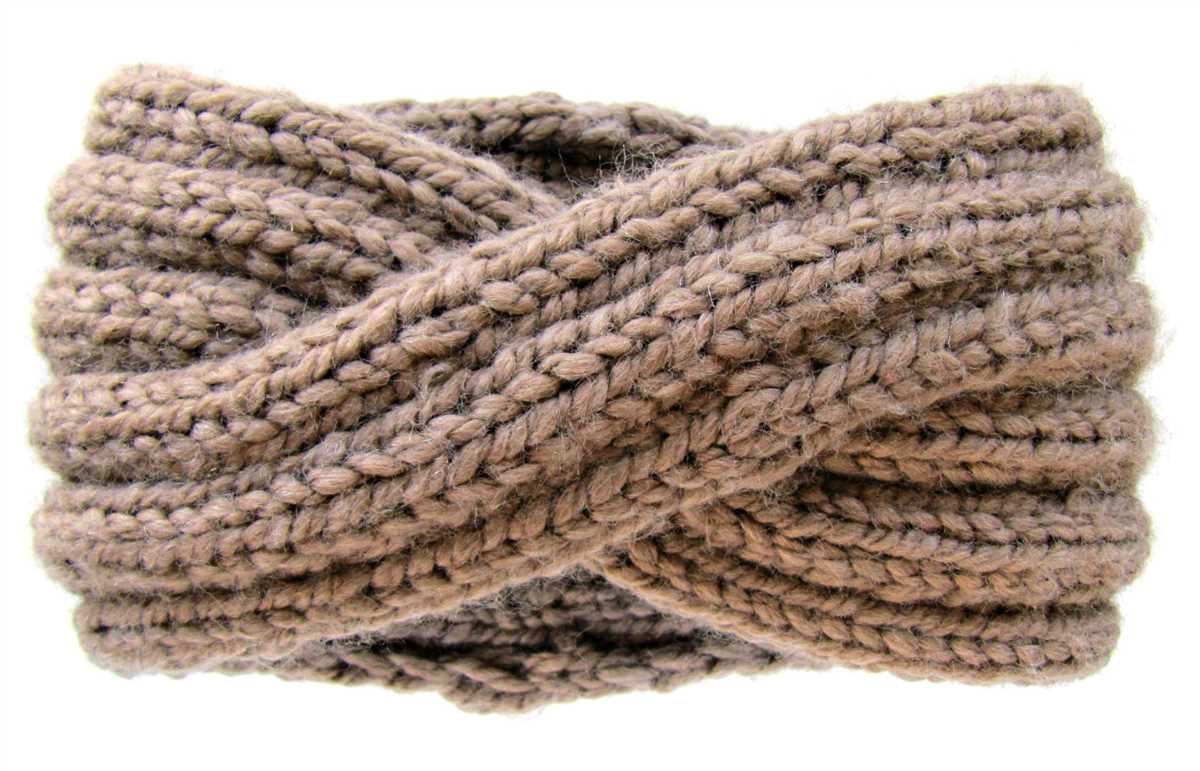
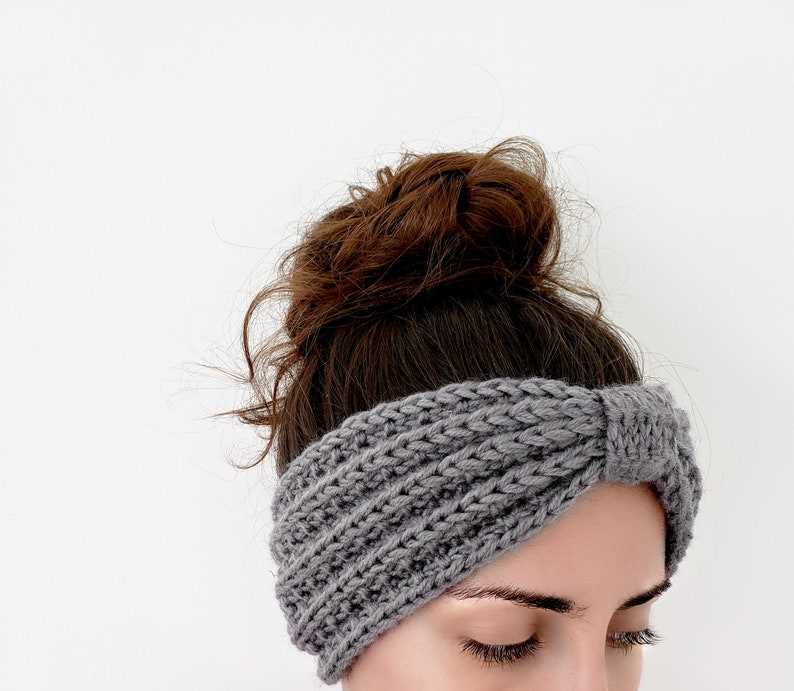
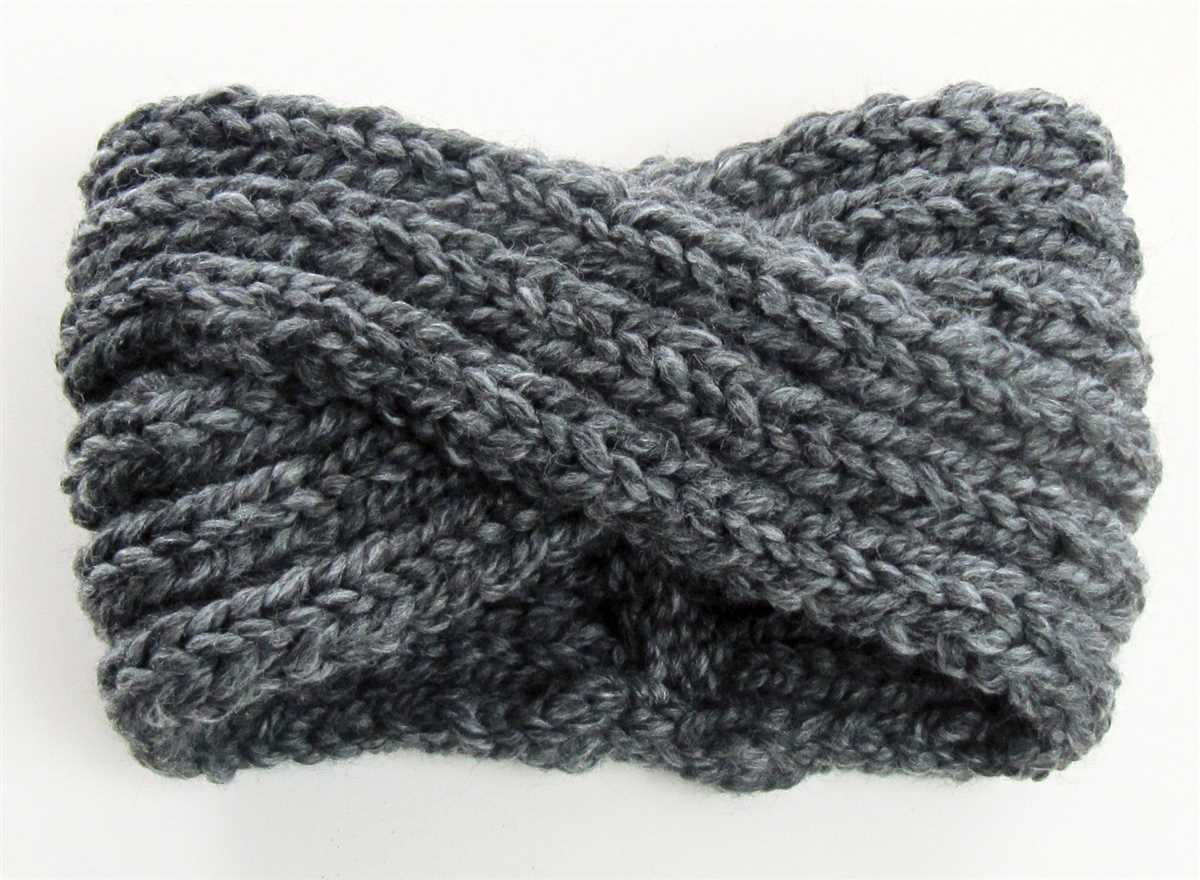
A headband ear warmer is a stylish and practical accessory for those chilly days in the UK. Whether you’re braving the winter winds or simply want to add a fashionable touch to your outfit, a hand-knitted headband is the perfect solution. Knitting your own headband allows you to customize it to your style and preferences, and it’s a fun and satisfying project for knitters of all skill levels.
This knitting pattern is designed specifically for the UK climate, taking into consideration the unique weather conditions and fashion trends. It features a comfortable and stretchy design that will keep your ears warm without sacrificing style. The pattern includes detailed instructions and clear diagrams to guide you through each step, making it easy to follow along and create your own beautiful headband.
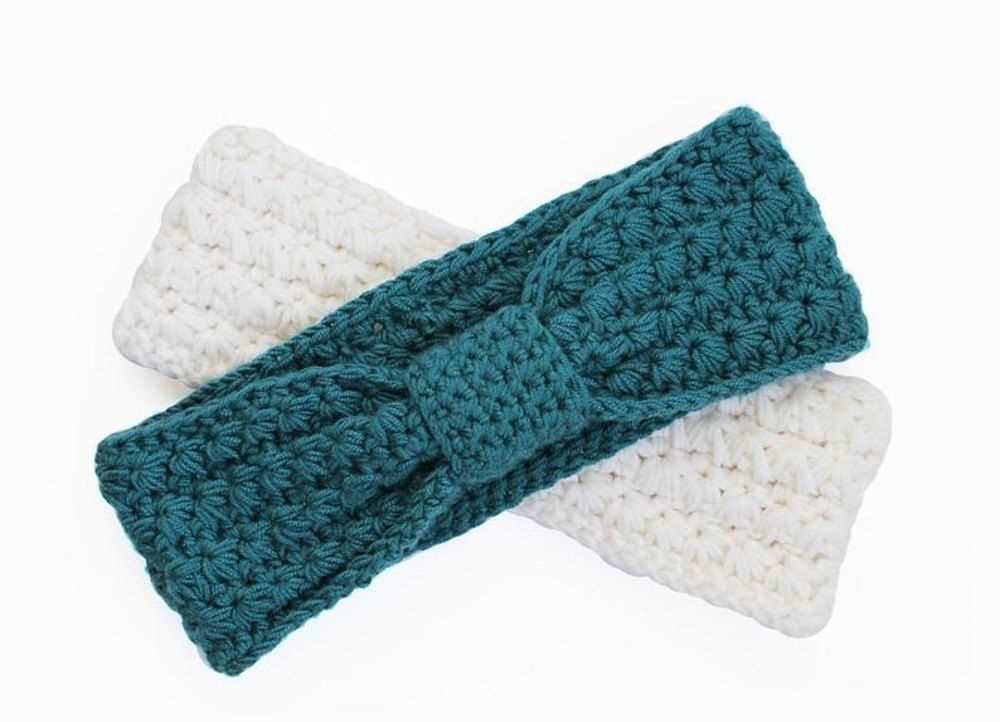
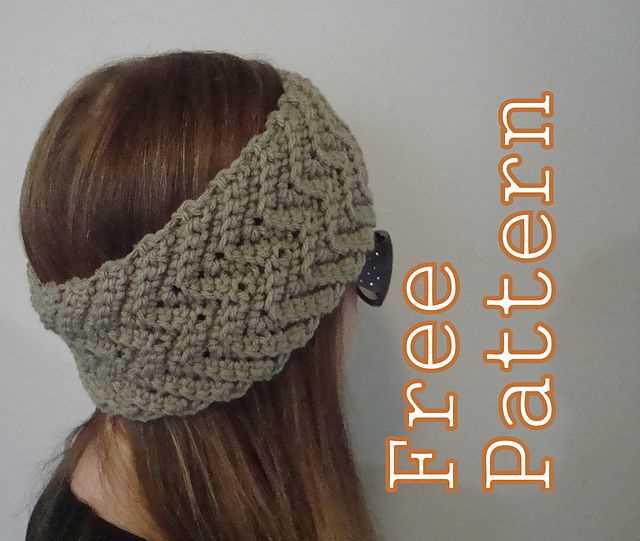
Not only is this headband ear warmer practical, but it also makes for a great handmade gift. You can knit a headband for your friends and family, or even start your own small business selling these trendy accessories. With this knitting pattern, you’ll be able to create headbands in a variety of colors and styles to suit any occasion or outfit.
So why not grab your knitting needles and get started on your very own headband ear warmer? This pattern is perfect for beginners looking to expand their skills and experienced knitters looking for a quick and satisfying project. Embrace the cozy and fashionable charm of a hand-knitted headband and keep your ears warm in style.
Materials Needed
Before beginning your knitting project for a headband ear warmer, make sure you have all the necessary materials. Here is a list of items you will need:
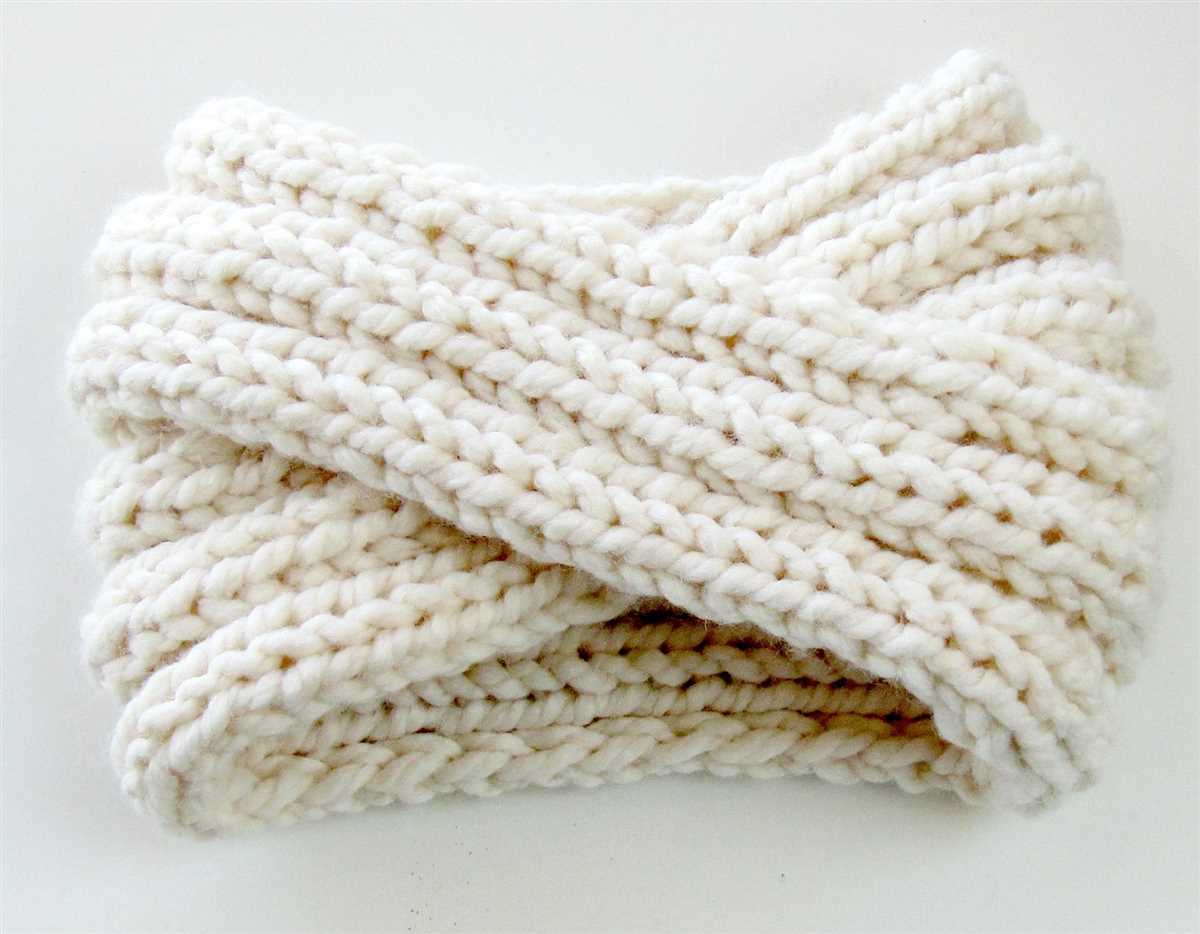
- Yarn: Choose a soft and warm yarn suitable for headbands, such as a bulky or chunky weight yarn. Acrylic or wool blends are often recommended. Pick a color that you love!
- Knitting Needles: Depending on your knitting skills and preference, you can use straight needles or circular needles. It is recommended to use needles of appropriate size for the yarn you have chosen.
- Tapestry Needle: This needle will be used for weaving in loose ends and finishing touches.
- Scissors: A pair of sharp scissors will be needed to cut the yarn.
- Measuring Tape: A measuring tape or ruler will help ensure you are knitting the headband to the correct size.
- Stitch Markers: Stitch markers can be useful for marking the beginning of a round or any special stitches.
With these materials ready, you are all set to start knitting your headband ear warmer. Have fun and enjoy the process of creating your own cozy accessory!
Step 1: Casting on
To begin knitting your headband ear warmer, you will need to cast on the required number of stitches. The specific number of stitches will depend on the pattern you are using, so be sure to refer to the instructions provided. Casting on is the process of creating the first row of stitches on your knitting needle.
There are several methods you can use to cast on, including the long tail cast on, the cable cast on, and the backward loop cast on. Each method has its own unique steps and produces slightly different results. Choose the method that you feel most comfortable with or that is recommended in your knitting pattern.
- If you are using the long tail cast on, start by creating a slipknot with your yarn and placing it on your knitting needle. Then, bring the working yarn over your thumb and the tail end of the yarn over your index finger. Use the needle to go under the thumb loop, over the index finger loop, and then behind the working yarn. Bring the needle back under the thumb loop, creating a new loop on the needle. Repeat this process until you have cast on the required number of stitches.
- For the cable cast on, begin by making a slipknot and placing it on the needle. Hold the working yarn in your right hand and the needle with the slipknot in your left hand. Insert the right-hand needle into the slipknot from front to back, creating a new stitch. Slip this stitch onto the left-hand needle, and then repeat the process for the remaining stitches.
- If you prefer the backward loop cast on, start by making a slipknot and placing it on the needle. Hold the working yarn in your right hand and the needle with the slipknot in your left hand. With your right-hand thumb, create a loop in the yarn and place it onto the left-hand needle. Repeat this process for each stitch, making sure to maintain equal tension between each loop.
Once you have cast on the required number of stitches, you can move on to the next step in your knitting pattern.
Step 2: Ribbing
After casting on your desired number of stitches, the next step in creating the headband ear warmer is to work the ribbing. Ribbing is a type of textured pattern that creates elasticity and stretch in the fabric, making it ideal for headbands that need to fit snugly around the head.
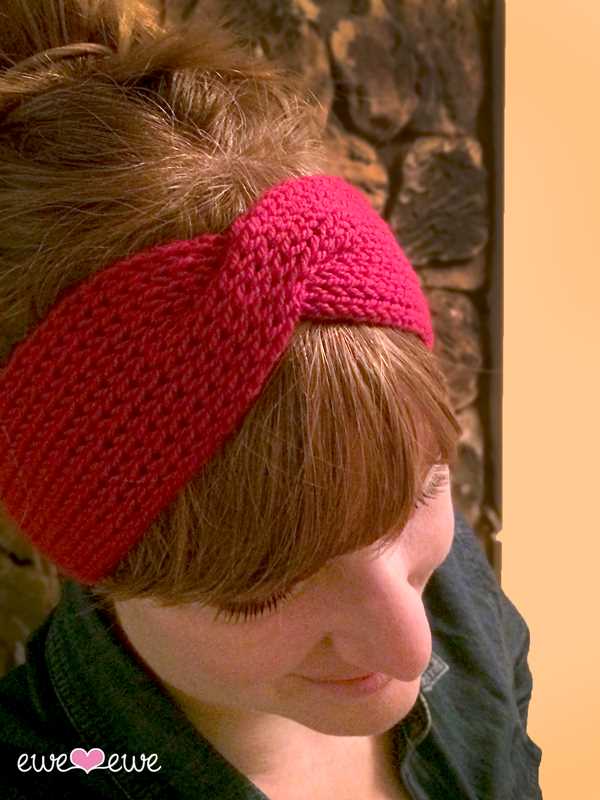
To create the ribbing, you will be alternating between knitting and purling stitches. This combination creates the characteristic ridged pattern that gives ribbing its stretchy quality. The most common ribbing pattern is a 2×2 rib, where you knit 2 stitches, then purl 2 stitches, and repeat this pattern across the row.
Once you have established the ribbing pattern, continue knitting in this pattern for the desired length of the headband ear warmer. The length will depend on your personal preference and the size of your head. Keep in mind that the ribbing will naturally contract and stretch when worn, so it’s important to take that into account when determining the length.
It’s also helpful to periodically check the gauge of your knitting as you work the ribbing. This will ensure that your headband ear warmer is the correct size and will fit comfortably. If your gauge doesn’t match the pattern’s specifications, you may need to adjust your needle size or the number of stitches you cast on.
Once you have completed the ribbing, you are ready to move on to the next step in the knitting pattern for the headband ear warmer. This could involve shaping the ear warmer or adding additional stitch patterns to create visual interest. Stay tuned for the next step!
Step 3: Main Body
Once you have completed the ribbing, it’s time to move on to the main body of the headband ear warmer. In this step, you will be working with the main stitch pattern to create the bulk of the headband.
First, you will need to switch to the larger knitting needles. This will help create a looser and more comfortable fit for the headband. Make sure to follow the pattern instructions for the stitch pattern and the number of stitches to cast on.
Begin by knitting the first row according to the stitch pattern. This may include knitting, purling, or any other combination of stitches. Repeat the pattern across the row until you reach the end.
Continue knitting each row according to the pattern until the headband reaches your desired length. You can try it on as you go to ensure a perfect fit. Remember to keep track of your rows, especially if the pattern includes any stitch changes or color changes.
Once you have reached your desired length, it’s time to finish off the headband. Follow the pattern instructions for any finishing techniques, such as binding off or adding a decorative edge. Weave in any loose ends and your headband ear warmer is now ready to wear!
Step 4: Decreases
Once you have reached the desired length for your headband ear warmer, it is time to start decreasing. This step will help give your ear warmer a tapered effect and ensure that it fits snugly around your head. Follow these instructions to complete the decreases:
- Row 1: Knit 2 stitches together to decrease. Repeat this decrease across the entire row.
- Row 2: Purl all stitches across the row.
- Row 3: Knit 2 stitches together, and then knit the next stitch. Repeat this decrease pattern across the entire row.
- Row 4: Purl all stitches across the row.
Continue repeating Rows 3 and 4 until only a few stitches remain on your knitting needles. Then, cut the yarn leaving a long tail, and thread it through the remaining stitches, pulling tightly to secure. Weave in any loose ends and your headband ear warmer is now complete!
Step 5: Binding off
Once you have completed knitting all the rows required for your headband ear warmer, you will need to bind off to finish off your project. Binding off creates a neat edge and secures the stitches so they don’t unravel.
To bind off, start by knitting the first two stitches as normal. Then, using the left needle, lift the first stitch over the second stitch and off the right needle. This creates one bound-off stitch. Continue knitting the next stitch and repeating the process of lifting the previous stitch over until you have reached the end of the row.
Note: Make sure to keep the tension consistent while binding off to ensure an even edge.
Once you have bound off all the stitches, cut the yarn leaving a long enough tail to weave in later. Thread the tail through the last stitch and pull tight to secure. This completes the binding off process, and your headband ear warmer is now ready to be worn!
Step 6: Sewing the ends together
After completing the knitting portion of the headband ear warmer, it’s time to sew the ends together to create a seamless finish. This step is essential for ensuring that the headband fits comfortably and securely on your head.
To sew the ends together:
- Thread a needle with a matching yarn color to the headband.
- Hold the headband with the wrong sides together, aligning the cast-on edge and the bind-off edge.
- Using a whip stitch or a mattress stitch, sew the edges together.
- Start sewing from one end and work your way to the other end, making sure to catch both layers of the headband.
- Take your time and make small, neat stitches to create an invisible seam.
- When you reach the end, secure the yarn by weaving it through a few stitches and then cutting it.
By sewing the ends together, you’ll create a professional-looking finish for your headband ear warmer. Make sure to take your time and sew carefully to achieve the best results.
Step 7: Finishing touches
After completing the knitting process, it’s time to add some finishing touches to your headband ear warmer. These final steps will help give it a polished and professional look.
1. Weaving in the ends
Start by weaving in any loose ends of yarn from your knitting. Take a tapestry needle and thread it with the loose yarn. Then, carefully weave the needle through the stitches on the backside of the headband, making sure to secure the yarn in place. Repeat this process for any other loose ends.
2. Blocking the headband
Blocking is an important step in ensuring that your headband looks its best. To block the headband, fill a basin or sink with lukewarm water and gentle wool wash. Submerge the headband in the water and let it soak for about 10 minutes. Gently squeeze out the excess water, making sure not to wring or twist the fabric. Lay the headband on a clean towel and reshape it to your desired size and shape. Leave it to dry completely.
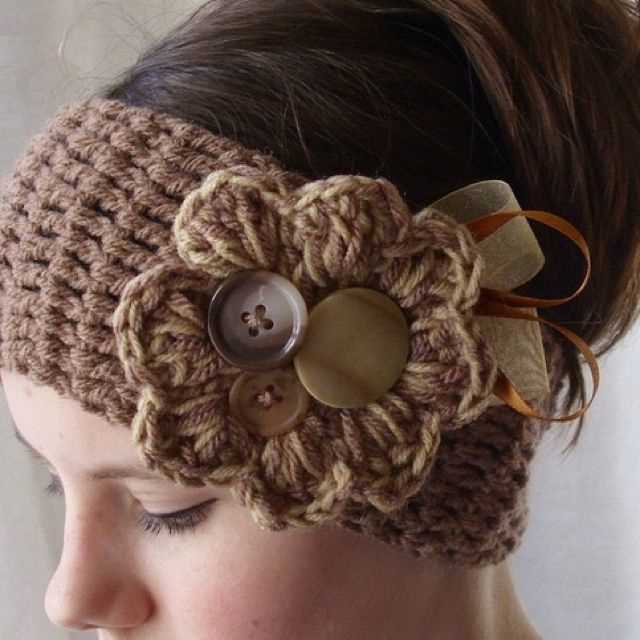
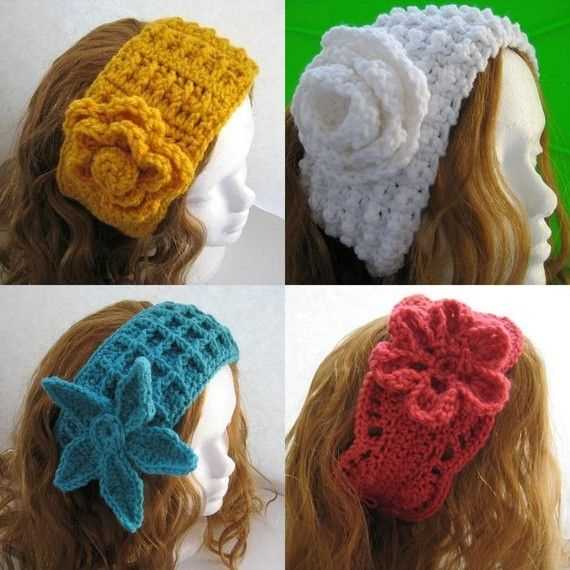
3. Embellishments (optional)
If you’d like to add some extra flair to your headband, consider adding embellishments such as buttons, bows, or flowers. Sew them onto the headband using a tapestry needle and matching yarn. Be creative and experiment with different designs to make your headband unique.
By following these final touches, your headband ear warmer will be ready to keep you warm and stylish in the colder months. Enjoy wearing your handmade creation or consider gifting it to someone special.
Tips and Tricks for Knitting a Headband Ear Warmer
Knitting a headband ear warmer can be a fun and rewarding project. Here are some tips and tricks to help you create a stylish and cozy accessory:
Choose the Right Yarn:
When selecting yarn for your headband, consider the season and the desired level of warmth. For colder weather, opt for a bulky or chunky yarn. For milder temperatures, a lighter weight yarn will work well. Additionally, choose a yarn that is soft and comfortable against the skin for maximum comfort.
Read and Understand the Pattern:
Before starting your knitting project, take the time to carefully read and understand the pattern. Make sure you understand any abbreviations or special stitches used in the pattern. This will help prevent mistakes and ensure that your headband turns out just as you envision it.
Swatch for Gauge:
To ensure that your headband fits properly, it is important to swatch for gauge. Follow the gauge instructions in the pattern and knit a small sample to check your tension. Adjust your needle size if necessary to achieve the correct gauge. This step will save you from disappointment and having to redo your work later.
Add Embellishments:
To make your headband unique and stylish, consider adding embellishments. This could include buttons, bows, or even a knitted flower. Experiment with different colors and textures to create a headband that reflects your personal style.
Blocking and Finishing:
Once you have completed knitting your headband, take the time to block and finish it properly. Blocking will help even out the stitches and give your headband a polished look. Follow the blocking instructions in the pattern or consult a knitting resource for guidance. Finally, finish off any loose ends and weave in the yarn tails to ensure that your headband is secure and ready to wear.
With these tips and tricks, you’ll be well-equipped to knit a beautiful headband ear warmer that will keep you warm and stylish all winter long.
Final Thoughts
In conclusion, a knitting pattern for a headband ear warmer is a great project for beginners or experienced knitters looking for a quick and easy project. With just a few basic knitting techniques, you can create a stylish and functional accessory that will keep your ears warm and add a touch of style to your winter wardrobe.
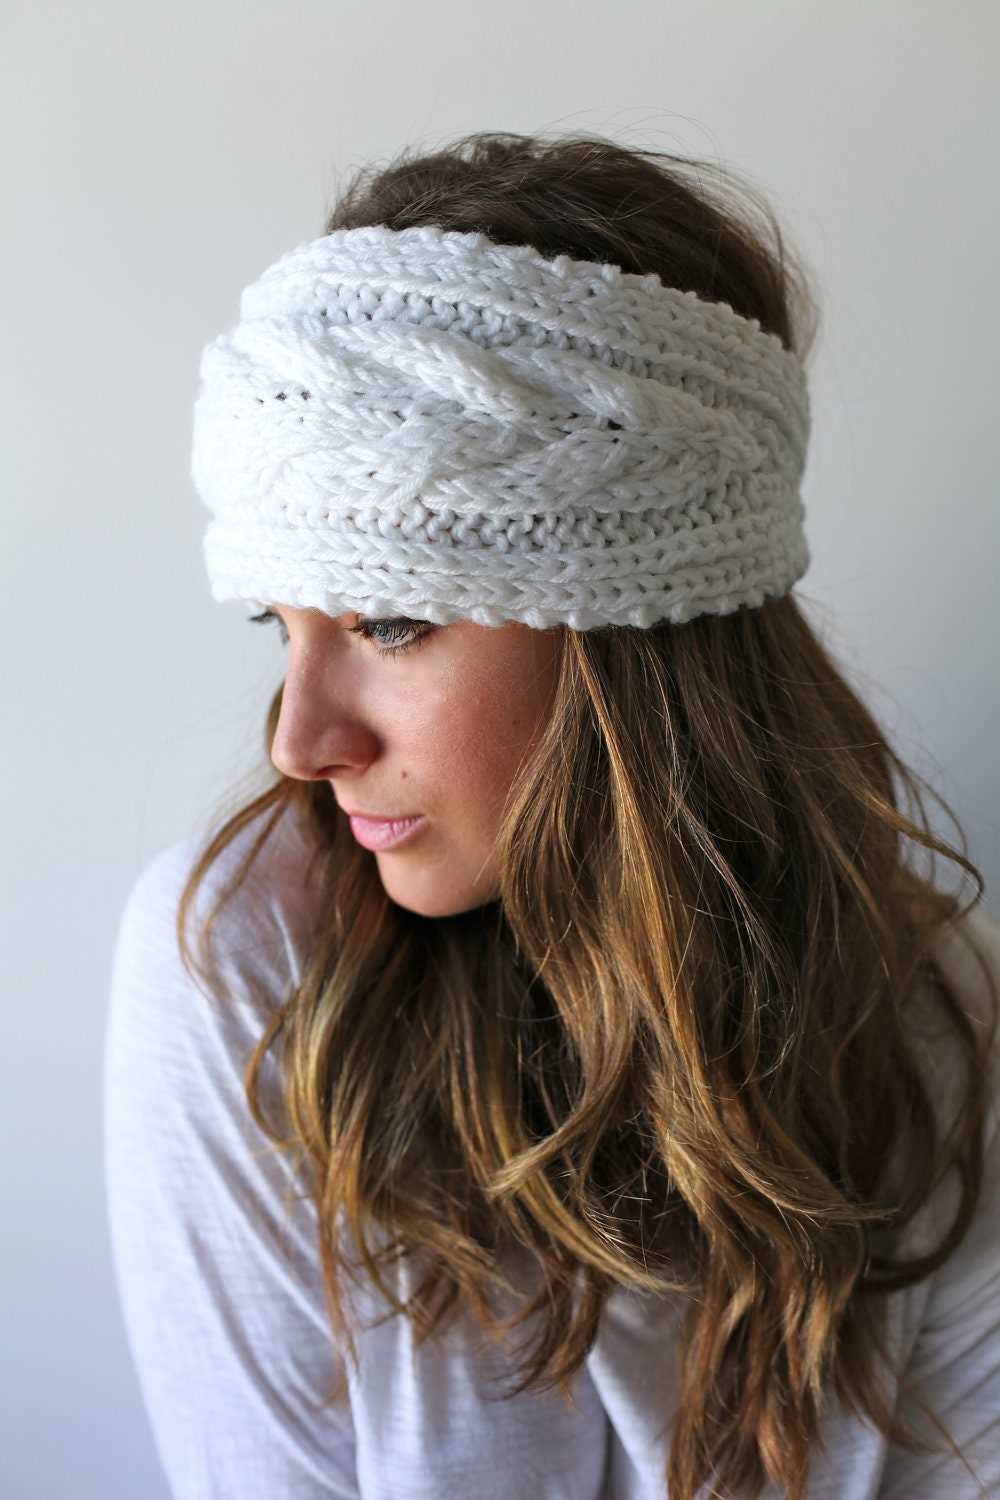
By following a knitting pattern, you can easily customize the size, color, and stitch pattern of your headband ear warmer to suit your personal style and preferences. Whether you prefer a simple ribbed design or a more intricate cable pattern, there are countless options to choose from.
Knitting a headband ear warmer can also make a thoughtful and personalized gift for friends and family. You can easily adjust the size to fit any head circumference, making it a versatile and practical gift idea.
So why not grab your knitting needles and give a headband ear warmer a try? It’s a fun and rewarding project that can be completed in just a few hours. Plus, you’ll have a cozy accessory to keep you warm and stylish all winter long!