
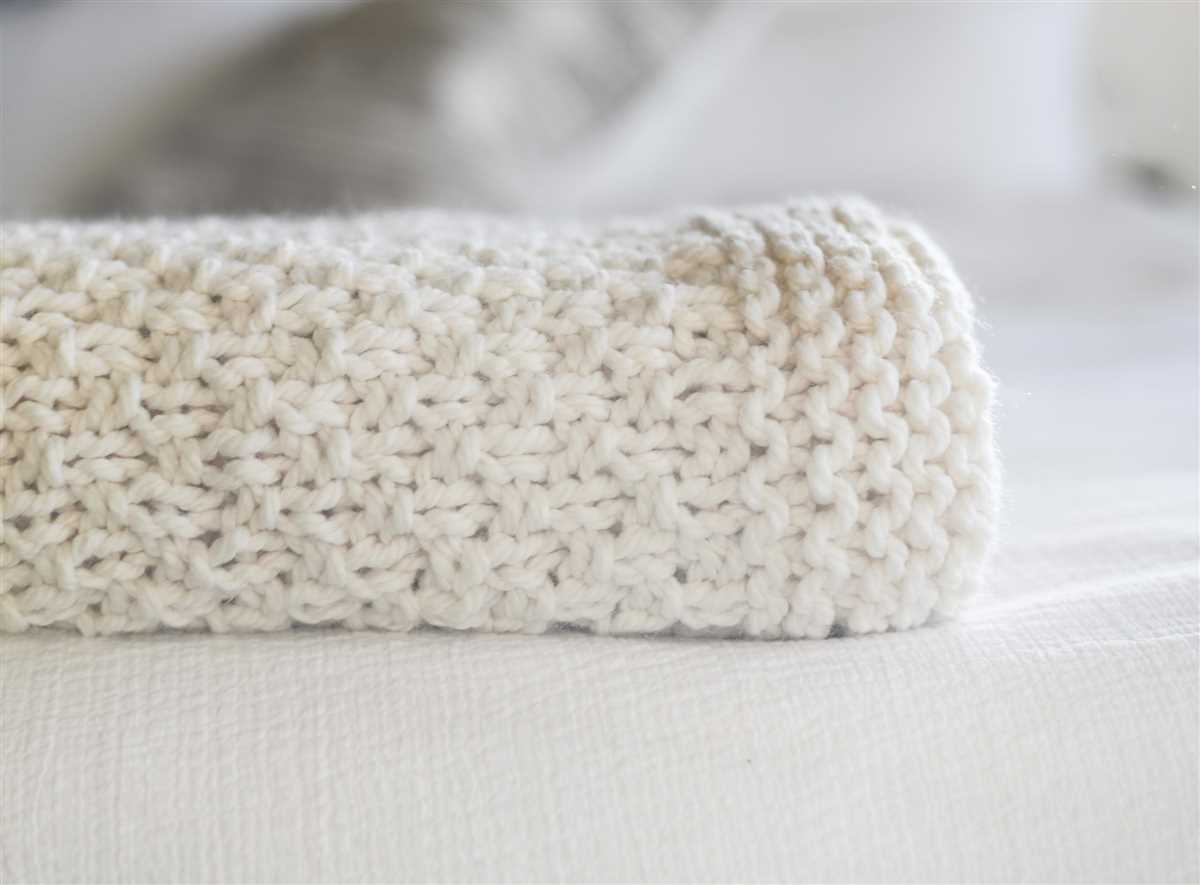
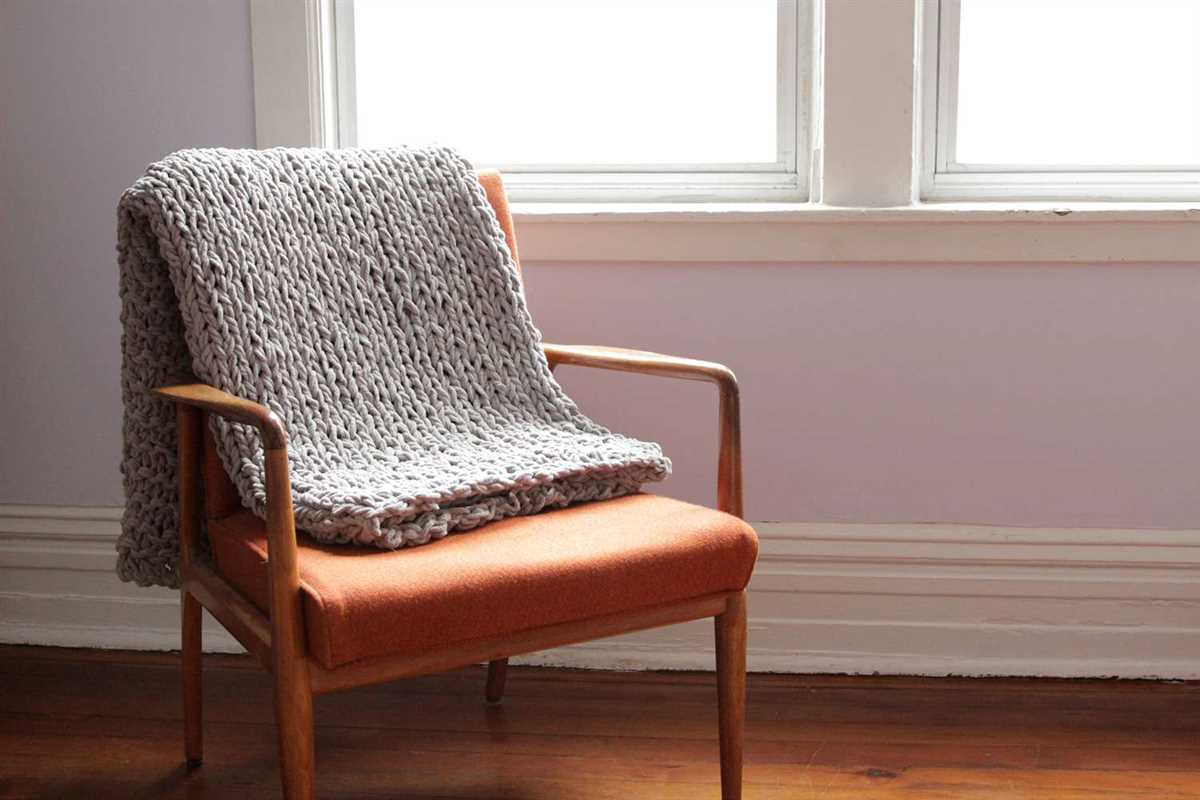
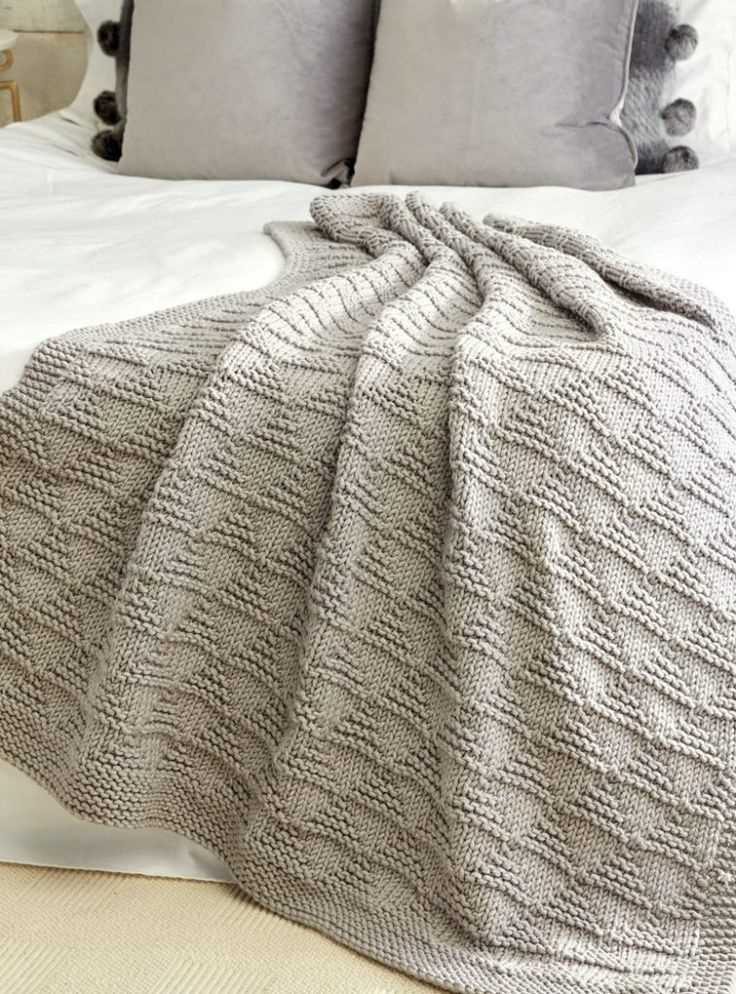
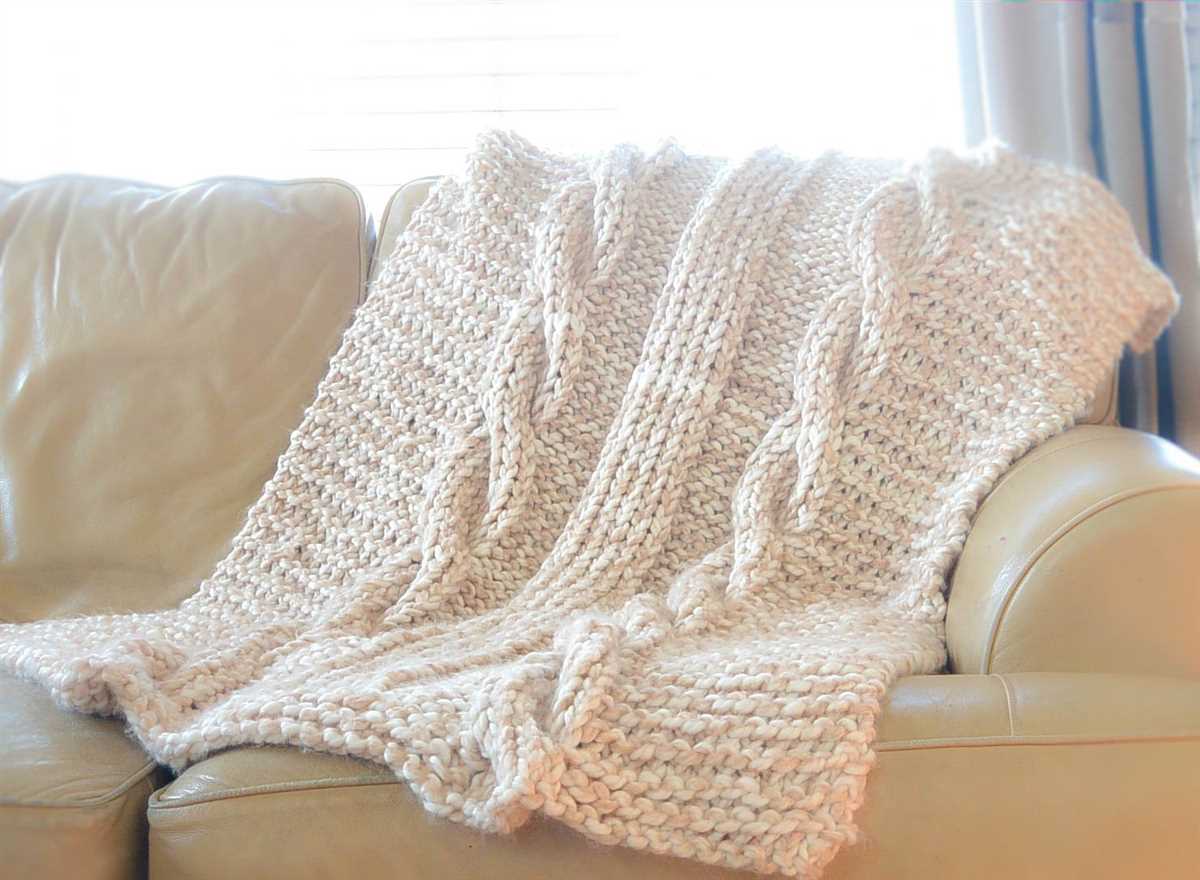
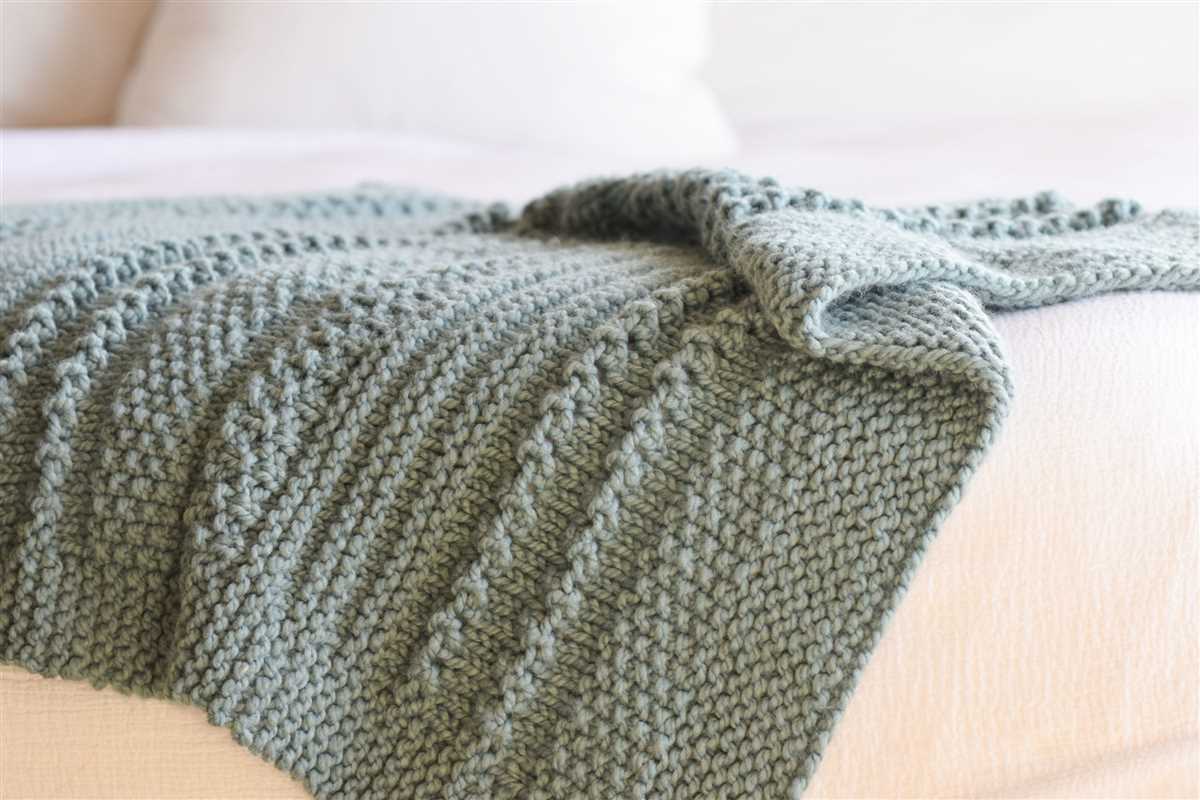
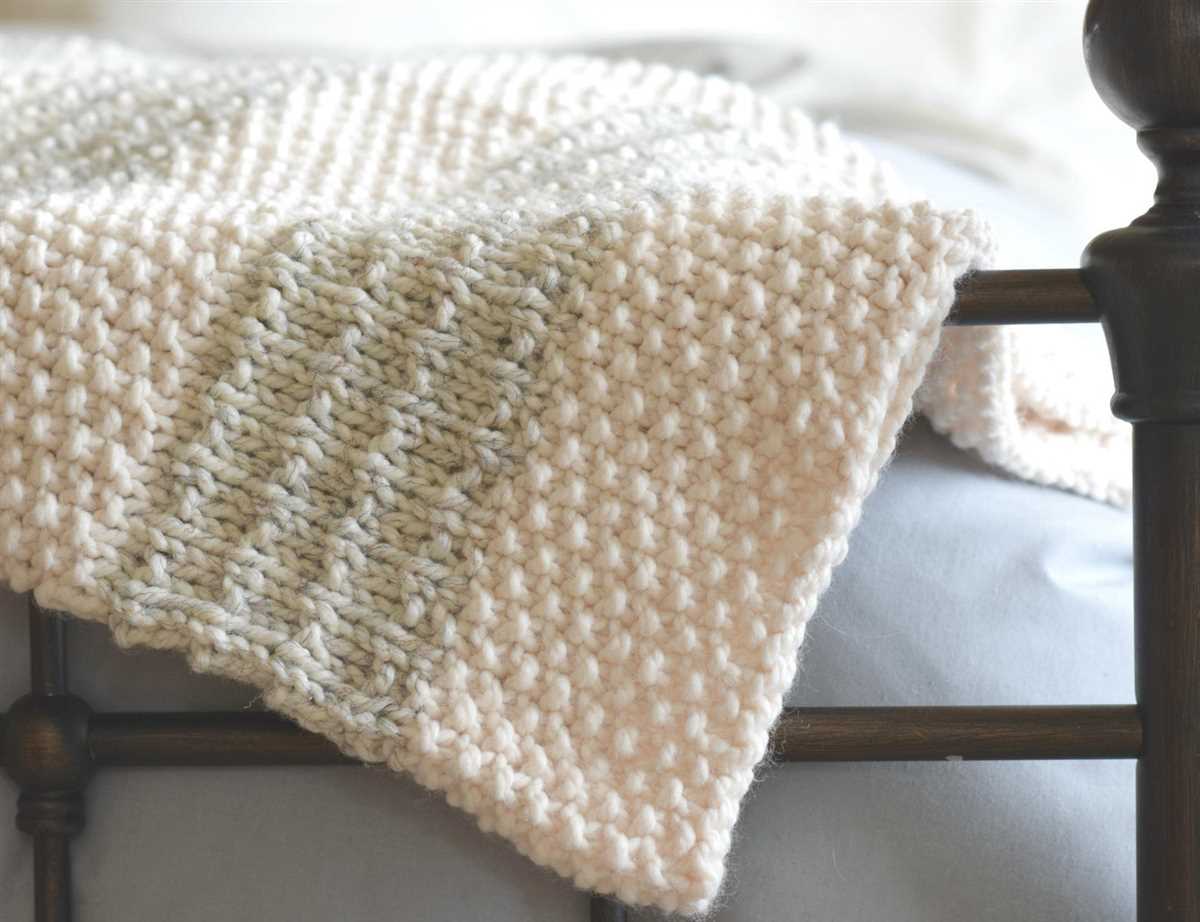
Looking for a new knitting project to cozy up your space? Look no further than this easy knit throw pattern. With just a few basic stitches, you can create a beautiful and luxurious blanket that is perfect for bundling up on chilly nights or adding a touch of warmth to any room in your home.
Designed with beginner knitters in mind, this pattern uses simple knitting techniques and a chunky yarn to make the knitting process both enjoyable and quick. Even if you’re new to knitting, you’ll be able to create a stunning throw that will impress your friends and family.
Whether you’re knitting for yourself or as a gift for a loved one, this easy knit throw pattern is a great choice. The finished blanket is both practical and stylish, making it a versatile addition to any home decor. So grab your knitting needles and get ready to create something beautiful!
Gather your materials
Before you begin knitting your easy throw, make sure you have all the necessary materials ready. This will ensure a smooth and uninterrupted knitting process. Here is a list of items you will need:
- Yarn: Choose a soft and cozy yarn in your desired color. The thickness of the yarn will determine the size and weight of your throw.
- Knitting needles: Select the appropriate size needles for your chosen yarn. Circular or straight needles can be used, depending on your preference.
- Tape measure: This will help you keep track of your progress and ensure your throw is the desired size.
- Scissors: You will need a pair of sharp scissors to cut the yarn and weave in any loose ends.
- Stitch markers: These can be helpful in marking specific stitches or sections of your throw.
- Row counter: A row counter can be useful for keeping track of the number of rows you have knitted.
- Pattern instructions: Make sure you have a copy of the easy throw pattern you wish to follow.
Once you have gathered all these materials, you are ready to start knitting your beautiful and cozy throw. Take your time to familiarize yourself with the pattern instructions and plan your knitting project accordingly. Happy knitting!
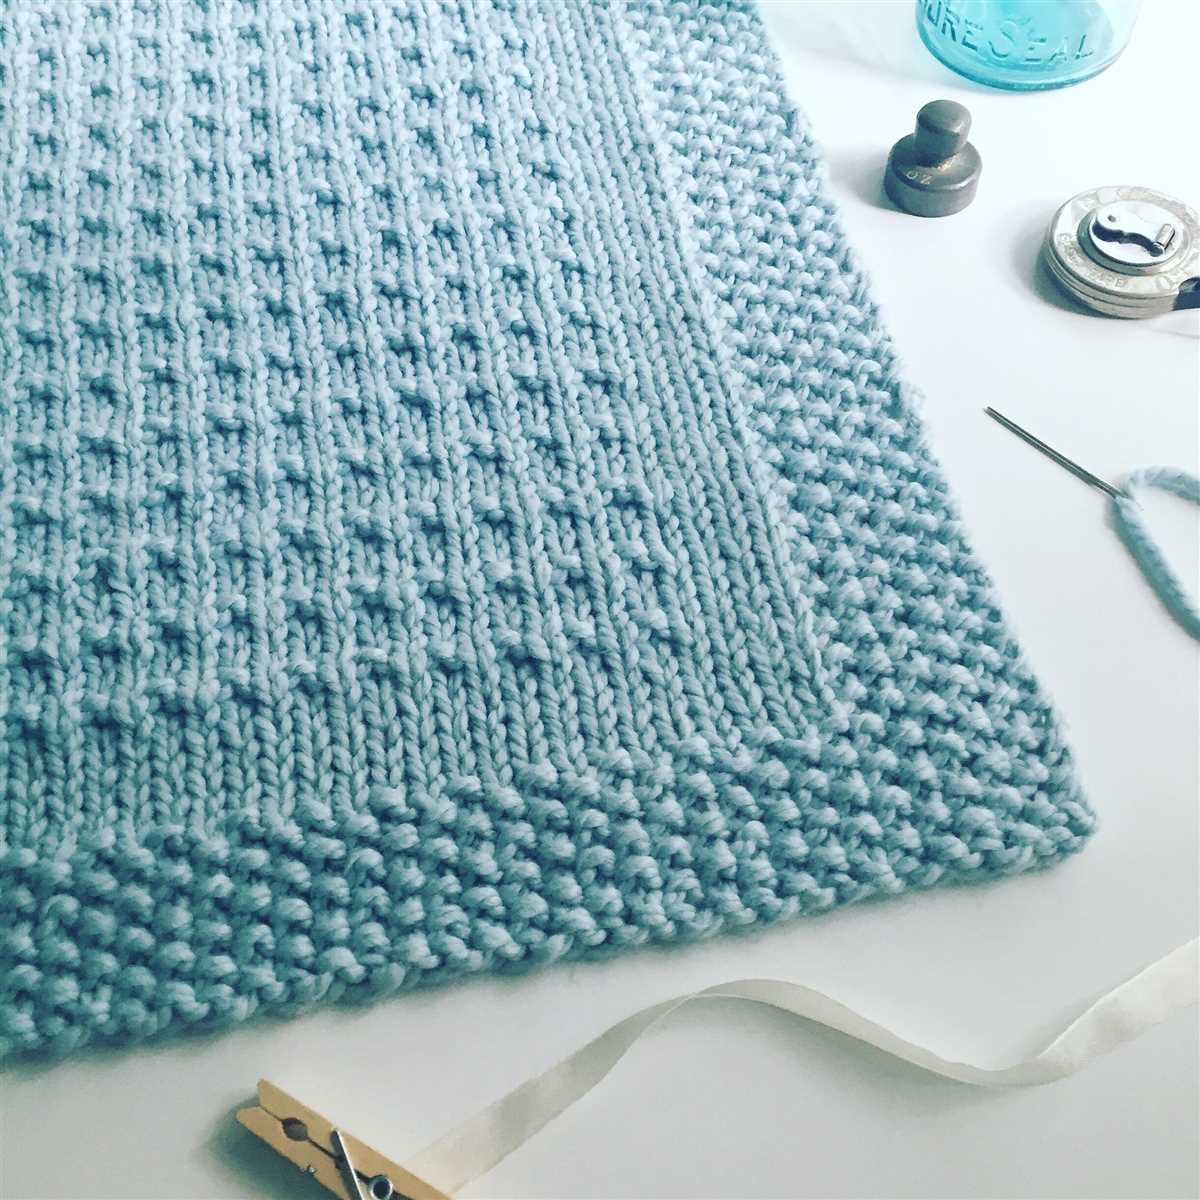
Choose your yarn
When it comes to knitting a cozy throw, choosing the right yarn is key. You want something that is soft, warm, and durable. There are many different types of yarn available, so it’s important to consider your preferences and the desired outcome of your project.
1. Wool: Wool yarn is a classic choice for knitting throws. It is naturally insulating and provides excellent warmth. Wool can also be very soft, especially if it is made from merino or alpaca fibers. It is a durable option that will stand the test of time.
2. Acrylic: Acrylic yarn is a popular choice for beginners or those on a budget. It is affordable and comes in a wide range of colors. Acrylic is easy to care for and machine washable, making it a practical option for a throw that will be used frequently.
3. Cotton: Cotton yarn is lightweight and breathable, making it perfect for warmer climates or seasons. It has a smooth texture and is less likely to cause itchiness or irritation. Cotton throws are also easy to wash and maintain.
4. Chenille: Chenille yarn is known for its velvety softness and luxurious feel. It has a unique texture that adds depth and interest to your throw. Chenille throws are cozy and warm, perfect for snuggling up on a chilly evening.
5. Blend: Many yarns on the market are a blend of different fibers, such as wool and acrylic or cotton and bamboo. These blends combine the best qualities of each fiber, creating a yarn that is soft, warm, and easy to care for. They are a great option if you want the benefits of multiple fibers in one yarn.
Consider the look and feel you want for your throw, as well as how you plan to use it, when choosing your yarn. Whether you prefer the natural warmth of wool or the easy care of acrylic, there is a yarn out there that will be perfect for your knitting project.
Select your knitting needles
When it comes to knitting, selecting the right needles is crucial for achieving the desired outcome. There are several factors to consider when choosing your knitting needles, such as the type of yarn you’re using and the pattern you’re working on.
Needle size: The first thing to consider is the needle size. This is usually indicated on your yarn label or in the pattern instructions. Different needle sizes will produce different stitch sizes and tension, so it’s important to choose the right size to achieve the desired gauge. Common needle sizes range from US size 0 (2 mm) to US size 50 (25 mm).
Material: Knitting needles can be made from a variety of materials, including metal, wood, and plastic. Each material has its own unique properties that can affect your knitting experience. Metal needles are smooth and often preferred for their durability, while wooden needles provide a warm and natural feel. Plastic needles are lightweight and great for beginners. Consider your personal preferences and the type of yarn you’re using when choosing the material.
Needle type: There are several types of knitting needles to choose from, including straight needles, circular needles, and double-pointed needles. Straight needles are the most common and are used for flat knitting. Circular needles have a flexible cable connecting two needle tips, allowing for seamless knitting in the round or for larger projects. Double-pointed needles are shorter with pointed tips on both ends, used for small circular knitting projects and for creating sock heels.
By considering these factors and experimenting with different needle sizes and materials, you can find the perfect knitting needles for your next project.
Cast on Stitches
When starting a knitting project, the first step is to cast on stitches. Casting on is the process of adding loops onto the knitting needle to create the foundation of the project. There are several methods to cast on stitches, but for this easy knit throw pattern, we will use the long-tail cast on method.
To begin the long-tail cast on, you will need a long piece of yarn, approximately three times the width of your finished project. Make a slipknot and place it onto the knitting needle. Hold the needle in your right hand and the tail of the yarn in your left hand. Insert the needle into the slipknot, from front to back, and pull the working yarn (the yarn attached to the ball) through the slipknot to create a new loop on the needle.
Continue this process, inserting the needle under the newly created loop and pulling the working yarn through to create more loops on the needle. Keep casting on stitches until you have the desired number of stitches required for your project. Be sure to keep the stitches loose enough so that they can easily slide along the needle.
Once you have cast on all the stitches, you can begin the next step of your knitting project. The cast on stitches will form the bottom edge of your easy knit throw. It is important to cast on stitches evenly to ensure that the edge of your project is neat and straight. With practice, casting on stitches will become second nature, and you’ll be ready to start knitting!
Knit the first row
Before you start knitting the easy throw pattern, it is important to understand how to knit the first row correctly. The first row sets the foundation for your project, so take your time and make sure each stitch is done properly.
To begin, cast on the required number of stitches using the method of your choice. Make sure the tension of your cast on is even, as this will affect the overall appearance of your work.
- Start knitting. Hold the knitting needle with the cast on stitches in your right hand. Insert the left-hand needle into the first stitch from front to back, and bring the right-hand needle over the left-hand needle to make an “X” shape.
- Wrap the yarn. Take the working yarn with your right hand and bring it over the left-hand needle from back to front, creating a loop around the needle.
- Pull through. Use the right-hand needle to pull the loop of yarn through the stitch on the left-hand needle, slipping the stitch off the left-hand needle in the process. This creates a new stitch on the right-hand needle.
- Repeat. Continue steps 2 and 3 until you have knitted all the stitches in the row. Make sure to maintain an even tension throughout.
Once you have completed the first row, you can continue knitting the rest of the easy throw pattern according to the instructions provided. Remember to take breaks and stretch your hands and wrists to avoid soreness or strain while knitting. Happy knitting!
Continue knitting the rows
Once you have completed the setup rows, you will continue knitting the rows in the pattern stitch until the throw reaches your desired length. Each row will consist of repeating the same sequence of stitches.
To keep track of your progress, you may find it helpful to use stitch markers to mark the beginning and end of each pattern repeat. This will make it easier to count your stitches and ensure that you are staying on track.
Row 1:
- Knit 2 stitches
- Purl 2 stitches
- Repeat steps 1 and 2 until the end of the row
Row 2:
- Purl 2 stitches
- Knit 2 stitches
- Repeat steps 1 and 2 until the end of the row
Continue alternating between Row 1 and Row 2 for the desired number of rows. You can easily adjust the length of the throw by knitting more or fewer rows.
Remember to always read the pattern carefully and pay attention to any specific instructions for the particular stitch pattern you are working with. Happy knitting!
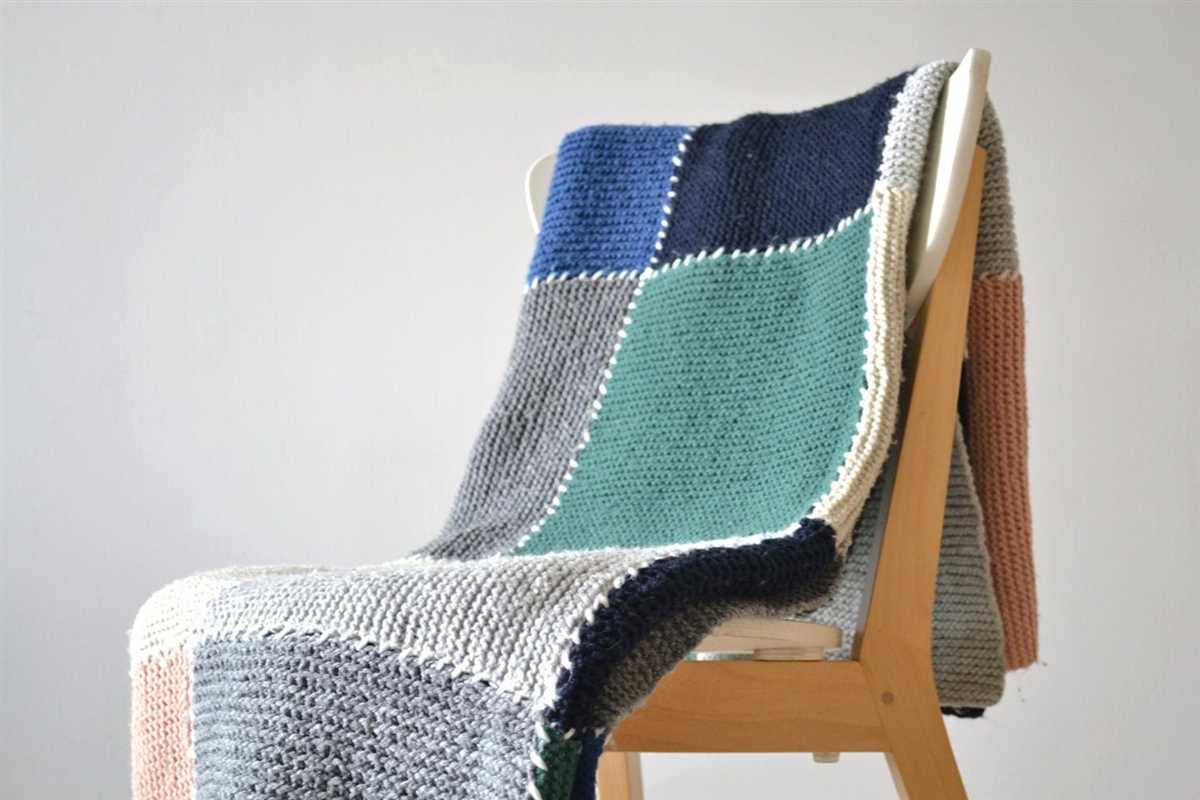
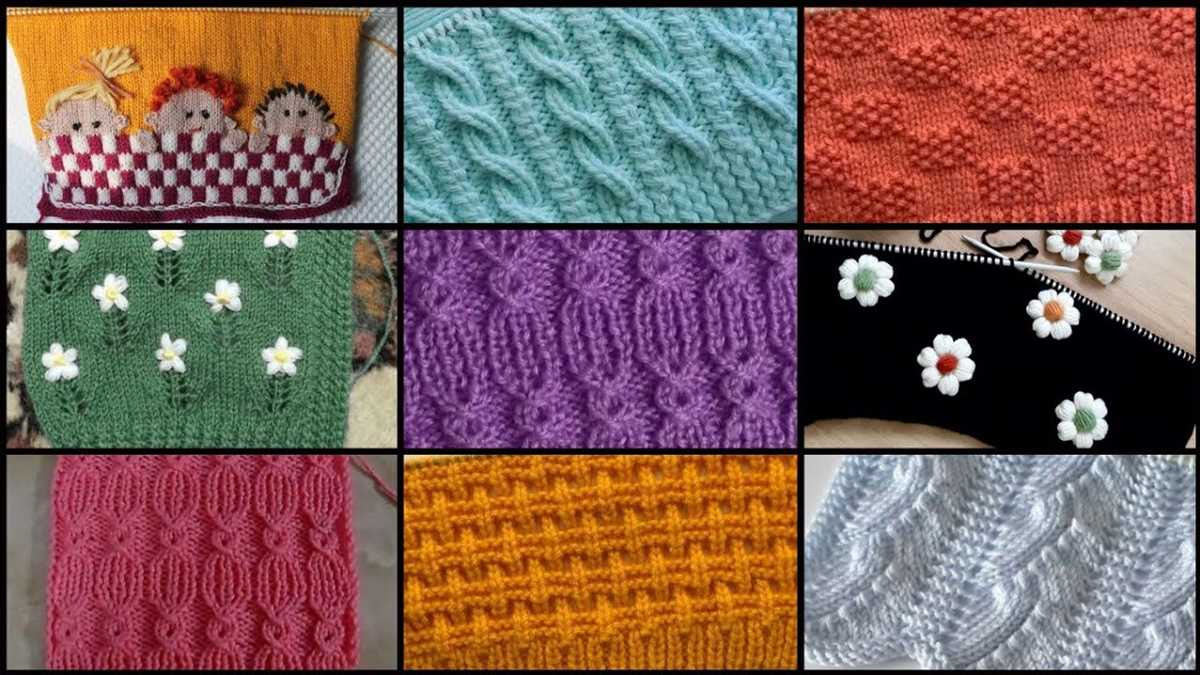
Adding Color or Pattern Variations to Your Easy Knit Throw
If you want to add some creative flair to your easy knit throw, there are many options for incorporating color or pattern variations into your design. These variations can help personalize your throw and make it truly unique. Here are a few ideas to get you started:
1. Stripes:
Add stripes to your throw by alternating different colors of yarn. You can choose two or more colors and create stripes of equal width throughout the throw. This simple technique can add a playful and dynamic element to your design.
2. Color blocks:
Create color blocks on your throw by knitting sections of different colored yarn. You can choose contrasting or complementary colors to create a bold or harmonious effect. This technique allows you to experiment with different color combinations and create a visually interesting pattern.
3. Fair Isle or Intarsia:
If you’re comfortable with more advanced knitting techniques, you can incorporate Fair Isle or Intarsia knitting into your throw. Fair Isle knitting involves using multiple colors to create intricate patterns, while Intarsia knitting involves creating large color sections or pictures. These techniques can produce stunning visual effects and elevate the look of your throw.
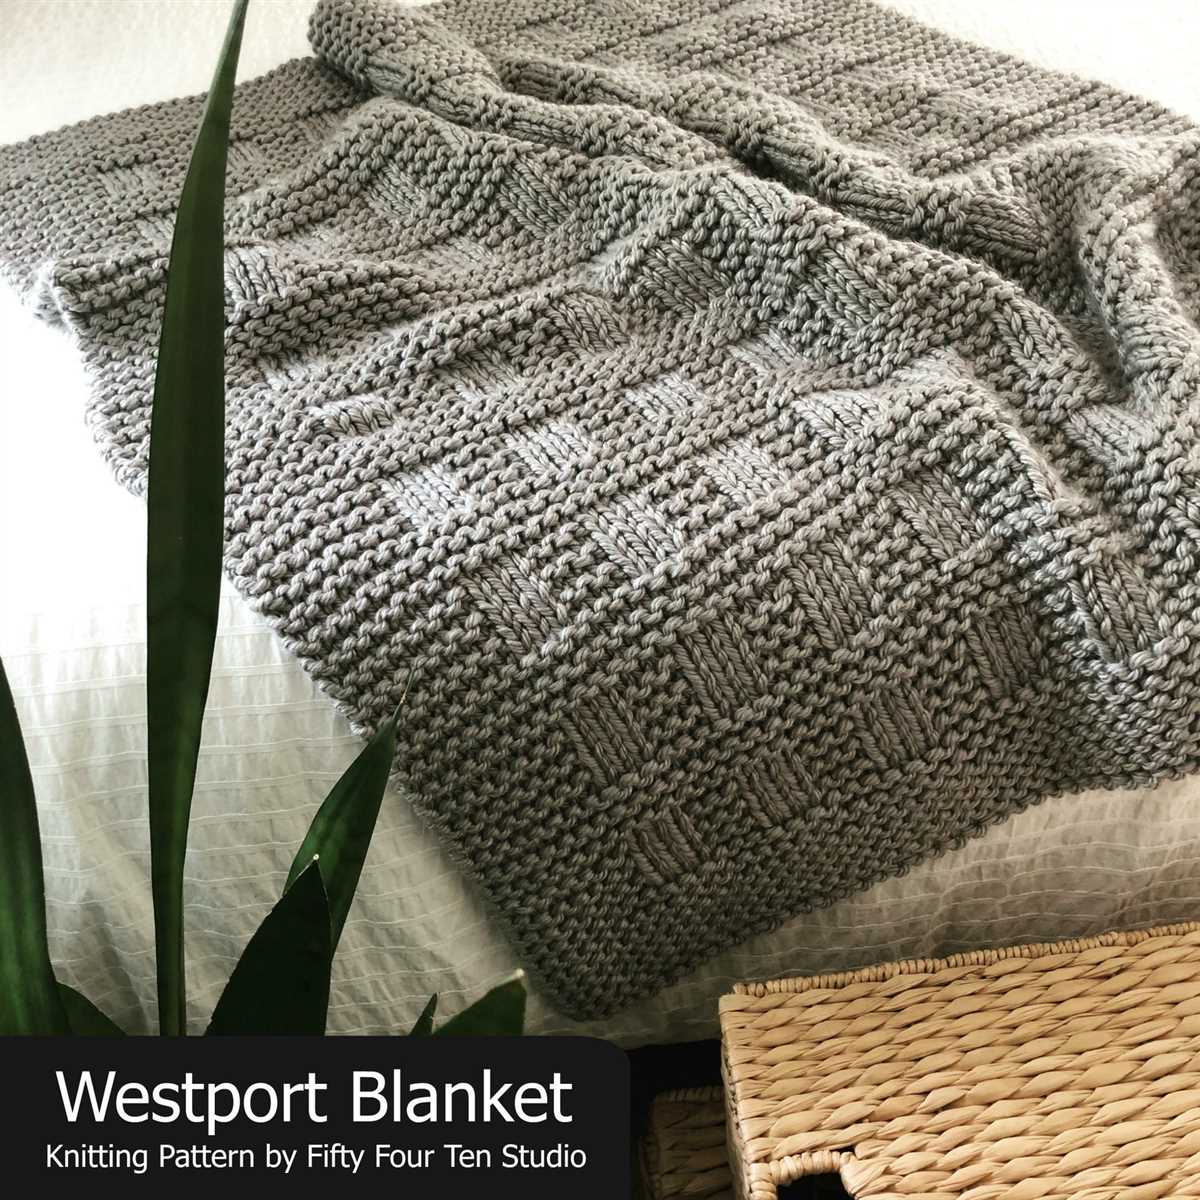
4. Textured stitches:

Add texture to your throw by incorporating different stitches or patterns. You can experiment with ribbing, cables, or lace patterns to create a unique and eye-catching design. These textured stitches not only add visual interest but also provide a cozy and tactile feel to your throw.
5. Embellishments:
If you want to add an extra touch of creativity, consider adding embellishments to your throw. You can sew on buttons, appliques, or even embroidery to create a personalized design. These small details can make your throw stand out and add an extra element of charm.
- Remember to plan your color or pattern variations in advance and make sure you have enough yarn in the desired colors.
- Consider using a color wheel or mood boards to help you choose complementary or contrasting colors.
- Take your time and enjoy the process of adding color or pattern variations to your easy knit throw. Have fun experimenting and creating a throw that reflects your personal style.
Bind off stitches
Binding off stitches is the final step in completing a knitting project. It is the process of securely finishing the edge of your work and preventing any further unraveling. To bind off, you will need to have your knitting needles and a pair of scissors.
To begin binding off, knit or purl the first two stitches of your row as usual. Then, using your left needle, lift the first stitch over the second stitch and off the right needle. This effectively binds off one stitch. Repeat this process for the remaining stitches until you have bound off all the stitches on your needle.
When binding off, it’s important to maintain an even tension. Pulling too tightly can result in a tight edge, while leaving it too loose can create a loopy appearance. Find a balance that gives your knitted piece a neat and tidy finish.
After binding off all the stitches, you can cut the yarn, leaving a tail of about 6 inches. Thread the tail through the loop of the last stitch and pull it tight to secure the end. Weave in any remaining yarn tails using a tapestry needle to hide them within the knitted fabric.
Mastering the bind off technique is essential for any knitter, as it allows you to complete your projects with a clean and professional-looking edge. Practice this method with different knitting patterns to gain confidence and achieve the desired finish for your knitted items.
Add Finishing Touches
Once you have finished knitting your throw, it’s time to add the finishing touches to make it look more polished and complete. Here are a few suggestions to consider:
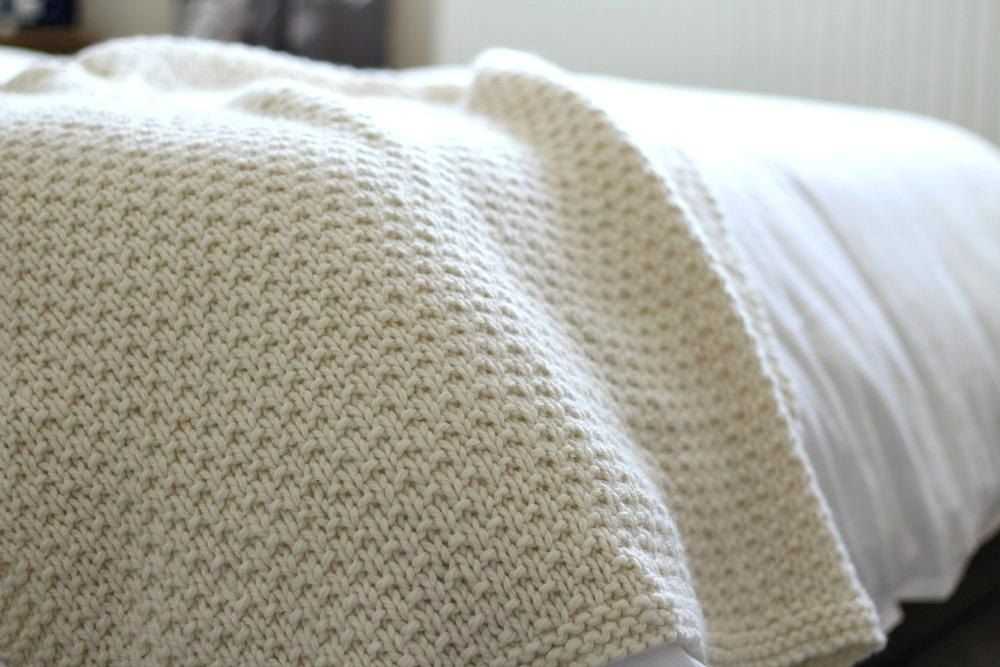
Block the Throw
To give your throw a professional-looking finish and to ensure that it retains its shape, you may want to block it. Blocking involves wetting the throw, carefully stretching it out to the desired dimensions, and allowing it to dry in that shape. This not only helps to even out any irregularities in your knitting but also enhances the drape and overall appearance of the throw.
Add a Border
If you want to add an extra touch of sophistication to your throw, consider adding a border. You can knit a simple garter stitch or seed stitch border around the entire perimeter of the throw. This will not only serve as a decorative element but also help to prevent the edges from curling. Choose a contrasting color or stick to the same color as the main body of the throw for a seamless look.
Weave in Ends
Don’t forget to weave in all the loose ends of yarn that were created during the knitting process. Use a tapestry needle to carefully thread the ends through the stitches on the wrong side of the throw to secure them in place. This will give the throw a clean and neat appearance, with no visible yarn tails hanging out.
Embellishments
If you want to add a personal touch to your throw, consider embellishing it with buttons, tassels, or pompoms. Sew on a row of decorative buttons along one or two edges of the throw, or attach tassels or pompoms to the corners. These small additions can add a pop of color and texture to your throw, making it truly unique.
By taking the time to add these finishing touches to your knit throw, you can elevate it from a simple DIY project to a beautifully crafted piece that will be a cozy addition to your home decor.
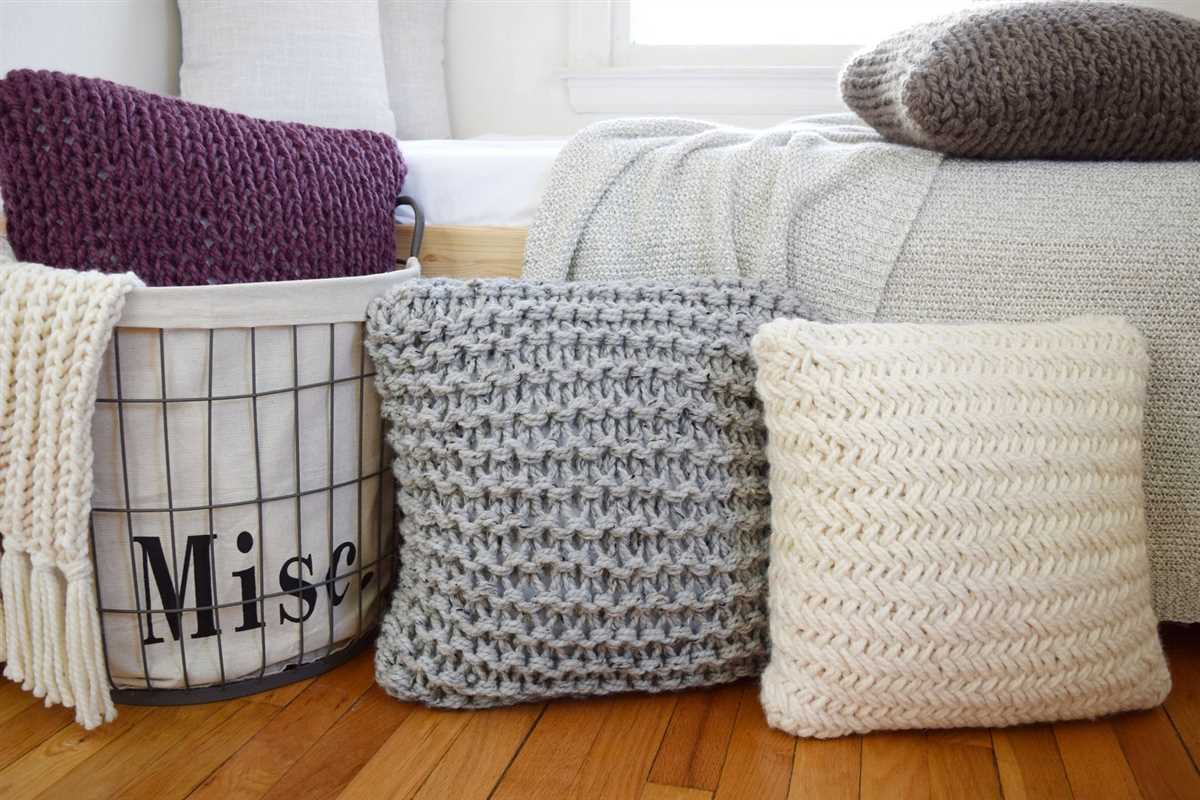
Enjoy your cozy knit throw
Congratulations on completing your easy knit throw! Now it’s time to sit back, relax, and enjoy the warmth and coziness it brings to your home. Whether you’re cuddling up on the couch with a good book, watching your favorite movie, or simply taking a moment to unwind, your knit throw will be the perfect companion.
Not only does a knit throw add a touch of style to any room, but it also provides additional warmth during those chilly nights. The softness of the yarn and the intricate texture created by your knitting skills will make you never want to leave the comfort of your throw.
So, grab a cup of tea or hot cocoa, snuggle up under your knit throw, and let yourself be embraced by its warmth and beauty. You deserve this moment of relaxation and self-care.
Here are a few tips to enhance your knitting experience:
- Experiment with different yarn colors and textures to create unique and personalized throws for yourself and your loved ones.
- Consider adding decorative details, such as tassels or fringe, to your throw for an extra touch of flair.
- Take good care of your knit throw by following the care instructions on the yarn label. This will ensure its longevity and keep it looking as good as new.
- Share your knitting journey and the finished result with others – you never know who you might inspire to pick up this enjoyable and fulfilling hobby.
Remember, knitting is not just a craft, but also a form of self-expression and a way to create something beautiful and functional. Your easy knit throw is a testament to your creativity and craftsmanship. So, embrace its warmth, let it bring joy to your life, and enjoy the cozy moments it will provide.