
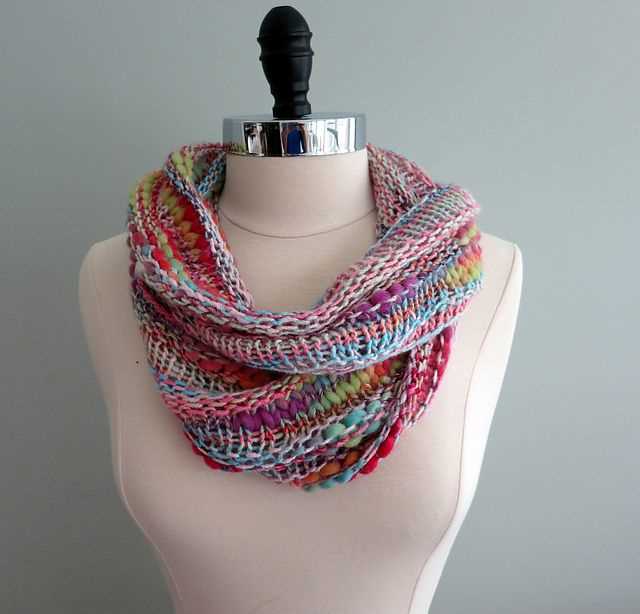
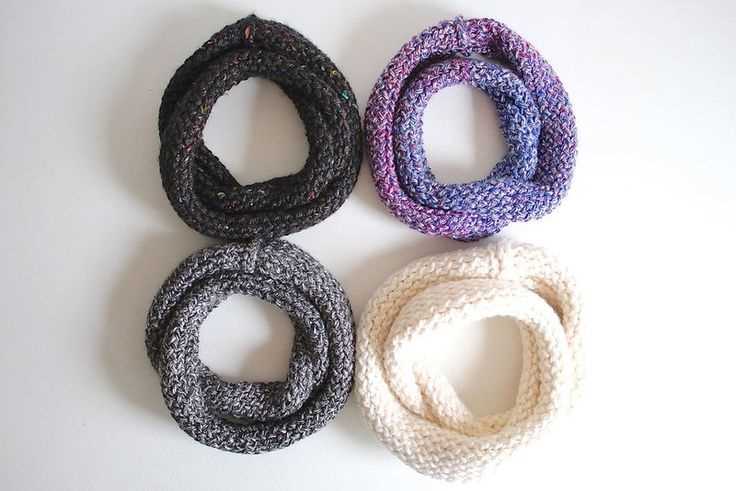
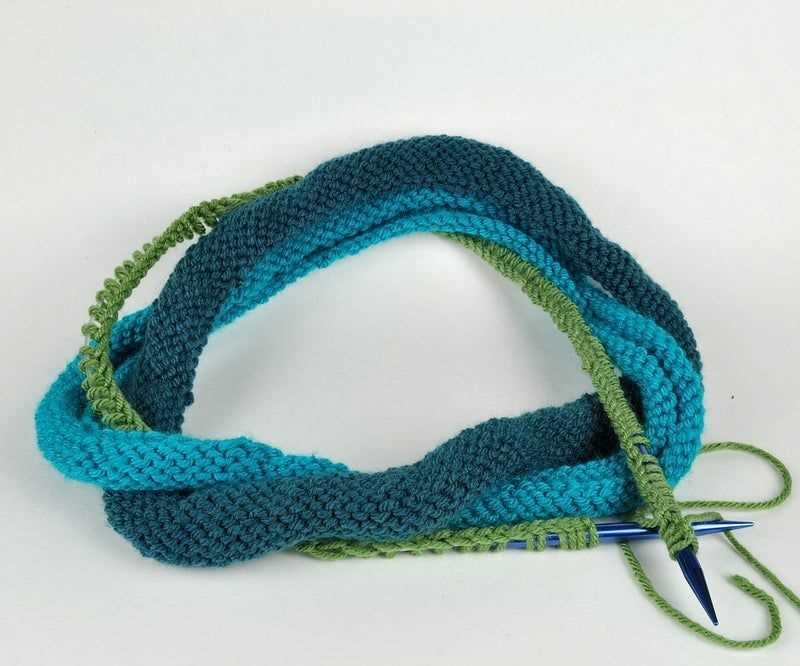
If you love knitting and want to try your hand at making an infinity scarf, then you’re in the right place! Infinity scarves are a popular accessory that can be worn in a variety of ways to add warmth and style to any outfit. And the best part? You can easily make one yourself using circular needles.
Knitting with circular needles may seem intimidating at first, but once you get the hang of it, you’ll realize just how easy and versatile they are. Circular needles allow you to knit in the round, meaning you can make seamless projects like the infinity scarf. No need to worry about seaming or joining pieces together!
In this article, we’ll share a simple and beginner-friendly infinity scarf knit pattern that you can follow using circular needles. You’ll also learn some essential knitting techniques that will help you create a beautiful and cozy scarf. So grab your yarn and needles, and let’s get started on this exciting knitting project!
How to Knit an Infinity Scarf with Circular Needles
If you are looking for a fun and stylish knitting project, knitting an infinity scarf with circular needles is a great choice. Circular needles allow you to knit in the round, which means you can create a seamless tube of fabric without having to do any seaming. This makes them perfect for knitting scarves, as you can easily make them as long as you want without needing to worry about joining multiple pieces together.
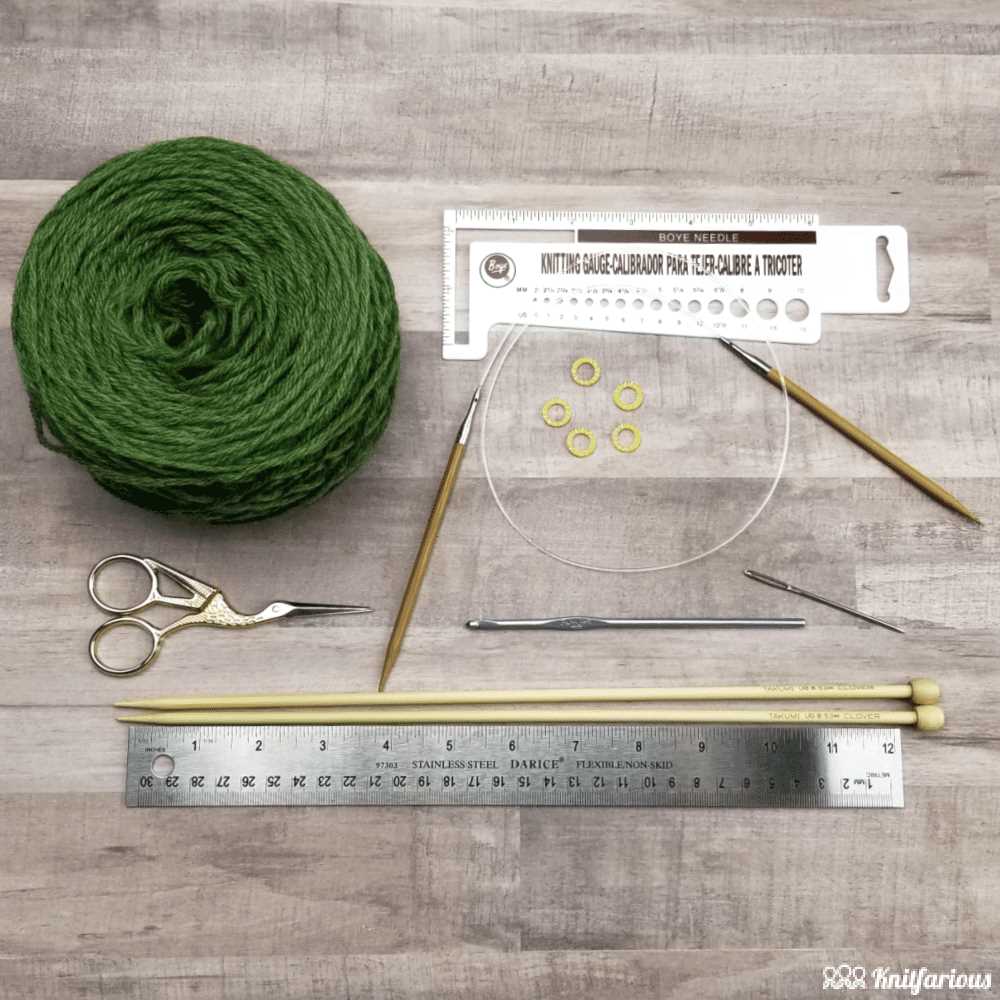
To knit an infinity scarf with circular needles, you will need a set of circular knitting needles in the appropriate size for your yarn, a stitch marker, and yarn of your choice. Begin by casting on the desired number of stitches onto your circular needles. This will determine the width of your scarf. Make sure to join the round, being careful not to twist your stitches. Place a stitch marker to mark the beginning of the round.
Continue knitting in the round using your chosen stitch pattern until the scarf reaches your desired length. If you are new to knitting, a simple garter stitch (knit every stitch) or stockinette stitch (knit one row, purl one row) will create a classic and versatile scarf. If you want to showcase a more intricate stitch pattern, there are countless options available, such as cables or lace.
Once you have reached the desired length, it’s time to bind off your stitches. Remove the stitch marker and knit the first two stitches on the left needle. Pass the first stitch over the second stitch and drop it off the needle. Knit the next stitch and pass the previous stitch over. Repeat this process until you have one stitch remaining. Cut the yarn, leaving a tail, and thread it through the last stitch. Pull tight to secure the end.
Finally, weave in any loose ends and block your scarf if desired. Blocking helps to even out any irregularities and gives your scarf a polished finish. To block, dampen the scarf with water, lay it flat on a towel, and gently shape it to the desired dimensions. Leave it to dry completely before wearing or gifting.
With these simple steps, you can create a beautiful infinity scarf using circular needles. Whether you are an experienced knitter or a beginner, this project is sure to impress. So grab your needles and start knitting!
Choosing the right yarn for your infinity scarf
When it comes to knitting an infinity scarf, the choice of yarn is crucial in determining the overall look and feel of the finished product. Selecting the right yarn can make a significant difference in the texture, warmth, and drape of your scarf. Here are some factors to consider when choosing the perfect yarn for your project.
1. Fiber content
The first thing to consider is the fiber content of the yarn. Different fibers have distinct characteristics that can affect the scarf’s performance. For a cozy and warm scarf, consider using natural fibers such as wool or alpaca. These fibers are known for their insulation properties and can provide excellent warmth during cold weather. Alternatively, if you prefer a lighter and more breathable scarf, you can opt for cotton or bamboo blends.
2. Weight
The weight of the yarn is another crucial factor to consider. The weight will determine the thickness and bulkiness of your scarf. If you want a chunky and cozy scarf, choose a bulky or super bulky weight yarn. On the other hand, if you prefer a more delicate and lightweight scarf, opt for a fingering or sport weight yarn. The weight of the yarn will also affect the time and effort required to complete your project.
3. Color and texture
The color and texture of the yarn can play a significant role in the overall appearance of your infinity scarf. If you want a classic and versatile scarf, neutral colors such as black, gray, or beige can be a good choice. However, if you want to add a pop of color or make a statement, consider using vibrant or variegated yarn. Additionally, consider the texture of the yarn – smooth yarn will give a polished look, while fuzzy yarn can add a cozy and soft feel to your scarf.
- Consider the fiber content of the yarn.
- Choose a yarn weight that suits your desired scarf thickness.
- Think about the color and texture of the yarn for the desired aesthetic.
With these considerations in mind, you can select the perfect yarn for your infinity scarf and create a beautiful and personalized accessory for yourself or as a gift for someone special.
Understanding the basics of knitting with circular needles
Knitting with circular needles is a popular technique among knitters, especially when it comes to making infinity scarves. Unlike straight needles, circular needles have two needle tips connected by a flexible cable, which allows for the knitting of larger projects in the round. This eliminates the need to seam or stitch pieces together, making circular needles a convenient choice for creating seamless garments and accessories.
When starting a knitting project with circular needles, it is important to select the right size and length of needles for your project and desired outcome. Circular needles come in various sizes and lengths, and the size of the needles will determine the gauge and tension of your knitting. The length of the circular needles will depend on the circumference of your project. For infinity scarves, a cord length of 24 to 32 inches is commonly used.
Before you begin knitting with circular needles, it is crucial to know how to join in the round. To do this, simply cast on the required number of stitches onto one of the needle tips. Then, without twisting the stitches, carefully slide them onto the other needle tip. Hold the needle tips together and position the working yarn behind the stitches. Start knitting in the round, making sure to maintain the correct tension.
When working on a circular knitting project, be mindful of the “joins”. The join is the point where the two needle tips meet, and it is easy to accidentally create a gap or visible break in the knitting at this point. To prevent this, be sure to pull the working yarn tightly when transitioning from one needle tip to the other.
One of the advantages of knitting with circular needles is the ability to easily adapt stitch patterns and designs. Whether you want to create a simple stockinette stitch or incorporate various lace or cable patterns, circular needles can accommodate a wide range of stitch combinations. The circular knitting technique also allows for knitting in the round from either the inside or the outside, providing versatility in creating different textures and effects.
In conclusion, knitting with circular needles opens up a world of possibilities for creating beautiful and seamless projects such as infinity scarves. By understanding the basics of using circular needles, including choosing the right size and length, joining in the round correctly, and being mindful of the “joins”, you can confidently embark on your circular knitting journey and enjoy the process of creating unique and stylish accessories.
Getting started with your infinity scarf
In order to start knitting your infinity scarf, you will need a set of circular needles in the appropriate size for your project. Circular needles are great for working on larger projects like scarves, as they allow you to comfortably hold a large number of stitches. They also make it easier to knit in the round, without the need to constantly turn your work.
Once you have your circular needles, you will need to choose your yarn. The type and weight of yarn you choose will determine the final look and feel of your scarf. Consider the desired drape, warmth, and texture when selecting your yarn. Some popular choices for infinity scarves include merino wool, alpaca, and acrylic blends.
Step-by-step instructions:
- Cast on: To begin, cast on the desired number of stitches onto your circular needles. You can use a long-tail cast on or any other cast on method you prefer. Make sure to cast on an even number of stitches to ensure an even and symmetrical scarf.
- Knit in the round: Once you have cast on your stitches, join them in the round by bringing the working yarn to the front of the work and slipping the first stitch from the left needle to the right needle without knitting it. This will create a continuous loop of stitches.
- Continue knitting: With your stitches joined in the round, you can now begin knitting your infinity scarf. Simply knit each stitch in the round, working on the right side and purling on the wrong side, until you reach the desired length.
- Bind off: When you have reached the desired length for your scarf, it’s time to bind off. Knit the first two stitches together, then pass the first knitted stitch over the second stitch and off the needle. Continue this process until only one stitch remains, then cut the yarn and pull it through the last stitch to secure it.
- Weave in ends: To finish your infinity scarf, weave in any remaining yarn ends using a tapestry needle. This will ensure that your scarf is neat and tidy, with no loose ends.
With these steps completed, you will have a beautiful handmade infinity scarf ready to keep you warm and stylish during the colder months. Remember to have fun and experiment with different stitch patterns and yarns to create a unique and personalized accessory.
Casting on stitches for your infinity scarf
When starting your infinity scarf, one of the first steps is to cast on stitches. This is the process of creating the foundation row of stitches on your circular needles. There are several methods you can use to cast on stitches, but the most common technique is the long-tail cast on.
The long-tail cast on is a versatile and widely used method for casting on stitches. To begin, you’ll need to estimate the amount of yarn you’ll need for your desired number of stitches. This can vary depending on the thickness of your yarn and the width of your scarf. Make sure to leave a long tail, as the name suggests, as this will be used to create the stitches.
Step 1: Make a slipknot
Start by creating a slipknot at the end of your yarn. Place the knot on one of the needles, making sure the tail is long enough to accommodate the number of stitches you want to cast on. Hold the needle with the slipknot in your dominant hand.
Step 2: Hold the needles
Hold both circular needles in your hands, with the needle containing the slipknot in your dominant hand and the empty needle in your non-dominant hand. Make sure the points of the needles are facing towards each other.
Step 3: Begin casting on
Using your non-dominant hand, place your thumb and index finger between the two needles, creating a V-shape. This will serve as a guide for casting on the stitches. Take the tail end of the yarn and drape it over the thumb and index finger, going from the back to the front. Hold the yarn securely with your other fingers.
Continue following the long-tail cast on method, creating stitches by wrapping the working yarn around the thumb, then between the needles, and pulling the loop through. Repeat this process until you have cast on the desired number of stitches for your infinity scarf. Once you’ve finished casting on, you can join the ends of the circular needles to form a loop and begin knitting.
Working the body of your infinity scarf
Once you have cast on and completed the initial setup row, you are ready to begin working the body of your infinity scarf. Using circular needles allows you to seamlessly knit in the round, creating a continuous loop of stitches.
To create the body of your scarf, you will simply continue knitting in the pattern you have chosen. Whether you are using a simple stockinette stitch, a ribbing pattern, or a more intricate lace design, you will repeat the designated stitches over and over again until your scarf reaches the desired length.
Pattern:
- Row 1: Knit all stitches
- Row 2: Purl all stitches
- Repeat Rows 1 and 2 until scarf measures 60 inches.
As you work, be sure to keep track of your stitch count and pattern repeats. Place stitch markers at the beginning and end of each pattern repeat if necessary, to help you stay organized and ensure symmetry in your design.
As you near the desired length of your infinity scarf, it’s a good idea to periodically try it on and check the fit. Keep in mind that the scarf will be doubled up around your neck, so it should be long enough to comfortably loop around without feeling too tight.
Adding a pattern to your infinity scarf
Adding a pattern to your infinity scarf can help to make it more unique and visually interesting. Whether you’re a beginner or an advanced knitter, there are many options to choose from when it comes to selecting a pattern for your scarf.
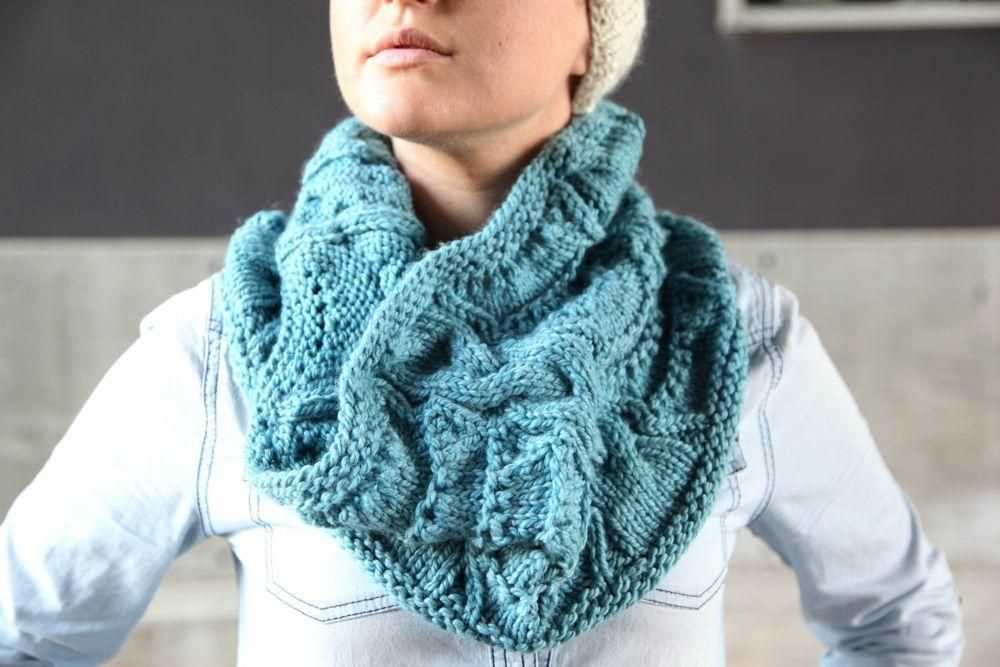
1. Cable pattern: One popular pattern for an infinity scarf is the cable pattern. This pattern involves knitting stitches out of order, creating a twisted, rope-like effect. Using circular needles, you can easily create a beautiful cable pattern that adds texture and depth to your scarf.
2. Lace pattern: If you prefer a more delicate and feminine look, a lace pattern may be the perfect choice for your infinity scarf. Lace patterns typically involve knitting a series of yarn overs and decreases to create an open, airy design. Knitting with circular needles allows you to easily keep track of the pattern and create a beautiful lace pattern throughout your scarf.
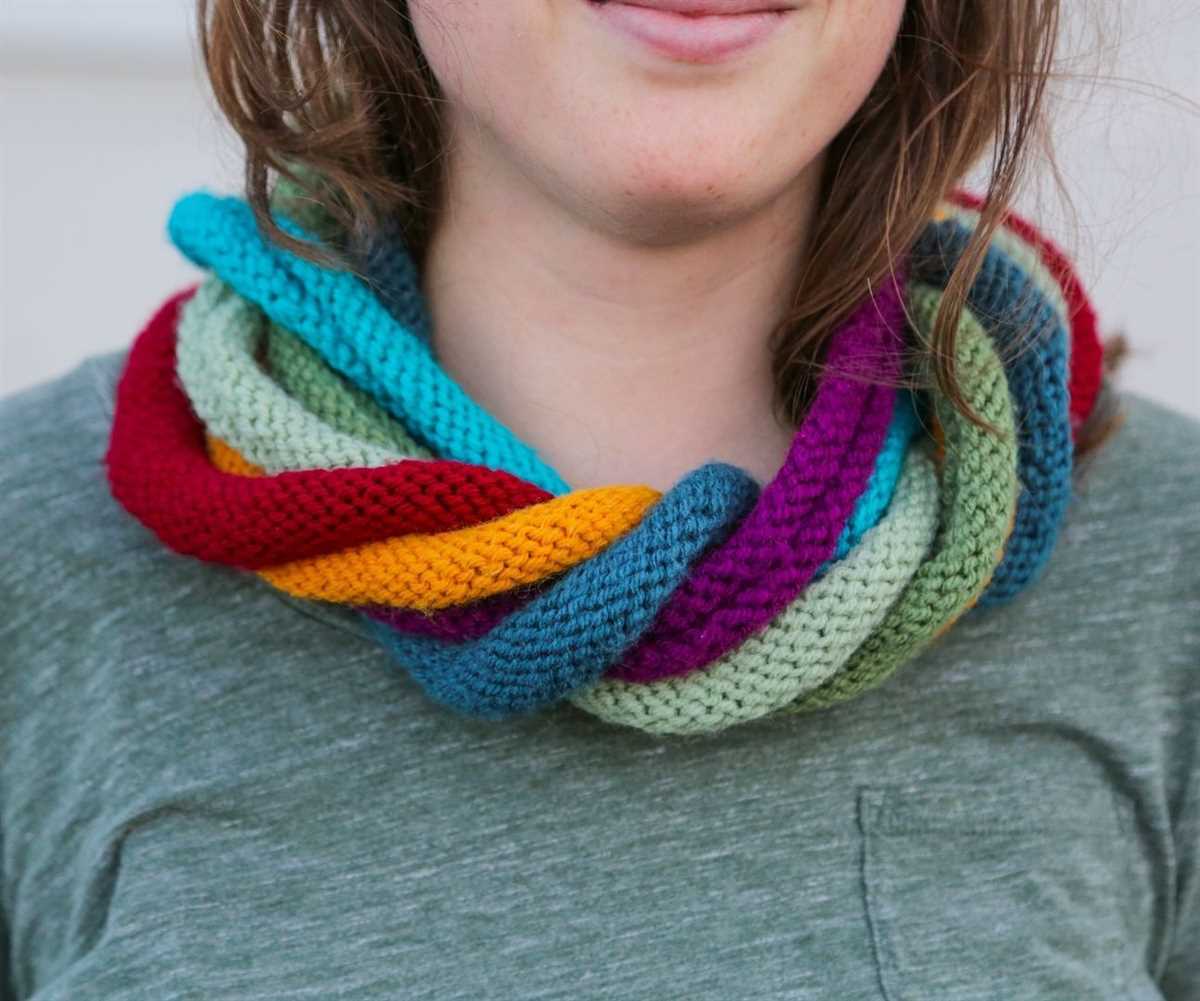
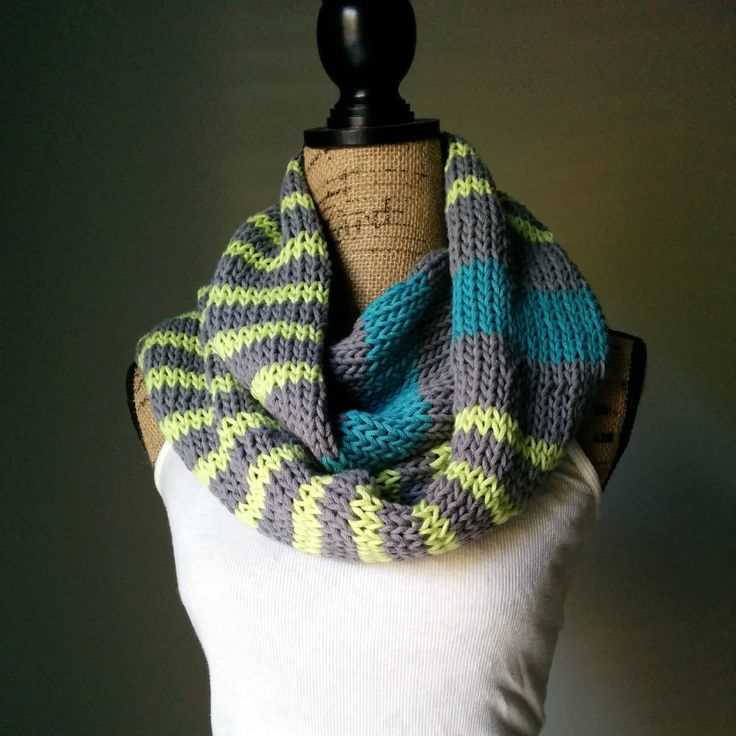
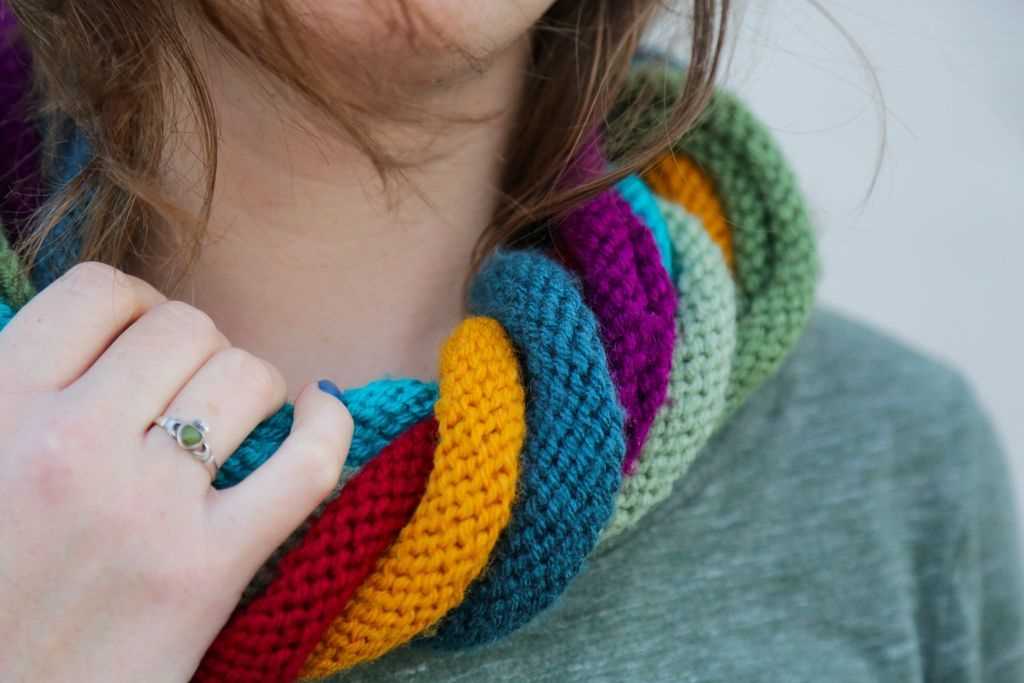
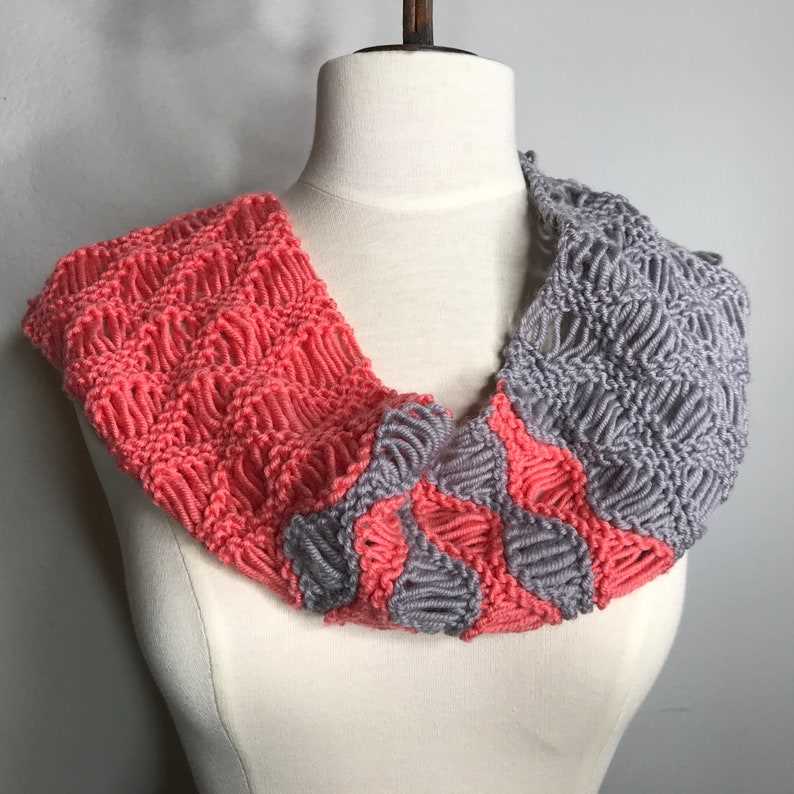
3. Colorwork pattern: Adding colorwork to your infinity scarf can create a bold and eye-catching design. Whether you choose to use stranded knitting or intarsia, incorporating different colors into your scarf can add a pop of color and visual interest. Circular needles are ideal for colorwork as they allow you to easily manage multiple yarns without the need for seam or joining stitches.
4. Textured pattern: If you prefer a scarf with more texture, choosing a pattern that incorporates different stitch patterns can add dimension and interest to your infinity scarf. Whether you choose to knit a ribbed pattern, a basketweave pattern, or even a seed stitch, incorporating different textures can create a unique and visually appealing scarf.
Whichever pattern you choose for your infinity scarf, always make sure to swatch and gauge your knitting before starting the project. This will ensure that your scarf turns out the correct size and that the pattern is properly executed. Happy knitting!
Creating a Border for Your Infinity Scarf
Adding a border to your infinity scarf is a great way to enhance its overall look and add some extra visual interest. There are several different techniques you can use to create a border, depending on your skill level, desired stitch pattern, and the overall aesthetic you are going for.
1. Ribbing: One of the most common and versatile options for a border is ribbing. Ribbing creates a stretchy and textured fabric that adds both structure and visual appeal to your scarf. You can use a simple 1×1 or 2×2 ribbing pattern, depending on your preference. To create ribbing, alternate between knitting and purling stitches in a specific pattern.
2. Seed Stitch: Another popular option for a border is the seed stitch. This stitch pattern creates a textured fabric with a rich appearance. To knit the seed stitch, alternate between knitting and purling stitches across each row. This pattern can be time-consuming, but the result is well worth the effort.
3. Garter Stitch: For an easy and beginner-friendly border, the garter stitch is a great choice. This stitch pattern is created by knitting every stitch on every row. The garter stitch creates a bumpy texture that adds a natural and effortless look to your scarf.
- You can also experiment with different color combinations to create a contrasting or complementary border.
- Remember to swatch your border stitch pattern before starting your actual scarf to ensure the desired size and appearance.
- Consider the width of your border and the overall length of your infinity scarf when deciding on the number of stitches to cast on for the border.
- Once your border is complete, you can seamlessly transition into your main stitch pattern for the body of the scarf.
Finishing off your infinity scarf
Once you have completed knitting your infinity scarf using circular needles, there are a few steps you will need to take to finish it off and ensure it looks polished and professional.
Weaving in the ends: Start by weaving in any loose ends of yarn that may be sticking out from your scarf. This can be done using a yarn needle or a crochet hook. Thread the loose end through the eye of the needle or hook, and then weave it back and forth through the stitches of the scarf, making sure to secure it well. Repeat this process for any other loose ends.
Blocking: Blocking is a technique used to shape and size your finished knit piece. To block your infinity scarf, you will need to soak it in lukewarm water for about 15 minutes, then gently squeeze out excess water. Lay the scarf flat on a clean, dry towel and shape it to the desired size and dimensions. You can use pins or blocking wires to help hold the shape. Leave the scarf to dry completely, and then remove the pins or wires.
Adding a decorative border: If you want to add a decorative border to your infinity scarf, this is the time to do it. You can crochet a border around the edges, or even add fringe or tassels. Choose a complementary color or texture to enhance the overall look of your scarf.
Caring for your infinity scarf: To keep your infinity scarf in good condition, it is important to care for it properly. Hand wash it with mild detergent and cold water, or follow the care instructions on the yarn label. Gently squeeze out excess water and lay flat to dry. Avoid hanging the scarf, as this can cause it to stretch. Store it in a clean, dry place, away from direct sunlight and any potential moth damage.
By following these steps, you can give your infinity scarf the finishing touches it needs and enjoy wearing it for years to come. Whether you keep it for yourself or give it as a gift, a well-finished infinity scarf is sure to be cherished.
Blocking your finished infinity scarf
Once you have finished knitting your infinity scarf using circular needles, it is important to block it in order to achieve the desired shape and drape. Blocking is a technique used to shape and even out your knitted piece by wetting it and then allowing it to dry in the desired shape.
To block your finished infinity scarf, follow these steps:
- Prepare a blocking surface: Find a clean, flat surface where you can lay out your scarf. You can use a blocking board, a clean towel, or foam mats.
- Wet your scarf: Fill a sink or basin with lukewarm water and add a few drops of wool wash or gentle detergent. Gently submerge your scarf in the water, making sure it is fully saturated. Let it soak for about 15 minutes to allow the fibers to relax.
- Remove the excess water: Gently lift the scarf out of the water, being careful not to wring or twist it. Press down gently to remove excess water, or roll it in a dry towel to absorb moisture.
- Shape your scarf: Lay your damp scarf flat on the blocking surface and shape it into the desired dimensions. You can use a measuring tape or template to ensure even sizing. Smooth out any wrinkles or uneven areas.
- Pin your scarf: Use rustproof blocking pins to secure your scarf in place. Start at one end and work your way across, placing pins every few inches. Make sure the edges are straight and the scarf is evenly stretched.
- Let it dry: Leave your scarf undisturbed on the blocking surface until it is completely dry. This can take several hours or even overnight, depending on the thickness of your yarn and the humidity level.
- Remove the pins: Once your scarf is dry, carefully remove the blocking pins. Your scarf should now be beautifully shaped with an even stitch pattern and lovely drape.
Blocking your finished infinity scarf not only gives it a polished look, but it also helps to relax the fibers and allow them to settle into their final shape. This will ensure that your scarf retains its shape and doesn’t stretch or distort with wear. Happy blocking!
Ways to style and wear your infinity scarf
Infinity scarves are versatile accessories that can add style and warmth to any outfit. Whether you’ve knitted your own infinity scarf or bought one, here are some creative ways to wear and style it:
1. Classic Loop
The classic loop is the most common way to wear an infinity scarf. Simply drape the scarf around your neck, making sure both ends are equal in length. Then, loop one end around your neck and let it hang. Adjust the loops until you achieve your desired look.
2. Double Loop
To create a double loop, follow the same steps as the classic loop. However, instead of letting one end hang, wrap it around your neck a second time. This creates a snug and cozy look, perfect for colder weather.
3. Hooded Scarf
For added protection against the elements, turn your infinity scarf into a hooded scarf. Begin by placing the scarf around your neck, leaving one end longer than the other. Take the longer end and pull it up over your head, creating a hood. Adjust the scarf as needed to keep it in place.
4. Belted Scarf
Add a touch of sophistication to your outfit by belting your infinity scarf. First, wrap the scarf around your neck with one end longer than the other. Then, take a skinny belt or ribbon and loop it around your waist, securing the scarf in place. This styling option not only adds visual interest but also cinches the waist.
5. Shoulder Wrap
For a stylish and effortless look, drape your infinity scarf over one shoulder. Begin by placing the scarf around your neck, with one end longer than the other. Then, pull the longer end up and over your shoulder, allowing it to hang down your back. This creates an elegant, asymmetrical look.
These are just a few ways to style and wear your infinity scarf. Don’t be afraid to experiment and find your own unique way to rock this versatile accessory!
Conclusion
Knitting an infinity scarf with circular needles is a great project for beginners. With just a few basic stitches and techniques, you can create a beautiful and cozy accessory. Whether you prefer a simple garter stitch, a textured pattern, or a lace design, there are infinity scarf knitting patterns out there to suit every skill level and style.
By following a pattern and practicing the basic stitches, you can gradually build your confidence and develop your knitting skills. As you become more comfortable with circular needles and the different stitch patterns, you can even start experimenting with your own designs and customizing your scarves to make them unique.
Remember, knitting is a relaxing and rewarding hobby, and creating your own infinity scarf can be a fulfilling project. So gather your supplies, choose a pattern, and start knitting your very own cozy scarf to keep you warm and stylish!