
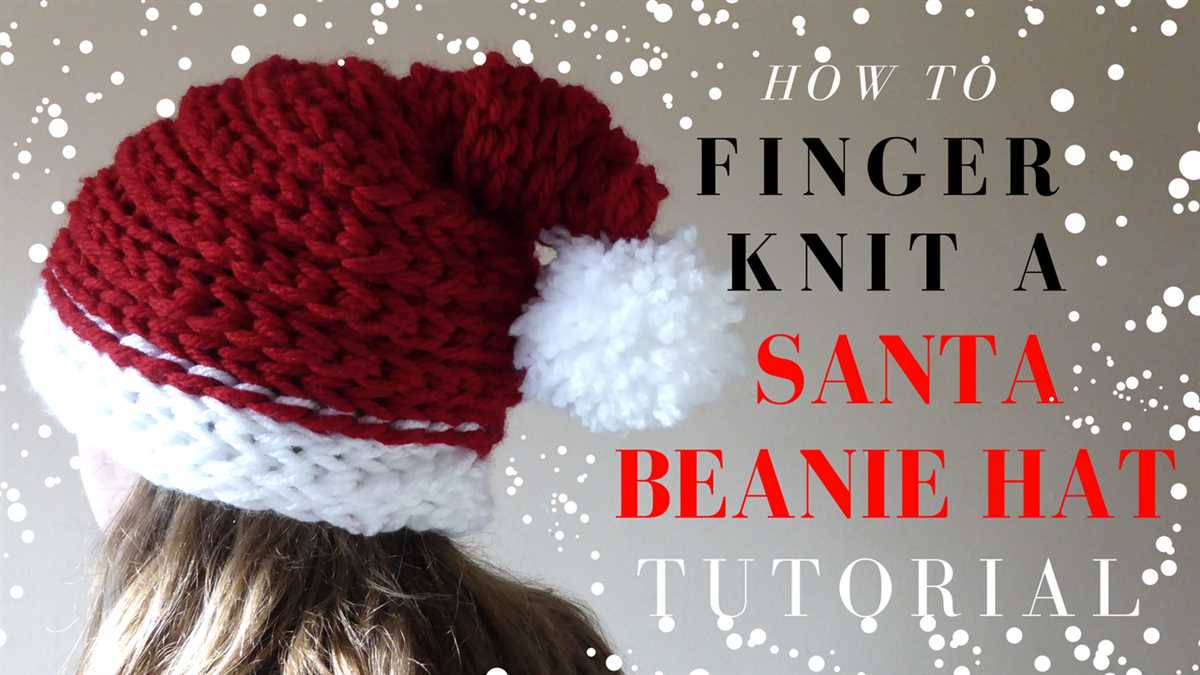
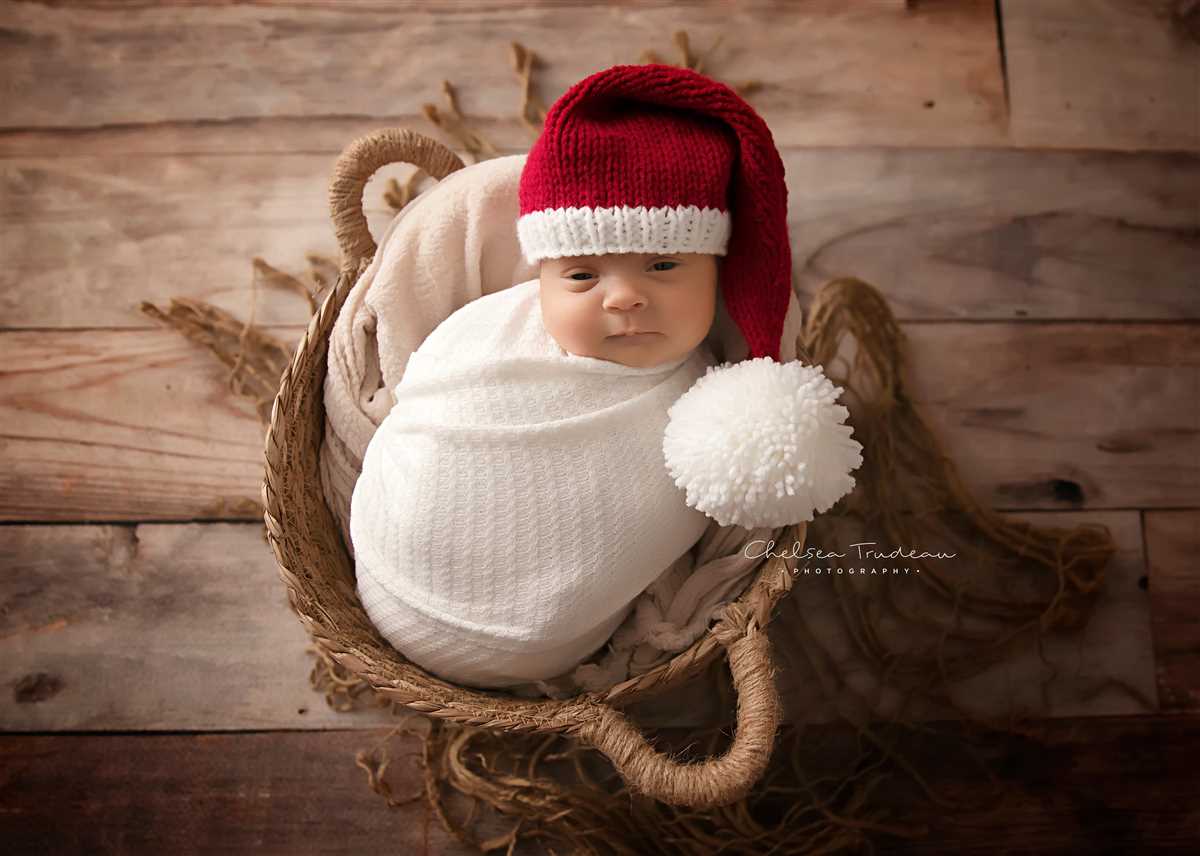
When the holiday season arrives, many people look for new and creative ways to celebrate and spread the festive spirit. One popular way to do this is by wearing a Santa hat, a classic symbol of Christmas. While you can easily find Santa hats in stores, knitting your own adds a personal touch and allows you to customize it to your liking.
A Santa hat knitted pattern is a set of instructions that guide you through the process of creating your own Santa hat. It typically includes information on the materials needed, the stitches used, and step-by-step directions for each section of the hat. Whether you’re an experienced knitter or a beginner, there are patterns available for all skill levels.
Knitting your own Santa hat can be a fun and rewarding project. It allows you to showcase your creativity and create a unique hat that you won’t find anywhere else. Plus, it makes for a thoughtful and handmade gift that is sure to bring a smile to the recipient’s face.
In this article, we will explore different Santa hat knitted patterns, from simple designs with basic stitches to more intricate patterns with decorative elements. We will also provide tips and tricks to help you along the way, making the process enjoyable and stress-free. So grab your knitting needles and get ready to create your very own Santa hat!
Santa Hat Knitted Pattern
Knitting is a popular craft for creating warm and cozy items, and the Santa hat is no exception. Whether you’re knitting a Santa hat for yourself or as a gift, following a knitted pattern can help ensure that your hat turns out just right. There are many different Santa hat knitting patterns available, ranging from simple designs for beginners to more intricate patterns for experienced knitters. No matter your skill level, you can find a pattern that suits your needs and create a festive accessory for the holiday season.
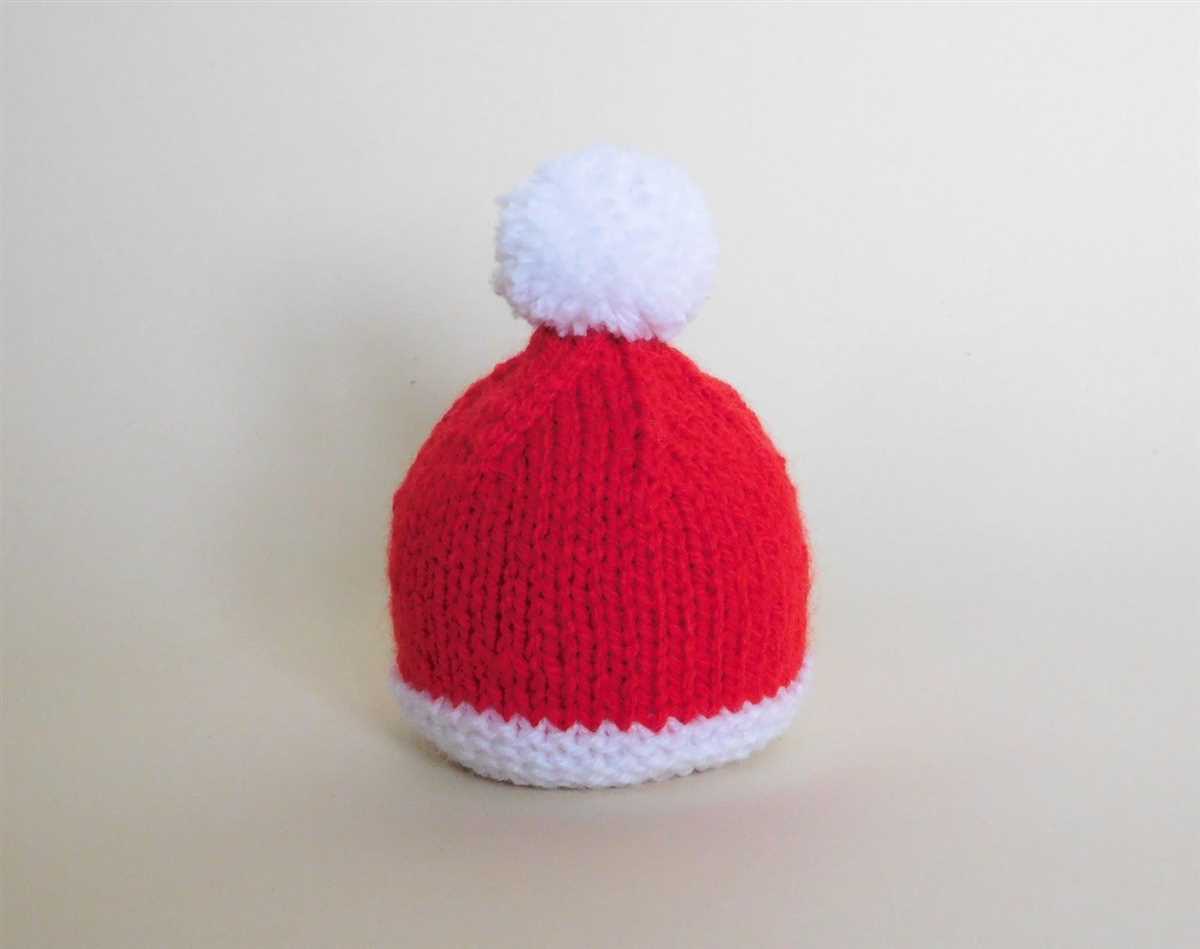
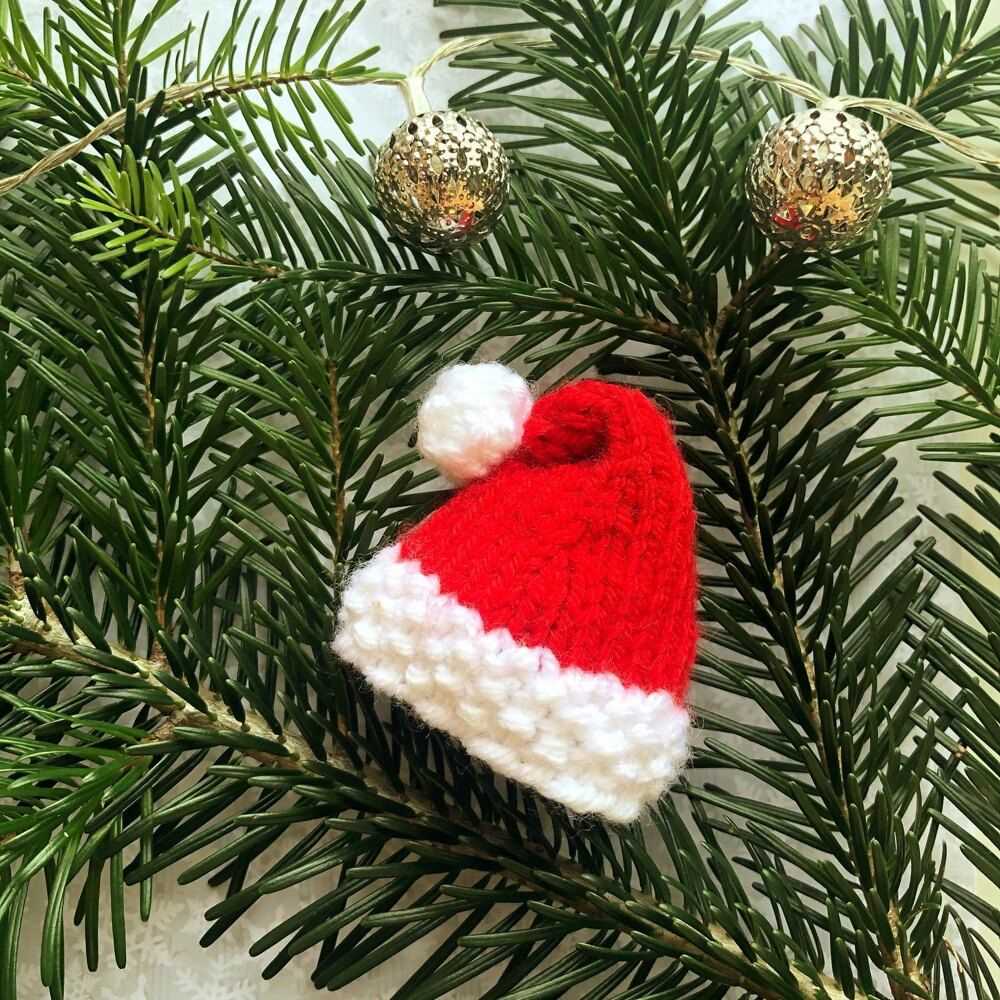
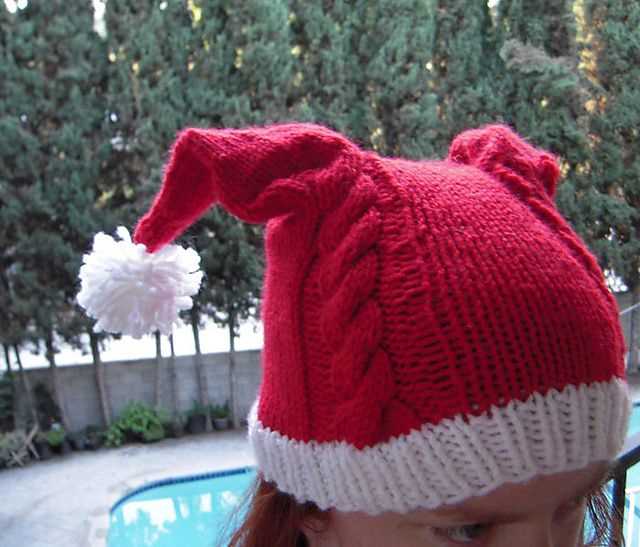
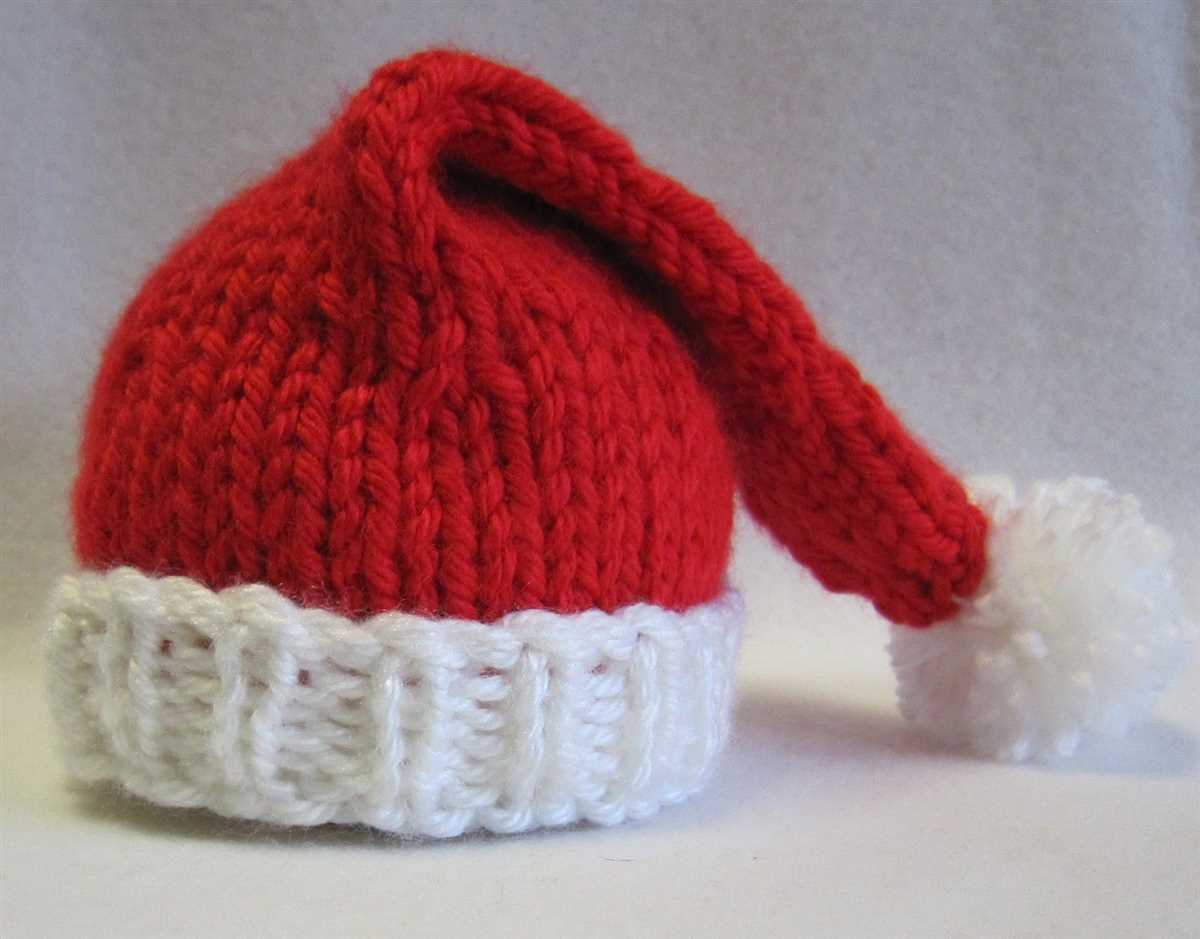
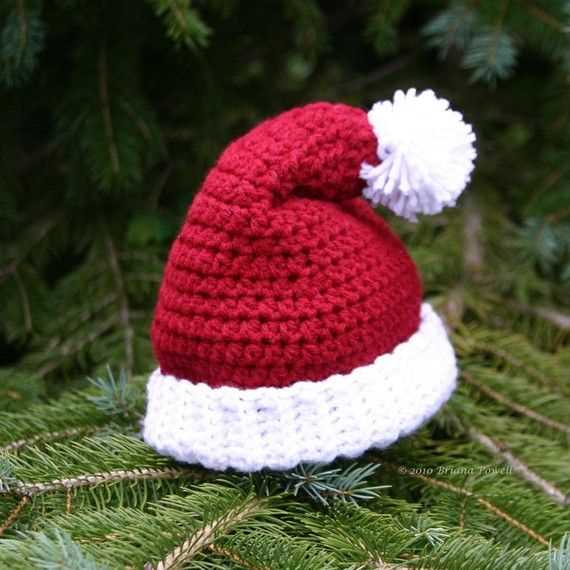
One common Santa hat knitting pattern starts with casting on a certain number of stitches to form the brim of the hat. From there, you can use different stitch patterns such as ribbing or stockinette stitch to create the body of the hat. The pattern often includes instructions for increasing or decreasing stitches to shape the crown of the hat, giving it that classic Santa hat point. Additionally, you can add a fluffy pompom to the top of the hat for an extra festive touch.
If you’re new to knitting, don’t worry! There are beginner-friendly Santa hat knitting patterns available that use basic techniques and stitches. These patterns typically provide detailed instructions and may even include helpful tips and tricks for beginners. As you gain experience and confidence in your knitting skills, you can try more advanced patterns that incorporate different stitch patterns or techniques.
Tips for Knitting a Santa Hat
- Choose a soft and cozy yarn that will keep your head warm during the winter months.
- Make sure to check the gauge of your knitting to ensure that the hat will fit properly.
- Take your time and follow the pattern instructions closely to achieve the desired result.
- Don’t be afraid to add your own personal touch to the hat, such as incorporating different colors or adding embellishments.
- Practice and patience are key when it comes to knitting, so don’t get discouraged if it takes a few tries to get the hang of it.
With a Santa hat knitting pattern and some time and patience, you can create a festive and stylish accessory to wear during the holiday season. Whether you’re knitting one for yourself or making it as a gift, the joy of creating something with your own hands is truly rewarding. So grab your knitting needles and yarn, and get ready to bring some holiday cheer with your own knitted Santa hat!
Materials needed
To create your own Santa hat, you will need the following materials:
- Yarn: Choose a soft and durable yarn in the colors red and white. It is recommended to use medium weight (worsted) yarn.
- Knitting needles: Depending on your personal preference, you can use either straight or circular knitting needles. Make sure the needles are the correct size for your chosen yarn.
- Tapestry needle: This needle will be used for weaving in loose ends and sewing the hat together.
- Scissors: You will need a pair of sharp scissors to cut the yarn and trim any excess.
- Pom-pom maker: This tool is optional, but it can help you create a fluffy pom-pom to attach to the top of the hat.
These are the essential materials you will need to get started on your Santa hat knitting project. Make sure you have them all before you begin, as it will make the process much easier and more enjoyable. Once you have gathered your materials, you can proceed with the pattern and create your very own festive Santa hat.
Choosing the right yarn and needles
When it comes to knitting a Santa hat, choosing the right yarn and needles is an important aspect of the project. The type of yarn you choose will affect the overall look and feel of the hat, while the needles you use will determine the gauge and size of the finished product.
Yarn: For a Santa hat, it is recommended to use a soft and warm yarn that will provide both comfort and a festive appearance. Red yarn is the most popular choice for the main body of the hat, as it gives the traditional look of Santa’s famous hat. Acrylic yarn is a great option as it is affordable, easy to care for, and comes in a wide range of shades of red. Another option would be to use a red yarn with glitter or metallic accents to add a touch of sparkle to your Santa hat.
Needles: The size of the needles you choose will depend on the yarn you are using and the desired gauge of your project. A recommended needle size for a Santa hat is usually between US size 7-9 (4.5-5.5mm) for worsted weight yarn. However, it is always a good idea to check the label of the yarn you have selected for specific needle size recommendations. Additionally, using double-pointed needles or a circular needle with a long cable is recommended for knitting in the round and creating the tapered shape of the hat. These types of needles allow for easier manipulation and control of the stitches.
Overall, selecting the right yarn and needles for your Santa hat project will ensure that you achieve the desired look and fit. With the right materials, you can create a festive and cozy hat that will make you feel like Santa Claus himself!
Cast on and ribbing
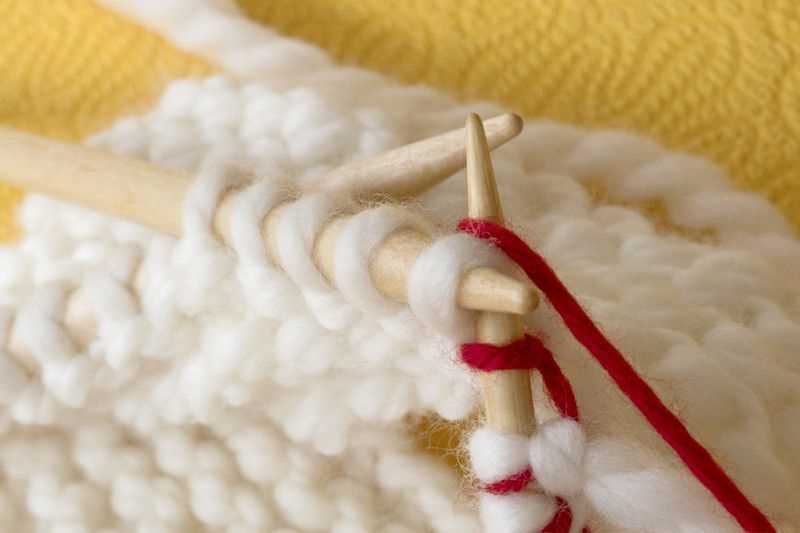
In order to start knitting a Santa hat, you need to first cast on. This is the process of creating the foundation row of stitches on your knitting needles. For the Santa hat pattern, you will need to cast on a certain number of stitches, which will depend on the size of the hat you want to make and the gauge of your knitting.
Once you have cast on the required number of stitches, you will begin working the ribbing. Ribbing is a commonly used technique in knitting that creates a stretchy and elastic fabric. It is often used for cuffs, collars, and hems. In the case of the Santa hat, ribbing is used at the brim of the hat to ensure a snug fit.
The ribbing pattern for the Santa hat can vary depending on your preference. One common ribbing pattern is the 1×1 rib, which means alternating between knitting one stitch and purling one stitch. Another option is the 2×2 rib, which alternates between knitting two stitches and purling two stitches. The choice of ribbing pattern can affect the overall look and feel of the hat.
To work the ribbing, you will repeat the specified ribbing pattern for a certain number of rows. This will create the stretchy band at the brim of the Santa hat. After completing the ribbing, you will move on to the main body of the hat, where you can continue working in the desired stitch pattern or follow the specific instructions of the Santa hat pattern you are using.
Shaping the body of the hat
Once you have cast on the required number of stitches for your Santa hat, it’s time to shape the body of the hat. This is where you will create the slouchy, rounded shape that is characteristic of a Santa hat. There are several techniques you can use to achieve this, depending on the pattern you are following.
Decreasing stitches
A common method for shaping the body of a knitted hat is by decreasing stitches. This involves knitting together two stitches at a time, either by knitting two stitches together (k2tog) or by purling two stitches together (p2tog). By decreasing stitches at regular intervals, you can gradually reduce the circumference of the hat and create a tapered shape.
Using short rows
Another technique for shaping the body of a Santa hat is by using short rows. Short rows are rows that are partially knitted, leaving a certain number of stitches unworked before turning the work and knitting back in the opposite direction. By working short rows in specific areas of the hat, you can create shaping that adds volume and slouchiness.
Increasing stitches
In some patterns, you may also need to increase stitches to shape the body of the hat. This is usually done by knitting into the front and back of a stitch (kfb), which creates two stitches from one. By increasing stitches at regular intervals, you can gradually widen the circumference of the hat and create a fuller shape.
Remember to follow your pattern’s instructions for shaping the body of the Santa hat, as different patterns may require different techniques. Make sure to keep track of your stitch counts and follow any specific shaping instructions given in the pattern to ensure that your Santa hat turns out just right.
Working on the brim of the hat

When knitting a Santa hat, it is important to pay special attention to the brim of the hat. The brim is the part that sits on the forehead and helps to keep the hat securely in place. It is usually knitted using a rib stitch to create a stretchy and comfortable fit.
To start working on the brim, you will need to cast on the required number of stitches. This will depend on the size of the hat and the yarn you are using. It is recommended to use a smaller needle size to achieve a tighter fabric for the brim. Once the stitches are cast on, you can begin working the rib stitch pattern.
Rib stitch pattern
The rib stitch pattern is created by alternating knit and purl stitches in a set sequence. This creates a textured fabric that stretches easily. A common rib stitch pattern for the brim of a Santa hat is K2, P2, where you knit two stitches, then purl two stitches, and repeat this pattern until the end of the row.
Continue working the rib stitch pattern for the desired length of the brim. Keep in mind that the brim should be slightly shorter than the rest of the hat to allow it to fold up neatly. Once the brim is finished, you can continue knitting the rest of the hat in the desired pattern or design.
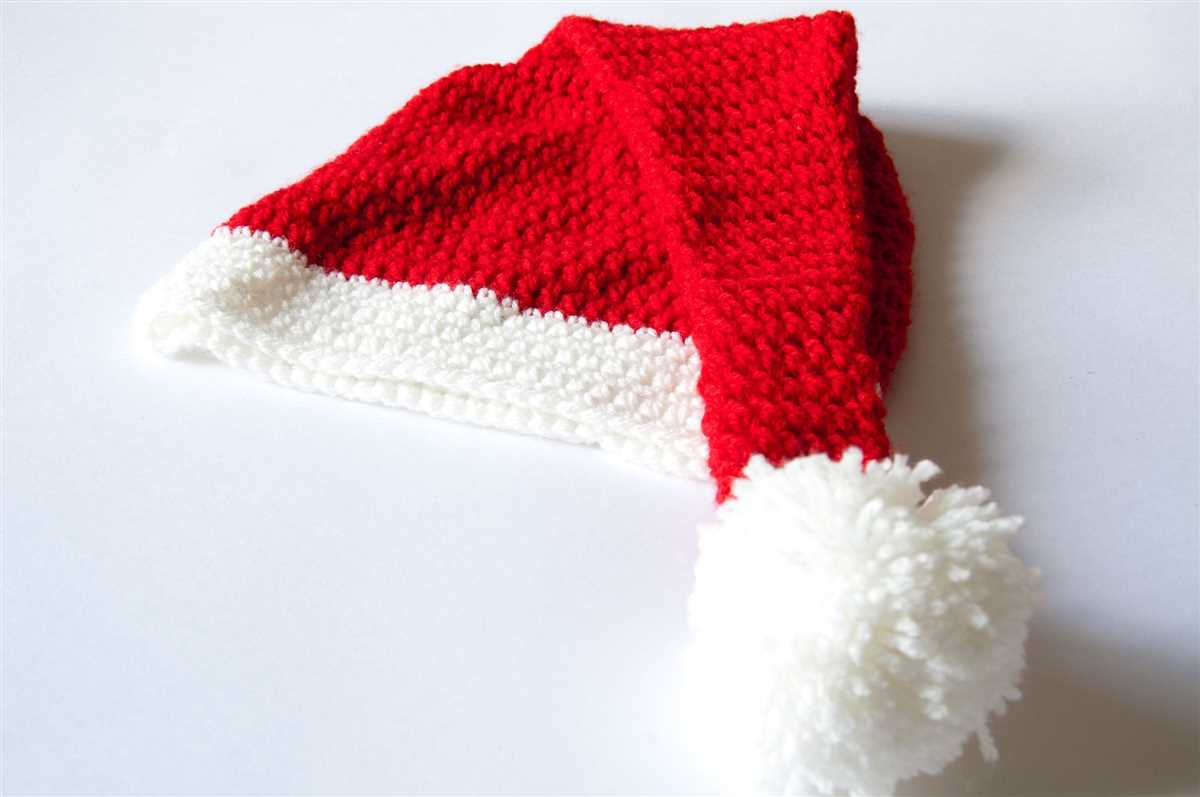
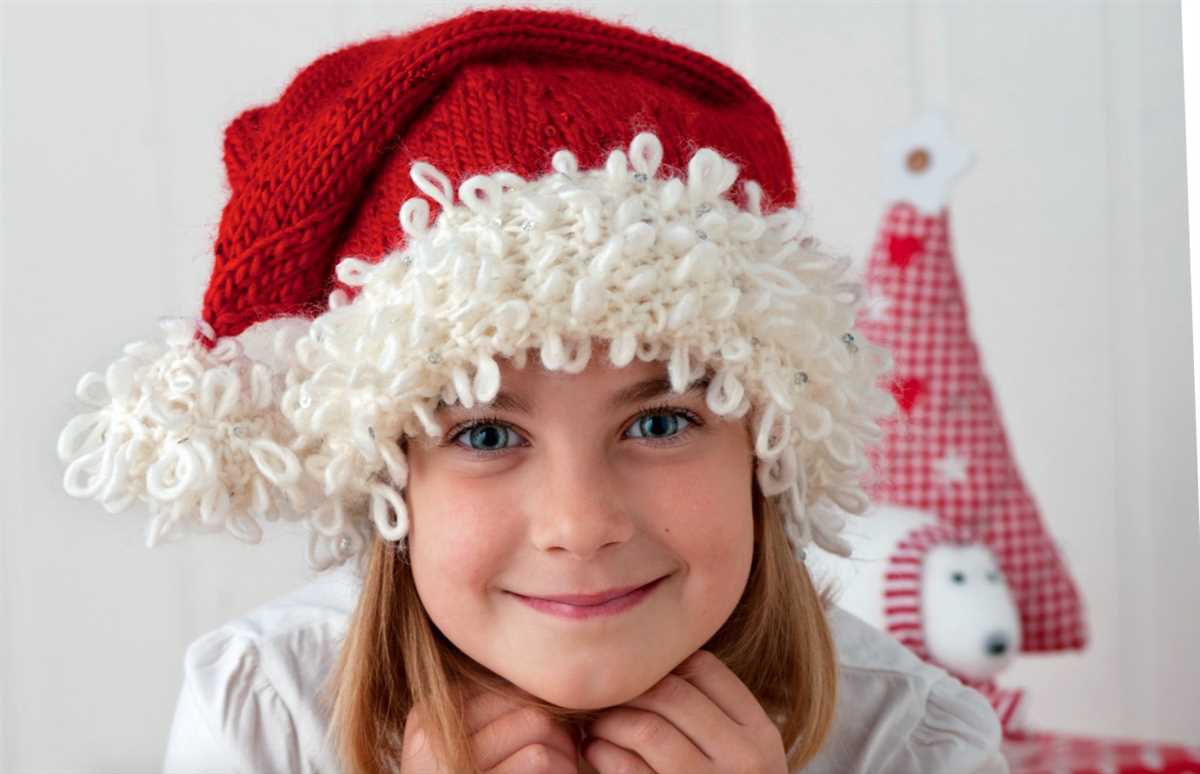
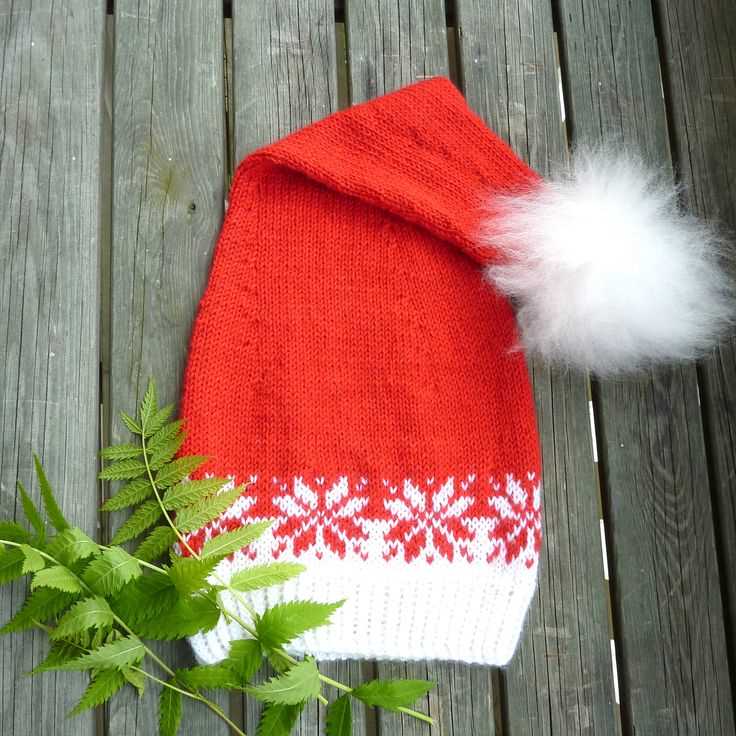
Adding the Fur Trim
One of the final steps in knitting a Santa hat is adding the fur trim. This gives the hat a festive and cozy look. To create the fur trim, you can use a fluffy white yarn.
Start by knitting a small swatch with the fur yarn to determine the gauge. This will help you calculate the number of stitches needed for the trim. Once you have the gauge, you can cast on the required number of stitches and begin knitting the fur trim.
For the fur trim, you can use a simple stockinette stitch. Knit every row to create a smooth and fluffy texture. Make sure to keep your tension loose to create a softer and more flowy trim.
To add the fur trim to the Santa hat, you will need to sew it onto the edge. Fold the trim in half to create a double layer and position it along the bottom edge of the hat. Use a yarn needle and the same yarn color as the hat to carefully stitch the trim in place.
Once the fur trim is securely attached, you can fluff it up to give it a more voluminous look. Gently pull on the loops of the yarn to create a fluffy texture. You can also trim any excess fur to make it even and neat.
Adding the fur trim is the finishing touch that transforms a regular knitted hat into a festive Santa hat. It adds a touch of holiday cheer and makes the hat extra cozy. With the right yarn and a little bit of sewing, you can create a Santa hat that will be the perfect accessory for the holiday season.
Creating the pom-pom
In order to complete your Santa hat knitting project, you will need to create a pom-pom to attach to the top of the hat. The pom-pom adds a festive touch and a bit of flair to your finished hat. To create the pom-pom, you will need a few supplies and follow a simple process.
To start, gather your materials: a small piece of cardboard, scissors, and the same yarn you used to knit the hat. Cut a rectangle of cardboard that is approximately 2 inches wide and 4 inches long. This will be used to wrap the yarn around to create the pom-pom. Once you have your cardboard ready, take the end of the yarn and wrap it around the length of the cardboard multiple times. The more times you wrap the yarn, the fuller and fluffier your pom-pom will be.
- Step 1: Wrap yarn around the cardboard rectangle
- Step 2: Cut a separate piece of yarn and slide it under the wrapped yarn
- Step 3: Tie a tight knot around the wrapped yarn and cardboard
- Step 4: Slide the cardboard out from under the tied yarn
- Step 5: Trim the loops of yarn to create a fluffy pom-pom shape
After you have wrapped the yarn around the cardboard multiple times, cut a separate piece of yarn and slide it under the wrapped yarn. Tie a tight knot around the wrapped yarn and the cardboard, securing all the yarn in place. With the knot securely tied, carefully slide the cardboard out from under the tied yarn. You should now have a bundle of loops of yarn tied at the middle.
To finish your pom-pom, take a pair of scissors and carefully trim the loops of yarn until they are all the same length. This will create a fluffy spherical shape for your pom-pom. Once you have achieved the desired shape, you can attach the pom-pom to the top of your Santa hat. Thread a piece of yarn through the center of the pom-pom and tie it tightly to the top of the hat. Trim any excess yarn, and your Santa hat with pom-pom is complete!
Adding finishing touches
Once you have completed knitting your Santa hat, it’s time to add the finishing touches to make it extra special. These small details can really elevate your hat and make it stand out. Here are a few ideas for adding those final touches:
1. Pom-pom
A pom-pom is a classic addition to any hat and can give your Santa hat a fun and festive look. You can easily make a pom-pom using yarn in a contrasting color. Simply wrap the yarn around your fingers or a pom-pom maker, tie it tightly in the middle, and then trim the ends to create a round shape. Attach the pom-pom securely to the top of your hat using a yarn needle.
2. Ribbed cuff
Adding a ribbed cuff to the bottom of your Santa hat can add a nice texture and help it fit snugly on your head. To create a ribbed cuff, you can use a smaller needle size and a rib stitch pattern. This will create a stretchy and comfortable cuff that will keep your hat in place.
3. Embellishments
To further personalize your Santa hat, you can add embellishments such as buttons, beads, or sequins. These can be sewn onto the hat using a needle and thread or glued on with fabric glue. Be creative and choose embellishments that reflect your personal style or the theme of your hat.
4. Embroidery
If you’re feeling crafty, you can also add some embroidered details to your Santa hat. Consider adding names, initials, or festive patterns using colorful embroidery thread. This can give your hat a unique and personalized touch.
Remember, the finishing touches are an opportunity to let your creativity shine and make your Santa hat truly one-of-a-kind. Have fun experimenting with different ideas and make sure to secure any additions properly so they don’t come loose while wearing your hat.
Optional Accessories
Enhance your Santa hat knitting project with these optional accessories that will add a touch of personality and uniqueness to your creation.
Pom-pom

Add a playful and festive element to your Santa hat by attaching a pom-pom. You can choose a traditional white pom-pom, or get creative with colorful options to match your style or the theme of the occasion. Attach the pom-pom securely to the top of the hat using a yarn needle or by sewing it on.
Bells
Give your Santa hat an extra jingle by adding bells. Sew small jingle bells onto the edge of the hat or attach them to the tip of the hat. The ringing sound of the bells will bring joy and excitement to your Santa hat, making it even more fun to wear during the holiday season.
Tips for success in knitting a Santa hat
Knitting a Santa hat can be a fun and festive project, but it’s important to plan ahead and take some important factors into consideration to ensure success. Here are some tips to help you create a beautiful and well-fitting Santa hat.
Choose the right yarn:
When knitting a Santa hat, it’s important to choose a yarn that is both soft and warm. Look for yarns that are labeled as “worsted weight” or “chunky” to ensure that your hat will have enough thickness and warmth. Additionally, consider the color of the yarn and choose one that will give your hat that classic Santa look, such as red or white.
Use the correct needle size:
Using the correct needle size is crucial for achieving the right tension and achieving the desired size of your Santa hat. Check the instructions or pattern you are following for the recommended needle size, and make sure to use that size throughout the entire project. This will help ensure that your stitches are consistent and that your hat turns out the correct size.
Follow a pattern or create your own:
Having a pattern to follow can be helpful, especially if you’re a beginner knitter. There are many Santa hat patterns available online for free or for purchase. Alternatively, if you’re more experienced, you can create your own pattern and customize your Santa hat to your liking. Just make sure to have a clear plan and understanding of the stitches and techniques involved.
Take accurate measurements:
Before starting your Santa hat, take accurate measurements of the recipient’s head to ensure that the hat will fit properly. Measure the circumference of the head and the length from the forehead to the crown. This will help you determine the number of stitches to cast on and the desired length of the hat.
Add festive embellishments:
To make your Santa hat even more special, consider adding some festive embellishments. This could include a fluffy white pom-pom at the top of the hat or some decorative ribbons and bells. Get creative and make your Santa hat unique and personalized.
Inspiration and Variations
If you’re feeling inspired by the Santa hat knitted pattern, there are many ways you can customize and create variations of this classic design. Here are some ideas to get you started:
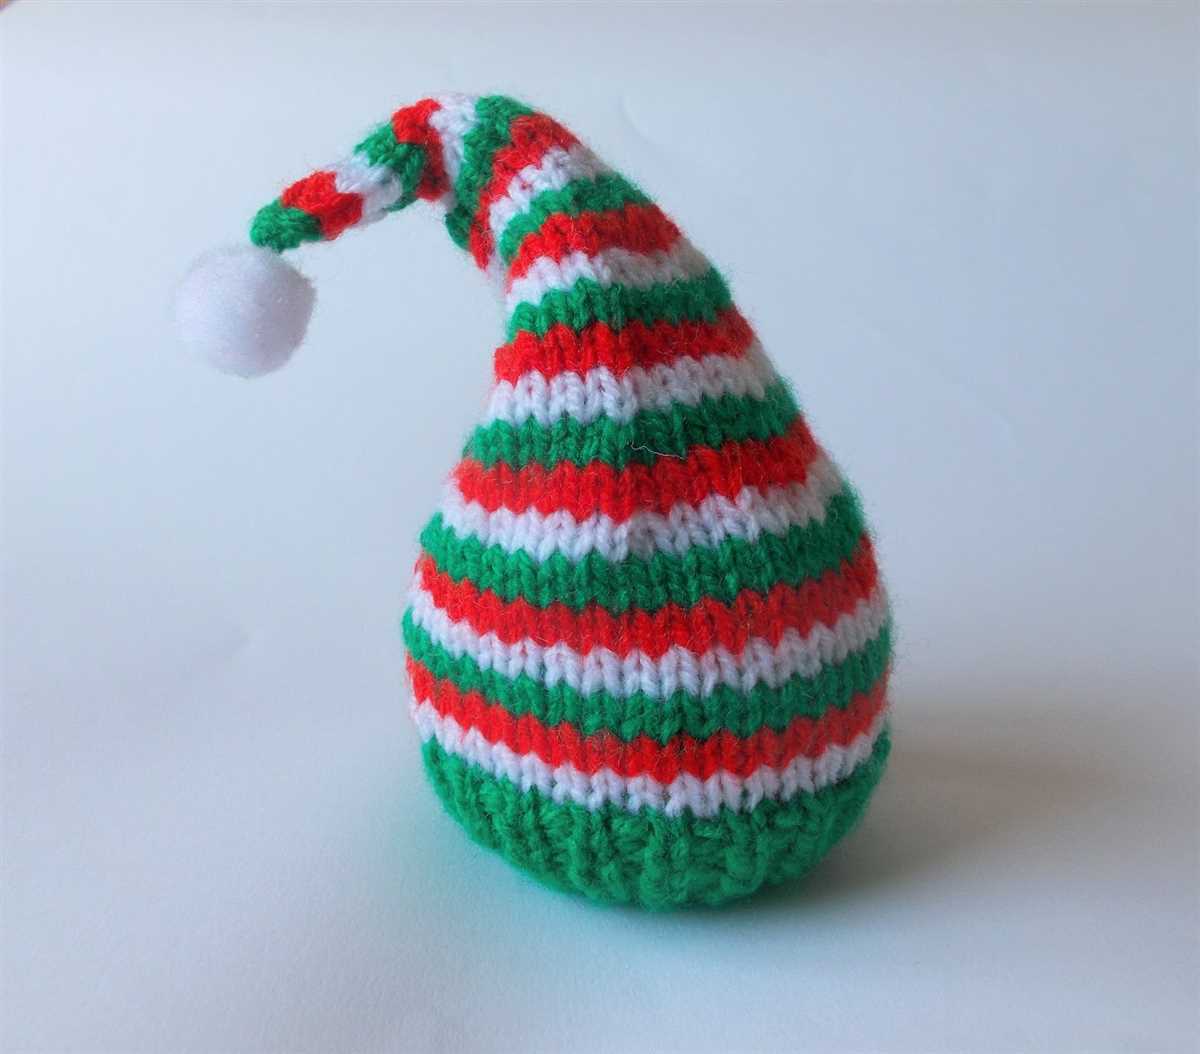
- Color variations: Experiment with different colors of yarn to create unique and personalized Santa hats. Consider using traditional red and white or explore other festive color combinations such as green and white or blue and white.
- Additions: Embellish your Santa hat with additional elements such as pom-poms, tassels, or even holiday-themed buttons. These small details can add an extra touch of charm to your finished hat.
- Texture: Explore different stitch patterns to add texture to your Santa hat. Try incorporating cables, ribbing, or lacework for added visual interest.
- Size adjustments: Modify the pattern to create Santa hats in various sizes. This way, you can create hats for different members of the family, including children and adults.
- Personalization: Consider adding initials or names to the brim or body of the hat to make it even more special. You can use embroidery, duplicate stitch, or even appliqué to achieve this personal touch.
Overall, the Santa hat knitted pattern offers endless possibilities for creativity and customization. Whether you stick to the classic design or venture into your own variations, the joy of creating something festive and fun is what makes this project so special.