
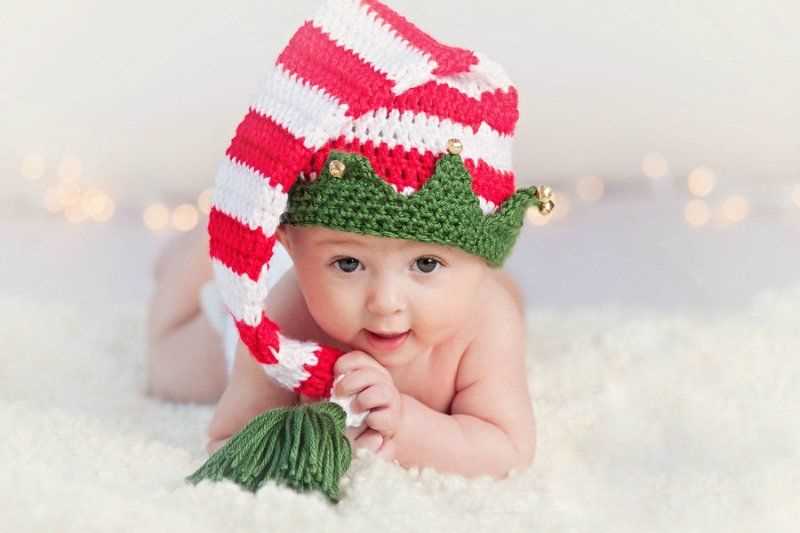
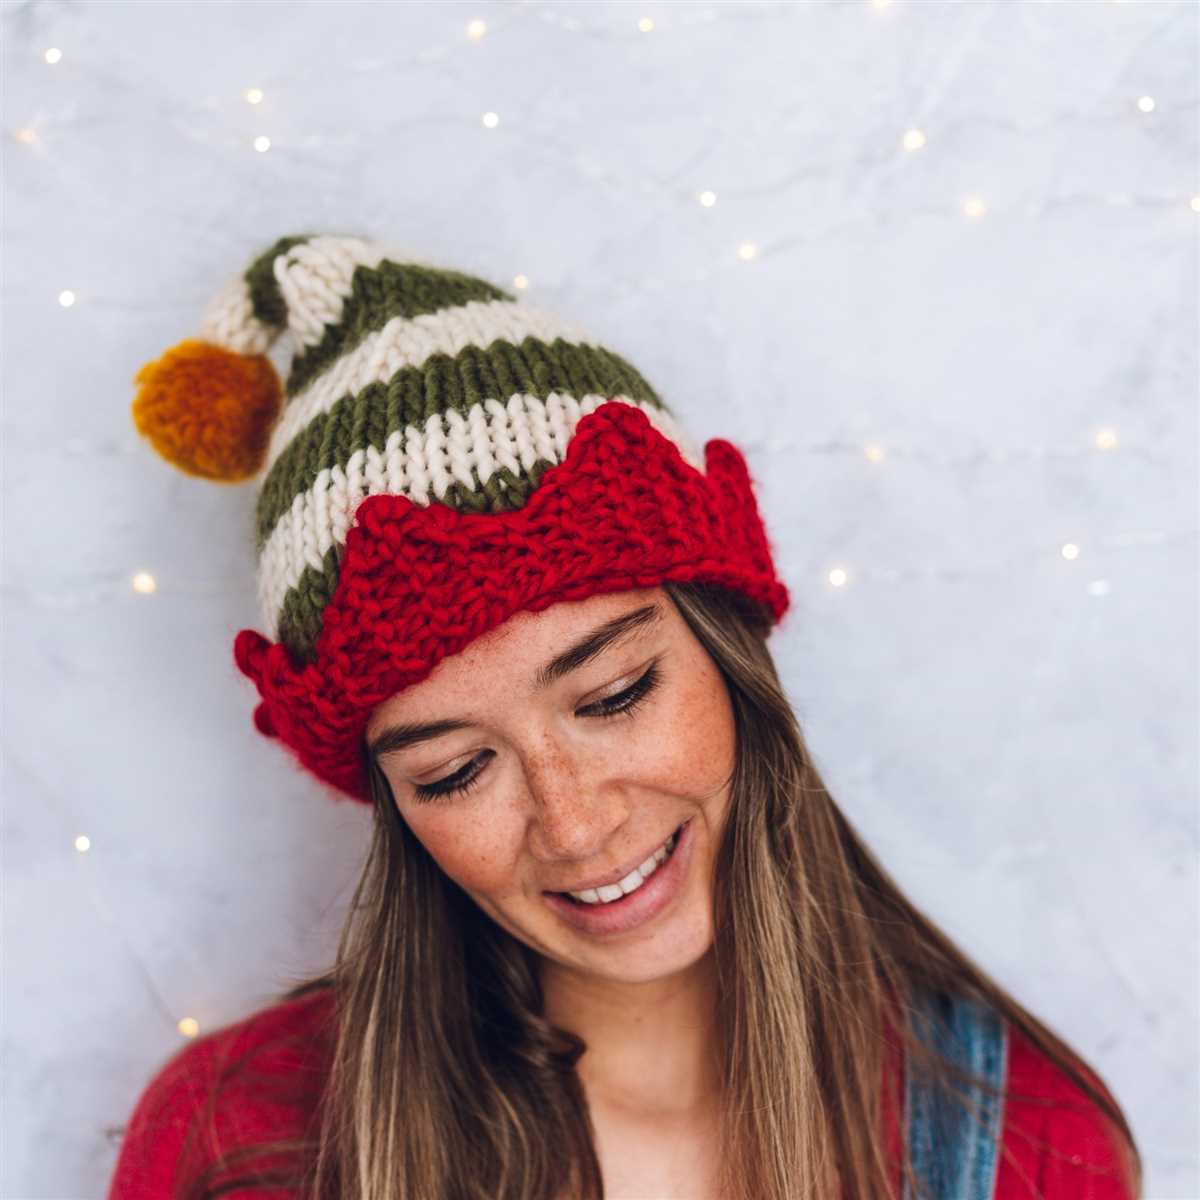
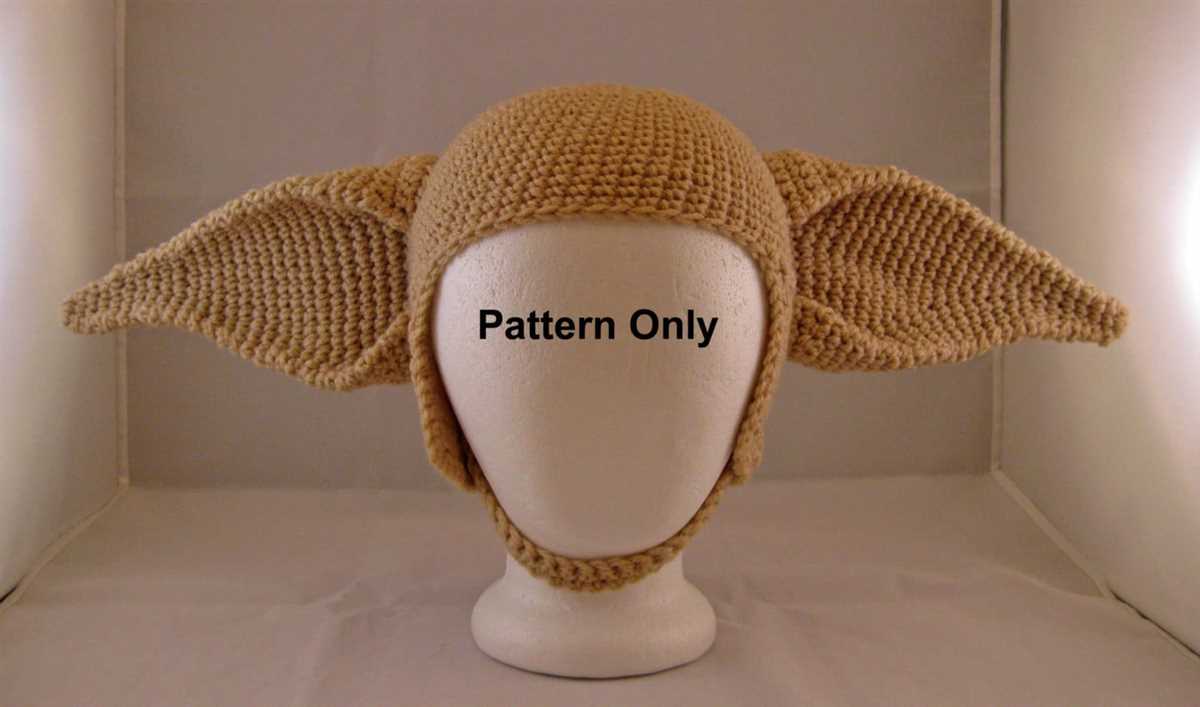
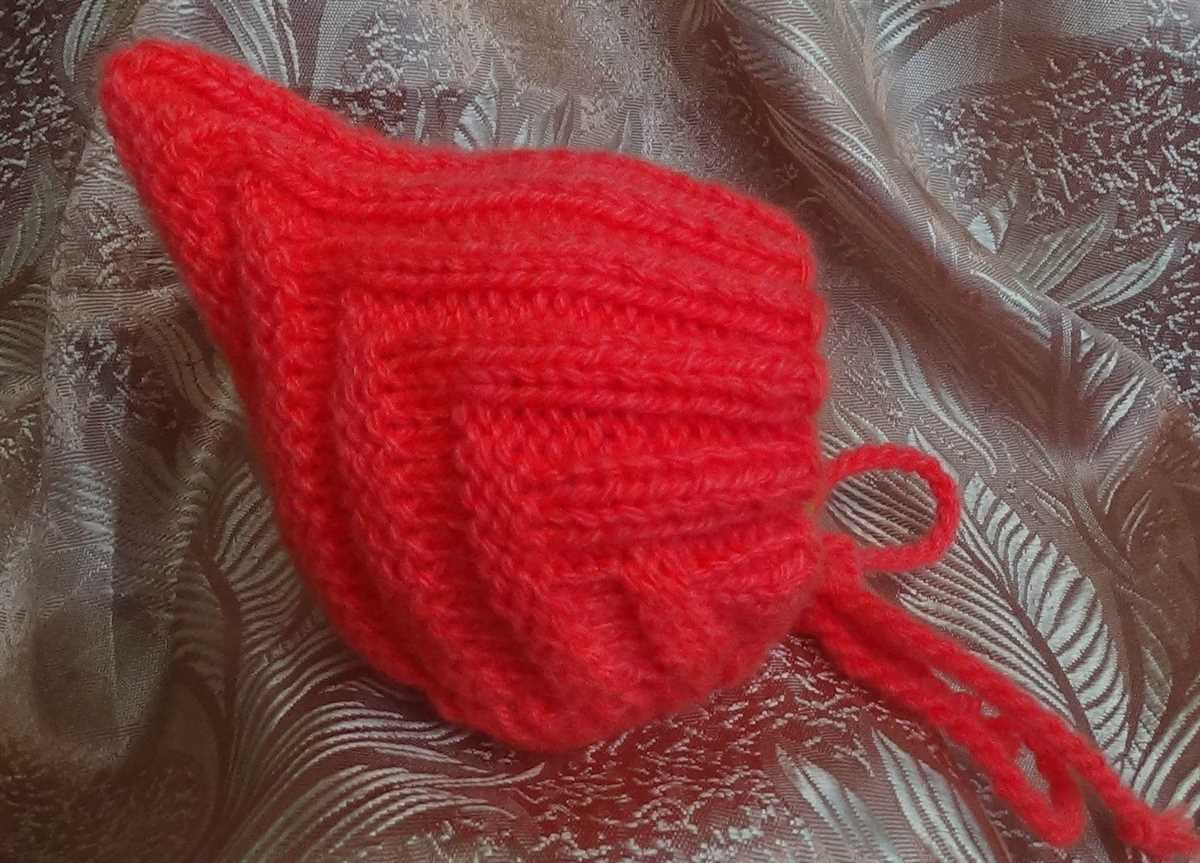
If you’ve ever dreamt of embracing the enchanting world of fantasy, why not start by adding a whimsical touch to your wardrobe? With the knitted elf ears pattern, you can easily transform any hat or headband into a magical accessory straight out of a fairy tale.
Whether you’re a fan of cosplay, attending a themed party, or simply want to add some playful charm to your everyday style, knitted elf ears are the perfect way to showcase your love for all things magical. This pattern allows you to create realistic and customizable elf ears that are not only adorable but also versatile.
With this pattern, you can take your knitting skills to the next level and unleash your creativity. Experiment with different yarn colors and textures to match your personal style or the character you’re channeling. From subtle earth tones for a woodland nymph look to vibrant hues for a mischievous fairy, the possibilities are endless.
So, whether you’re an avid knitter or just starting out, grab your knitting needles and immerse yourself in the world of fantasy by knitting your very own pair of elf ears. Let your imagination run wild and add a touch of magic to your wardrobe!
What are knitted elf ears and why are they popular?
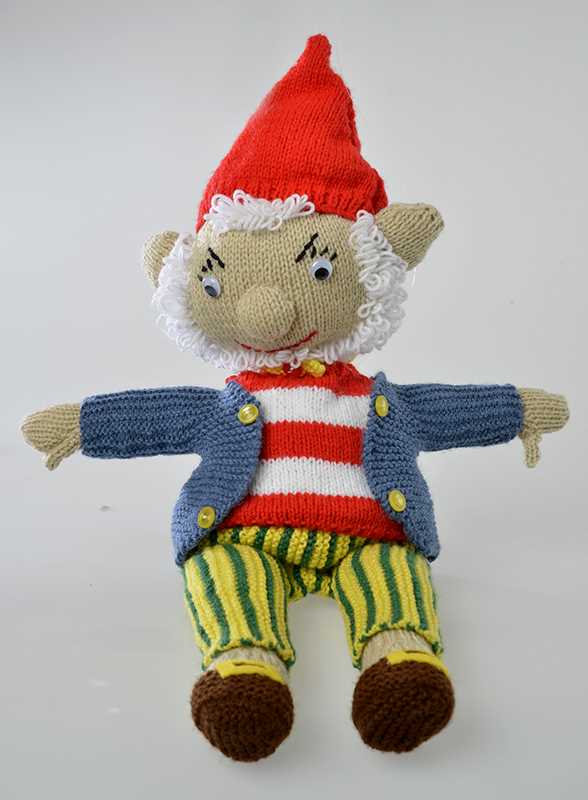
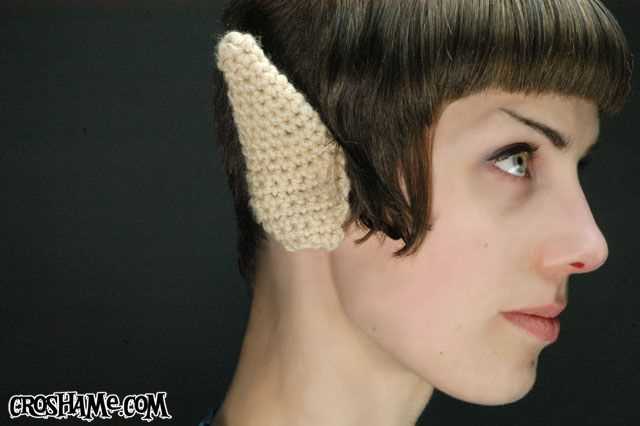
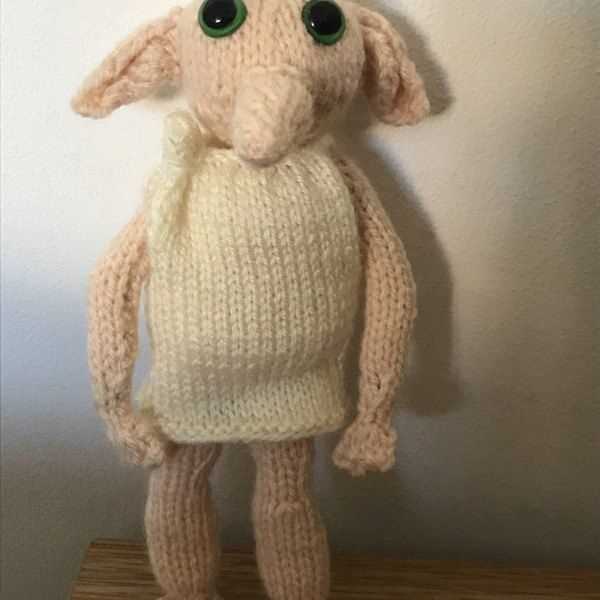
Knitted elf ears are a type of accessory that resemble the pointed ears typically associated with elves and other fantasy creatures. They are made using knitting techniques and can be worn over the top of the wearer’s own ears to give the appearance of elf-like ears.
These knitted elf ears have gained popularity among fans of fantasy literature, movies, and cosplay. They are often used as a part of costumes for events such as conventions, Halloween parties, and fantasy-themed weddings. The trend of wearing these knitted elf ears has grown in recent years, with many people embracing their love for fantasy and wanting to express their creativity through their appearance.
The popularity of knitted elf ears can be attributed to several factors:
- Pop culture influence: Popular movies and TV shows featuring elves and other mythical creatures have contributed to the rise in popularity of knitted elf ears. Fans of franchises like Lord of the Rings and The Witcher may want to embody their favorite characters by wearing these accessories.
- Self-expression and creativity: Wearing knitted elf ears allows individuals to embrace their love for fantasy and showcase their creativity. They can create unique looks by pairing these ears with different outfits and hairstyles.
- Social media and community: The rise of social media platforms like Instagram and TikTok has provided a platform for people to share their love for fantasy and showcase their knitted elf ear creations. This has led to the creation of online communities where enthusiasts can connect, share patterns, and inspire each other.
- Accessibility and DIY culture: Knitting is a popular hobby, and making knitted elf ears can be a fun and relatively simple project for crafters of all skill levels. The accessibility of knitting patterns and tutorials online has made it easier for people to create their own elf ears and join in on the trend.
In conclusion, knitted elf ears have become popular due to their association with fantasy, the desire for self-expression, the influence of popular culture, the power of social media, and the accessibility of knitting as a hobby. They provide a way for individuals to tap into their imagination and embrace their love for all things fantastical.
Materials needed for knitting elf ears
To create your own knitted elf ears, you will need a few essential materials. These include:
- Yarn: Choose a yarn in the color and texture of your choice. A light, soft yarn would work well for creating comfortable elf ears.
- Knitting needles: Select a pair of knitting needles that are suitable for the yarn you have chosen. The size of the needles will depend on the desired gauge for your project.
- Tape measure: A tape measure will be useful for taking measurements and ensuring the correct sizing of your elf ears.
- Tapestry needle: A tapestry needle with a large eye will be needed for sewing and weaving in loose ends.
- Scissors: A pair of sharp scissors is necessary for cutting yarn and trimming any excess.
- Stitch markers: Stitch markers can help you keep track of specific stitches or sections in your pattern, ensuring accuracy and reducing potential mistakes.
- Pattern: Find a knitting pattern for elf ears that suits your skill level and design preference. There are many patterns available online or in knitting books.
With these materials in hand, you’ll be ready to start knitting your very own elf ears! Make sure to read through the pattern instructions before getting started and gather any additional materials or tools mentioned in the pattern. Happy knitting!
Basic knitting techniques for elf ears
Knitting elf ears can be a fun and creative project for any knitter. Whether you are a beginner or an experienced knitter, there are a few basic techniques that you will need to master in order to create these whimsical accessories.
Casting on: The first step in any knitting project is casting on. This is how you create the initial row of stitches on your knitting needle. For the elf ears, you will need to cast on a specific number of stitches, depending on the size and shape you want to achieve.
Knit stitch: The knit stitch is one of the most common and basic knitting stitches. It is created by inserting the right needle into the first stitch on the left needle, wrapping the yarn around the right needle, and pulling it through the stitch to create a new stitch on the right needle. Repeat this process for each stitch on the left needle.
Purl stitch: The purl stitch is another essential knitting stitch. It is the reverse of the knit stitch, creating a different texture on the fabric. To purl, insert the right needle from right to left into the first stitch on the left needle, wrap the yarn around the right needle, and pull it through the stitch to create a new stitch on the right needle. Repeat for each stitch on the left needle.
Decreasing: To shape the elf ears, you will need to decrease stitches. There are several ways to decrease, but one common method is the knit two stitches together (K2tog). This is done by inserting the right needle into the next two stitches on the left needle, knitting them together as if they were one stitch.
Increasing: Conversely, you will also need to increase stitches to create the desired shape of the elf ears. One common method is the knit front and back (KFB) increase. This is done by knitting into the front loop of a stitch as normal, but before slipping it off the left needle, knitting into the back loop of the same stitch.
These basic knitting techniques will give you the foundation you need to create your own knitted elf ears. Remember to practice and experiment with different stitch patterns and techniques to make your elf ears unique and personalized!
Casting on
When starting a project to knit elf ears, the first step is to cast on. Casting on is the process of creating the first row of stitches on the knitting needle. There are several different methods of casting on, but for this particular pattern, the long-tail cast on method is recommended.
To begin the long-tail cast on, first, make a slipknot by creating a loop with the working yarn, pulling the end through the loop, and tightening it onto the knitting needle. Hold the knitting needle with the slipknot in your right hand and the tail of the yarn in your left hand.
- Step 1: With your right thumb and forefinger, hold the yarn tail and the working yarn together, leaving a loose end of about 8 to 10 inches.
- Step 2: With your left thumb and forefinger, reach through the loop on the needle and grab the working yarn.
- Step 3: Bring the working yarn back through the loop on the needle, creating a new loop.
- Step 4: Slide the new loop onto the needle, making sure not to pull it too tight.
- Step 5: Repeat steps 2-4 until you have cast on the desired number of stitches for your elf ears.
Once you have cast on the required number of stitches, you are ready to begin knitting the elf ears pattern. Make sure to follow the instructions carefully and enjoy the process of creating these adorable accessories!
Knitting in the round
Knitting in the round is a technique that allows you to create seamless tubes, such as hats, socks, and even elf ears. It involves knitting in a continuous spiral, without the need to join separate pieces together. This technique is commonly used in projects that require a tubular shape or when you want to avoid seams for a more polished finish.
To knit in the round, you’ll typically use circular needles or double-pointed needles. Circular needles provide a flexible and comfortable way to knit larger tubes, while double-pointed needles are ideal for smaller projects or projects with decreasing stitch counts. Both methods involve working in a continuous circle, with the right side of the work always facing you.
When knitting in the round, it’s important to keep track of your stitches and row counts. The beginning of the round is usually marked with a stitch marker, which helps you identify where each round starts and ends. You’ll need to adjust the pattern instructions accordingly, as they may differ from flat knitting patterns. For example, if the pattern says to “knit 10 rows,” you’ll need to knit in the round for 10 rounds instead.
Another benefit of knitting in the round is that it allows for easier pattern repeats and colorwork. Instead of having to purl on the wrong side, you can simply knit all stitches, creating a smooth surface. This can be especially convenient when working with intricate stitch patterns or Fair Isle designs.
In summary, knitting in the round is a useful technique for creating seamless tubes and achieving a polished finish. Whether you’re making hats, socks, or elf ears, this technique allows for greater ease and flexibility in your knitting projects. Remember to keep track of your stitches and adjust the pattern instructions accordingly for the best results.
Increasing Stitches
In knitting, increasing stitches is an essential technique that allows you to add extra stitches to your knitting project. There are several methods for increasing stitches, such as yarn overs, knitting front and back into the same stitch, and the make one (M1) increase.
Yarn Overs
A yarn over is a simple way to increase stitches and create an eyelet or decorative hole in your knitting. To do a yarn over, bring the yarn to the front of your work, then wrap it over the right-hand needle, and continue knitting the next stitch as usual. This creates an extra stitch on your needle.
Knitting Front and Back (KFB)
Knitting front and back into the same stitch, often abbreviated as KFB, is another method for increasing stitches. To do this, knit into the front of a stitch as usual, but instead of sliding it off the left-hand needle, leave the stitch on the needle. Then, insert the right-hand needle into the back loop of the same stitch and knit it again. Now you can slide the stitch off the left-hand needle, and you will have increased one stitch.
Make One (M1) Increase
The make one (M1) increase is a versatile method for increasing stitches and can be used to create a nearly invisible increase. To do this, insert the left-hand needle from front to back under the horizontal strand between two stitches. Then, knit into the back loop of this strand to make a new stitch. This method is commonly used in lace knitting or when shaping sleeves and necklines.
These are just a few examples of increasing stitches in knitting. Experiment with different methods to achieve the desired effect for your project. Remember to always read your knitting pattern or consult a knitting resource for the recommended method of increasing stitches for a specific pattern or design. Happy knitting!
Decreasing stitches
Decreasing stitches is an essential technique in knitting that helps shape your project by reducing the number of stitches. There are several methods to decrease stitches, each producing different effects. Understanding how to decrease stitches is crucial when following a pattern or creating your own design.
The most common method of decreasing stitches is called “knit two stitches together” (K2tog). To execute this technique, insert the right needle through the next two stitches on the left needle, from left to right, and knit them together as if they were one stitch. This method results in a right-leaning decrease, making it ideal for shaping sleeves, necklines, or other areas where a slanted decrease is desired.
Another common method is the “slip, slip, knit” (SSK) decrease. To perform SSK, slip the next two stitches, individually, from the left needle to the right needle as if to knit. Then, insert the left needle from left to right through the front loops of the slipped stitches and knit them together. This method creates a left-leaning decrease and is often used in combination with K2tog to create symmetrical decreases.
To maintain the correct stitch count, it is important to follow the pattern instructions regarding the frequency of decreasing stitches. Keep in mind that each decrease will reduce the number of stitches in your project and affect its overall shape. Practice these techniques with scrap yarn before implementing them in your knitting project to ensure accuracy and proficiency.
Binding off
When knitting a project, one of the final steps is binding off, also known as casting off. This is an important technique that is used to secure the stitches and create a finished edge. Binding off is done by working the stitches and then slipping them over each other to create a chain that holds the knitting together.
To bind off, start by knitting the first two stitches as usual. Then, insert the left-hand needle into the first stitch on the right-hand needle. Lift the first stitch over the second stitch and off the right-hand needle, creating one bound-off stitch. Repeat this process, knitting the next stitch and lifting the previous stitch over it, until only one stitch remains on the right-hand needle.
There are various methods of binding off, including the traditional bind off, the stretchy bind off, and the picot bind off. The traditional bind off is the basic and most commonly used method. It creates a neat and sturdy edge, but it can be less stretchy compared to other methods. The stretchy bind off is ideal for projects that require more elasticity, such as socks or ribbed edges. The picot bind off adds a decorative edge to the project by creating small loops along the bound-off edge.
When binding off, it’s important to maintain an even tension to ensure a consistent edge. If the bound-off edge is too tight, it can cause the project to pucker or the edge to curl. On the other hand, if the edge is too loose, it may appear sloppy and not hold its shape. Practice and experience will help you find the right tension for your projects.
Binding off in the Knitted Elf Ears Pattern
In the Knitted Elf Ears Pattern, binding off is an essential step to finish the project. After completing the last row of the stitch pattern, you will need to bind off all the stitches. It’s recommended to use the traditional bind off method to create a clean and sturdy edge that complements the rest of the project.
Follow the instructions above to bind off each stitch until only one stitch remains. Then, cut the yarn, leaving a tail of several inches. Thread the tail through the remaining stitch and pull tight to secure. Weave in any loose ends to ensure a polished finish for your knitted elf ears.
Choosing the perfect yarn for elf ears
When it comes to knitting elf ears, choosing the right yarn is crucial to achieving the desired look and feel. The yarn you choose will determine the texture, color, and overall quality of the finished elf ears. Here are some factors to consider when selecting the perfect yarn for your project.
Type of yarn:
There are various types of yarn available, each with its own unique characteristics. For elf ears, it’s best to opt for a lightweight and soft yarn that will provide comfort when worn. Acrylic or cotton yarns are popular choices due to their breathability and ease of care. You can also consider using a yarn blend that combines different fibers to achieve the desired texture.
Color:
Another important aspect to consider is the color of the yarn. Elf ears are often associated with fantasy and whimsy, so don’t be afraid to get creative with your color choices. Opt for vibrant, jewel-toned hues or go for a more subtle, natural shade depending on the look you want to achieve. You can also experiment with variegated or self-striping yarns to add visual interest to your elf ears.
Gauge and thickness:
The gauge and thickness of the yarn will play a role in determining the size and shape of your elf ears. Thicker yarns will result in larger and more pronounced ears, while thinner yarns will create a more delicate and subtle look. Consider the desired size and shape of your elf ears and choose a yarn that will help you achieve that vision.
Texture:
The texture of the yarn can add an extra dimension to your elf ears. If you want your ears to have a smooth and polished appearance, opt for a yarn with a tight twist and minimal texture. On the other hand, if you want a more rustic and textured look, choose a yarn with a looser twist or one that has a subtle halo effect. Consider the overall aesthetic you want to achieve and select a yarn with a complementary texture.
By taking into account these factors when choosing the perfect yarn for your elf ears, you can ensure that your finished project will be visually appealing, comfortable to wear, and true to your creative vision.
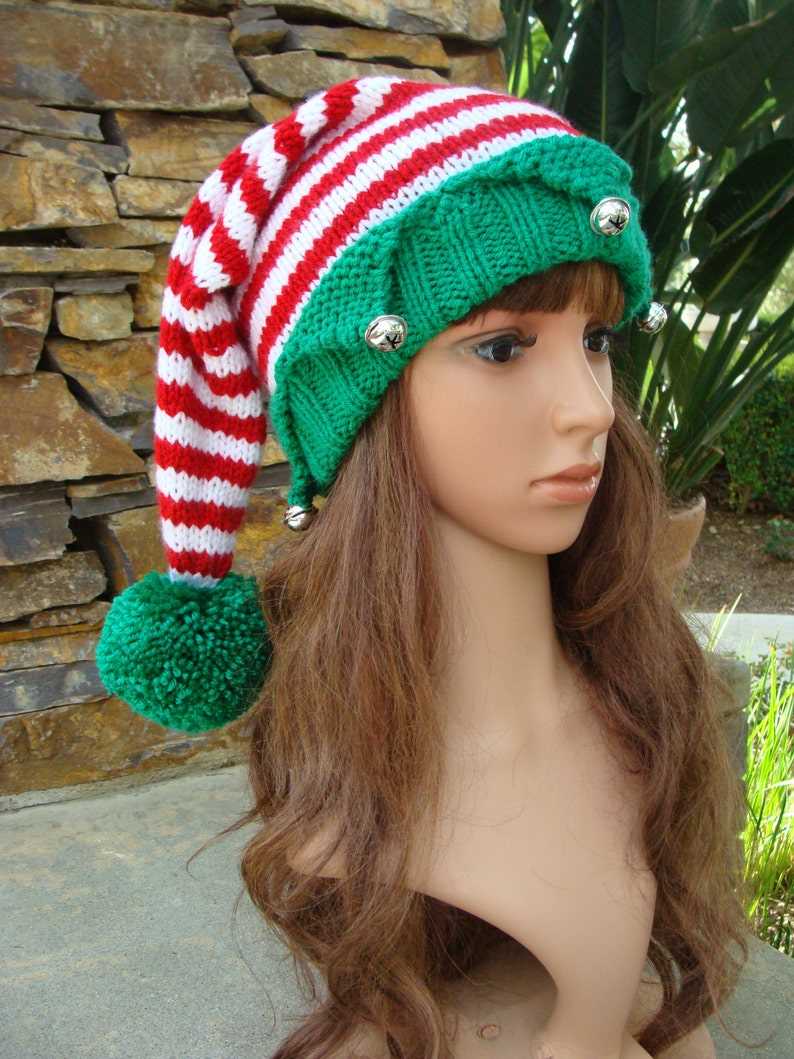
Color options for elf ears
The color of your elf ears can be a fun and creative way to customize your look. With a wide range of options available, you can choose the perfect color to match your individual style or costume.
Skin tones: One popular option for elf ears is to match the color to your natural skin tone. This creates a more realistic and seamless appearance, as if the elf ears are a natural extension of your own ears. Whether you have fair, medium, or dark skin, there is a shade available to suit your needs.
Fun and vibrant:
- Bright colors: If you want to make a bold statement with your elf ears, you can choose from a variety of bright colors. Colors like neon green, hot pink, and electric blue can add a whimsical and eye-catching touch to your look.
- Rainbow: For a festive and playful look, you can opt for elf ears in rainbow colors. This colorful option is perfect for costume parties, cosplays, or simply expressing your vibrant personality.
Natural tones:
- Woodland shades: To embrace the enchanted and mystical nature of elves, you can choose elf ears in earthy tones like moss green, chestnut brown, or deep forest green. These colors give a nod to the natural beauty of the forest and can create a more mystical and whimsical appearance.
- Ethereal pastels: For a softer and more ethereal look, pastel colors like lavender, pale pink, or baby blue can be a great choice. These delicate shades can create a dreamy and magical vibe, perfect for fairy-themed events or fantasy cosplay.
Remember, the color of your elf ears is a personal choice, and there is no right or wrong option. Whether you prefer bold and vibrant colors or soft and natural tones, the most important thing is to choose a color that makes you feel confident and reflects your unique style.
Finishing touches for your knitted elf ears
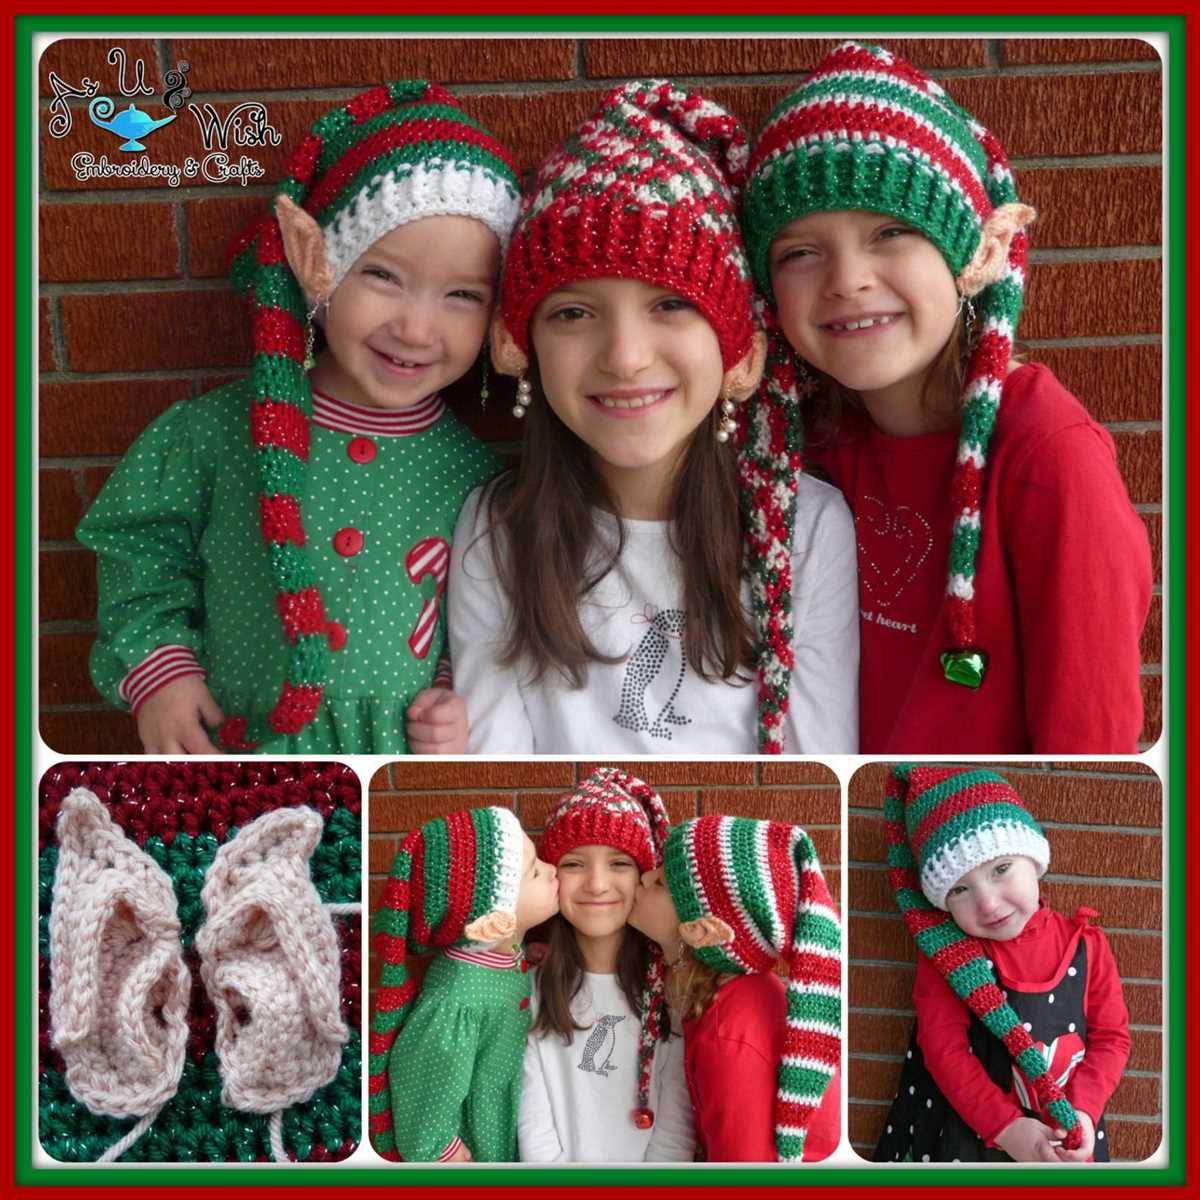
Once you have completed knitting your elf ears, there are a few finishing touches you can add to make them even more magical and realistic. These simple additions can take your knitted elf ears to the next level and make them truly stand out.
1. Embellishments: Consider adding some embellishments to your knitted elf ears to give them a whimsical touch. You can sew on small beads, sequins, or even tiny bells to create a jingle when you move. These little details can make your elf ears look more enchanting and bring them to life.
2. Painting: If you want to add some color to your knitted elf ears, you can use fabric or acrylic paint to achieve the desired effect. Paint them in shades of green, brown, or any other colors you think would suit your elf character. You can create patterns, gradients, or add some sparkle with metallic paint. Be creative and let your imagination run wild.
3. Attachments: To make your knitted elf ears easier to wear, you can attach them to a headband or hair clips. This way, you can easily put them on and take them off whenever you want. Attach small loops or hooks to the base of your elf ears and sew them securely onto your chosen accessory. This way, you can wear your knitted elf ears with ease and comfort.
4. Stiffening: If you want your knitted elf ears to keep their shape, you can stiffen them using fabric stiffener or a mixture of glue and water. Carefully apply the stiffening solution to the knitted ears and shape them as desired. Allow them to dry completely before wearing or storing them. This will help your elf ears maintain their shape and make them look more realistic.
5. Adding details: If you want to add some extra details to your knitted elf ears, you can use embroidery or crochet techniques. You can create intricate patterns, add texture, or even incorporate other small elements like leaves or flowers. These additional details can make your knitted elf ears truly unique and add an extra level of complexity to your costume.
By following these finishing touches, your knitted elf ears will be ready to complete your elf costume and bring your character to life. Whether you are dressing up for a costume party or simply want to embrace your inner elf, these enhancements will make your knitted ears truly unforgettable.
Adding embellishments
If you want to add some extra flair to your knitted elf ears, there are various embellishments you can consider. These small details can make a big difference in the overall look of your project.
1. Beads:
One popular option is to sew small beads onto the pointed end of the ear to create a more magical and whimsical effect. You can use beads in different colors or shapes to match your desired style.
2. Sequins:
Another way to add some sparkle to your elf ears is by sewing on sequins. You can either sew them on individually or string them together to create a border along the edges of the ear. This can give your ears a glamorous and eye-catching touch.
3. Embroidery:
If you are skilled in embroidery, you can add intricate designs or patterns to your elf ears. You can use colorful threads to create flowers, leaves, or other decorative elements that will make your ears stand out.
4. Ribbons:
Attaching ribbons to the base of the ears can add a playful and feminine touch to your elf ears. You can choose ribbons in different colors and patterns to match your outfit or costume. You can tie them in bows or let them dangle for added movement.
5. Feathers:
For a more whimsical and nature-inspired look, you can attach small feathers to the base of the ears. This can give your elf ears a mystical and magical appearance, perfect for fantasy or cosplay events.
Remember to consider the type of yarn you are using and the overall style you want to achieve when choosing your embellishments. Experiment with different options to find the ones that best suit your personal taste and the occasion you will be wearing the elf ears for.
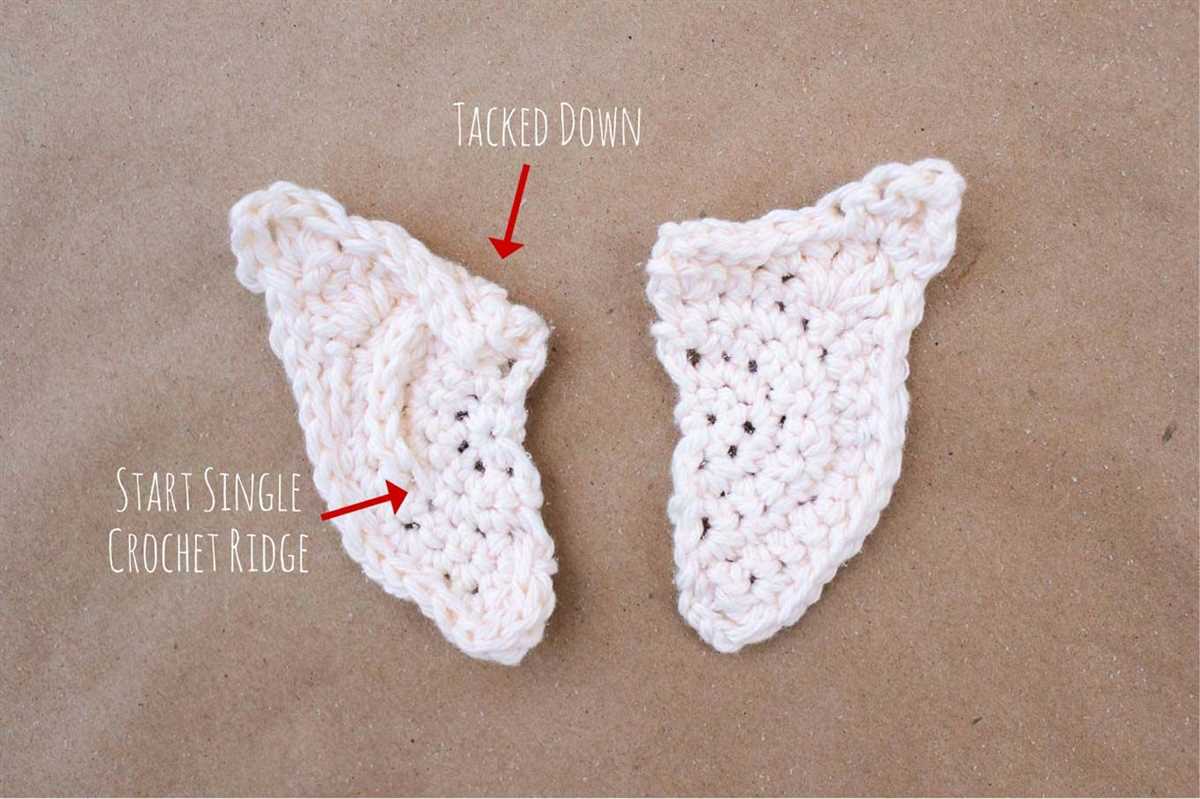
Blocking and Shaping
Once you have finished knitting your elf ears, it’s important to block and shape them to give them a professional finish. Blocking is the process of adjusting the shape and size of your knitting by wetting it and allowing it to dry in a desired form. Shaping, on the other hand, involves manipulating the knitted piece to achieve a specific shape or curve.
In order to block and shape your elf ears, you will need the following materials:
- A bowl of warm water
- Mild detergent or wool wash
- Towels
- Pins or blocking wires
- A foam or blocking board
- Tape measure
Here is a step-by-step guide on how to block and shape your elf ears:
- Gently soak your knitted elf ears in the bowl of warm water mixed with mild detergent or wool wash. Let them soak for about 15 minutes to allow the fibers to relax.
- Remove the elf ears from the water and gently squeeze out the excess moisture. Do not wring or twist the fabric, as this can cause it to lose its shape.
- Place a towel on a flat surface and lay the elf ears on top of it. Roll the towel tightly, pressing down gently to remove more moisture from the fabric.
- Unroll the towel and place the elf ears on a clean, dry towel. Gently shape the ears into the desired form, using your hands to smooth out any wrinkles or unevenness.
- Pin or use blocking wires to secure the elf ears in place on a foam or blocking board. Use a tape measure to ensure that both ears are the same size and shape.
- Allow the elf ears to dry completely. This may take several hours or even overnight, depending on the thickness of the yarn and the humidity level in the room.
- Once the elf ears are dry, remove the pins or blocking wires and gently fluff the fabric with your fingers to restore its texture.
Blocking and shaping your knitted elf ears can make a world of difference in their appearance. It helps to smooth out any irregularities in your knitting and create a more polished and professional finish. By following these steps and taking your time, you can achieve perfectly shaped elf ears that are ready to be worn and admired.