
Knitting a linen sweater is a great way to stay stylish and comfortable in the warmer months. Linen yarn is known for its breathability, making it perfect for creating lightweight garments that are perfect for spring and summer. Whether you’re an experienced knitter or a beginner, this linen sweater knitting pattern is a great project to take on.
This pattern features a simple yet elegant design that can be customized to fit your style. The raglan sleeves and ribbed texture add visual interest to the sweater, while the loose fit ensures a comfortable and flattering fit. Plus, with the versatility of linen yarn, you can choose from a wide range of colors to create a sweater that matches your wardrobe perfectly.
Not only is knitting a linen sweater a fun and rewarding project, but it also allows you to enjoy the many benefits of linen yarn. Linen is derived from the flax plant and is known for its durability, moisture-wicking properties, and ability to keep you cool in warm weather. The natural sheen of linen yarn adds an elegant touch to any garment, making it a great choice for a stylish summer sweater.
Linen Sweater Knitting Pattern
Knitting your own linen sweater can be a rewarding and enjoyable project. Linen is a lightweight and breathable fabric, making it perfect for warmer weather. With its natural drape and ability to keep you cool, a linen sweater is a great addition to any wardrobe.
To get started, you will need a suitable linen yarn, preferably one that is soft and has good stitch definition. Look for a yarn that is specifically labeled as suitable for knitting sweaters. It’s also a good idea to check the gauge specified in the knitting pattern to ensure the yarn you choose will produce the correct size.
Materials:
- Linen yarn (approximately X yards)
- Knitting needles (size X)
- Tapestry needle
- Stitch markers
- Scissors
Pattern:
- Using the long-tail cast on method, cast on X stitches.
- Row 1: Knit all stitches.
- Row 2: Purl all stitches.
- Repeat rows 1 and 2 until the piece measures X inches from the cast on edge.
- Next, separate the front and back pieces by placing stitch markers at each side edge.
- Continue working in stockinette stitch (knit on the right side, purl on the wrong side) for the back piece.
- For the front piece, work in stockinette stitch until X inches from the separation.
- Next, shape the neckline by binding off the center X stitches and working each side separately.
- For the sleeves, pick up stitches along the armhole edges and work in stockinette stitch for X inches.
- Continue decreasing X stitches at each edge every X rows to shape the sleeve.
- Repeat for the second sleeve.
- Finally, seam the front and back pieces together at the shoulders and sides using a tapestry needle.
- Weave in any loose ends.
- Your linen sweater is now ready to be worn or gifted!
This linen sweater knitting pattern provides a basic guide to creating your own linen sweater. Feel free to customize it by adding embellishments or adjusting the length and fit to suit your preference. Happy knitting!
Materials
Before you start knitting your linen sweater, make sure you have all the necessary materials. Here is a list of items you will need:
- Linen yarn: Choose a high-quality linen yarn in the color of your choice. Linen yarn is perfect for summer sweaters as it is lightweight and breathable. Make sure to check the yardage and weight recommendations in the knitting pattern.
- Knitting needles: Select a pair of knitting needles that are suitable for your chosen yarn weight. Look for needles made from bamboo or wood for a smoother knitting experience.
- Tape measure: A tape measure will come in handy for checking your gauge and measuring your progress as you knit the sweater.
- Stitch markers: Stitch markers are essential for marking important points in the pattern, such as increases, decreases, and pattern repeats. They can be helpful in keeping track of your stitches and ensuring accuracy.
- Yarn needle: A yarn needle with a large eye is necessary for weaving in ends and seaming your sweater.
- Scissors: Keep a pair of sharp scissors nearby for cutting yarn and snipping any loose ends.
Having all these materials ready before you start knitting will ensure a smooth and enjoyable knitting process. Take your time to gather everything you need and double-check the pattern requirements to ensure you have the correct materials for your linen sweater project.
Gauge and Sizing
When knitting a linen sweater, it is important to pay attention to the gauge in order to obtain the desired sizing. The gauge refers to the number of stitches and rows in a given measurement, typically 4 inches. To ensure accuracy in your finished project, it is recommended to create a gauge swatch before starting the actual sweater.
To create a gauge swatch, use the recommended needle size and yarn weight stated in the knitting pattern. Cast on a certain number of stitches and work in the specified stitch pattern for a few inches. Then, measure the number of stitches and rows within a 4-inch square. If there are more stitches and rows than the pattern specifies, your tension is too tight. If there are fewer stitches and rows, your tension is too loose. Adjust your needle size accordingly until you achieve the correct gauge.
Once you have determined the correct gauge, you can proceed with the sizing of your linen sweater. Knitting patterns usually provide a range of sizes, such as small, medium, and large. These sizes are typically based on bust measurements. Take accurate measurements of your own bust and choose the size that corresponds with it. If you fall in between sizes, consider making adjustments, such as knitting fewer or additional stitches, to achieve a better fit.
Remember that linen has a tendency to stretch and relax over time, so it is recommended to choose a size that provides some ease for a comfortable fit. Additionally, keep in mind that the final measurements of your linen sweater may differ slightly from the pattern, depending on your gauge and personal knitting style.
Cast On
When starting a linen sweater knitting project, the first step is to cast on. Casting on is the process of creating the foundation row of stitches on the knitting needle. There are several methods of casting on, but for a linen sweater, the long-tail cast on method is commonly used.
To cast on using the long-tail method, you will need a long tail of yarn, about three times the width of your finished garment. This extra length of yarn is necessary because it will be used to create the first row of stitches. Hold the needle in your right hand and make a slipknot with the yarn, leaving a long tail. Insert the needle through the slipknot, keeping the slipknot snug around the needle.
Next, wrap the yarn around your thumb and index finger, forming a “V” shape. Insert the needle under the first loop of yarn on your thumb, and then over the second loop of yarn on your finger. Gently pull the needle through, creating a new loop. Repeat this process until you have cast on the desired number of stitches.
After casting on, it is important to count your stitches to ensure you have the correct number. This will help you keep track of your progress as you knit your linen sweater. Once you have cast on and counted your stitches, you are ready to begin the next step in the pattern, such as knitting the first row or working the ribbing.
Body
The body of the linen sweater is where all the action happens. This is where you knit the main part of the sweater, including the front, back, and sleeves. The body is typically knit in the round from the bottom up, starting with the ribbing or hem and then continuing with the main stitch pattern. The body is worked in one piece until you reach the armholes, at which point you set aside the sleeve stitches and continue knitting the front and back separately.
When knitting the body, it’s important to keep an eye on your gauge and make any necessary adjustments to ensure a proper fit. The linen yarn will have some natural drape and stretch, so it’s important to choose a stitch pattern that will complement the properties of the yarn. Some common stitch patterns for linen sweaters include simple stockinette stitch, ribbing, or textured patterns such as cables or lace.
As you work on the body of the sweater, make sure to try it on regularly to check the fit and make any necessary adjustments. This is particularly important for the armholes and neckline, as these areas can greatly affect the overall look and comfort of the sweater. Once the body is complete, you can move on to the sleeves and finishing touches to complete your linen sweater.
Sleeves
The sleeves are an important part of any sweater, and in the case of a linen sweater, they can add an extra layer of comfort and style. When knitting the sleeves, it’s important to consider the fit and length that you desire. Whether you prefer a loose, flowing sleeve or a more fitted style, there are various knitting patterns available to help you achieve the look you want.
One popular option for linen sweater sleeves is the raglan style, which creates a diagonal seam that extends from the underarm to the neckline. This style offers a sleek and modern look and is relatively easy to knit. Another option is the drop shoulder style, which provides a relaxed and oversized fit. This style is perfect for those looking for a cozy and comfortable sweater.
Once you have chosen your preferred sleeve style, you can begin knitting. Linen yarn can be somewhat stiff and sturdy, so it’s important to choose the right needle size to achieve the desired drape and texture. It’s also important to pay attention to the gauge of the pattern to ensure an accurate fit. Knitting the sleeves can be a time-consuming process, but the end result is well worth the effort. Whether you’re knitting a short-sleeved sweater or a long-sleeved one, the sleeves will add the finishing touch to your linen sweater and complete the overall look.
Neckline
The neckline of a linen sweater is an important design element that can greatly impact the overall look and style of the garment. There are several different types of necklines that can be incorporated into a linen sweater knitting pattern, each with its own unique characteristics and ways to be styled.
1. Crew Neck: A crew neck is a classic and timeless neckline that sits high on the neck and forms a rounded shape. It is a popular choice for linen sweaters as it provides a clean and simple look that can be dressed up or down. A crew neck is versatile and works well with both casual and formal outfits.
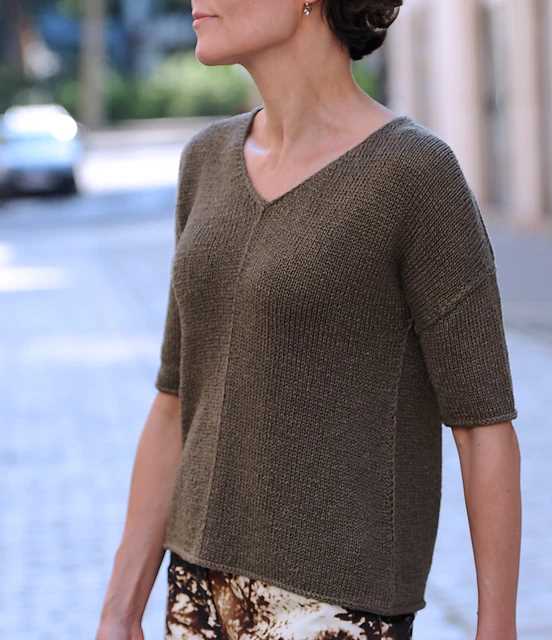
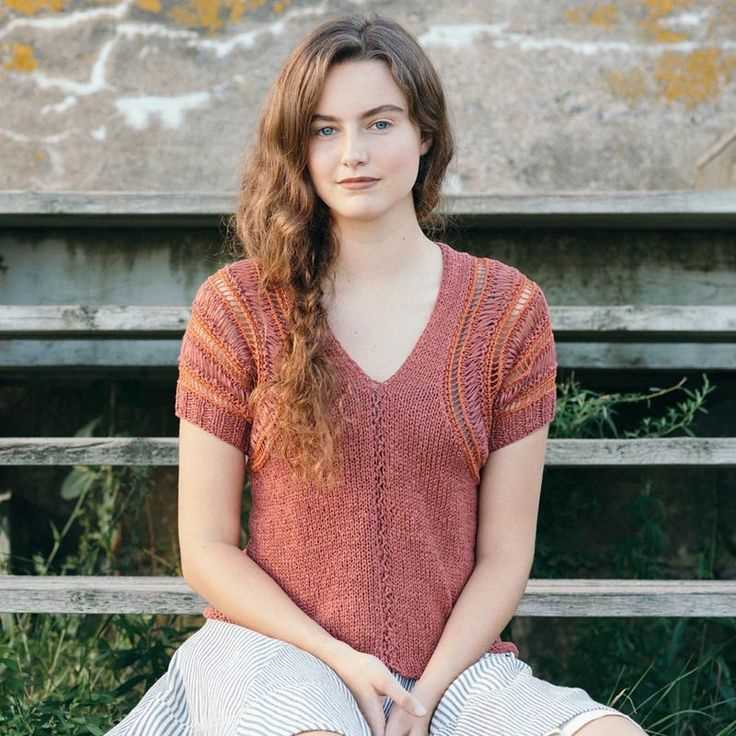
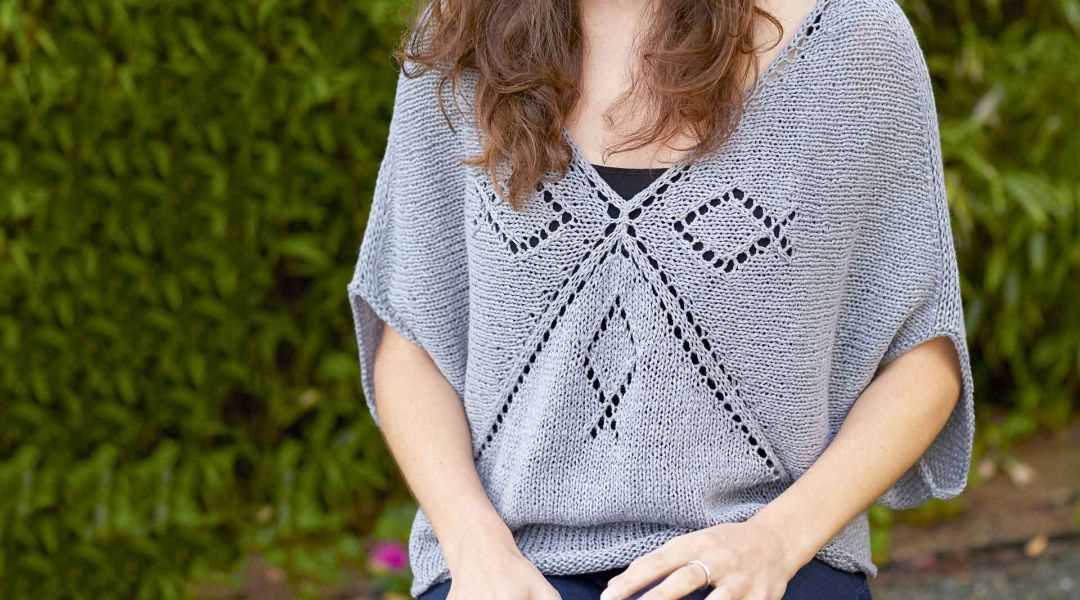
2. V-Neck: A V-neck neckline is characterized by its diagonal line that forms a V shape on the front of the sweater. This neckline is flattering and helps to elongate the neck. It is a great choice for those who want to add a touch of elegance and femininity to their linen sweater.
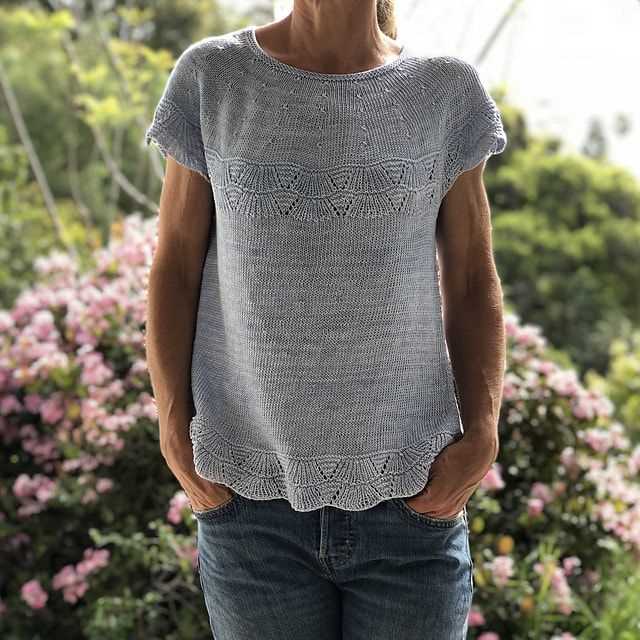
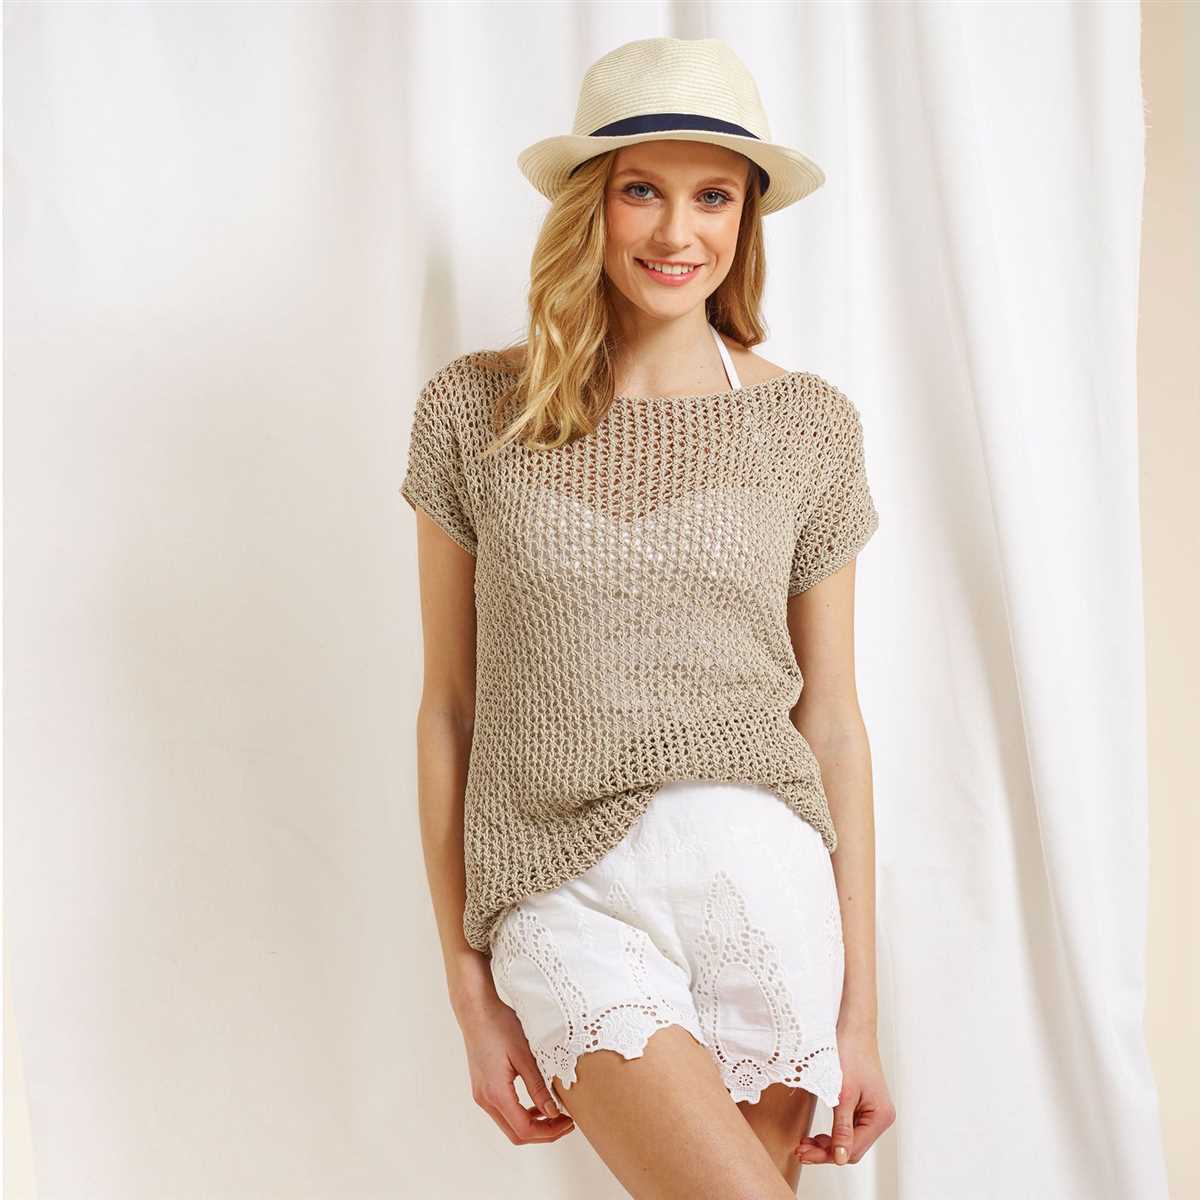
3. Boat Neck: A boat neck neckline, also known as a bateau neckline, is wider and sits closer to the shoulder, creating a wide opening for the neck and collarbones. This neckline adds a touch of sophistication and can be styled in a variety of ways. It is a perfect choice for those who want a more relaxed and effortless look.
4. Scoop Neck: A scoop neck is a wide and shallow neckline that forms a U shape. It is a popular choice for linen sweaters as it is flattering and shows a hint of skin without being too revealing. The scoop neck is versatile and can be styled in various ways, making it suitable for different occasions and outfits.
5. Turtleneck: A turtleneck neckline, also known as a roll neck, is a high and close-fitting neckline that covers the entire neck. It is a cozy and warm option for linen sweaters, especially during the colder months. The turtleneck adds a touch of sophistication and can be styled in a sleek and elegant way.
When choosing a neckline for a linen sweater, it is important to consider personal style, comfort, and the overall aesthetic of the garment. Each neckline has its own unique characteristics and can significantly impact the look and feel of the sweater. Experimenting with different necklines can help create a versatile and stylish wardrobe staple.
Finishing
After completing the knitting of the linen sweater, it is important to properly finish it to ensure a professional-looking final product. This involves a few steps that include blocking, seaming, and adding any necessary finishing touches.
Blocking
Blocking is a crucial step in the finishing process of knitted garments. It involves gently wetting the sweater and then carefully shaping it to the desired dimensions. For a linen sweater, it’s best to lay it flat on a clean towel or blocking mat and pin it in place, gently stretching it to the correct measurements. This will allow the linen fibers to relax and ensure a more even and polished appearance.
Seaming
Once the sweater is blocked and dry, it’s time to seam it together. This involves joining the different pieces of the sweater, such as the front and back panels, sleeves, and collar. Using a yarn needle and the same yarn used for knitting, carefully sew the pieces together using a mattress stitch or any preferred seaming technique. Take care to align the stitches and create seamless transitions between the sections of the sweater.
Finishing Touches
After seaming, it’s important to add any desired finishing touches to the linen sweater. This may include weaving in any loose ends, adding a decorative edging or trim, or attaching buttons or other closures. Whatever finishing touches are chosen, they should complement the style and design of the sweater and enhance its overall appearance.
By following these finishing steps, a knitter can ensure that their linen sweater is not only beautifully crafted but also has a professional and polished finish. The time and attention to detail taken during the finishing process can greatly elevate the final result, resulting in a sweater that is wearable, comfortable, and stylish.
Blocking
Blocking is an essential step in knitting that helps to shape and finish a garment. It involves wetting the knitted piece, stretching it to the desired measurements, and allowing it to dry in that shape. Blocking not only helps to even out stitches and create a more polished finish, but it also ensures that the final garment fits properly.
There are several methods of blocking, including wet blocking and steam blocking. Wet blocking is commonly used for natural fibers like linen, as it allows the fibers to relax and reshape. To wet block a linen sweater, you would soak it in lukewarm water with a mild wool wash or shampoo. Gently squeeze out the excess water and then lay the sweater flat on a clean towel, shaping it to the desired measurements. Use T-pins or blocking wires to hold the edges in place and allow the sweater to dry completely.
When blocking a linen sweater, it is important to consider the fiber’s natural tendency to stretch. Linen is known for its drape and ability to relax, so it is essential to measure the sweater accurately and block it to the desired measurements. This will ensure that the finished garment retains its shape and drape after blocking. Additionally, blocking can help to soften the linen fibers and improve the overall texture of the sweater.
Overall, blocking is an important step in knitting a linen sweater. It helps to shape the garment, even out stitches, and improve the overall finish. By taking the time to block your sweater properly, you can ensure that it fits well and showcases the unique qualities of linen yarn.
Care Instructions
Proper care is essential to maintain the quality and longevity of your linen sweater. Follow these instructions to keep your sweater in top condition:
1. Washing
When washing your linen sweater, it is recommended to hand wash it in cool water with a gentle detergent. Avoid using bleach or harsh chemicals, as they can damage the fibers. Gently squeeze out excess water without wringing or twisting the sweater.
2. Drying
Lay your linen sweater flat on a clean towel to dry. Avoid hanging it, as the weight of the wet sweater can stretch out the shape. Keep it away from direct sunlight to prevent any color fading.
3. Ironing
If needed, iron your linen sweater on a low heat setting while it is still slightly damp. Place a cloth or pressing cloth between the iron and the sweater to protect the fabric from direct heat. Avoid using steam, as it can create water spots on the linen.
4. Storage
When not in use, store your linen sweater in a cool and dry place, away from direct sunlight. Avoid hanging it for a long period of time, as it can cause stretching. Fold it neatly and place it in a breathable bag or drawer to protect it from dust and moths.
5. Care for Stains
In case of stains, it is important to address them as soon as possible. Blot the stain gently with a clean cloth or sponge, and avoid rubbing as it can spread the stain. Treat the stain with a mild detergent or stain remover specifically designed for linen fabric, following the instructions on the product.
By following these care instructions, you can ensure that your linen sweater remains soft, beautiful, and cozy for years to come.
Variations
There are many ways to customize this linen sweater knitting pattern to make it your own. Here are a few suggestions:
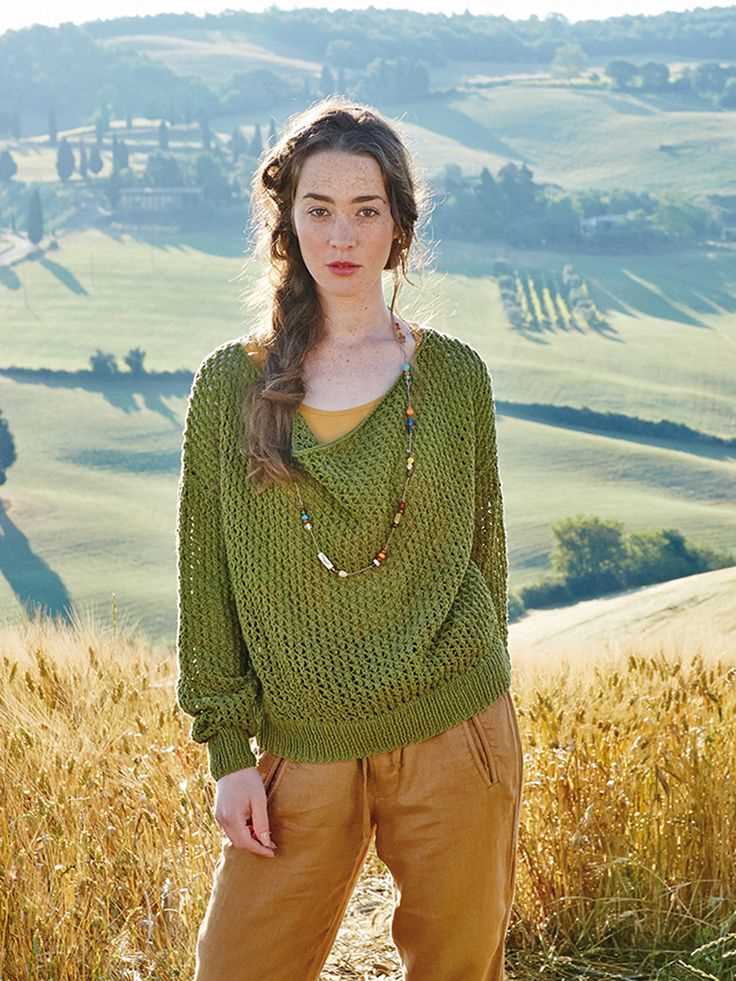
- Change the stitch pattern for the body or sleeves. This pattern uses a simple knit and purl combination, but you can experiment with different textures or lace patterns.
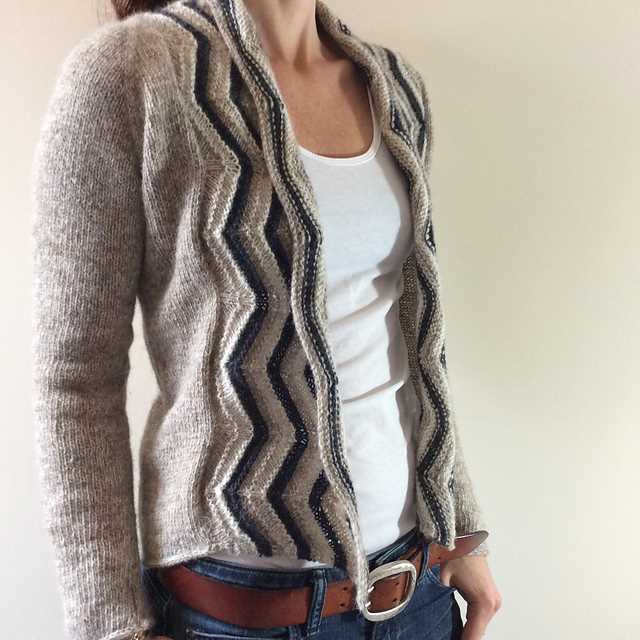
- Add stripes or color blocks. You can incorporate different colors by knitting sections in different shades or by using a variegated yarn.
- Adjust the length. If you prefer a longer or shorter sweater, simply modify the number of rows for the body and sleeves.
- Try a different neckline. Instead of the crew neck, you can explore options like a V-neck or a boatneck.
- Embroider or embellish. Personalize your sweater by adding embroidery, beads, or buttons.
With these variations, you can create a unique and customized linen sweater that suits your style and preferences. Have fun experimenting and making it your own!