
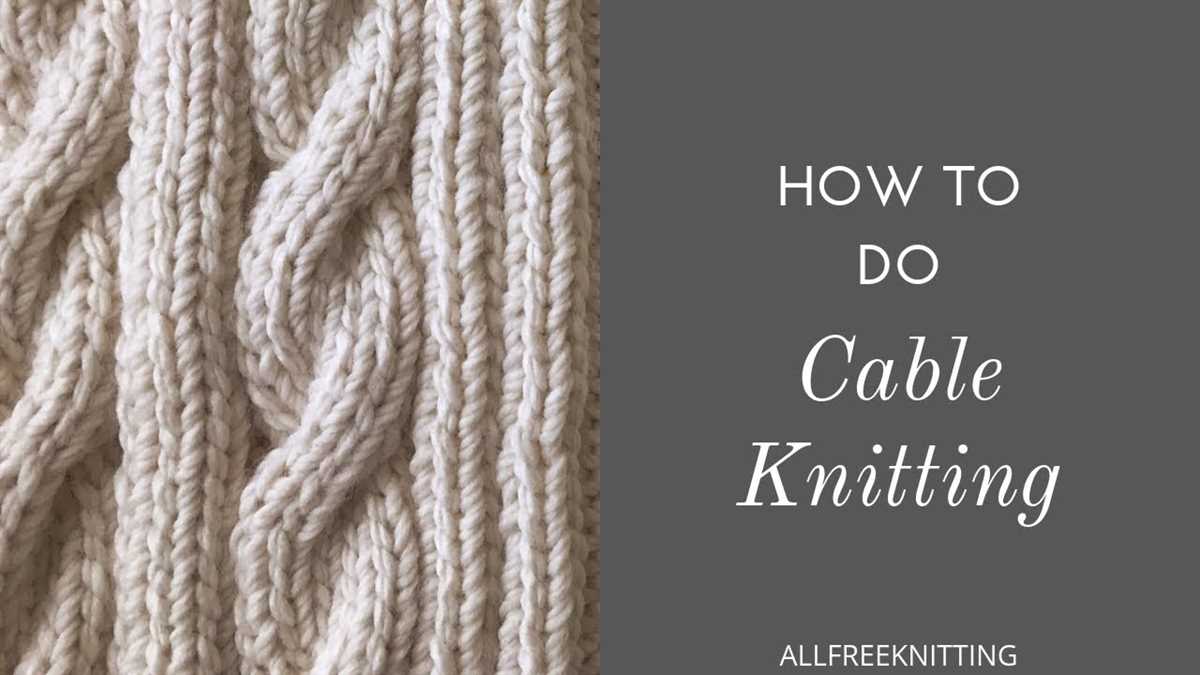
Knitting is a relaxing and rewarding hobby that allows you to create beautiful and cozy items with just a few simple tools. One of the most popular knitting techniques is cable knitting, which involves creating interlocking patterns and designs using a series of twisted stitches. While cable knitting may seem intimidating to beginners, it is actually quite easy to learn and can add a unique and intricate touch to your projects.
For those who are new to cable knitting, it’s important to start with simple patterns that are easy to follow. This will help you develop the necessary skills and confidence to take on more complex projects in the future. There are a wide variety of cable knitting patterns designed specifically for beginners, with step-by-step instructions and helpful tips to guide you along the way.
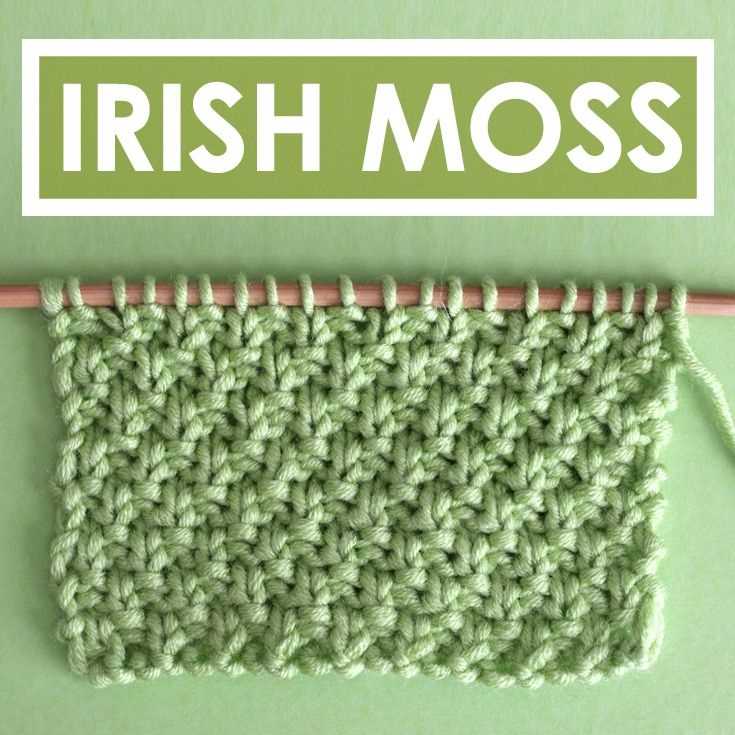
Some popular cable knitting patterns for beginners include basic cable stitches, such as the classic 4-stitch cable or the 6-stitch cable. These patterns typically involve crossing a small number of stitches over each other to create a twist effect. Other beginner-friendly patterns include simple cable scarves or hats, which allow you to practice your cable knitting skills while creating practical and stylish accessories.
Cable Knitting Patterns for Beginners
Knitting is a wonderful craft that allows you to create beautiful and cozy items with just a few basic stitches. Cable knitting is a technique that adds texture and depth to your knitted projects. While it may seem intimidating at first, cable knitting patterns for beginners are a great way to start exploring this technique.
One of the easiest cable knitting patterns for beginners is a basic cable pattern. This pattern typically involves working a few rows of knit stitches, followed by crossing a few stitches to create the cable effect. By following a simple chart or written instructions, beginners can quickly master this pattern and create their first cable project.
Another popular cable knitting pattern for beginners is a simple ribbed cable pattern. This pattern combines basic ribbing with cable stitches, creating a visually interesting and textural design. By alternating between knit and purl stitches and crossing a few stitches, beginners can create a beautiful ribbed cable pattern that can be used in scarves, hats, and other accessories.
If you’re new to cable knitting, it’s important to start with simple patterns and gradually increase the complexity as you become more comfortable with the technique. By practicing regularly and experimenting with different cable knitting patterns, beginners can develop their skills and create unique and beautiful projects. So grab your knitting needles and some cozy yarn, and start exploring the world of cable knitting!
What is cable knitting?
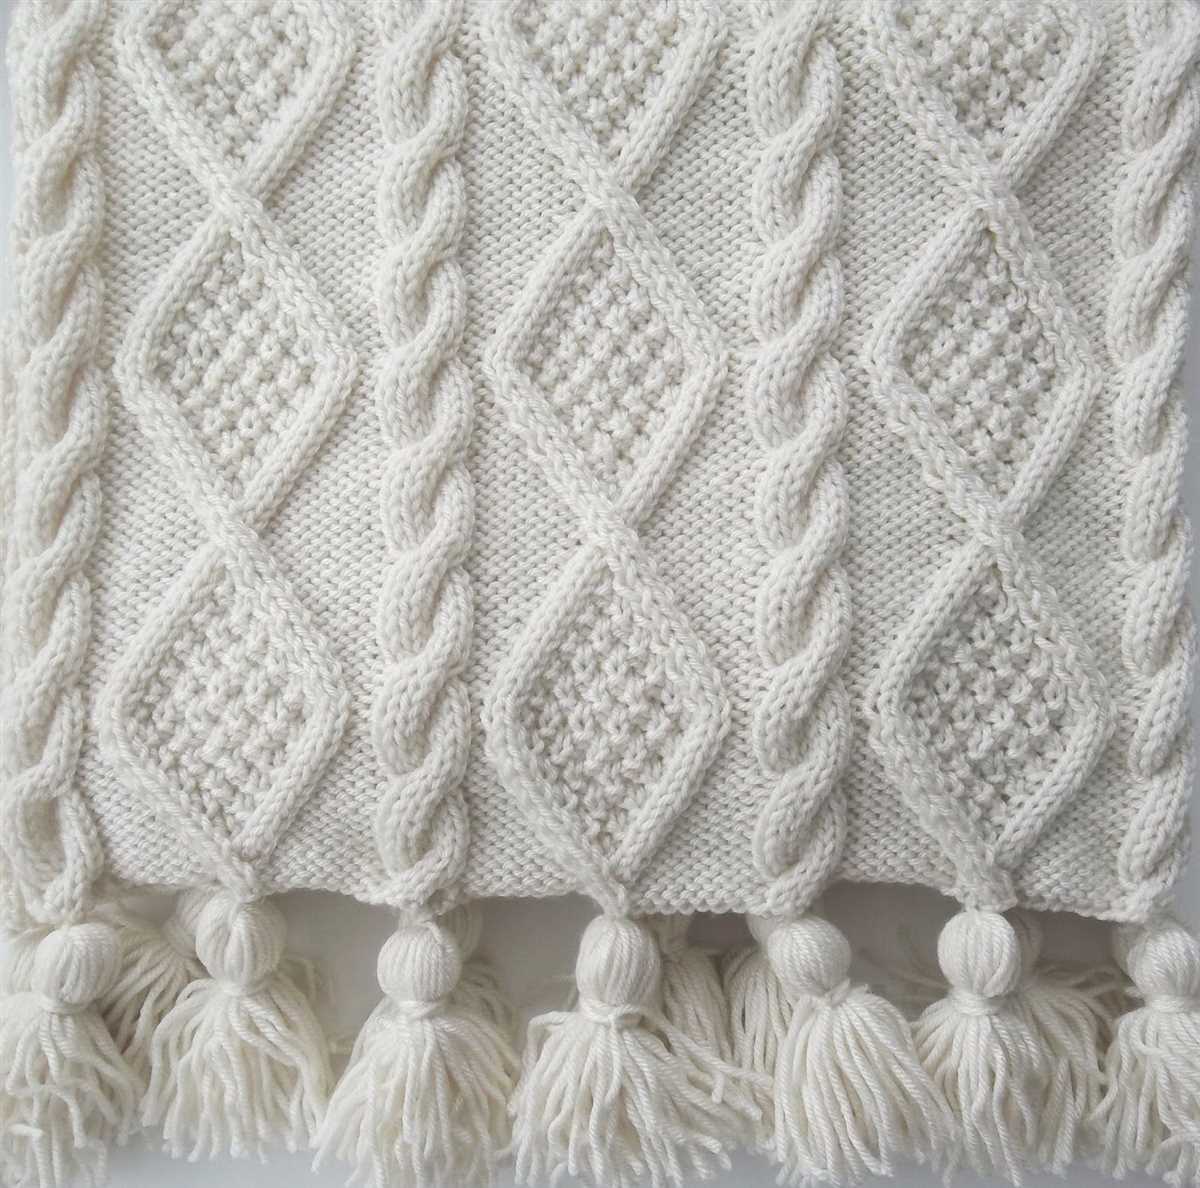
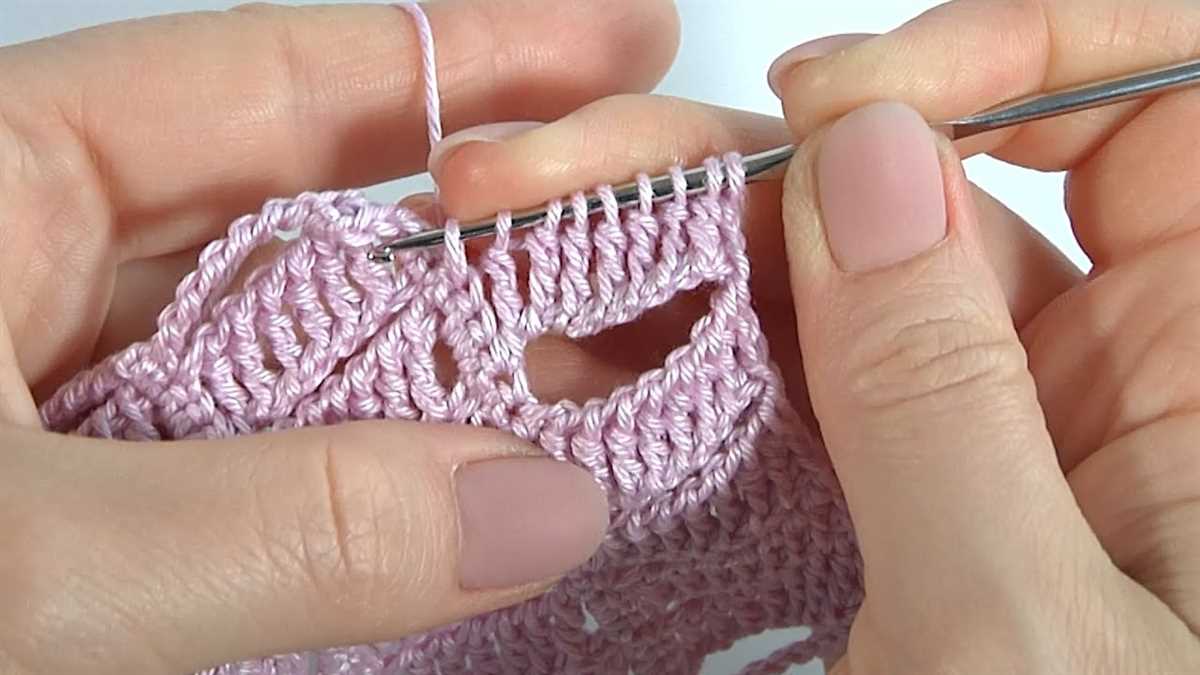
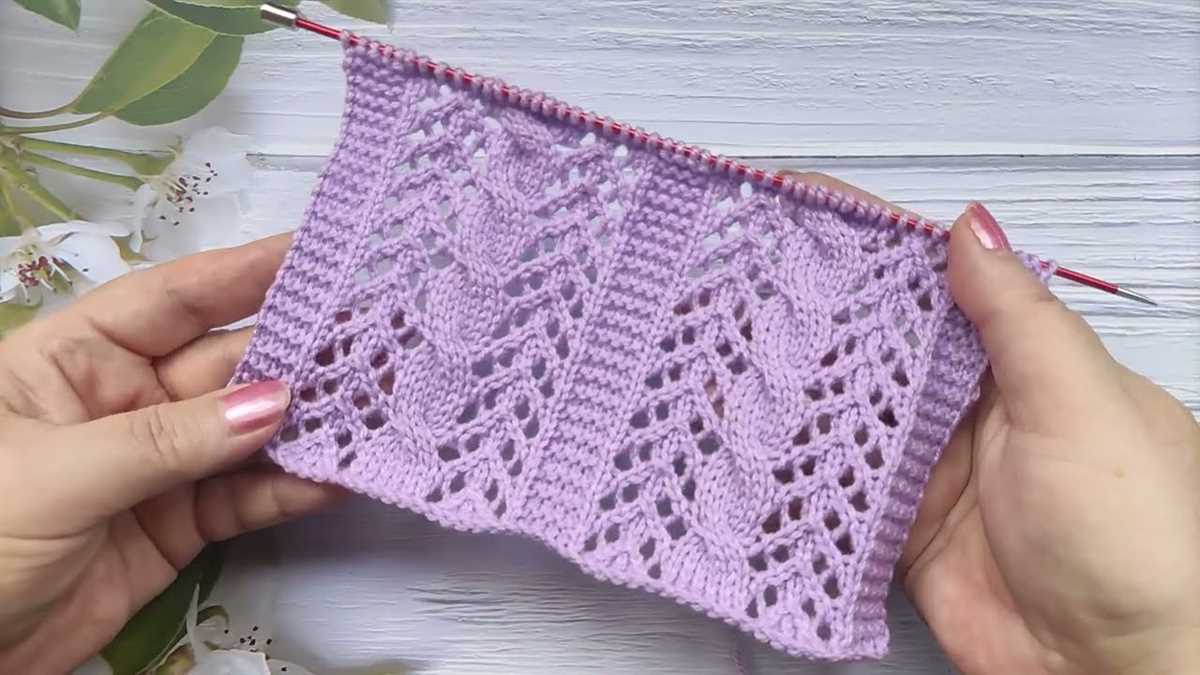
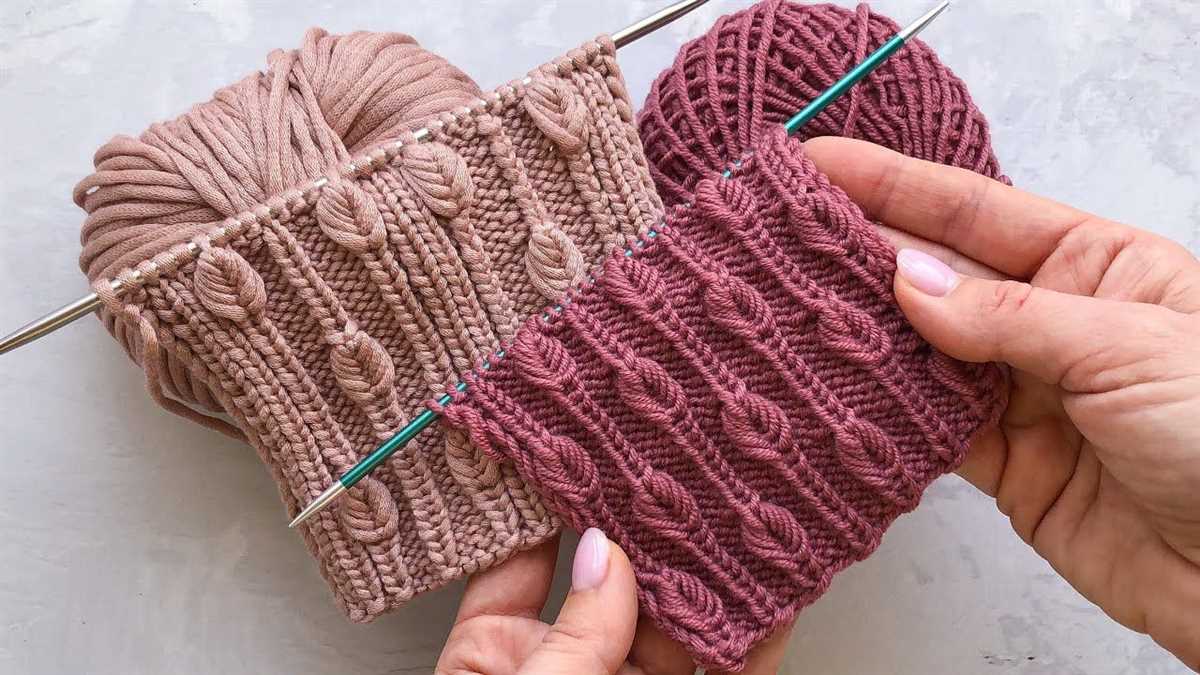
Cable knitting is a technique that creates a textured pattern resembling interlocking cables or rope-like twists in knitted fabric. It involves crossing stitches over each other on a background of plain knit or purl stitches, resulting in a raised design. Cable knitting is often used to create warm and cozy sweaters, scarves, hats, and other accessories.
Cables are formed by manipulating the order of stitches on the knitting needles. A cable needle, a small double-pointed needle, is used to hold a few stitches to the front or back while the other stitches are worked. By crossing the order of the stitches and then knitting them in the opposite order, the cable pattern is achieved. The size and complexity of cable patterns can vary, from simple twists to intricate designs with multiple stitches and cables.
Cable knitting can be a bit intimidating to beginners, but it is a highly rewarding technique once you understand the basics. By starting with simpler cable patterns and gradually working your way up to more complex ones, you can develop your skills and create beautiful textured knits. Learning cable knitting opens up a world of possibilities for adding interest and dimension to your knitting projects, making them stand out and showcase your knitting talent.
Benefits of learning cable knitting
Learning cable knitting can be a rewarding and enjoyable experience for beginners. Not only does it allow you to create beautiful and intricate designs in your knitting projects, but it also offers several other benefits.
1. Enhances knitting skills
Cable knitting involves working with stitches in a different way than traditional knitting. By learning cable knitting, beginners can improve their knitting skills and expand their repertoire of techniques. It introduces new stitches and patterns that can be used to create stunning designs in various projects.
2. Creates unique and textured designs
Cable knitting allows you to create unique and textured designs that add visual interest and dimension to your knitting projects. The intricate patterns formed through the crossing of stitches can create the illusion of braids, ropes, or cables, giving your projects a professional and stylish look.
3. Adds warmth and thickness to garments
One of the practical benefits of cable knitting is that it adds warmth and thickness to garments. Cables create a dense and sturdy fabric that traps heat, making it perfect for winter accessories like scarves, hats, and mittens. The increased thickness also adds durability to garments, making them last longer.
4. Boosts creativity and personalization
With cable knitting, you have the opportunity to get creative and personalize your knitting projects. You can experiment with different cable patterns, stitch combinations, and color variations to create one-of-a-kind pieces. This allows you to showcase your individual style and make your knitted items truly unique.
5. Offers a sense of accomplishment
Finally, learning and mastering cable knitting can provide a great sense of accomplishment. As you progress from simpler cable designs to more complex ones, you’ll see your skills improve, and the finished projects will bring you a sense of pride and satisfaction. It’s a continuous learning process that can bring joy and fulfillment to beginner knitters.
Overall, learning cable knitting opens up a world of possibilities for beginners. From enhancing knitting skills to creating beautiful designs and adding warmth to garments, cable knitting offers numerous benefits that make it worth the effort to learn and practice.
Essential tools for cable knitting
When it comes to cable knitting, having the right tools can make all the difference in achieving a successful and visually pleasing result. Whether you’re a beginner or a seasoned knitter, here are some essential tools you’ll need to have on hand:
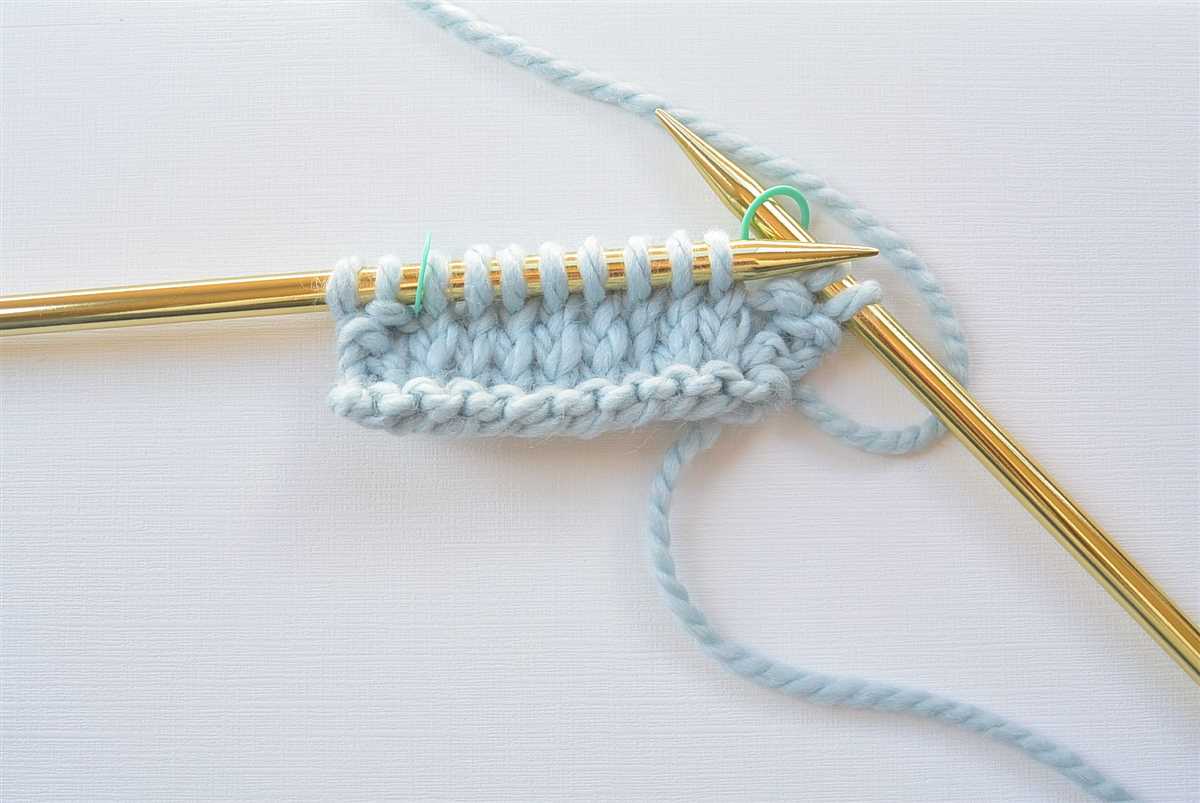
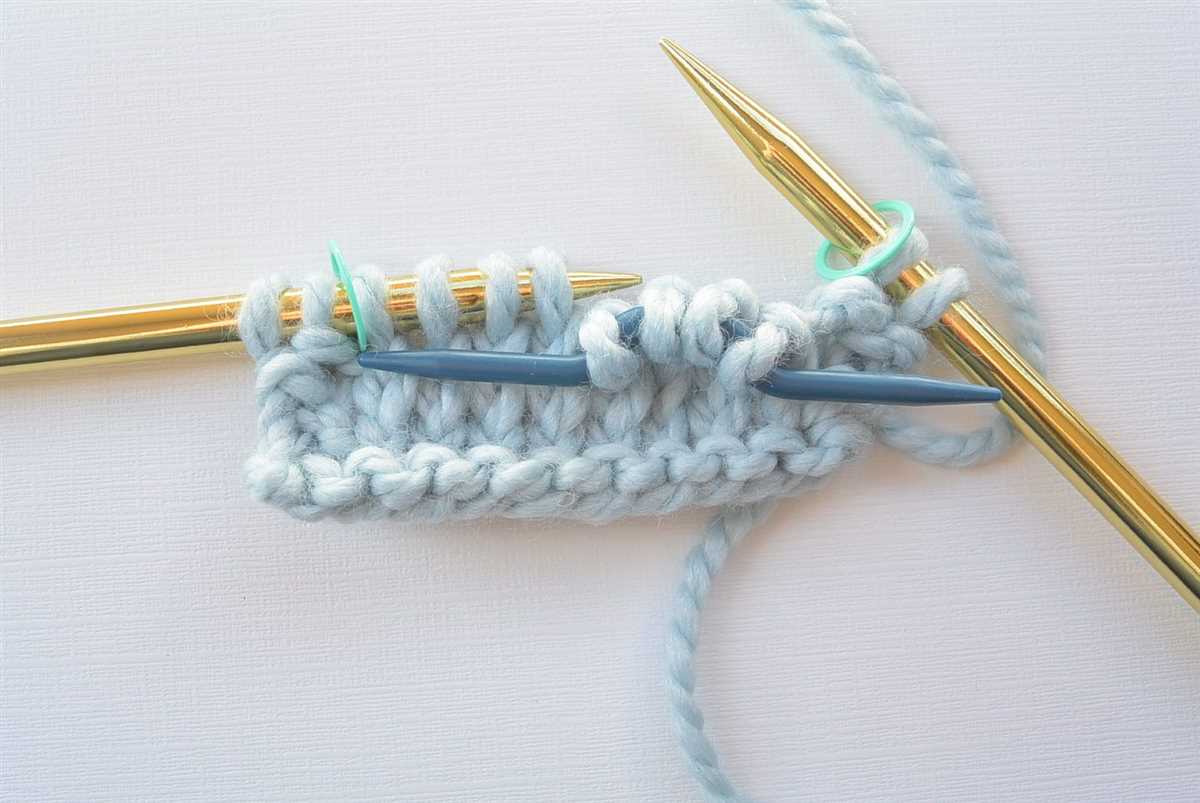
1. Cable Needles
Cable needles are small, U-shaped needles that are specifically designed to help you hold stitches while creating cable patterns. They come in various sizes, materials, and shapes, so it’s important to choose ones that feel comfortable in your hands. Some cable needles have a curved shape, while others have a straight shape with a bend in the middle. Experiment with different types to find what works best for you.
2. Stitch Holders
Stitch holders are used to hold stitches temporarily when you’re not actively working on them. This is particularly important when working on cable patterns, as you may need to transfer stitches from one needle to another or hold them aside while you work on other parts of the pattern. Stitch holders come in various sizes and shapes, including straight, bent, or circular. Having a few different sizes on hand can be helpful for different project sizes.
3. Cable Needle Holder
A cable needle holder is a handy accessory that helps keep your cable needles organized and prevents them from getting lost. It usually has a clip or ring to secure the cable needles in place, making them easily accessible and preventing them from rolling away. Cable needle holders come in various designs, such as pouches or wallets, so you can choose one that suits your preferences and knitting style.
4. Knitting Needles
Of course, you’ll also need a set of knitting needles to work on your cable knitting projects. The size of the needles will depend on the thickness of the yarn you’re using and the desired tension of your knitting. Straight or circular needles can both be used for cable knitting, depending on the pattern and your personal preference. Make sure to have a few different sizes on hand to accommodate different project requirements.
With these essential tools in your knitting arsenal, you’ll be well-equipped to tackle cable knitting projects with confidence and create beautiful cable patterns. Happy knitting!
Choosing the Right Yarn for Cable Knitting
When it comes to cable knitting, one of the most important factors to consider is the type of yarn you choose. The right yarn can make a significant difference in the outcome and appearance of your cable knit project. Here are some key points to keep in mind when selecting yarn for cable knitting:
1. Fiber Content: The fiber content of the yarn plays a crucial role in determining the quality and durability of your cable knit project. Natural fibers like wool, alpaca, and cashmere are popular choices for cable knitting as they provide warmth, elasticity, and excellent stitch definition. However, blends that include synthetic fibers can also work well, especially if you’re looking for added durability or machine washability.
2. Weight and Thickness: The weight and thickness of the yarn will determine the size and overall look of your cable knit project. Thicker yarns result in chunkier and more prominent cables, while thinner yarns create more delicate and intricate cables. Consider the pattern you’re working with and the desired finished product when selecting the weight and thickness of your yarn.
3. Twist and Ply: The twist and ply of the yarn also affect the stitch definition and cable definition. Yarns with tighter twists and more plies tend to have better stitch definition, making the cables stand out beautifully. However, it’s essential to strike a balance as overly twisted yarns can make the knitting process challenging.
4. Color and Texture: The colour and texture of the yarn can add visual interest and enhance the overall look of your cable knitting. Consider the pattern you’re using and the effect you want to achieve. Solid or subtle variegated yarns allow the cables to take center stage, while more vibrant or textured yarns can create a unique and eye-catching cable knit piece.
5. Personal Preference: Ultimately, your personal preference should play a significant role in choosing the right yarn for your cable knitting project. Experiment with different types of yarn, fibers, and colors to find what you enjoy working with and what suits the intended purpose of your project. Everyone’s taste and preferences are different, so don’t be afraid to explore and discover what works best for you.
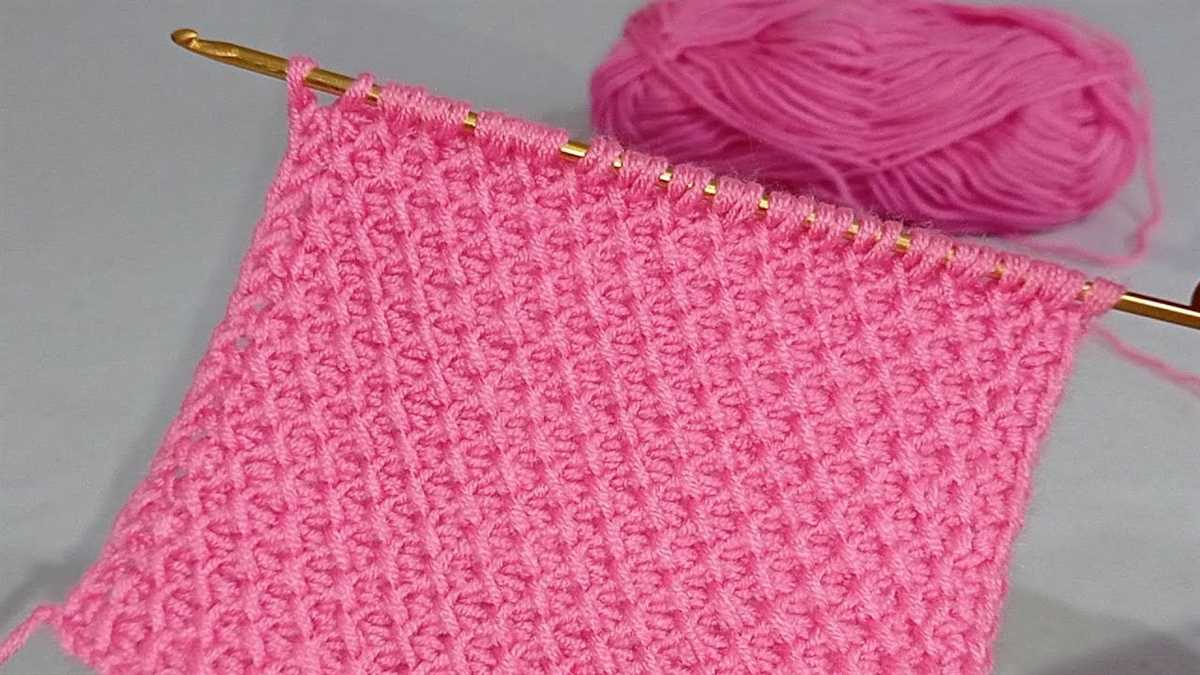
Basic cable knitting stitches
In cable knitting, stitches are twisted or crossed over each other to create beautiful and intricate patterns. While it may seem intimidating at first, cable knitting is actually quite simple once you understand the basic stitches.
The most basic cable stitch is the 4-stitch cable. To work this stitch, you will need a cable needle. Begin by knitting the first two stitches on your needle. Then, slip the next two stitches onto the cable needle and hold it in the front of your work. Knit the two stitches from the cable needle, and then knit the remaining two stitches from your knitting needle. This will create a crossed cable pattern.
Another common cable stitch is the 6-stitch cable. This stitch is similar to the 4-stitch cable, but with an extra twist. Start by knitting the first three stitches on your needle. Then, slip the next three stitches onto the cable needle and hold it in the front of your work. Knit the three stitches from the cable needle, and then knit the remaining three stitches from your knitting needle. This will create a more complex cable pattern.
- 4-stitch cable: knit 2, slip 2 onto cable needle and hold in front, knit 2 from cable needle
- 6-stitch cable: knit 3, slip 3 onto cable needle and hold in front, knit 3 from cable needle
- 8-stitch cable: knit 4, slip 4 onto cable needle and hold in front, knit 4 from cable needle
These are just a few examples of basic cable stitches. Once you master these stitches, you can experiment with more complex cable patterns, such as braids and twists. Cable knitting is a fun and rewarding technique that allows you to create intricate designs in your knitting.
How to Read Cable Knitting Patterns
If you’re a beginner to cable knitting, reading cable knitting patterns may seem intimidating at first. However, with a little practice and understanding of the symbols and terms used, you’ll be able to decipher cable knitting patterns with ease. Here are a few steps to help you read cable knitting patterns:
Step 1: Understand the Cable Symbols
Cable knitting patterns use symbols to represent different cable stitches. Some common symbols include a small horizontal line with a vertical line on each end, which represents a cable or twist in the knitting, and a small dot or oval which represents a knit stitch. Take some time to familiarize yourself with these symbols before starting a cable knitting project.
Step 2: Read the Cable Chart
Cable knitting patterns often come with a cable chart, which is a visual representation of the cable stitches. The chart consists of a grid where each square represents a stitch. The symbols used in the chart correspond to the cable symbols you learned in step 1. Start from the bottom right corner of the chart and read from right to left, row by row, just as you would knit a regular row of stitches. The horizontal rows on the chart represent the right side rows, while the vertical columns represent the wrong side rows.
Step 3: Follow the Written Instructions
In addition to the cable chart, cable knitting patterns also include written instructions. These instructions describe how to make the cable stitches in words. For example, a common instruction might be “slip next 3 stitches onto cable needle and hold in front, knit next 3 stitches, then knit the stitches from the cable needle.” Take your time to read and understand each step of the written instructions, and refer to the cable chart for additional guidance if needed.
With practice and patience, reading cable knitting patterns will become second nature to you. Remember to take your time and double-check your work as you go, and soon you’ll be creating beautiful cable patterns with ease.
Easy Cable Knitting Patterns for Beginners
Learning to knit cables can seem daunting for beginners, but with the right patterns, you can create beautiful cable designs with ease. Here are some easy cable knitting patterns that are perfect for beginners:
1. Basic Cable Scarf
The basic cable scarf is a great project for beginners to practice their cable knitting skills. This pattern usually involves just a few simple cable stitches and is a great way to get comfortable with the technique.
2. Chunky Cable Hat

If you’re looking for a quick and easy cable knitting project, a chunky cable hat is a great option. Using bulky yarn and larger needles, this pattern allows you to see the cable pattern more clearly and is perfect for showcasing your newly learned skills.
3. Cable Headband
A cable headband is a stylish accessory that can be made using just a few cable stitches. This pattern is a great introduction to cables and is perfect for beginners who don’t want to tackle a larger project just yet.
4. Cable Dishcloth
A cable dishcloth is a practical and useful item that can be made with simple cable stitches. This pattern is ideal for beginners who want to practice their cable knitting while creating something that can be used in their kitchen.
5. Cable Coasters
Cable coasters are another small project that can be made using basic cable stitches. They are quick to knit and make great gifts or additions to your own coffee table.
With these easy cable knitting patterns, beginners can start practicing their cable knitting skills and create beautiful and functional items. Remember to start with simple patterns and gradually work your way up to more complex designs as your skills improve. Happy knitting!
Tips for mastering cable knitting techniques
Learning cable knitting techniques may seem intimidating at first, but with some practice and the right guidance, anyone can master them. Follow these tips to improve your cable knitting skills:
1. Start with simple cable patterns
If you are a beginner, it’s best to start with simple cable patterns. Look for patterns with only a few stitches crossing over each other. This will help you understand the basic mechanics of cable knitting and build your confidence.
2. Use a cable needle
A cable needle is a great tool to help you manage your stitches while you cross them over. It keeps the stitches secure and prevents them from unraveling. Practice using a cable needle until you feel comfortable with the technique.
3. Pay attention to stitch counts
When working on cable patterns, it’s important to keep track of your stitch counts. Missing or adding stitches can result in an uneven or distorted cable pattern. Use stitch markers and count your stitches regularly to avoid any mistakes.
4. Read and follow the pattern instructions carefully
Cable knitting patterns can be complex, so it’s crucial to read and follow the instructions carefully. Take the time to understand the symbols and abbreviations used in the pattern. If you’re uncertain about any part of the instructions, don’t hesitate to seek clarification.
5. Practice, practice, practice
The key to mastering cable knitting techniques is practice. Set aside regular time to practice and work on cable patterns. Start with small projects and gradually challenge yourself with more intricate designs. With each project, you’ll become more skilled and comfortable with cable knitting.
By following these tips and dedicating time to practice, you’ll soon become proficient in cable knitting techniques. Don’t get discouraged if it takes time to master the art – remember that every experienced knitter started as a beginner!
Troubleshooting common cable knitting mistakes
Knitting cables can be a fun and rewarding technique, but it can also be challenging, especially for beginners. Mistakes are bound to happen, but don’t worry! With a little patience and practice, you can easily troubleshoot common cable knitting mistakes and continue on your project.
1. Incorrect stitch count: One of the most common mistakes in cable knitting is ending up with the wrong number of stitches. This can happen if you forget to cross a cable or accidentally drop a stitch. To fix this, carefully count your stitches before and after each cable row to make sure they match the pattern. If you have the wrong stitch count, you may need to unravel a few rows to correct the mistake and then continue knitting.
2. Twisted or crossed cables: Another common mistake is making twisted or crossed cables where they shouldn’t be. This can happen if you accidentally cross the wrong stitches or twist them in the wrong direction. To fix this, carefully examine the pattern and double-check the cable chart or written instructions. If you discover a mistake, you can carefully unravel the affected rows, fix the cables, and then continue knitting.
3. Dropped stitches in cables: Dropping a stitch in a cable can be frustrating, as it disrupts the pattern and can cause holes in the fabric. If you notice a dropped stitch, gently pull your work back to the mistake and use a crochet hook or knitting needle to pick up the stitch. Then, carefully work the stitch back into the cable pattern. It may take some time and patience, but with practice, you’ll be able to fix this mistake confidently.
4. Uneven tension: Maintaining consistent tension is crucial for creating even and defined cables. However, it’s common for beginners to have uneven tension, resulting in cables that look stretched or too tight. To troubleshoot this, focus on holding your tension steady throughout the cable rows and practice knitting slowly until you get the hang of it. You can also try using larger or smaller needles to achieve an even tension.
5. Misreading or misinterpreting the pattern: Reading cable knitting patterns can be challenging, even for experienced knitters. If you find yourself confused or unsure about the instructions, take a moment to carefully read and understand the pattern. You can also check for pattern errata or consult online knitting communities for clarification. Mistakes in reading or interpreting the pattern can lead to incorrect cables, so it’s important to double-check everything before knitting.
Remember, cable knitting is a skill that improves with practice. Don’t be discouraged by mistakes – they are opportunities to learn and grow as a knitter. Take your time, be patient, and soon you’ll be creating beautiful cable patterns with confidence!
Next Steps for Advancing Your Cable Knitting Skills
Now that you’ve mastered the basics of cable knitting, it’s time to take your skills to the next level. There are several ways you can continue to advance and challenge yourself in this beautiful knitting technique:
1. Try more complex cable patterns
Once you feel comfortable with basic cable patterns, you can start experimenting with more intricate designs. Look for cable patterns that involve different types of cables, such as twisted stitches or traveling cables. These patterns will require more attention to detail and will test your ability to read and follow complex cable charts.
2. Incorporate cables into different knitting projects
Expand your cable knitting horizon by incorporating cables into various knitting projects. You can start by adding cables to simple accessories like hats, scarves, or gloves. As you gain more confidence, you can move on to larger projects like sweaters or blankets. Working with different types of projects will allow you to practice different cable techniques and see how cables can enhance the overall design.
3. Learn advanced cable techniques
Take your cable knitting skills to the next level by learning advanced cable techniques. This may include techniques like cabling without a cable needle or creating cables that cross over more than four stitches. These advanced techniques will not only challenge you but also give you more flexibility and speed in your knitting.
4. Experiment with different yarns and needle sizes
Expand your cable knitting repertoire by experimenting with different yarns and needle sizes. Different yarns can give your cable patterns a completely different look and feel. Try knitting cables with different weights of yarn, such as bulky or laceweight, to see how it affects the texture and drape of your finished project. Additionally, using larger or smaller needle sizes can create different cable stitch patterns and gauge variations.
By following these next steps, you’ll continue to grow as a cable knitter and create beautiful, intricate designs. Remember, practice makes perfect, so keep knitting and challenging yourself with new cable patterns and techniques!