
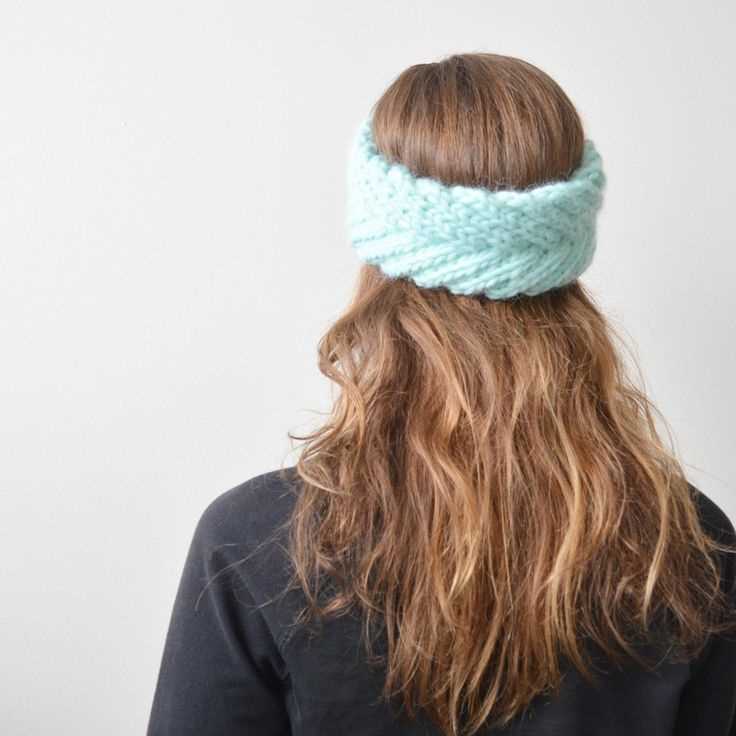
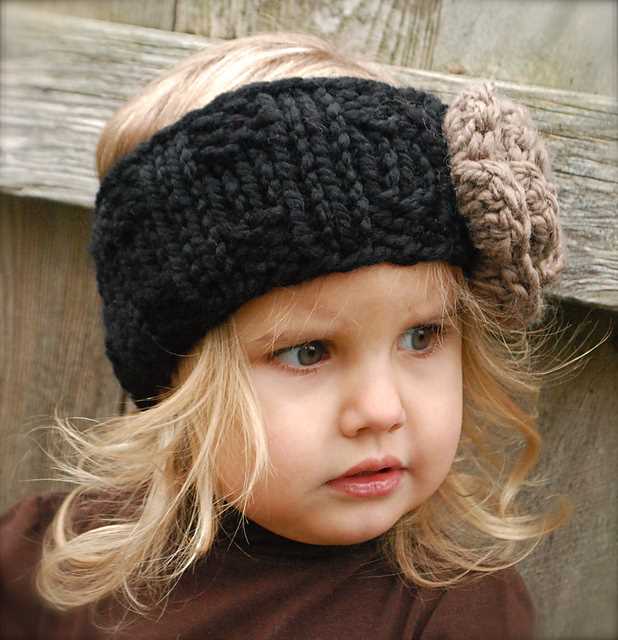
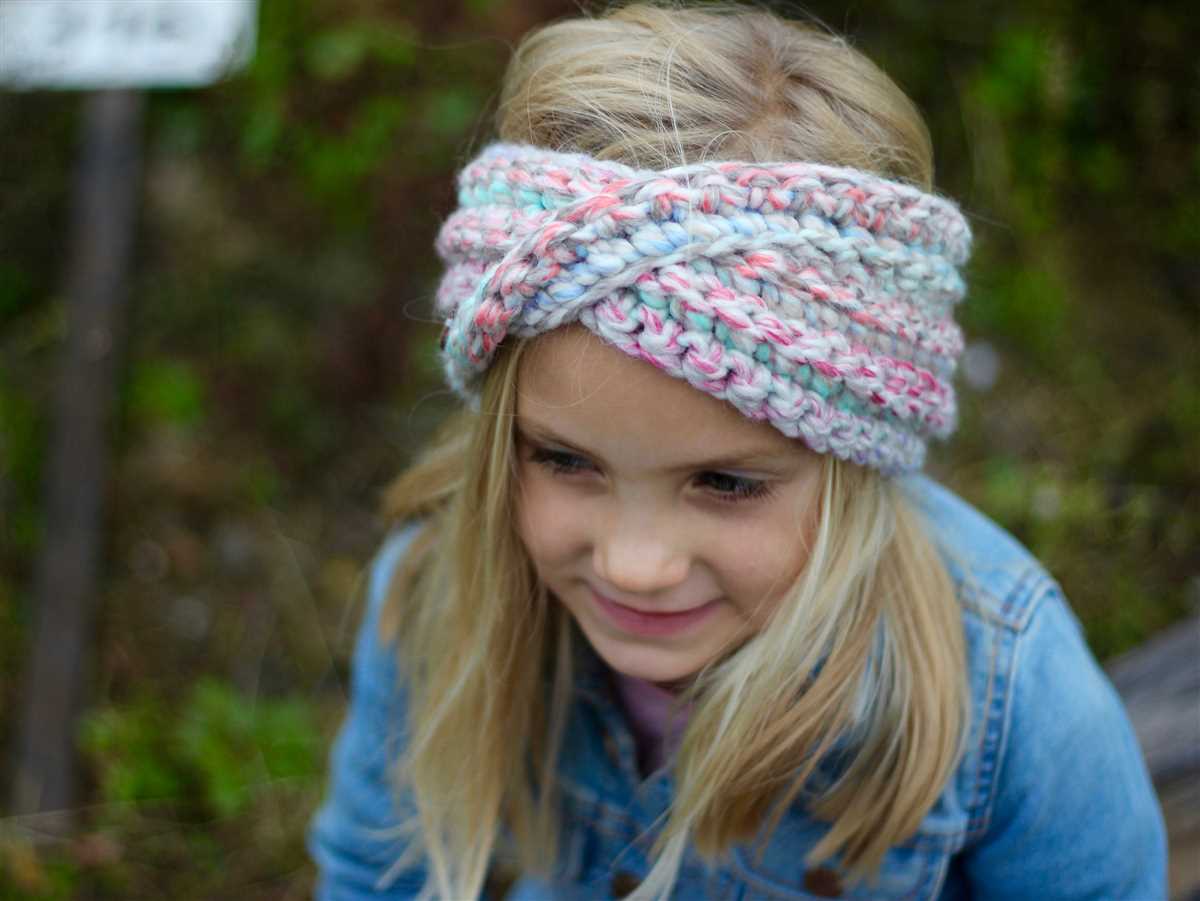
Knitting is not only a relaxing hobby but also a great way to create stylish accessories to keep you warm during the colder months. One such accessory is a bulky yarn knit headband. With its soft and cozy texture, this headband is perfect for keeping your ears warm while adding a touch of style to your winter outfits.
This pattern is suitable for knitters of all skill levels, making it a great project for beginners and experienced knitters alike. Using bulky yarn and larger needles, the headband knits up quickly, so you’ll have a finished accessory in no time.
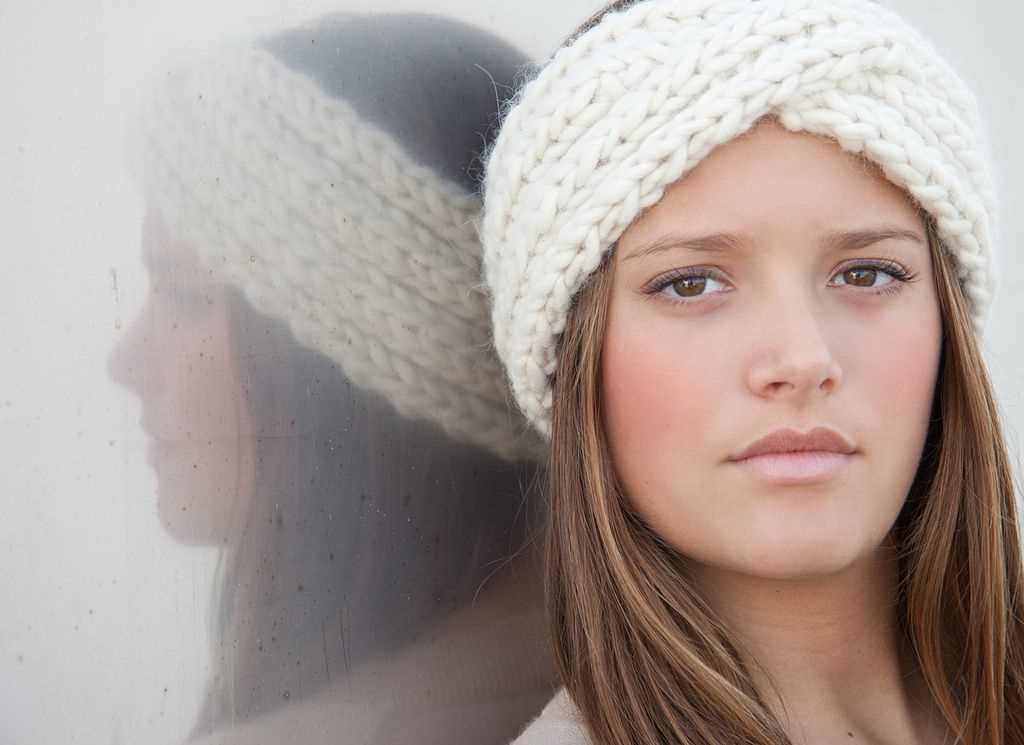
Not only is this headband practical and fashionable, but it also makes for a great gift. You can make it in a variety of colors to suit different preferences and styles. Whether you’re knitting for yourself or someone else, this bulky yarn knit headband is sure to be a hit!
Materials
When it comes to knitting a bulky yarn headband, you’ll need a few key materials to get started. Here’s a list of the essentials:
- Yarn: Opt for a bulky or super bulky weight yarn, as it will provide the thickness and warmth needed for a cozy headband. Choose a color that complements your style and wardrobe.
- Knitting Needles: Select a pair of knitting needles that are suitable for your chosen yarn weight. Depending on your knitting style and tension, you may prefer circular needles or straight needles.
- Tape Measure: To ensure your headband is the perfect fit, you’ll need a tape measure to measure your head circumference. This will help you determine the appropriate number of stitches to cast on.
- Stitch Markers: Stitch markers are handy tools that can be used to mark specific points in your knitting. They are particularly useful for keeping track of any increases, decreases, or pattern repeats.
- Darning Needle: A darning needle, also known as a yarn needle or tapestry needle, is essential for weaving in loose ends and finishing off your project. Choose a needle with a large eye that can accommodate your chosen yarn.
- Scissors: A pair of sharp scissors is essential for cutting your yarn and trimming any excess. Choose a pair that is comfortable to handle and has a precise cutting edge.
With these materials on hand, you’ll be well-equipped to knit your very own cozy and stylish bulky yarn headband.
Gauge
Gauge is an important factor to consider when knitting a bulky yarn headband. It refers to the number of stitches and rows per inch of knitted fabric. Knitting the headband with the correct gauge ensures that the finished piece will have the desired size and fit.
To determine the gauge for your headband, you will need to swatch. Use the recommended needle size for the yarn and cast on a few stitches. Knit a sample piece of fabric, keeping track of the number of stitches and rows you create.
Make sure to:
- Use the same yarn and needles that you plan to use for the headband.
- Measure your swatch accurately, using a ruler or gauge tool.
- Count the number of stitches and rows within a 4-inch square, rather than just measuring an inch.
Once you have completed your swatch, compare your stitch and row count to the recommended gauge provided in the pattern. If your count is higher than the pattern’s gauge, it means your stitches are too tight, and you may need to switch to larger needles. If your count is lower than the pattern’s gauge, it means your stitches are too loose, and you may need to switch to smaller needles.
By achieving the correct gauge, you can ensure that your bulky yarn knit headband will have the right size, fit, and texture.
Cast On
Before you can begin knitting your bulky yarn headband, you need to cast on. Casting on is the process of creating the first row of stitches on your knitting needle. There are different methods you can use to cast on, but the long-tail cast on method is commonly used for this type of project.
To begin, you’ll need to measure a long tail of yarn. The length of the tail will determine the number of stitches you can cast on. You can estimate the length by measuring the tail against your needle or by using a knitting gauge. Once you have the desired length, make a slipknot at the end of the tail and place it on your knitting needle.
Next, hold the needle with the slipknot in your dominant hand and the other needle in your non-dominant hand. Insert the non-dominant needle into the slipknot from front to back, creating a loop around the needle. Then, bring the working yarn over the top of the non-dominant needle, forming another loop.
Now, insert the dominant needle through the loop on the non-dominant needle and under the working yarn. Pull the loop through the slipknot and onto the dominant needle, tightening it gently. Repeat this process until you have cast on the desired number of stitches for your headband.
Once you have completed the cast on, you can begin knitting your headband using the specified pattern and stitch instructions. Remember to keep the tension of your stitches consistent to ensure a neat and even finished project. Happy knitting!
Knit the main body of the headband
Now that you have gathered all the materials you need, it’s time to start knitting the main body of the headband. Make sure you have your bulky yarn and the appropriate knitting needles ready.
1. Cast on the required number of stitches for your headband. This will depend on the size of your head and the desired width of the headband. Use a long-tail cast on or your preferred cast on method.
2. Knit each row in the garter stitch pattern. This means you will knit every stitch in every row. The garter stitch creates a smooth and stretchy fabric that is perfect for headbands.
3. Continue knitting in the garter stitch pattern until the headband is long enough to comfortably fit around your head. You can measure this by wrapping the headband around your head or by using a tape measure.
4. Once the headband is the desired length, bind off all the stitches. You can use a regular bind off method or a stretchy bind off method if you prefer.
5. Weave in any loose ends or tails using a tapestry needle. Make sure to secure the ends tightly so they don’t unravel.
Congratulations! You have successfully knit the main body of the headband. Now it’s time to add any additional details or embellishments, such as buttons or a decorative stitch pattern, if desired.
Shape the headband
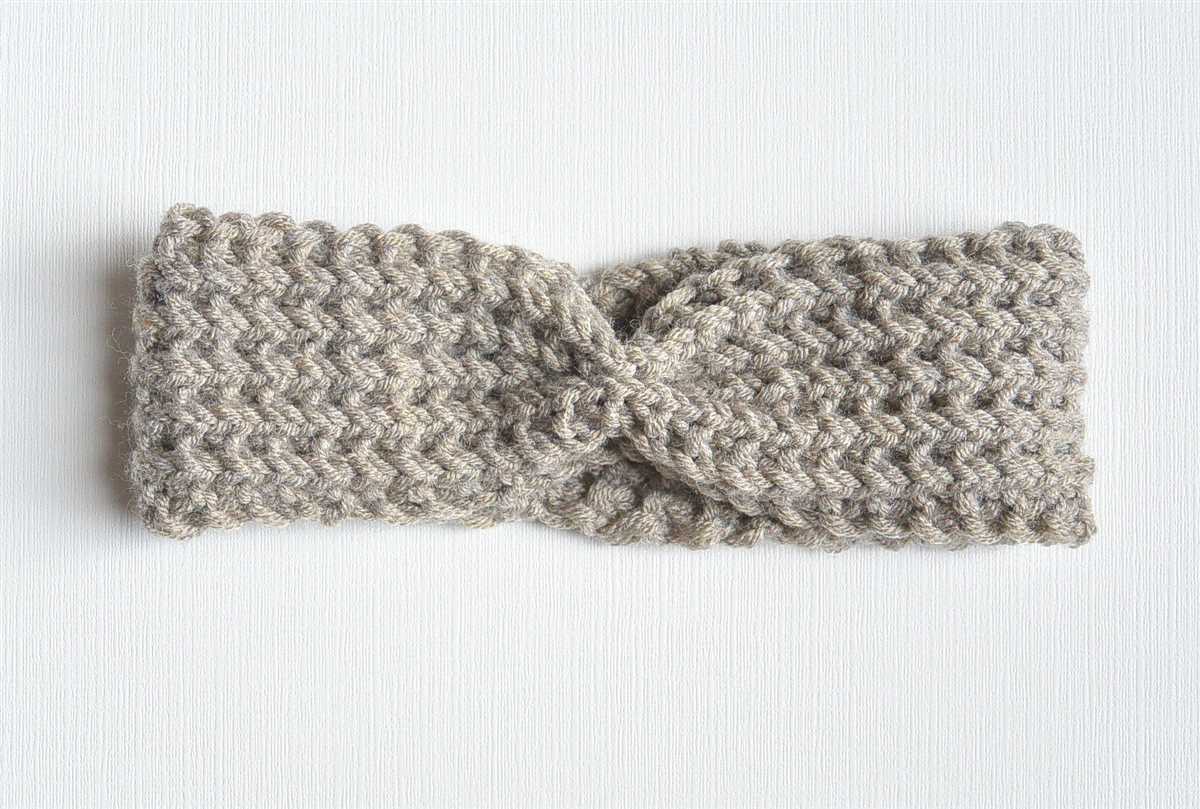
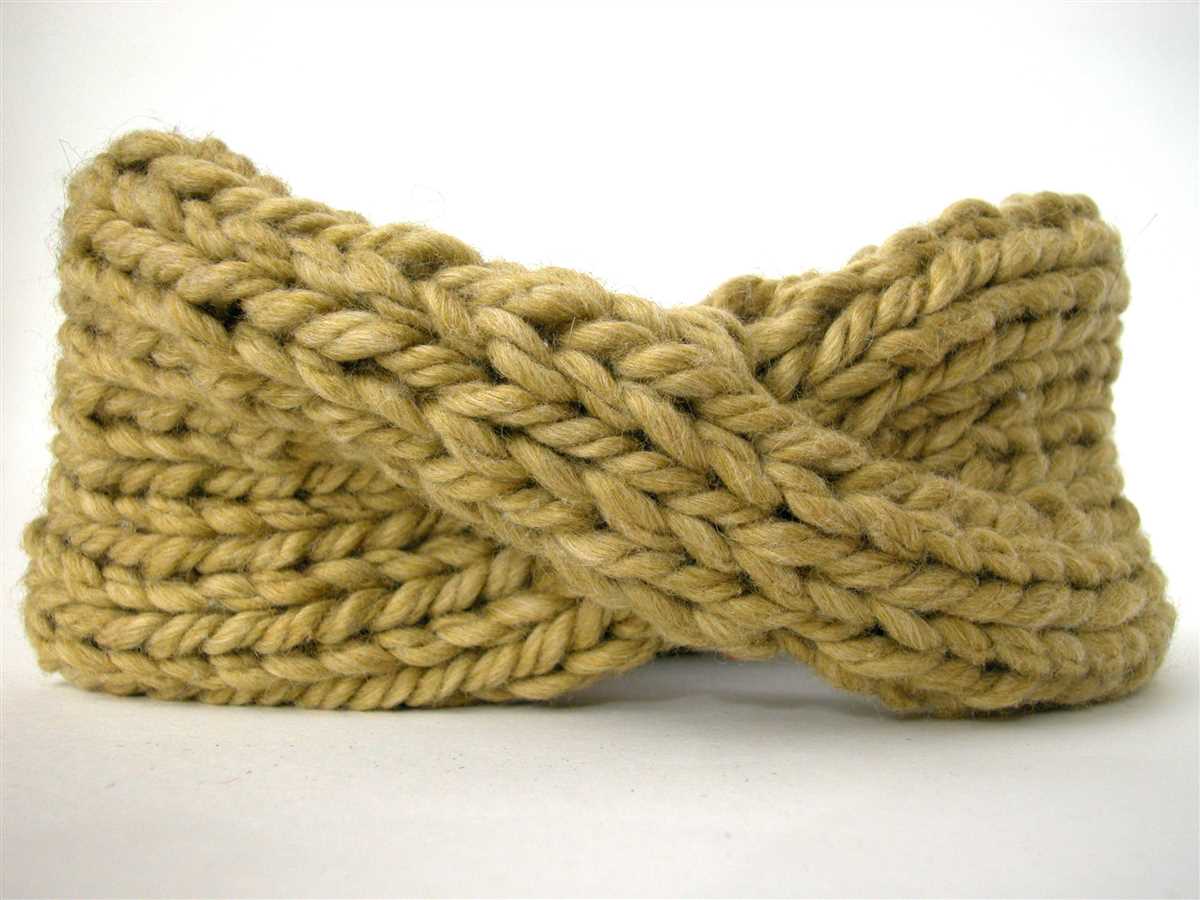
Once you have completed the desired length for the headband, it is time to shape it. This will give it the final look and ensure a comfortable fit.
To shape the headband, you will need to sew the ends together. Place the two ends of the headband side by side, making sure they are aligned properly. Use a tapestry needle and the same yarn you used to knit the headband to sew the ends together. Start by inserting the needle through the first stitch on one end and then through the corresponding stitch on the other end. Continue sewing in this manner until the ends are securely joined.
To hide the seam and add a decorative touch, you can sew a small button or a knitted flower over the seam. This will also help to hold the headband in place and prevent it from slipping off.
Once you have finished sewing the ends together and adding any desired embellishments, your bulky yarn knit headband is complete and ready to wear. Enjoy the warmth and style that this cozy accessory brings!
Bind off
When you reach the end of your knitting project and are ready to finish it off, you will need to bind off. This process ensures that your stitches are secure and will not unravel. To bind off, start by knitting two stitches, then use the left needle to lift the first stitch over the second stitch and off the right needle. Continue knitting one stitch and passing the previous stitch over until you have bound off all of the stitches.
There are different methods for binding off, depending on the desired effect. The standard bind off method is simple and creates a neat edge. However, if you want a stretchy edge, you can use a stretchy bind off method, such as the yarn-over bind off or the suspended bind off. These methods allow for more flexibility and stretch in your finished project. It’s important to choose the right bind off method for your specific project to achieve the desired result.
Finishing touches
Once you have finished knitting your bulky yarn headband, it’s time to add the finishing touches. These steps will help give your headband a polished look and make it ready to wear.
Weaving in ends
Start by weaving in any loose ends of yarn to secure them in place. Use a tapestry needle to thread the tail of the yarn through the stitches on the back of the headband. Weave it in and out of the stitches, making sure it is secure and won’t come undone with wear.
Blocking
If you want to make your headband look even more professional, consider blocking it. Blocking is a technique used to shape and resize knitted items. To block your headband, soak it in lukewarm water and gently squeeze out the excess moisture. Lay it flat on a towel and shape it to the desired dimensions. You can use pins or blocking wires to help hold the shape while it dries.
Embellishments
For an added touch of style, you can add embellishments to your headband. This could include buttons, flowers, or bows. Sew them onto the headband using a needle and thread, making sure they are securely attached.
Care instructions
Finally, don’t forget to include care instructions when giving or selling your headband. This will help the recipient or buyer care for their new accessory properly. Include information on how to wash and store the headband to keep it looking its best for years to come.
Adding a decorative element
When knitting a bulky yarn headband, you have the opportunity to add a decorative element to make it unique and personalized. There are various techniques and materials you can use to achieve this, allowing you to showcase your creativity and style.
1. Embroidery: Embroidery is a popular way to add decorative elements to a knit headband. You can use different types of stitches like satin stitch, chain stitch, or French knots to create intricate designs or simple patterns. Embroidery thread in contrasting colors can add a pop of color and visual interest to the headband.
2. Beading: Another way to add a decorative element is by incorporating beads into your knitting. You can thread beads onto your yarn before knitting and then place them strategically throughout the headband. Depending on your preference, you can use a few beads as accents or create an entire bead pattern for a more detailed look.
3. Appliqués: If you have small fabric scraps or patches lying around, consider attaching them as appliqués to your headband. You can use fabric glue or sew them onto the headband using a contrasting thread. This adds texture and dimension to the headband while also allowing you to repurpose materials.
4. Buttons: Adding buttons can also be a fun way to embellish your headband. You can sew on decorative buttons in various shapes, sizes, and colors. Opt for buttons with unique designs or patterns to make your headband stand out. Just ensure that the buttons are securely attached to prevent them from falling off during wear.
5. Ribbons or bows: Lastly, you can attach ribbons or bows to your headband for an elegant and feminine touch. Choose ribbons in complementary colors or patterns and tie them around the headband to create a beautiful focal point. Bows can be pre-made or hand-tied, depending on your preference.
With these decorative elements, you can take your bulky yarn knit headband from basic to eye-catching. Get creative and experiment with different techniques to customize your headband and make it uniquely yours.
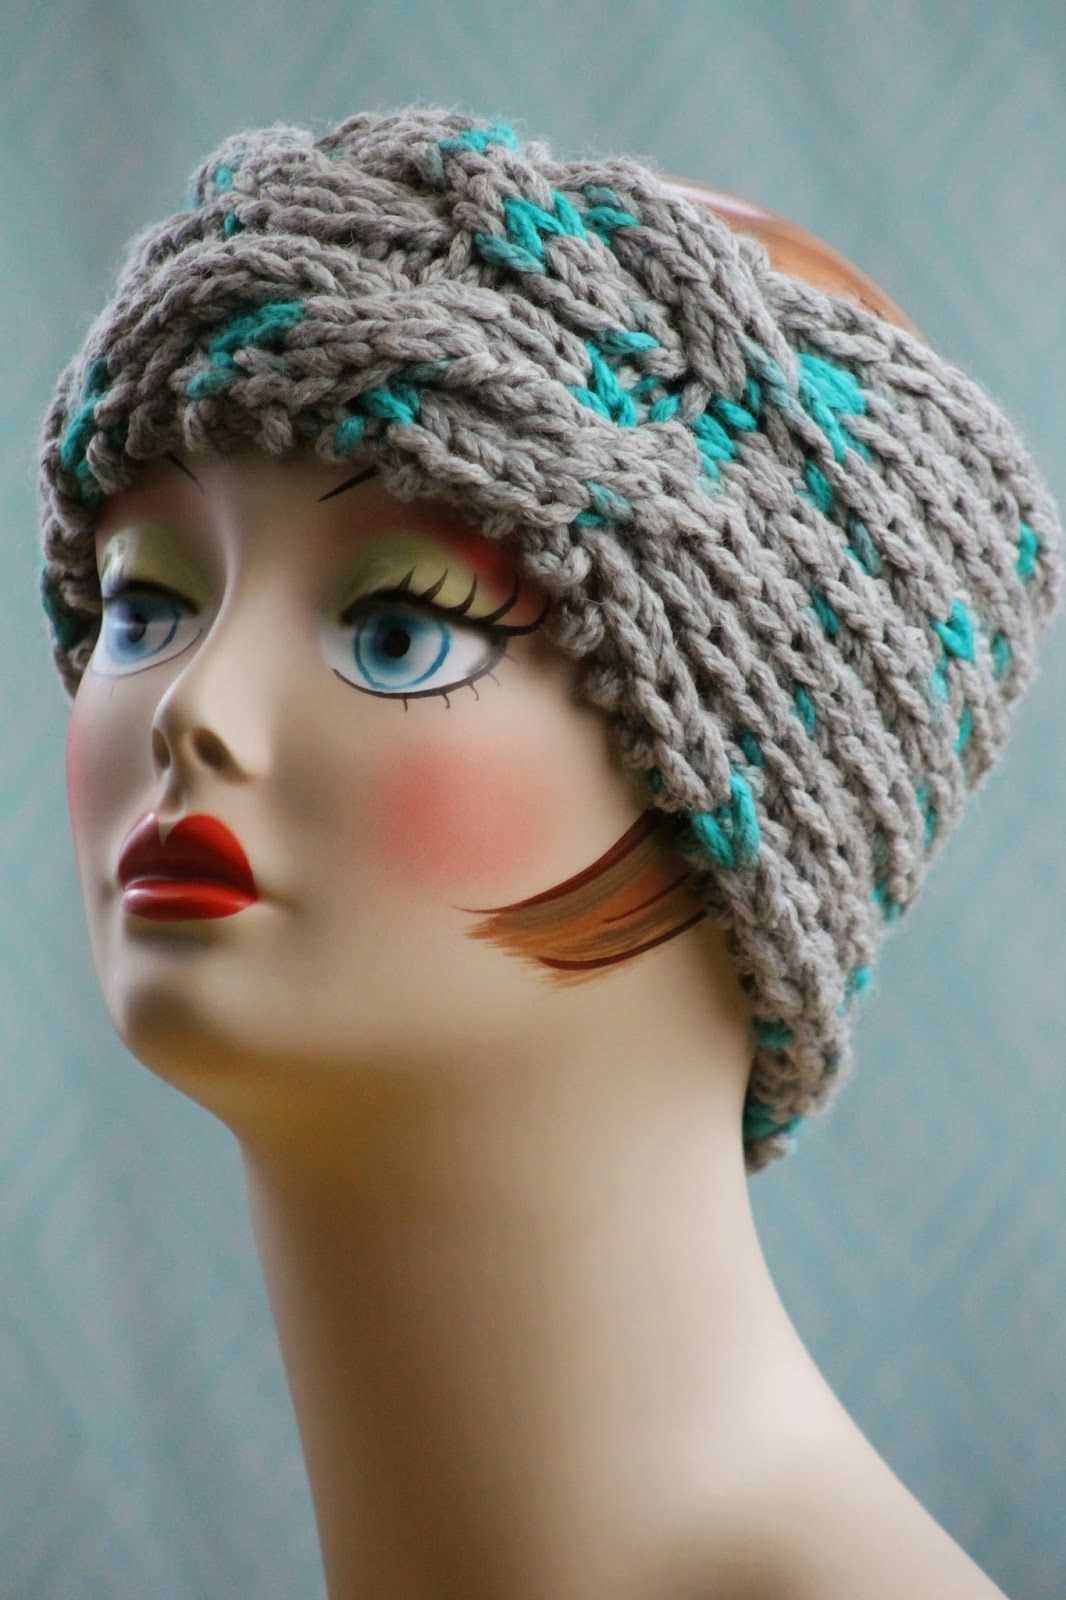
Alternative Variations
While the bulky yarn knit headband pattern provides a simple and cozy option for keeping your ears warm, there are also a few alternative variations that you can explore to switch up the style or add some extra flair to your accessories collection.
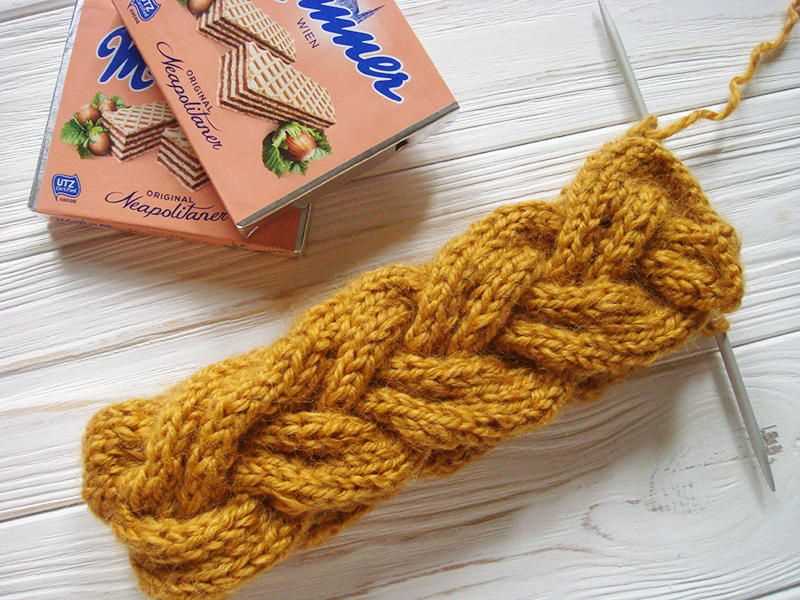
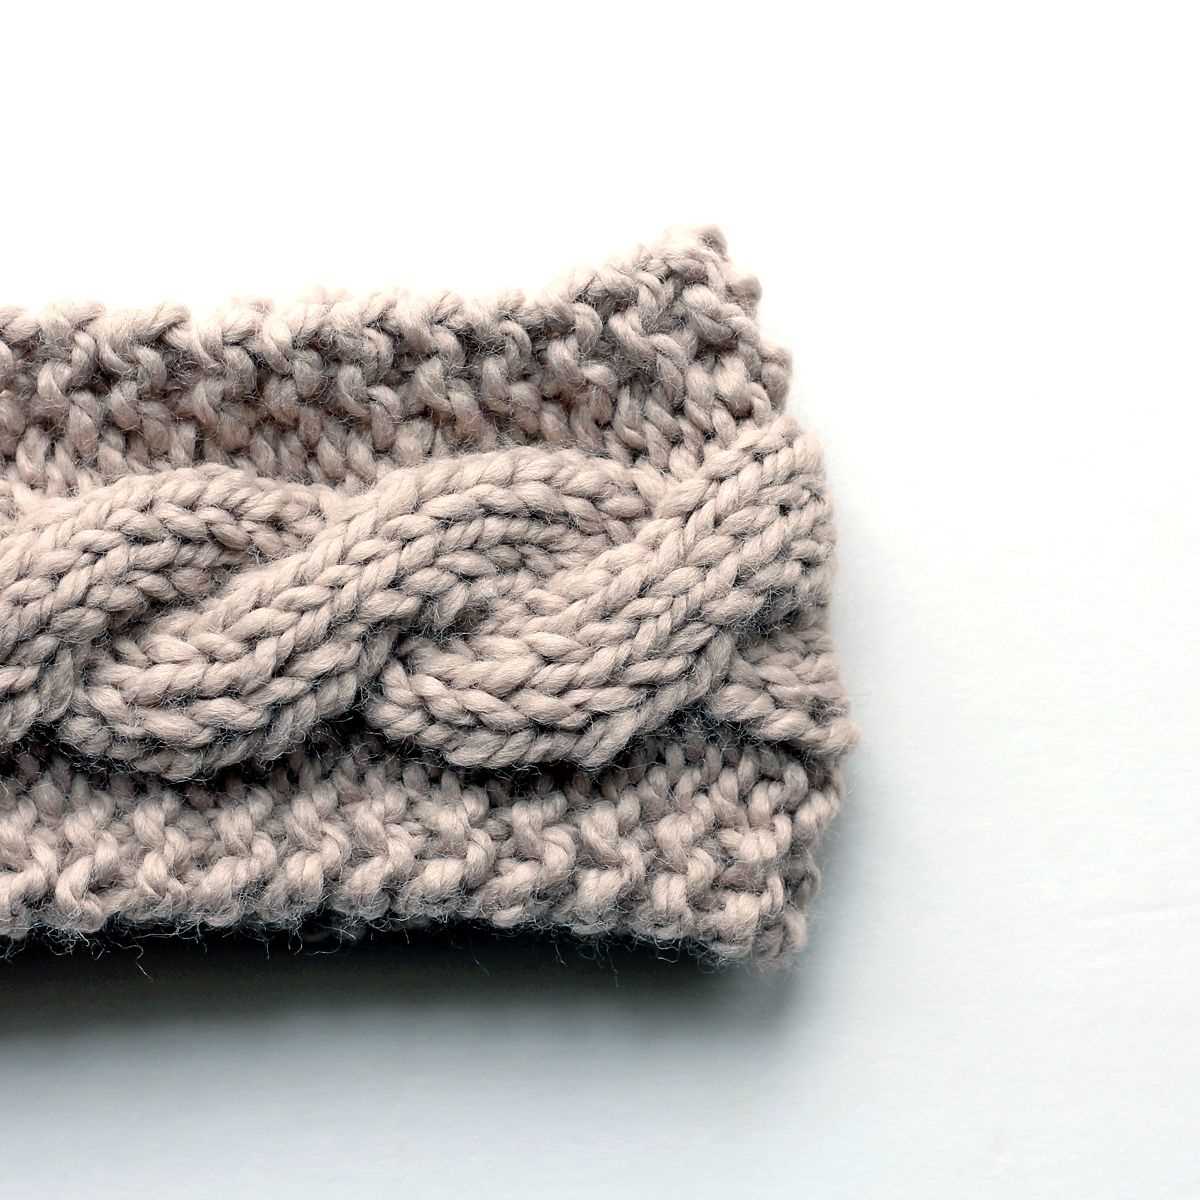
If you prefer a more textured look, you can try using a different stitch pattern for your headband. Instead of the basic knit stitch, experiment with knitting cables or incorporating lace patterns for a more intricate design. This can add a touch of elegance and sophistication to your headband, making it suitable for dressier occasions.
- Cable Knit Headband: To create a cable knit headband, you can follow a cable stitch pattern. This will involve crossing stitches over one another to create a twisted cable effect. It adds depth and visual interest to the headband.
- Lace Knit Headband: Lace patterns are delicate and airy, perfect for adding a feminine touch to your headband. You can choose from various lace stitch patterns, such as the classic feather and fan or a more intricate leaf design.
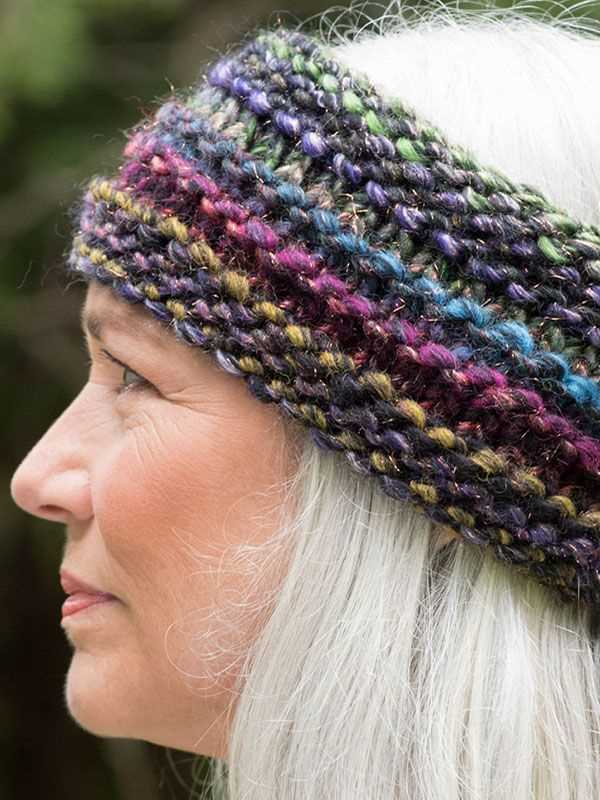
If you’re looking to experiment with different yarns, you can also try using a different type of bulky yarn or even mixing different yarn weights together. This can create a unique texture and appearance for your headband. For example, combining a bulky yarn with a thin mohair yarn can create a soft and fluffy effect.
Finally, don’t be afraid to get creative with embellishments. Add a decorative button, a fabric flower, or even some beads to your headband to make it truly unique and personalized. These small details can make a big difference in elevating the overall look of your accessory.
Tips for success
If you’re planning to make a headband using a bulky yarn, here are some tips to help you succeed in your project:
1. Choose the right yarn:
When selecting a bulky yarn for your headband, consider the characteristics of the yarn. Look for a soft and comfortable yarn that will feel good against your skin. Consider the fiber content and choose a yarn that is suitable for the weather conditions in your area. Also, pay attention to the color and texture of the yarn to ensure it matches your personal style.
2. Use the appropriate needle size:
When knitting with bulky yarn, it’s important to use the correct needle size. Check the yarn label for the recommended needle size and use it as a starting point. However, keep in mind that everyone knits differently, so you may need to adjust the needle size to achieve the desired gauge. Use a larger needle size if you want a looser and more relaxed look, or a smaller size for a tighter and denser fabric.
3. Pay attention to gauge:
Gauge is crucial when knitting any project, and it becomes even more important when working with bulky yarn. Take the time to swatch and measure your gauge before starting your headband. Adjust your needle size accordingly to match the gauge specified in the pattern. This will ensure that your headband has the right fit and proportions.
4. Keep your tension consistent:
When knitting with bulky yarn, it’s easy to inadvertently tighten your stitches too much. Pay attention to your tension and try to keep it consistent throughout your project. If you find that your stitches are too tight, try relaxing your grip on the needles. Remember to take breaks and stretch your hands to prevent fatigue.
5. Follow the pattern instructions:

If you’re using a pattern for your headband, make sure to read and follow the instructions carefully. Pay attention to the stitch counts, abbreviations, and any special techniques or stitches used in the pattern. Following the pattern correctly will help you achieve the intended design and ensure that your headband turns out beautifully.
6. Take your time and enjoy the process:
Knitting is a relaxing and enjoyable hobby, so take your time and enjoy the process of making your headband. Embrace any mistakes as learning opportunities and don’t be afraid to ask for help if you get stuck. Remember to take breaks and stretch regularly to avoid strain on your hands and wrists.
With these tips in mind, you’ll be well-prepared to knit a beautiful and cozy headband using bulky yarn. Happy knitting!
Final Thoughts

Knitting a bulky yarn headband can be a fun and quick project for both beginner and experienced knitters. With just a few simple stitches and some cozy yarn, you can create a stylish accessory to keep you warm during the colder months. Whether you prefer a simple and classic design or a more intricate pattern, there are endless possibilities to explore.
Not only are bulky yarn headbands practical and fashionable, but they also make great gifts for friends and family. You can easily customize the headband to match the recipient’s style or favorite colors, making it a thoughtful and personal present.
Remember to choose a high-quality yarn that feels soft against the skin and is durable enough to withstand wear. Additionally, don’t be afraid to experiment with different yarn textures and colors to add variety to your headband collection.
In conclusion, knitting a bulky yarn headband can be a rewarding and enjoyable project. Whether you’re knitting for yourself or someone else, the final result will be a cozy and stylish accessory that will keep you warm in style. So grab your needles and get started on your next knitting adventure!