
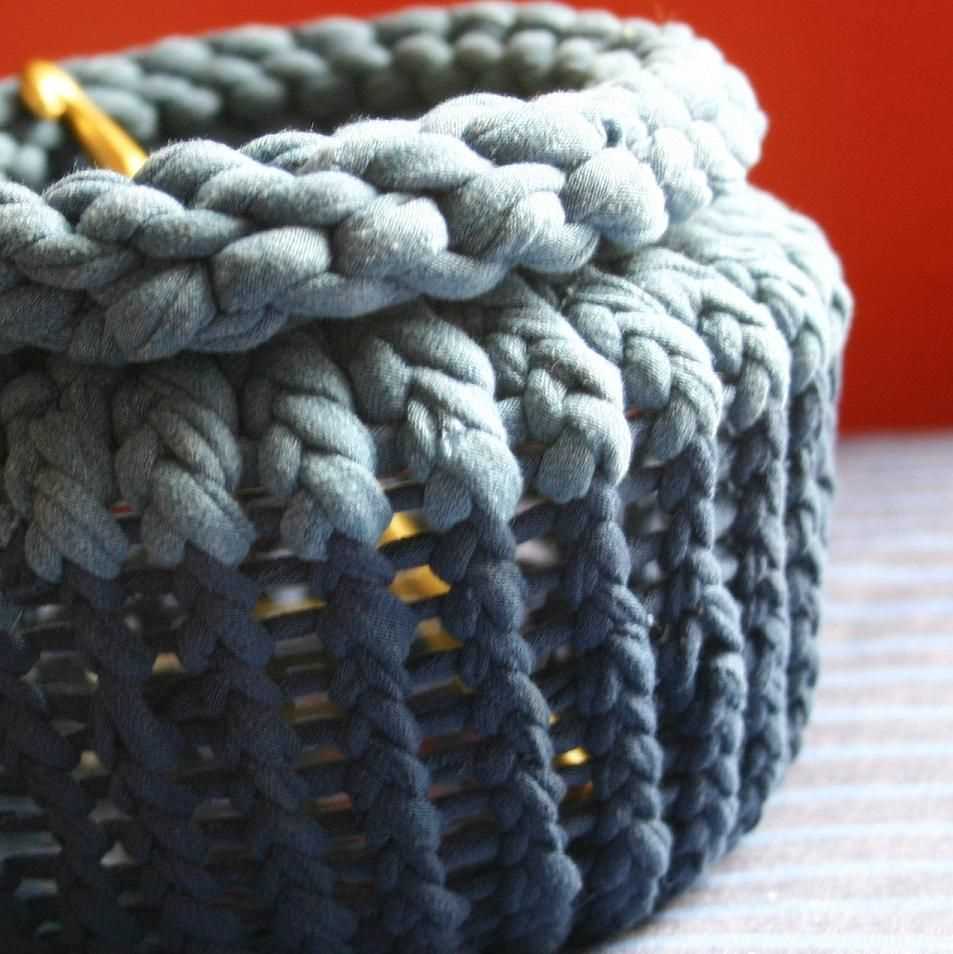
Are you tired of constantly untangling your yarn while knitting or crocheting? A knitted yarn bowl may be the solution! Not only will it keep your yarn organized and tangle-free, but it adds a touch of whimsy and charm to your crafting space.
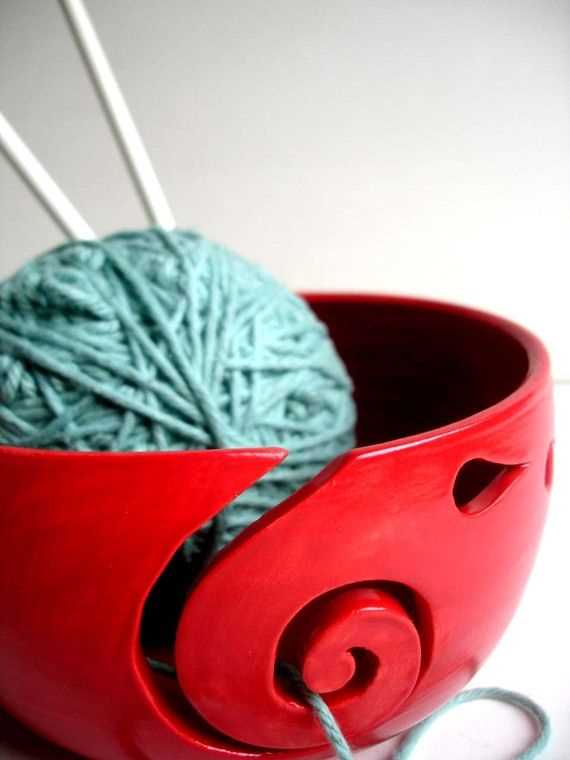
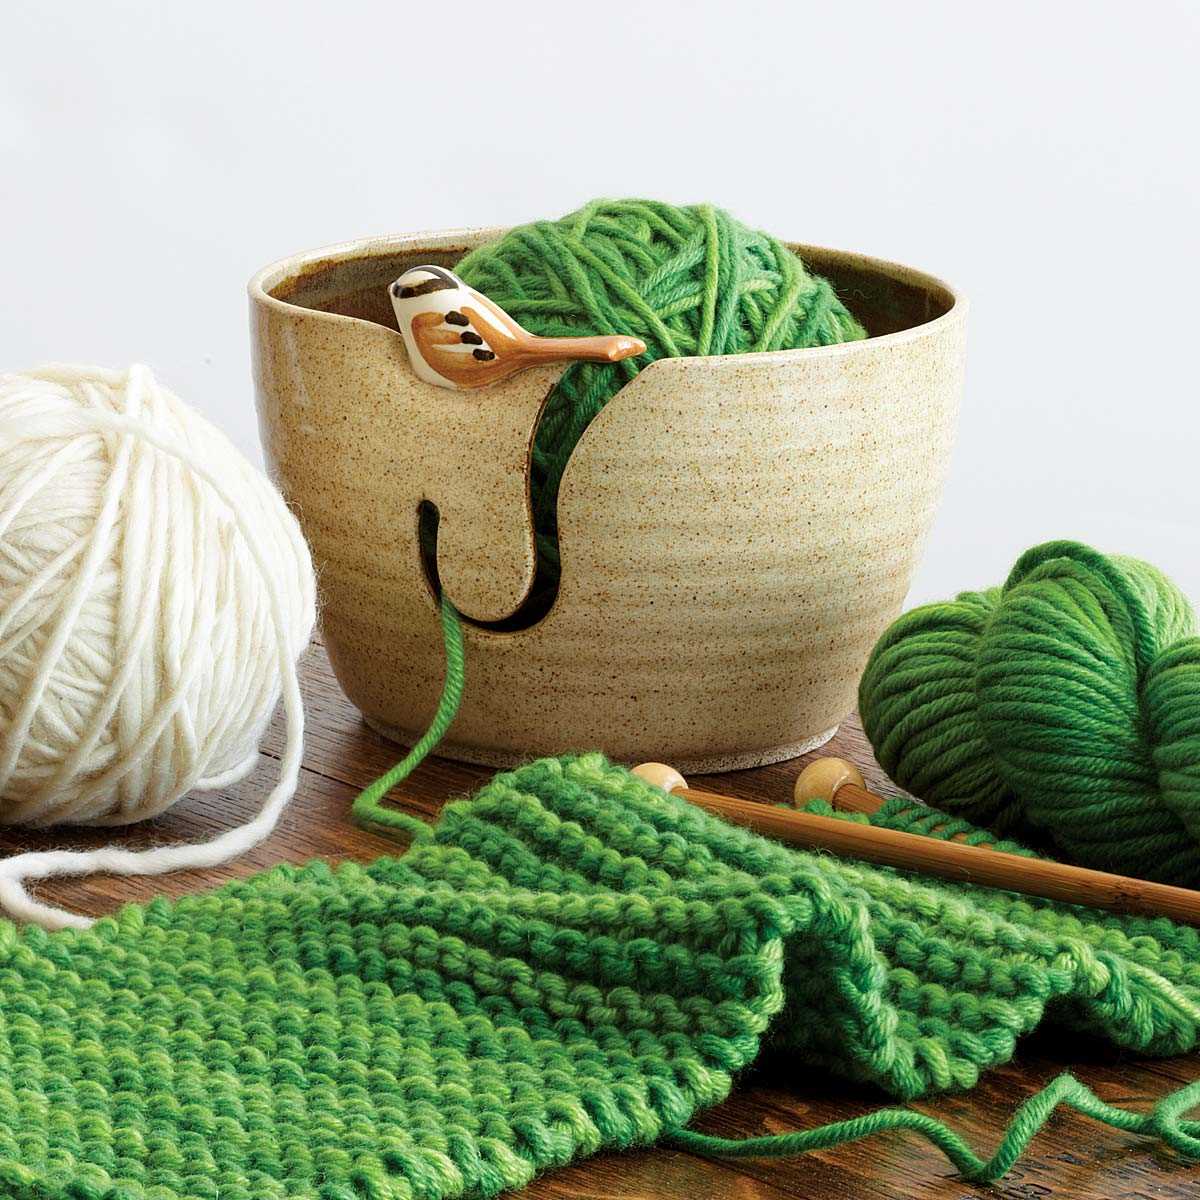
A yarn bowl is a clever accessory that holds your yarn in place, preventing it from rolling away or becoming tangled. The bowl has a hole or groove that allows the yarn to be pulled through easily while keeping the ball secure. It’s like having an extra set of hands, making your knitting or crocheting experience more enjoyable.
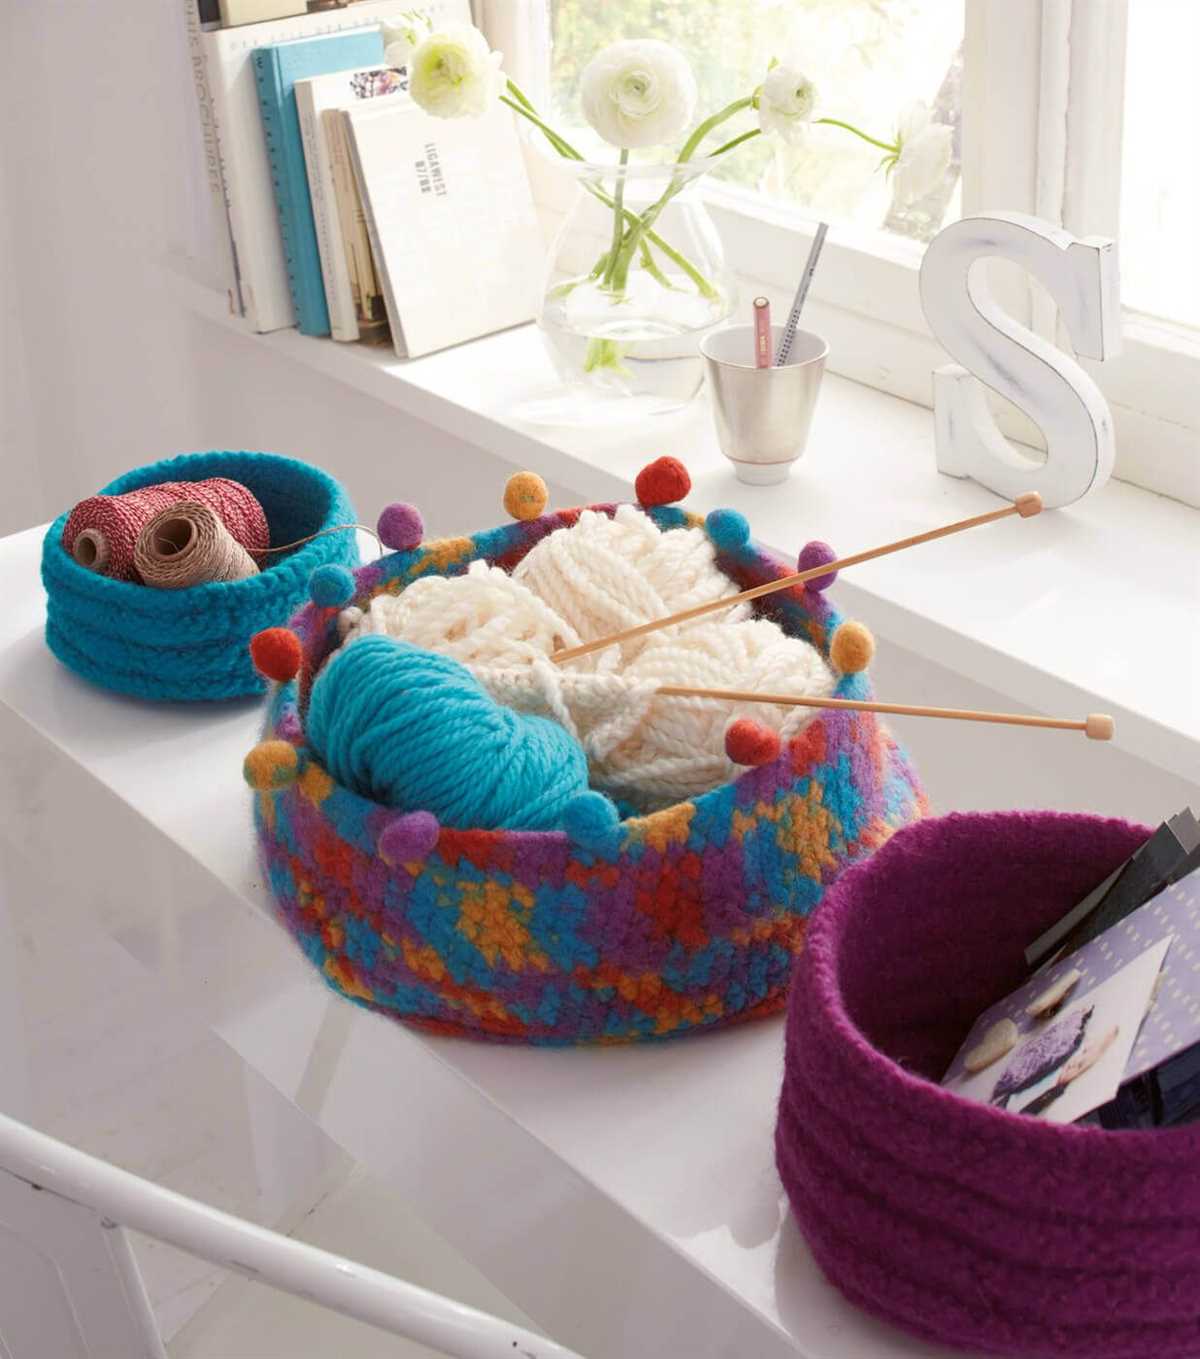
With this knitted yarn bowl pattern, you can create your own customized bowl that reflects your personal style. You can choose from a variety of colors and stitch patterns to make a one-of-a-kind bowl that will not only enhance your crafting experience but also make a beautiful addition to your home decor.
Whether you’re a beginner or an experienced knitter, this pattern is perfect for you. The instructions are easy to follow, and the end result will leave you proud of your knitting skills. So grab your knitting needles and get ready to create your very own knitted yarn bowl!
Knitted Yarn Bowl Pattern: Create Your Own Gorgeous Bowl for Your Yarn
If you’re an avid knitter or crocheter, you know how important it is to have your yarn organized and easily accessible while working on your projects. A knitted yarn bowl is a perfect solution for keeping your yarn neat, tangle-free, and within reach. With this easy-to-follow knitted yarn bowl pattern, you can create your own beautiful bowl that will not only serve a practical purpose but also add a touch of style to your crafting space.
To begin, you’ll need a few basic knitting supplies, including medium weight yarn in the color of your choice and knitting needles in size 8 or 9. The pattern is simple, making it suitable for knitters of all skill levels. The bowl is created by knitting a large, flat circle that will eventually be folded and stitched together to form the bowl shape. The sides of the bowl are then created by picking up stitches along the edge of the circle and knitting in the round.
Once you have completed the knitting portion, you can then add embellishments to make your yarn bowl truly unique. You may choose to add a decorative border using a contrasting color of yarn or incorporate various stitch patterns for added visual interest. You can also personalize your yarn bowl by embroidering your initials or a small design onto the fabric.
A knitted yarn bowl not only keeps your yarn tidy, but it also prevents it from rolling away or getting tangled as you work. The bowl’s shape allows your yarn to unwind smoothly, ensuring a frustration-free knitting or crocheting experience. Plus, the softness of the knitted fabric prevents any potential snags or damage to your yarn.
Whether you’re an experienced knitter or just starting out, creating your own knitted yarn bowl is a fun and satisfying project. You can customize it to match your personal style and it also makes for a thoughtful handmade gift for fellow yarn enthusiasts. Follow this knitted yarn bowl pattern, and soon enough, you’ll have a gorgeous bowl that will keep your yarn organized and inspire your creativity.
Choose the Right Yarn for Your Knitted Yarn Bowl
When knitting a yarn bowl, it is important to choose the right yarn to ensure that the bowl maintains its shape and durability. The yarn you select should have a good amount of elasticity and structure, allowing it to hold its shape without sagging or stretching too much. Additionally, the yarn should be strong enough to withstand the weight of the yarn that will be placed inside the bowl.
1. Consider the Fiber: Different types of yarn have different properties, so it’s important to consider the fiber content when selecting yarn for your knitted yarn bowl. Wool, for example, is known for its elasticity and ability to hold its shape well. Acrylic yarns, on the other hand, may not have as much elasticity but are often less expensive.
2. Gauge and Weight: The gauge and weight of the yarn will also play a role in the final result of your knitted yarn bowl. It is important to choose a yarn that matches the recommended gauge for the pattern you are using. If the yarn is too thin or too thick, it may affect the overall structure and durability of the bowl.
3. Consider the Design: If you have a specific design or pattern in mind for your yarn bowl, you may need to choose yarn that is suitable for that particular design. For example, if you want to create a colorwork pattern or add texture to your bowl, you may need to choose a yarn that is suited to those techniques.
4. Durability: Lastly, consider the durability of the yarn. Yarns that have a high twist or are plied will often be more durable and less likely to pill or fray over time. This is especially important if you plan to use your yarn bowl regularly or for heavy-duty projects.
By considering the fiber content, gauge and weight, design requirements, and durability of the yarn, you can ensure that your knitted yarn bowl will be both functional and beautiful. Take the time to choose the right yarn, and your finished bowl will be a joy to use for years to come.
Gather Your Knitting Supplies
Before you begin knitting a yarn bowl, it’s important to gather all of the necessary supplies. Making sure you have everything on hand will make the process smoother and more enjoyable. Here’s a list of the essential items you’ll need:
- Yarn: Choose a soft and durable yarn that will hold up well when creating your yarn bowl.
- Knitting Needles: Select the appropriate knitting needles for the yarn you’ve chosen. Make sure they are the right size and material for your project.
- Stitch Markers: These little markers can be helpful in keeping track of your stitches. They come in various shapes and sizes, so choose ones that work best for you.
- Tapestry Needle: This needle is used to weave in loose ends and seam pieces together. Make sure it’s large enough to accommodate your yarn.
- Scissors: A good pair of scissors is essential for cutting yarn and trimming any excess.
- Measuring Tape: Having a measuring tape on hand is important for checking gauge and ensuring your project is the correct size.
- Pattern: Find a knitted yarn bowl pattern that you like and print it out. Follow the instructions carefully to ensure your project turns out as planned.
Once you’ve gathered all of your knitting supplies, you’ll be ready to start knitting your yarn bowl. Having everything organized and readily available will make the process much more enjoyable and efficient. So, gather your supplies and get ready to create a beautiful and functional knitted yarn bowl!
Knitting the Base of Your Yarn Bowl
When knitting a yarn bowl, the first thing you will need to do is create the base. The base is an essential part of the bowl as it provides stability and support for the rest of the project. To begin, you will need to choose your yarn and knitting needles. It is recommended to use a sturdy and durable yarn that can withstand the weight of the yarn ball. Worsted weight or bulky yarns are typically a good choice. Choose knitting needles that are appropriate for the chosen yarn weight.
Once you have your materials ready, you can start casting on stitches. The number of stitches you cast on will depend on the size of the yarn bowl you want to create. It is recommended to cast on enough stitches to create a circular base that is slightly larger than the desired diameter of the bowl. You can calculate the number of stitches needed based on your gauge and the desired size. Keep in mind that the base will shrink slightly when you start knitting upwards, so it’s better to have a slightly larger base than a smaller one.
To create the base, you will be knitting in the round. This means that you will knit all the stitches without turning your work, creating a seamless and circular shape. Circular knitting needles or double-pointed needles can be used for this technique. As you knit each round, make sure to keep your tension consistent to avoid any gaps or loose stitches. It is helpful to place a stitch marker at the beginning of each round to keep track of your progress.
Continue knitting in the round until the base reaches the desired size. You can periodically place your yarn ball on top of the knitting to check if it fits comfortably within the base. Once the base is large enough, you can proceed to the next step of creating the sides of the yarn bowl. The base sets a solid foundation for the rest of your knitted yarn bowl, ensuring stability and functionality. With the base complete, you are one step closer to creating your own unique and practical yarn bowl.
Add Texture and Patterns to Your Yarn Bowl
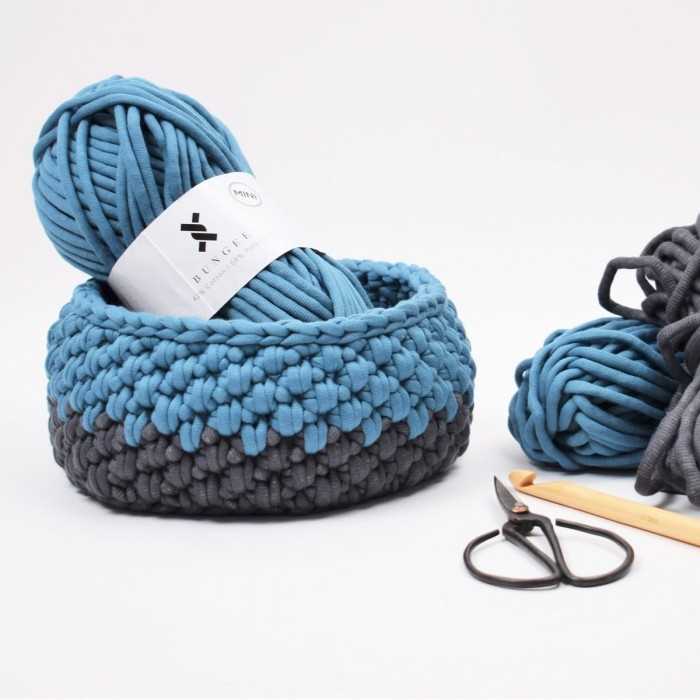
If you’re a knitter or crocheter, you know how important it is to have a functional and beautiful yarn bowl to hold your yarn while you work. But why settle for a plain, boring bowl when you can add texture and patterns to make it truly unique? With a few simple techniques, you can transform an ordinary yarn bowl into a work of art.
One way to add texture and patterns to your yarn bowl is by using different knitting stitches. For example, you can create a basketweave pattern by alternating knit and purl stitches. This will give your yarn bowl a woven look that is both visually interesting and functional, as the texture will help hold your yarn in place. You can also try using cables or lace stitches to create intricate designs that will make your yarn bowl stand out.
Using contrasting colors of yarn
Anothe
r way to add texture and patterns to your yarn bowl is by using contrasting colors of yarn. You can create stripes by switching between different colors every few rows, or you can create a gradient effect by using different shades of the same color. This will give your yarn bowl a vibrant and eye-catching look that will make your knitting or crocheting experience even more enjoyable.
Finally, you can add texture and patterns to your yarn bowl by incorporating different materials, such as beads or buttons. You can sew them onto the surface of the bowl or even create a raised design by knitting or crocheting around them. This will add a tactile element to your yarn bowl and make it even more interesting to touch and look at. The possibilities are endless, so let your creativity run wild and experiment with different techniques to create a yarn bowl that is as unique as your craft.
Knit the Sides of Your Yarn Bowl
Once you have finished knitting the base of your yarn bowl, it’s time to move on to the sides. This is where your creativity can really shine as you choose different stitch patterns or colors to create a unique design.
1. Choose your stitch pattern: You can continue with the same stitch pattern that you used for the base, or you can switch to a different pattern for the sides. You could try a textured stitch like seed stitch or moss stitch for an interesting texture, or a lace stitch for a delicate and intricate design. The choice is yours!
2. Calculate the number of stitches: To calculate the number of stitches you will need for the sides, measure the circumference of your base and multiply it by the number of stitches per inch. Make sure to round the number to the nearest whole number so that you have an even number of stitches.
3. Knit the sides: Start knitting the sides of your yarn bowl by joining the yarn at the edge of the base. Use the stitch pattern you have chosen and continue knitting in the round until you reach the desired height for your yarn bowl. Remember to periodically measure the height to make sure it matches your desired size.
4. Add any desired embellishments: If you want to add any additional decorations or embellishments to your yarn bowl, such as buttons or bows, now is the time to do so. You can sew them on securely using a tapestry needle and yarn that matches your project.
5. Bind off: Once you have reached the desired height and finished any embellishments, it’s time to bind off. Cut the yarn, leaving a long tail, and thread it through the stitches on your needles. Pull tight to secure the stitches and weave in any loose ends.
Now that you have finished knitting the sides of your yarn bowl, you can move on to the final step – creating the rim and handles. Stay tuned for the next tutorial to learn how to complete your knitted yarn bowl!
Create the Rim for Your Yarn Bowl
Once you have completed the body of your yarn bowl, it’s time to create the rim. The rim not only adds a decorative touch to your bowl but also helps to keep your yarn from rolling out.
To create the rim, you will need to pick up stitches along the top edge of your bowl. Start by identifying the first row of stitches on the body of your bowl. Insert your knitting needle through the top loops of these stitches, from back to front, and knit them onto your needle. Continue picking up stitches in this manner along the top edge of your bowl, making sure to space them evenly.
Once you have picked up all the necessary stitches, you can start knitting the rim. You can use the same stitch pattern that you used for the body of the bowl or choose a different one for contrast. Knit several rows in your chosen stitch pattern to create a sturdy and decorative rim for your yarn bowl.
Pro tip: If you want a more pronounced rim, you can knit additional rows or even add a few rounds of ribbing to give it extra height.
After you have finished knitting the rim, bind off your stitches and weave in any loose ends. Congratulations! You have now completed your knitted yarn bowl, ready to hold your yarn and keep it tangle-free while you work on your knitting projects.
Add Finishing Touches to Your Yarn Bowl
When it comes to knitting, having the right tools and accessories can make all the difference in your projects. One such essential accessory is a yarn bowl, which helps to keep your yarn untangled and organized as you work. While you can easily purchase a yarn bowl, adding your own finishing touches can make it more personalized and unique. Here are some ideas to enhance your yarn bowl:
1. Decorate with Paint or Markers
If you have a plain ceramic or wooden yarn bowl, adding a touch of color can make it more visually appealing. You can use acrylic paint or permanent markers to create designs, patterns, or even write your favorite knitting quotes on the bowl. Let your creativity flow and make it a reflection of your personal style.
2. Apply a Protective Coating
To ensure that your yarn bowl stays in good condition and lasts longer, you can apply a protective coating. This can be a clear varnish or sealant that will give the bowl a glossy finish while also providing an extra layer of protection against scratches and wear.
3. Add Knitting-themed Embellishments
Do you have any small knitting-themed charms, buttons, or trinkets lying around? You can easily attach them to your yarn bowl using adhesive glue or by tying them with a colorful ribbon. These small embellishments can add a touch of whimsy and show off your love for knitting.
4. Personalize with Your Initials
If you want to make your yarn bowl truly one-of-a-kind, consider adding your initials or name to it. You can use vinyl stickers, permanent markers, or even have it professionally engraved. This personal touch will make your yarn bowl a cherished item and a conversation starter among fellow knitters.
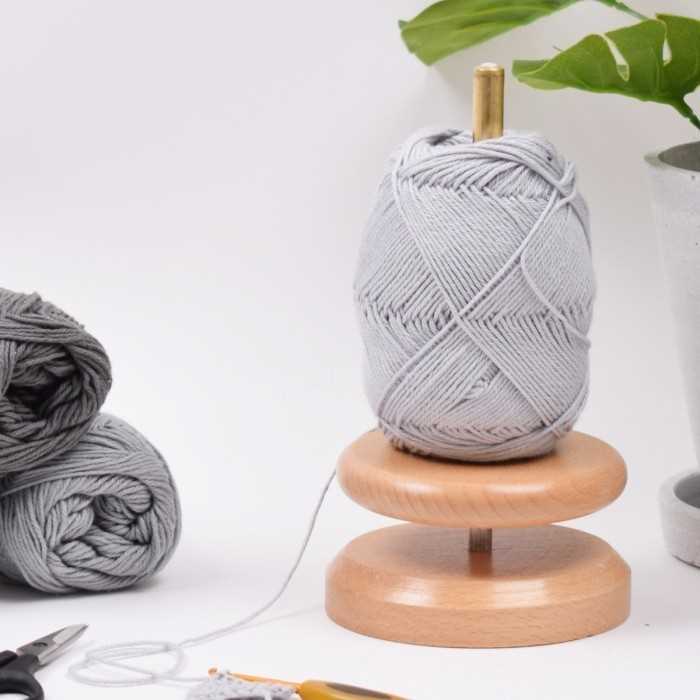
5. Include a Yarn Holder or Dispenser
To take your yarn bowl to the next level of functionality, you can add a yarn holder or dispenser. This can be a small attachment or compartment that holds the yarn in place and allows it to smoothly unwind as you knit. Look for options that can be easily attached to your yarn bowl or even consider making your own using a small container or plastic tube.
By adding these finishing touches to your yarn bowl, you can make it not only a practical tool but also a beautiful and personalized accessory. Let your creativity shine as you enhance your knitting experience and showcase your love for the craft.
Blocking and Shaping Your Knitted Yarn Bowl
After you have finished knitting your yarn bowl, the next step is to block and shape it to achieve the desired final look. Blocking helps to even out the stitches and gives the yarn bowl a more polished appearance.
Here are some steps to follow when blocking and shaping your knitted yarn bowl:
1. Soak the Bowl
Fill a sink or basin with lukewarm water and add a small amount of mild detergent. Submerge the knitted yarn bowl in the water and gently squeeze it to ensure that it is fully saturated. Let it soak for about 15-20 minutes to allow the fibers to relax.
2. Remove Excess Water
Take the yarn bowl out of the water and gently squeeze out the excess water. Avoid wringing or twisting the bowl, as this can damage the fibers and distort the shape. Instead, press the bowl between layers of a clean towel to remove the water.
3. Shape the Bowl
To shape the knitted yarn bowl, carefully place it on a blocking mat or a towel, ensuring that it is in the desired shape and size. Use pins or blocking wires to secure the edges and shape the bowl. Pay attention to the rim and the bottom of the bowl to make sure they are even and symmetrical.
4. Let it Dry
Allow the knitted yarn bowl to dry completely in the shaped position. This might take a couple of days, depending on the humidity and air circulation in the room. Avoid direct sunlight or heat sources, as they can cause the yarn to fade or become brittle.
Once the knitted yarn bowl is dry, remove the pins or blocking wires, and it is ready to be used for your knitting projects. Blocking and shaping your knitted yarn bowl not only enhances its aesthetic appeal but also ensures that it maintains its shape over time.
Decorating Your Knitted Yarn Bowl
Once you have finished knitting your yarn bowl, it’s time to give it some personality and style. Decorating your yarn bowl can be a fun and creative process that allows you to personalize your knitting experience. Here are some ideas for adding a personal touch to your knitted yarn bowl:
1. Embroidery
One way to decorate your yarn bowl is by adding embroidery to the exterior. You can use colorful thread or yarn to stitch patterns, designs, or even your name onto the bowl. Embroidery can add a unique and personalized touch to your yarn bowl, making it truly one-of-a-kind.
2. Appliqué
Another option for decorating your yarn bowl is to add appliqué. This involves stitching fabric or other materials onto the bowl to create a design or pattern. You can use fabric scraps, felt, or even buttons to create eye-catching appliqué designs. This technique allows you to add texture and dimension to your yarn bowl.
3. Paint
If you prefer a more colorful and vibrant yarn bowl, you can consider painting it. Using ceramic or acrylic paints, you can create intricate designs or simple patterns on the exterior of your bowl. Be sure to use a sealant or varnish to protect the paint and make it more durable.
4. Decoupage
For a unique and eclectic look, you can try decoupaging your yarn bowl. This involves gluing decorative paper, fabric, or other materials onto the bowl’s surface and then sealing it with a clear varnish. You can choose different patterns, colors, or even images to create a visually stunning and personalized yarn bowl.
Overall, decorating your knitted yarn bowl allows you to showcase your creativity and make it truly your own. Whether you choose to embroider, appliqué, paint, or decoupage, the options are endless. Have fun experimenting with different techniques and materials to create a yarn bowl that reflects your personal style and enhances your knitting experience.
Tips and Tricks for Knitting a Yarn Bowl
Knitting a yarn bowl can be a fun and rewarding project for knitters of all skill levels. Whether you want to create a functional piece for holding your yarn or a decorative item for display, here are some tips and tricks to help you get started.
1. Choosing the Right Yarn:

When knitting a yarn bowl, it’s important to choose a yarn that is durable and can withstand the weight of the yarn it will hold. Opt for a yarn that is strong and has good stitch definition to ensure that your bowl holds its shape.
2. Selecting the Right Needle Size:
The needle size you choose will determine the size and tightness of your stitches, which in turn will affect the shape and structure of your yarn bowl. Be sure to select the appropriate needle size based on your desired outcome.
3. Adding Reinforcement:
To ensure that your yarn bowl is sturdy and maintains its shape, consider adding reinforcement to the base. This can be done by knitting a double layer or by inserting a cardboard or plastic circle at the bottom.
4. Customizing the Design:
Knitting a yarn bowl allows for creativity and customization. You can incorporate different stitch patterns, colorwork, or even add embellishments such as buttons or beads to make your bowl unique. Consider the overall aesthetic you want to achieve and experiment with different design elements.
5. Blocking and Finishing:
Once you have completed knitting your yarn bowl, it’s important to block and finish it properly to ensure a polished and professional look. Blocking helps to even out stitches and shape the bowl, while finishing techniques like weaving in ends and adding any final touches will give your project a clean and polished appearance.
By following these tips and tricks, you’ll be on your way to knitting a beautiful and functional yarn bowl. Whether you’re creating it for yourself or as a gift, the process of knitting a yarn bowl can be both enjoyable and satisfying.
Using Your DIY Knitted Yarn Bowl
Once you’ve finished knitting your yarn bowl following the pattern, you’ll be excited to start using it. This DIY project provides a practical and stylish solution for keeping your yarn organized while working on your knitting projects. Here are some tips on how to use your knitted yarn bowl effectively.
1. Inserting your yarn:
To use your knitted yarn bowl, start by placing your yarn ball or skein inside the bowl through the opening. Make sure the yarn is securely placed inside, and the end of the yarn is accessible from outside the bowl.
2. Feeding the yarn:
Once your yarn is inserted into the bowl, you can start feeding it through the yarn guide openings. These openings will help prevent the yarn from tangling or rolling away while you knit. Pull a sufficient amount of yarn through the opening, leaving enough slack for your knitting project.
3. Knitting with your yarn bowl:
With your yarn securely in place and fed through the guide openings, you can start knitting. The yarn will flow smoothly through the guides as you work on your project, providing a tangle-free and organized knitting experience.
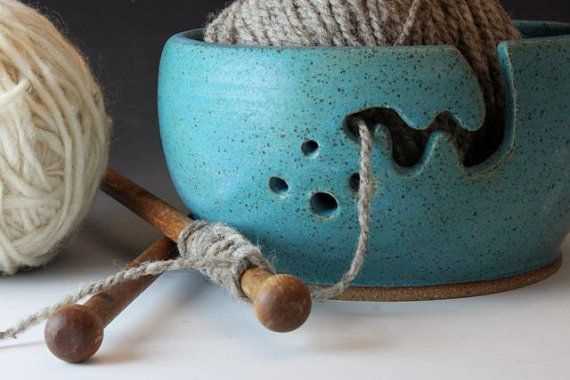
4. Utilizing the bottom hole:
The bottom hole of your knitted yarn bowl can also be used to hold your knitting needles when they’re not in use. Simply insert the needles into the hole, and they will be safely kept in place until you need them again. This feature adds convenience and ensures that your knitting tools are always within reach.
Enjoy the functionality and aesthetic appeal of your DIY knitted yarn bowl as you work on your knitting projects. It’s a great tool for keeping your yarn organized and your knitting process smooth and enjoyable.
Share Your Knitted Yarn Bowl Creation
Now that you have learned how to make a knitted yarn bowl using the provided pattern, it’s time to show off your creation! Whether you followed the pattern exactly or added your own personal touch, we would love to see what you have made.
Share Your Photos: Take a picture of your knitted yarn bowl and share it with us on social media. You can tag us @knittinglovers or use the hashtag #knittedyarnbowl. We can’t wait to see the beautiful colors and designs you have chosen for your bowl.
Tell Your Story: Did you encounter any challenges while knitting your yarn bowl? Or maybe you have a special story behind the yarn you used. We would love to hear about your experience and any tips you have for fellow knitters. Leave a comment on our blog post or join our knitting community forum to share your journey.
Inspire Others: Your creation could inspire others to try knitting their own yarn bowls. If you enjoyed making this project, consider sharing the pattern with your knitting friends or teaching a knitting workshop in your community. Together, we can spread the joy of knitting and create beautiful, functional pieces.
Conclusion: Knitting a yarn bowl is not only practical, but also a creative and enjoyable project. By following the pattern and putting your own spin on it, you can create a one-of-a-kind bowl that reflects your personal style. So go ahead, gather your materials, and start knitting your own unique yarn bowl today!
Q&A:
What is a knitted yarn bowl pattern?
A knitted yarn bowl pattern is a set of instructions and techniques for creating a bowl-shaped container using knitting needles and yarn. The bowl is designed to hold a ball of yarn while you knit, preventing it from rolling away or getting tangled.
Why would I want to knit a yarn bowl?
Knitting a yarn bowl can be a fun and creative project for knitters who enjoy making their own accessories. It can also be a practical solution for keeping your yarn organized and easily accessible while you work on a knitting project.
Where can I find a knitted yarn bowl pattern?
You can find knitted yarn bowl patterns in knitting magazines, books, and online knitting communities and websites. There are also many free patterns available on platforms like Ravelry and Pinterest.
What materials do I need to knit a yarn bowl?
To knit a yarn bowl, you will need knitting needles, yarn in your desired color, stitch markers, a tapestry needle, and optional embellishments like buttons or decorative stitches. You may also need a circular knitting needle if you choose to use the magic loop method.
Are there different types of knitted yarn bowl patterns?
Yes, there are many different types of knitted yarn bowl patterns available. Some patterns are simple and beginner-friendly, while others feature more complex designs and techniques. You can choose a pattern that matches your skill level and personal style.