
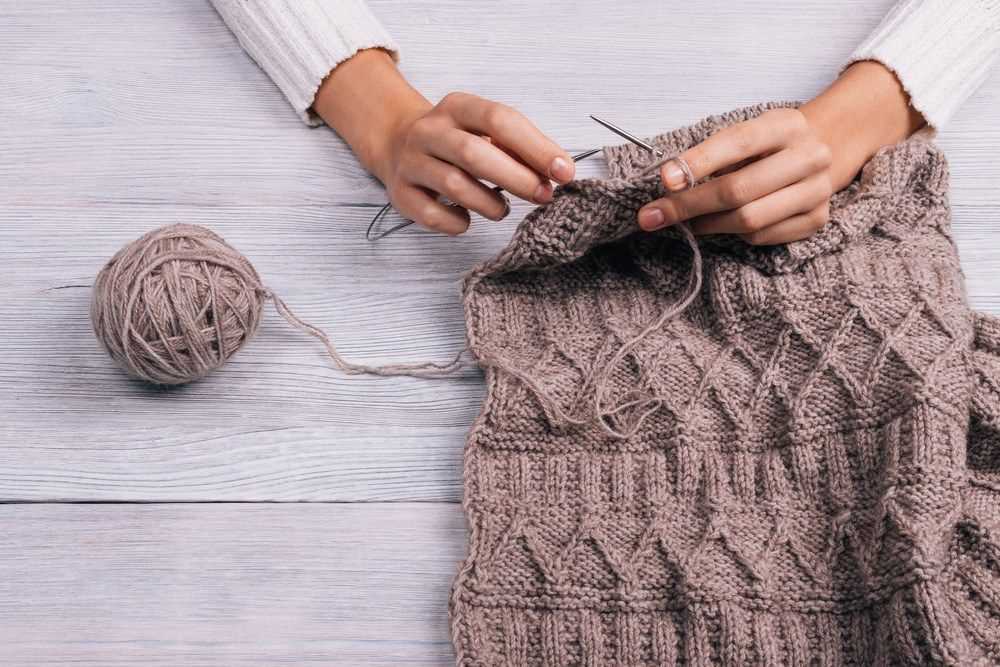
Knitting is a craft that allows you to create beautiful and unique designs using just a pair of needles and some yarn. One of the most exciting aspects of knitting is the ability to turn a picture or image into a pattern, allowing you to recreate your favorite images in yarn. Whether you want to knit a portrait of a loved one or a scene from nature, learning how to turn a picture into a knitting pattern is a skill that can take your knitting to the next level.
Turning a picture into a knitting pattern may seem like a complex process, but with the right tools and techniques, it can be achievable for knitters of all skill levels. In this article, we will explore the steps you can take to transform any picture into a knitting pattern.
First, you will need to choose a picture that you would like to turn into a knitting pattern. It can be a photograph of a person, an animal, a landscape, or even a simple graphic design. Keep in mind that the more complex the picture, the more intricate your knitting pattern will be. Once you have chosen your picture, make sure it is clear and of good quality. This will make it easier to create a pattern that accurately reflects the details of the image.
How to Turn a Picture into a Knitting Pattern
Knitting is a popular and enjoyable hobby that allows you to create beautiful and unique items. One way to add a personal touch to your knitting projects is to turn a picture or image into a knitting pattern. This process involves converting the image into a grid, where each square represents a stitch, and then following the grid to knit the design.
Here are the steps to turn a picture into a knitting pattern:
- Choose a picture or image that you would like to turn into a knitting pattern. It can be a photograph, a drawing, or any other image that you find inspiring.
- Convert the picture into a grid. You can do this manually by drawing a grid over the picture, or you can use an online tool or software that can automatically convert the image into a grid.
- Count the number of stitches and rows in the grid. This will determine the size of your knitting pattern. If you want to create a larger or smaller pattern, you can adjust the number of stitches and rows accordingly.
- Choose the knitting technique that you want to use for your pattern, such as knitting in the round or knitting flat. This will affect how you read the grid and knit the design.
- Assign each square in the grid a specific stitch or color. You can use different knitting stitches to create textures or use different colors to create a colorwork design.
- Follow the grid to knit the design. Start from the bottom corner of the grid and work your way up, row by row. Refer to the assigned stitches or colors to guide your knitting.
- If you are using multiple colors, remember to carry the unused colors along the back of your work to prevent long floats.
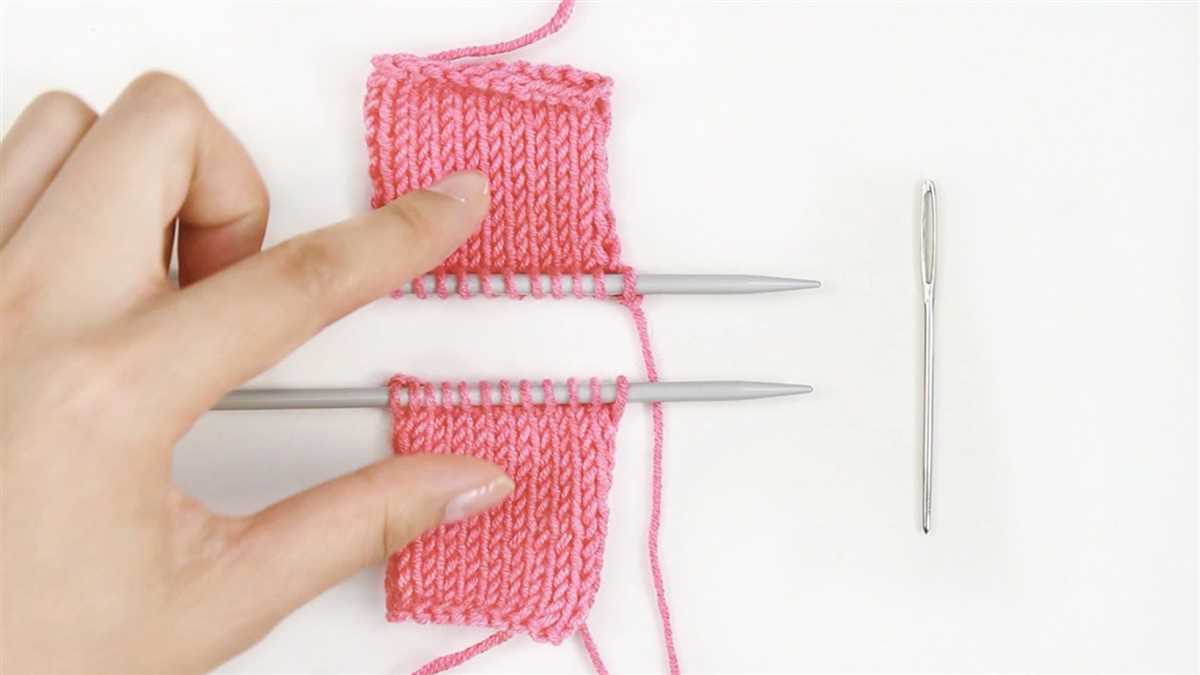
- Once you have knitted the entire design following the grid, you can add any finishing touches or details, such as edging or embroidery, to complete your knitting project.
- Block your finished knitting project to shape and size, if necessary, and enjoy your unique creation!
Turning a picture into a knitting pattern can be a fun and creative way to personalize your knitting projects. It allows you to create custom designs and bring your favorite images to life through knitting. Whether you are a beginner or an experienced knitter, give it a try and explore the endless possibilities!
Choosing the Right Picture
When it comes to turning a picture into a knitting pattern, it is crucial to choose the right image as your source. Not all pictures are suitable for this purpose, so you need to consider a few factors to ensure success.
Resolution: One of the most important things to consider is the resolution of the picture. High-resolution images with clear details will result in better-quality knitting patterns. The more details you can capture in the picture, the more intricate and accurate your knitting pattern will be.
Contrast: Another important factor to consider is the contrast in the picture. A picture with a good balance of light and dark areas will help create a more defined pattern. Avoid pictures that are overly bright or have washed-out colors, as they may not translate well into a knitting pattern.
Simplicity: Simple images with clear shapes and lines are often the best choice for turning into knitting patterns. Intricate and complex images may be challenging to translate into a knitting pattern, especially for beginners. Start with simple images and gradually level up to more complex ones as you gain experience.
Subject: Choose a picture that you are passionate about or has personal significance to you. Knitting can be a time-consuming process, so working on an image that holds sentimental value will add motivation and meaning to your project.
Size and Proportions: Consider the size and proportions of the image when choosing a picture. Large, detailed images may require more time and effort to convert into a knitting pattern. On the other hand, small pictures or images with irregular proportions may result in distorted patterns. It’s important to find a balance and pick a picture that is manageable and will translate well into a knitting pattern.
By considering these factors and carefully choosing the right picture, you can increase your chances of creating a successful knitting pattern that accurately reflects your chosen image.
Converting the Picture into a Grid
After selecting a suitable picture, the first step in turning it into a knitting pattern is to convert it into a grid. This grid will represent each stitch in the pattern and will be used as a guide for creating the design. There are several methods that can be used to convert a picture into a grid, depending on the desired level of detail and complexity.
One common method is to use specialized software or online tools that can automatically convert an image into a grid. These tools analyze the colors and shapes in the picture and create a corresponding grid, with each cell representing a stitch. This can be a quick and convenient way to create a pattern, especially for beginners or for simple designs.
Alternatively, more experienced knitters may prefer to manually create the grid by hand. This involves using graph paper or a blank grid template and carefully marking each stitch based on the colors and shapes in the picture. This method allows for more control and customization, but it can be time-consuming and requires a good understanding of knitting techniques and colorwork.
Once the picture is converted into a grid, it’s important to refine and adjust the design as needed. This may involve simplifying complex patterns, adjusting the colors to match the available yarn, or adding additional details to enhance the overall appearance. With a clear and accurate grid, the next step is to translate the stitches into knitting instructions, which will be discussed in the following section.
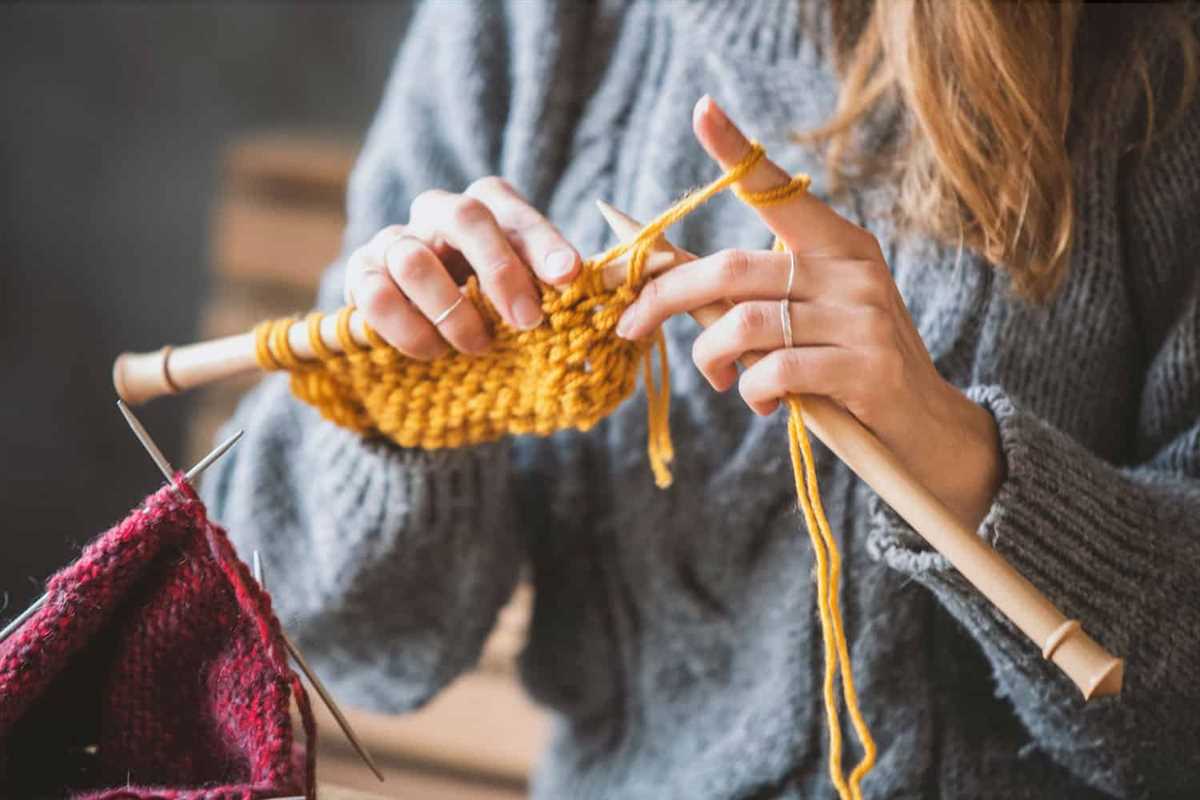
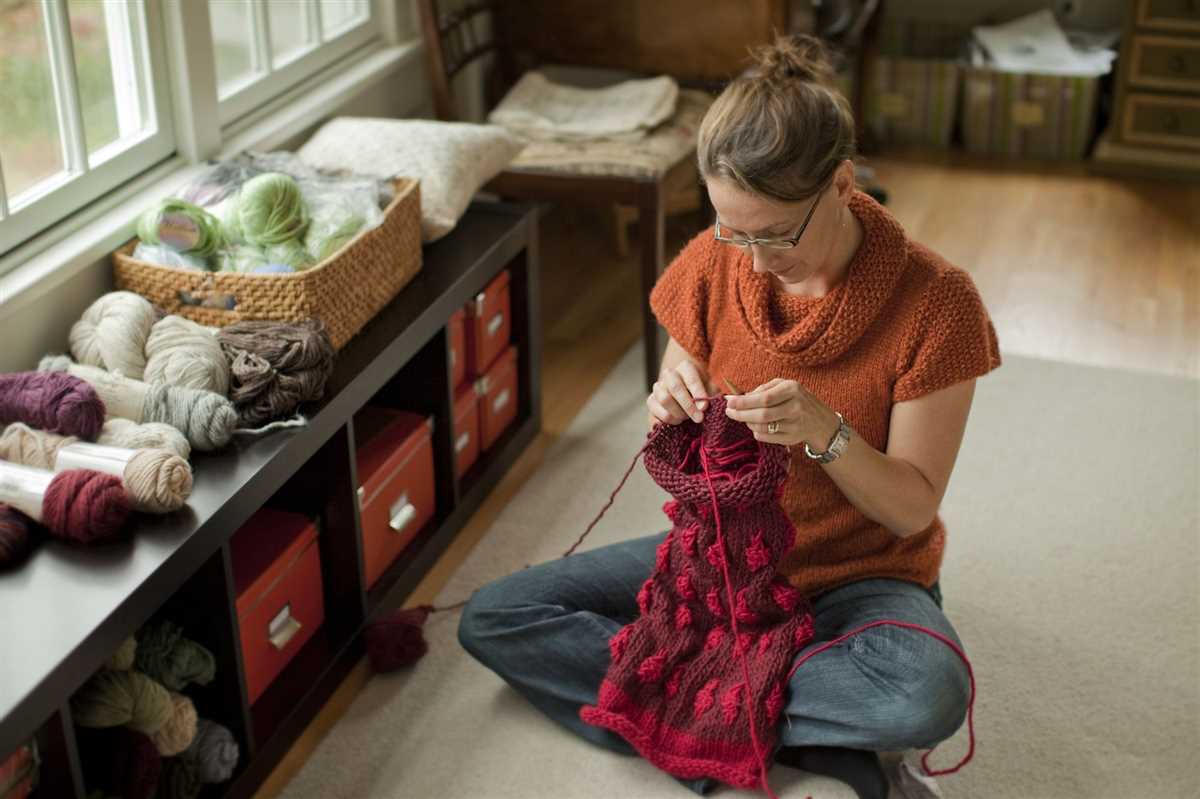
Selecting the Right Yarn and Needles
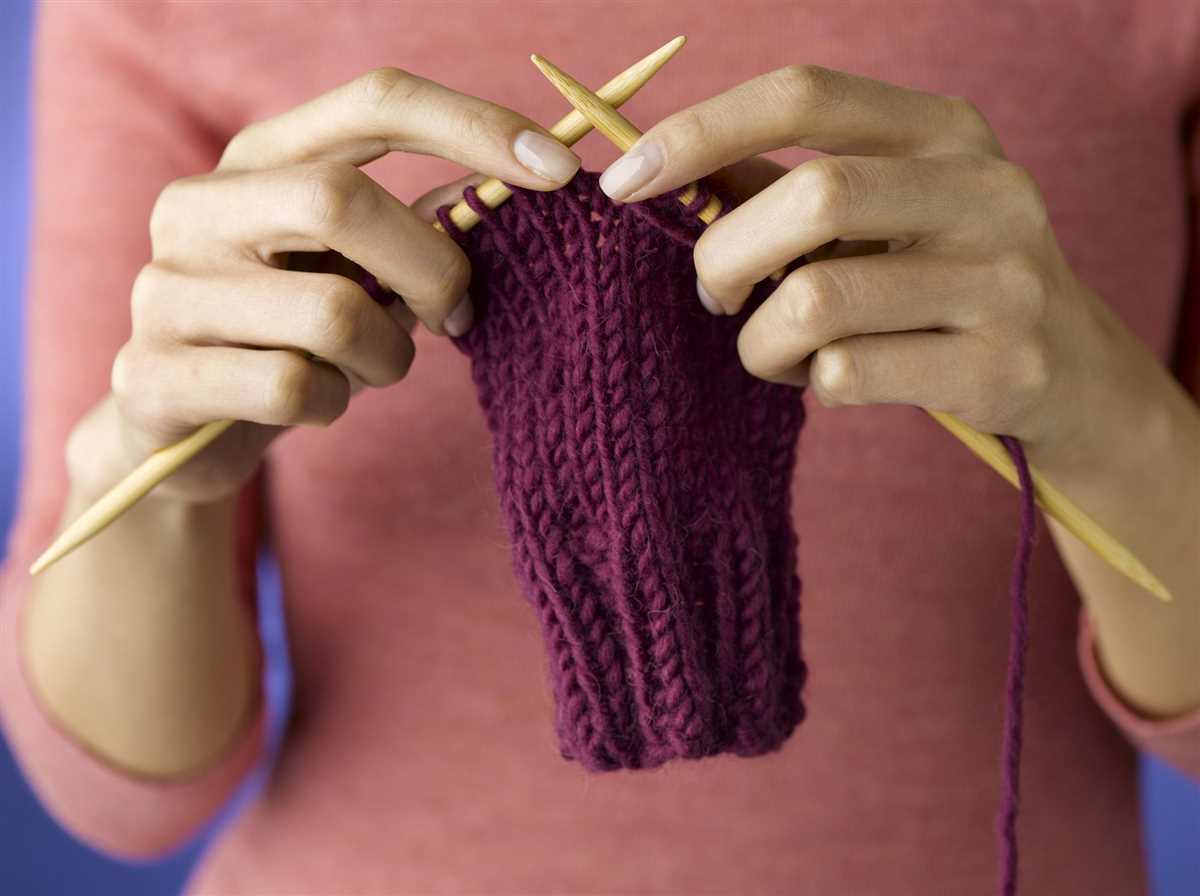
When turning a picture into a knitting pattern, one of the most important things to consider is selecting the right yarn and needles. The yarn and needle choices will greatly affect the final outcome of the knitted piece, so it’s crucial to make the right decisions.
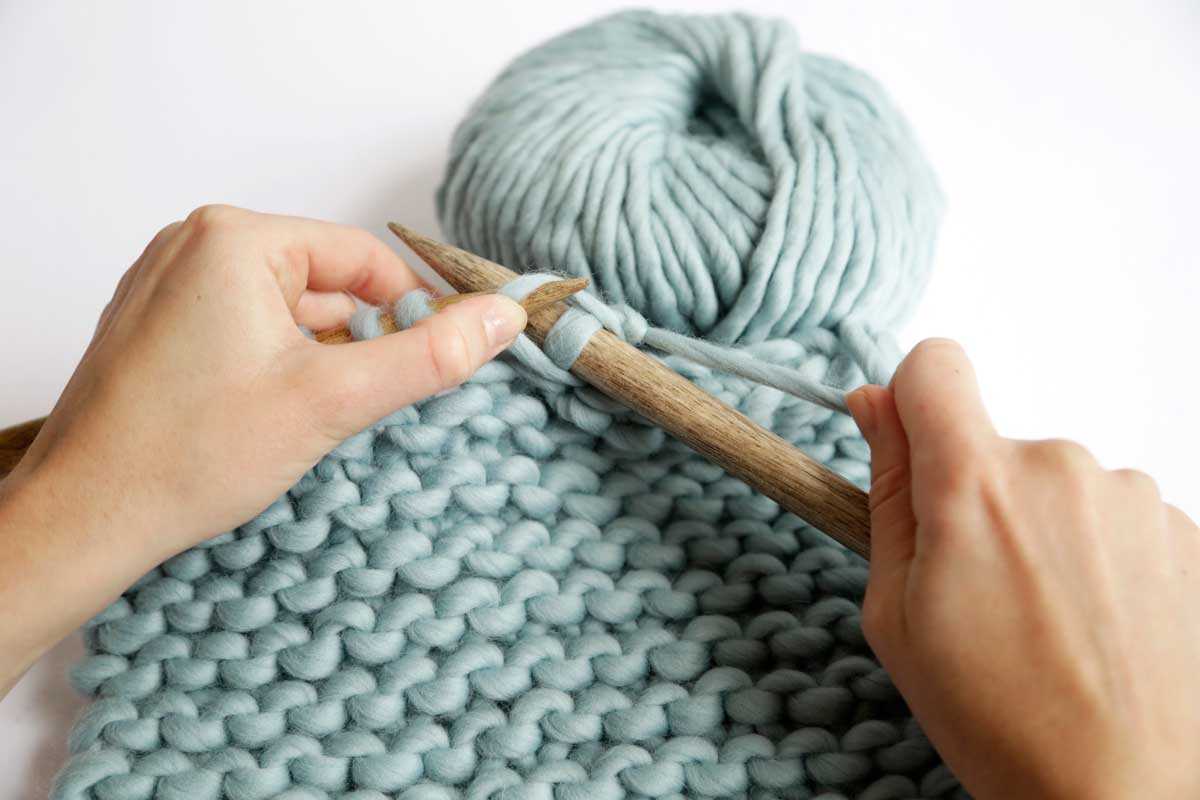
Yarn: The first step in selecting the right yarn is to consider the thickness or weight of the yarn. The weight of the yarn will determine the size of the stitches and, consequently, the level of detail that can be achieved in the knitted picture. For finer details and smaller stitches, a lighter weight yarn such as fingering or sport weight may be more suitable. On the other hand, for larger stitches and a more textured look, a heavier weight yarn like worsted or bulky may be preferred.
Needles: The choice of needles is also important when creating a knitted picture from a picture. The size of the needles will affect the gauge and tension of the stitches. For a picture with finer details, smaller needles may be necessary to achieve the desired level of detail. Conversely, for a picture with larger stitches, larger needles may be more appropriate. Additionally, the type of needles (straight, circular, or double-pointed) will depend on personal preference and the size of the knitting project.
When selecting the right yarn and needles, it’s also crucial to consider the fiber content of the yarn. Different fibers have different properties and will affect the drape, texture, and appearance of the finished knitted piece. Natural fibers like wool, alpaca, and cotton offer different levels of warmth, softness, and durability, whereas synthetic fibers like acrylic may provide a more affordable and low-maintenance option.
Ultimately, the choice of yarn and needles will depend on the desired outcome of the knitted picture and the individual’s preferences. It’s important to experiment and swatch with different yarns and needles to find the perfect combination that will bring the picture to life in a knitted form.
“`html
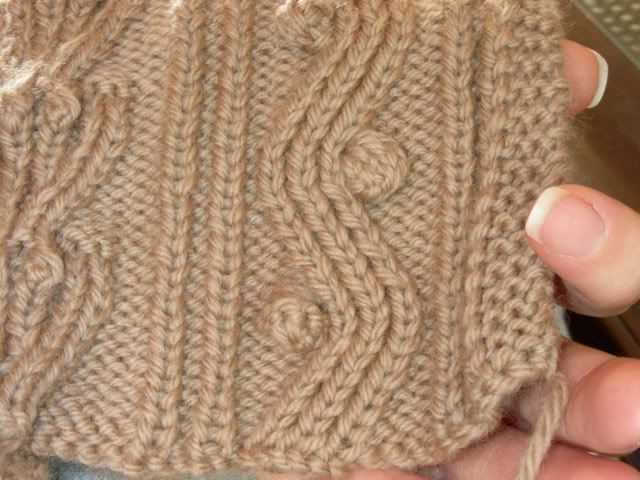
Understanding Knitting Symbols
Knitting symbols are a visual representation of the stitches and techniques used in knitting. They are commonly found in knitting patterns and are used to communicate the steps and instructions for creating a particular design or pattern. Understanding these symbols is crucial for knitters to successfully complete a project and achieve the desired outcome.
Common Knitting Symbols:
- Knit Stitch: Represented by a filled-in square or a V-shaped symbol, the knit stitch is the most basic stitch in knitting. It creates a smooth and flat surface on the right side of the fabric.
- Purl Stitch: Represented by a dot or a horizontal line, the purl stitch creates a bumpy texture on the right side of the fabric and is often used to add variety and contrast in a knitting pattern.
- Yarn Over: Represented by a circle or an open space, the yarn over is a technique used to create an extra stitch and add decorative holes or lace-like patterns in knitting.
- Decrease: Represented by a triangle, a decrease is a technique used to reduce the number of stitches in a row. It is commonly used to shape the fabric or create a specific design element in a knitting pattern.
- Increase: Represented by an upward-pointing arrow or a sideways V, an increase is a technique used to add stitches to a row. It is often used to shape the fabric or create pattern details in knitting.
- Slip Stitch: Represented by a diagonal line or an S-shaped symbol, a slip stitch is a technique used to move a stitch from one needle to another without knitting or purling it. It is often used to create texture or to create a specific design element in knitting patterns.
These are just a few examples of the common knitting symbols used in knitting patterns. It’s important for knitters to familiarize themselves with these symbols and their meanings to be able to follow instructions accurately and create beautiful knitted pieces.
“`
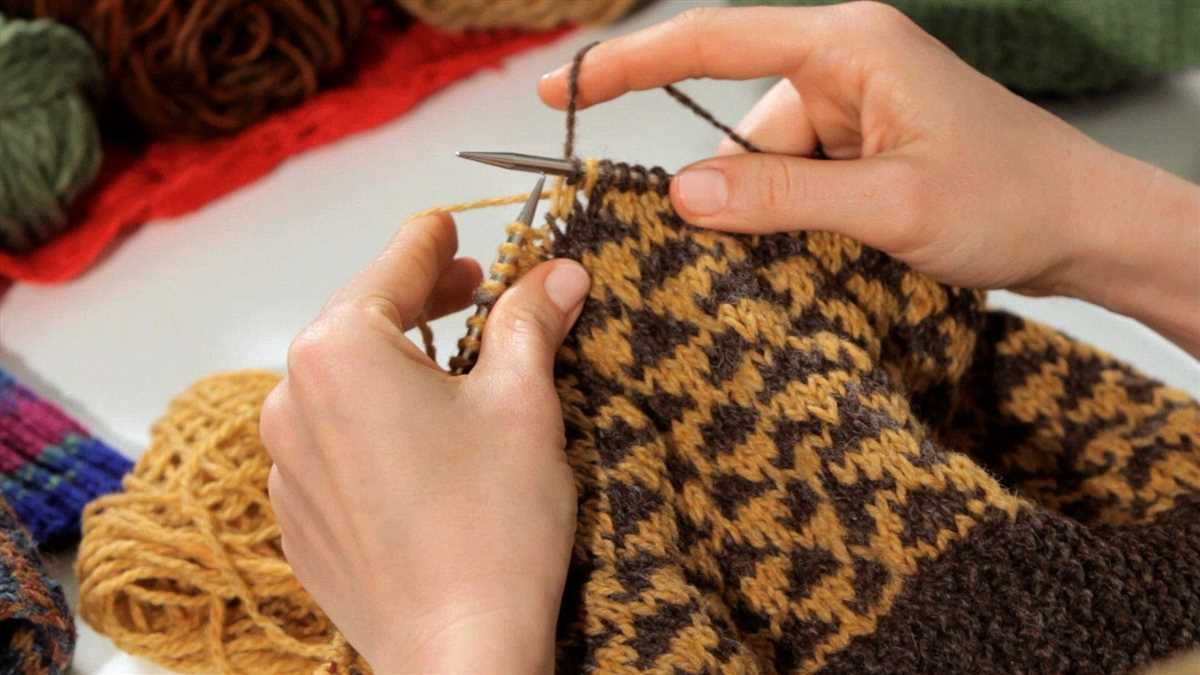
Translating the Grid into a Knitting Pattern
Once you have created a grid based on your picture, the next step is to translate it into a knitting pattern. This process involves converting each cell of the grid into a stitch or a combination of stitches.
To start, identify the main elements of the picture and determine what type of stitch would best represent each element. For example, a solid block of color could be represented by a knit stitch, while a diagonal line could be represented by a combination of knit and purl stitches.
Mapping the Stitches
Once you have determined the stitches for each element, you can start mapping them onto the grid. Use different symbols or colors to represent each stitch, making it easier to identify and follow the pattern. You can create a key to help you keep track of the symbols or colors used.
As you translate the grid into a knitting pattern, pay attention to stitch placement and the direction of the stitches. Consider the texture and effect you want to achieve, and make adjustments to the pattern as needed.
Testing and Adjusting
Before starting your project, it is helpful to test the pattern on a small swatch to ensure that it accurately represents the picture. This will give you an idea of how the pattern will look when knitted and allow you to make any necessary adjustments.
Remember that knitting patterns are subjective and can be interpreted in various ways. Don’t be afraid to experiment and make changes to the pattern to achieve the desired result. With practice, you will become more confident in translating pictures into knitting patterns and creating unique, personalized designs.
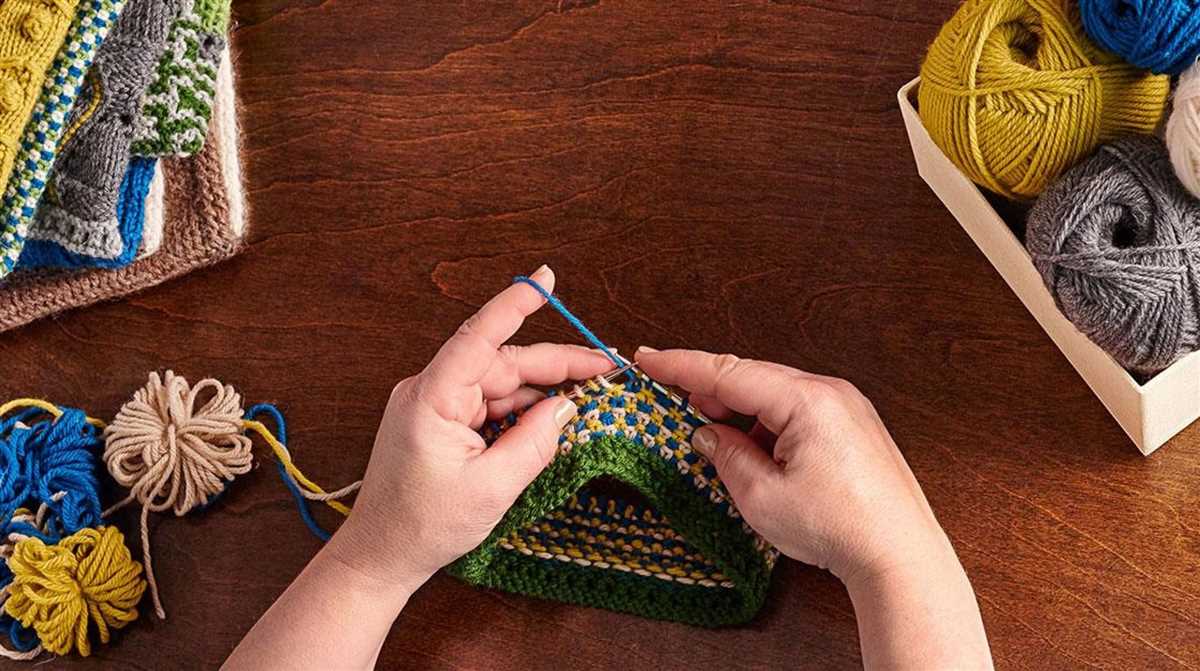
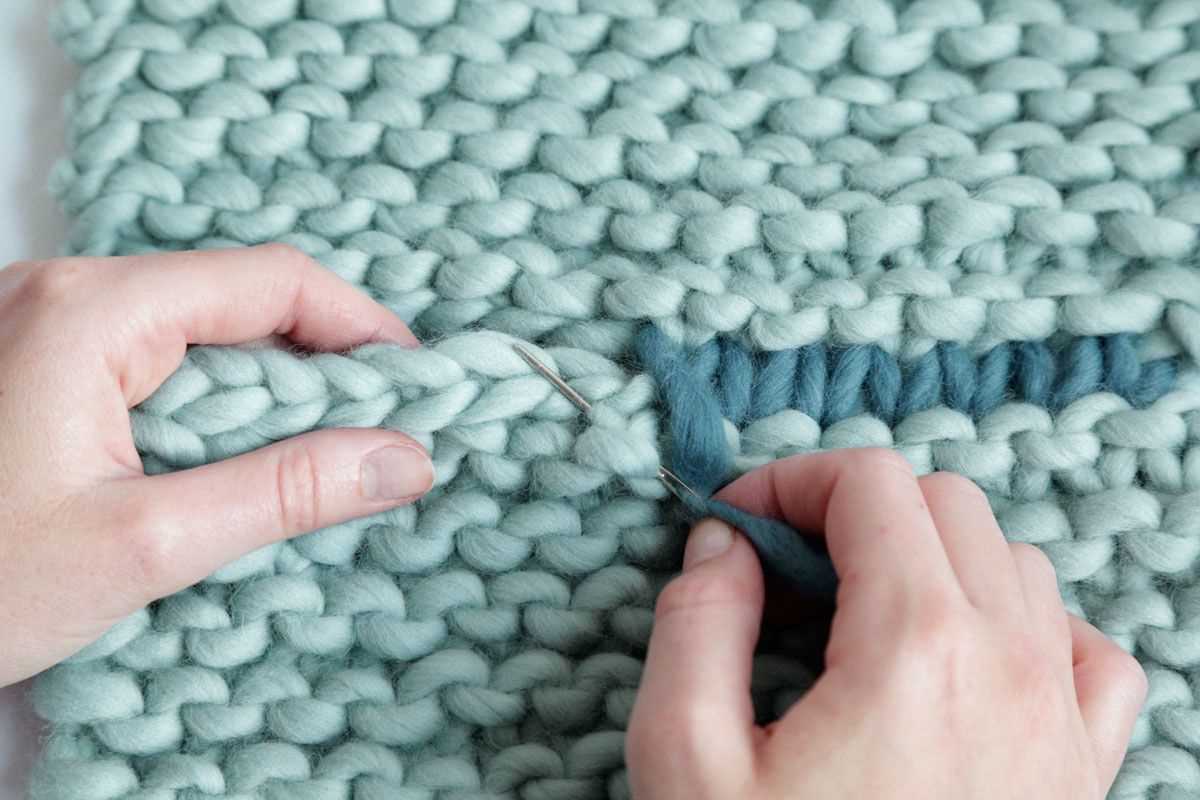
Adding Color to the Pattern
Once you have converted your picture into a knitting pattern, the next step is to add color to it. This can be done in various ways, depending on your preference and the tools you have available. One common method is to use colored pencils or markers to fill in the different sections of the pattern with the corresponding colors. This allows you to see how the final design will look and helps you to identify any potential color clashes or areas that may need adjustment.
If you prefer working with digital tools, you can use an image editing software to add color to your pattern. This allows for greater precision and control, as you can select specific color shades and adjust them as needed. You can also experiment with different color combinations to see which one works best for your design. Once you are satisfied with the colors, you can then print out the pattern and start knitting.
When adding color to your pattern, it is important to consider the type of yarn you will be using. Different yarns have different dye lots and may vary in color, so it is advisable to choose your yarn before adding color to your pattern. This way, you can match the colors more accurately and ensure that your finished project looks as intended.
Additionally, keep in mind that the color of the yarn may also affect the overall appearance of your pattern. For example, a light-colored yarn may make the colors in your pattern appear more vibrant, while a darker-colored yarn may give them a more subdued look. Experimenting with different yarns can help you achieve the desired effect.
Finally, if you are planning to make your pattern available to others, it is important to provide clear color instructions. This can be done by including a color key or legend that indicates the colors used in each section of the pattern. You can use symbols, abbreviations, or even small swatches of yarn to represent each color. This will make it easier for others to follow your pattern and recreate your design.
Adjusting the Size of the Pattern
When turning a picture into a knitting pattern, it is important to consider the size of the final product. The size of your knitting needles, the weight of your yarn, and the gauge you achieve will all affect the size of the finished item. Adjusting the size of the pattern can be done by changing the number of stitches and rows you knit, or by using larger or smaller needles and yarn.
Changing the number of stitches and rows: To make the final product larger, you can add more stitches and rows to the pattern. This can be done by increasing the stitch count in each row or by repeating certain sections of the pattern multiple times. Conversely, to make the final product smaller, you can decrease the number of stitches and rows. This can be done by decreasing the stitch count in each row or by omitting certain sections of the pattern.
Using larger or smaller needles and yarn: Another way to adjust the size of the pattern is by using larger or smaller knitting needles and yarn. If you want to make the final product larger, you can use larger needles and thicker yarn. This will result in larger stitches and a larger overall size. On the other hand, if you want to make the final product smaller, you can use smaller needles and thinner yarn. This will result in smaller stitches and a smaller overall size.
It is important to note that when adjusting the size of a pattern, you may also need to adjust the number of stitches and rows in certain sections to maintain the overall design and proportions. Additionally, achieving the desired size may require experimentation and making a gauge swatch to ensure that the changes you make will result in the desired dimensions.
Using Knitting Software or Apps
If you want to turn a picture into a knitting pattern, there are several knitting software and apps available that can help you with the process. These tools are specially designed to take an image file and convert it into a knitting pattern that you can follow.
One popular knitting software is Stitch Fiddle. This software allows you to upload an image and then automatically generates a knitting pattern based on the colors and shapes in the image. You can customize the pattern by adjusting the stitch size, choosing the number of colors, and adding or removing elements.
In addition to software, there are also knitting apps available for mobile devices. For example, KnitCompanion is an app that allows you to import an image and convert it into a knitting chart. The app provides features such as stitch tracking, row highlighting, and the ability to add notes to your pattern.
Using knitting software or apps can save you a lot of time and effort when it comes to creating a knitting pattern from a picture. These tools automate the process and provide you with a clear and easy-to-follow pattern that you can use to create your own knitted masterpiece.
Testing and Refining the Pattern
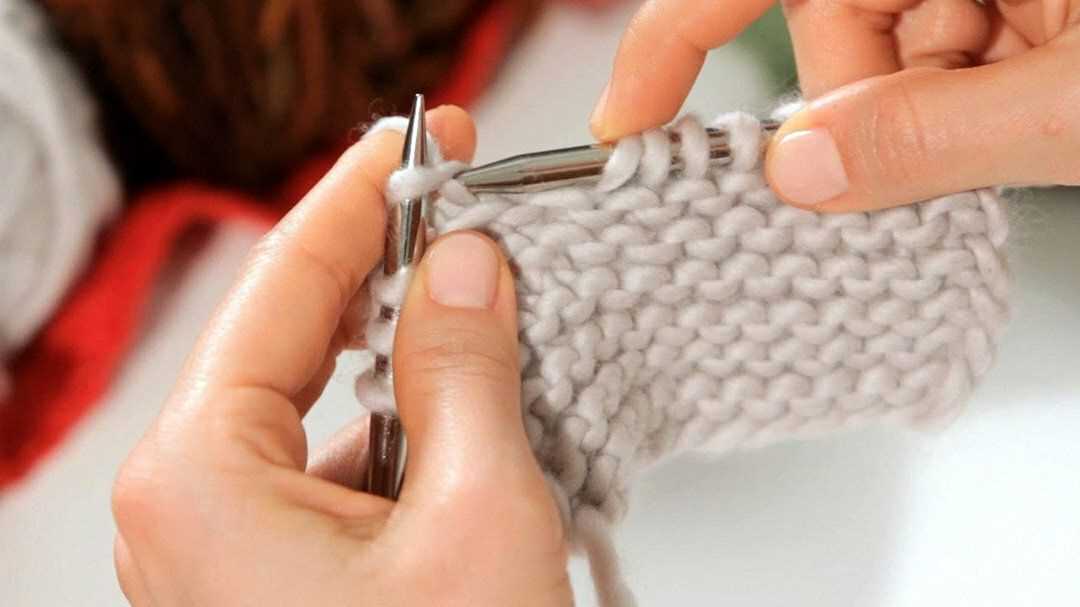
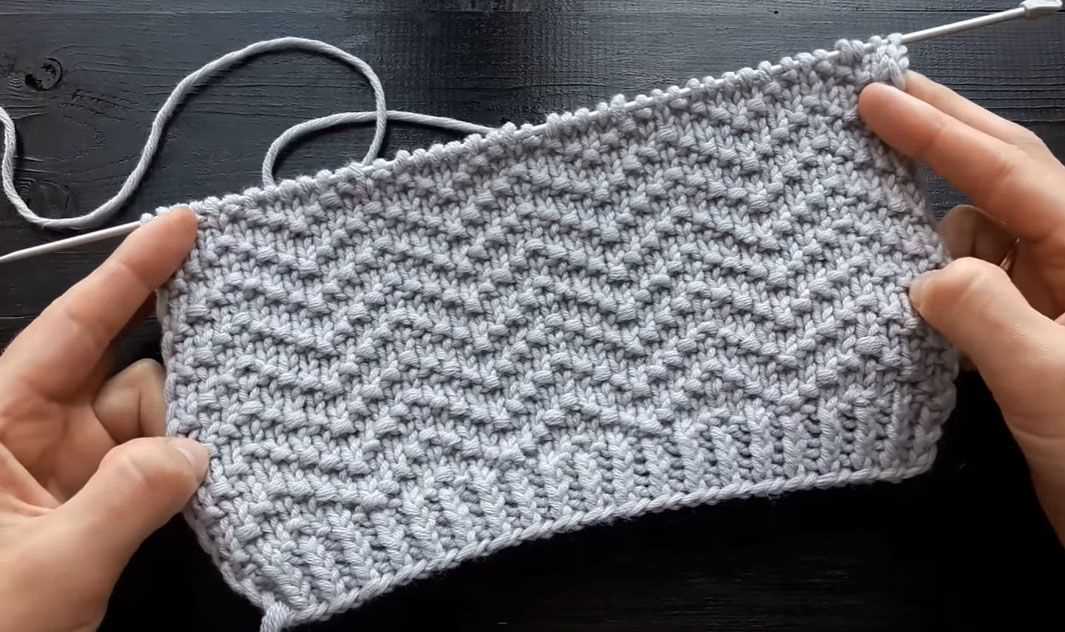
Once you have converted the picture into a knitting pattern, it is important to thoroughly test and refine the pattern to ensure it is accurate and easy to follow. This process involves knitting a sample swatch based on the pattern and making any necessary adjustments.
1. Testing the Pattern: Start by knitting a small swatch using the pattern you have generated. Pay close attention to the stitch count and any special instructions. Check that the resulting fabric matches the original image and that the design is clear and distinguishable. If there are any inconsistencies or issues, make note of them for further refinement.
2. Adjusting the Pattern: Analyze the knitted swatch and compare it to the original image. Look for any areas where the pattern may need refinement. This could include adjusting stitch counts, modifying color placement, or making changes to the stitch pattern itself. Make these adjustments in your pattern to ensure it accurately reflects the desired image.
3. Simplifying the Pattern: Review the pattern and identify any areas that may be overly complex or difficult to follow. Simplify the instructions or provide additional explanations to make the pattern more accessible for knitters of different skill levels. Consider using charts or diagrams to illustrate complex sections, if necessary.
4. Seeking Feedback: Share your pattern with other knitters or knitting groups for feedback. Encourage them to test the pattern and provide any suggestions or feedback for improvement. This external input can help identify any potential issues or areas for further refinement.
5. Repeating the Process: Iterate through the testing, adjusting, simplifying, and seeking feedback steps until you are satisfied with the final pattern. This may require multiple rounds of refinement to ensure the pattern is accurate, clear, and user-friendly. Remember that knitting patterns are a creative process, and it is natural to make adjustments along the way to achieve the desired result.
Sharing and Selling Your Knitting Pattern
Once you have created your knitting pattern from a picture, you may want to share it with others or even sell it to knitting enthusiasts. Here are some options for sharing and selling your knitting pattern:
1. Online platforms
There are various online platforms where you can share and sell your knitting patterns, such as Ravelry, Etsy, and Craftsy. These platforms have a large community of knitters who are always looking for new patterns to try. You can upload your pattern, set a price, and make it available for others to purchase and download.
When sharing your pattern on these platforms, it is important to provide clear instructions, detailed charts or diagrams, and high-quality photos of the finished project. This will help potential buyers understand what they can expect from your pattern and increase the likelihood of a successful sale.
2. Social media
Social media platforms like Instagram and Pinterest can also be great places to share your knitting pattern and attract potential customers. You can post pictures of the finished project, along with a link to the pattern or your online shop. Using relevant hashtags and engaging with the knitting community can help increase your visibility and reach a larger audience.
3. Local knitting groups and events
Consider joining local knitting groups or participating in knitting events in your area. This will allow you to connect with other knitters who may be interested in your pattern. You can bring physical copies of your pattern to share or sell, or direct people to your online platforms where they can download or purchase the pattern.
Remember to always respect copyright laws and only share or sell patterns that you have the rights to. It is also a good idea to consider offering both a free and a paid version of your pattern. This allows people to try it out before committing to a purchase, and can help generate more interest and sales.
By sharing and selling your knitting pattern, you not only have the opportunity to earn some income, but also to inspire and connect with other knitters around the world. Enjoy the process and see where it takes you!