
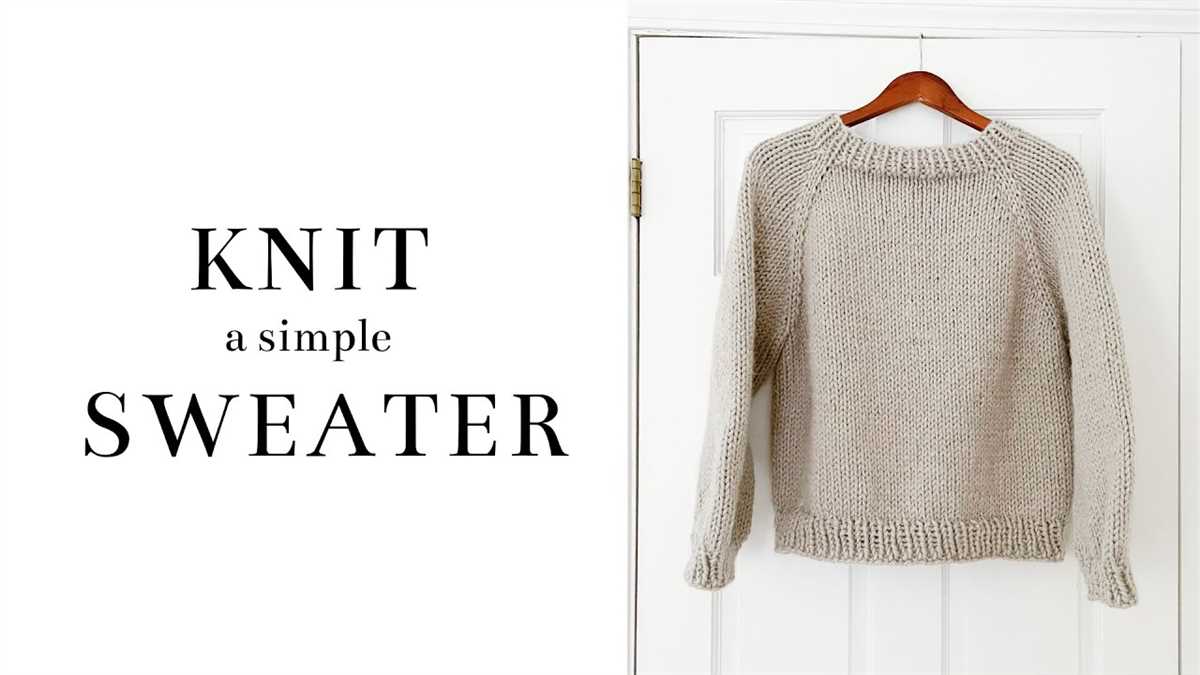
Knitting is a wonderful hobby that allows you to create beautiful, one-of-a-kind garments. If you’re looking for a knitting project that is both stylish and easy to make, look no further than a simple raglan cardigan. This classic design features a seamless construction and raglan sleeves, making it a perfect pattern for knitters of all skill levels.
What makes this knitting pattern even more enticing is that it’s completely free! With just a few skeins of your favorite yarn, you can create a cozy and versatile cardigan that you’ll love to wear all year round. Whether you’re a beginner knitter looking for your first garment project or an experienced knitter in search of a relaxing pattern, this simple raglan cardigan is sure to become a staple in your wardrobe.
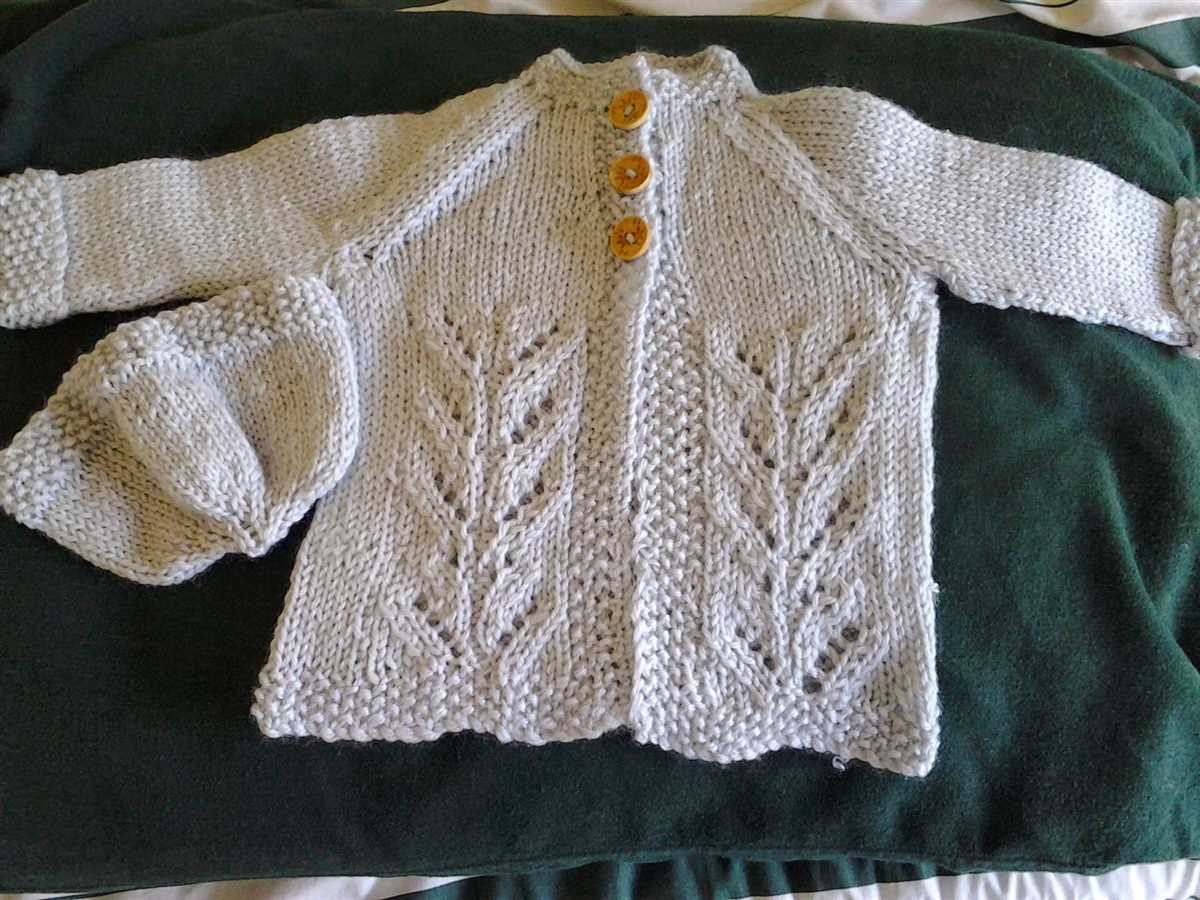
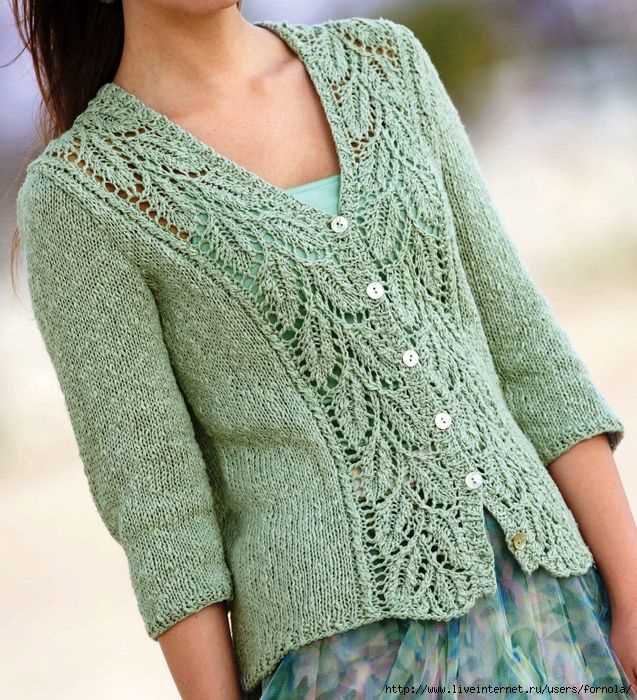
The beauty of this pattern lies in its simplicity. The seamless construction means you won’t have to worry about sewing any pieces together, and the raglan sleeves create a flattering and comfortable fit. The pattern is written with detailed instructions and includes a diagram to guide you through every step of the knitting process. Plus, the cardigan can be easily customized to suit your personal style preferences. You can choose to add buttons or a zipper, or even experiment with different stitch patterns for the sleeves and body.
Simple Raglan Cardigan Knitting Pattern Free
Knitting a raglan cardigan can be a fun and rewarding project for any knitter. With its classic design and comfortable fit, a raglan cardigan is a versatile addition to any wardrobe. If you’re looking for a simple raglan cardigan knitting pattern that is also free, you’re in luck! There are many patterns available online that cater to different skill levels, from beginners to advanced knitters.
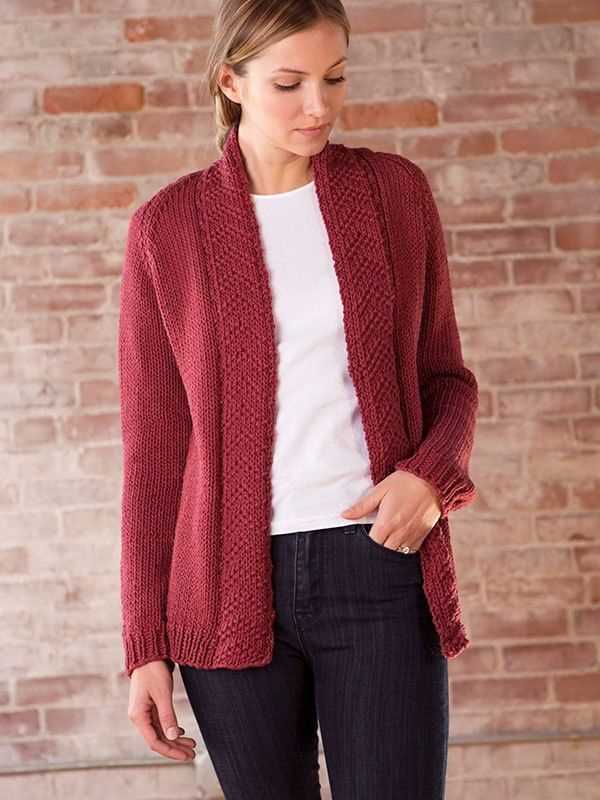
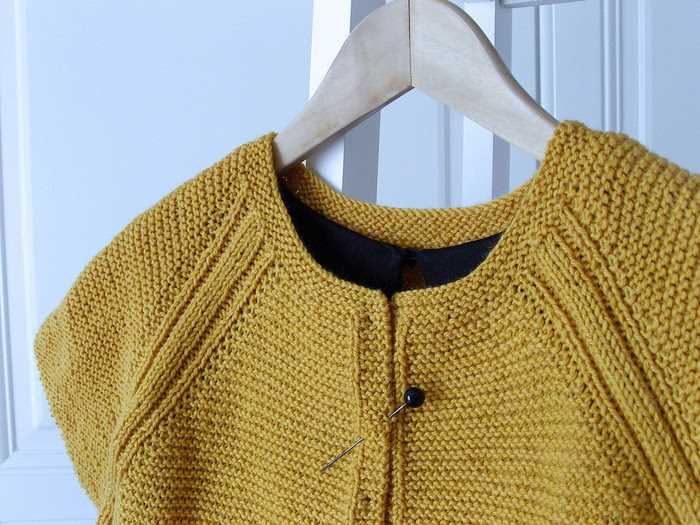
One popular free knitting pattern for a simple raglan cardigan is the “Easy Knit Raglan” pattern. This pattern features a basic design with raglan sleeves and a classic button-down front. It is knit in one piece from the top down, making it a seamless and easy project. You can customize the pattern by choosing your favorite yarn and adding your own personal touches, such as contrasting colors or decorative buttons. Whether you’re a beginner or an experienced knitter, this pattern is a great choice for creating a cozy and stylish cardigan.
If you’re new to knitting or prefer a step-by-step guide, another free pattern to consider is the “Beginner Raglan Cardigan” pattern. This pattern includes detailed instructions and illustrations, making it easy to follow along. It uses basic knitting techniques and is designed for those who are just starting out in their knitting journey. The raglan sleeves add a touch of elegance to the cardigan, while the simple construction ensures a quick and satisfying knit. With this pattern, you’ll have a beautiful raglan cardigan in no time.
No matter which free knitting pattern you choose, knitting a simple raglan cardigan can be a rewarding and enjoyable experience. Not only will you have a cozy and stylish garment to wear, but you’ll also have the satisfaction of creating something with your own hands. So grab your knitting needles and get started on your next knitting project!
Materials Needed

To knit the simple raglan cardigan, you will need the following materials:
- Yarn: Choose a medium weight yarn that is suitable for your desired size and gauge. The pattern suggests using 100% wool yarn.
- Knitting needles: Use a size that is appropriate for your yarn choice. The pattern recommends using a circular needle for the body and double-pointed needles for the sleeves.
- Stitch markers: These will come in handy for marking the raglan increases and other important points in the pattern.
- Yarn needle: Use this to weave in any loose ends and finish off your project.
- Scissors: You will need these to cut your yarn when necessary.
- Measuring tape: Use this to measure your gauge and ensure that your cardigan is the correct size.
Gather these materials before you begin knitting your simple raglan cardigan. Once you have everything you need, you can start working on your project. Happy knitting!
Choosing the Right Yarn
When it comes to knitting a simple raglan cardigan, choosing the right yarn is crucial. The type of yarn you select will determine the overall look, feel, and durability of your finished garment. Here are a few factors to consider when making your yarn choice:
Fiber Content
The first thing to consider is the fiber content of the yarn. Different fibers have different qualities, such as warmth, softness, and breathability. For a cozy cardigan, you might opt for a wool or alpaca yarn, which offers excellent insulation. If you prefer a lightweight cardigan, cotton or bamboo yarn could be a good choice. Consider the season when you plan to wear the cardigan and select a fiber that suits the weather conditions.
Weight and Texture
The weight and texture of the yarn will also impact the final result. A thicker yarn will create a chunky and warm cardigan, while a thinner yarn will result in a delicate and lightweight garment. Consider the stitch pattern you plan to use and how it will look with different yarn weights. Additionally, think about the texture of the yarn. Smooth yarns showcase stitch patterns well, while yarns with a halo or texture can add visual interest to your cardigan.
Color
Finally, the color of the yarn can significantly affect the appearance of your cardigan. Consider whether you want a solid color, a variegated yarn, or even a self-striping yarn. Solid colors can be versatile and classic, while variegated and self-striping yarns add visual interest. Keep in mind that the color of your yarn should complement your personal style and wardrobe, so choose a shade that you love.
By considering the fiber content, weight and texture, and color of the yarn, you can ensure that your simple raglan cardigan turns out just the way you envision. Take your time to explore different yarn options and consider how they will affect the final look and feel of your project. With the right yarn, you’ll be well on your way to creating a cozy and stylish cardigan that you’ll love to wear.
Gauge and Tension
When knitting a raglan cardigan, it is important to achieve the correct gauge and tension to ensure that the finished garment fits properly. Gauge refers to the number of stitches and rows per inch, while tension refers to the tightness or looseness of the stitches. Both gauge and tension must be measured accurately to achieve the desired fit.
To determine the gauge, it is recommended to knit a swatch using the same yarn and needle size specified in the pattern. The swatch should be at least 4 inches square, and this is known as the gauge swatch. The number of stitches and rows in the swatch should then be counted and compared to the gauge stated in the pattern. If the number of stitches and rows per inch matches the pattern’s gauge, then the gauge is correct. If the gauge is too loose, then a smaller needle size should be used, and if the gauge is too tight, then a larger needle size should be used.
Note: It is important to wash and block the gauge swatch before measuring the gauge because the yarn may change after washing.
Once the gauge is determined, it is crucial to maintain the same gauge throughout the entire knitting process. This is because any changes in gauge can result in a different size and fit of the finished garment. Knitters should regularly check their gauge while knitting the cardigan to ensure that it remains consistent. If the gauge changes, adjustments may need to be made, such as changing the needle size.
Remember, achieving the correct gauge and tension is essential for creating a well-fitting raglan cardigan. By carefully measuring the gauge and maintaining a consistent tension, knitters can ensure that their finished cardigan will be the perfect size.
Pattern Instructions
Before starting, make sure you have all the necessary materials and tools. You will need a set of knitting needles, a crochet hook, stitch markers, and your chosen yarn.
Step 1: Cast on
Begin by casting on the required number of stitches, as stated in the pattern. You can use any cast on method you prefer, such as the long-tail cast on or the knitted cast on.
Step 2: Body
Once you have cast on the stitches, you will begin working the body of the cardigan. Follow the pattern instructions for the specific stitches and pattern repeats. Use stitch markers to mark any sections or increases/decreases as indicated in the pattern.
Step 3: Raglan shaping
To create the raglan shaping, you will need to work increases and decreases at specific points in the pattern. This is what creates the distinctive diagonal lines on the cardigan. Follow the pattern instructions carefully to ensure your shaping is correct.
Step 4: Sleeves
Once you have completed the body, you will move on to knitting the sleeves. Again, follow the pattern instructions for the specific stitch count and any shaping required for the sleeves. Use stitch markers to mark any sections or increases/decreases.
Step 5: Finishing
Once you have finished knitting all the required pieces, you will need to seam them together. Use the mattress stitch or any preferred method of seaming to join the sleeves to the body and close any side seams. Finally, add any desired finishing touches, such as ribbing or a button band, as indicated in the pattern.
By following these pattern instructions and paying attention to the specific details and shaping, you will be able to create your own beautiful raglan cardigan.
Knitting the Body
Once you have completed the raglan increases and reached the desired number of stitches for the body, it’s time to start knitting the body of the cardigan. This is where you will create the main fabric of the cardigan that will cover your torso.
Using the specified stitch pattern or stockinette stitch, continue knitting in the round on all the stitches you have on your needles. Make sure to follow the pattern instructions regarding stitch count and any additional shaping or details that may be included in the design. This will ensure that your cardigan turns out as intended.
If you are using a stitch pattern, be mindful of any pattern repeats and markers that may be required to keep track of the pattern. This will help you maintain consistency and avoid mistakes in your knitting.
As you work on the body, you will see your cardigan taking shape and getting longer. Knitting in the round allows you to easily see your progress and avoid any seams in the finished garment, giving it a seamless and polished look.
Continue knitting the body of the cardigan until you reach the desired length, as specified in the pattern. This can be adjusted depending on your preference and intended fit. Once you are satisfied with the length, you can proceed to the next step of the pattern, which may involve shaping the hem or adding any finishing touches.
Shaping the Sleeves
When knitting a simple raglan cardigan, shaping the sleeves is an important step to ensure a comfortable and well-fitting garment. The sleeves are typically knitted separately and then attached to the body of the cardigan. Here are some steps to follow when shaping the sleeves:
1. Cast on and knit the required number of stitches for the sleeve.
Start by casting on the required number of stitches for the sleeve, following the instructions provided in the pattern. This number will depend on your desired sleeve width and the size of the cardigan you are knitting.
2. Work the sleeve increases.
To shape the sleeves and create the raglan seam, you will need to work increases at regular intervals. The pattern will indicate when and how many increases to make, typically using the “kfb” (knit front and back) stitch or another increase method.
3. Continue knitting until the desired sleeve length.
After completing the increases, continue knitting in the stitch pattern specified in the pattern until the sleeve reaches the desired length. This length will depend on your personal preference and the style of the cardigan.
4. Decrease for the sleeve cuff.
To create a fitted sleeve cuff, you will need to decrease the number of stitches. The pattern will provide instructions on when and how many decreases to make. This can be done by working “k2tog” (knit two together) or another decrease method.
5. Bind off the stitches.
Once you have reached the desired length for the sleeve cuff, bind off all the stitches. This will create a neat edge and secure the cuff in place.
Repeat these steps to shape the second sleeve, making sure to follow the pattern instructions for your specific cardigan. By following these steps, you will be able to create well-fitting sleeves for your raglan cardigan.
Adding the Ribbing
After completing the main body of the raglan cardigan, it’s time to add the ribbing to the edges to give the cardigan a finished look. To begin, you will need a set of double-pointed needles or a circular needle, depending on your preferred method of knitting in the round.
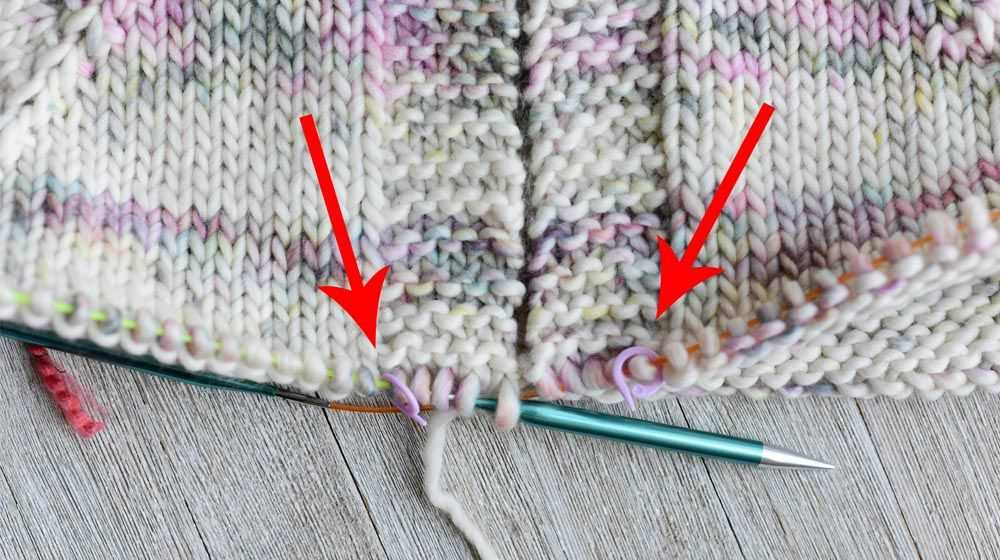
The first step is to pick up stitches along the front edge of the cardigan. Start at the bottom edge and work your way up, using the same size needles that you used for the main body. Insert your needle into the first stitch, wrap the yarn around, and pull it through to create a new stitch on your needle. Continue picking up stitches evenly along the front edge, making sure to maintain a consistent tension.
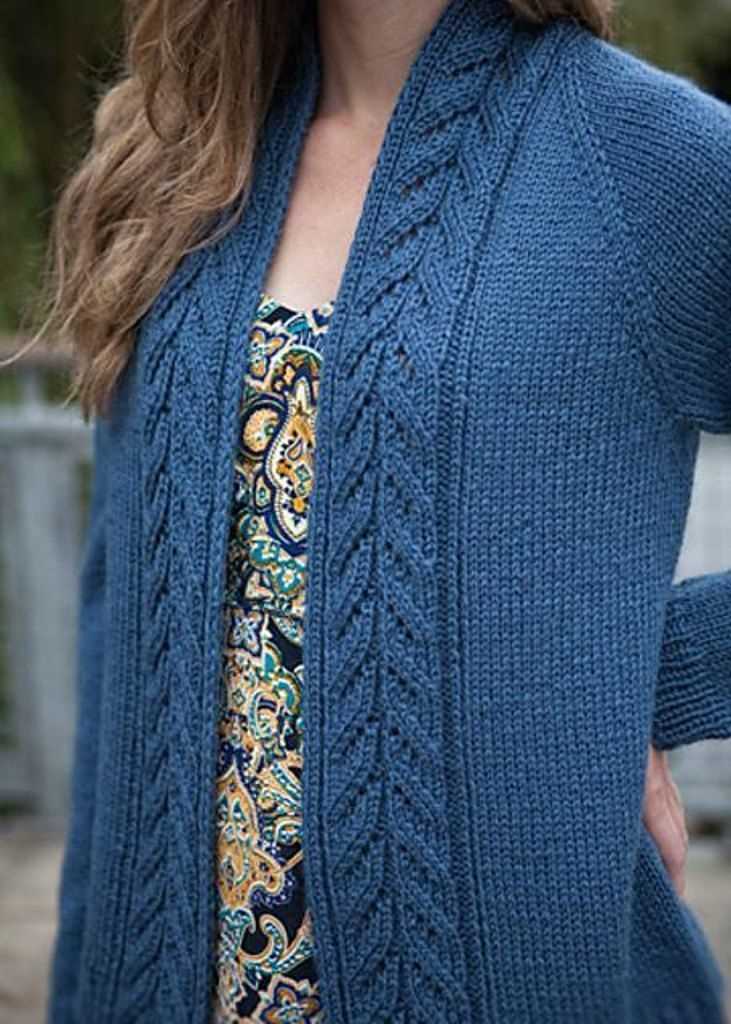
Once you have picked up all the stitches, you can begin working the ribbing pattern. This can be a simple knit 1, purl 1 ribbing, or you can choose a different ribbing pattern depending on your preference. Work the ribbing pattern for the desired length, making sure to keep the tension even.
After completing the ribbing along the front edge, you can move on to the collar. If your pattern includes instructions for a collar, follow them accordingly. Typically, this involves picking up stitches along the neckline and working a ribbing pattern for the desired length. Make sure to bind off loosely to allow for a comfortable fit.
Finally, finish off the ribbing along the cuffs and bottom edge of the cardigan using the same method as before. Once all the ribbing is complete, weave in any loose ends and block the cardigan to ensure that it retains its shape.
Finishing Touches
After completing the main body of your raglan cardigan, there are a few finishing touches that will give it a polished look. Here are some steps to consider:
- Sew in loose ends: Use a yarn needle to weave in any loose ends from joining new skeins of yarn or changing colors. This will help give your cardigan a neater appearance and prevent any unraveling.
- Block your cardigan: Before wearing or gifting your cardigan, you may want to block it. Blocking involves soaking the knitted piece in water, shaping it to the desired dimensions, and allowing it to dry flat. This process can help even out stitches and give your cardigan a more professional finish.
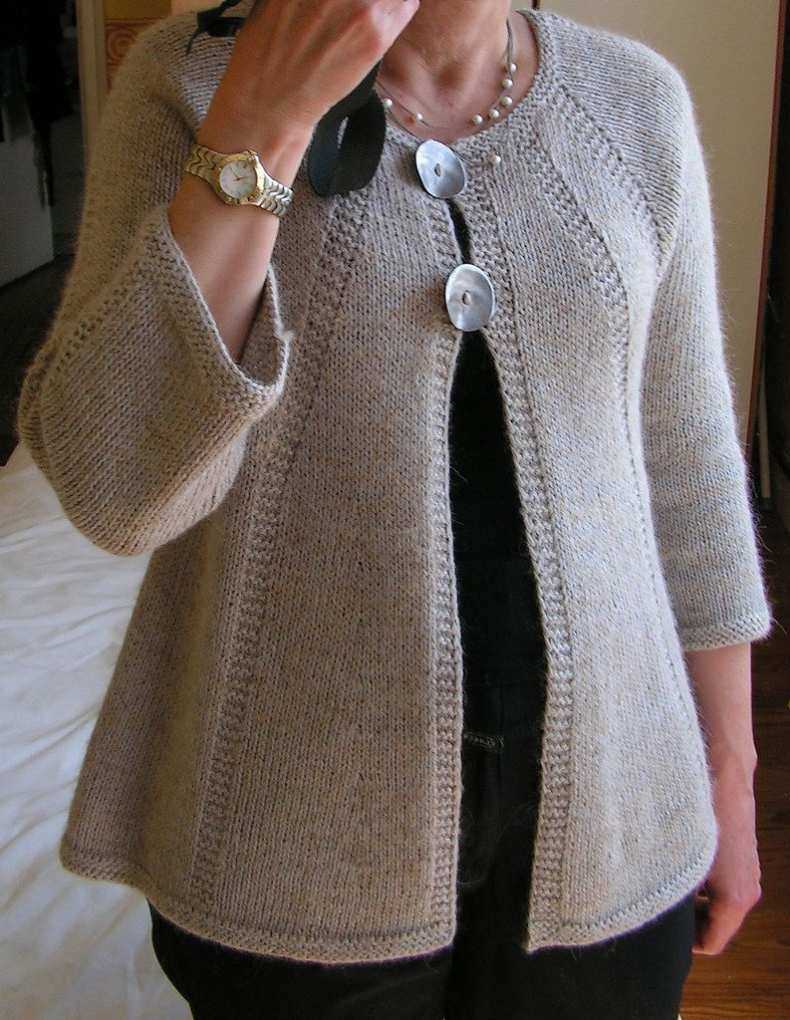
- Add buttons or closures: Depending on the style of your cardigan, you may want to add buttons or other closures. Sew the buttons onto the front edges of the cardigan, evenly spaced, using a matching thread. This will create a functional and decorative element to your garment.
- Finishing touches: Once your cardigan is blocked and buttons are added, take a moment to inspect the overall appearance. Trim any stray yarn ends, adjust the button placement, and make any necessary adjustments to ensure your cardigan looks its best.
With these finishing touches, your simple raglan cardigan will be complete and ready to wear or gift! Whether you chose a classic color or got creative with different yarns, this pattern is versatile and customizable to your personal style. Have fun experimenting and enjoy the cozy warmth of your handmade cardigan.