
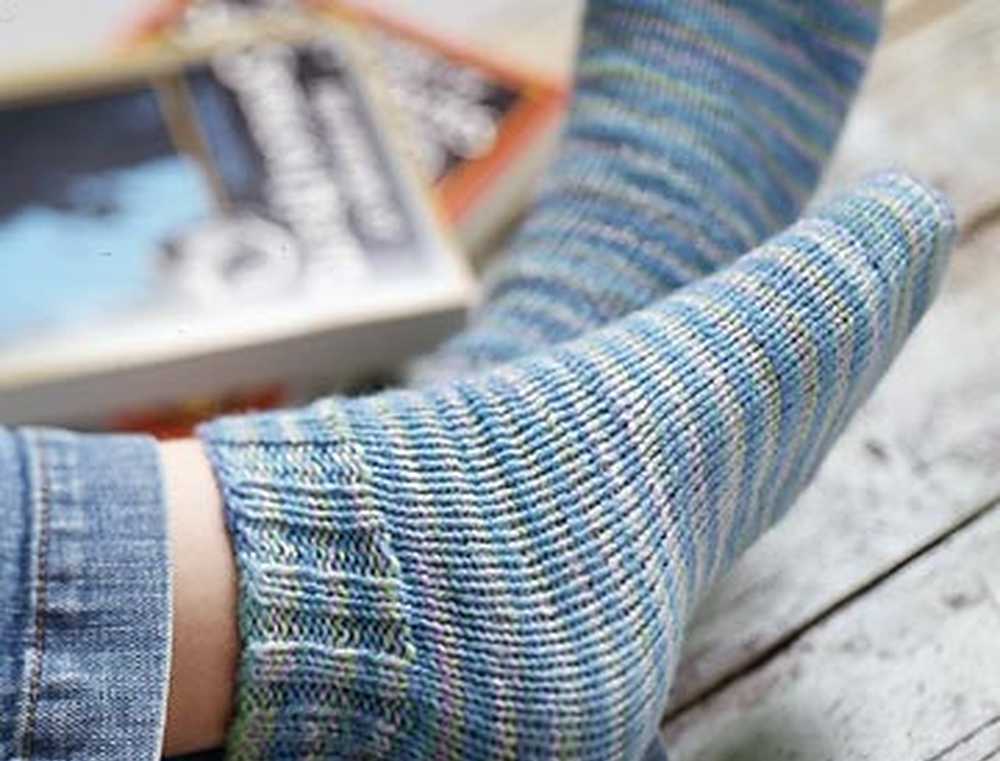
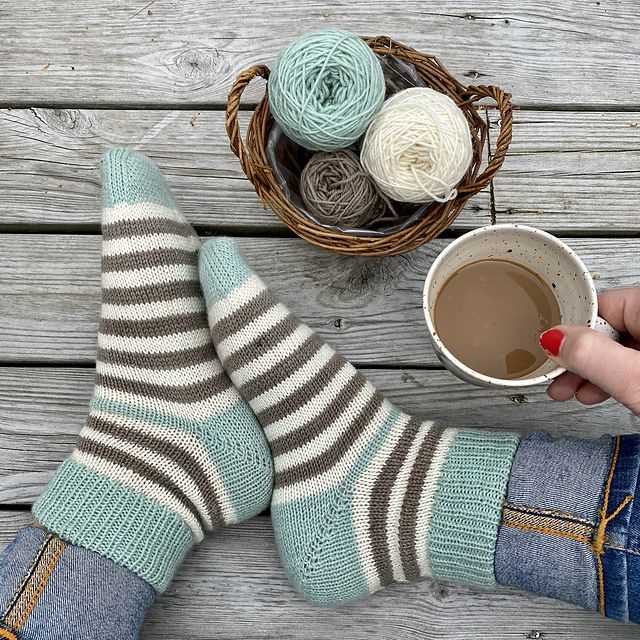
Hand-knitted socks are not only cozy and warm, but they also make for a thoughtful and personal gift. Whether you’re an experienced knitter looking for a new project or a beginner looking to expand your skills, a hand-knit socks pattern is a perfect choice. Knitting socks may seem like a daunting task, but with the right pattern and some practice, you’ll be creating beautiful and comfortable socks in no time.
When choosing a hand-knit socks pattern, there are a few things to consider. First, think about the level of difficulty. If you’re new to knitting, it’s best to start with a basic pattern that uses simple stitches and techniques. As you gain confidence and experience, you can try more complex patterns with different stitch patterns and designs.
Another important factor to consider is the size and fit. Just like with any other garment, it’s important to choose a pattern that will match the intended wearer’s foot size. Many patterns include instructions for multiple sizes, so you can easily customize the socks to fit perfectly. Additionally, consider the type of yarn you want to use. There are many types of yarn available, from soft and cozy wool to breathable and lightweight cotton, each with its own characteristics and advantages.
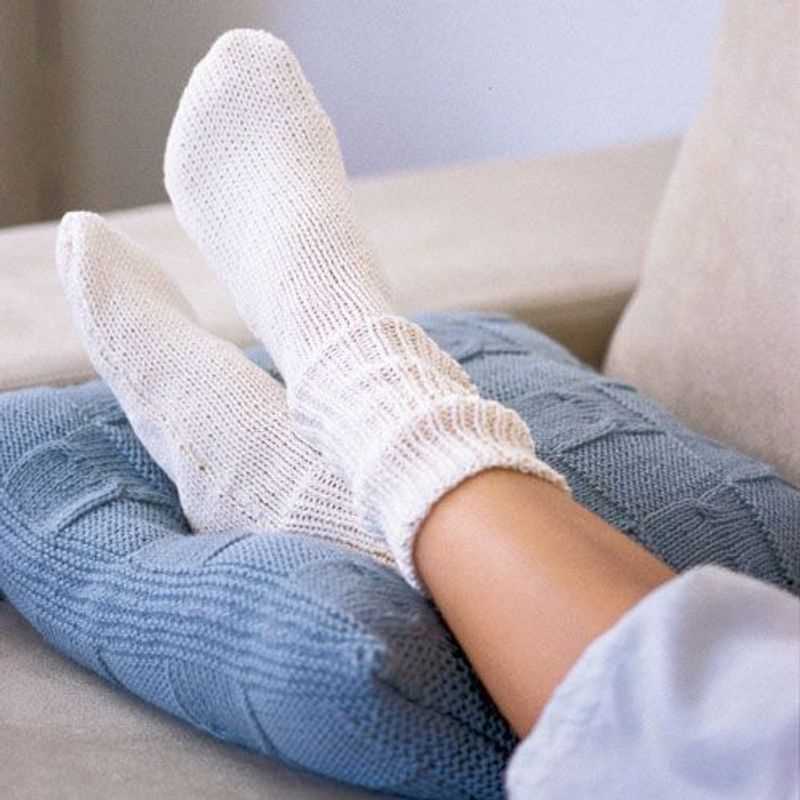
With a hand-knit socks pattern, you can create a one-of-a-kind pair of socks that will keep your feet warm and stylish. Whether you choose a simple pattern or a more intricate design, the process of knitting socks is not only enjoyable but also rewarding. So why not grab some warm yarn and needles and start knitting your own cozy pair of socks today?
How to Knit Your Own Hand Knit Socks: A Step-by-Step Guide
Knitting your own hand knit socks is a rewarding and enjoyable project that allows you to create cozy and personalized footwear. Whether you’re an experienced knitter or a beginner looking for a new challenge, this step-by-step guide will walk you through the process of knitting your own socks.
Gather Supplies
Before you begin knitting your socks, you’ll need to gather all the necessary supplies. This includes a set of double-pointed knitting needles in the appropriate size, yarn in your desired color and weight, a tapestry needle for weaving in ends, and stitch markers to help keep track of your stitches.
Select a Pattern
Next, choose a hand knit sock pattern that suits your skill level and style preferences. There are countless patterns available online and in knitting books, ranging from simple and basic designs to intricate lace and cable patterns. Consider the yarn weight and gauge recommendations in the pattern to ensure your socks will fit properly.
Using your chosen pattern, cast on the required number of stitches for the cuff of your sock. This is typically done using a long-tail cast-on method. Once you have cast on, begin knitting the cuff in the specified stitch pattern. This could be a ribbing pattern for a stretchy and snug fit or a decorative stitch pattern.
Work the Leg and Heel
After completing the cuff, continue knitting the leg of your sock according to the pattern instructions. The length and stitch pattern of the leg will vary depending on the desired style. Once the leg is complete, it’s time to work the heel. This often involves knitting a flap and shaping it to create a comfortable and durable heel.
Knit the Foot and Toe
Next, knit the foot of your sock, following the pattern instructions for the desired length. Be sure to try on the sock as you go to ensure the correct fit. Once the foot is complete, it’s time to shape the toe. This typically involves decreasing stitches gradually to create a tapered and comfortable toe shape.
Finish and Block
Finally, finish off your sock by weaving in any remaining ends and blocking the sock to give it a polished and professional look. Blocking can help even out stitches, improve drape, and ensure the sock retains its shape. Follow the blocking instructions for your chosen yarn to achieve the best results.
Now that you have completed the step-by-step guide, you can proudly wear your hand knit socks or gift them to a loved one. Knitting your own socks allows you to create a unique and customized garment that brings warmth and comfort to your feet.
Gathering Materials for Hand Knit Socks
Before starting your hand knit socks project, it’s important to gather all the necessary materials. As socks are a smaller project, you won’t need as much yarn as you would for a sweater or a blanket. However, the type and quality of yarn you choose will greatly impact the final result and the durability of the socks.
Yarn: When selecting yarn for hand knit socks, it’s best to choose a yarn that contains a percentage of nylon or other synthetic fiber for added strength and durability. Look for sock-specific yarn, which is often labeled as “sock weight” or “fingering weight.” This type of yarn is thinner and lighter, making it ideal for socks. You can also choose from a variety of colors and patterns to add a personal touch to your socks.
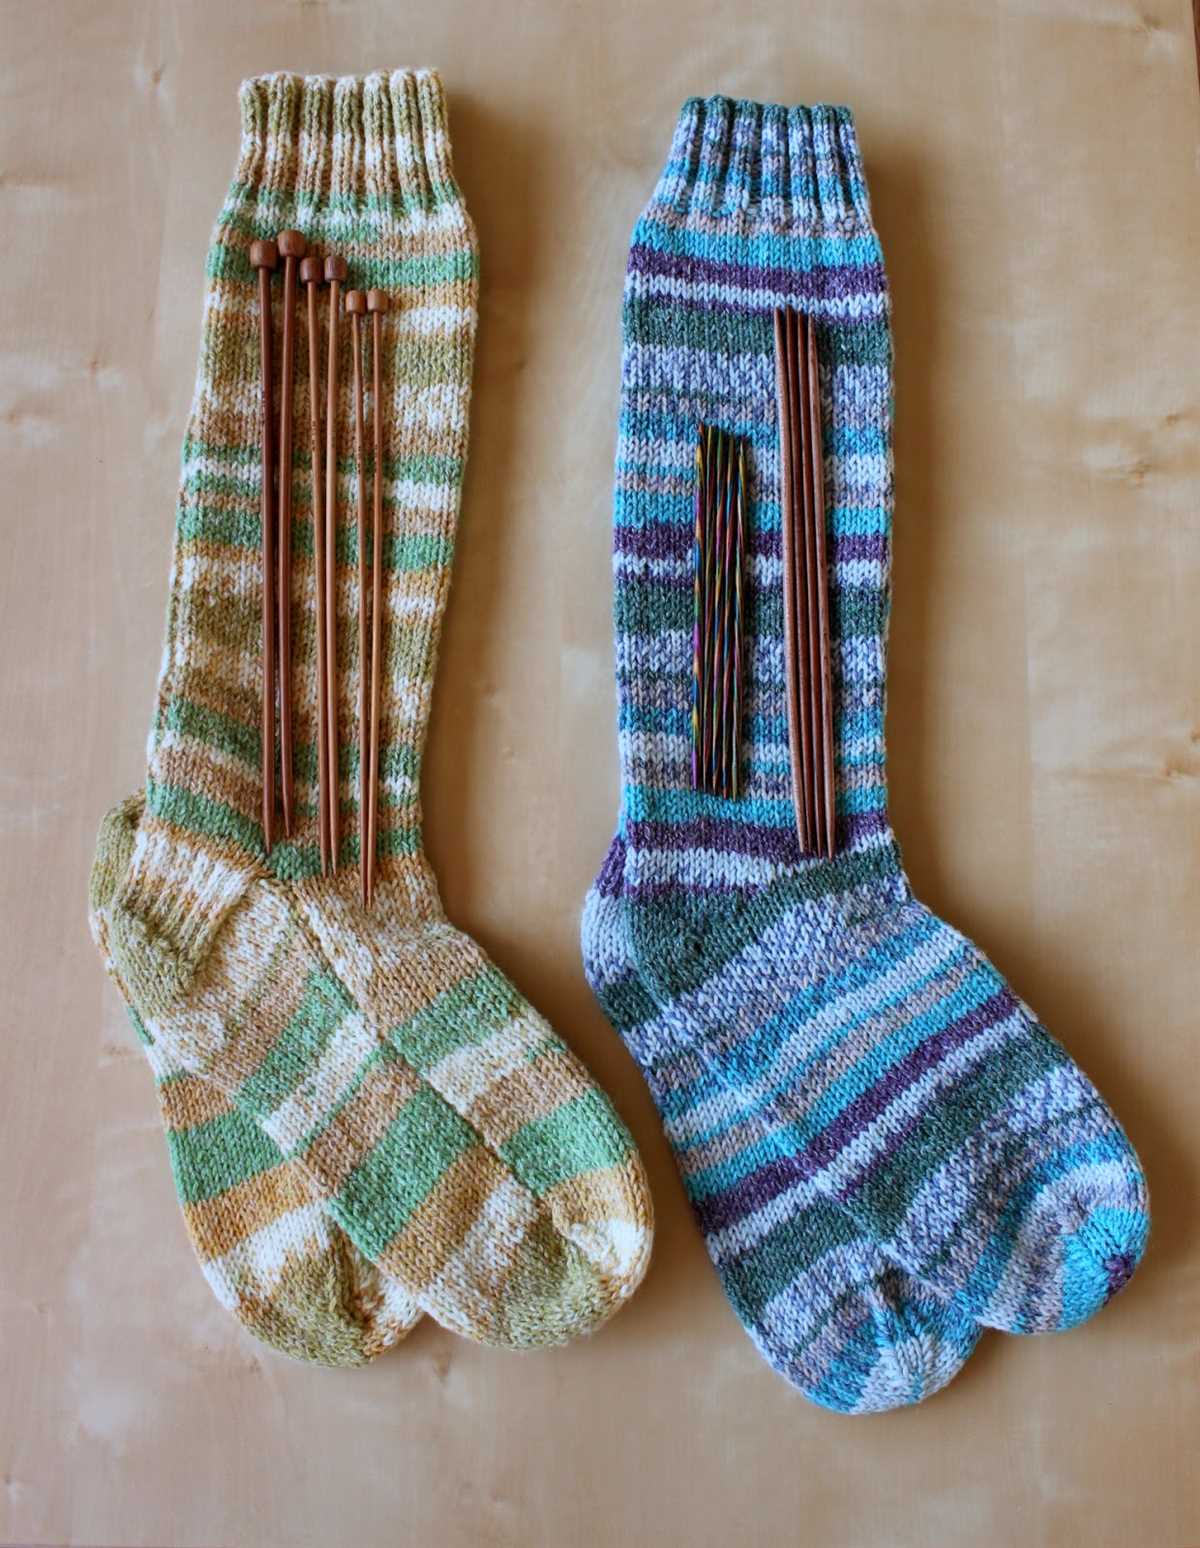
Needles: A good set of double-pointed knitting needles is essential for knitting socks. You can also use circular needles with a small circumference if you prefer. Choose needles that are the appropriate size for your chosen yarn and ensure they are comfortable to hold and work with for long periods of time.
Stitch Markers: Stitch markers are useful tools for keeping track of your stitches and patterns while knitting socks. They can help you easily identify the beginning of a round, the location of specific decreases or increases, or any other important points in your pattern. Invest in a set of stitch markers in different colors or styles to make your knitting experience more efficient.
Other Notions: In addition to yarn, needles, and stitch markers, you may also need other notions such as a tapestry needle for weaving in ends, a set of scissors for cutting yarn, and a row counter or pen and paper to keep track of your progress. Having all these materials on hand before you start knitting will make the process smoother and more enjoyable.
- Yarn
- Needles
- Stitch Markers
- Tapestry Needle
- Scissors
- Row Counter
In conclusion, gathering all the necessary materials for hand knit socks is an important step to ensure a successful knitting project. Choosing the right yarn, needles, stitch markers, and other notions will contribute to the durability and overall appearance of your socks. So, take the time to gather all your materials before diving into this fun and rewarding knitting adventure.
Choosing the Right Yarn for Hand Knit Socks
When it comes to knitting socks by hand, choosing the right yarn is crucial for both comfort and durability. The yarn you select will greatly impact the final result of your socks, from their softness and warmth to their ability to withstand daily wear and tear. With so many options available, it can be overwhelming to find the perfect yarn for your project. Here are some important factors to consider when choosing yarn for hand knit socks.
Fiber Content
One of the first things to consider when selecting yarn for hand knit socks is the fiber content. Different fibers offer varying characteristics, so it’s important to choose a yarn that suits your specific needs. For example, wool is a popular choice due to its warmth and moisture-wicking properties, making it ideal for keeping feet dry and cozy. However, if you have sensitivities to wool, you may opt for yarns made from bamboo, cotton, or acrylic, which offer different levels of softness and breathability.
Weight and Gauge
The weight and gauge of the yarn will also impact the final outcome of your hand knit socks. The weight refers to the thickness of the yarn, which can range from fine fingering weight to bulky. Lighter weight yarns are typically preferred for socks, as they provide a comfortable fit and allow for intricate stitch patterns. Additionally, you’ll want to pay attention to the recommended gauge for the yarn, as this will ensure that your stitches are even and consistent throughout the project.
Durability and Care Instructions
Since socks are subjected to constant friction and wear, it’s important to choose a yarn that is durable and can withstand frequent use. Look for yarns that have added nylon or reinforcement threads to enhance their strength and prevent premature wear. Additionally, consider the care instructions for the yarn. Some yarns may require special handling or gentle washing, which is important to know in order to maintain the longevity of your hand knit socks.
In conclusion, selecting the right yarn for hand knit socks involves considering factors such as fiber content, weight and gauge, as well as durability and care instructions. By taking these elements into account, you can ensure that your hand knit socks are not only beautiful but also comfortable and long-lasting. So, take your time to explore the various yarn options and find the perfect one that will make your handmade socks a joy to wear.
Selecting the Right Needles for Hand Knit Socks

When it comes to knitting socks by hand, choosing the right needles is essential for a successful and comfortable final product. The type of needle you select can affect the tension, drape, and overall fit of the sock, so it’s important to consider your options carefully.
Circular Needles: One popular choice for knitting socks is using circular needles. These needles have two connected tips joined by a flexible cable. Circular needles are excellent for knitting in the round, which is typically how socks are made. They allow you to easily slide the stitches along the cable, making it convenient and efficient for sock knitting. Additionally, circular needles can provide better control over tension and reduce strain on your hands.
Double-Pointed Needles: Another option for knitting socks is using double-pointed needles (DPNs). These needles have points at both ends and are typically used in sets of four or five. DPNs are ideal for smaller projects like socks because they allow you to work on a smaller circumference without the need for a cable. They provide a traditional and secure method for knitting socks and give you more precision when working on heel and toe decreases.
When choosing between circular needles and double-pointed needles for knitting socks, it’s mainly a matter of personal preference. Some knitters prefer the convenience and flexibility of circular needles, while others enjoy the traditional feel and control of DPNs. Ultimately, the choice depends on your knitting style and what you feel most comfortable using. If possible, it’s always helpful to try out both types of needles and see which one you prefer for knitting socks.
Casting On and Creating the Ribbing for Hand Knit Socks
One of the first steps in creating a pair of hand knit socks is casting on. This is done by creating a row of stitches on the knitting needle, which serves as the foundation for the rest of the sock. There are different methods for casting on, but one common technique for socks is the long tail cast on. This method creates a strong and stretchy edge that is perfect for the top of the sock.
To cast on using the long tail method, you will need to estimate the amount of yarn needed by measuring the yarn against the needle. This is done by wrapping the yarn around the needle a certain number of times, usually between 10 and 20, and then doubling that measurement. The doubled measurement will be the length of yarn needed to cast on the desired number of stitches.
Once you have measured the yarn, you can begin casting on. To do this, hold the needle with the tail end of the yarn in your right hand and the working end of the yarn in your left hand. Make a slipknot with the yarn and place it onto the needle. Then, using your right hand, insert the needle into the slipknot and tighten the loop around the needle.
The next step is to create the ribbing for the top of the sock. Ribbing is a common stitch pattern used in socks to create a stretchy and snug fit. The most common ribbing pattern for socks is the 1×1 rib, which alternates knitting one stitch and purling one stitch across each row.
To create the ribbing, start by knitting the first stitch. Then, bring the yarn to the front of the work and purl the next stitch. Repeat this pattern across the row, ending with a purl stitch. When you reach the end of the row, turn the work and repeat the pattern on the next row.
Continue this knitting and purling pattern for the desired length of ribbing, usually between 1 and 2 inches. Once the ribbing is complete, you can move on to the next section of the sock, such as the leg or the heel.
Knitting the Leg and Creating the Heel Flap for Hand Knit Socks

Once you have completed the ribbing and the cuff of your hand knit socks, it’s time to move on to the leg. The leg of a sock is typically knitted in the round using a basic knit stitch. You can continue knitting in this manner until the leg reaches your desired length. This is a great opportunity to add some pattern or texture to your socks, such as a simple rib or a lace design.
After you have knitted the leg, it’s time to start creating the heel flap. This is an important part of the sock construction as it provides extra durability and reinforcement to the heel area. To create the heel flap, you will be working back and forth on just a portion of the stitches, rather than in the round. The number of stitches you will work with depends on the size and structure of your sock.
To begin the heel flap, you will typically work a set number of stitches onto one needle, and then divide the remaining stitches onto two needles. This helps to create a smaller, more manageable section for the heel flap. You can work the heel flap using a basic stitch pattern, such as stockinette stitch, or you can get creative and use a different stitch pattern to add interest.
- Next, you will work the heel flap back and forth in rows, using either the knit stitch or a stitch pattern of your choice. This creates a sturdy fabric that will protect the heel.
- The length of the heel flap will depend on the size and shape of your foot. A typical length is about 2-3 inches, but you can adjust it to fit your preferences.
- Once the heel flap is complete, you will move on to turning the heel. This involves creating a series of short rows to shape the heel and provide a comfortable fit.
Overall, knitting the leg and creating the heel flap are important steps in the construction of hand knit socks. These parts not only add style and variety to your socks but also help to create a comfortable and durable fit. Experiment with different stitch patterns and enjoy the process of creating your own unique pair of hand knit socks!
Turning the Heel and Shaping the Gusset for Hand Knit Socks
One of the most challenging and rewarding parts of knitting socks is turning the heel and shaping the gusset. This step is crucial to creating a comfortable fit and allowing the sock to hug the foot perfectly. While it may seem daunting, following a well-written pattern and practicing the techniques will lead to beautiful socks that you can be proud of.
To turn the heel, you will need to work short rows. This means you will knit a certain number of stitches, then turn the work and knit back in the opposite direction, leaving some stitches unworked. This creates a little cup-like shape that fits snugly around the back of the heel. The specific number of stitches and rows will depend on your pattern and the size of the sock, so make sure to carefully follow the instructions.
Here is a basic step-by-step guide to turning the heel:
- Knit the specified number of stitches, working back and forth in rows. This is usually around half of the total number of stitches.
- Turn the work and slip the first stitch purlwise.
- Purl the specified number of stitches, again working back and forth in rows. This will create a small gap in your knitting.
- Turn the work and slip the first stitch purlwise.
- Continue this process, knitting or purling one less stitch before turning on each row, until all stitches have been worked.
- Once the heel has been turned, you will begin shaping the gusset. This involves picking up stitches along the sides of the heel flap and knitting them together with the instep stitches. This creates a gradual increase in width and allows the sock to comfortably accommodate the shape of the foot. The exact method for picking up stitches and decreasing will vary depending on your pattern, so follow the instructions carefully.
With practice, turning the heel and shaping the gusset will become second nature. It’s a skill that opens up a world of possibilities for creating beautiful, custom-fitted socks that are as comfortable as they are stylish. Don’t be afraid to try different patterns and techniques to find what works best for you and your knitting style. Happy sock knitting!
Knitting the Foot and Shaping the Toe for Hand Knit Socks
Once you have completed the leg portion of your hand-knit socks, it’s time to start knitting the foot. This is where the magic happens and your socks really start to take shape. Using the same needle size as before, you will continue knitting in the round, working each stitch in the established stitch pattern.
As you knit the foot, you will want to make sure that you are maintaining the correct gauge and that the sock fits snugly but comfortably on your foot. Depending on the pattern, you may need to make adjustments to the number of stitches or rounds to ensure a proper fit. It’s always a good idea to try on the sock as you go to check for fit and make any necessary adjustments.
When you reach the desired length for the foot, it’s time to begin shaping the toe. This is typically done using a technique called toe decreases. To start, you will work the stitches as established for a few rounds, and then begin decreasing stitches in a specific pattern to create a tapered shape. This can be done using a variety of decrease stitches, such as knit two together (k2tog) or slip, slip, knit (ssk).
As you continue to decrease stitches, you will eventually reach a point where you have a small number of stitches left. At this point, you will typically cut the yarn, leaving a long tail, and thread it through the remaining stitches, pulling them tight to close up the toe. This creates a seamless finish and completes the knitting portion of the sock.
Once the foot and toe are finished, you can then proceed to the final steps of sock making, such as weaving in ends, blocking, and adding any additional embellishments or finishing touches. With a little practice and patience, you’ll soon be on your way to creating beautiful, handmade socks that are both cozy and stylish.
Joining the Toe and Finishing Off the Sock for Hand Knit Socks
Once you have completed knitting the sock, it’s time to finish off the toe and complete the final steps of the sock. Joining the toe is an essential part of the finishing process, as it ensures a comfortable fit and a seamless finish.
To join the toe, start by folding the sock in half, aligning the stitches of the two sides of the toe. Use a tapestry needle and yarn to stitch the stitches of the front and back together. Begin by inserting the needle into the first stitch of the front needle, then insert it into the corresponding stitch on the back needle. Continue to stitch each corresponding stitch until you reach the end of the row.
After joining the toe, it’s time to weave in the loose ends of yarn. Using a tapestry needle, thread the end of the yarn through the stitches on the inside of the sock to secure it. Make sure to weave in the ends discreetly to ensure a neat and clean finish.
Once all the loose ends have been woven in, you can block your hand-knit socks to give them a polished and professional look. Blocking involves wetting the socks and gently reshaping them to the desired size and shape, then allowing them to dry completely. This process helps the stitches relax and even out, resulting in a smooth and well-finished sock.
To maintain the quality and longevity of your hand-knit socks, it’s important to care for them properly. Avoid machine-washing and instead, hand wash your socks with a gentle detergent. Lay them flat to dry to avoid stretching or distorting the shape. With proper care, your hand-knit socks will provide warmth and comfort for years to come.
Caring for and Washing Hand Knit Socks
Hand knit socks require special care in order to maintain their quality and prolong their lifespan. Washing and caring for them properly will ensure that they continue to provide warmth and comfort for years to come.
Hand washing is recommended for hand knit socks to prevent damage to the delicate fibers. Fill a basin or sink with lukewarm water and add a mild detergent specifically designed for wool or delicate fabrics. Gently agitate the water to create suds.
Submerge the socks in the soapy water and allow them to soak for about 10-15 minutes. Avoid excessive rubbing or scrubbing, as this can cause the fibers to become stretched or felted. Instead, gently squeeze the socks to remove any dirt or residue.
Rinse the socks thoroughly with clean water to remove all traces of detergent. Make sure to support the weight of the wet socks to prevent them from stretching. Press out excess water by rolling the socks in a clean towel or by gently squeezing them. Never wring or twist the socks, as this can damage the fibers.
Lay the damp socks flat on a clean, dry towel or a drying rack. Reshape the socks if necessary by gently pulling them back into their original shape and smoothing out any wrinkles or creases. Allow the socks to air dry completely before wearing or storing them.
When storing hand knit socks, it is best to fold them neatly and place them in a drawer or closet. Avoid hanging them, as this can cause them to stretch or lose their shape over time. To prevent moth damage, consider placing a lavender sachet or cedar block in the storage area.
By following these care instructions, you can enjoy your hand knit socks for many seasons. Remember to always read the care instructions provided with the yarn, as different fibers may have specific requirements. With proper care, your hand knit socks will continue to provide warmth, comfort, and style.
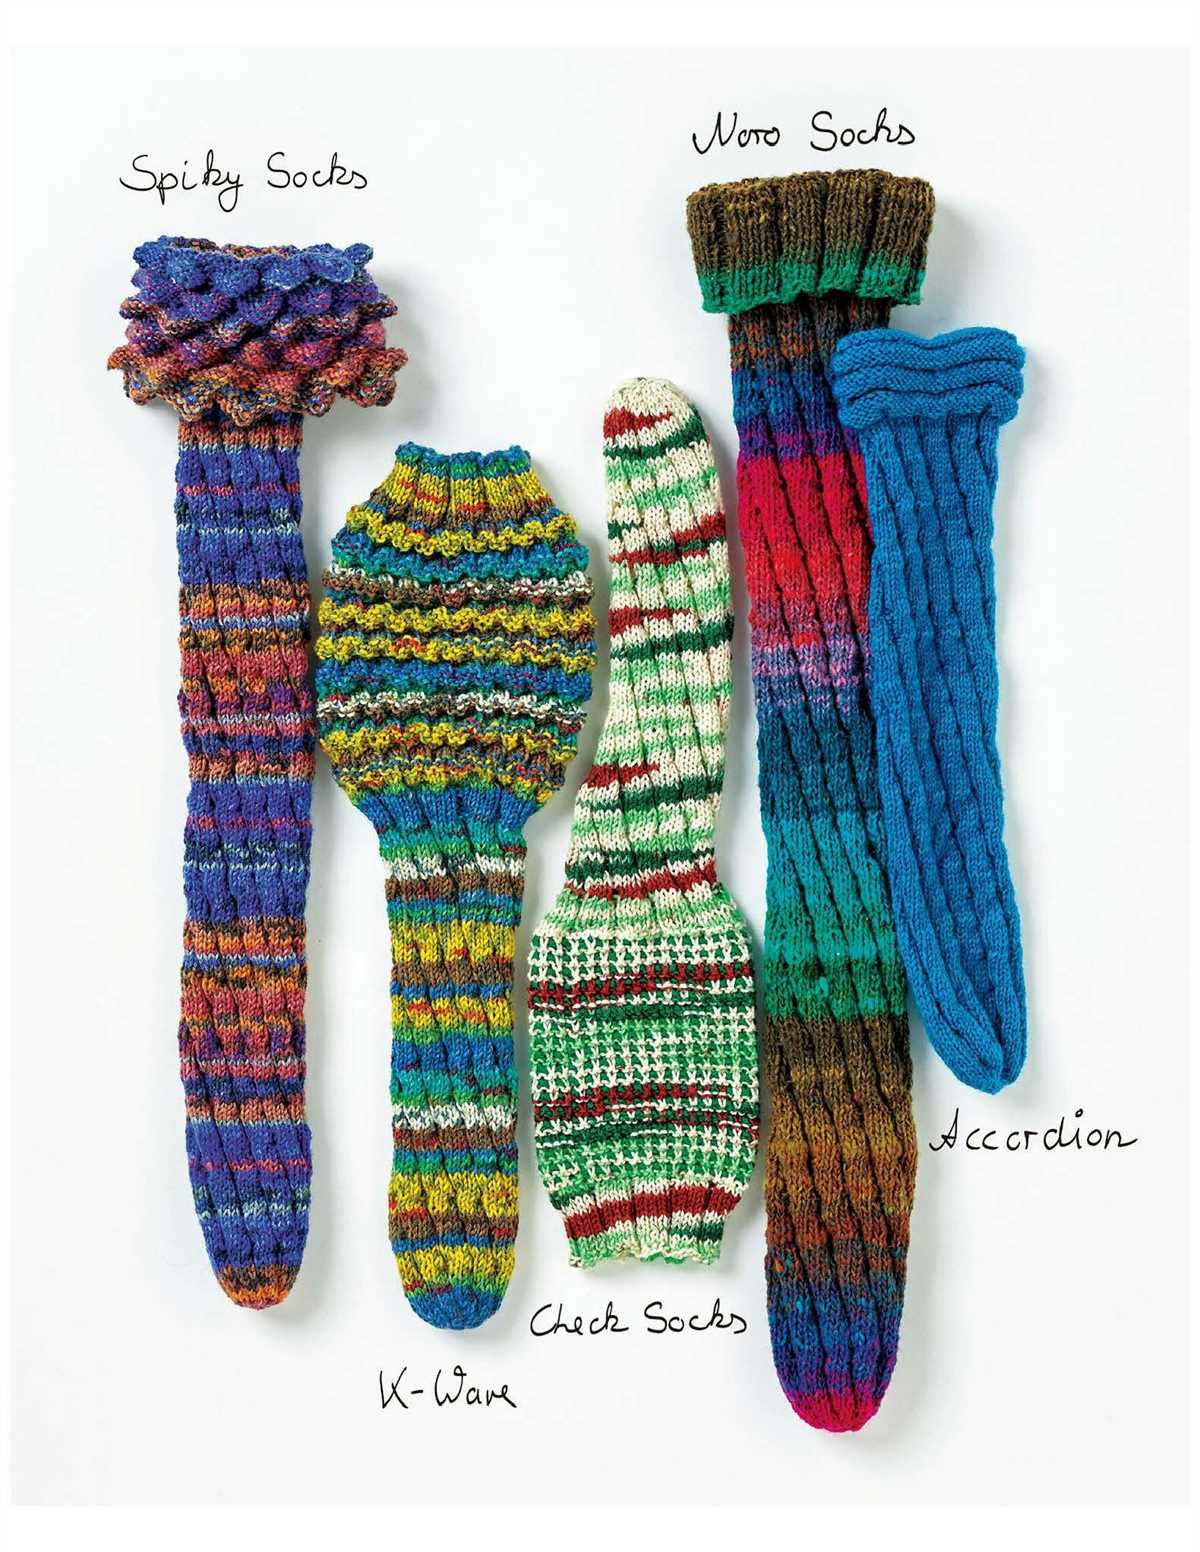
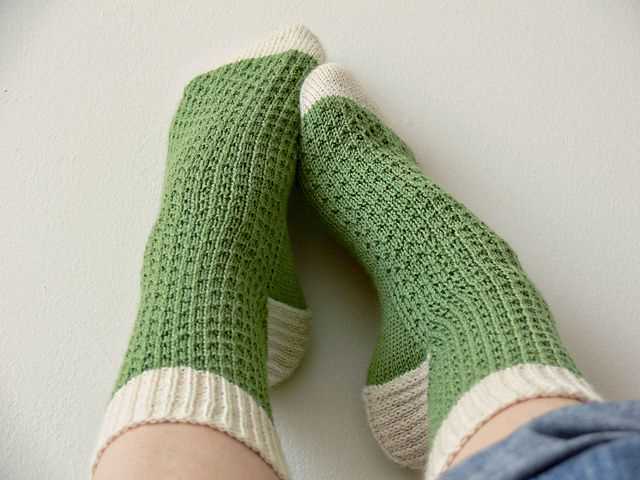
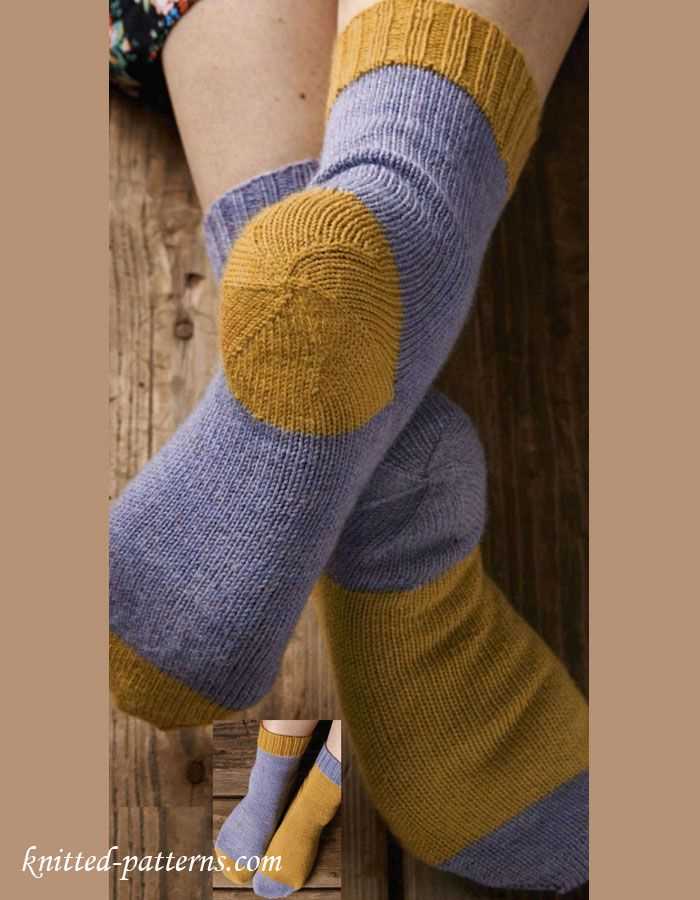
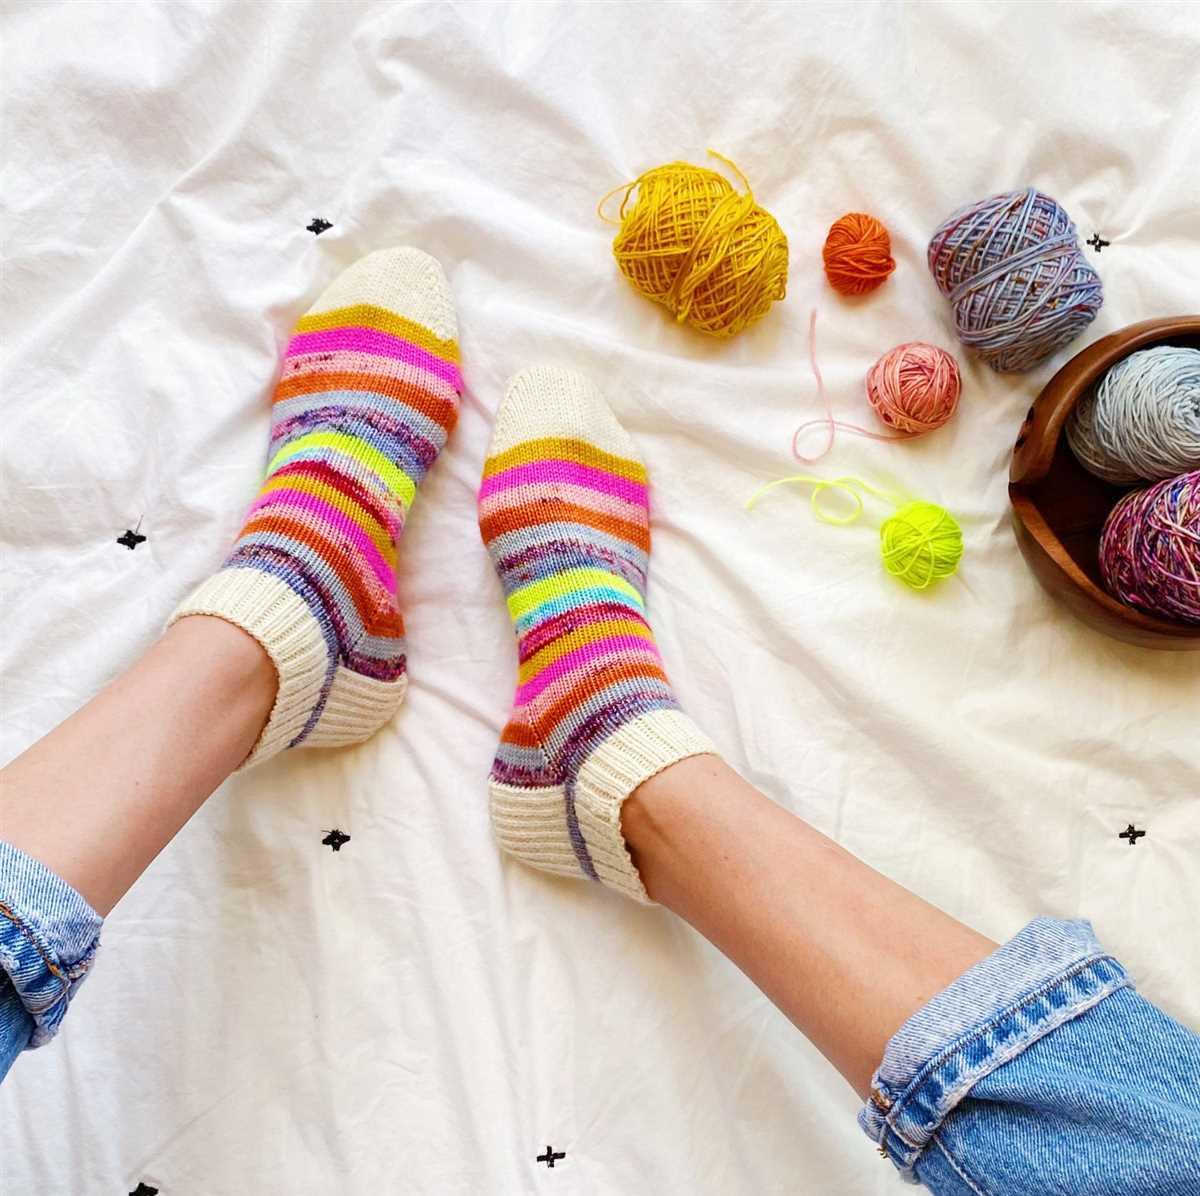
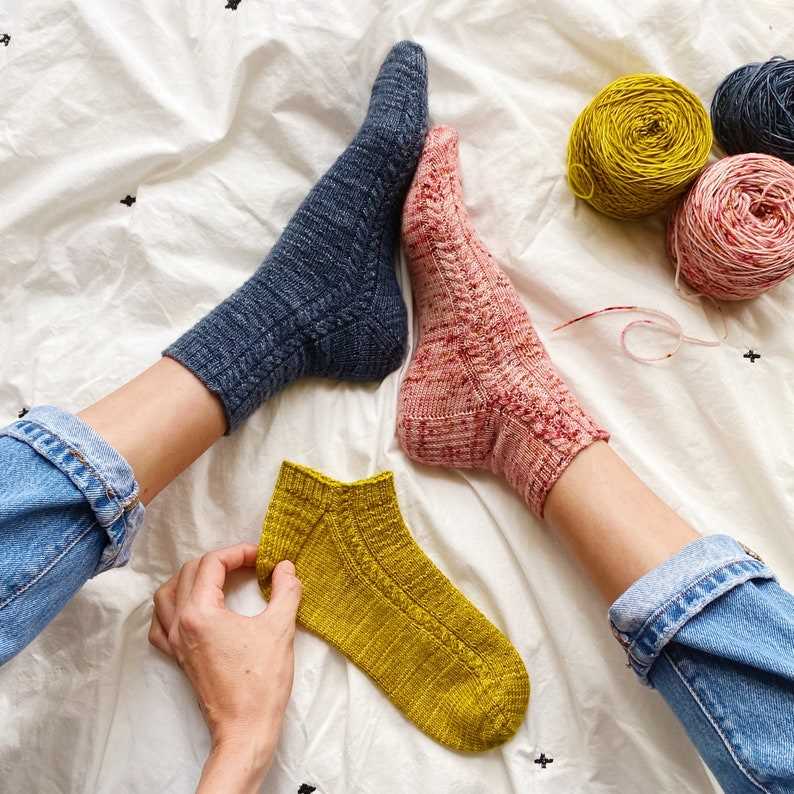
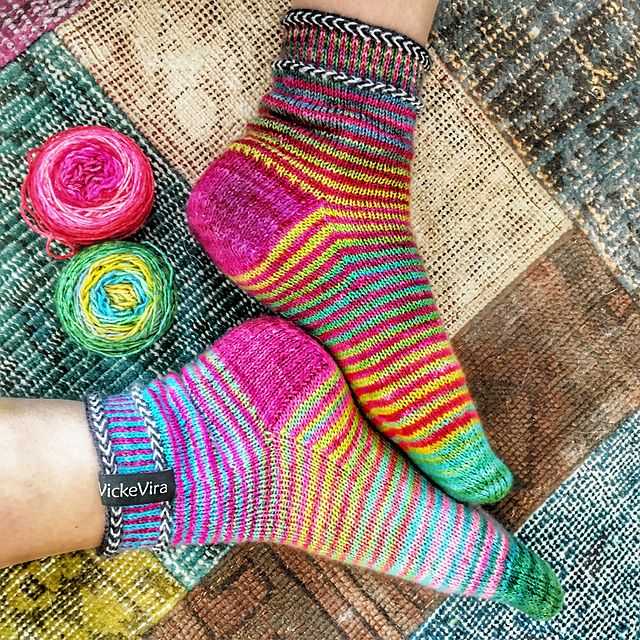
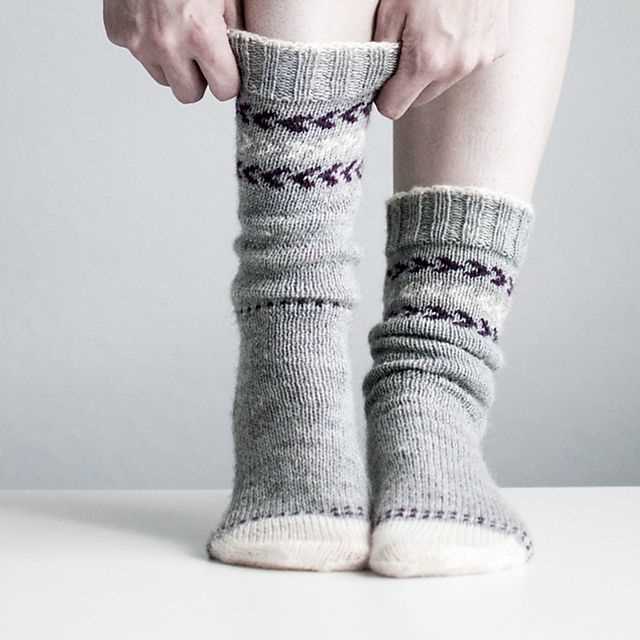
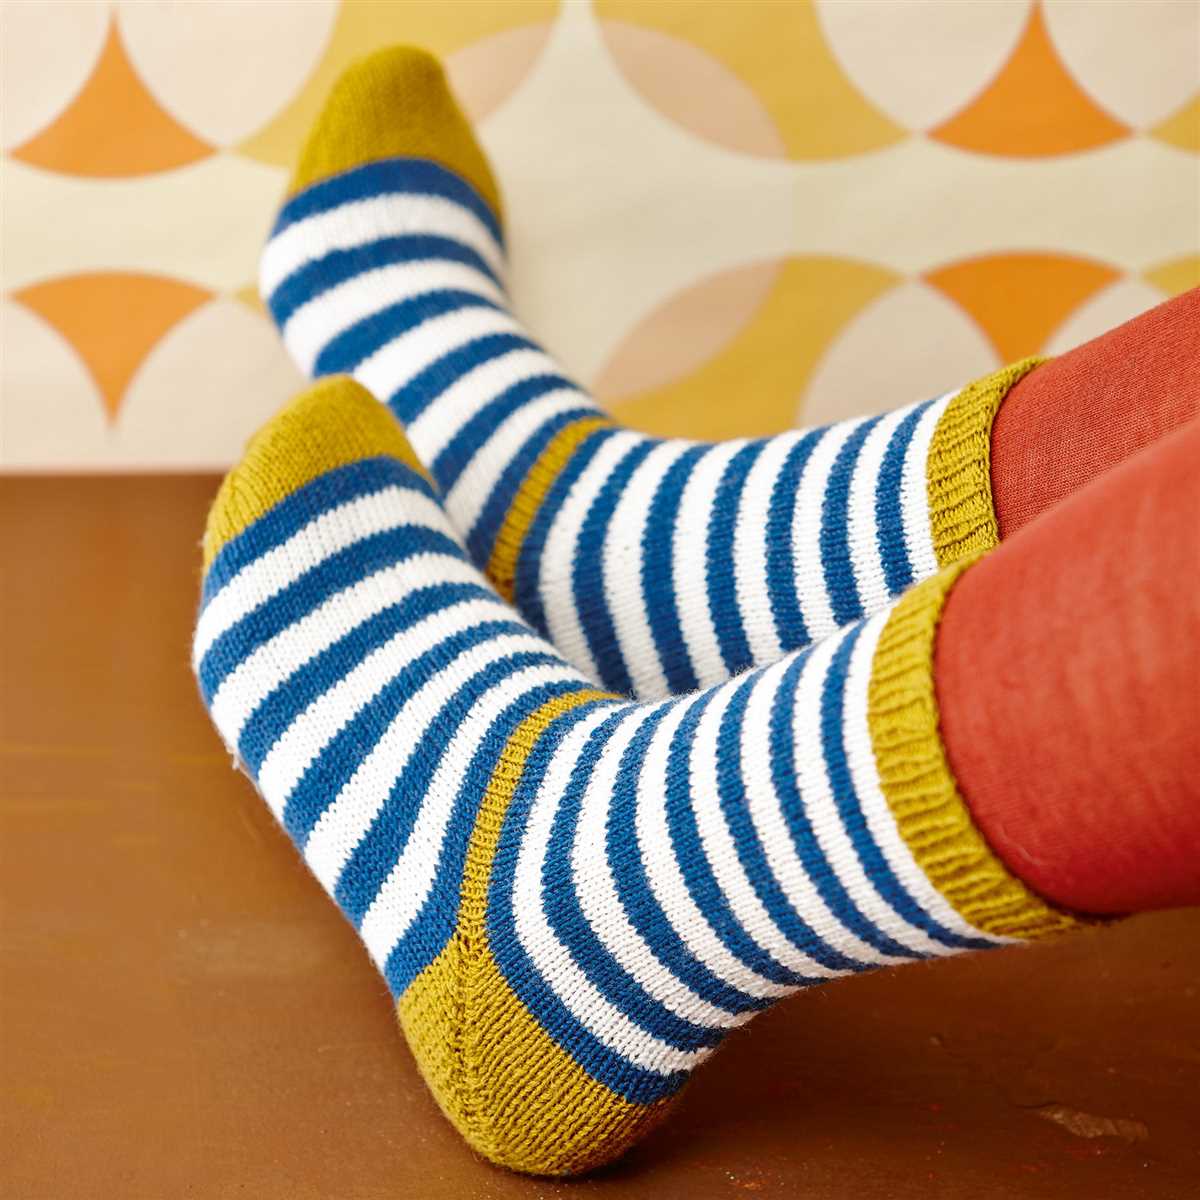
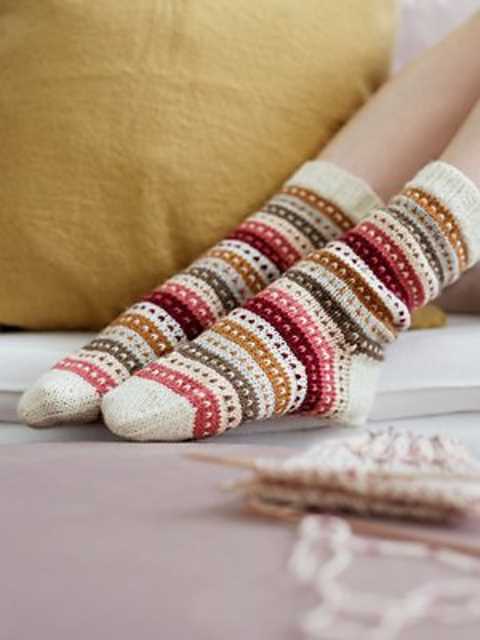
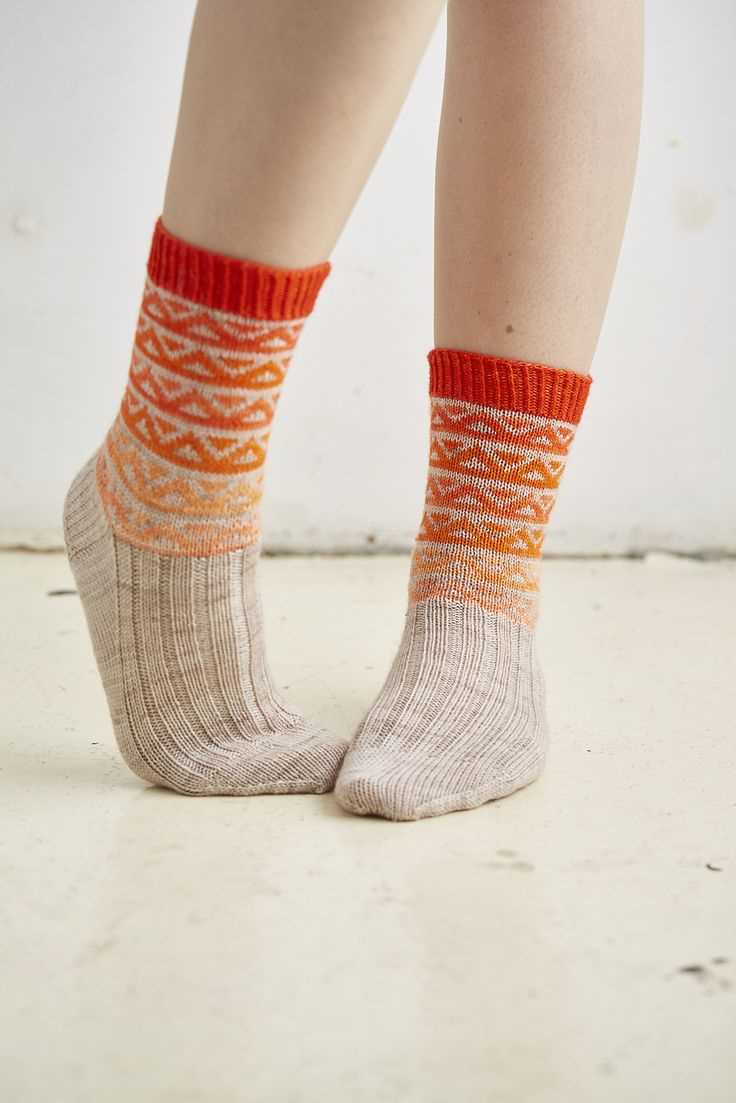
Customizing Your Hand Knit Socks with Different Patterns and Stitch Variations
Hand knitting socks allows you to express your creativity and make unique designs. By incorporating different patterns and stitch variations, you can customize your hand knit socks to suit your personal style and preferences. Whether you’re a beginner or an experienced knitter, there are endless possibilities for creating one-of-a-kind socks.
When it comes to customizing your socks, you can experiment with various stitch patterns, colorwork techniques, and texture designs. Here are some ideas to get you started:
1. Lace Patterns
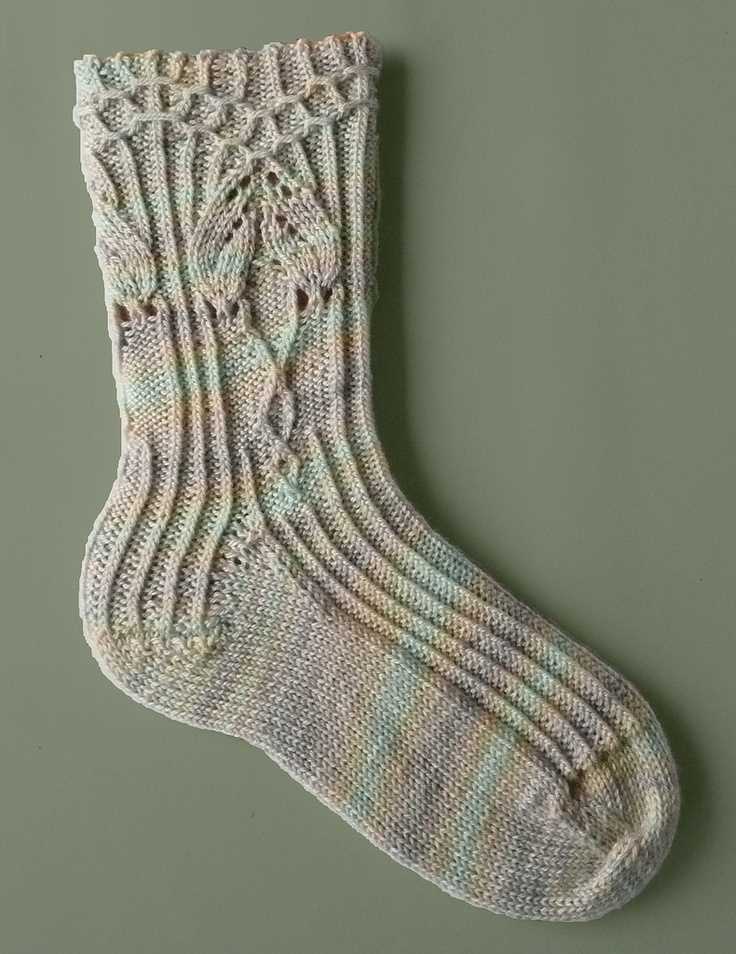
Add a delicate and elegant touch to your socks with lace patterns. Lace stitches create intricate and feminine designs that can be incorporated into the leg or cuff of the sock. They can be simple or complex, depending on your skill level and the effect you want to achieve.
2. Cable Knitting
Cables are a popular choice for customizing hand knit socks. They create a classic and timeless look, adding depth and dimension to your socks. Experiment with different cable stitch patterns, from simple twists to more intricate designs, to create unique textures.
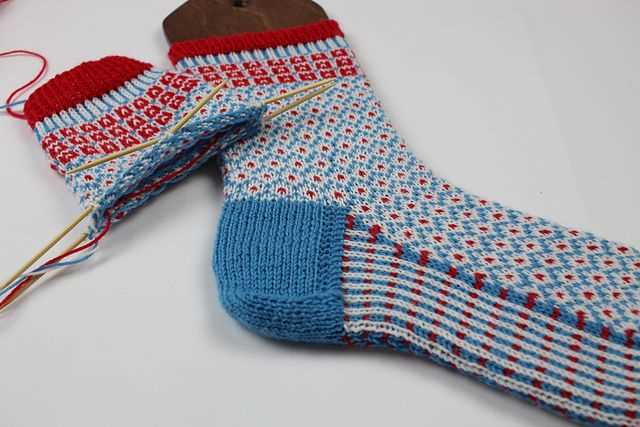
3. Colorwork
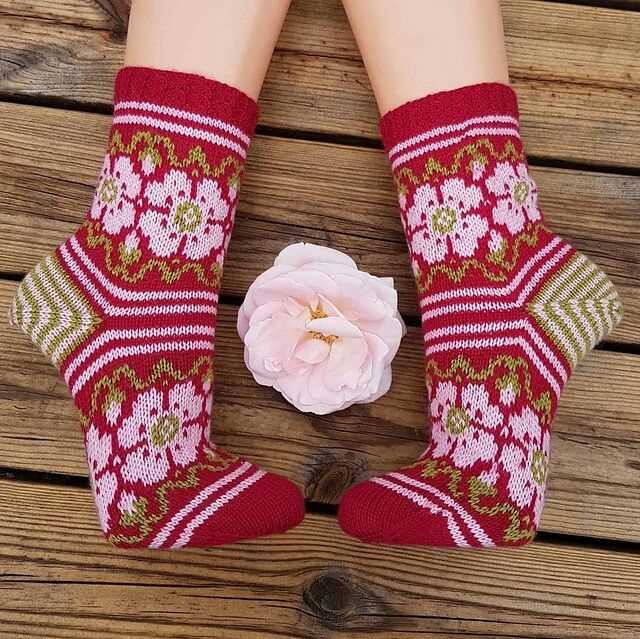
If you love playing with color, consider incorporating colorwork techniques into your sock design. Fair Isle, Intarsia, and stranded colorwork are all great options for adding vibrant and eye-catching patterns. Experiment with different color combinations to create socks that truly stand out.
4. Texture Stitch Patterns
Texture stitch patterns, such as ribbing, seed stitch, and moss stitch, can add visual interest and enhance the overall feel of your socks. These patterns create a unique tactile experience and can be used to highlight specific areas of the sock, such as the toe or heel.
5. Personalization
Add a personal touch to your hand knit socks by incorporating initials, names, or meaningful symbols into the design. You can use duplicate stitch, embroidery, or intarsia techniques to create personalized motifs that make your socks truly special.
Remember, the key to customizing your hand knit socks is to let your creativity flow and have fun with the process. Don’t be afraid to experiment and try out new patterns and stitch variations. With each pair of socks you create, you’ll be adding a piece of your own unique style and personality.