
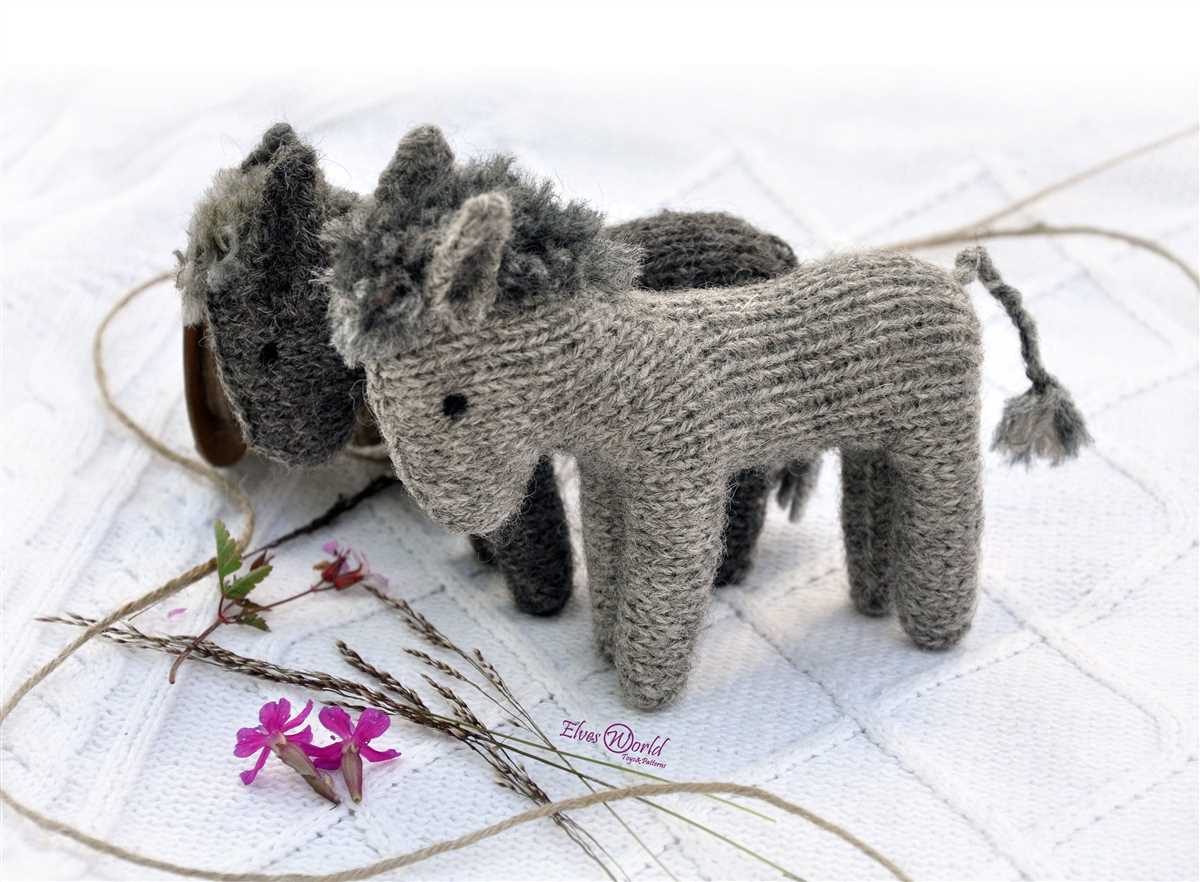
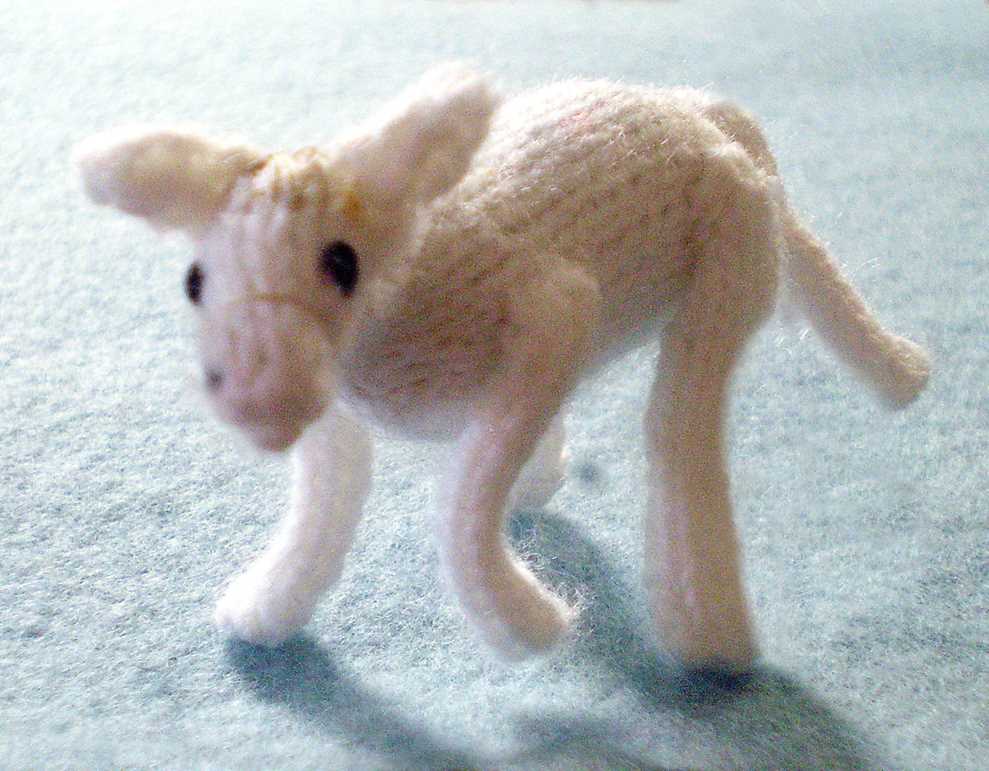
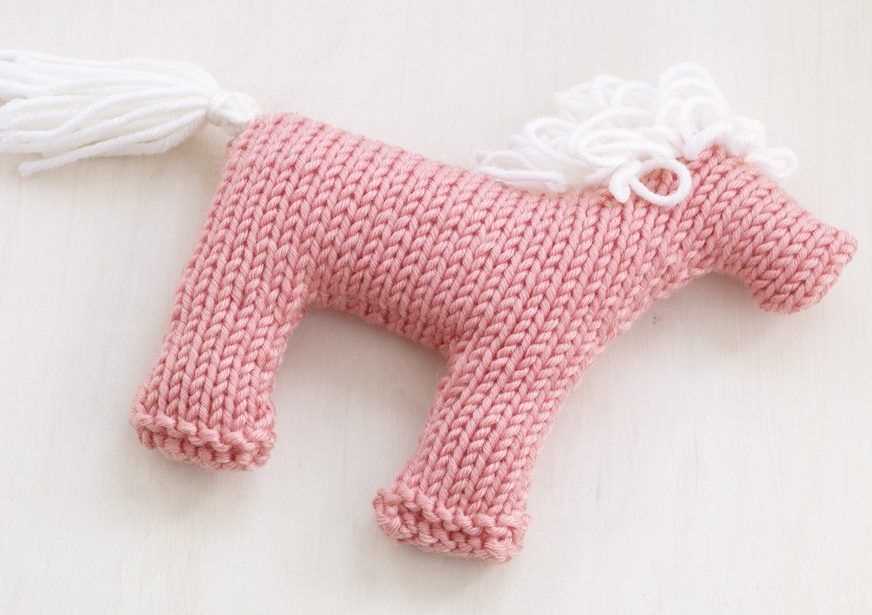
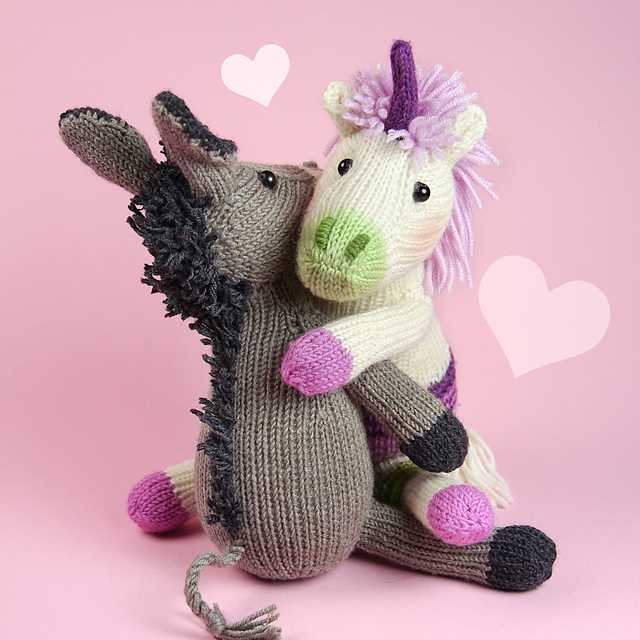
Knitting is a popular hobby that allows people to create beautiful and unique garments and accessories using just a pair of needles and some yarn. One of the most adorable knitting patterns is the donkey pattern, which allows you to create your own cute and cuddly toy donkey.
Donkeys are known for their gentle nature and loyal companionship, making them a beloved animal for many. Knitting a donkey toy can be a fun and rewarding project, whether you are a beginner or an experienced knitter.
This donkey knitting pattern is suitable for all skill levels and provides step-by-step instructions to guide you through the process. From selecting the right yarn and needles to creating the donkey’s body, head, and ears, this pattern has everything you need to create a handmade donkey toy that will be cherished for years to come.
So, if you are looking for a new knitting project or want to gift a handmade toy to a loved one, give the donkey knitting pattern a try. Get your knitting needles ready and let’s start crafting!
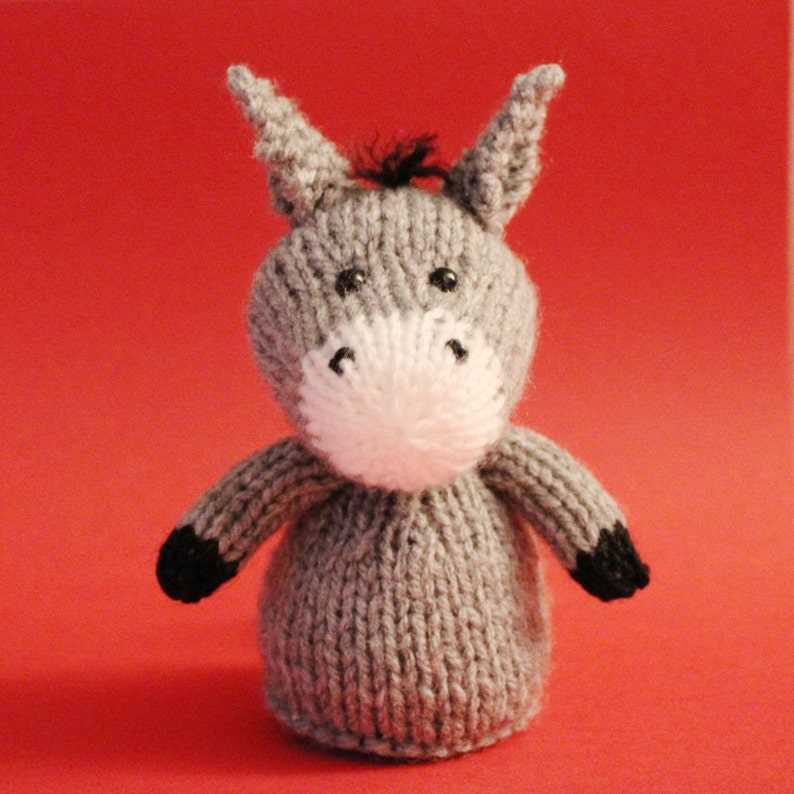
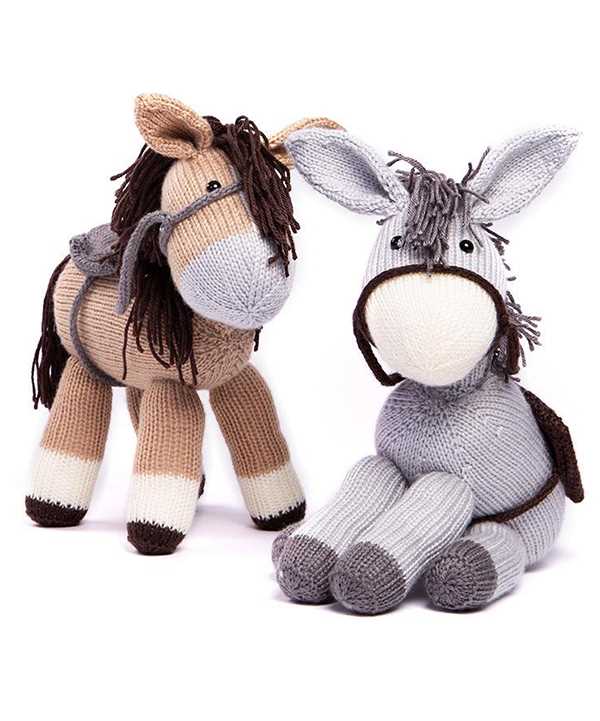
Learn how to make an adorable knitted donkey with this step-by-step guide

If you are a fan of knitting and love creating cute little animals, then this step-by-step guide is perfect for you. With just a few materials and some basic knitting skills, you can create your very own adorable knitted donkey. Whether you want to gift it to a loved one or use it as a decorative item, this project is sure to bring joy to anyone who sees it.
To get started, you will need some basic knitting supplies, including yarn, knitting needles, and stuffing. You can choose any color of yarn you like to bring your donkey to life. Once you have gathered all your materials, you can begin following the instructions below to create your knitted donkey.
Step 1: Cast on
To begin, make a slip knot with your yarn and place it on your knitting needle. Hold the needle with the slip knot in your right hand, and insert the left needle into the slip knot from left to right. Bring the yarn over the left needle and pull it through the slip knot, creating a new stitch. Repeat this process until you have cast on the desired number of stitches for your donkey.
Step 2: Knit the body
Once you have cast on your stitches, you can begin knitting the body of the donkey. Start by knitting every row until you have reached your desired length. Remember to count your rows to ensure your donkey’s body is the right size. You can use a stitch marker to keep track of your rows if needed.
Step 3: Shape the head and ears
After you have completed the body of your donkey, it’s time to shape the head and ears. This is where your knitting skills come into play. Follow the pattern carefully to create the unique shape of a donkey’s head and ears. You may need to decrease stitches or add additional stitches to achieve the desired shape. Pay attention to the instructions and use stitch markers if necessary to keep track of your progress.
Step 4: Stuff and sew
Once you have completed knitting the head and ears, it’s time to stuff your donkey and sew it together. Start by gathering your stuffing material and carefully place it inside the knitted body. Make sure to evenly distribute the stuffing to create a plush and sturdy donkey. After stuffing, use a tapestry needle and the same yarn color to sew the head and ears onto the body. Take your time and sew securely to ensure your donkey stays intact.
With these simple steps, you can create your very own adorable knitted donkey. Get creative with different colors and patterns to make your donkey unique. Whether you are an experienced knitter or just starting out, this project is a great way to practice your skills and create a special handmade gift. Display your knitted donkey proudly or give it to someone special to bring a smile to their face.
Materials needed for the donkey knitting pattern
The donkey knitting pattern requires several materials in order to complete the project successfully. By gathering all the necessary items beforehand, you can ensure a smooth and enjoyable knitting experience. Here is a list of the materials you will need:
- Yarn: Choose a soft and durable yarn in the color of your choice. The amount of yarn needed will depend on the size of the donkey you want to knit, so make sure to check the specific requirements of the pattern.
- Knitting Needles: Select knitting needles that are suitable for the yarn you have chosen. The pattern will typically recommend a specific size of needles, so it’s important to have them on hand.
- Stitch Markers: These small rings or clips are used to mark specific stitches or sections in your knitting. They can be helpful in keeping track of your progress and following the pattern instructions accurately.
- Yarn Needle: A yarn needle, also known as a tapestry needle, is used for weaving in loose ends and sewing pieces together. It should have a large eye to accommodate the yarn.
- Stuffing Material: To give your knitted donkey a nice shape and structure, you will need some stuffing material. This can be polyester fiberfill, wool, or any other suitable stuffing of your choice.
- Scissors: A pair of sharp scissors will be needed to cut the yarn and trim any excess material.
Once you have gathered all these materials, you will be ready to start knitting the donkey pattern. Make sure to follow the pattern instructions carefully and enjoy the project as you watch your adorable donkey come to life!
Gather all the necessary supplies before starting your project
Before you begin your donkey knitting project, it’s important to gather all the necessary supplies. Having everything prepared and within reach will make the knitting process smoother and more enjoyable.
Yarn: Start by choosing the type and color of yarn you want for your donkey. Acrylic or cotton yarns are commonly used for this type of project. Decide on the color that best represents the donkey you have in mind, whether it’s a classic gray or a more vibrant shade.
Knitting Needles: You will need a pair of knitting needles suitable for the chosen yarn weight. The size of the needles will depend on the pattern you are using, so be sure to check the instructions beforehand. Plastic or metal needles are the most common options.
Tapestry Needle: A tapestry needle, also known as a yarn needle or a darning needle, is essential for finishing touches and sewing pieces together. Make sure to have one in your toolkit for when you reach the sewing and assembly stage of the donkey knitting project.
Scissors: Don’t forget to include a pair of scissors in your knitting supplies. You’ll need them to cut the yarn and trim any excess during the process.
Stitch Markers: Using stitch markers can be helpful to keep track of different sections or important points in your knitting pattern. These can be simple plastic rings or even pieces of scrap yarn.
Stuffing: To give your knitted donkey its shape and volume, you will need some stuffing material. Polyester fiberfill or other similar materials work well for this purpose. Make sure to have enough to fill the body, head, and any other parts of the donkey.
Knitting Pattern: Lastly, don’t forget to have the knitting pattern for the donkey you intend to make. Whether you found it online or purchased a knitting book, having clear instructions and a visual representation of the final product will guide you throughout the knitting process.
Gathering all the necessary supplies before starting your donkey knitting project will ensure that you have everything you need at your fingertips. This will save you time and frustration as you follow the pattern and create your adorable knitted donkey.
Choosing the right yarn for your knitted donkey
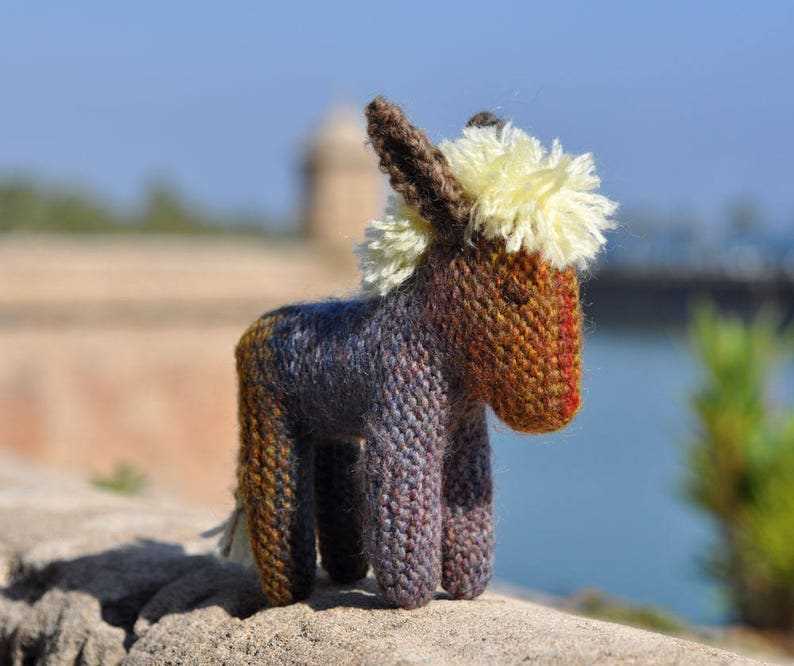
When it comes to knitting a donkey, choosing the right yarn is crucial to achieving a realistic and attractive result. The texture and color of the yarn can make a big difference in bringing your knitted donkey to life.
Texture: For a donkey with a fluffy and soft appearance, opt for a yarn with a fuzzy or mohair texture. This will add dimension and create a realistic fur-like effect. Alternatively, if you prefer a smoother look, choose a yarn with a smooth and sleek texture. This type of yarn is often easier to work with and can result in a more polished finished product.
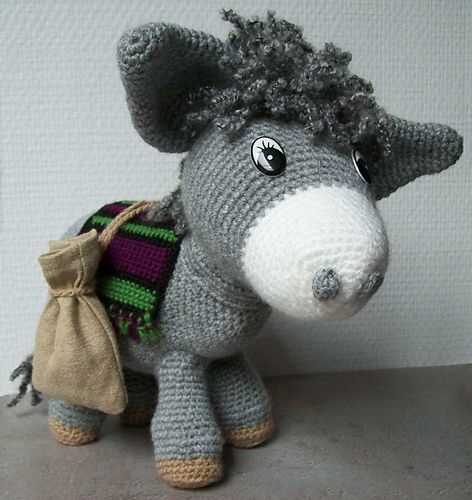
Color: Donkeys come in a variety of colors, from light gray to dark brown. Consider the natural color of donkeys when selecting your yarn. Look for yarn shades that closely match the color of a real donkey or choose a yarn with different shades of a particular color to create a unique and eye-catching look.
It’s also worth considering the durability of the yarn. As a knitted donkey may be handled and played with, it’s important to choose a yarn that is strong and able to withstand regular use. Opting for a yarn specifically labeled as durable or for toys can help ensure your knitted donkey lasts for many years to come.
Ultimately, the choice of yarn will depend on your personal preference and the desired outcome for your knitted donkey. Experimenting with different textures and colors can be a fun and creative process, allowing you to craft a truly unique and charming donkey. Happy knitting!
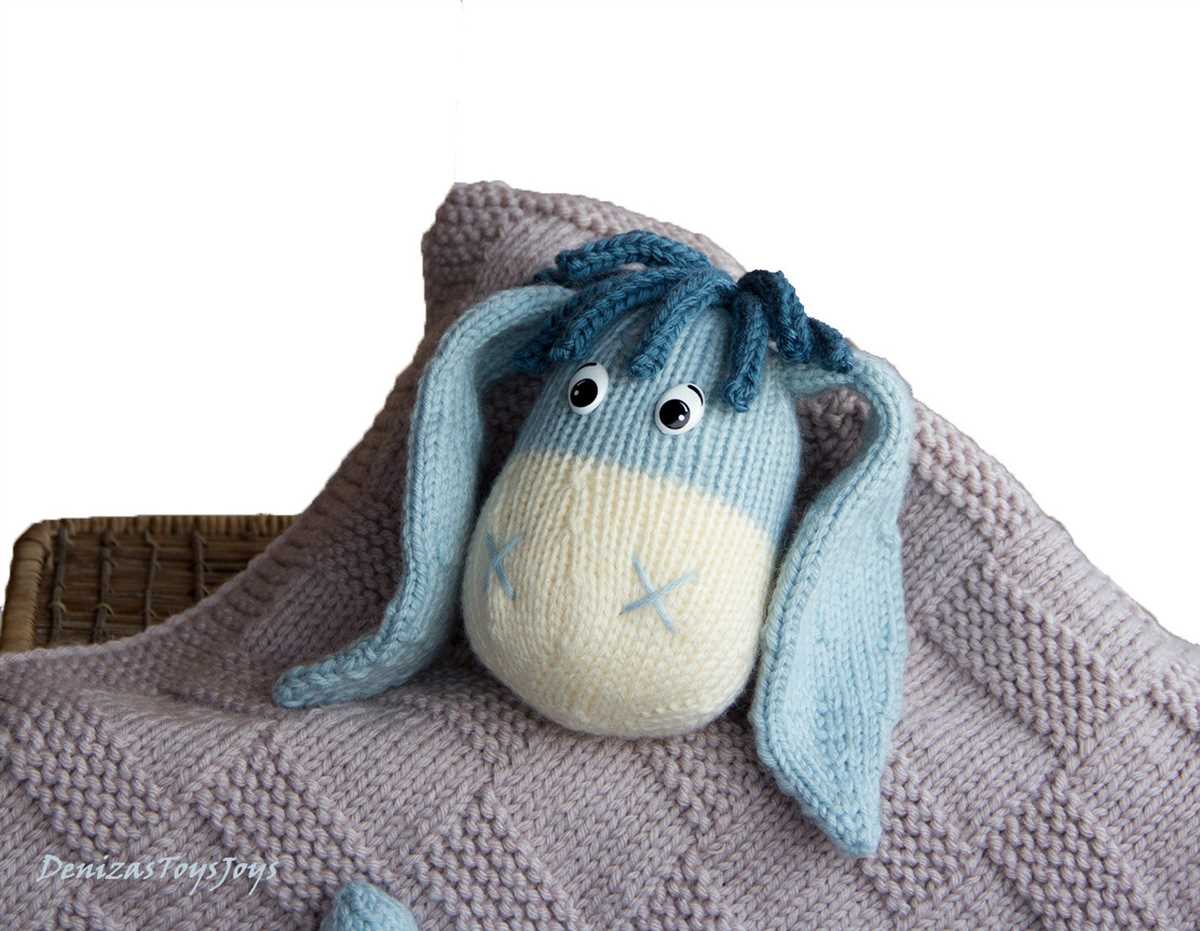
Discover the best types of yarn to use for a soft and huggable donkey toy
When it comes to knitting a donkey toy, choosing the right type of yarn is crucial to create a soft and huggable texture. The right yarn can make all the difference in how cuddly and lovable your finished donkey toy will be. Here are some of the best types of yarn to use for this project.
1. Baby Alpaca Yarn: Baby alpaca yarn is renowned for its softness and luxurious feel. It is made from the fleece of baby alpacas, which results in a yarn that is incredibly soft and gentle against the skin. Using baby alpaca yarn for your donkey toy will give it a plush and cuddly texture, perfect for snuggling.
2. Merino Wool Yarn: Merino wool yarn is another excellent choice for a soft and huggable donkey toy. It is known for its softness, elasticity, and warmth. Merino wool is derived from the merino sheep, and its fibers are finer and smoother compared to other types of wool. This makes it a great option for creating a cozy and cuddly donkey toy.
3. Cotton Yarn: If you prefer a donkey toy with a lighter weight and breathable texture, cotton yarn is an ideal choice. Cotton yarn is soft, durable, and easy to work with. It is also hypoallergenic, making it suitable for those with sensitive skin or allergies. Using cotton yarn will result in a donkey toy that is both soft and breathable, perfect for playtime and snuggling.
4. Acrylic Yarn: Acrylic yarn is a budget-friendly option that offers both affordability and softness. It is a synthetic yarn that is easy to care for and has a wide range of colors available. This type of yarn is perfect for creating vibrant and cuddly donkey toys. It has a soft and plush feel, making it a popular choice among knitters.
5. Cashmere Blend Yarn: For an extra luxurious touch, consider using a cashmere blend yarn for your donkey toy. Cashmere blend yarn combines the softness and warmth of cashmere with other fibers, such as merino wool or silk. This results in a yarn that is incredibly soft and cozy, perfect for knitting a donkey toy that is both huggable and indulgent.
When choosing the yarn for your donkey toy, consider the texture, softness, and durability to ensure that it will be the perfect companion for snuggling and playtime. Experiment with different types of yarn to find the one that suits your preferences and creates the most huggable donkey toy.
Essential knitting techniques for the donkey pattern
Knitting a donkey pattern requires some essential techniques to create the adorable stuffed animal. Here are a few key techniques that you should master before starting the project:
1. Cast on and bind off:
These are the fundamental techniques of knitting that you’ll need for every project. To get started, you’ll need to cast on the required number of stitches to create the body and other parts of the donkey. Once you have completed the knitting, you’ll need to bind off to secure the stitches and finish the edges.
2. Knit and purl stitches:
The donkey pattern will involve both knit and purl stitches to create different textures and patterns. Knit stitches are formed by inserting the needle from left to right and pulling the yarn through, while purl stitches are created by inserting the needle from right to left.
3. Increasing and decreasing:
It’s important to know how to increase and decrease stitches to shape the donkey’s body and limbs effectively. Common techniques for increasing stitches include knitting into the front and back of a stitch, or using yarn overs. For decreasing, techniques like knit two stitches together or slip, slip, knit can be employed.
4. Seaming and sewing:
Once you have knitted all the individual pieces of the donkey pattern, you’ll need to seam and sew them together to create the final stuffed animal. Techniques such as mattress stitch or whip stitch can be used to achieve a neat and seamless finish.
By mastering these essential knitting techniques, you’ll be well-equipped to tackle the donkey pattern and create your own adorable knitted toy. Happy knitting!
Master the basic knitting stitches and techniques required for this project
Before you begin knitting the donkey pattern, it’s important to have a solid understanding of the basic knitting stitches and techniques that will be used in the project. By mastering these foundational skills, you’ll be able to create a beautifully knitted donkey with ease and confidence.
The first stitch you’ll need to know is the knit stitch. This is the most basic stitch in knitting and is often abbreviated as “k” in patterns. To knit, simply insert the right needle into the loop on the left needle from front to back, then hook the yarn with the right needle, and pull it through the loop to create a new stitch. Practice this stitch until you can consistently create neat and even knit stitches.
Next, you’ll need to learn the purl stitch. This stitch is the opposite of the knit stitch and is often abbreviated as “p” in patterns. To purl, insert the right needle into the loop on the left needle from back to front, then hook the yarn with the right needle, and pull it through the loop to create a new stitch. Practice the purl stitch until you can create smooth and uniform purl stitches.
Once you’ve mastered the knit and purl stitches, you’ll be ready to tackle more advanced techniques such as increasing and decreasing stitches. These techniques are used to shape the donkey’s body and create details such as its ears and tail. To increase, you’ll need to make additional stitches within a row, while to decrease, you’ll need to eliminate stitches to create shaping. Take your time to learn these techniques and practice them until you feel comfortable incorporating them into your knitting.
Finally, it’s essential to know how to read and understand knitting patterns and charts. Familiarize yourself with the abbreviations commonly used in knitting patterns, as well as any special instructions specific to the donkey pattern you’ll be working on. By understanding the pattern and following the instructions accurately, you’ll be able to create a donkey that closely resembles the final design.
With these basic knitting stitches and techniques under your belt, you’re well on your way to mastering the donkey knitting pattern. Remember to practice regularly, be patient with yourself as you learn, and enjoy the process of bringing your donkey to life with each stitch!
Follow these instructions to knit the main body and head of your donkey toy
Knitting your own donkey toy can be a fun and rewarding project. To get started, you will need the following materials: knitting needles, yarn in your desired colors, stuffing, and a set of safety eyes. Once you have gathered your supplies, you can begin by casting on the required number of stitches for the body.
To knit the body, you will need to follow a specific pattern. Start by knitting in the round for a few rows, then switch to knitting in rows for the remainder of the body. Pay attention to the instructions for any increases or decreases, as these will shape the donkey’s body. Once you have completed the required number of rows, bind off your stitches and weave in any loose ends.
Next, move on to knitting the head of the donkey. This will involve creating a smaller section that will be attached to the body. Again, follow the pattern instructions carefully, making any necessary increases or decreases to shape the head. Once you have completed the required number of rows, bind off your stitches and weave in any loose ends.
Once you have finished knitting both the body and head, it’s time to stuff your donkey toy. Use the stuffing material of your choice to give the toy its cuddly shape. Be sure to stuff it firmly, but not too tightly, to ensure a nice texture. To attach the head to the body, use the yarn and a sewing needle to sew the pieces together securely.
Finally, add the finishing touches to your donkey toy. Attach the safety eyes to the head, following the pattern’s guidelines for placement. You can also use additional yarn to embroider any facial details, such as a nose and mouth. Once you are satisfied with your toy, give it a gentle shake to make sure everything is securely attached. Now you have your own knitted donkey toy to enjoy or give as a gift!
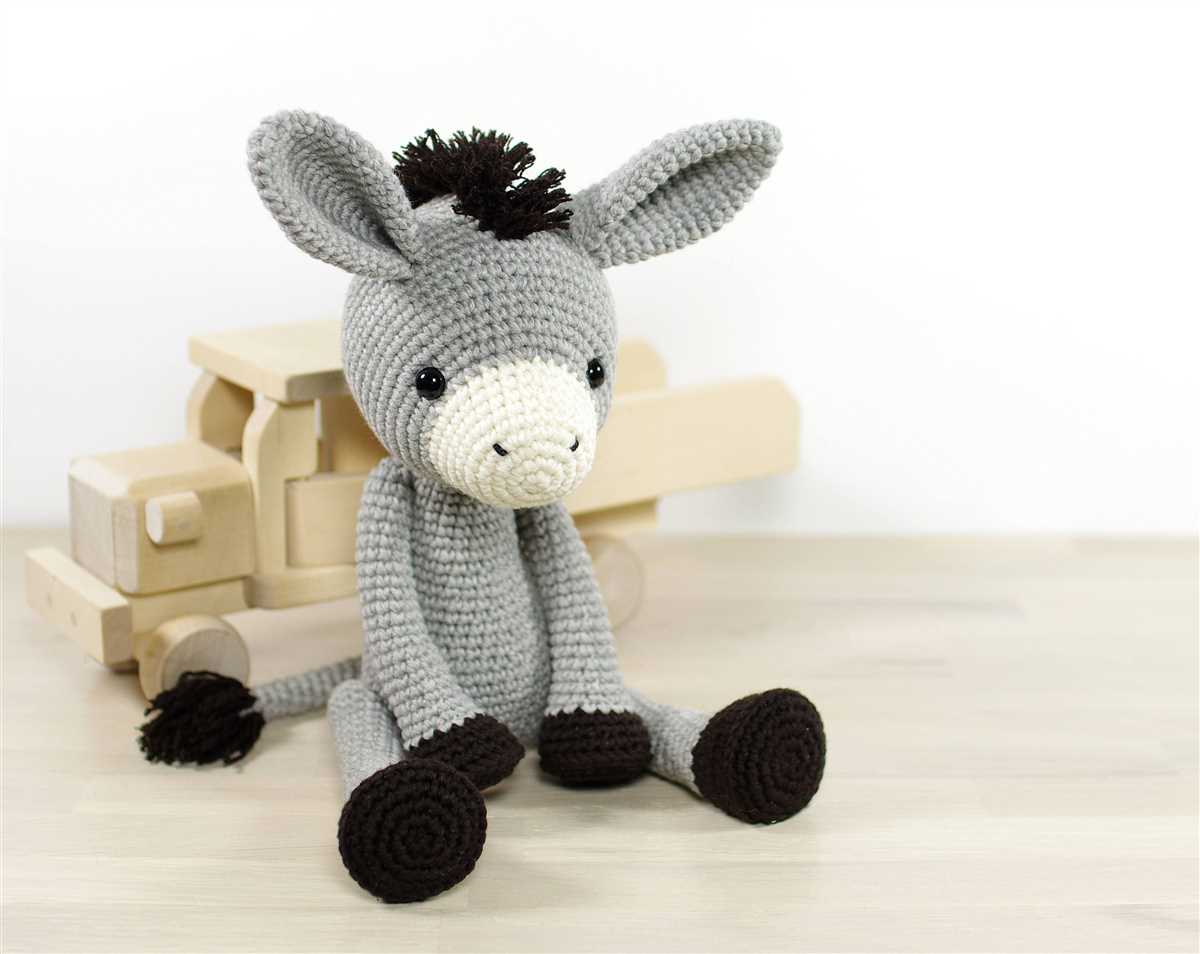
Knitting the Legs and Tail for Your Donkey
When knitting a donkey, one of the key elements to pay attention to is the legs and tail. These parts not only add structure to your donkey, but they also contribute to its overall character. By following the pattern and using the right techniques, you can create beautiful and realistic legs and tail for your knitted donkey.
Legs: Start by casting on the required number of stitches for each leg. Use double-pointed needles to work in the round and create a seamless finish. Knit each leg separately, maintaining the same pattern and stitch count throughout. To add dimension, you can incorporate different stitch patterns, such as ribbing or seed stitch, to create texture and mimic the appearance of donkey legs. After completing the required number of rows, finish off by binding off the stitches and leaving a long tail for sewing the legs to the body.
Tail: The tail is an important feature that adds charm to your knitted donkey. Begin by casting on the desired number of stitches for the tail. You can use a thinner yarn or double up the yarn to make the tail appear fuller. Work in rows, following the pattern instructions, and create a tapered shape for the tail. You can achieve this by gradually decreasing the number of stitches as you progress. Once you reach the desired length, bind off the stitches and leave a long tail to attach the tail securely to the donkey’s body. Consider positioning the tail slightly off-center to add a playful touch to your knitted creation.
Knitting the legs and tail for your donkey requires attention to detail and precision. Follow the pattern carefully, take your time, and enjoy the process. Once you complete these components, you can attach them to the body and bring your knitted donkey to life. Whether you’re making a toy for a child or a decorative piece for your home, these knitted legs and tail will add authenticity and character to your adorable donkey.
Add the finishing touches to your knitted donkey by creating its legs and tail
Once you have completed knitting the body and head of your donkey, it’s time to add the finishing touches by creating its legs and tail. These details will bring your knitted donkey to life and make it look more realistic.
To make the legs, you can use the same yarn and knitting needles that you used for the rest of the donkey. Start by knitting two separate tubes for each leg, making them slightly longer than the desired length. You can use knitting in the round technique or knit flat and seam them together later. Once the tubes are done, stuff them lightly with polyester fiberfill to give them some shape. Attach the legs to the body by sewing them securely in place, making sure they are evenly spaced and positioned.
For the tail, you can create a simple knitted i-cord or braided tail using a contrasting color yarn. To make an i-cord, cast on 3-4 stitches and knit them in a round until the i-cord reaches the desired length. Bind off the stitches and sew one end of the i-cord to the back of the donkey’s body. Alternatively, you can braid several strands of yarn together to create a thicker tail and sew it in the same way.
Once the legs and tail are attached, you can add some final touches to your knitted donkey. Embroider the donkey’s facial features such as eyes, nostrils, and mouth using a tapestry needle and black yarn or embroidery floss. You can also add a mane using fringed pieces of yarn or yarn tassels attached to the donkey’s head. Be creative and have fun personalizing your knitted donkey to make it unique!
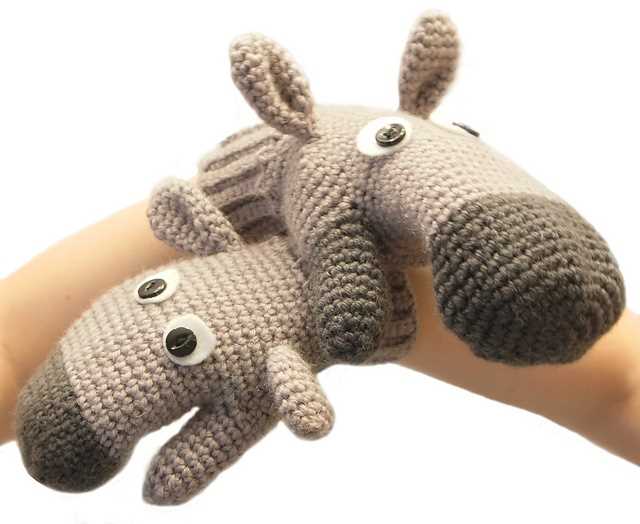
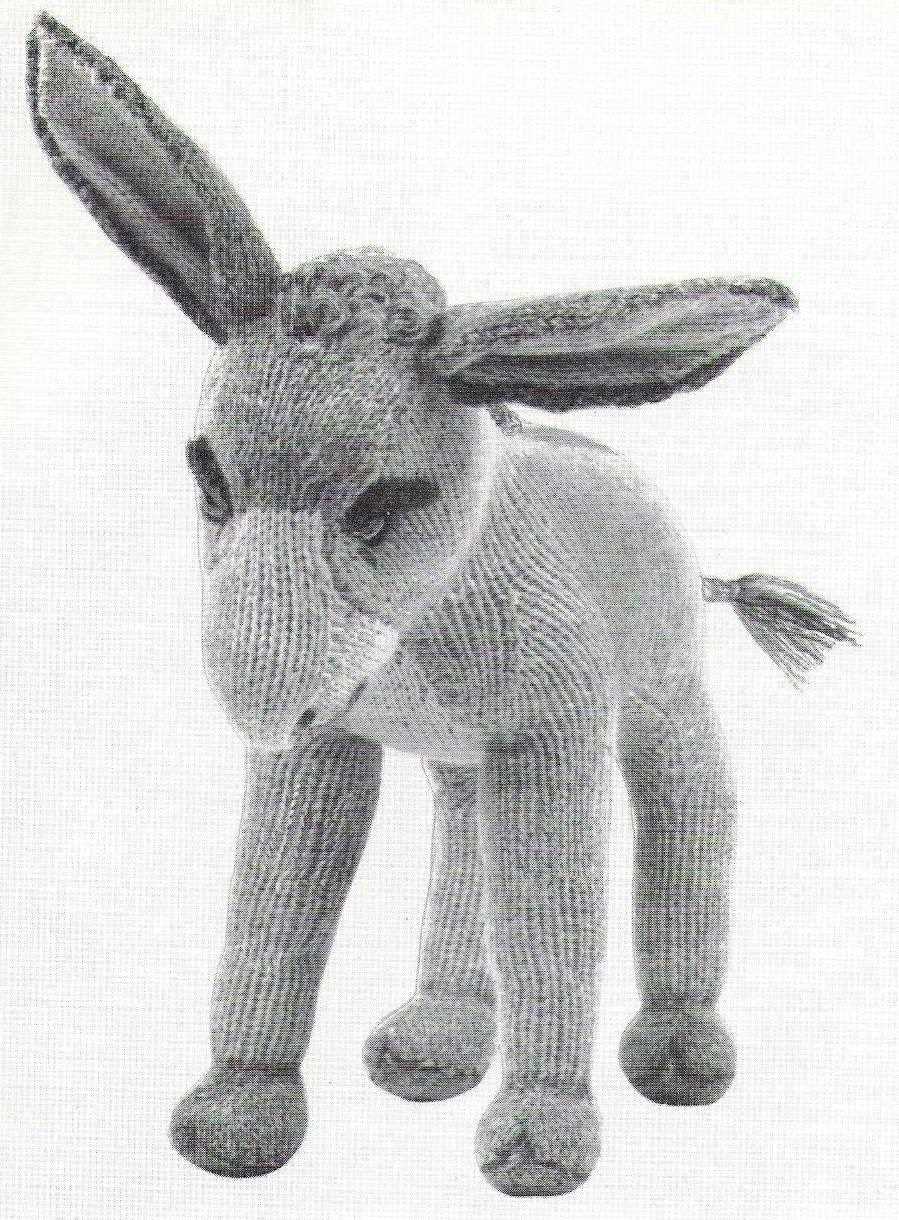
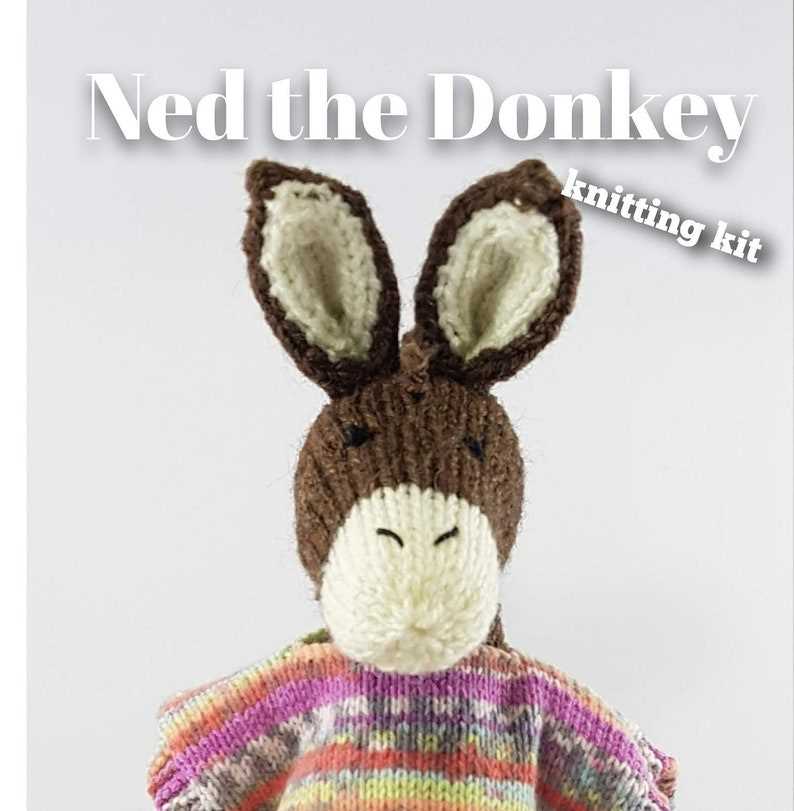
Learn how to knit the donkey’s ears and embroider its adorable facial features

If you’re looking to add some charm and character to your next knitting project, why not try knitting a donkey? Donkeys are known for their adorable ears and expressive faces, and learning how to create these features can take your knitting skills to the next level. In this tutorial, we will guide you through the process of knitting the donkey’s ears and embroidering its facial features, resulting in a cute and lovable finished product.
Knitting the donkey’s ears: To begin, you will need a set of double-pointed knitting needles and a yarn of your choice. Start by casting on the required number of stitches for the size of ears you desire, using the slip knot method. Then, follow the pattern instructions to knit the ears, shaping them as you go. You might have to increase or decrease stitches at certain points to achieve the desired shape.
Embroidering the donkey’s facial features: Once you have completed knitting the donkey’s ears, it’s time to add its adorable facial features. Using a contrasting yarn color, thread a tapestry needle and carefully embroider the donkey’s eyes, nostrils, and mouth. You can choose to create a playful expression or a more realistic one, depending on your preference. Take your time and use small, neat stitches to bring the donkey’s face to life.
By mastering the art of knitting the donkey’s ears and embroidering its facial features, you can create a precious handmade toy or decoration that will surely bring joy to anyone who sees it. Whether you’re a beginner or an experienced knitter, this project is a great way to expand your skills and create something truly special. So, gather your knitting supplies and get ready to bring this lovable creature to life!
Put all the knitted pieces together and stuff your donkey toy for a cuddly finish
Once you have finished knitting all the individual pieces of your donkey toy, it’s time to put them all together and bring your creation to life. This final step involves sewing the different parts together and stuffing the toy to give it a fluffy and huggable texture.
Start by carefully aligning the body, head, legs, and tail of the donkey in the correct positions. You can use pins or stitch markers to hold the pieces together temporarily while you sew. Make sure the seams are on the inside of the toy for a neat finish.
Sew the pieces together using a needle and matching yarn or thread. Take small, invisible stitches to join the edges of the parts securely. You can use a whip stitch or mattress stitch to sew the pieces together, depending on the look you want to achieve.
Once you have sewn all the pieces together, it’s time to stuff your donkey toy. Use polyester fiberfill or another suitable stuffing material to fill the body, head, and legs of the toy. Start by stuffing the legs first and use a knitting needle or chopstick to push the filling into all the corners and curves.
Continue filling the body and head, making sure to distribute the stuffing evenly to create a plump and cuddly toy. Be careful not to overstuff, as it can distort the shape of the donkey. Adjust the filling as needed to achieve the desired firmness and softness.
Finally, sew closed any remaining openings and secure the stitches. Trim any excess yarn or thread, and your knitted donkey toy is now ready for cuddles and playtime!
Discover helpful tips and tricks to make the knitting process easier and more enjoyable
Knitting can be a relaxing and fulfilling hobby, but it can also be frustrating at times. Whether you’re a beginner or an experienced knitter, there are always ways to make the process easier and more enjoyable. Here are some helpful tips and tricks to enhance your knitting experience.
1. Choose the right yarn and needles
One of the most important factors in knitting is choosing the right yarn and needles for your project. Different projects require different types of yarn and needles, so make sure to consider the recommended specifications for your pattern. Choosing the wrong size of needles or using a yarn that is too thick or thin can affect the outcome of your project and make the knitting process more difficult.
2. Practice good tension control
Tension control plays a significant role in achieving consistent and even stitches. If your tension is too loose or too tight, it can affect the overall appearance and fit of your project. Practice maintaining a consistent tension by gently holding the yarn, neither pulling too tightly nor letting it hang too loose. Regular practice and paying attention to your tension will help you achieve better results in your knitting.
3. Use stitch markers
Stitch markers are small, often plastic or metal, rings that help you keep track of specific stitches or sections in your knitting. They can be particularly helpful when working with complex patterns or when shaping garments. By placing a stitch marker at the beginning or end of a specific section, you can easily identify where to make increases, decreases, or other pattern changes.
4. Take breaks and rest your hands
Knitting can be a repetitive activity that involves a lot of hand and finger movements. It’s important to take breaks and rest your hands regularly to prevent fatigue and strain. Stretching exercises for your hands and wrists can also be beneficial. By taking care of your hands, you can maintain your enjoyment of knitting and prevent any potential injuries.
5. Join a knitting group or community
Knitting groups or online communities can provide a sense of camaraderie and support. Being part of a knitting group allows you to share tips, get help when needed, and even participate in knit-alongs or charity projects. It’s a great way to connect with other knitting enthusiasts and learn from their experiences.
In conclusion, knitting can be a wonderful hobby that brings relaxation and creativity. By following these tips and tricks, you can make the knitting process easier and more enjoyable. Remember to choose the right materials, practice good tension control, use stitch markers, take breaks, and join a knitting community. Happy knitting!