
Knitting is a wonderful craft that allows you to create beautiful and unique pieces of clothing and accessories. One popular pattern that many knitters enjoy is the houndstooth pattern. Traditionally used in fabrics, the houndstooth pattern is now making a comeback in the world of knitting. This classic pattern adds a touch of sophistication and elegance to any project.
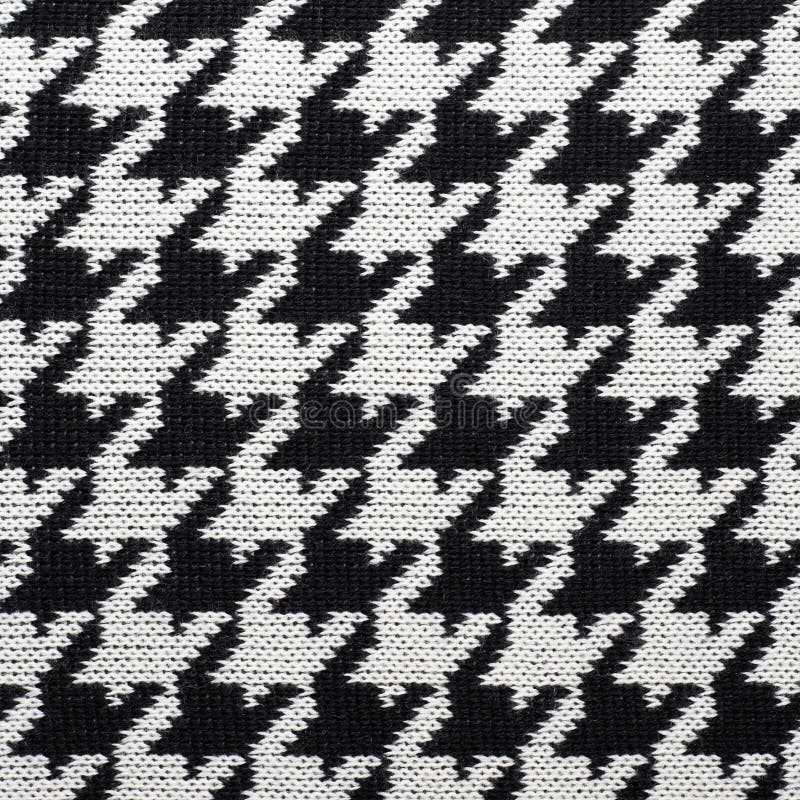
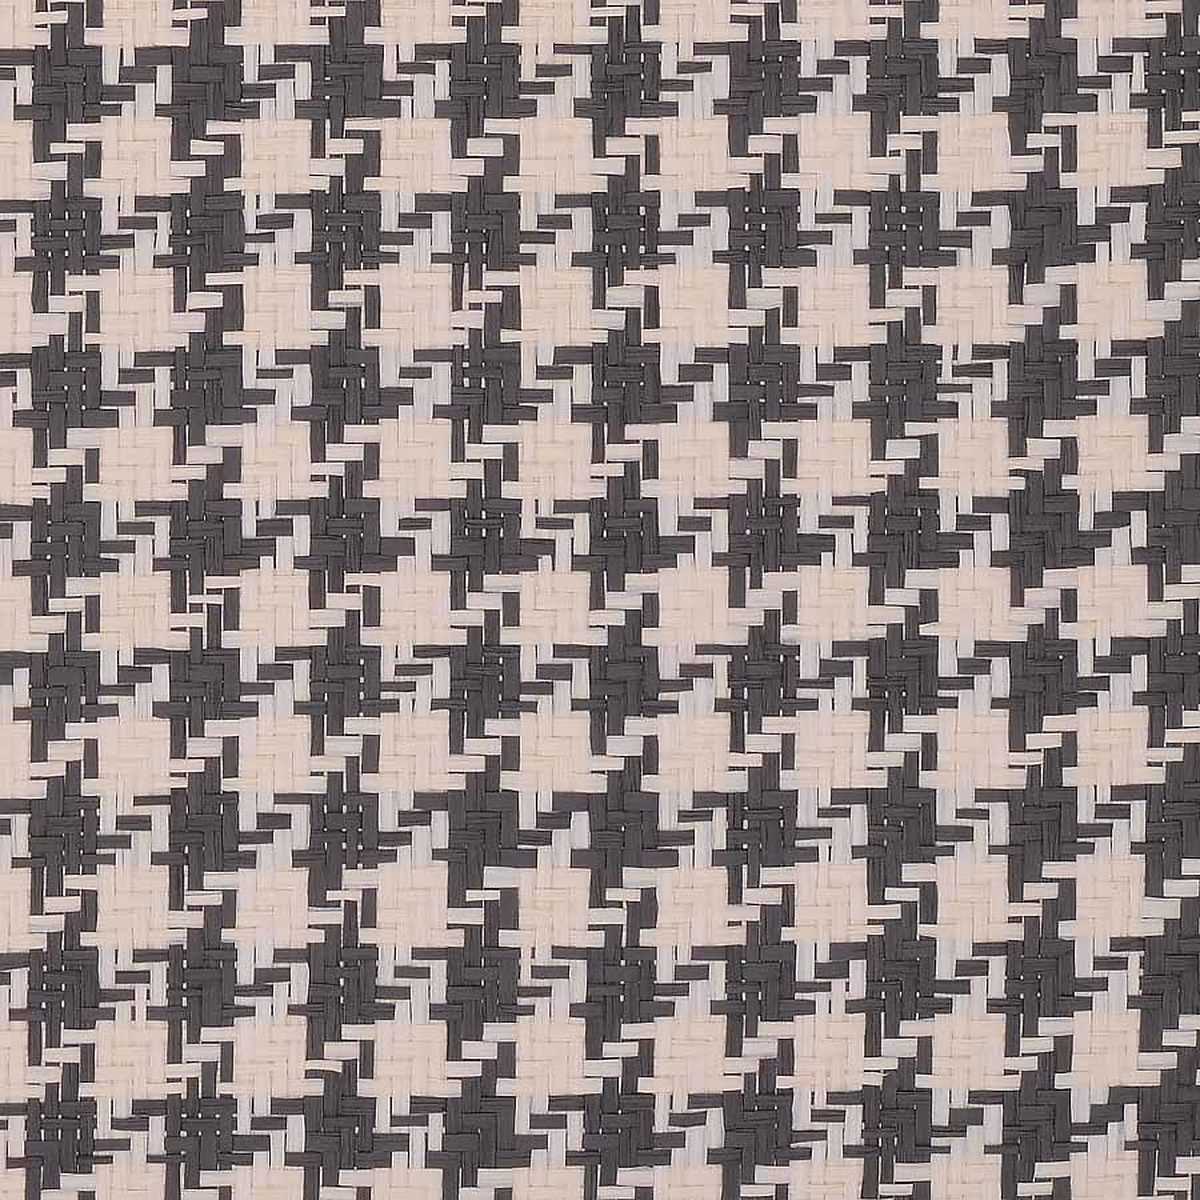
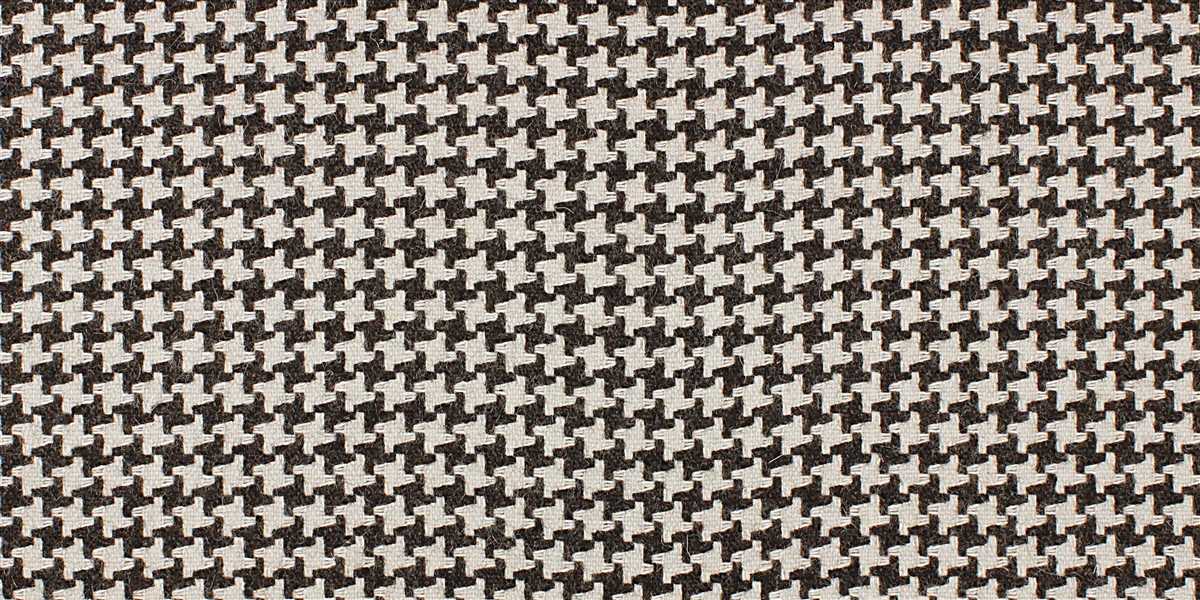
The houndstooth pattern is characterized by its two-color design, consisting of small, jagged checkered squares. It is a versatile pattern that can be used to create a variety of items, including scarves, hats, sweaters, and even blankets. While the houndstooth pattern can be knit flat, working it in the round offers a unique challenge and allows for seamless knitting.
Knitting the houndstooth pattern in the round requires a bit of planning and attention to detail, but the results are well worth the effort. By using a combination of knitting and purling techniques, you can create the distinctive look of the houndstooth pattern. It’s a fun and engaging project that will keep you interested from start to finish.
Houndstooth Knitting Pattern in the Round

Knitting a houndstooth pattern in the round can create a classic and timeless design for your knitted projects. The houndstooth pattern, with its distinctive two-tone checkered design, is often used in fashion and home decor. Knitting this pattern in the round adds an extra level of challenge, but also allows for seamless designs such as hats, cowls, and socks.
To create a houndstooth pattern in the round, you will need to work with multiple colors and use techniques such as stranded knitting or fair isle knitting. This involves carrying the non-working color behind the stitches and alternating between the two colors to create the checkered pattern.
Here is a step-by-step guide to knitting a houndstooth pattern in the round:
- Choose your colors: Traditionally, houndstooth patterns are created with a light and dark contrasting color. You can choose any two colors that you like, but make sure they have enough contrast to create a clear pattern.
- Cast on: Start by casting on the desired number of stitches for your project. Make sure the total number of stitches is divisible by the pattern repeat, which is usually 2 or 4 stitches.
- Join in the round: Once you have cast on, join your work in the round, being careful not to twist the stitches. You can use either circular needles or double-pointed needles, depending on your preference.
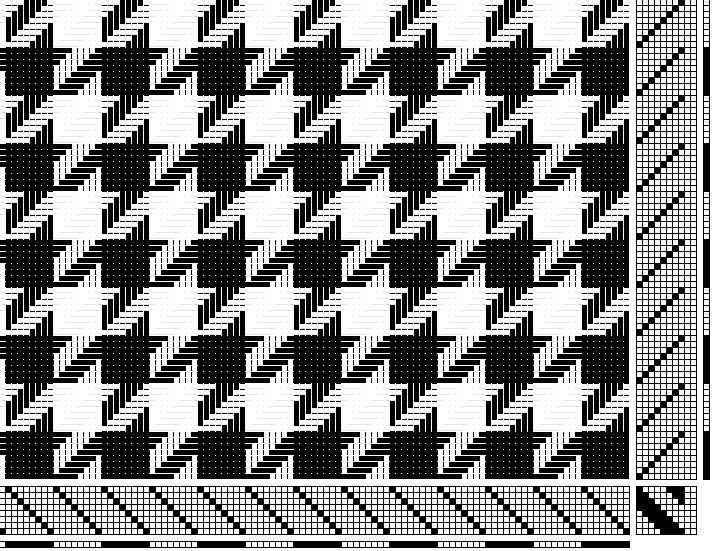
- Knit the houndstooth pattern: Begin knitting the houndstooth pattern by following the chart or written instructions for your chosen pattern. Typically, the houndstooth pattern consists of alternating blocks of light and dark stitches.
- Carry the yarn: When switching colors, carry the non-working color loosely along the back of the work. This will prevent long floats and create a neat and even fabric.
- Continue knitting: Repeat the houndstooth pattern until you have reached the desired length for your project. Remember to always knit in the round, as purling can disrupt the tension of the stranded knitting.
- Bind off: Once you have finished knitting, bind off your stitches to complete your houndstooth pattern in the round. You can use a regular bind-off method or a stretchy bind-off, depending on the project.
With some practice and patience, knitting a houndstooth pattern in the round can become a rewarding and enjoyable project. Whether you’re creating a cozy hat or a stylish pair of socks, the houndstooth pattern adds a touch of sophistication to any knitted item.
What is Houndstooth Knitting Pattern?
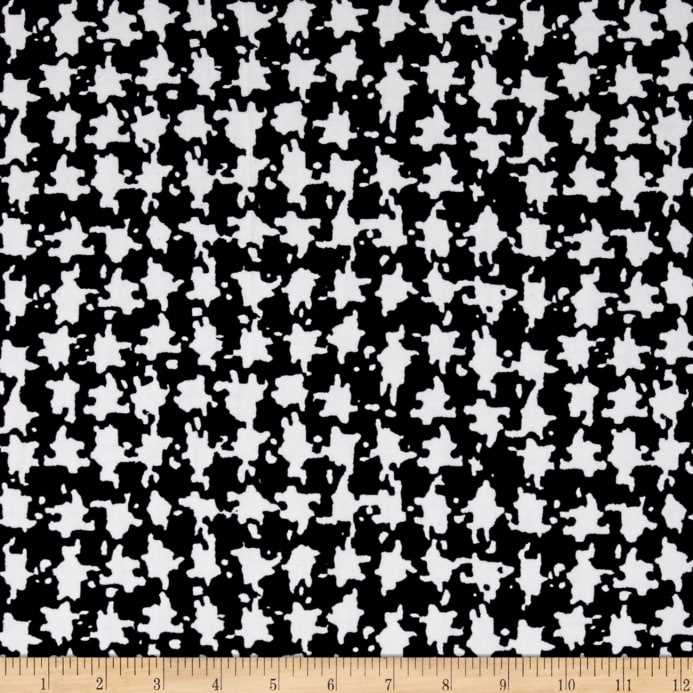
The houndstooth knitting pattern is a classic and timeless design that resembles a checkered or tartan pattern. It is created by alternating two colors of yarn in a specific way to form a distinct geometric pattern. The pattern typically consists of small, evenly spaced rectangles or squares that are inspired by the teeth of a hound’s tooth, hence the name.
This pattern can be achieved using various techniques, such as stranded knitting or intarsia. In stranded knitting, both colors of yarn are carried along the back of the work, creating a double layer of fabric and giving the pattern a thicker texture. Intarsia, on the other hand, involves using separate bobbins or balls of yarn for each color block, resulting in a cleaner and less bulky finish.
The houndstooth knitting pattern is versatile and can be used to create a wide range of garments and accessories, such as scarves, hats, sweaters, and even socks. It is often used in traditional and preppy fashion styles, adding a touch of sophistication and elegance to any outfit.
To create a houndstooth pattern in the round, knitters may need to modify the traditional flat knitting chart. This can be done by converting the chart into a circular format or by using a combination of knitting techniques, such as Fair Isle or slip-stitch knitting. By adapting the pattern for knitting in the round, you can easily incorporate the houndstooth design into seamless hats, cowls, and other tubular garments.
Advantages of Knitting in the Round
Knitting in the round offers a range of advantages to knitters. By working in a continuous spiral, rather than turning the work at the end of each row, knitters can create seamless and tube-shaped garments, such as hats, socks, and sweaters. This eliminates the need for seaming and provides a clean and professional finish to the final product.
One of the main advantages of knitting in the round is efficiency. Unlike flat knitting, where the knitter must constantly turn the work and manually switch the yarn from one hand to the other, knitting in the round allows for uninterrupted knitting. This can significantly reduce the time required to complete a project, making it an ideal technique for those who want to finish their creations quickly.
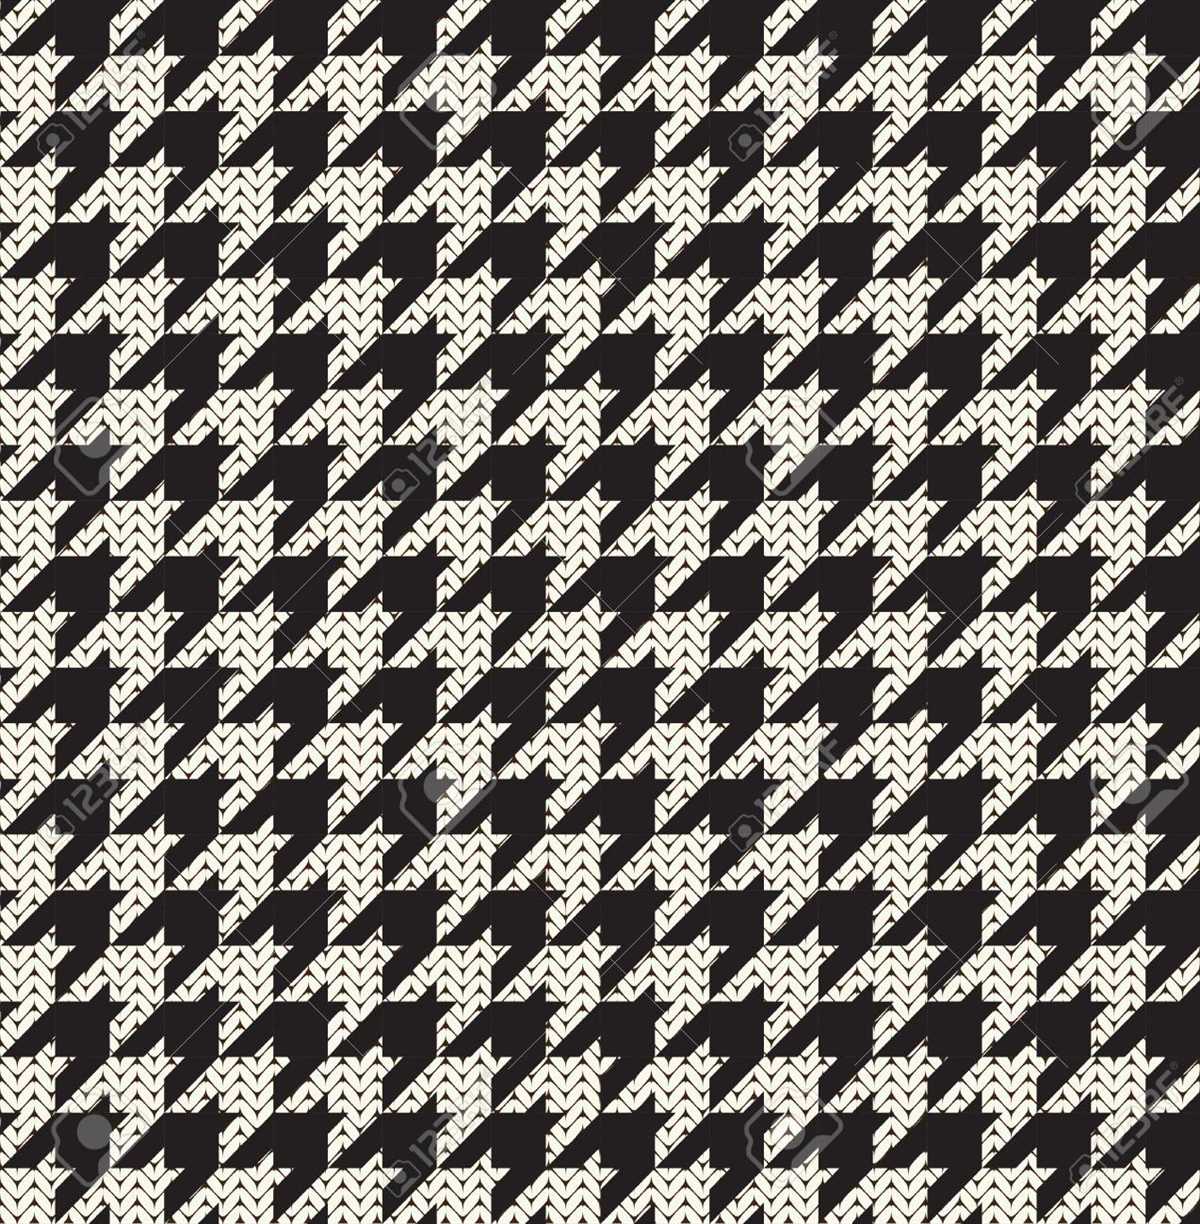
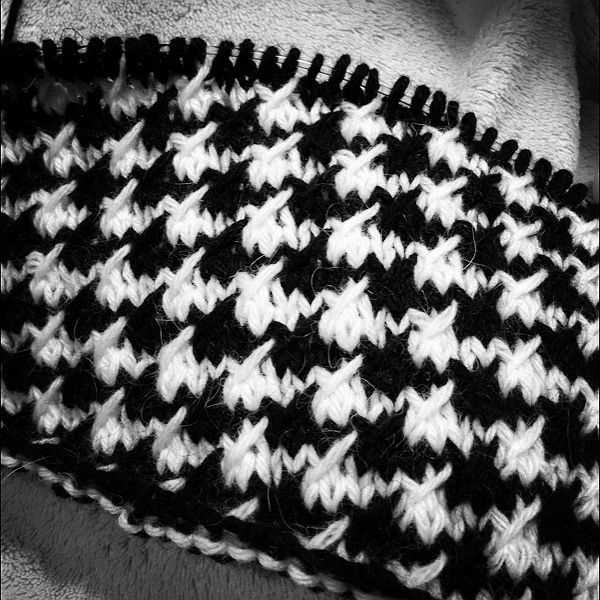
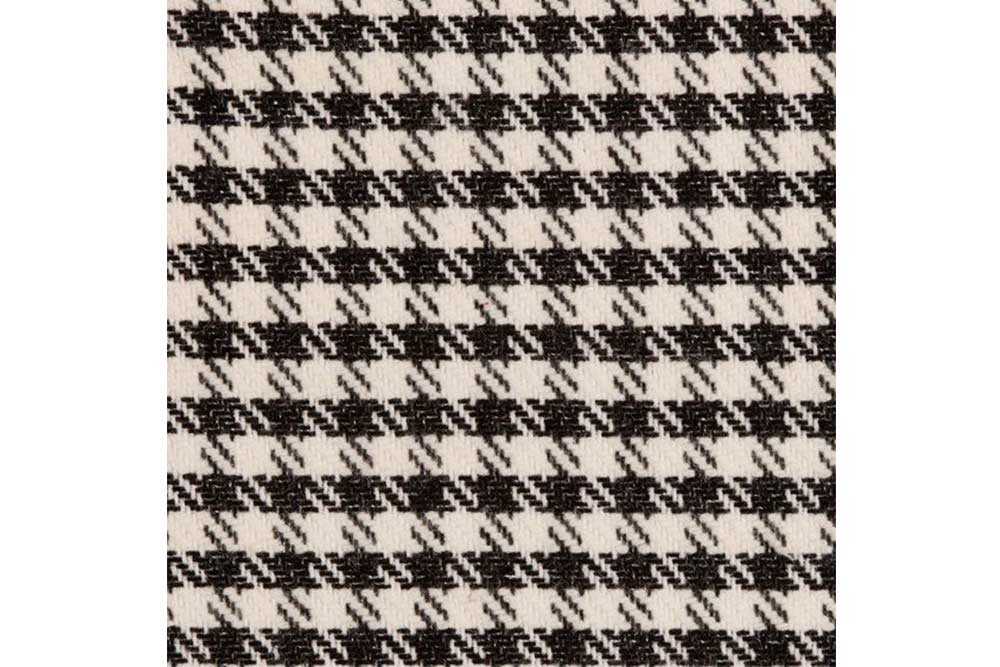
The houndstooth knitting pattern, often characterized by its geometric black and white checks, can also be easily worked in the round. By using circular needles or double pointed needles, knitters can effortlessly create the repeating pattern without the need to purl or turn the work. This makes houndstooth a popular choice for those who enjoy complex and visually striking designs.
Another advantage of knitting in the round is its versatility. This technique allows knitters to create a wide range of projects, from small accessories to large garments. Whether you’re knitting a cozy beanie or a stylish sweater, knitting in the round provides endless possibilities for creativity and customization.
In addition to its efficiency and versatility, knitting in the round can also offer a sense of satisfaction and accomplishment. Seeing a project come together seamlessly and smoothly can be incredibly rewarding, and the lack of seams can give the final piece a polished and professional look. So if you’re looking for a technique that combines practicality, creativity, and a seamless finish, knitting in the round may be the perfect choice for you.
Choosing the Right Yarn and Needles for Houndstooth Pattern
When it comes to knitting the houndstooth pattern in the round, selecting the right yarn and needles is crucial to achieve the desired result. The houndstooth pattern consists of alternating colored blocks, and using the appropriate materials will help to make the pattern pop and create a beautifully textured fabric.
Choosing the Yarn:
1. Yarn Weight: The yarn weight you choose will depend on the final look and feel you want for your project. For a medium weight fabric, opt for a DK (double-knitting) or worsted weight yarn. If you prefer a chunkier and warmer texture, go for a bulky weight yarn. Be sure to check the pattern instructions for any specific yarn weight recommendations.
2. Yarn Fiber: The yarn fiber will also play a role in the overall appearance and drape of your project. For a classic houndstooth pattern, traditional wool or wool-blend yarns work well as they provide excellent stitch definition. However, if you prefer a softer texture or have allergies, consider using cotton or acrylic yarns instead.
Choosing the Needles:
1. Needle Size: The needle size you choose will depend on the gauge specified in the pattern instructions. Make sure to check your tension and swatch before starting the project to ensure you are using the correct needle size. Using a larger needle size will result in a looser and more drapey fabric, while a smaller needle size will create a tighter and stiffer fabric.
2. Needle Type: When knitting in the round, circular knitting needles are the most practical choice. Opt for a circular needle with a length suitable for the size of your project, ensuring that the needle tips are sharp enough to work the houndstooth pattern with precision.
3. Double-pointed Needles: If you are working on a small circumference project, such as a hat or a sleeve, you may also need a set of double-pointed needles to complete the decreases and shape the project more easily.
- To sum up, when knitting the houndstooth pattern in the round, choose a yarn weight and fiber that suits your desired outcome.
- Check the pattern instructions for any specific yarn weight recommendations.
- Consider using traditional wool or wool-blend yarns for excellent stitch definition.
- Remember to check your gauge and swatch before starting the project to determine the correct needle size.
- Use circular knitting needles for most of the project, and add in double-pointed needles for smaller circumference sections if necessary.
How to Cast On for Houndstooth Knitting in the Round
Knitting houndstooth pattern in the round can create a classic and stylish design for your projects. When casting on for houndstooth knitting in the round, it is important to consider the colorwork and the stitch pattern. Here is a step-by-step guide on how to cast on for houndstooth knitting in the round:
1. Choose your yarn and needles:
Start by selecting your desired yarn and needle size for your project. The yarn should be in contrasting colors, preferably light and dark shades, to achieve the classic houndstooth look. Make sure to choose needles that are suitable for the yarn weight to ensure proper tension.
2. Calculate the number of stitches:

To determine the number of stitches needed to cast on, you will need to consider the stitch pattern and gauge. Houndstooth usually consists of a repeating pattern over a certain number of stitches. Calculate the total number of stitches by multiplying the number of stitches in the pattern repeat by the desired circumference of your project.
3. Provisional cast on:
For houndstooth knitting in the round, it is recommended to use a provisional cast on method to avoid an unsightly seam. One way to achieve this is by using a crochet hook and waste yarn. Create a chain of stitches with the crochet hook using the waste yarn, leaving a long tail. Then, slip the stitches onto the knitting needle, ready to begin the houndstooth pattern.
4. Join in the round:
To join the cast on stitches in the round, carefully bring the first stitch of the provisional cast on together with the last stitch on the needle. Make sure the stitches are not twisted and align them properly. With the working yarn, knit the first stitch of the provisional cast on together with the first stitch on the needle to join the round.
5. Begin the houndstooth pattern:
Once the cast on stitches are joined in the round, you can start working the houndstooth pattern according to your chosen stitch chart or instructions. Pay attention to the color changes and follow the pattern closely to achieve the desired houndstooth effect.
By following these steps and practicing the houndstooth stitch pattern, you will be able to create beautiful houndstooth knitting projects in the round. Enjoy the process and have fun experimenting with different color combinations!
Creating the Houndstooth Pattern with Knit and Purl Stitches
The houndstooth knitting pattern is a classic design that is created by alternating knit and purl stitches to form a graphic checkered pattern. This pattern is often used in garments such as sweaters, scarves, and hats to add a touch of sophistication and elegance. With a little patience and practice, you can easily create this timeless pattern in the round.
To create the houndstooth pattern, you will need to have a basic understanding of knitting and purling. The pattern consists of two colors, typically contrasting colors, although you can use any color combination of your choice. The key to achieving the houndstooth effect is to work with a multiple of 4 stitches.
Begin by casting on the desired number of stitches in Color A. Knit the first two rows in Color A to set the foundation of your pattern. On the third row, switch to Color B and begin the houndstooth pattern.
Row 1: Knit all stitches in Color B
Row 2: Purl all stitches in Color B
Row 3: *Knit 2 stitches in Color B, purl 2 stitches in Color A.* Repeat from * to * until the end of the round.
Row 4: *Knit 2 stitches in Color A, purl 2 stitches in Color B.* Repeat from * to * until the end of the round.
This 4-row pattern creates the houndstooth design. Repeat these four rows for the desired length of your project. When you have finished knitting, bind off the stitches in pattern to maintain the houndstooth pattern all the way to the edge.
To add more variety, you can experiment with different color combinations or use more than two colors in your houndstooth pattern. Additionally, you can adjust the size of the pattern by increasing or decreasing the number of stitches.
With a bit of practice and attention to detail, you can master the houndstooth pattern and create beautiful, eye-catching pieces that showcase your knitting skills. Whether you choose to knit a cozy sweater or a trendy hat, the houndstooth pattern is sure to add a touch of sophistication to your wardrobe.
Switching Colors in the Houndstooth Pattern
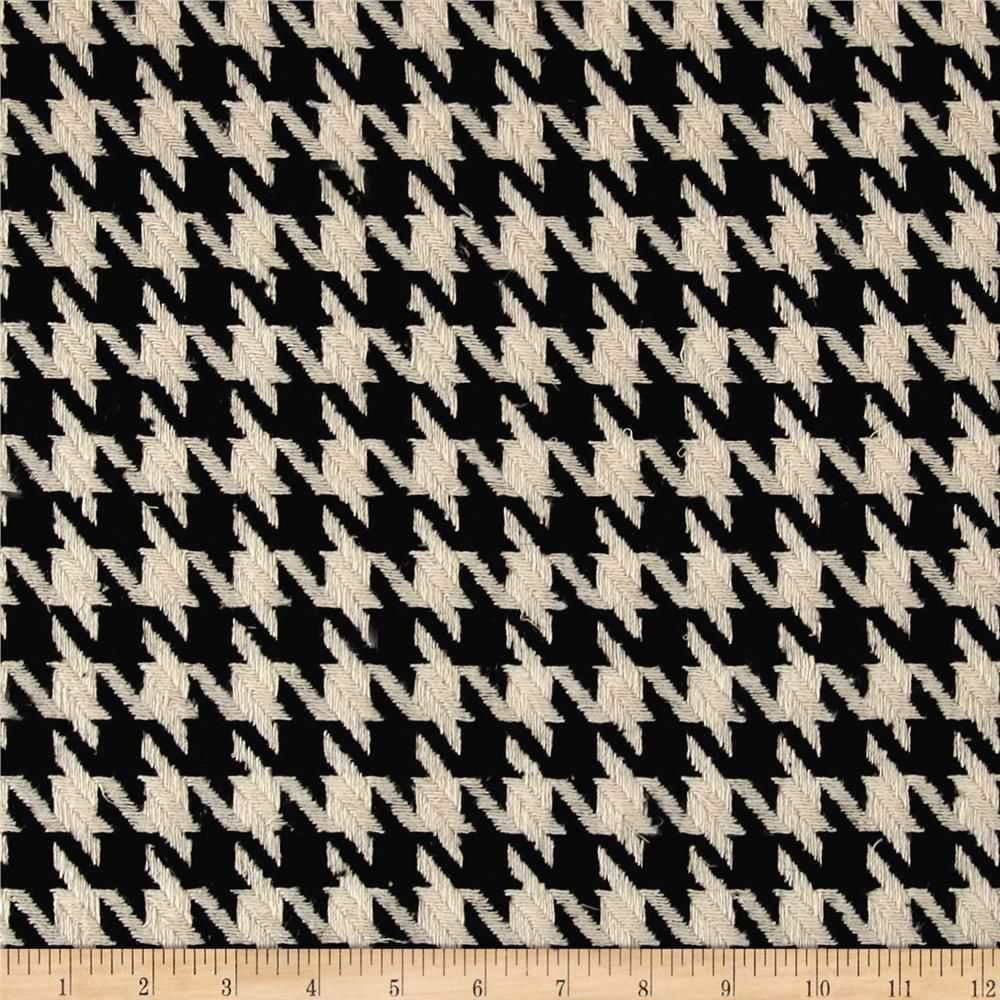
The houndstooth knitting pattern is a classic design that creates a stylish and textured fabric. It consists of alternating columns of two different colored stitches, usually black and white. Switching colors in the houndstooth pattern is relatively straightforward, but it requires precision and attention to detail to maintain the integrity of the pattern.
To switch colors in the houndstooth pattern, you will need to work with two different yarn colors. Begin by knitting the required number of rows in the first color, following the houndstooth pattern chart or instructions. When you reach the end of the color section, drop the working yarn and pick up the new color, leaving a tail of both yarns to weave in later.
Here is a step-by-step guide on how to switch colors in the houndstooth pattern:
- At the end of the last stitch in the first color, drop the working yarn.
- Pick up the new color yarn, leaving a tail of both colors to weave in later.
- Hold the new color yarn behind the work and make sure it is not twisted.
- Insert the right needle into the next stitch as if to knit.
- Wrap the new color yarn around the right needle, bringing it to the front of the work.
- Complete the stitch by pulling the new color yarn through the stitch and dropping the old color yarn.
- Continue knitting the next stitches in the new color, following the houndstooth pattern chart or instructions.
- Repeat these steps whenever you need to switch colors in the houndstooth pattern.
Remember to carry the unused color yarn along the back of the work when switching colors. This will prevent long floats and ensure that the houndstooth pattern is evenly distributed. When you have finished knitting the houndstooth pattern, weave in the ends of the yarn tails to secure them and create a neat finish.
Switching colors in the houndstooth pattern adds visual interest and allows you to create unique and colorful designs. With practice and attention to detail, you can master this technique and create beautiful houndstooth patterns in the round.
How to Knit Houndstooth in the Round without a Seam
Houndstooth is a classic knitting pattern that features a two-color checkered design. Traditionally, houndstooth is knit flat, which means that a seam needs to be sewn at the end to connect the two edges. However, it is also possible to knit houndstooth in the round without a seam. This method eliminates the need for seaming and creates a continuous pattern.
To knit houndstooth in the round without a seam, you will need to use the stranded colorwork technique. This technique involves knitting with two different colors of yarn at the same time, carrying the unused color along the back of the work. By alternating between the two colors according to the houndstooth pattern, you can create the classic checkered design.
Here is a step-by-step guide to knitting houndstooth in the round without a seam:
- Choose your colors: Select two contrasting colors of yarn that will create a striking houndstooth pattern. The colors should stand out against each other to emphasize the checkered design.
- Cast on: Start by casting on the desired number of stitches for your project. Make sure to cast on an even number of stitches, as the houndstooth pattern requires an even number of stitches to work.
- Knit the first round: Begin knitting with your main color, following the houndstooth pattern. For example, if the first row of the pattern is “knit 1 with Color A, purl 1 with Color B,” repeat this sequence until you complete the first round.
- Continue the pattern: Once you have completed the first round, continue following the houndstooth pattern for subsequent rounds. Remember to carry the unused color along the back of the work when knitting with the other color.
- Repeat the pattern: Repeat the houndstooth pattern for the desired number of rows or until your project is the desired size.
- Bind off: When you have completed the houndstooth pattern, finish by binding off your stitches. Cut the yarn, leaving a tail for weaving in later.
- Weave in ends: Use a yarn needle to weave in the loose ends of yarn from the color changes. Make sure to secure the ends properly to prevent them from unraveling.
By following these steps, you can successfully knit houndstooth in the round without a seam and create a beautiful checkered design. Enjoy experimenting with different color combinations and incorporating houndstooth into your knitting projects!
Fixing Mistakes in the Houndstooth Pattern
The houndstooth pattern is a classic and intricate design that can add a touch of elegance to any knitting project. However, as with any knitting pattern, mistakes can happen. Whether it’s a dropped stitch, a missed color change, or an accidental increase or decrease, it’s important to know how to fix these mistakes to maintain the integrity of the houndstooth pattern.
When fixing mistakes in the houndstooth pattern, it’s crucial to pay attention to the pattern repeat. The houndstooth pattern usually consists of a series of knit and purl stitches in alternating colors, forming a checkered pattern. Identifying where the mistake occurred within the repeat will help in fixing the error.
If a stitch is dropped, it’s essential to pick it up as soon as possible to prevent unraveling. Using a crochet hook or a knitting needle, catch the dropped stitch and work it back up to the correct row. Be careful not to twist the stitches, and ensure the colors are maintained properly.
If a color change was missed, carefully unravel the stitches in the incorrect color until reaching the point of the mistake. Then, reintroduce the correct color and continue knitting. It’s essential to pay attention to the tension and ensure the stitches are worked evenly to maintain the houndstooth pattern’s crisp look.
In the case of accidental increases or decreases, they can be made during the color changes or within the knit or purl sections of the houndstooth pattern. To correct these mistakes, simply unravel the stitches to the point of the error and rework them correctly. Keep an eye on the stitch count and consult the pattern to ensure the correct number of stitches is maintained throughout.
Overall, fixing mistakes in the houndstooth pattern requires attention to detail and patience. By carefully identifying the mistake, unraveling the incorrect stitches, and reworking them correctly, the houndstooth pattern can be restored to its original beauty.
Creating Variations with Houndstooth Knitting Pattern
Houndstooth is a classic knitting pattern that features a distinctive checkered design, typically created with two contrasting colors. While the traditional houndstooth pattern is often worked in rows, it can also be adapted for knitting in the round. This opens up a world of possibilities for creating unique variations of the houndstooth design in different types of projects.
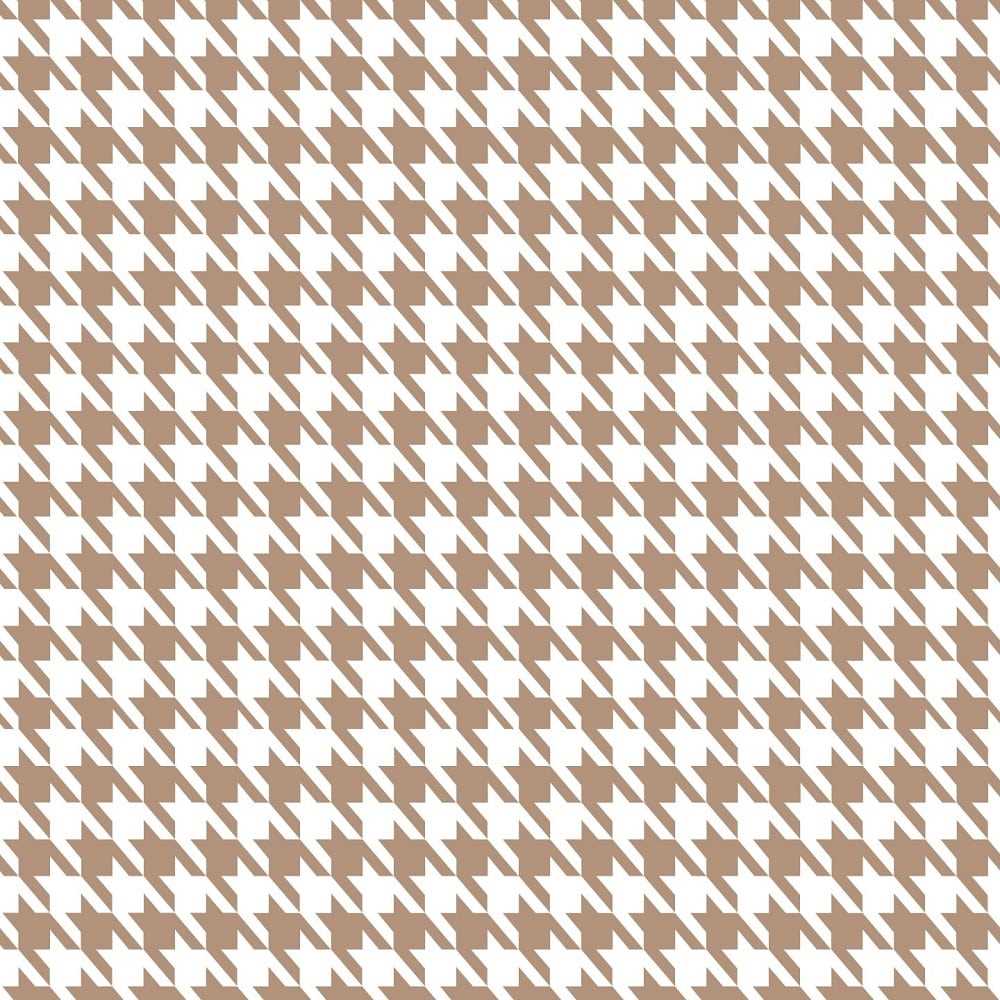
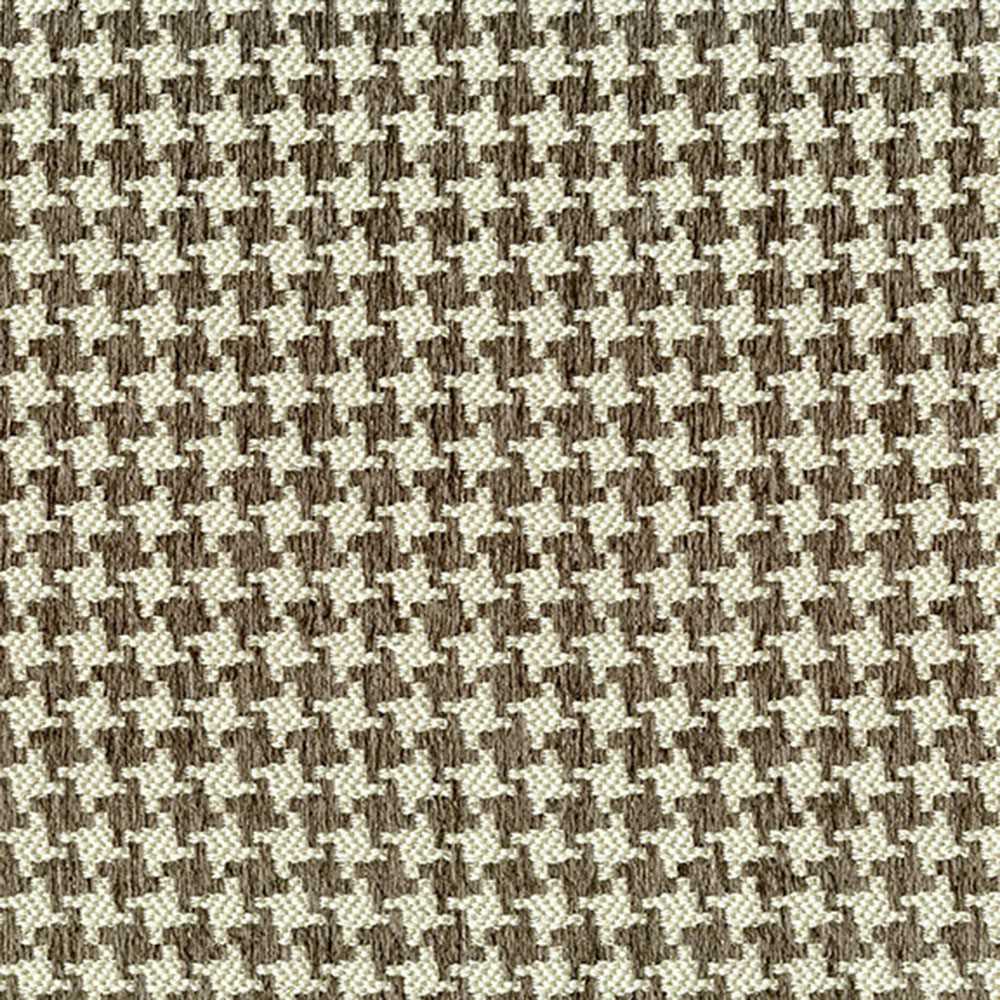
One way to create variations with the houndstooth knitting pattern in the round is by experimenting with different color combinations. While the traditional houndstooth design usually consists of two colors, you can incorporate more shades to create a more vibrant and eye-catching pattern. For example, you can use three or four colors to create a gradient effect or mix and match contrasting colors for a bold and striking look.
To add even more interest to your houndstooth knitting pattern, you can also play with the size of the checks. By adjusting the number of stitches between each color change, you can create smaller or larger checks, giving your design a completely different look. This allows you to customize the pattern to suit your specific project, whether it’s a cozy sweater, a stylish hat, or a warm scarf.
Another way to create variations with the houndstooth knitting pattern in the round is by incorporating different stitch patterns. While the traditional houndstooth design is usually worked in stockinette stitch, you can experiment with other stitch patterns, such as garter stitch or ribbing, to add texture and visual interest to your project. Mixing different stitch patterns in the houndstooth design can give your project a unique and multidimensional look.
Overall, the houndstooth knitting pattern in the round offers endless possibilities for creating variations and adding your own personal touch to your knitting projects. Whether it’s by experimenting with different color combinations, adjusting the size of the checks, or incorporating different stitch patterns, you can create stunning and unique designs that showcase your creativity as a knitter.
Finishing Techniques for Houndstooth Knitting in the Round
Completing a houndstooth knitting project in the round requires careful attention to finishing techniques in order to achieve a polished and professional result. Whether you are working on a hat, a pair of mittens, or a sweater, here are some tips to help you finish your houndstooth pattern seamlessly.
Weaving in Ends: As with any knitting project, weaving in ends is an important step in the finishing process. When working on houndstooth in the round, it’s essential to weave in ends as you go to avoid a messy tangle of yarn tails at the end. Use a tapestry needle to weave the ends horizontally across the back of the work, following the line of the stitches to ensure a neat and invisible finish. It’s also a good idea to secure the ends with a knot or two to prevent them from working themselves loose over time.
Blocking: Blocking is an essential step in achieving a professional finish for houndstooth knitting in the round. Once your project is complete, wet blocking can help even out your stitches and open up the houndstooth pattern, giving it crisp definition. Lay your project flat on a blocking mat or towel, gently press out the excess water, and pin it into the desired shape. Allow it to dry completely before unpinning and wearing.
Seaming: If your houndstooth project requires any seaming, such as for a sweater or cardigan, it’s important to choose a seaming technique that will blend seamlessly with the houndstooth pattern. Mattress stitch or invisible vertical seams are great options as they create an almost invisible join between pieces, allowing the houndstooth pattern to shine without any interruption.
Finishing Touches: Finally, don’t forget about the finishing touches that can elevate your houndstooth project to the next level. Consider adding a ribbed collar or cuff in a contrasting color to accentuate the houndstooth pattern. You can also add buttons, beads, or other embellishments to make your project truly unique. These extra details can enhance the overall look and give your houndstooth knitwear a personalized touch.
By paying attention to these finishing techniques for houndstooth knitting in the round, you can ensure that your project looks polished, professional, and ready to be worn with pride.
Project Ideas and Inspiration for Houndstooth Knitting
Inspired by the classic houndstooth pattern, there are endless possibilities for projects that incorporate this timeless design. Whether you’re a seasoned knitter or just starting out, houndstooth patterns can be used to create a variety of stylish and versatile items. Here are some project ideas to inspire your next knitting adventure:
1. Hats
A houndstooth hat is a great way to showcase this pattern while keeping warm in the colder months. From beanies to slouchy hats, you can choose the size and style that best suits your personal taste. Consider adding contrasting colors or a pom-pom for an extra touch of fun.
2. Scarves
A houndstooth scarf is a classic accessory that never goes out of style. Knit it in a longer length to wrap around your neck or opt for a shorter, cowl-style scarf for a more modern look. Play with color combinations to create a unique and eye-catching piece.
3. Sweaters
A houndstooth sweater can be a statement piece in your wardrobe. Whether you choose to knit an oversized cardigan or a fitted pullover, this pattern lends itself well to both casual and dressier styles. Experiment with different yarn weights and colors for a truly personalized garment.
4. Baby Blankets
Houndstooth patterns can be adapted to create adorable and cozy baby blankets. Whether you knit one for your own little one or as a gift, the contrasting colors and geometric design will make it a standout piece. Choose soft and washable yarn for practicality.
5. Home Decor
Bring the houndstooth pattern into your home with knitted home decor items. From pillows to throws, coasters to dishcloths, there are countless ways to incorporate this design into your living space. Mix and match with other patterns or create an entire houndstooth-themed room.
There are so many project ideas to explore with the houndstooth knitting pattern. Whether you’re wanting to knit something practical, stylish, or both, this classic pattern is sure to add a touch of elegance to your projects. So grab your knitting needles and get started on your houndstooth adventure!