
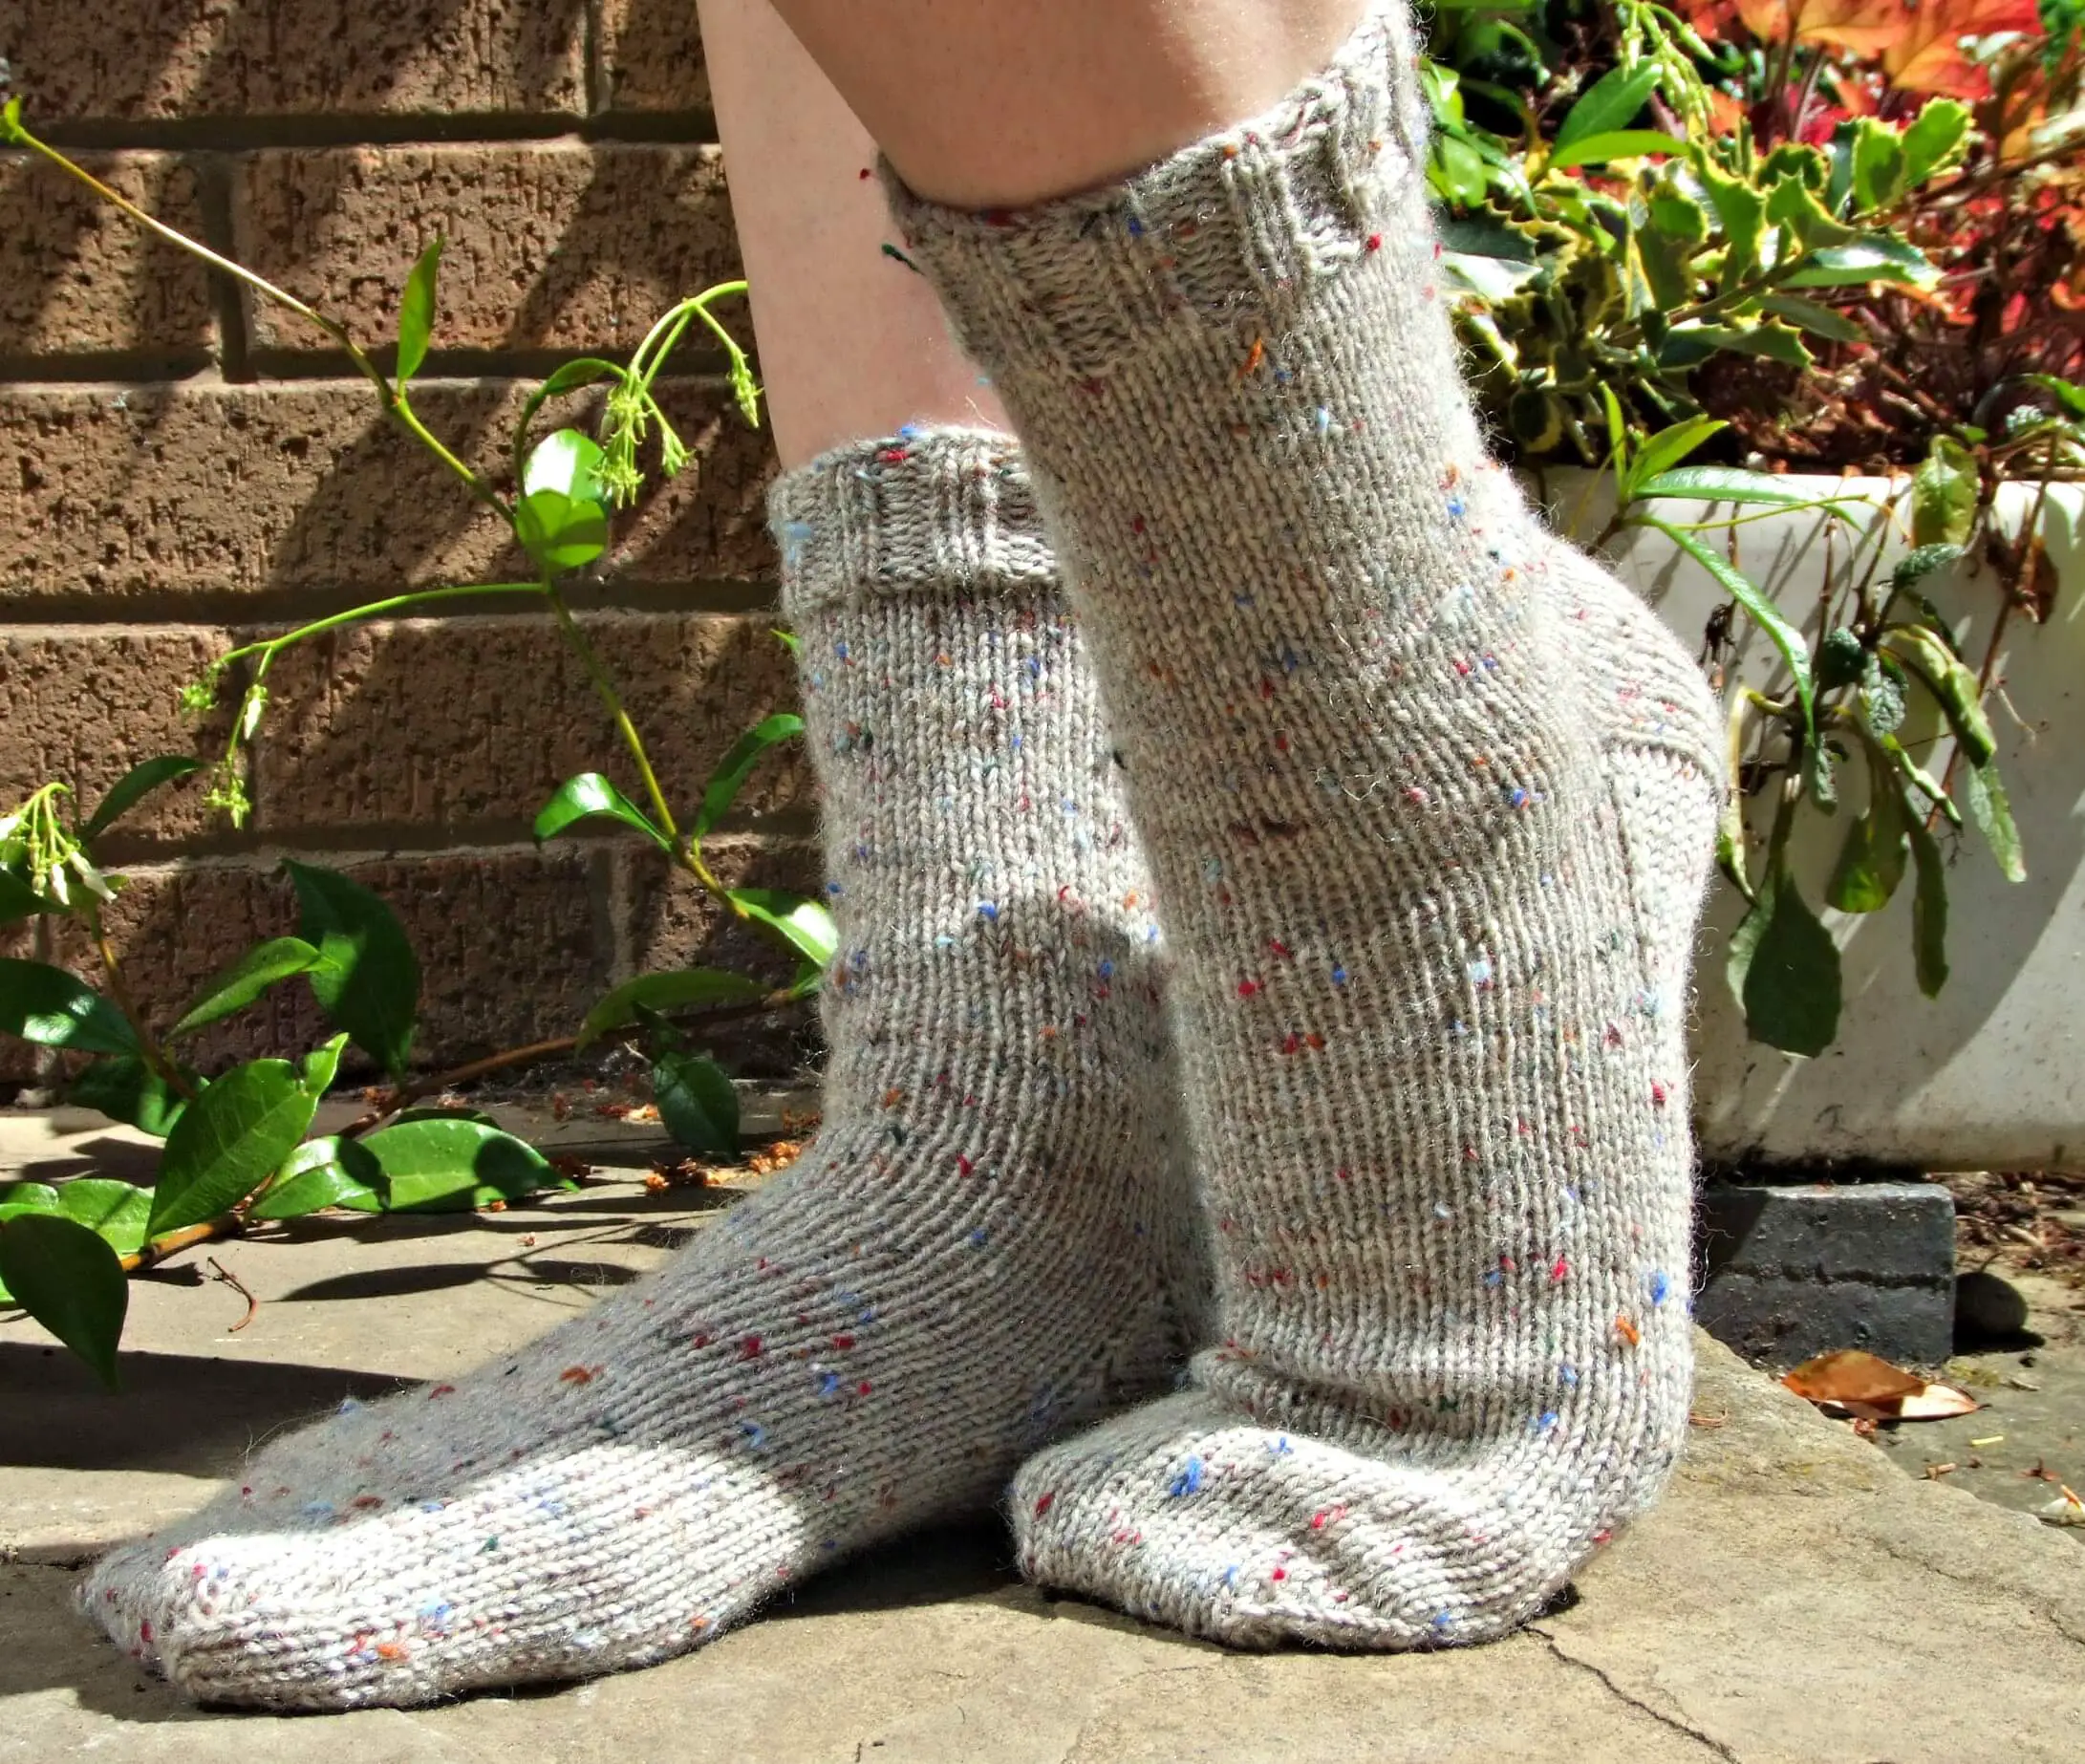
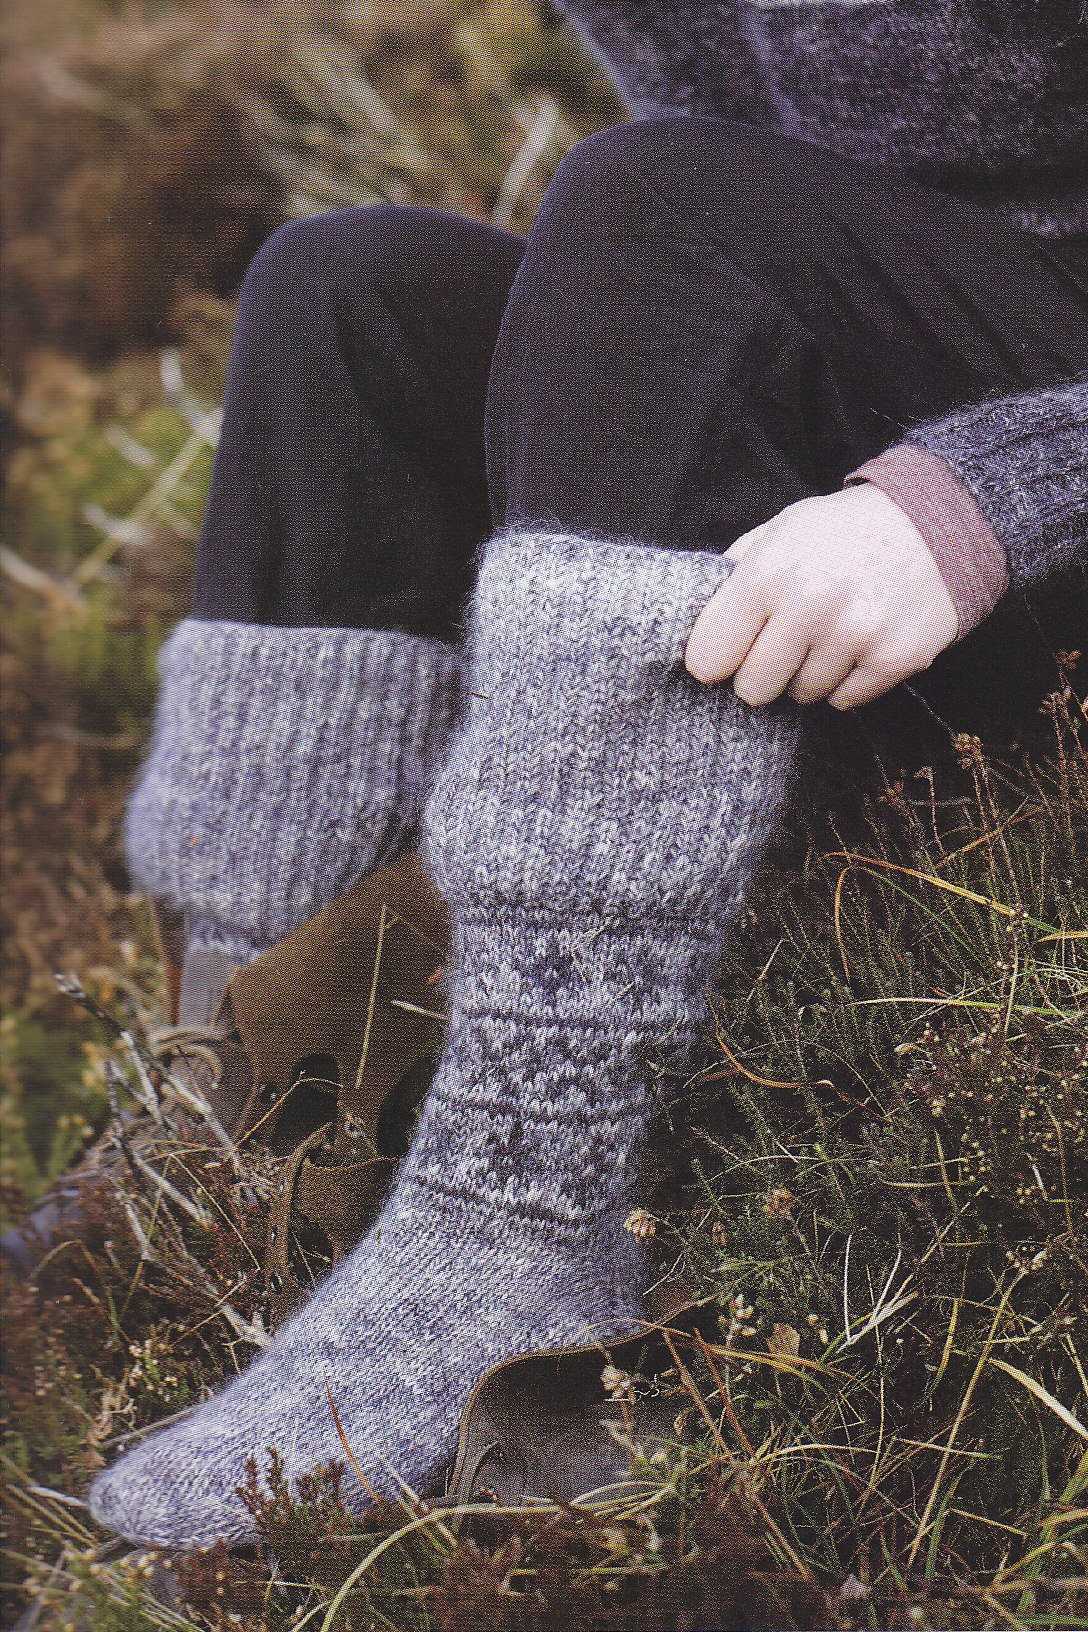
Knitting is not only a fun and relaxing hobby, but it also allows you to create your own unique and stylish accessories. One such accessory is the boot sock. Knitting your own boot socks not only gives you the opportunity to customize them to your liking, but it also allows you to ensure a perfect fit. Plus, with the wide variety of yarns available, you can create boot socks that are warm, cozy, and fashionable.
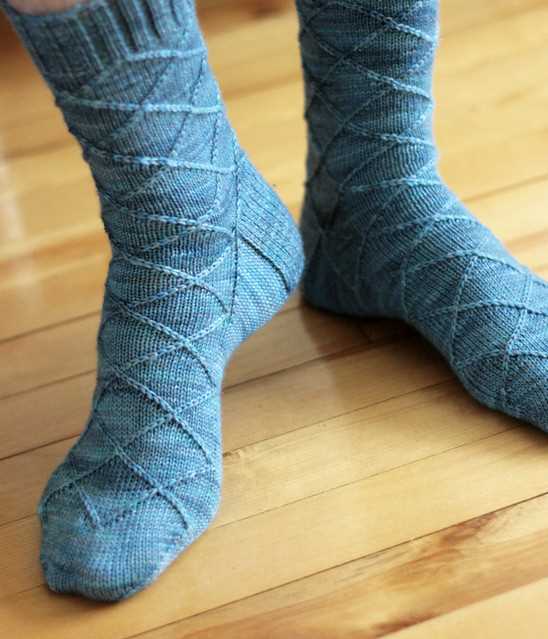
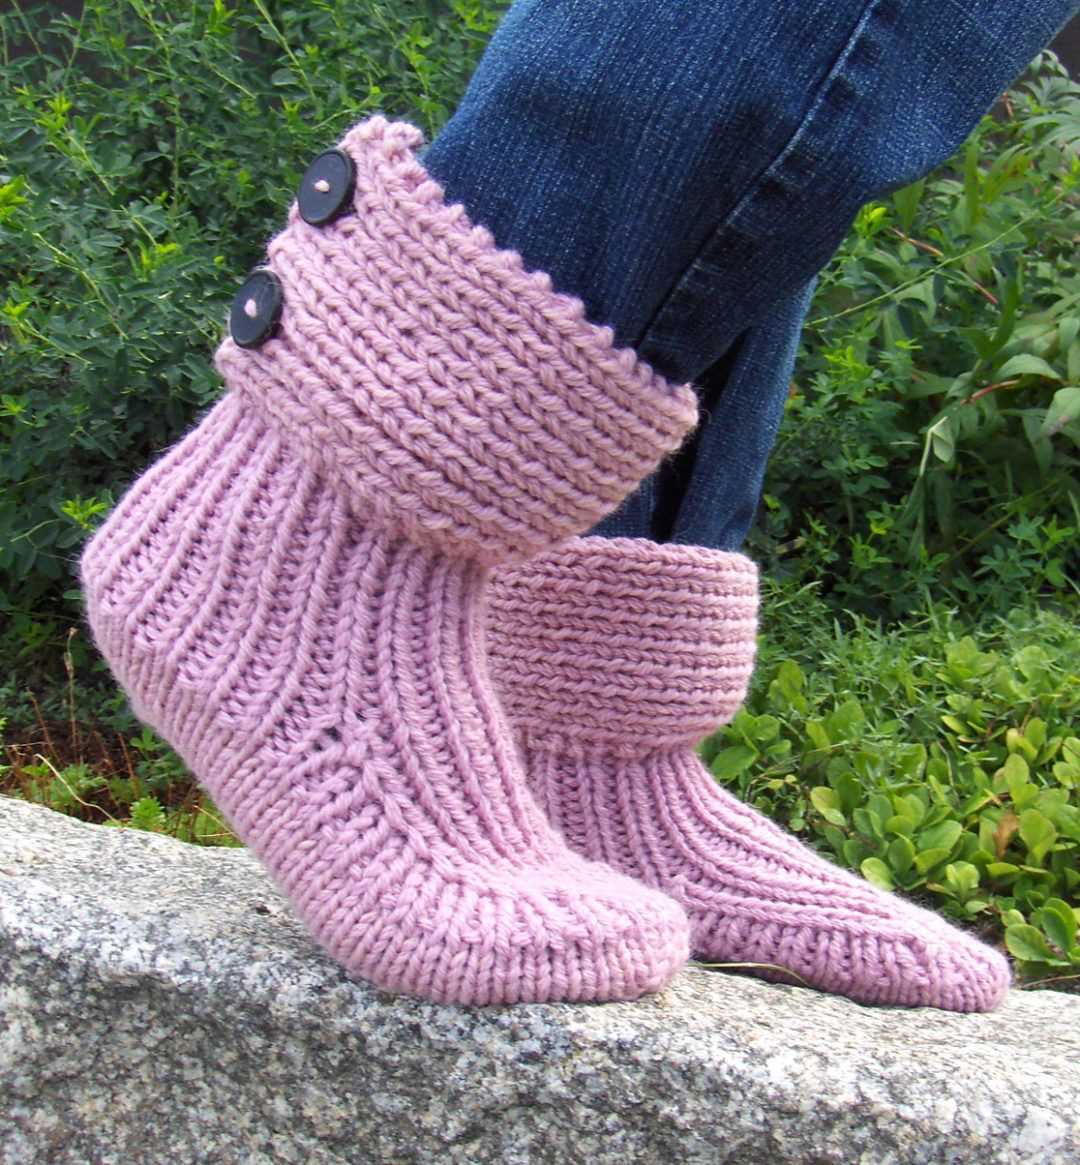
This boot sock knitting pattern is perfect for both beginners and experienced knitters. It features a ribbed cuff for a snug fit and a textured stitch pattern that adds interest and depth to the sock. The pattern provides instructions for multiple sizes, so you can easily adjust it to fit your feet or the feet of the person you are knitting for.
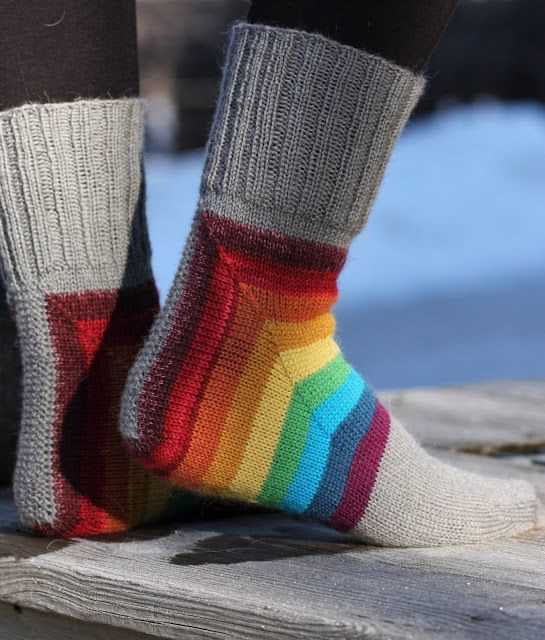
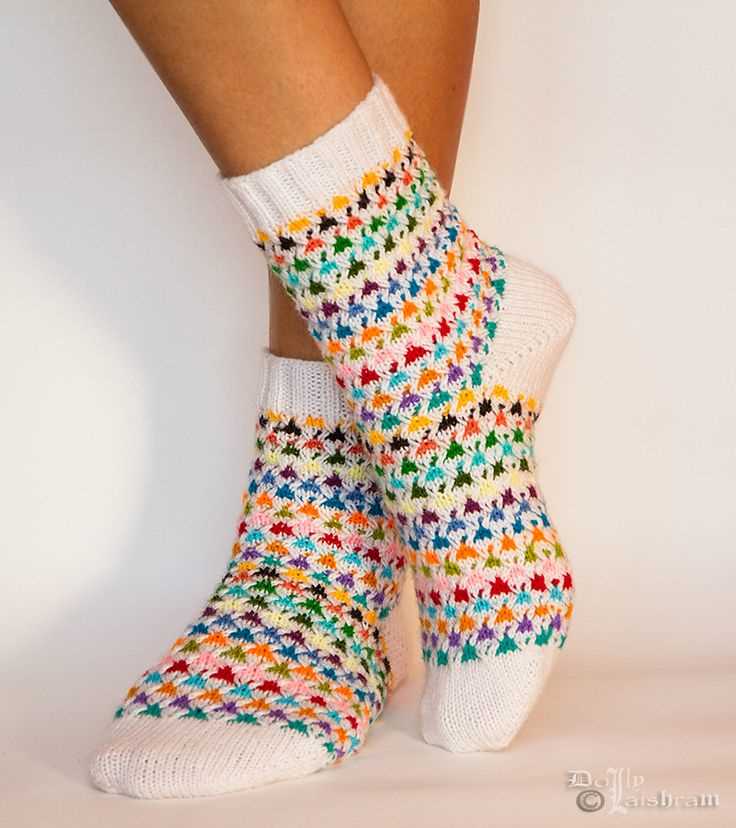
When choosing the yarn for your boot socks, opt for a soft and cozy wool blend that provides warmth and comfort. You can also experiment with different color combinations to create a unique pair of boot socks that matches your personal style. Whether you want a classic neutral pair or a bold and vibrant one, the options are endless.
How to Knit Your Own Boot Socks: A Step-by-Step Guide
Knitting your own boot socks is a fun and rewarding project that allows you to create unique and personalized accessories. Whether you are an experienced knitter or just starting out, this step-by-step guide will walk you through the process of knitting your own boot socks.
Materials:
- Yarn: Choose a soft, durable yarn in a thickness that suits your preference. Worsted weight yarn is a popular choice for boot socks.
- Knitting Needles: Use a pair of circular or double-pointed needles in a size that is appropriate for your chosen yarn. Consult the yarn label or a knitting needle size chart for guidance.
- Tapestry Needle: This will be used for weaving in ends and finishing the sock.
- Stitch Markers: These will help you keep track of your stitches and pattern repeats.
- Scissors: For cutting yarn.
- Measuring Tape: To ensure the proper fit of your boot socks.
Step 1: Cast On
Start by casting on the desired number of stitches using the long-tail cast-on method. The number of stitches will depend on the size of your foot and the gauge of your yarn. For a basic adult-sized sock, a common cast-on number is around 64 stitches. Adjust as necessary to achieve your desired fit.
Step 2: Knit the Ribbing

Begin knitting the ribbing for the top of the sock. This is typically done in a 2×2 rib pattern (knit 2 stitches, purl 2 stitches), but you can adjust the ribbing pattern to your liking. Knit the ribbing for a few inches, or until it reaches your desired length for the sock cuff.
Step 3: Knit the Leg
Once the ribbing is complete, switch to your desired stitch pattern for the leg of the sock. This can be a simple stockinette stitch, a textured pattern, or any other pattern of your choosing. Knit the leg to the desired length, keeping in mind the height of your boot and how far up your leg you want the sock to reach.
Step 4: Shape the Heel
Next, it’s time to shape the heel of the sock. There are various methods for knitting a heel, including the heel flap and gusset method or the short row method. Choose the method that you are most comfortable with or try something new! Follow the instructions for your chosen heel shaping method to create a heel that fits your foot comfortably.
Step 5: Knit the Foot
After shaping the heel, continue knitting the foot of the sock in your chosen stitch pattern. Knit until the sock is about 2 inches shorter than the desired length of your foot, as socks tend to stretch with wear. Try on the sock occasionally to check the fit.
Step 6: Shape the Toe
Finally, it’s time to shape the toe of the sock. There are several methods for toe shaping, including the classic wedge toe or the rounded toe. Choose the method that you prefer and follow the instructions to shape the toe. This typically involves knitting decreases at regular intervals until a certain number of stitches remain. Finish off the toe by grafting the stitches together using the Kitchener stitch or by drawing the stitches together tightly with the yarn.
Congratulations! You have successfully knit your own pair of boot socks. Try on your socks and make any necessary adjustments for the perfect fit. Enjoy the warmth and comfort of your handmade socks as you strut your stuff in your favorite boots!
Choosing the Right Yarn and Needles for Your Boot Socks
When it comes to knitting boot socks, one of the most important factors to consider is the choice of yarn. The yarn you choose for your boot socks should be durable and able to withstand the wear and tear of regular use. Look for yarns that are specifically designed for socks and have a high content of wool or other natural fibers. These fibers provide warmth, comfort, and moisture-wicking properties, which are essential for keeping your feet dry and cozy.
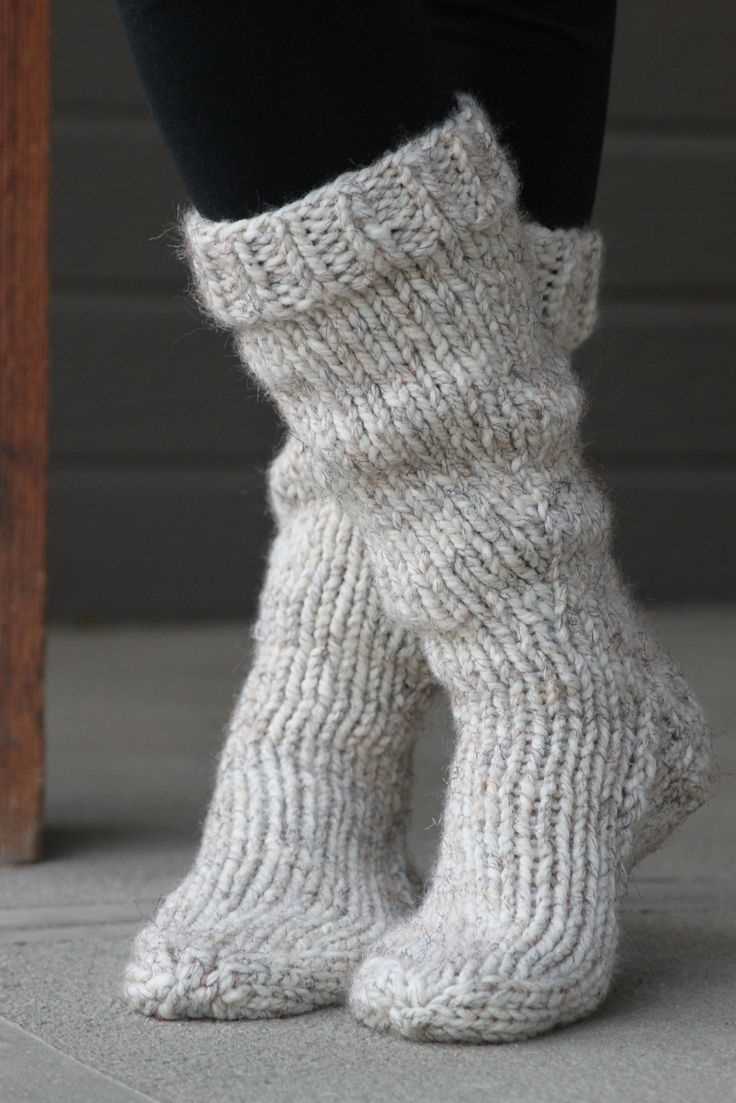
Another important aspect to consider when choosing yarn for your boot socks is the weight or thickness of the yarn. Different yarn weights will produce different results, so it’s essential to choose a weight that will work well with the pattern you’re using. For boot socks, a medium to heavy weight yarn is typically recommended, as it will provide the necessary warmth and durability.
When it comes to choosing needles for your boot socks, it’s important to consider both the material and size. For durability and smooth knitting, it’s best to choose needles made of metal, such as stainless steel or nickel-plated. These materials are less likely to break or bend during use. The size of the needles will depend on the yarn weight and the gauge required by your pattern. It’s important to check the gauge and adjust the needle size accordingly to ensure that your boot socks turn out the correct size and fit.
In summary, choosing the right yarn and needles for your boot socks is crucial to ensure a durable and comfortable end product. Opt for yarns that are specifically designed for socks and have a high content of natural fibers. Consider the weight of the yarn and choose a medium to heavy weight for boot socks. When it comes to needles, opt for metal needles in the appropriate size for the yarn and pattern gauge. With the right materials, you’ll be able to create cozy and long-lasting boot socks to keep your feet comfortable during the colder months.
Understanding the Basic Stitch Patterns for Boot Socks
When knitting boot socks, it’s important to understand the basic stitch patterns that can be used to achieve the desired texture and fit. These stitch patterns not only add visual interest to the socks but also contribute to their functionality and comfort.
Rib Stitch: The rib stitch is a popular choice for boot socks as it provides elasticity and helps the socks stay in place. This stitch pattern is created by alternating knit and purl stitches in a specific pattern, such as 1×1 or 2×2 ribbing. The rib stitch gives the sock a stretchy and snug fit, making it suitable for wearing with boots.
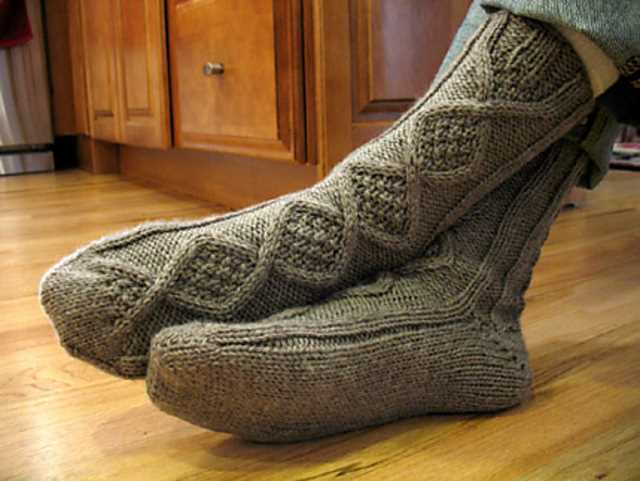
Cable Stitch: Cable stitches create a beautiful and textured look on boot socks. They involve crossing stitches over each other to create intricate patterns. Cable stitch patterns can range from simple twists to more complex designs, depending on the desired look. These stitches not only add visual interest but also provide extra warmth and thickness to the socks, making them perfect for colder weather.
Seed Stitch: The seed stitch is another popular choice for boot socks, especially if you want a more textured and rustic look. This stitch pattern involves alternating knit and purl stitches in a specific pattern. The result is a fabric with a bumpy texture that looks like seeds or small dots. The seed stitch adds visual interest and can help create a cozy and comfortable pair of boot socks.
Stockinette Stitch: The stockinette stitch is a classic choice for boot socks due to its simplicity and smooth texture. This stitch pattern is created by knitting all stitches on one row and purling all stitches on the next row. The result is a fabric with a smooth and flat appearance. The stockinette stitch is great for showcasing yarn colors and can be easily customized with other stitch patterns or embellishments.
Casting On: Starting Your Boot Sock Project
When starting your boot sock knitting project, the first step is to cast on the required number of stitches. The cast on method you choose will depend on your personal preference and the desired look and elasticity of your sock cuff.
There are several cast on methods commonly used for boot socks, including the long tail cast on, the cable cast on, and the tubular cast on. The long tail cast on is a popular choice for its simplicity and versatility. To do the long tail cast on, you will need to estimate the amount of yarn needed for your desired number of stitches and leave a long tail. This method creates a neat and stretchy edge. The cable cast on is another option that creates a tidy and elastic edge. It is done by twisting the yarn around the needle in a specific way. The tubular cast on, also known as the Italian tubular cast on, is a more advanced technique that creates a professional-looking ribbed cuff, perfect for boot socks.
- Long tail cast on: This is one of the most commonly used cast on methods. It creates a neat and stretchy edge that is suitable for boot socks.
- Cable cast on: This method is known for its tidy and elastic edge. It involves twisting the yarn around the needle in a specific way.
- Tubular cast on: The tubular cast on is a more advanced technique that creates a professional-looking ribbed cuff, ideal for boot socks. It is also known as the Italian tubular cast on.
Once you have cast on your desired number of stitches using your preferred method, you are ready to start knitting the cuff of your boot sock. The cast on edge will form the top of the cuff, so make sure it is neat and even. From here, you can follow the instructions of your chosen boot sock pattern to continue knitting the cuff and progress through the rest of the sock.
Creating the Ribbed Cuff for Your Boot Socks
When knitting boot socks, one of the key elements is the ribbed cuff. The ribbed cuff adds both style and functionality to your socks by providing a snug fit and preventing them from slipping down. It also gives your socks a professional and polished look. Here are some steps to help you create the ribbed cuff for your boot socks.
Choose the Right Needle Size: The first step in creating a ribbed cuff for your boot socks is to choose the right needle size. Generally, a smaller needle size is recommended for the cuff to ensure it is tight and secure. You can use double-pointed needles or circular needles depending on your preference.
Step 1: Cast On
- Start by casting on the required number of stitches for your ribbed cuff. The number of stitches will depend on your foot size and the desired width of the cuff. A common cast-on method for a ribbed cuff is the long-tail cast-on.
- Make sure to leave a long tail when casting on, as this will be used later for sewing the cuff together.
Step 2: Knit the Ribbing
- Once you have cast on the desired number of stitches, begin knitting the ribbing pattern. A popular ribbing pattern for boot socks is the 2×2 rib, where you alternate between knitting 2 stitches and purling 2 stitches. This creates a stretchy and textured cuff.
- Continue knitting the ribbing pattern for the desired length of the cuff. The length of the cuff will depend on your personal preference, but a typical length is around 2-3 inches.
Step 3: Bind Off
- After knitting the desired length of the ribbed cuff, it’s time to bind off the stitches. You can use a regular bind-off method or a stretchy bind-off method, depending on your preference.
- Make sure to bind off loosely to ensure the cuff retains its stretchiness and doesn’t become too tight around the leg.
Once you have completed these steps, you will have a beautifully ribbed cuff for your boot socks. You can then continue knitting the rest of the sock, following the desired pattern and instructions. With a well-crafted ribbed cuff, your boot socks will not only look stylish but also stay in place comfortably throughout the day.
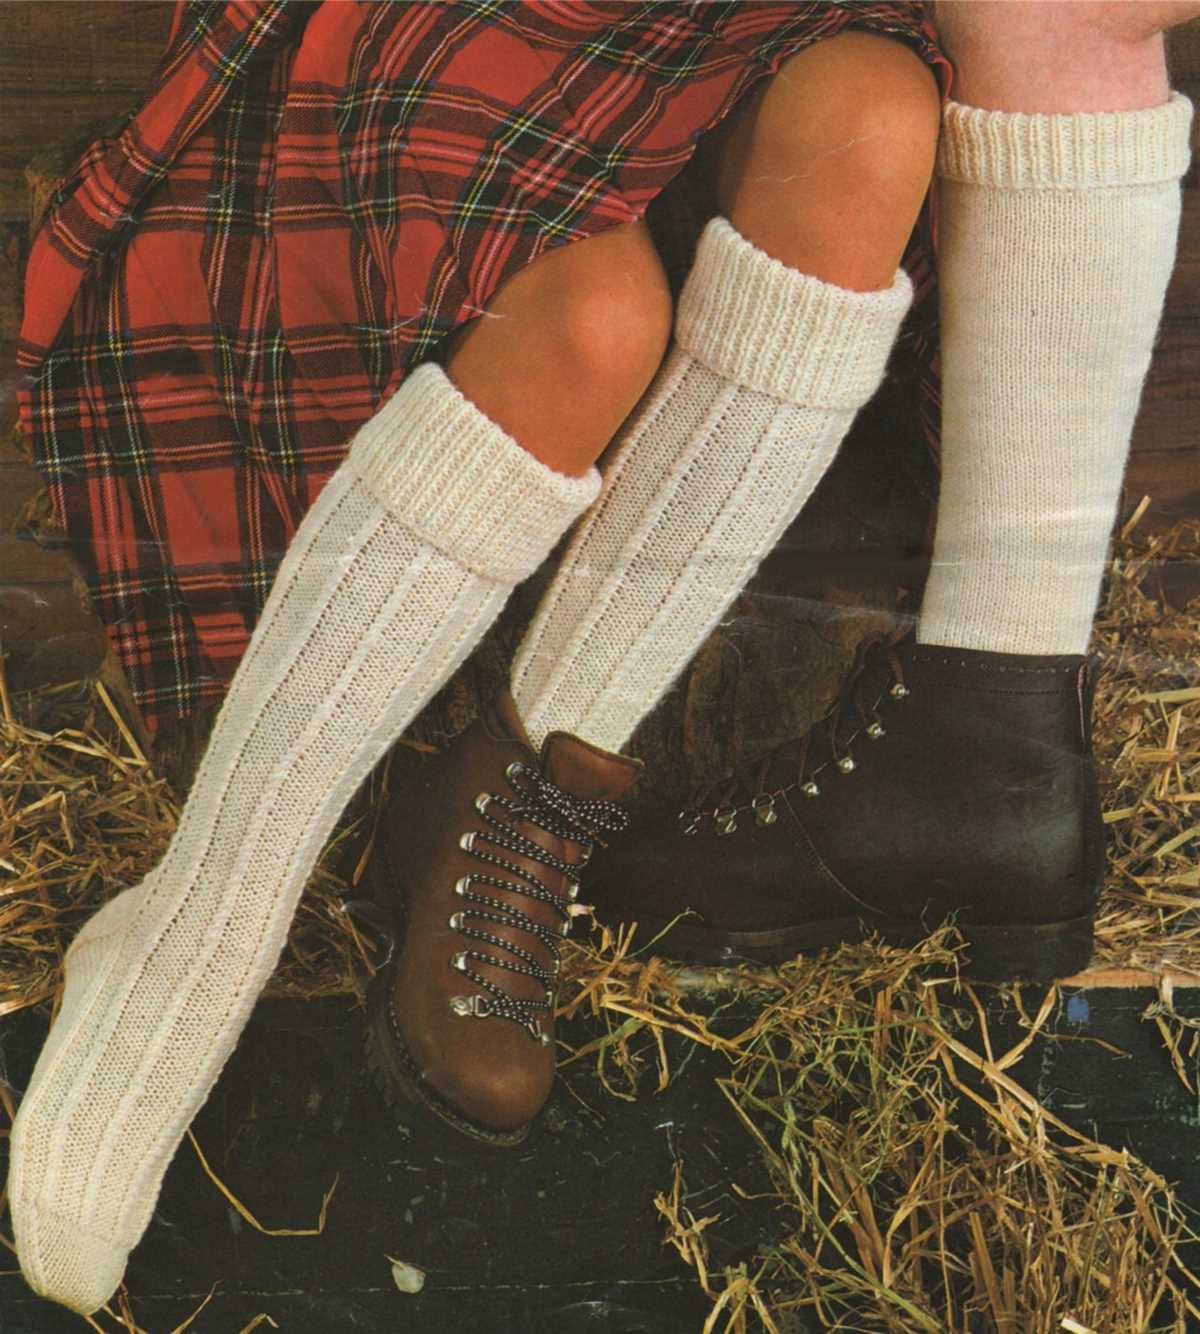
Knitting the Leg of Your Boot Sock
When knitting boot socks, the leg portion is where you can really get creative and add your own personal touch. This is the part of the sock that will be visible when wearing boots, so it’s a great opportunity to showcase intricate stitch patterns or experiment with different colors.
Before you begin knitting the leg of your boot sock, it’s important to measure the length you want it to be. Consider how high you want the sock to come up on your leg and take into account any ribbing or cuff that you plan to add. Once you have determined the desired length, you can start knitting!
One popular option for the leg of a boot sock is to continue with the same stitch pattern used for the foot. This creates a cohesive look and allows you to showcase the stitch pattern throughout the entire sock. Another option is to switch to a different stitch pattern or add some texture, such as cables or lace, to add visual interest to the leg.
If you prefer a simpler sock, you can also just continue knitting in plain stockinette stitch for the leg. This creates a smooth and sleek look that can be a great contrast to the more intricate foot of the sock. Alternatively, you can add ribbing or a folded cuff to create a snug fit around the calf and add extra warmth.
Once you have finished knitting the leg of your boot sock, you can proceed to the heel and gusset for the next step in the pattern. Don’t forget to try on the sock as you go to ensure the fit is just right. And most importantly, have fun and enjoy the process of creating your own unique pair of boot socks!
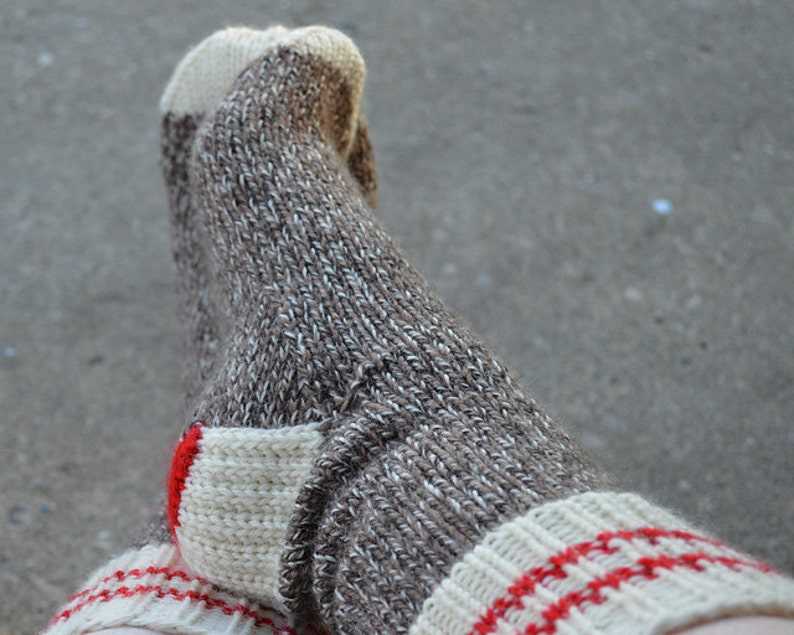
Shaping the Heel for a Perfect Fit
When knitting boot socks, one of the most important elements to consider is shaping the heel for a perfect fit. The heel of a sock needs to be sturdy yet comfortable, ensuring that it stays in place and conforms to the shape of the wearer’s foot.
To achieve this, there are several techniques that can be used when shaping the heel. One common method is known as the short row heel. This technique involves knitting a portion of the stitches in a triangular shape, creating a curve that follows the natural contours of the heel. This shape allows for a snug fit that is less likely to slide or bunch up inside the boot.
Another technique that can be used is the eye of partridge heel. This method creates a textured pattern on the heel that not only adds visual interest but also provides extra reinforcement. By alternating knit and purl stitches in a specific pattern, the resulting fabric is denser and more durable, making it perfect for withstanding the rigors of daily wear.
It is also important to consider the yarn and needle size when shaping the heel. A thicker yarn and larger needles will create a looser fabric, while a thinner yarn and smaller needles will create a tighter fabric. The choice of yarn and needle size can have a significant impact on the fit of the heel, so it is essential to choose the right combination to achieve the desired result.
In summary, shaping the heel for a perfect fit in boot socks involves using techniques such as the short row heel or the eye of partridge heel, as well as considering the yarn and needle size. By implementing these techniques and making careful choices, you can ensure that the heel of your boot socks fits snugly and comfortably, providing optimal support and comfort for the wearer.
Continuing the Foot of Your Boot Sock
Now that you have completed the leg of your boot sock, it’s time to continue knitting the foot. This is where the sock really starts to take shape and become a functional and cozy accessory for your feet. Using the same stitch pattern that you used for the leg, you will work the foot in the round until you reach the desired length.
To continue knitting the foot, you will start by working the first few rounds in plain stockinette stitch. This will create a smooth and comfortable fabric for the sole of the sock. After that, you can choose to continue using the same stitch pattern as the leg, or you can switch to a different stitch pattern for the foot. You can get creative and experiment with different textures and patterns to make your boot sock uniquely yours.
One option for the foot of your boot sock is to continue using the ribbed stitch pattern that you used for the leg. This will create a snug and stretchy fabric that will hug your foot and provide a comfortable fit. To continue the ribbed pattern, simply alternate between knitting and purling the stitches in the round.
Another option is to switch to a simple stockinette stitch for the foot. This will create a smooth and sleek fabric that will glide easily inside your boots. To work stockinette stitch in the round, simply knit all stitches on every round. This is a great option if you want to showcase a beautiful yarn or highlight any stitch patterns used on the leg.
Once you have worked the foot to the desired length, you will need to shape the toe. This is typically done using a technique called toe decreases, which gradually reduce the number of stitches to create a tapered shape. There are various methods for shaping the toe, including a standard wedge toe, a rounded toe, or a square toe. Choose the method that best suits your personal preference and follow the instructions for that specific toe shape.
Remember to try the sock on periodically as you work the foot to ensure a proper fit. Everyone’s feet are different, and you may need to make adjustments to the length or width of the foot to achieve the perfect fit. Once you have completed the foot and shaped the toe, you can bind off the remaining stitches and weave in any loose ends. Your boot sock is now ready to be worn and admired!
Adding Toe Shaping to Your Boot Socks
When knitting boot socks, it is important to consider adding toe shaping to ensure a comfortable and well-fitting sock. Toe shaping can help prevent excess fabric and bunching in the toe area, as well as provide a better fit for different foot sizes and shapes.
One common method of adding toe shaping to boot socks is through the use of decreases. To begin, divide the stitches on your needles evenly between two or three needles, depending on your preferred method of working in the round. Begin the toe shaping by working a series of decrease rounds.
- Start by knitting a round.
- On the next round, work a decrease by knitting two stitches together. Repeat this decrease every few stitches throughout the round, evenly spacing them.
- Continue to work decrease rounds in this manner until you have reached your desired toe width.
- Once you have completed the necessary number of decrease rounds, you can then continue working even rounds until your sock reaches the desired length.
Another option for adding toe shaping to boot socks is through short rows. Short rows involve working partial rows of knitting, which can create a curved shape. To add toe shaping using short rows, follow these steps:
- Knit up to the point where you want the toe shaping to begin.
- Turn your work and purl back to the starting point.
- Turn your work again and work to the next turning point, knitting one stitch beyond the last turning point.
- Continue this process until you have completed the desired number of short rows.
- After completing the short rows, you can then continue knitting the rest of the sock in the round as normal.
Both decreasing and short rows can be effective methods for adding toe shaping to your boot socks. Experiment with these techniques to find the one that works best for you and your knitting style. With the right toe shaping, you can create comfortable and well-fitting boot socks that are perfect for keeping your feet warm and stylish.
Binding Off: Finishing the Boot Sock Project
Once you have completed knitting the boot sock pattern, it’s time to bind off and finish your project. Binding off is the final step in creating a clean and polished edge for your sock. It ensures that the stitches won’t unravel and gives your sock a professional finish.
To bind off, start by knitting the first two stitches as usual. Then, using your left needle, lift the first stitch over the second stitch and off the needle. This creates one bound-off stitch. Knit the next stitch and repeat the process of lifting the previous stitch over the newly knit stitch. Continue knitting and binding off stitches until you reach the end of the row.
Once you have bound off all the stitches, cut the yarn, leaving a tail of at least 6 inches. Thread the tail through the last stitch and pull tight to secure it. You can then weave in the loose ends using a yarn needle to hide them and prevent any unravelling.
For a neat and clean finish, it’s also important to block your boot socks. Blocking will help to even out the stitches and relax the yarn, giving your socks a more professional look. To block your socks, gently wet them and lay them flat to dry, shaping them into the desired size and shape.
With the binding off and blocking complete, your boot socks are now ready to be worn or gifted. The hard work and dedication you put into knitting them will be evident in the finished product, and you can be proud to show off your handmade boot socks.
Tips and Tricks for a Professional Finish
When knitting boot socks, achieving a professional finish is key to creating a high-quality and polished final product. Whether you’re a beginner or an experienced knitter, here are some tips and tricks that can help you achieve that professional look.
1. Take the time to block your socks
Blocking is an essential step in finishing any knitted project, and boot socks are no exception. Blocking helps even out the stitches, improve the drape of the fabric, and ensure that your socks are the correct size and shape. Follow specific blocking instructions for the type of yarn you’re using and take the time to let your socks dry completely before wearing or gifting them.
2. Pay attention to tension
Consistent tension is crucial when knitting boot socks. Uneven tension can result in socks that fit differently or have unsightly gaps between stitches. While it can be challenging to maintain consistent tension over the course of a large project, try using stitch markers to help you keep track of your tension. Taking breaks during longer knitting sessions can also help prevent hand fatigue and maintain consistent tension.
3. Opt for reinforced heels and toes
Boot socks can experience a lot of wear and tear, so reinforcing the heels and toes can help increase their durability. Consider using a reinforced stitch pattern, like slipped stitch or eye-of-partridge, for these areas. You can also add extra reinforcement by knitting the heels and toes with a strand of nylon or reinforcing thread alongside your regular yarn.
4. Finishing touches matter
To give your boot socks a professional finish, pay attention to the smaller details. This includes weaving in loose ends neatly, ensuring that seams are invisible or tidy, and adding any desired embellishments or finishing touches. These final steps can really elevate your boot socks and make them look like they were created by a skilled knitter.
- Take the time to block your socks
- Pay attention to tension
- Opt for reinforced heels and toes
- Finishing touches matter
By following these tips and tricks, you’ll be able to knit boot socks with a professional finish that is sure to impress. Experiment with different techniques and find what works best for you, and soon you’ll be creating beautiful and finely crafted boot socks.
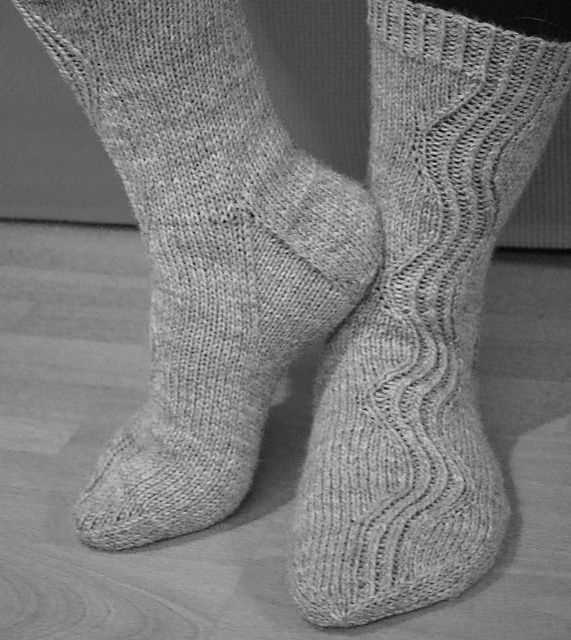
Embellishing Your Boot Socks: Adding Cables or Texture

Boot socks are not only a practical accessory to keep your feet warm and protected during the colder months, but they can also be a stylish addition to your outfit. One way to enhance the appearance of your boot socks is by adding cables or texture to your knitting pattern.
Adding cables to your boot sock knitting pattern can give them a unique and intricate look. Cables are created by crossing stitches over each other, creating a twisted effect. They can be simple or complex, depending on the design you choose. The addition of cables adds dimension and visual interest to your boot socks, making them stand out from the crowd.
If you prefer a more subtle embellishment, you can opt for adding texture to your boot socks. Texture can be achieved by incorporating different stitches such as ribbing, seed stitch, or moss stitch into your pattern. These stitches create a raised or bumpy surface that adds visual and tactile appeal to your boot socks.
When adding cables or texture to your boot socks, it’s important to consider the thickness and stretchiness of the yarn you’re using. Bulky or chunky yarns might not be suitable for intricate cable patterns, while finer yarns may not showcase textured stitches as well. Experimenting with different yarns and stitch patterns can help you achieve the desired effect.
Whichever embellishment technique you choose, adding cables or texture to your boot socks can take them from ordinary to extraordinary. Not only will your boot socks keep your feet cozy, but they will also serve as a fashionable accessory that showcases your knitting skills and personal style.
Boot Sock Care: Washing and Storing Your Handmade Creations
Proper care of your handmade boot socks is essential to maintain their quality and prolong their lifespan. Here are some tips on how to wash and store your boot socks:
Washing
- Always check the washing instructions provided by the yarn manufacturer. Different yarns may have specific care requirements.
- Hand-washing is generally recommended for boot socks to prevent shrinking or damage.
- Use lukewarm water and mild detergent designed for wool or delicate fabrics.
- Gently agitate the socks in the water, but avoid rubbing or twisting them too vigorously.
- Rinse the socks thoroughly to remove all detergent.
- Gently squeeze out excess water, being careful not to stretch or wring the socks.
- Reshape the socks while they are damp, ensuring they retain their original size and shape.
- Place the socks flat on a clean, dry towel and roll up the towel to remove additional moisture.
- Avoid hanging the socks to dry, as this may stretch them out of shape. Instead, lay them flat on a drying rack or towel.
Storing
- Clean the socks before storing to prevent any residual dirt or oils from attracting pests.
- Ensure the socks are completely dry before storing to prevent mildew or mold growth.
- Fold the socks neatly and place them in a clean, dry drawer or airtight container to protect them from dust and moths.
- Consider adding moth repellents, such as cedar balls or lavender sachets, to help keep pests away from your cherished boot socks.
- If you prefer to hang your socks, use a clothes hanger with clips to avoid stretching or distorting the shape of the socks.
By following these washing and storing tips, you can ensure that your handmade boot socks remain in excellent condition for years to come. Remember, proper care and maintenance are crucial for preserving the beauty and functionality of your beloved creations.