
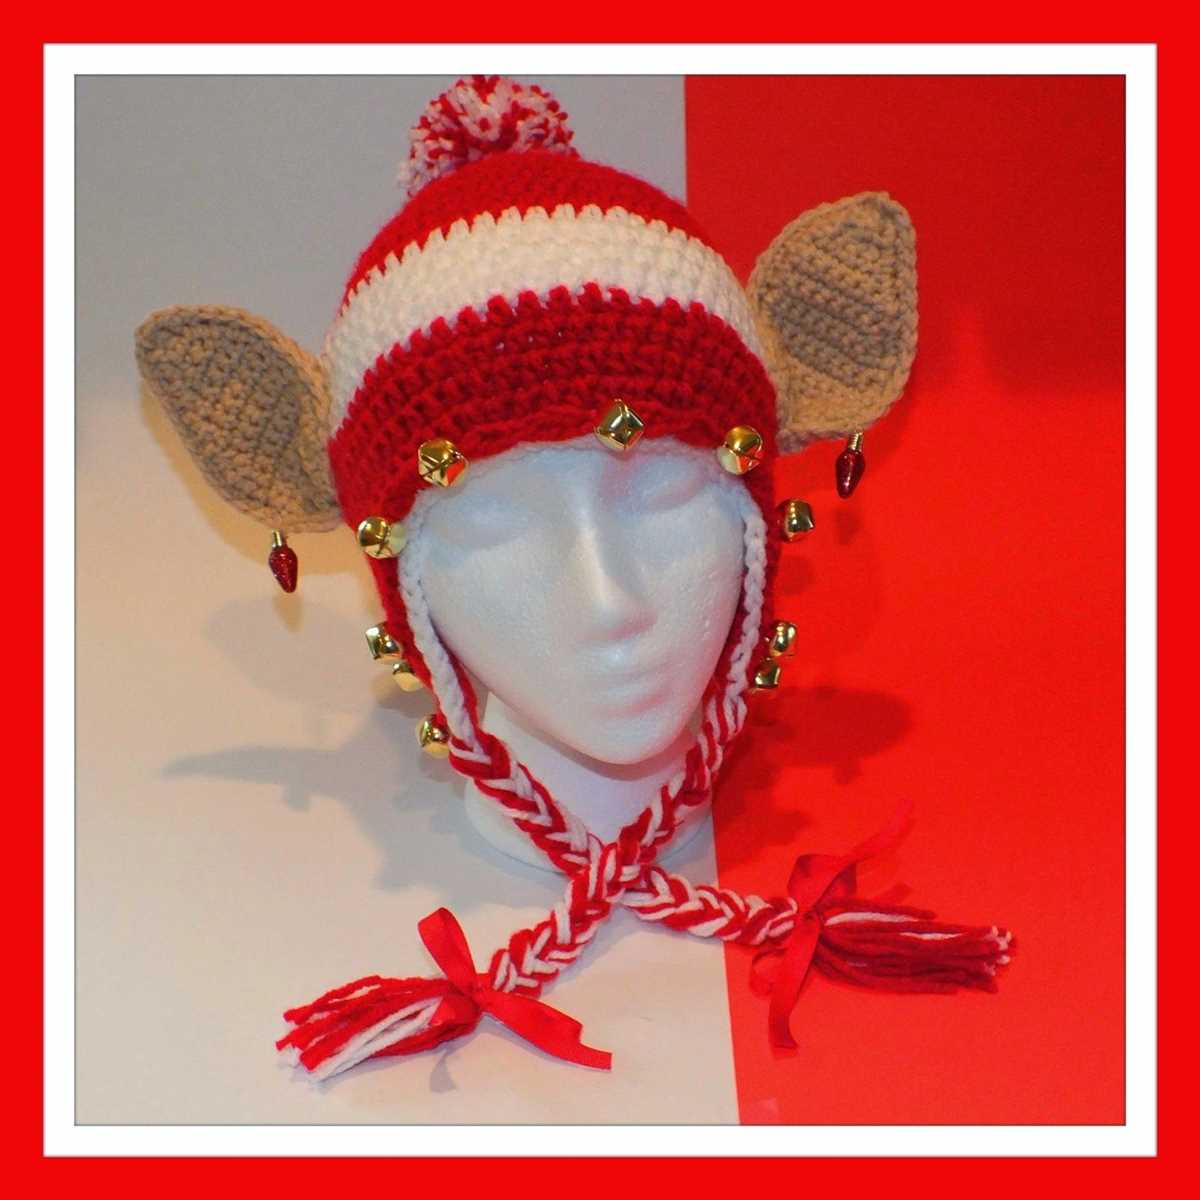
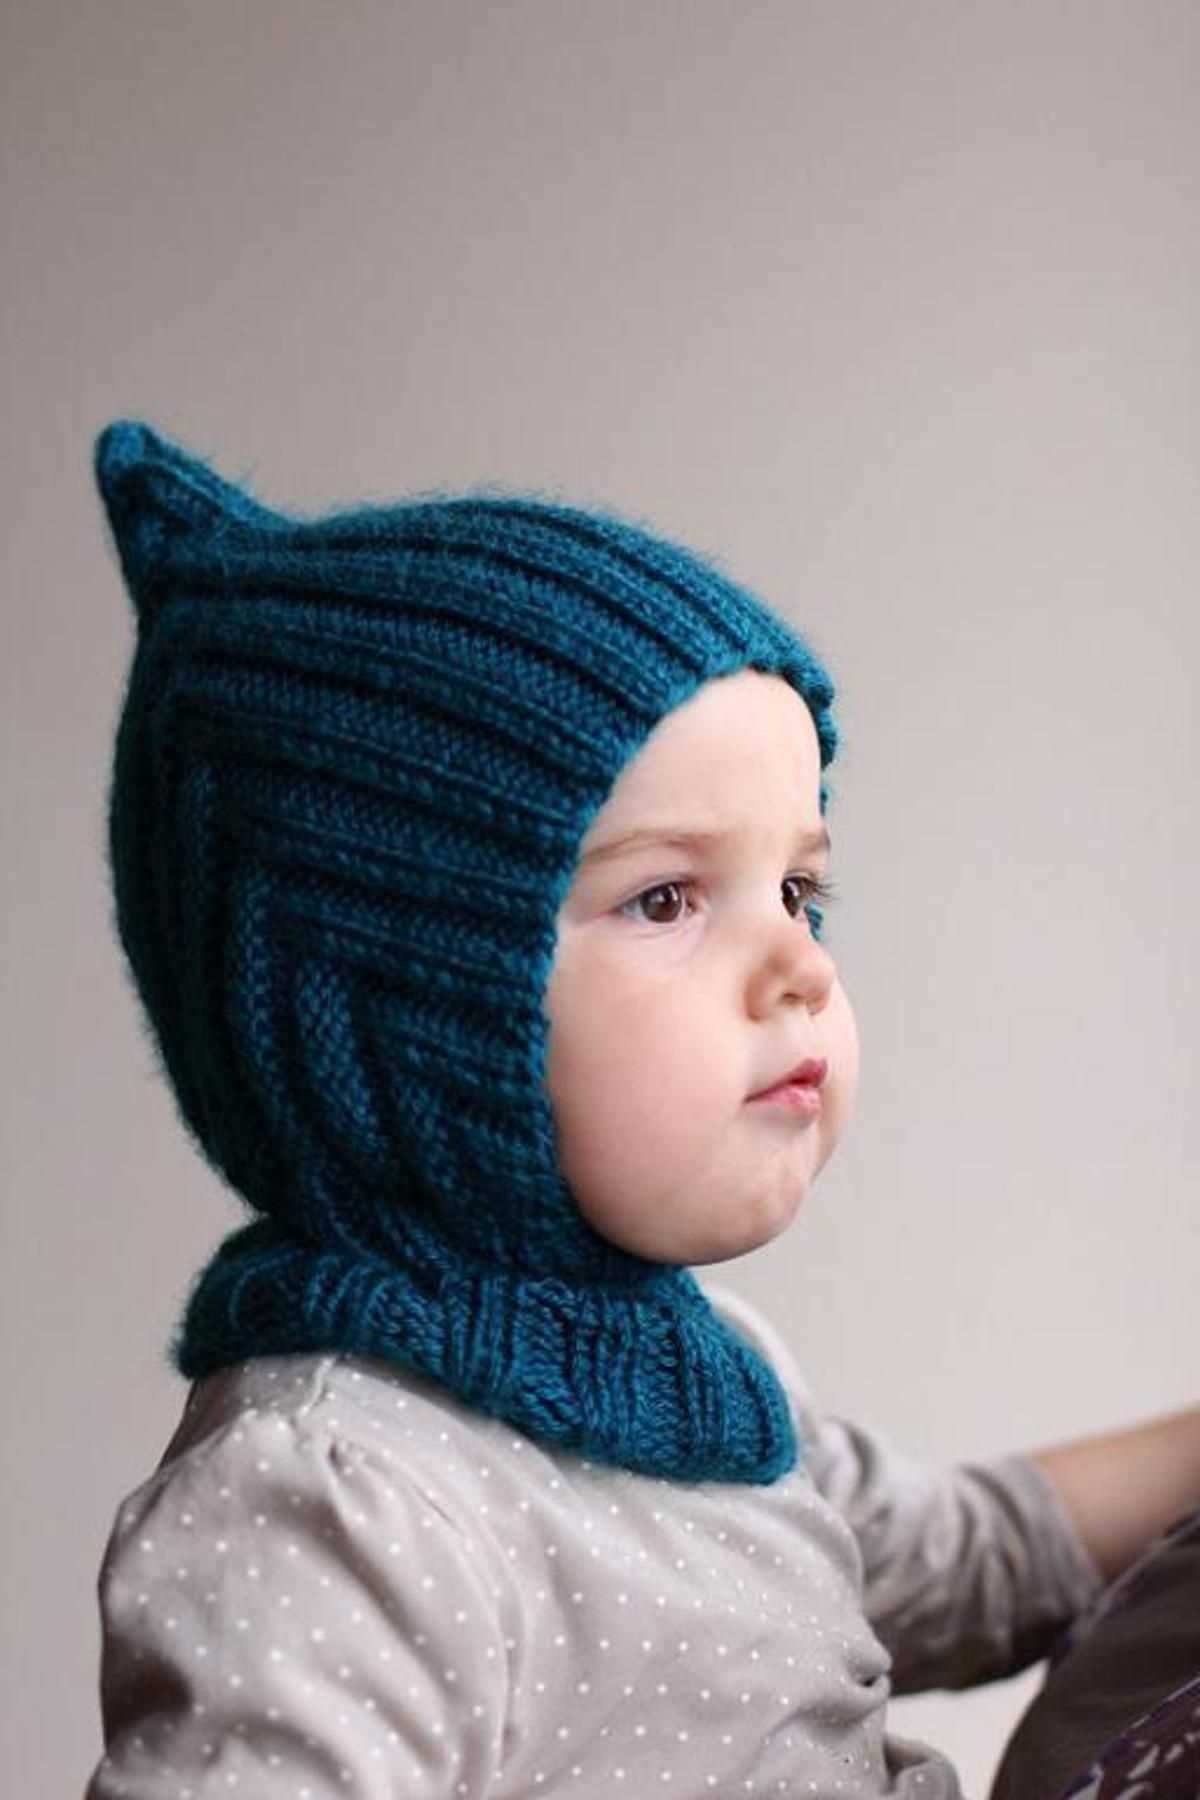
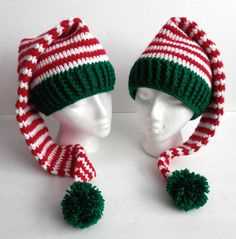
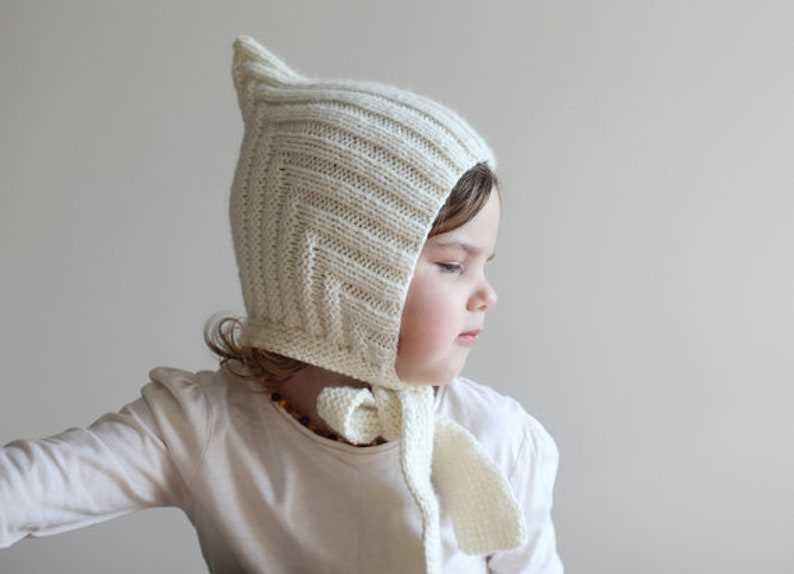
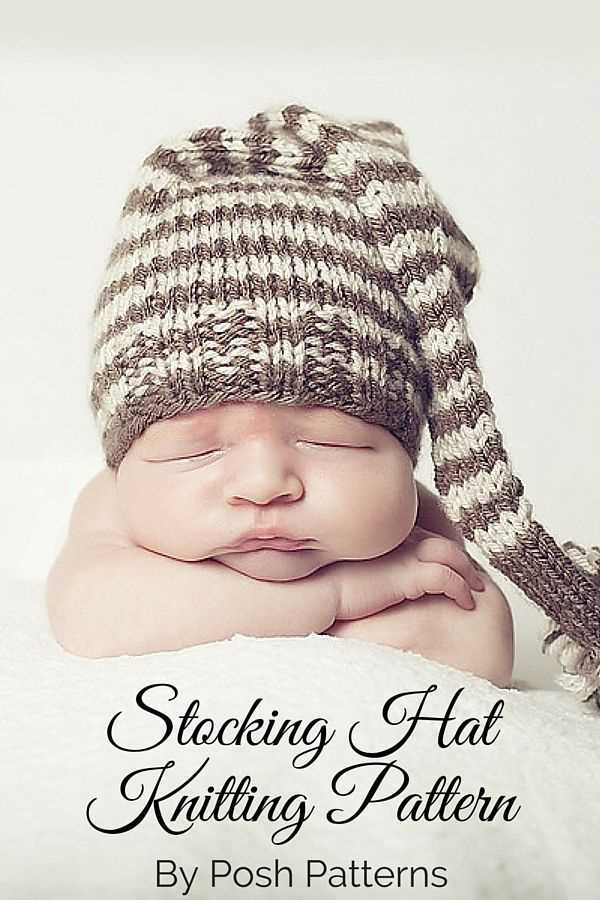
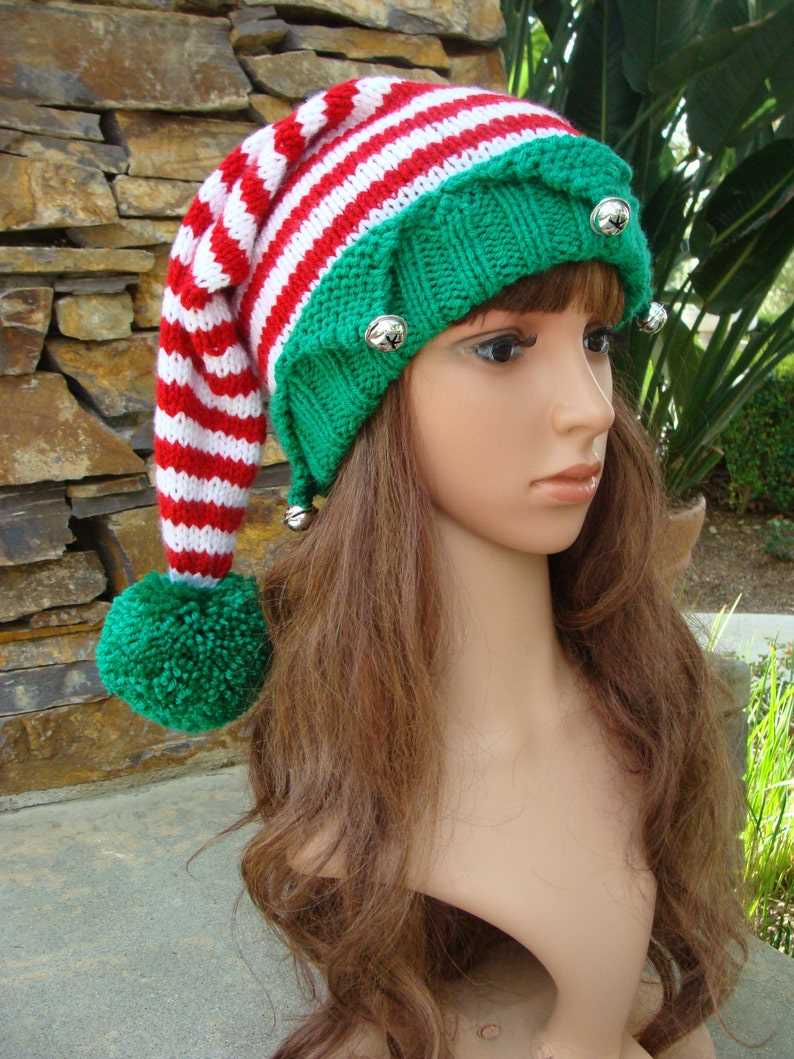
Looking for a fun and festive knitting project that will add a touch of holiday magic to your wardrobe? Our elf hat knitting pattern is just what you need! Whether you want to wear it yourself or make it as a special gift, this pattern will guide you through creating a whimsical accessory that is sure to bring a smile to everyone’s faces.
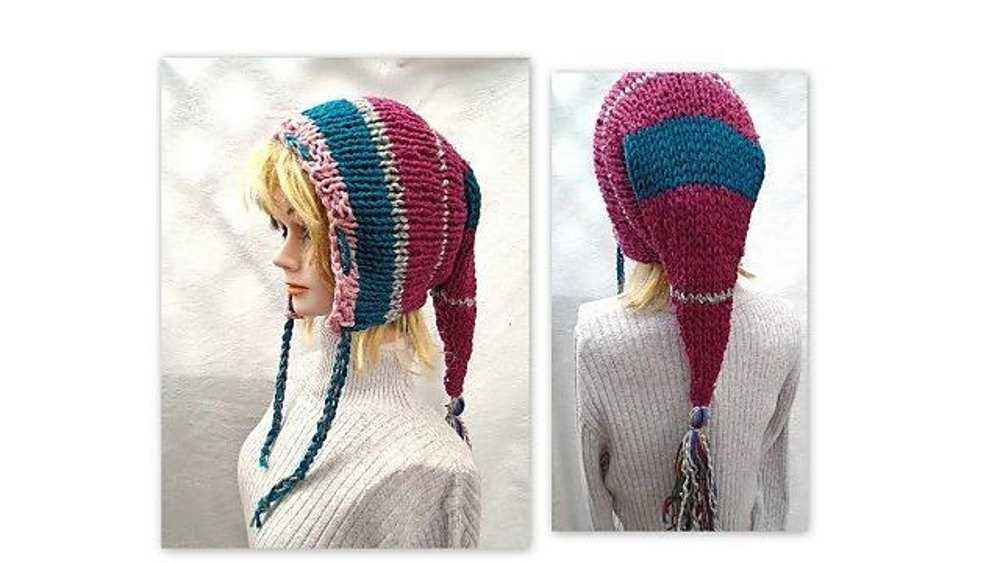
Designed with both style and comfort in mind, this elf hat features a pointed top, striped brim, and dangling pom-pom. The pattern is suitable for knitters of all skill levels, and can be easily adjusted to fit different head sizes. With just a few basic stitches and some colorful yarn, you’ll have a one-of-a-kind hat that captures the spirit of the holiday season.
Our step-by-step instructions will walk you through the entire knitting process, from casting on to binding off. We’ve also included helpful tips and tricks to ensure your hat turns out beautifully. So grab your knitting needles, pick out your favorite yarn colors, and get ready to create a festive accessory that will make you feel like a playful elf all winter long!
How to Knit an Elf Hat: Step-by-Step Guide
Knitting an elf hat is a fun and rewarding project that can be completed by knitters of all skill levels. Whether you want to make a festive accessory for yourself or give a handmade gift to a loved one, an elf hat is a charming choice. Follow this step-by-step guide to create your own elf hat.
Materials Needed:
- Worsted weight yarn in the desired color(s)
- Size 8 (5mm) circular knitting needles
- Set of size 8 (5mm) double-pointed needles
- Tapestry needle
- Stitch markers
- Scissors
Steps:
- Cast on: Begin by casting on 88 stitches onto your circular needles.
- Ribbing: Knit in a K2, P2 rib pattern for approximately 2 inches to create the hat’s brim.
- Body: Switch to knitting in the round and continue knitting every stitch for approximately 6 inches.
- Decrease rounds: Divide your stitches evenly between three double-pointed needles. Start decreasing by knitting two stitches together on each needle, reducing the total stitch count by four stitches. Repeat this decrease round every inch, until you have 16 stitches remaining.
- Finishing: Cut the yarn, leaving a long tail. Thread the tail onto a tapestry needle and slip it through the remaining stitches. Pull tight to close the top of the hat. Weave in any loose ends with the tapestry needle.
Once you have completed these steps, you will have your very own handmade elf hat. Feel free to personalize your hat by adding embellishments such as pom-poms, braids, or tassels. Put on your hat and embrace the holiday spirit with a touch of whimsy!
Materials Needed for Knitting an Elf Hat
Knitting an elf hat is a fun and festive project to add some holiday cheer to your wardrobe. Before you get started, gather all the materials you will need to complete this project. Here is a list of essential items:
- Knitting Needles: Choose a pair of knitting needles in the appropriate size for your yarn. For this pattern, a set of size 8 (5mm) double-pointed needles will work well.
- Yarn: Select a soft and chunky yarn in the desired colors for your elf hat. Opt for festive shades like red, green, or white to capture the holiday spirit.
- Tapestry Needle: A tapestry needle with a large eye is essential for weaving in ends and finishing your hat.
- Scissors: Keep a pair of sharp scissors handy to cut yarn and trim any excess.
- Stitch Markers: Stitch markers will help you keep track of your stitches and patterns as you knit.
- Measuring Tape: A measuring tape or ruler will come in handy for checking your gauge and measuring the circumference of the hat.
Having these materials ready before you start knitting will ensure a smooth and enjoyable crafting experience. With your needles, yarn, and other supplies in hand, you’ll be ready to cast on and create a whimsical elf hat to wear during the holiday season.
Choosing the Right Yarn for your Elf Hat
When it comes to knitting an elf hat, choosing the right yarn is essential to achieve the desired look and feel. The yarn you select will greatly impact the overall appearance, comfort, and durability of the hat. Here are some factors to consider when choosing the yarn for your elf hat:
- Fiber Content: The type of fiber used in the yarn will determine the hat’s characteristics. Wool yarns provide warmth and insulation, making them ideal for winter wear. Cotton yarns offer breathability and are perfect for more temperate climates. Acrylic yarns are lightweight, durable, and easy to care for, making them suitable for hats that will be frequently washed or worn.
- Weight: The weight of the yarn determines the thickness of the finished hat. Lighter weight yarns, such as fingering or sport weight, create a delicate and lightweight hat. Bulky or chunky yarns will result in a thicker and more substantial hat. Consider the desired look and purpose of the hat when selecting the yarn weight.
- Color: The color of the yarn is an important consideration when knitting an elf hat. Traditional elf hats often feature bright and bold colors, such as red, green, or white. However, you can also experiment with different color combinations or choose a more neutral tone for a modern twist on the classic design.
- Texture: The texture of the yarn can add visual interest and dimension to the elf hat. Consider using a yarn with a subtle or prominent texture, such as a tweed, marl, or boucle yarn. These textures can enhance the overall design and make the hat more visually appealing.
Remember to swatch your chosen yarn before starting your elf hat to ensure that it achieves the desired gauge and stitch definition. By carefully selecting the right yarn for your elf hat, you can create a beautiful and comfortable accessory that will be enjoyed for years to come.
Using the Right Knitting Needles for your Elf Hat
When knitting an elf hat, it is important to choose the right needles to achieve the desired shape and texture. The size and material of the needles can greatly impact the overall look and feel of the hat. Here are some considerations to keep in mind when selecting your knitting needles for an elf hat project.
1. Needle Size
The size of the needles will determine the gauge of your knitting, which in turn affects the size of the stitches and the overall fit of the hat. For an elf hat, you’ll want to use smaller needle sizes to create a tighter knit fabric, ensuring that the hat fits snugly on the head and maintains its shape. Generally, a size US 5 or US 6 (3.75mm or 4mm) needle is suitable for most elf hat patterns.
2. Needle Material
The material of the needles can also influence the final outcome of your elf hat. Different materials have different properties, such as flexibility and smoothness, which can impact the knitting process and the final texture of the hat. Metal needles, like stainless steel or aluminum, provide a smooth surface that allows the stitches to glide easily, making them a popular choice for many knitters. On the other hand, wooden or bamboo needles offer more grip, which can be advantageous when working with slippery yarns or intricate stitch patterns.
3. Double-Pointed Needles
Traditionally, elf hats are knit in the round using double-pointed needles (DPNs). DPNs allow you to easily knit a seamless tube shape, which is ideal for creating the pointed tip of an elf hat. When using DPNs, it’s important to ensure that your needles are of the same size and length to maintain an even tension throughout the project. Alternatively, you can also use circular needles with the magic loop method if you prefer.
By carefully considering the size and material of your knitting needles, you can enhance your elf hat project and achieve the desired shape and texture. Experiment with different needle options to find the ones that work best for you and bring your elf hat to life.
Casting on Stitches for the Elf Hat
When starting your Elf Hat knitting project, the first step is to cast on stitches. This is the foundation of your hat and will determine the size and fit. There are different methods you can use to cast on stitches, but we will focus on the long-tail cast on method for this pattern.
To begin, you will need your knitting needles and yarn. Make a slipknot at the end of the yarn, leaving a long tail. Place the slipknot on one of the needles, holding the tail in your right hand and the working yarn in your left hand. Hold the needle with the slipknot in your right hand.
Step 1: Using your left hand, bring the yarn over and behind the needle, creating a loop.
Step 2: Insert the right needle into the loop from left to right, from back to front. The right needle should be above the left needle.
Step 3: With your left hand, wrap the yarn around the right needle in a counterclockwise motion, crossing over the left needle.
Step 4: Insert the right needle into the loop on the left needle, going from left to right, from front to back.
Step 5: With your left hand, pull the yarn to tighten the stitch on the right needle.
Repeat steps 1-5: Continue casting on stitches in this manner until you have the desired number of stitches for your Elf Hat. Remember to keep the stitches loose enough to easily work with but not too loose that they become too big.
Now that you’ve cast on your stitches, you’re ready to start knitting the Elf Hat pattern. Happy knitting!
Knitting the Body of the Elf Hat
Once you have finished knitting the brim of your elf hat, it’s time to move on to knitting the body. The body of the elf hat is where you can get creative and add different patterns or designs to make your hat unique.
To start knitting the body, you will need to continue using your chosen yarn and needles. Begin by knitting the first row in your preferred stitch pattern, whether it’s stockinette, ribbing, or a combination of different stitches. Remember to continue knitting in the round if you’re using circular needles, or switch to double-pointed needles if you started with circular needles and are now decreasing the number of stitches.
As you knit the body of the hat, keep in mind the desired length and fit. If you want a slouchier hat, continue knitting for a longer length. If you prefer a snugger fit, you can knit for a shorter length. Measure your head or the head of the intended recipient to ensure the hat will fit comfortably.
For added visual interest, you can introduce different stitch patterns or color changes as you knit. Consider using stripes, fair isle, or lace motifs to add texture and complexity to your hat. Experiment with different stitch counts or stitch patterns to create a unique design that suits your personal style.
Once you’ve reached the desired length for the body of the hat, it’s time to start shaping the crown. This is where you will gradually decrease the number of stitches to form the pointed top of the elf hat. Again, refer to your chosen pattern for specific instructions on decreasing stitches.
Continue knitting the crown until you have decreased enough stitches to close the top of the hat. Use a tapestry needle to thread the remaining yarn through the remaining stitches, pull tight, and secure. Now you can admire your finished elf hat and enjoy wearing it during the festive season or giving it as a handmade gift to someone special.
Creating the Pointed Top of the Elf Hat
When knitting an elf hat, one of the key elements is the pointed top that gives it its distinctive look. To create the pointed top, there are a few different approaches you can take, depending on your skill level and personal preference. Here are a couple of common methods:
Decreasing Stitches
One way to create the pointed top of an elf hat is by decreasing stitches gradually as you work your way up. You can achieve this by knitting two stitches together at regular intervals, usually every few rows or rounds, until you reach the desired point. This method creates a more gradual taper and can be a good option for beginners or those looking for a simpler approach.
Short Rows
Another approach to creating the pointed top of an elf hat is by using short rows. Short rows involve knitting or purling for only part of the row before turning the work and going back in the opposite direction. By working short rows in a triangular shape, you can gradually create the pointed top of the hat. This method requires a bit more skill and attention to detail but can result in a more defined point at the top of the hat.
Whichever method you choose, it’s important to carefully follow the pattern instructions and make any necessary adjustments to ensure the correct shape and size of the elf hat’s pointed top. Take your time and enjoy the process of creating this fun and festive accessory!
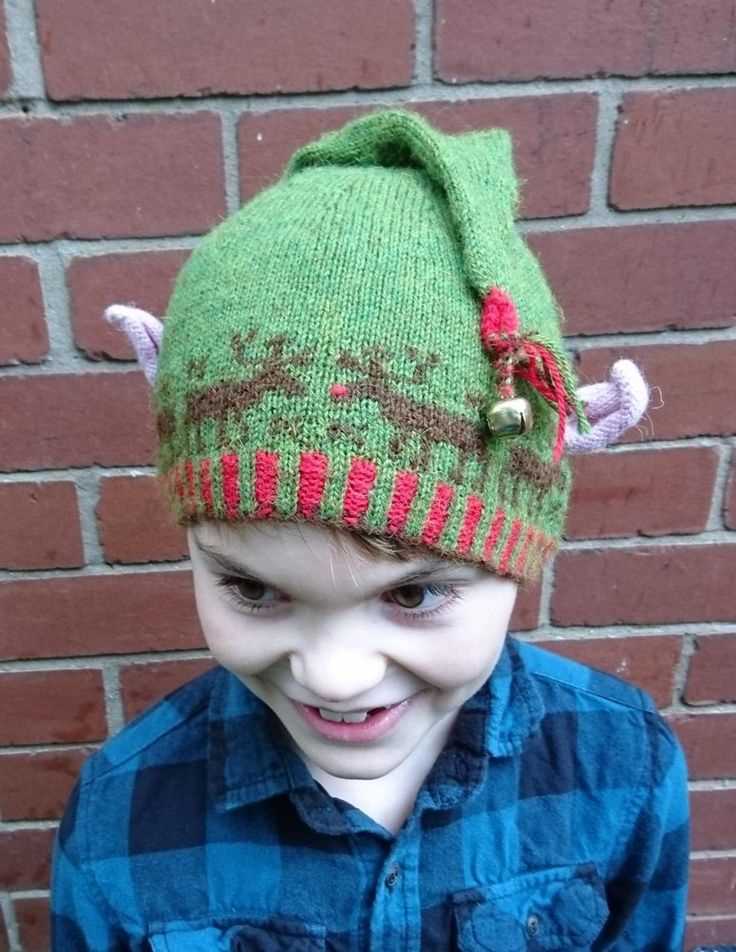
Adding Decorative Details to your Elf Hat
Once you’ve completed the basic knitting pattern for your elf hat, you can add some decorative details to make it even more festive and unique. These decorative elements will help bring your hat to life and make it stand out from the crowd.
Embroidery: Embroidery is a popular technique for adding decorative details to knitwear. You can use colorful yarn to create intricate patterns or add simple motifs such as snowflakes, stars, or Christmas trees. Embroidery adds a personal touch to your elf hat and allows you to showcase your creativity.
Pom-poms:
Adding pom-poms to the top or sides of your elf hat is a fun and playful way to enhance its appearance. You can make pom-poms using yarn in contrasting colors or opt for metallic or sparkly yarn for a more festive touch. Pom-poms add a touch of whimsy to your hat and make it look more playful and cheerful.
Ribbons and bows:
Ribbons and bows can be used to give your elf hat a more feminine and delicate look. You can attach a ribbon around the base of the hat or tie a bow on one side. Choose ribbons in colors that complement the main color of your hat and opt for patterns or materials that add texture and visual interest.
- Faux fur: Adding a trim of faux fur to the brim or edges of your elf hat can give it a cozy and festive feel. Choose faux fur in colors that match or contrast with the main color of your hat, and opt for textures that mimic the fur of winter animals like polar bears or reindeer.
- Sequins: For a touch of glamour and sparkle, you can sew sequins onto your elf hat. You can create patterns or embellish the entire hat with sequins for a more eye-catching effect. Choose sequins in colors that match your hat or opt for metallic or iridescent sequins for a more festive touch.
- Buttons: Buttons can be used as decorative accents on your elf hat. They can be sewn onto the brim or scattered randomly across the hat. Choose buttons in colors that complement the main color of your hat and opt for shapes and designs that add visual interest.
Remember, the sky’s the limit when it comes to adding decorative details to your elf hat. Don’t be afraid to get creative and experiment with different materials, colors, and techniques to make your hat truly one-of-a-kind.
Finishing Touches: Bind Off and Weave in Ends
After completing your knitting project, it’s time to add the finishing touches to give it a polished look. One important step is to bind off your stitches to secure them in place and prevent any unraveling. To bind off, simply knit two stitches, then use the left needle to lift the first stitch over the second stitch and off the needle. Continue this process until you have one stitch left, then cut the yarn and pull it through the last stitch to secure it. This will create a neat edge and prevent any loose stitches.
Once you have bound off all your stitches, it’s important to weave in any loose ends to give your project a clean and professional finish. Start by threading the loose end onto a tapestry needle. Insert the needle into the knitting, following the path of the yarn for a few inches. Then, carefully pull the needle through, leaving a small loop of yarn. Repeat this process in different directions to ensure that the end is securely woven in. Finally, trim any excess yarn, being careful not to cut too close to the fabric to avoid unraveling.
The bind off and weaving in ends process may seem tedious, but it is an essential step in completing your knitting project. Taking the time to do it properly will ensure that your finished piece looks polished and holds up well over time. So don’t rush through this final step and enjoy the satisfaction of a well-finished knitting project.
Blocking and Shaping your Elf Hat
Blocking and shaping your elf hat is an important step to ensure that it looks its best and fits properly. Blocking is the process of wetting or steaming your knitted piece and then stretching it into shape. This helps to even out any irregularities in your knitting and give your hat a polished finish. Shaping, on the other hand, involves manipulating the hat to create the characteristic pointy elf shape.
Blocking
To block your elf hat, start by filling a sink or basin with lukewarm water. Gently submerge your hat in the water, making sure it is completely saturated. Allow the hat to soak for about 10-15 minutes, ensuring that the fibers are fully saturated.
Next, remove the hat from the water and gently squeeze out any excess moisture. Lay a clean towel on a flat surface, such as a table or ironing board, and place the wet hat on top. Gently shape the hat into the desired shape, pulling the brim slightly if needed. Smooth out any wrinkles or bumps in the fabric.
Shaping
To shape your elf hat, you will need a short, pointed object such as a knitting needle or chopstick. Start by folding up the brim of the hat to create the desired length. Then, using the pointed object, push it through the tip of the hat and gently push the tip downwards, creating the distinctive pointy shape.
Continue shaping the sides of the hat by manipulating the fabric to create a slanted angle towards the top. Be gentle and take your time to avoid stretching or distorting the fabric. Once you are satisfied with the shape, leave the hat to dry completely. This can take anywhere from a few hours to overnight, depending on the thickness of the yarn.
- When your hat is completely dry, remove any pins or clips that were used during the blocking process.
- If desired, you can add embellishments such as pom-poms or tassels to personalize your elf hat.
- Remember to always follow the specific blocking instructions for the yarn you used, as different fibers may require different techniques.
By blocking and shaping your elf hat, you can ensure that it fits perfectly and looks its best. Taking the time to properly block and shape your knitted pieces can make a significant difference in the overall appearance and quality of your finished project.
Wearing and Caring for your Handmade Elf Hat
Once you have finished knitting your beautiful elf hat, it’s time to start wearing it and showing off your crafty skills. Here are some tips for wearing and caring for your handmade elf hat:
1. Wear it with pride
Don’t be afraid to show off your unique style and personality by wearing your handmade elf hat. Whether it’s during the holiday season or throughout the year, your hat will make a statement and bring a touch of whimsy to any outfit.
2. Keep it clean
To keep your hat looking its best, it’s important to take proper care of it. Hand wash your hat in cold water using a mild detergent, and lay it flat to dry. Avoid machine washing and drying, as this can cause the hat to lose its shape or shrink.
3. Store it properly
When you’re not wearing your elf hat, it’s important to store it properly to prevent any damage. Fold it gently and place it in a clean, dry place away from direct sunlight or excessive heat. You can also use a hat box or a zippered pouch to protect it from dust and moisture.
4. Make repairs when needed
Over time, your hat may need some repairs due to wear and tear. If you notice any loose threads or holes, take the time to fix them with a needle and thread before they become bigger issues. This will help prolong the life of your elf hat and ensure that it continues to look its best.
By following these tips, you can enjoy your handmade elf hat for many seasons to come. Whether you’re wearing it to a holiday party or simply adding a fun accessory to your everyday wardrobe, your elf hat is sure to bring a smile to your face and those around you.