
Knitting your very own Sorting Hat is a delightful way to show off your love for the Harry Potter series and add a touch of magic to your knitting projects. This iconic hat, used to sort students into one of the four Hogwarts Houses, is a symbol of the wizarding world and a beloved part of the story.
Creating your own Sorting Hat is not only a fun knitting project, but it also allows you to personalize your hat with the colors of your favorite Hogwarts House or even create a unique design of your own. Whether you’re a Gryffindor, Hufflepuff, Ravenclaw, or Slytherin, this knitting pattern will guide you through the process of making your very own Sorting Hat.
This knitting pattern is suitable for intermediate knitters and includes detailed instructions and step-by-step photos to help you along the way. With a few basic knitting skills, some yarn, and a set of double-pointed needles, you’ll be able to create a hat that will make you feel like you’ve stepped into the magical world of Harry Potter.
Sorting Hat Knitting Pattern: Create Your Own Magical Hat
The Sorting Hat is an iconic symbol of the magical world, instantly recognizable to fans of the Harry Potter series. Now, with this knitting pattern, you can create your very own Sorting Hat and bring a touch of magic into your everyday life. Whether you’re a Gryffindor, Slytherin, Hufflepuff, or Ravenclaw, this hat is perfect for showing off your house pride or just adding an enchanting accessory to your wardrobe.
The pattern begins with simple knitting techniques, making it accessible to both beginners and experienced knitters. You’ll need a set of double-pointed needles and some worsted weight yarn in the colors of your chosen house. The pattern includes detailed instructions and helpful tips to guide you through each step, ensuring that your finished hat looks just like the one in the books and movies.
Materials:
- Double-pointed needles (size US 8 / 5mm)
- Worsted weight yarn in your chosen house colors
- Tapestry needle for sewing seams
Instructions:
- Begin by casting on 88 stitches with your main color.
- Work in a 1×1 ribbing pattern (knit one, purl one) for 2 inches.
- Switch to your secondary house color and continue in stockinette stitch for 4 inches.
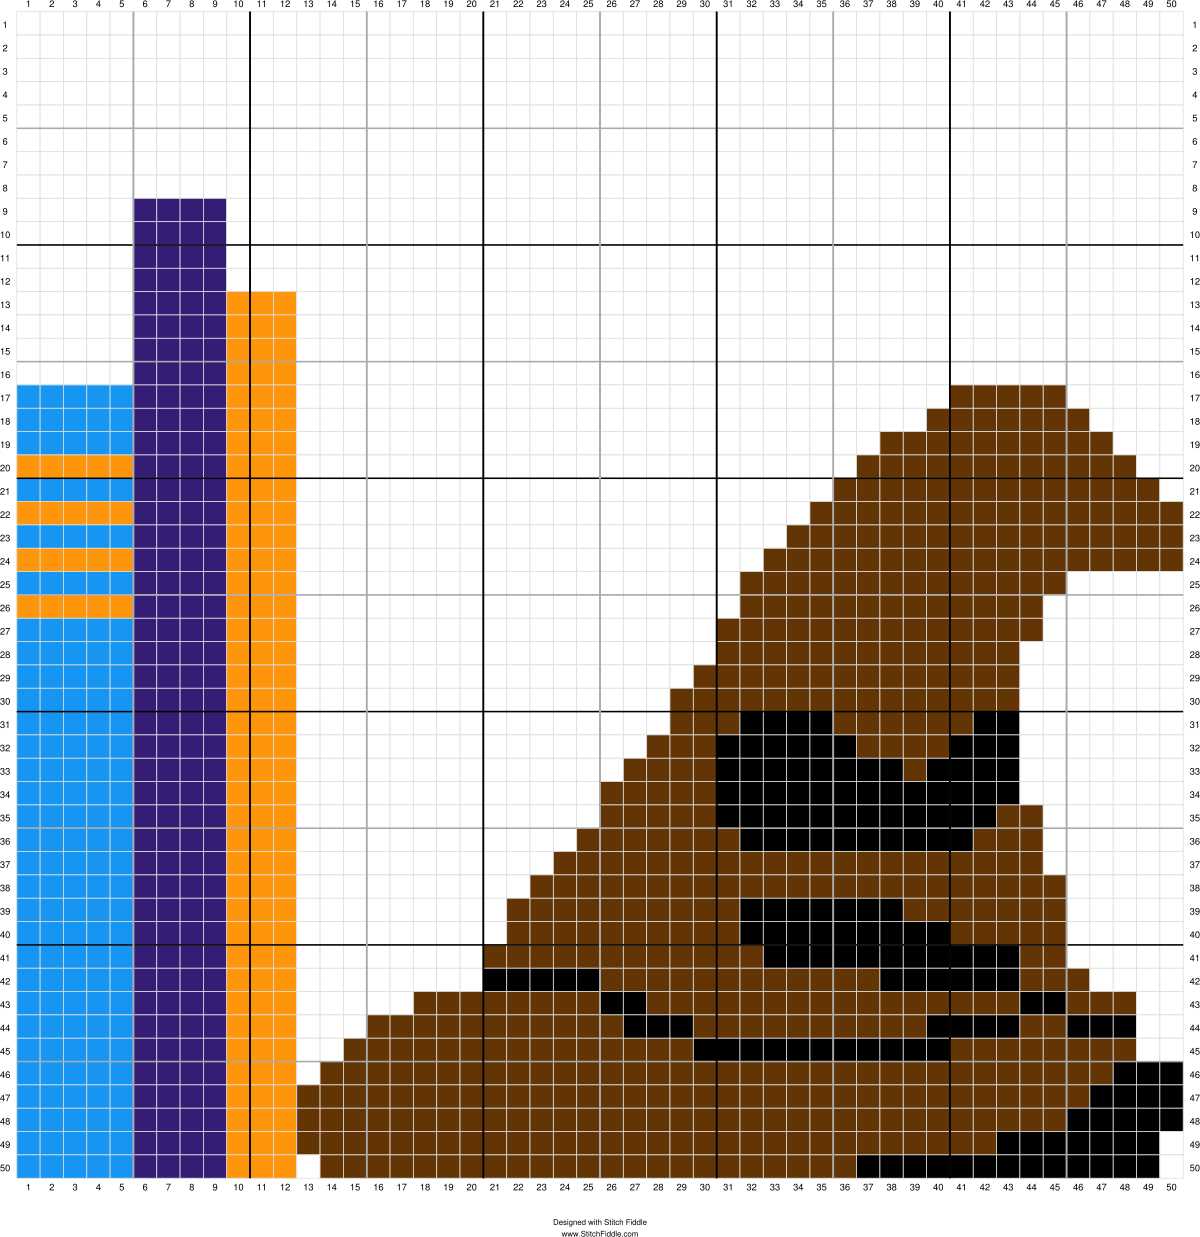
- Change to your main color and follow the pattern chart for your chosen house, knitting the appropriate color for each stitch.
- Continue working in stockinette stitch until the hat measures approximately 14 inches from the cast on edge.
- Shape the top of the hat by decreasing stitches evenly. Follow the pattern chart for your chosen house to ensure accurate shaping.
- Once you have decreased to a small number of stitches, cut your yarn, leaving a long tail. Thread the tail through the remaining stitches and pull tight to close the top of the hat.
- Use a tapestry needle to sew the side seam of the hat, using mattress stitch for an invisible seam.
- Weave in any loose ends and your Sorting Hat is ready to wear!
With this Sorting Hat knitting pattern, you can create a truly magical accessory that will be the envy of fellow Harry Potter fans. Whether you wear it to show off your house pride or simply to add a touch of whimsy to your outfit, this hat is sure to make you feel like a true wizard or witch. So grab your knitting needles and yarn, and let the magic begin!
Choosing the Right Yarn and Needles
When it comes to knitting the Sorting Hat, choosing the right yarn and needles is essential to achieve the desired result. The right combination of yarn weight, fiber content, and needle size can greatly impact the texture, drape, and overall appearance of the finished hat.
Yarn Weight: The Sorting Hat can be knit using various yarn weights, but it is generally recommended to use a worsted weight yarn to ensure a sturdy and durable hat. Worsted weight yarn provides enough structure to hold its shape while still allowing for some flexibility in the fabric.
Fiber Content: The choice of fiber content depends on personal preference and desired characteristics of the hat. Acrylic yarns offer affordability and durability, making them a popular choice for everyday wear. For a more rustic and natural look, wool or wool-blend yarns can provide warmth and texture. Silk or bamboo blends can add a touch of luxury and sheen to the finished hat.
Needle Size: The needle size will depend on the yarn weight and the desired gauge. For worsted weight yarn, a size US 8 (5mm) or US 9 (5.5mm) needle is commonly used. However, it is essential to check the gauge before starting the project to ensure that the needle size creates the desired fabric density and stitch definition.
Remember, the choice of yarn and needles is a personal preference, and it is important to experiment and swatch different combinations to achieve the desired outcome. Happy knitting!
Getting the Gauge Right: Tips and Tricks
When it comes to knitting, getting the gauge right is crucial for the success of your project. Gauge refers to the number of stitches and rows per inch in your knitting. It determines the size, fit, and overall appearance of your finished piece. If your gauge is off, your finished project may turn out too big, too small, or completely different from what you had in mind. Here are some useful tips and tricks to help you achieve the correct gauge for your knitting project.
1. Use the recommended yarn and needle size
The first step to getting the right gauge is to use the recommended yarn and needle size stated in your knitting pattern. This is especially important if you’re following a specific pattern, as the designer has likely chosen these materials to achieve the desired gauge. Using a different yarn weight or needle size can dramatically alter your gauge and the overall outcome of your project.
2. Make a gauge swatch
A gauge swatch is a small rectangular piece of knitting that you work up before starting your project. It allows you to check your gauge and make any necessary adjustments before investing time and effort into the full project. To make a gauge swatch, follow the pattern instructions for the number of stitches and rows to cast on, then knit a small square using the recommended yarn and needle size. Once you’ve completed your swatch, measure it using a ruler or a gauge tool to determine if your stitch and row counts match the pattern.
3. Block and measure your swatch accurately
After knitting your gauge swatch, it’s essential to block it before measuring your gauge. Blocking involves wetting or steaming your swatch to relax the fibers and even out the stitches. This step is crucial because it mimics the finished state of your knitting project and ensures that your measurements are accurate. Once you’ve blocked your swatch, use a ruler or a gauge tool to measure the stitches and rows per inch accurately. If your measurements differ from the pattern gauge, you may need to adjust your needle size or tension accordingly.
4. Take note of your knitting tension
Your tension, or the way you hold the yarn and manipulate the stitches, can greatly affect your gauge. Some knitters naturally have a looser or tighter tension, which can result in differences in stitch and row counts. If you consistently knit with a looser tension than the pattern suggests, you may need to go down a needle size to achieve the correct gauge. Conversely, if your tension is tighter, you may need to go up a needle size. Paying attention to your tension and making adjustments as needed can help you achieve the desired gauge.
5. Adjust your pattern as necessary

If your gauge is significantly different from the pattern’s gauge, you may need to adjust the number of stitches or rows in your project to achieve the desired size. This is particularly crucial for garments or items that need to fit properly. To adjust your pattern, calculate the percentage difference between your gauge and the pattern gauge and apply that percentage to the stitch and row counts given in the pattern. Remember to make these adjustments consistently throughout your project to ensure a balanced finished piece.
By following these tips and tricks, you’ll be well on your way to achieving the correct gauge for your knitting project. Take your time, be mindful of your yarn and needle choices, and don’t hesitate to make adjustments when necessary. Getting the gauge right will make a world of difference in the final result of your knitting endeavor.
Casting On: Start Your Magical Journey
Welcome to the world of knitting and magic! The Sorting Hat knitting pattern is the perfect way to combine your love for Harry Potter and knitting. Whether you’re a Gryffindor, Hufflepuff, Ravenclaw, or Slytherin, this knitting project will bring a touch of magic to your wardrobe. Get ready to cast on and embark on a truly enchanting journey!
Before you begin, gather all the necessary materials. You’ll need your favorite knitting needles and yarn in the colors that represent your Hogwarts House. If you’re unsure about the colors, a quick search will reveal the appropriate choices for each House. Once you have your supplies ready, it’s time to start casting on and let the magic unfold!
Casting On: Sorting Hat Pattern
To cast on, start by making a slipknot with your chosen yarn. Insert your knitting needle into the slipknot and tighten it, making sure to leave a long enough tail for later use. Now, you’re ready to begin the sorting hat pattern.
Start with a foundation row of knit stitches, creating a solid base for your hat. After completing the foundation row, begin the main pattern, which consists of alternating knit and purl stitches. Follow the pattern carefully, ensuring that you’re knitting and purling in the correct sequence. This will create the unique texture and shape of the sorting hat.
- Tip: As you knit, imagine the sorting hat taking shape in your hands. Envision the intricate details and the magic it holds within.
- Remember: Knitting is a journey, and it’s okay to make mistakes. If you make a slip or drop a stitch, simply unravel and start again. Embrace the challenges and enjoy the process.
Continue knitting until you reach the desired height for your sorting hat. Once you’re satisfied with the length, it’s time to bind off and complete your magical creation. Follow a simple bind off technique, ensuring that it’s loose enough to create a comfortable fit for wearing.
There you have it! You’ve successfully cast on and knitted your own Sorting Hat. This unique accessory will not only showcase your Hogwarts pride but also keep you warm and cozy in the colder months. So put on your wizarding hat and let your magical journey begin!
Knitting in the Round: Creating a Seamless Hat
Knitting in the round is a technique that allows you to create seamless hats and other tubular items. Instead of using straight needles and seaming the edges together, you use circular needles or double-pointed needles to knit in a continuous spiral. This method eliminates the need for sewing and creates a seamless, professional-looking finished product.
To start knitting in the round, you will need a set of circular needles or double-pointed needles that are the appropriate size for your yarn. It’s important to choose a needle size that will give you the correct gauge for your project. You will also need stitch markers to mark the beginning of each round, as well as any stitch patterns or decreases you may be using.
Step 1: Cast on the desired number of stitches onto your circular needles or distribute them evenly onto your double-pointed needles. Ensure that your stitches are not twisted and that the right side of your work is facing out.
Step 2: Join your round by knitting the first stitch of your cast on row with the last stitch of your cast on row. Be careful not to twist your stitches as you join.
Step 3: Place a stitch marker to mark the beginning of your round. This will help you keep track of where you are in your pattern.
Step 4: Begin knitting in the round by following your pattern instructions. Remember that you are knitting in a continuous spiral, so you will not be turning your work at the end of each row.
Step 5: Continue knitting in the round until you reach the desired length for your hat. If you are using a stitch pattern, be sure to repeat the pattern as instructed.
Step 6: When you have completed your knitting, you can either bind off your stitches or continue knitting a ribbed or folded brim for the hat.
Knitting in the round allows you to create a seamless hat with a professional finish. With the proper tools and techniques, you can easily knit hats and other tubular items without the hassle of seaming. Give it a try and enjoy the satisfaction of creating a beautiful, seamless hat!
Shaping the Brim: Adding Personality to Your Hat
When working on your sorting hat knitting pattern, one of the most important features to consider is the brim. It not only adds structural integrity to the hat but also plays a significant role in portraying the personality of the wearer. Whether you’re aiming for a classic, elegant look or a whimsical, playful design, the shaping of the brim can help achieve the desired effect.
1. Choosing the Right Brim Style: The first step in shaping the brim is selecting the right style. There are various options to consider, such as a straight brim, rolled brim, or even a scalloped edge. Each style brings its own charm and can drastically alter the overall appearance of the hat. Take some time to explore different brim styles and find the one that best complements the intended personality of the hat.
2. Establishing the Brim Width: Once the brim style is determined, it’s essential to establish the width. A wider brim can provide a more prominent and statement-making look, while a narrower brim can create a delicate and understated effect. Consider the size of the wearer’s head and desired hat proportions when determining the brim width. Striking the right balance is crucial to achieve the desired personality for the hat.
3. Incorporating Decorative Elements: To add even more personality to your sorting hat, consider incorporating decorative elements into the brim. This could include adding lace patterns, cable designs, or even colorwork. These details can elevate the overall appearance of the hat, making it truly unique and reflective of the wearer’s personality.
4. Experimenting with Brim Shape: While many sorting hats traditionally have a flat brim, don’t be afraid to experiment with different shapes. A slightly curved brim can add a touch of elegance, while a pointed brim can give the hat a more whimsical and magical feel. Play around with different shaping techniques to find the one that best embodies the personality you want your sorting hat to exude.
5. Finishing Touches: Lastly, don’t forget to add any finishing touches to the brim that might enhance its personality. This could include adding a contrasting border, attaching buttons or charms, or incorporating a unique stitch pattern. The small details can make a big difference in personalizing your sorting hat and making it truly one-of-a-kind.
Colorwork: Show Your House Pride
Knitting is not only a relaxing and creative hobby, but it can also be a way to show your house pride! One popular way to incorporate your favorite Hogwarts house into your knitting projects is through colorwork. By using different colored yarns and different stitch patterns, you can create beautiful designs that represent the distinct characteristics of each house.
If you belong to Gryffindor, you can showcase your bravery and courage with bold and striking color combinations. The Gryffindor color scheme includes shades of red and gold, which can be incorporated into your knitting projects using techniques such as fair isle or intarsia. Imagine a cozy Gryffindor scarf with alternating red and gold stripes, or a pair of mittens with a roaring lion emblem.
Hufflepuff
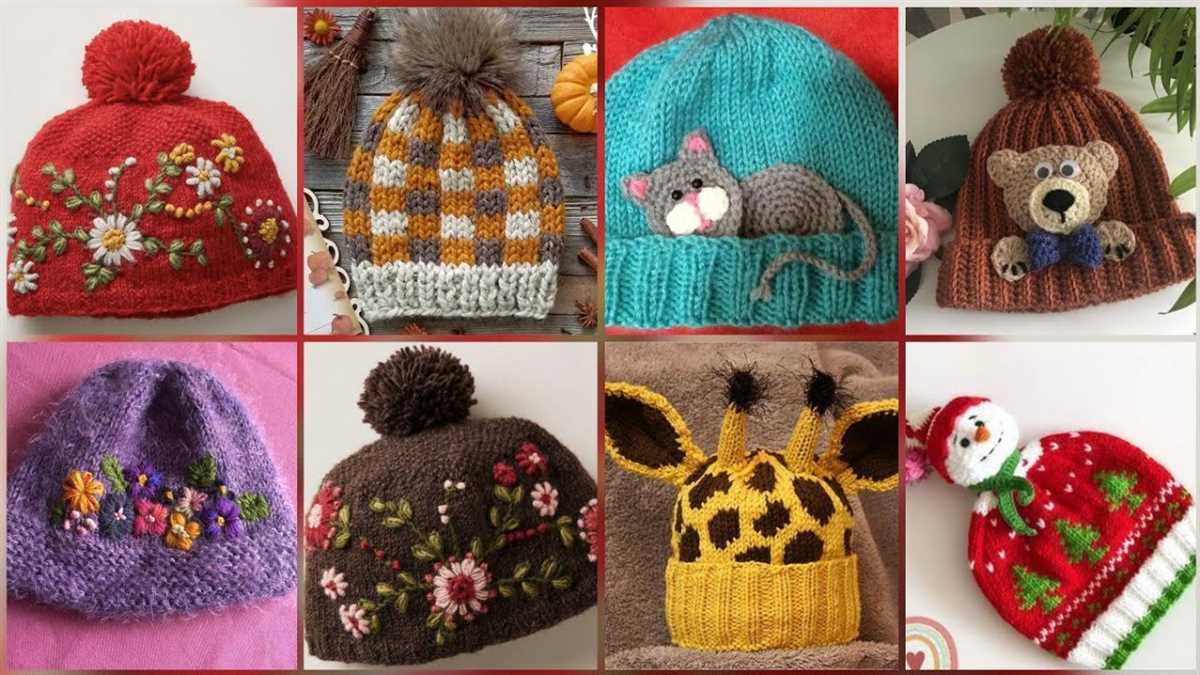
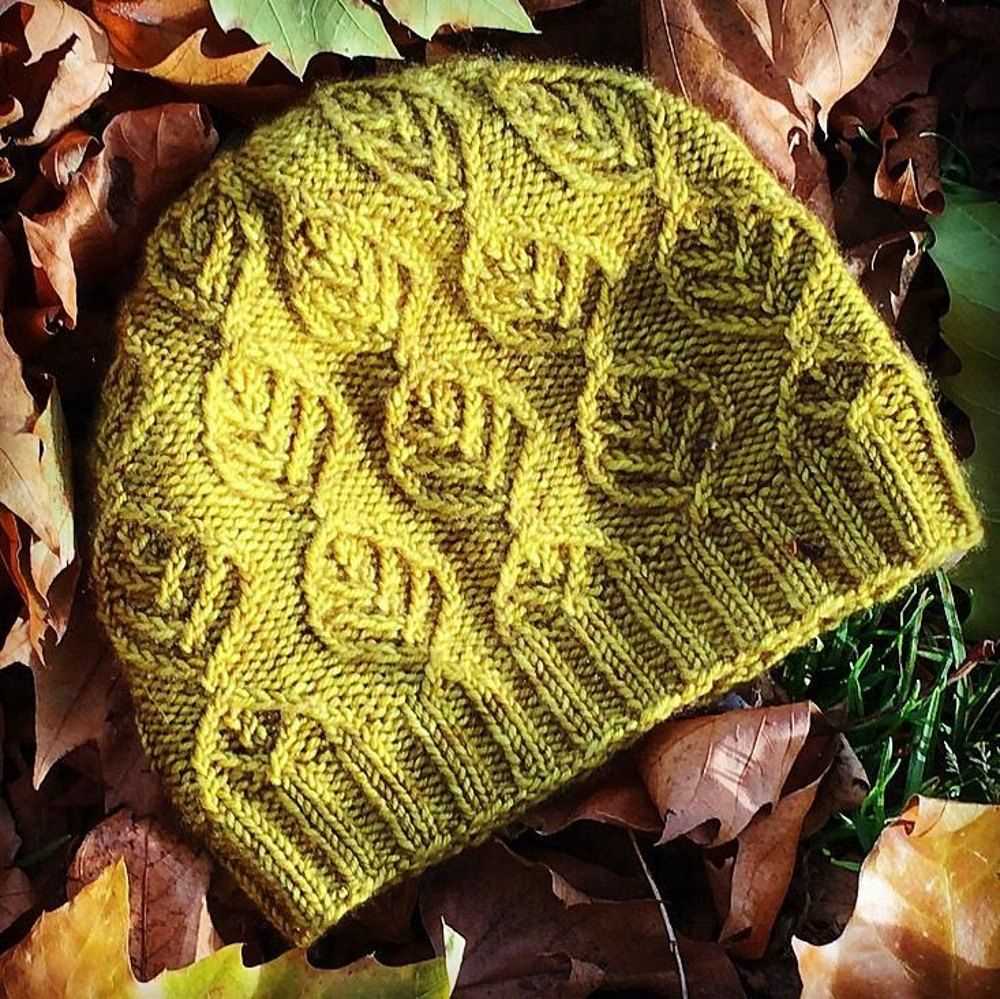
Hufflepuffs are known for their loyalty and hard work, and you can represent these qualities through your colorwork knitting. The Hufflepuff color scheme includes shades of yellow and black, which can be used to create intricate patterns such as honeycombs or badgers. Picture a Hufflepuff beanie with a cheerful yellow background and a cute badger motif, or a warm cardigan with yellow and black stripes.
Ravenclaw
Ravenclaws are known for their intelligence and wit, and you can reflect these traits in your knitting projects by using the Ravenclaw color scheme. Shades of blue and silver can be used to create intricate lace patterns or geometric designs. Imagine a Ravenclaw shawl with an elegant blue and silver pattern, or a pair of socks with a clever riddle worked into the design.
Slytherin
Slytherins are known for their ambition and cunning, and you can showcase these qualities through your colorwork knitting. The Slytherin color scheme includes shades of green and silver, which can be used to create sleek and sophisticated designs. Picture a Slytherin sweater with a rich green background and silver snake motifs, or a scarf with a subtle snake pattern.
Whether you’re knitting a hat, a scarf, or a sweater, colorwork is a fantastic way to showcase your house pride. By incorporating the distinctive colors and symbols of your favorite Hogwarts house into your knitting projects, you can create unique and personalized items that are sure to make a statement.
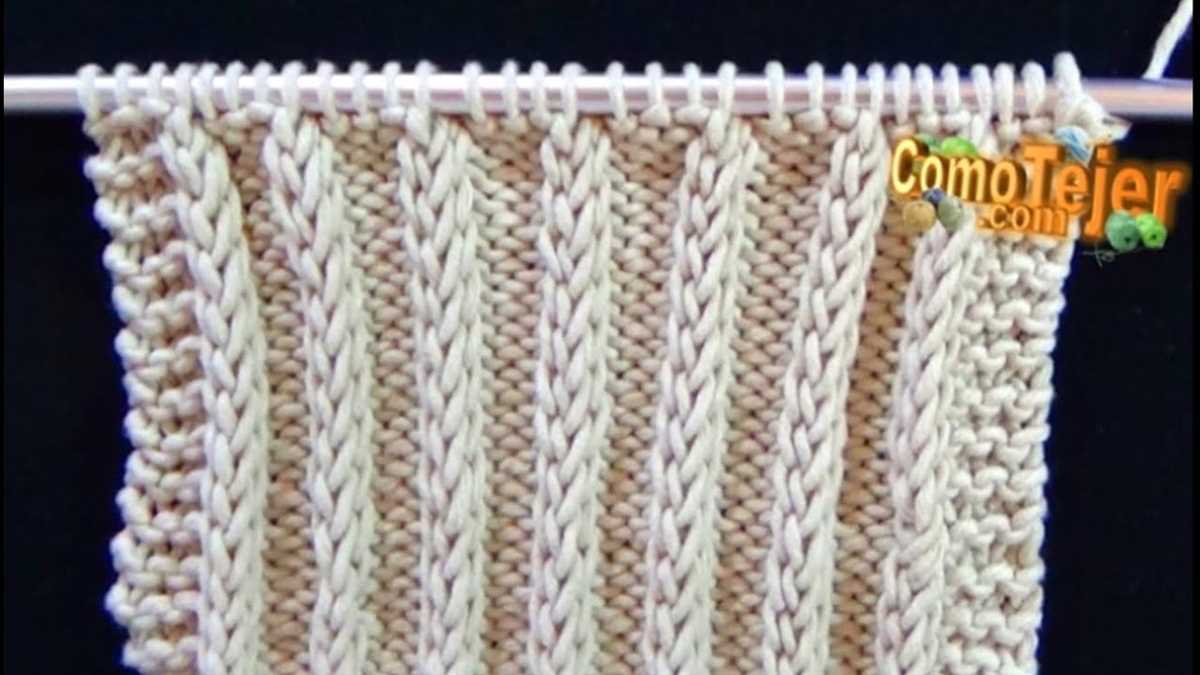
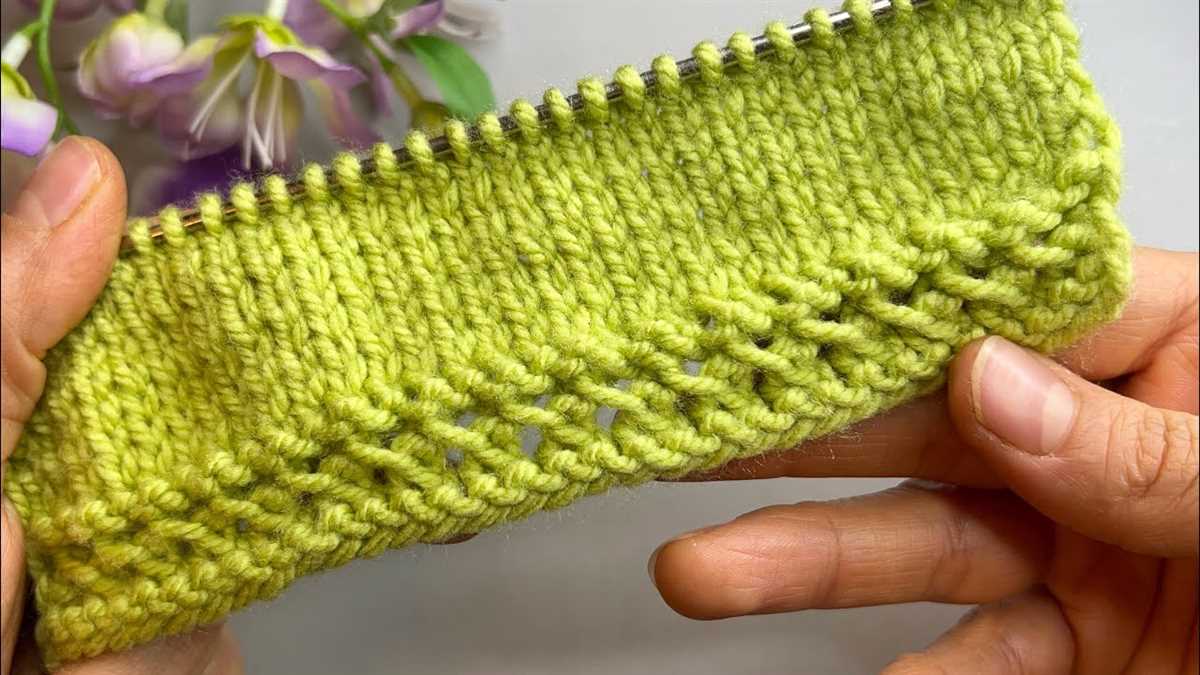
Textured Stitches: Adding Depth and Detail
Cables: Cables are created by crossing stitches over each other to create a twisted effect. They can range from simple two-stitch cables to more complex designs involving multiple stitches and rows. Cables add a three-dimensional quality to the fabric, making it appear more intricate and sophisticated.
Bobbles: Bobbles are small, raised bumps of stitches that create a playful and whimsical texture. They are typically created by knitting several stitches into the same stitch and then working them together on subsequent rows. Bobbles can be strategically placed to add dimension to a design or used sparingly as an accent.
Lace: Lace stitches involve creating deliberate holes in the fabric, giving it an airy and delicate appearance. Lace patterns often incorporate yarn overs and decreases to create intricate designs. Lace stitches can be used to create panels, borders, or all-over patterns, adding a touch of elegance to any project.
Slip Stitches: Slip stitches involve passing a stitch over another stitch without working it. This creates a raised texture on the fabric and can be used to create stripes, colorwork, or mosaic patterns. Slip stitches are an easy way to add visual interest and texture without requiring complex stitch manipulations.
Incorporating textured stitches into your knitting projects can take them to the next level, adding depth and detail that sets them apart. Whether you choose to use cables, bobbles, lace, slip stitches, or a combination of them, experimenting with different stitch patterns can open up a whole new world of possibilities and elevate your knitting skills.
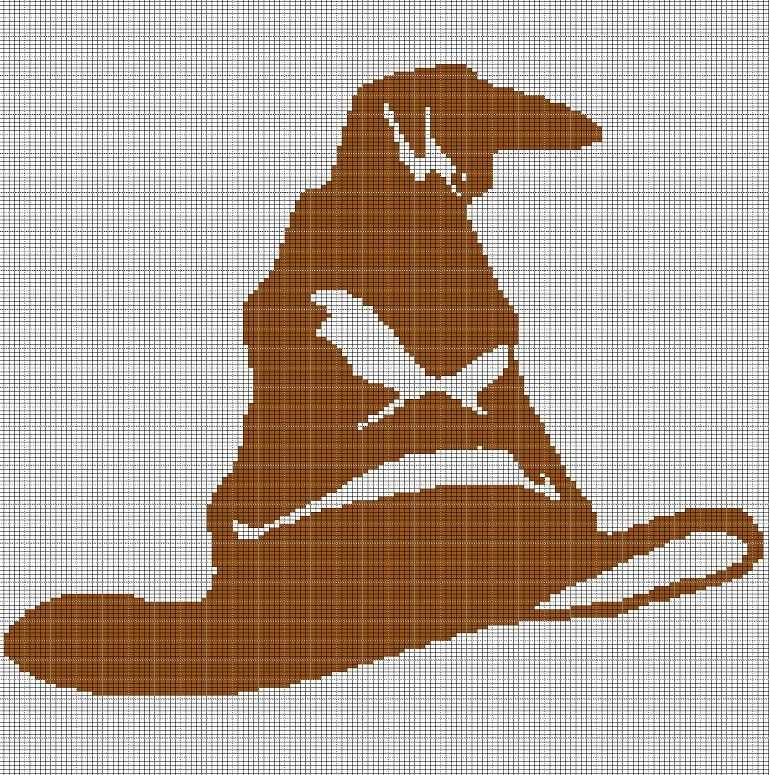
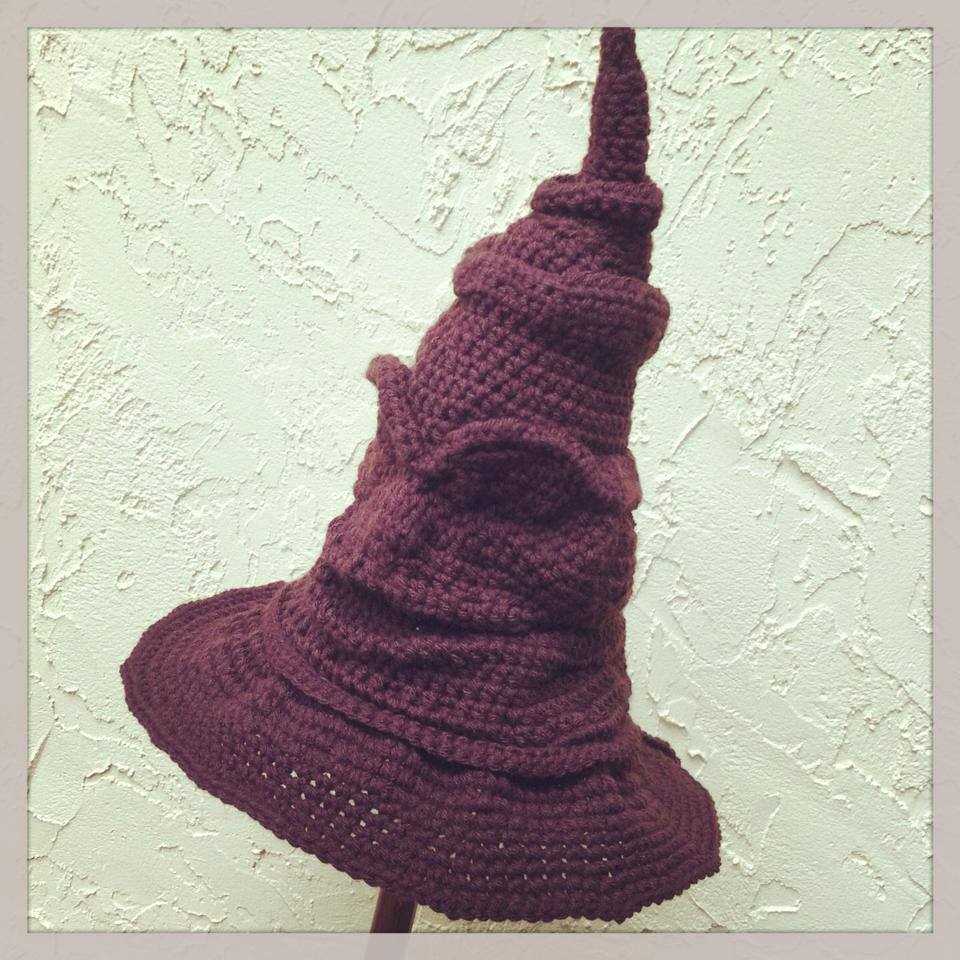
Creating the Pointed Top: The Hat’s Finishing Touch
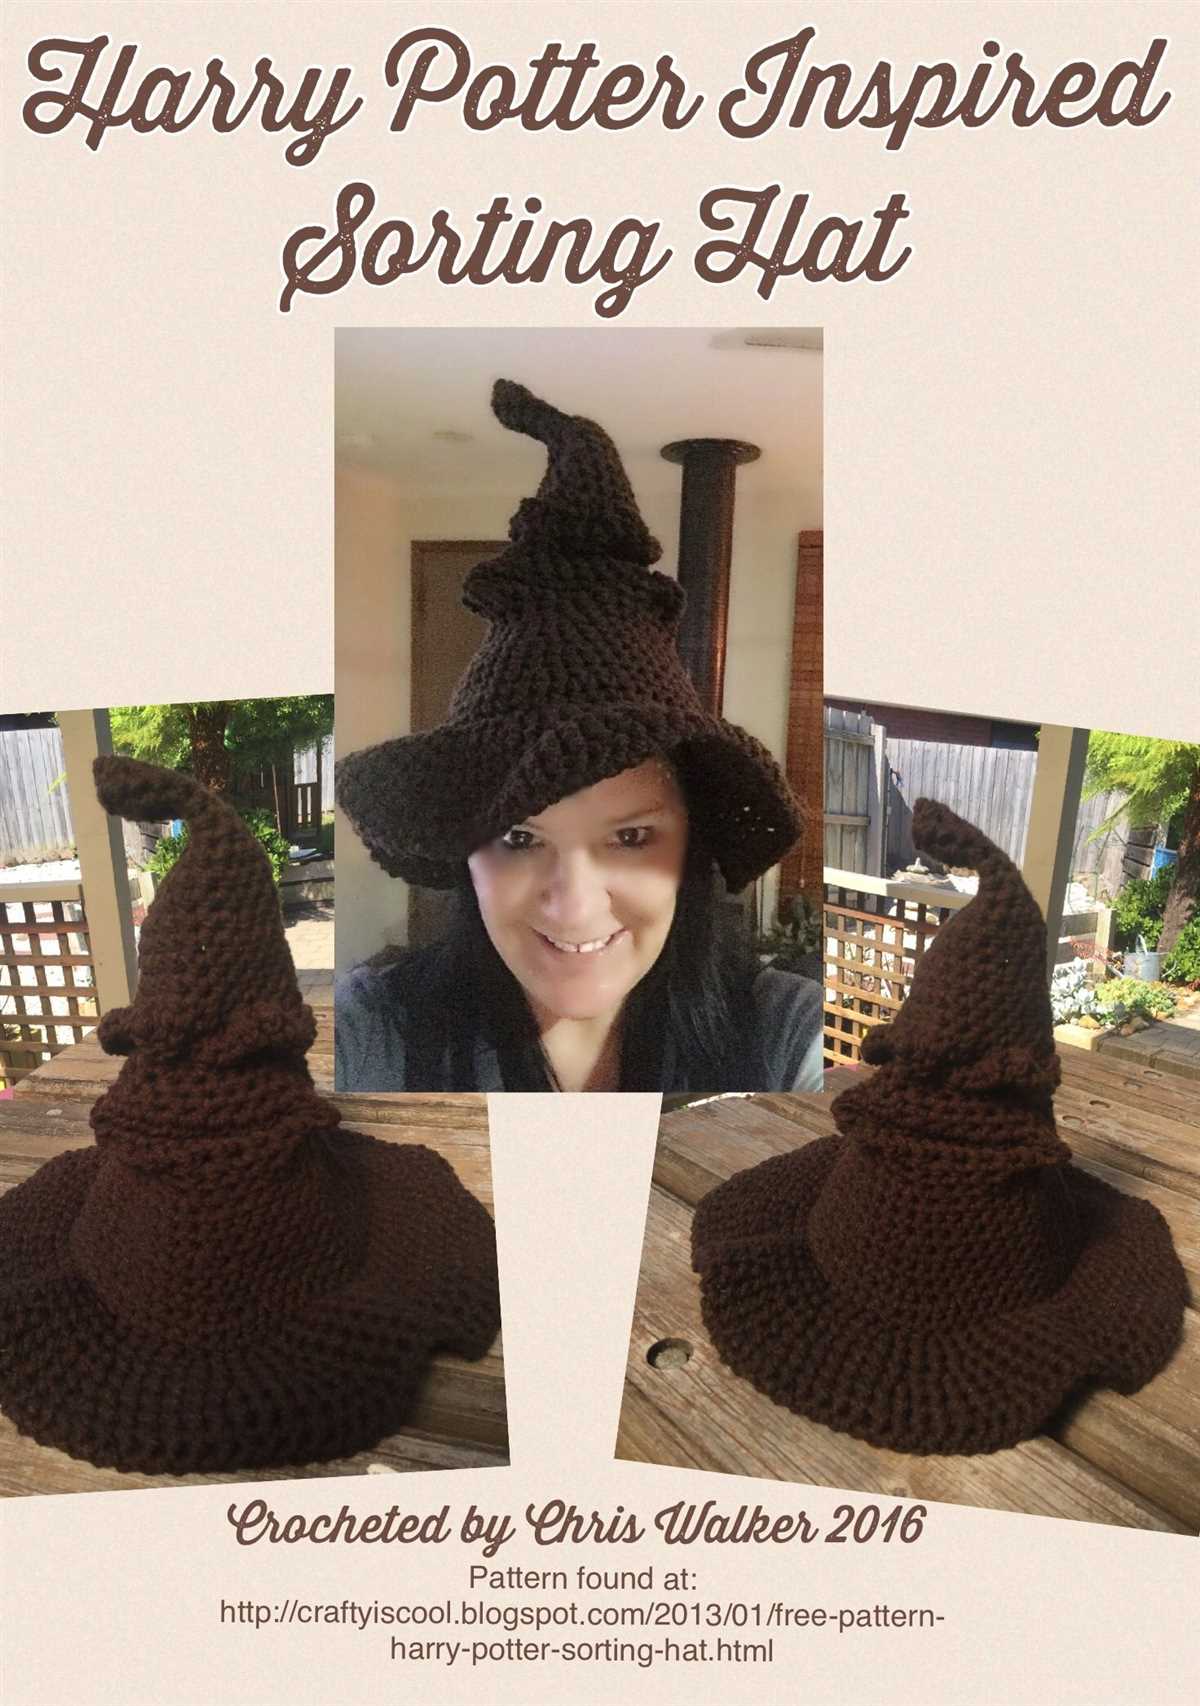
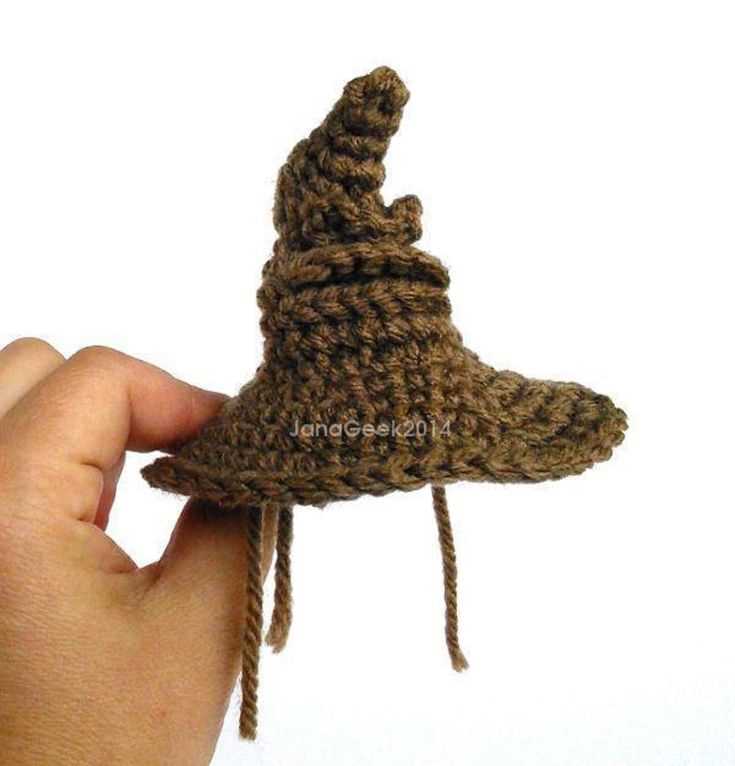
Once you have completed knitting the body of the Sorting Hat, it’s time to give it the iconic pointed top that distinguishes it from an ordinary hat. This finishing touch is what truly transforms the hat into a magical sorting tool.
To create the pointed top, you will need to decrease the stitches gradually in a specific pattern. Start by knitting two stitches together, then knit the next stitch. Repeat this pattern across the entire row. Continue this decrease pattern for several rows, gradually reducing the number of stitches until you are left with a small number, usually around four or five stitches.
Once you have reached the last few stitches, cut the yarn, leaving a long tail. Thread the tail through a yarn needle and slip the needle through the remaining stitches. Pull tight to gather the stitches together, closing the top of the hat. Secure the yarn by weaving it in and trimming any excess.
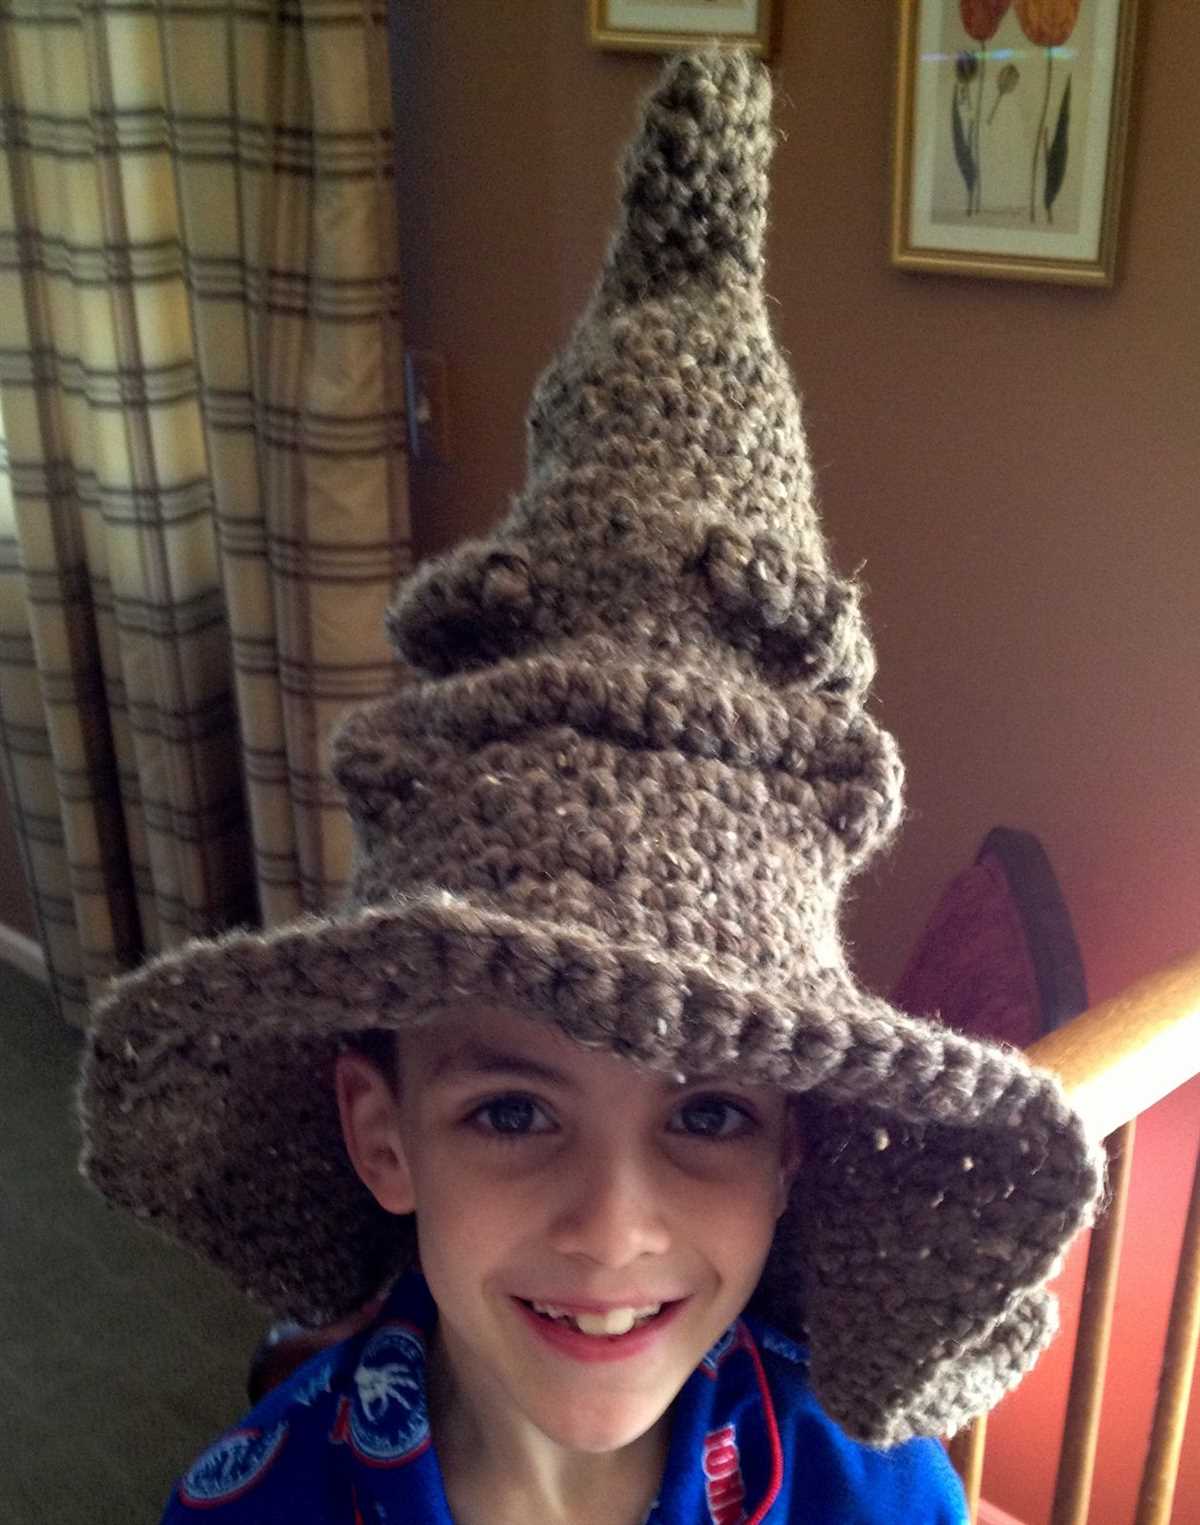
After completing the pointed top, take a moment to admire your handiwork. The hat should now resemble the iconic Sorting Hat from the Harry Potter series, with its distinct shape and pointed top. You can further enhance the hat’s appearance by adding a brim or embellishments, such as a knit patch with the Hogwarts emblem, if desired.
Adding the House Crest: Customization Options
When it comes to knitting your very own Sorting Hat, one of the most exciting parts is adding the house crest. This is where you can really personalize your hat and show off your Hogwarts pride. There are several customization options available to you, allowing you to create a hat that represents the magical house you truly belong to.
Embroidery: One of the most common ways to add the house crest to your Sorting Hat is through embroidery. You can choose to stitch the crest onto the hat using different colors of yarn to accurately represent the colors of your house. This method allows for a clear and precise crest, giving your hat an official and authentic look.
Appliqué: Another option for adding the house crest is through the use of appliqué. This involves cutting out the crest from a separate piece of fabric and sewing it onto the hat. This method allows for more flexibility in terms of the fabric used for the crest, as you can choose materials with different textures or patterns to make your crest stand out.
Knitted Intarsia: For those who are skilled in colorwork knitting, you can opt to create the house crest using the intarsia technique. This involves knitting the crest directly into the hat, creating a seamless and detailed design. While this method requires more advanced knitting skills, it results in a hat that truly showcases your commitment to your house.
Iron-On Transfer: If you’re looking for a quick and easy way to add the house crest, you can use iron-on transfers. These transfers are available in various designs and can be easily applied to the hat using an iron. While this method may not be as durable as embroidery or appliqué, it’s a great option for those who want to customize their hat without too much effort.
Whichever customization option you choose, adding the house crest to your Sorting Hat will make it a true representation of your Hogwarts house. Whether you’re a brave Gryffindor, a cunning Slytherin, a wise Ravenclaw, or a loyal Hufflepuff, your hat will proudly showcase your loyalty and support for your house and Hogwarts School of Witchcraft and Wizardry.
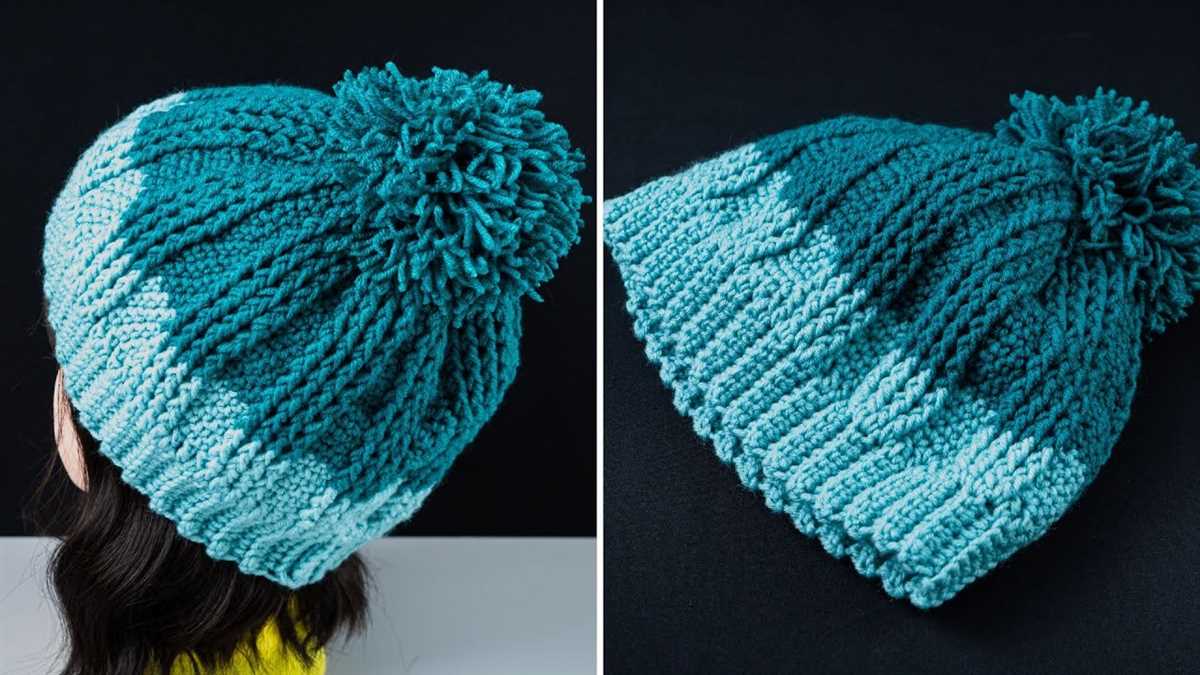
Finalizing Your Hat: Blocking and Finishing
Once you have completed knitting your Sorting Hat, there are a few final steps you should take to ensure that your hat looks its best. Blocking and finishing are important techniques that can really make a difference in the final appearance and fit of your hat.
Blocking:
Blocking is the process of shaping and stretching your knitted item to its intended dimensions. This step is particularly important for hats, as it helps to ensure that the hat sits correctly on your head and has a nice, even shape.
To block your Sorting Hat, you will need a blocking board or mat and some T-pins. Start by gently soaking your hat in lukewarm water and a mild detergent. Once it is fully saturated, remove the excess water by pressing it gently with a towel. Lay the hat flat on your blocking board and use the T-pins to shape it to the desired size and shape. Allow the hat to dry completely before removing the pins. This will help to set the shape and ensure that your hat retains its shape over time.
Finishing:
Finishing refers to the final touches you add to your knitting project to give it a polished look. For the Sorting Hat, you can add various finishing touches to make it truly magical. Here are a few ideas:
- Add a Pom Pom: Attach a pom pom to the top of your hat for a fun and whimsical touch. You can use yarn in contrasting colors or even add some glitter for a sparkly effect.
- Embroidery: If you want to personalize your Sorting Hat, consider adding some embroidery. You could stitch on the Hogwarts crest or even personalize it with your initials.
- Ribbons or Buttons: Attach ribbons or buttons to the brim of your hat for some extra flair. You could use ribbons in the house colors of Gryffindor, Hufflepuff, Ravenclaw, or Slytherin to show your Hogwarts pride.
Get creative with your finishing touches and make your Sorting Hat truly your own!
By following these steps, you’ll be able to block and finish your Sorting Hat with confidence. Once it’s dry and all finishing touches are added, your hat will be ready to wear and show off to fellow Harry Potter fans. Enjoy your newly completed Sorting Hat and may it bring you many magical adventures!
Q&A:
What is a Sorting Hat knitting pattern?
A Sorting Hat knitting pattern is a set of instructions that guide knitters in creating their own replica of the Sorting Hat, a magical hat from the Harry Potter series.
Where can I find a Sorting Hat knitting pattern?
There are several places where you can find a Sorting Hat knitting pattern. You can search online on knitting websites or browse knitting pattern books for Harry Potter-themed patterns. You might also find patterns available for purchase on websites like Etsy.
Is the Sorting Hat knitting pattern suitable for beginners?
The difficulty level of a Sorting Hat knitting pattern can vary depending on the specific pattern you choose. Some patterns may be more challenging and require intermediate or advanced knitting skills, while others may be simpler and suitable for beginners. It’s important to read through the pattern and assess your own skills before starting the project.
What materials do I need to knit a Sorting Hat?
The materials needed to knit a Sorting Hat can vary depending on the pattern and your own preferences. Generally, you will need a set of knitting needles (size may vary), yarn in various colors (such as brown and gray), a tapestry needle, and stuffing for the hat’s brim. The specific materials required will be listed in the pattern you choose to follow.
How long does it take to knit a Sorting Hat?
The time it takes to knit a Sorting Hat can vary depending on your knitting speed and the complexity of the pattern. It could take anywhere from a few days to a couple of weeks to complete the hat. It’s also important to consider the amount of time you can dedicate to knitting each day or week.
Where can I find a sorting hat knitting pattern?
You can find a sorting hat knitting pattern on various knitting websites and platforms such as Ravelry, Etsy, and LoveCrafts. Some patterns may be available for free, while others may have a small fee.