
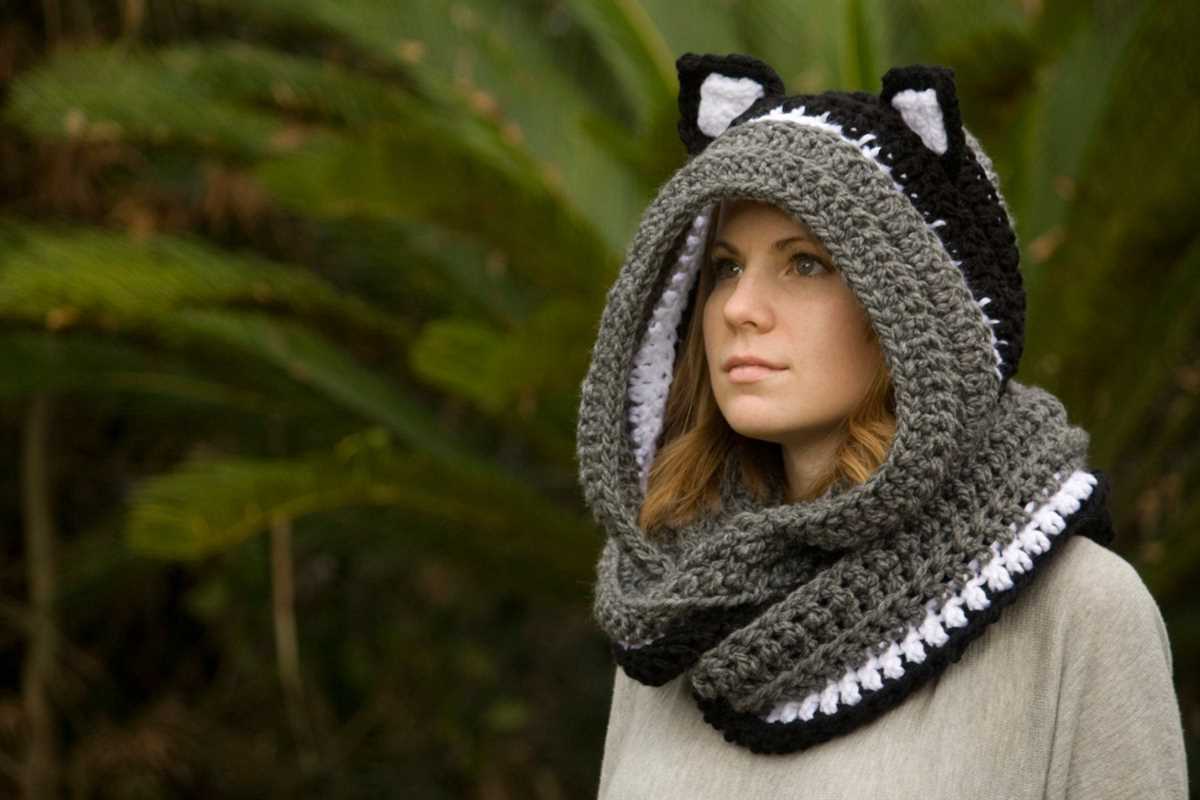
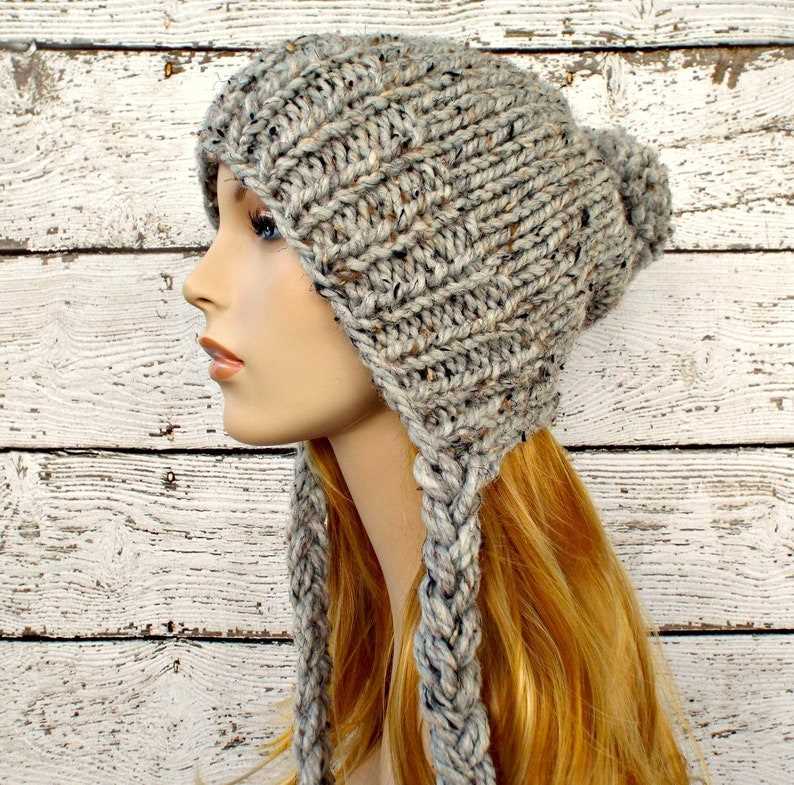
Knitting is not only a relaxing and creative hobby, but it also allows you to make your own unique accessories. One popular accessory for cold weather is a hat with an attached scarf. This innovative design not only keeps your head warm, but it also eliminates the need for a separate scarf, making it convenient and stylish.
Creating a hat with a scarf attached requires a moderate level of knitting experience. The pattern involves basic knitting techniques such as casting on, knitting in the round, and decreasing stitches. The scarf portion can be as long as desired, providing extra warmth and allowing for various styling options.
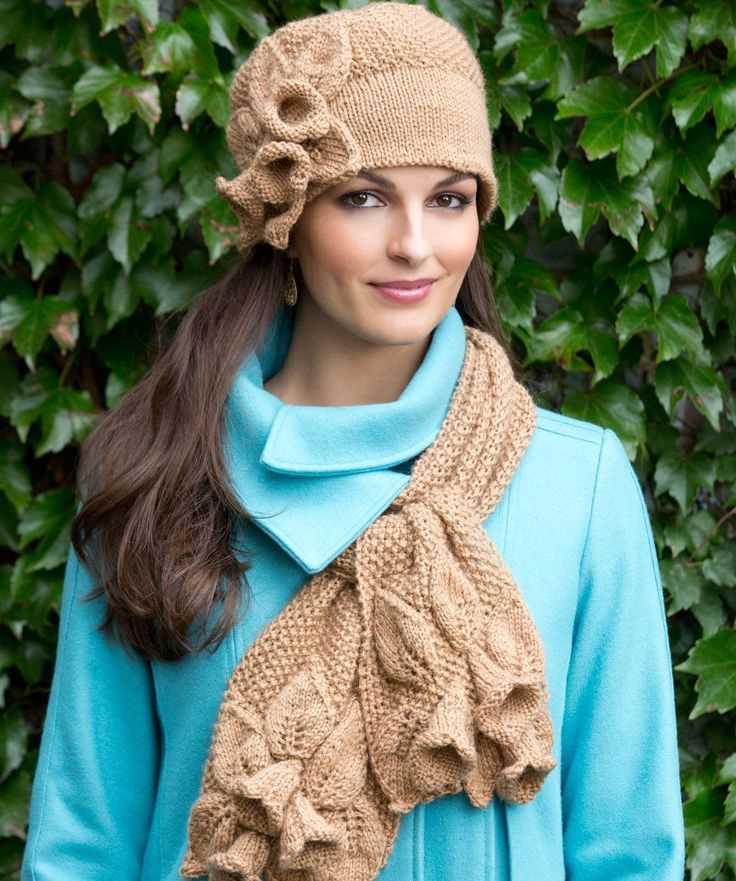
One of the advantages of knitting your own hat with a scarf attached is that you can choose the colors and yarn type that suits your style and the weather in your area. You can also experiment with different stitch patterns and embellishments, adding a personal touch to your creation. Whether you prefer a simple and classic design or a more intricate and eye-catching pattern, the possibilities are endless.
Knitting pattern for hat with attached scarf

Creating a hat with an attached scarf is a fun and practical knitting project. This pattern will guide you through the step-by-step process of making your own cozy and stylish accessory. With just a few basic knitting techniques, you’ll have a hat and scarf combo that is perfect for staying warm during the colder months.
Materials:
- 4 skeins of yarn in your desired color
- Size 8 knitting needles
- Cable needle
- Tapestry needle
- Scissors
Instructions:
- Start by casting on 96 stitches with your size 8 knitting needles.
- Work in a rib stitch pattern (k2, p2) for 10 rows to create the brim of the hat.
- Switch to stockinette stitch (knit one row, purl one row) and continue knitting until the hat measures approximately 7 inches.
- Next, it’s time to start the attached scarf. Divide the stitches in half, with 48 stitches on each needle.
- Using a cable needle, work a simple cable pattern on one needle, crossing the stitches over each other.
- Continue knitting in stockinette stitch for both the hat and scarf sections until the scarf measures approximately 50 inches.
- Once the desired length is reached, join the two halves of the scarf back together by knitting across all stitches.
- Knit one row, then start decreasing by knitting two stitches together across the row.
- Continue decreasing until there are 12 stitches remaining.
- Bind off all stitches and weave in any loose ends with a tapestry needle.
With this knitting pattern, you’ll have a stylish hat with an attached scarf that is perfect for keeping you warm in chilly weather. Customize the color and yarn type to make it your own, and enjoy the satisfaction of creating a functional and fashionable accessory with your own two hands.
Choosing the right yarn and needles
When it comes to knitting a hat with a scarf attached, it is important to choose the right yarn and needles to ensure the best outcome for your project. The yarn you select will determine the overall feel, comfort, and durability of the hat and scarf, while the needles will influence the gauge and stitch definition.
Yarn: For a hat and scarf combination, it is advisable to choose a yarn that is both warm and soft, as it will be in direct contact with the skin. Natural fibers like merino wool or alpaca are excellent choices, as they provide warmth and are gentle against the skin. Acrylic or cotton yarns can also be considered, depending on the intended use and climate. Additionally, considering the weight and thickness of the yarn is important, as it will affect the drape and appearance of the finished project.
Needles: The selection of knitting needles will depend on the gauge of the yarn and your personal knitting style. Generally, for a hat and scarf, it is recommended to use circular needles, as they can accommodate a larger number of stitches and provide easier handling of the project. The size of the needles should be determined by the yarn weight and the desired gauge. It is essential to check the gauge recommended in the knitting pattern to ensure that your needles will produce the correct size. Using smaller or larger needles may result in a hat and scarf that is either too tight or too loose.
In conclusion, choosing the right yarn and needles is crucial when knitting a hat with a scarf attached. Consider the fiber content, weight, and thickness of the yarn to achieve the desired warmth and comfort. Additionally, select the appropriate needles, preferably circular for easier handling, and ensure they correspond to the gauge recommended in the pattern. With the right yarn and needles, you can create a beautiful and functional hat and scarf combination.
Casting on Stitches

When starting a knitting project, one of the first steps is to cast on stitches. This sets the foundation for your project and determines the width of your piece. There are several methods for casting on stitches, but the method you choose will depend on the desired finish and the pattern instructions.
One common method for casting on stitches is the long-tail cast on. To begin, make a slipknot and place it on your needle. Then, holding both the working yarn and the tail, make a loop with your index finger and insert the needle into the loop, catching the working yarn. Tighten the loop and repeat this process for the desired number of stitches.
Another method is the knit cast on. This method is similar to knitting a stitch, but instead of working into an existing stitch, you create a new one. Insert your needle into the first stitch on your left-hand needle as if to knit. Then, wrap the working yarn around the needle and pull it through the stitch, creating a new stitch. Repeat this process for each stitch until you have cast on the desired number.
Once you have cast on your stitches, it is important to make sure they are evenly distributed on your needle. This will help ensure that your finished piece is balanced. You can do this by gently sliding the stitches along the needle, being careful not to lose any.
Remember:
- Choose the casting on method that is best for your project.
- Pay attention to the pattern instructions for the correct number of stitches to cast on.
- Take your time and make sure your stitches are evenly distributed on your needle.
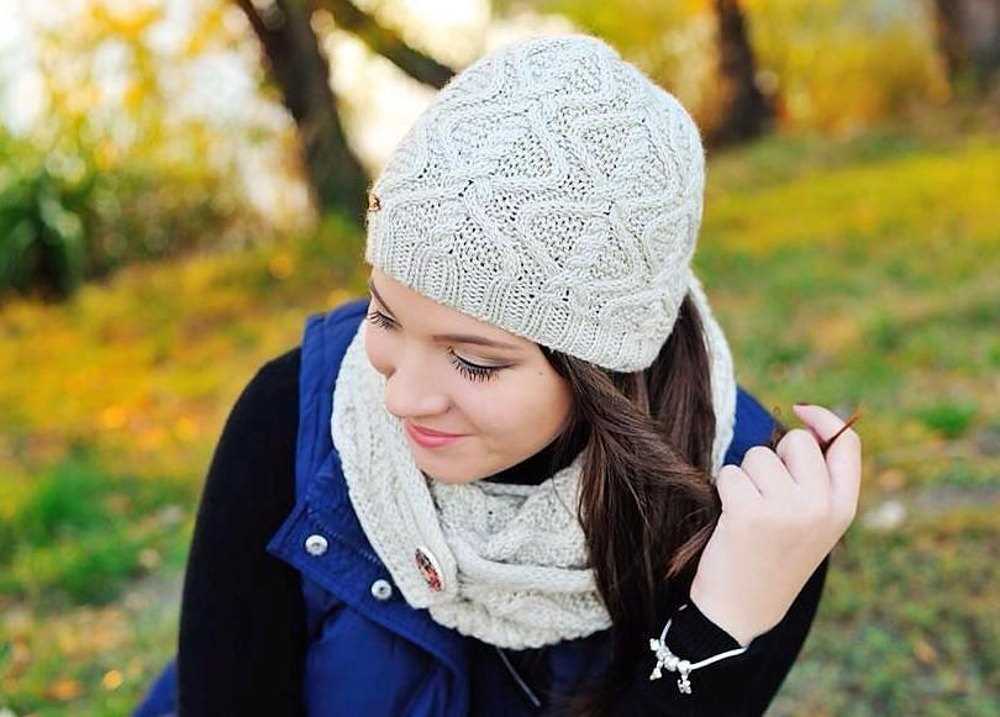
Knitting the ribbing
Before starting on the main part of the hat, it is important to create a ribbing that will help provide structure and elasticity to the finished hat. The ribbing is typically knitted using a smaller needle size and a combination of knit and purl stitches.
To begin, cast on the desired number of stitches using the smaller needle size. The number of stitches will depend on the size of the hat and the desired width of the ribbing. The most common ribbing pattern is the 1×1 rib, which alternates between knitting one stitch and purling one stitch.
1×1 Rib Pattern
Row 1: *Knit 1, purl 1* repeat to the end of the row.
Row 2: *Purl 1, knit 1* repeat to the end of the row.
Continue repeating these two rows until the ribbing reaches the desired length, usually around 1-2 inches. This will provide a snug and secure fit at the brim of the hat.
Once the ribbing is complete, switch to the larger needle size and begin knitting the main part of the hat according to the pattern instructions. The ribbing provides a nice transition between the brim and the body of the hat, and also helps to keep the hat in place when worn.
Remember to gauge your knitting tightly when working on the ribbing to ensure that it is stretchy enough to fit comfortably but also retains its shape. With a well-knitted ribbing, your hat will have a polished and professional look.
Shaping the crown
In order to shape the crown of the hat, you will need to decrease stitches gradually to create a rounded shape. This can be done using various decrease techniques such as knit two stitches together (k2tog) or slip slip knit (ssk).
Start by following the established pattern until the hat reaches the desired length. Once you have reached the desired length, it is time to begin shaping the crown.
Step 1: Begin by knitting two stitches together (k2tog) across the row. This will decrease the number of stitches by half.
Step 2: Continue to knit the next row without any decreases.
Step 3: Repeat Steps 1 and 2 until you have a small number of stitches left on your needles. This number will vary depending on the size of the hat and the desired fit.
Step 4: Once you have reached the desired number of stitches, cut the yarn leaving a long tail. Thread the tail through a darning needle and slip the needle through the remaining stitches, removing them from the knitting needles.
Step 5: Pull the tail tight to close up the top of the hat. Use the darning needle to weave in any loose ends and secure them in place.
By following these steps, you will be able to shape the crown of your hat and create a rounded and finished look. Remember to customize the pattern to fit your own style and preferences.
Creating the scarf portion

Once you have completed the hat portion of the project, it’s time to move on to creating the attached scarf. The scarf will be knitted separately and then attached to the hat using the specified joining method.
To create the scarf, you will need to refer to the knitting pattern for the specific measurements and stitches needed. Start by casting on the required number of stitches onto your knitting needle. This will determine the width of the scarf.
Next, you will follow the pattern instructions to complete the desired length of the scarf. This may involve knitting rows, repeating specific stitch patterns, or incorporating other design elements such as cables or lace. Make sure to double-check your gauge to ensure the scarf matches the intended measurements.
Once you have reached the desired length of the scarf, it’s time to finish off the edges. This can be done by binding off all stitches or by adding a decorative edge such as a picot bind-off or a ribbed border. The choice of finishing technique will depend on the design aesthetic you want to achieve.
After finishing the edges, you can proceed to attach the scarf to the hat. This can be done by either sewing the scarf directly onto the hat or by using a specific joining method such as knitting the two pieces together. Follow the pattern instructions carefully to ensure a secure and neat attachment.
With the scarf portion complete and attached to the hat, your knitting project is nearly finished. Make sure to weave in any loose ends and give the entire piece a final blocking if needed. Now you can enjoy your cozy and stylish hat with an attached scarf!
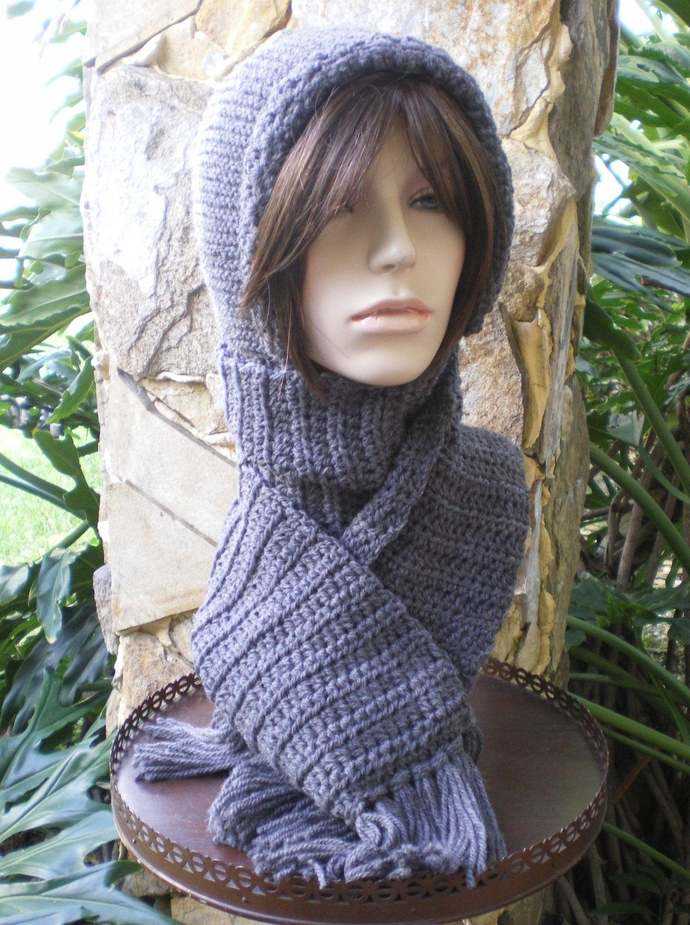
Connecting the hat and scarf

The connection between the hat and the scarf in this knitting pattern is not only functional but also adds a stylish touch to the overall design. By attaching the scarf directly to the hat, you eliminate the need for separate accessories and ensure that your neck stays warm and cozy even in the coldest weather.
To connect the hat and scarf, you will start by knitting the scarf section first. The scarf is knitted separately from the hat and is then attached to the hat once both pieces are complete. This allows for more flexibility in terms of customization and ensures that the finished product is seamless and well-integrated.
When attaching the scarf to the hat, you can use a variety of techniques such as sewing, crocheting, or even using buttons or clasps. Sewing the scarf directly onto the hat is a common method, as it creates a secure and durable connection. Alternatively, you can use a crochet hook to join the stitches of the scarf to the stitches of the hat, creating a seamless transition between the two pieces.
Regardless of the method you choose, it is important to ensure that the connection between the hat and scarf is strong and secure, as this will prevent the scarf from becoming loose or detached while wearing. Take the time to carefully sew or crochet the pieces together, making sure to reinforce any areas that may be prone to pulling or stretching.
Knitting the remaining length of the scarf
Once you have completed the main body of the hat, it’s time to move on to knitting the remaining length of the attached scarf. To do this, you will continue working with the same yarn and needle size that you used for the hat.
Step 1: Before you begin knitting the scarf, make sure that you have enough yarn left to complete the desired length. If necessary, you can join another skein of yarn by tying a secure knot and weaving in the loose ends later.
Step 2: Start by picking up stitches along one of the edges of the hat. Use your knitting needle to insert it into the edge stitches, and then wrap the yarn around the needle and pull it through the stitch to create a new stitch. Continue this process until you have picked up stitches along the entire edge of the hat.
Step 3: Once you have picked up the stitches, you will now continue knitting in the desired stitch pattern for the scarf. This could be a simple garter stitch, ribbing, or any other stitch pattern that you prefer. Follow the knitting pattern instructions for the scarf to complete the remaining length.
Step 4: Keep knitting the scarf until you reach the desired length. Remember to periodically measure the length of the scarf to ensure that it matches your desired measurements. Alternatively, you can use a stitch counter or marker to keep track of the number of rows or repeats completed.
Step 5: Once the scarf has reached the desired length, it’s time to finish off your knitting. Cut the yarn, leaving a tail long enough to weave in later. Thread the tail through the last stitch and pull it tight to secure. Weave in any remaining loose ends using a yarn needle to ensure a clean finish.
Following these steps will allow you to successfully knit the remaining length of the scarf and complete your hat with an attached scarf. Enjoy the process and embrace the cozy warmth of your handmade accessory!
Finishing Touches
Now that you have completed knitting your hat with an attached scarf, it’s time to add some finishing touches to make it truly special. Here are a few suggestions:
- Blocking: Before you start adding any embellishments, it’s important to block your hat and scarf. This will ensure that the stitches lay flat and the fabric looks more polished. To block, wet your project and gently stretch it to the desired shape. Let it dry completely before proceeding.
- Embellishments: You can customize your hat with scarv attached by adding some embellishments such as buttons, flowers, or pompoms. Sew them securely onto the hat and scarf, making sure they are firmly attached.
- Lining: If you want to make your hat with attached scarf more warm and comfortable, consider adding a lining. You can use a soft fabric like fleece or flannel and sew it into the inside of the hat and scarf. This will provide extra insulation and protect your skin from any itchiness.
- Tag or Label: For a personal touch, you can sew in a small tag or label with your name or initials. This will not only add a professional finish but also make it clear that your hat with attached scarf is a handmade item.
- Final Checks: Before you consider your project complete, take a few moments to inspect it for any loose threads, uneven stitches, or other imperfections. Make any necessary repairs or adjustments to ensure a high-quality finished piece.
By following these finishing touches, you can take your knitted hat with attached scarf to the next level and create a truly unique and personalized accessory that will keep you warm and stylish all winter long!
Q&A:
Can you recommend a knitting pattern for a hat with a scarf attached?
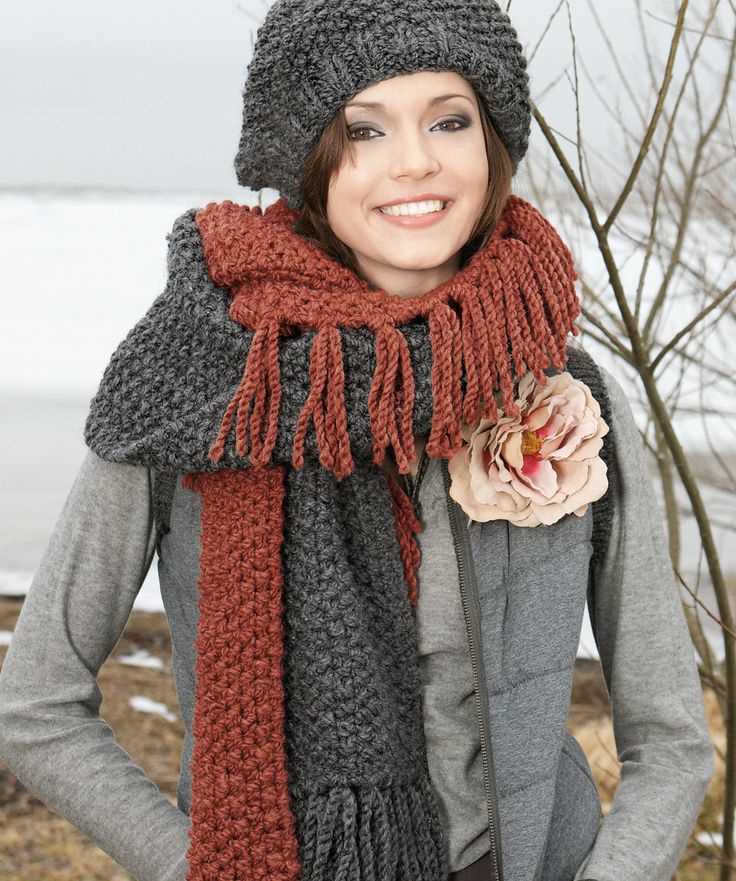
Yes, I can. One popular knitting pattern for a hat with a scarf attached is the “Scarf Hat Combo” pattern. It involves knitting a hat and then attaching a buttoned or looped scarf to the bottom edge of the hat. This pattern is great for keeping both your head and neck warm in colder weather.
Where can I find a knitting pattern for a hat with a scarf attached?
You can find knitting patterns for hats with attached scarves on various knitting websites and online marketplaces. Some popular places to look for these patterns include Ravelry, Etsy, and LoveKnitting. There are usually both free and paid patterns available to suit your preference.
Are there any specific yarn recommendations for knitting a hat with a scarf attached?
When choosing yarn for a hat with a scarf attached, it is important to consider the weight and fiber content of the yarn. A medium weight yarn (worsted or aran) is usually suitable for this type of project. As for the fiber content, you can choose from various options such as wool, acrylic, or a blend of different fibers. It ultimately depends on your personal preferences and the level of warmth and softness you desire.
Can I customize the pattern for a hat with a scarf attached?
Yes, definitely! Knitting patterns are often customizable, allowing you to add your own personal touch. You can modify the length and width of the scarf, change the stitch pattern for the hat, or even add embellishments like pom-poms or tassels. Feel free to experiment and make the pattern your own!
Is it difficult to knit a hat with a scarf attached?
Knitting a hat with a scarf attached can be a slightly more advanced project compared to knitting a basic hat or scarf separately. It requires some knowledge of knitting in the round and techniques for attaching the scarf to the hat. However, with clear instructions and a bit of practice, it can be a fun and rewarding project for intermediate knitters!
Where can I find a knitting pattern for a hat with a scarf attached?
You can find knitting patterns for hats with attached scarves on various websites and online knitting communities. Some popular platforms for finding knitting patterns include Ravelry, Etsy, and LoveKnitting. Additionally, many knitting magazines and books also offer patterns for hats with attached scarves. You can also try searching for specific patterns using keywords like “hat with scarf attached knitting pattern” on search engines like Google.