
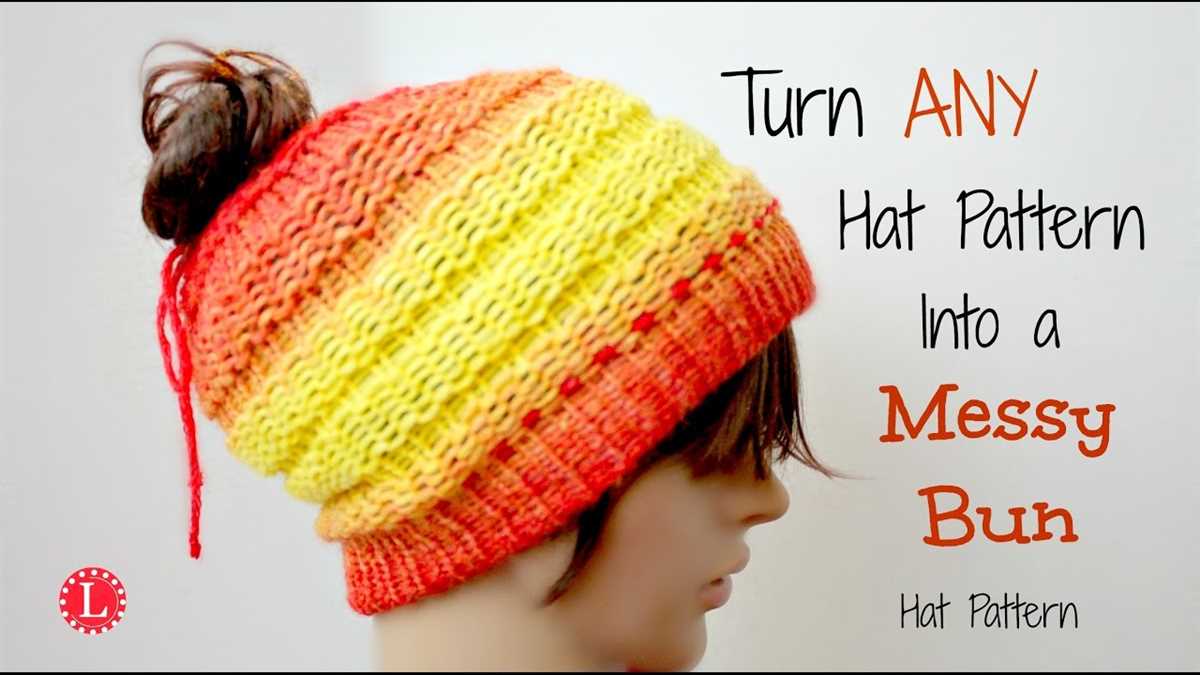
Knitting your very own messy bun hat is a great way to stay warm and stylish during the winter months. The messy bun hat, also known as a ponytail hat, is a popular accessory that allows you to wear your hair in a ponytail or bun while still keeping your head warm. This pattern is perfect for beginners, as it requires basic knitting skills and only uses simple stitches.
The best part about this pattern is that it is customizable to fit any head size. Whether you have long or short hair, this hat will still look great and keep you cozy. The pattern uses a chunky yarn and larger knitting needles, which makes it a quick and easy project to complete.
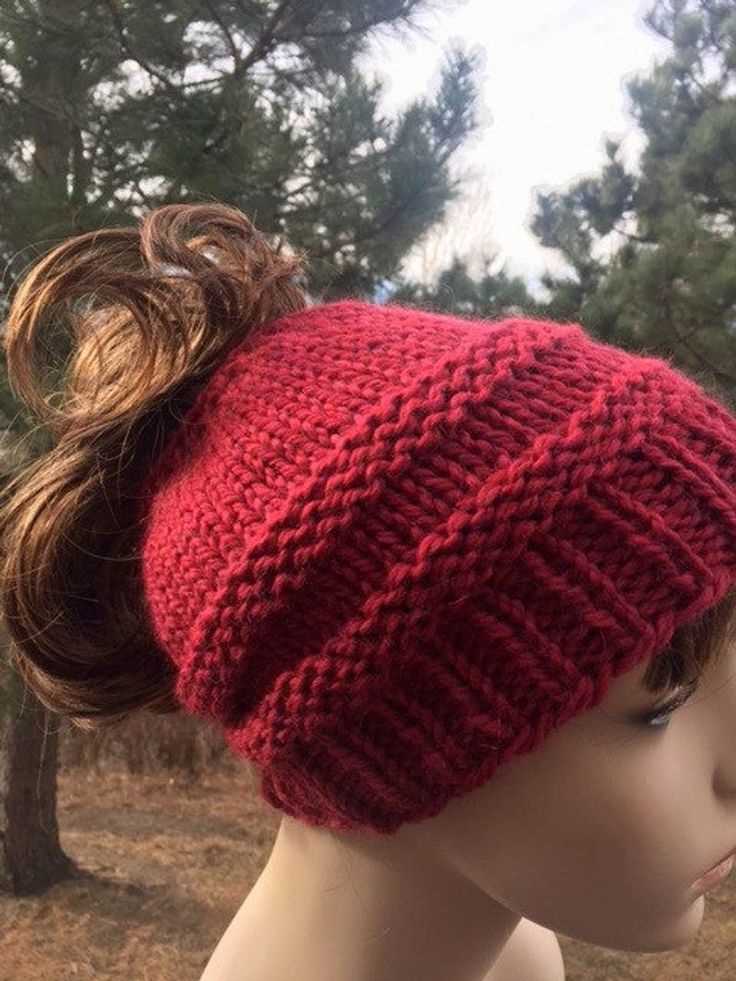
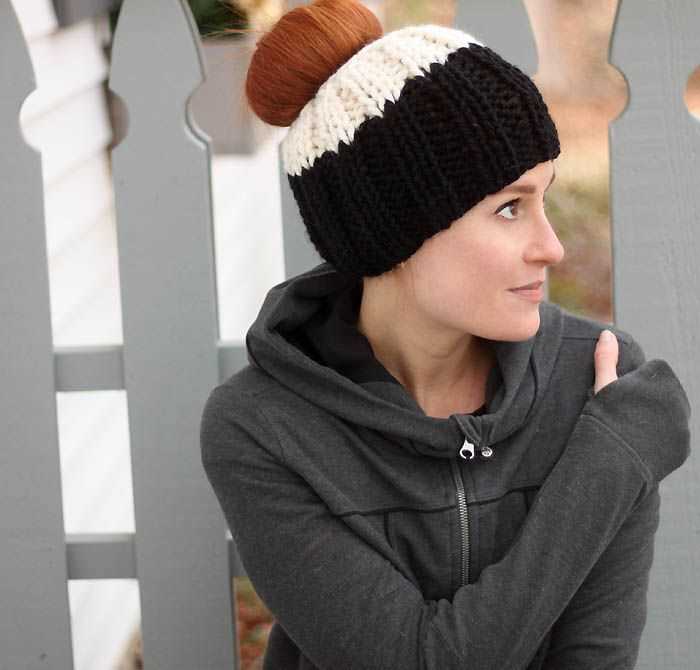
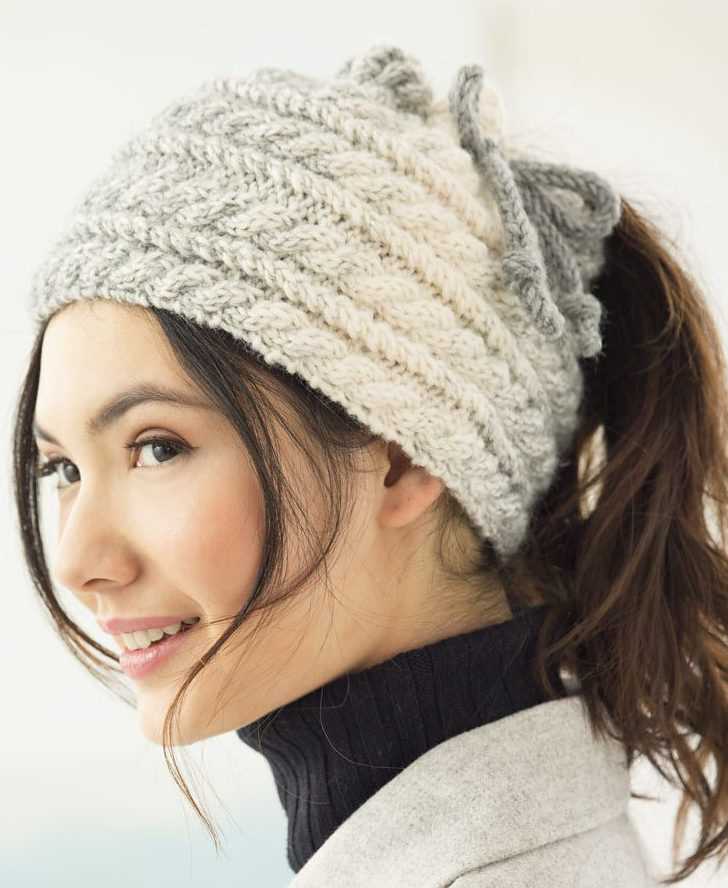
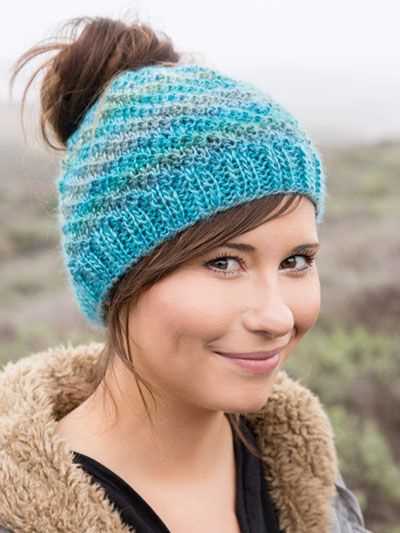
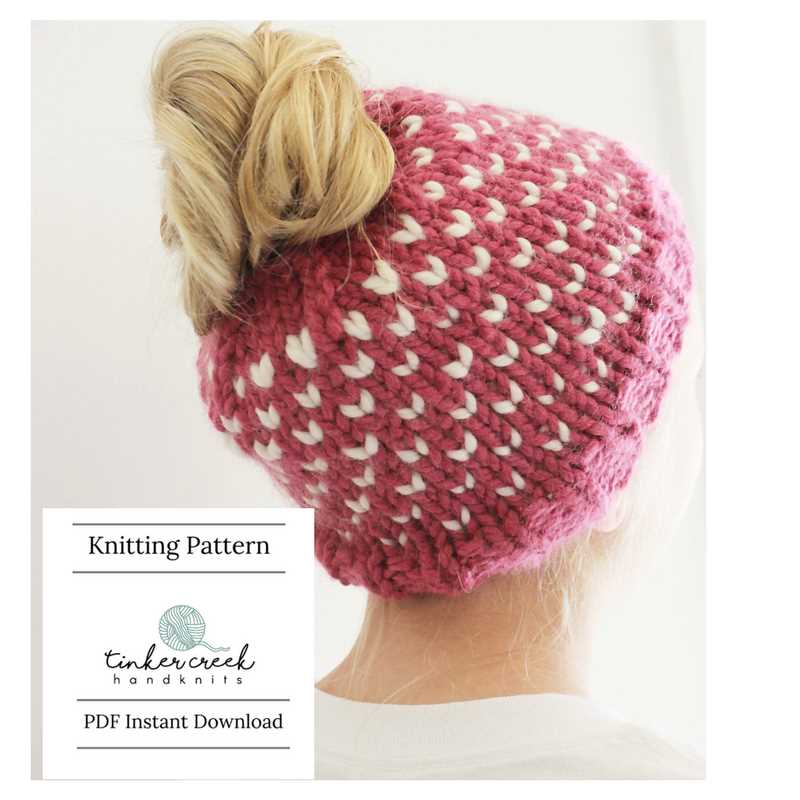
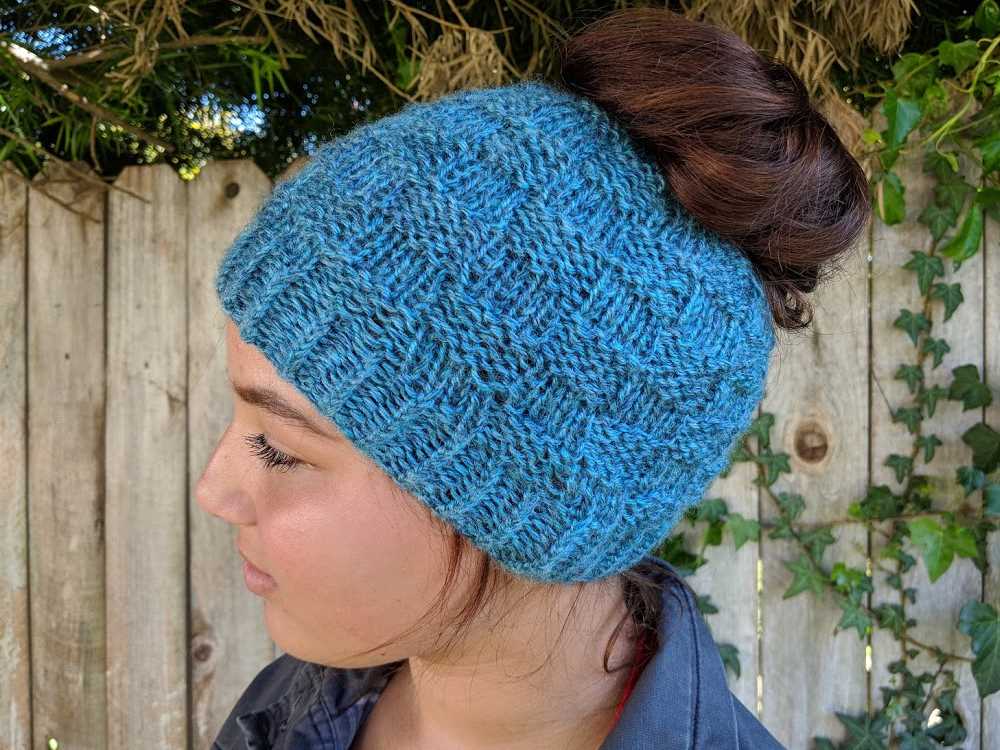
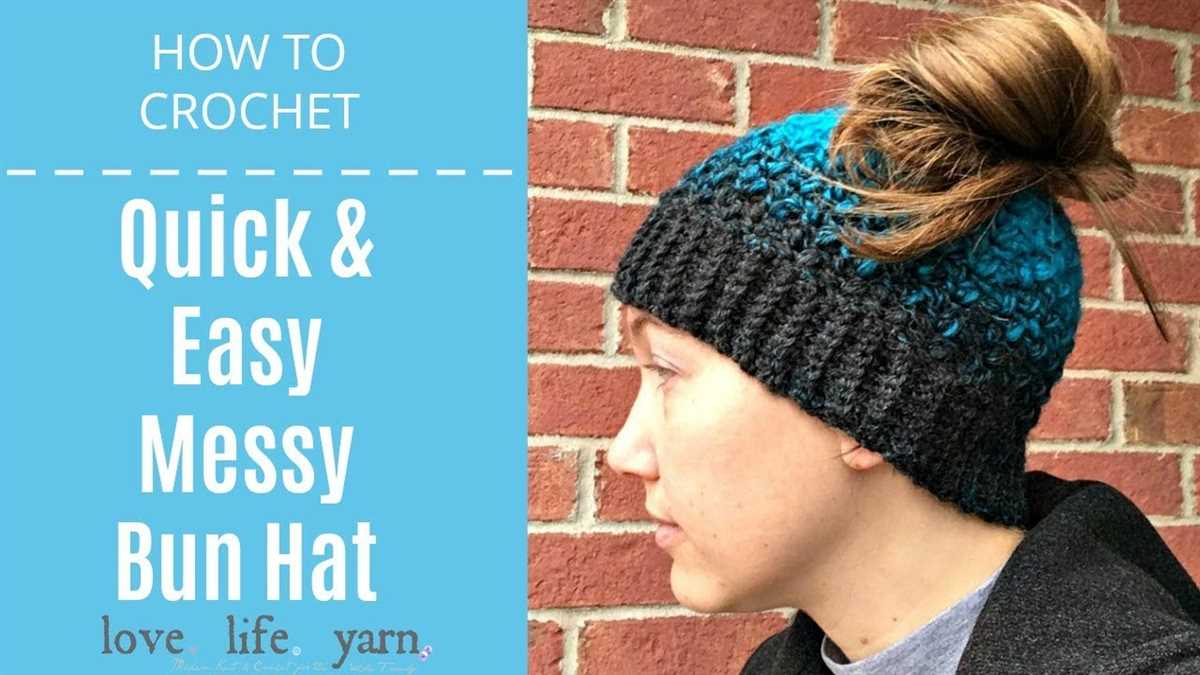
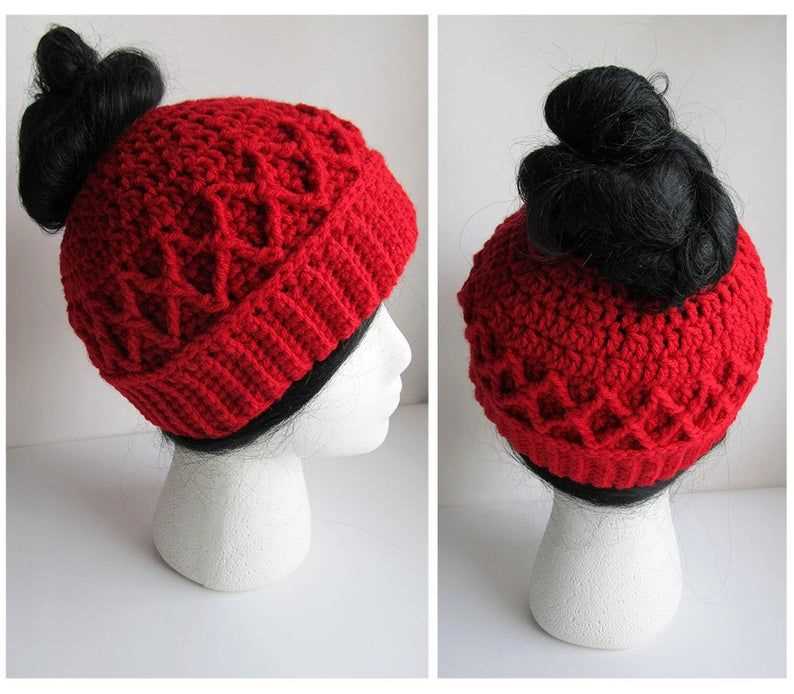
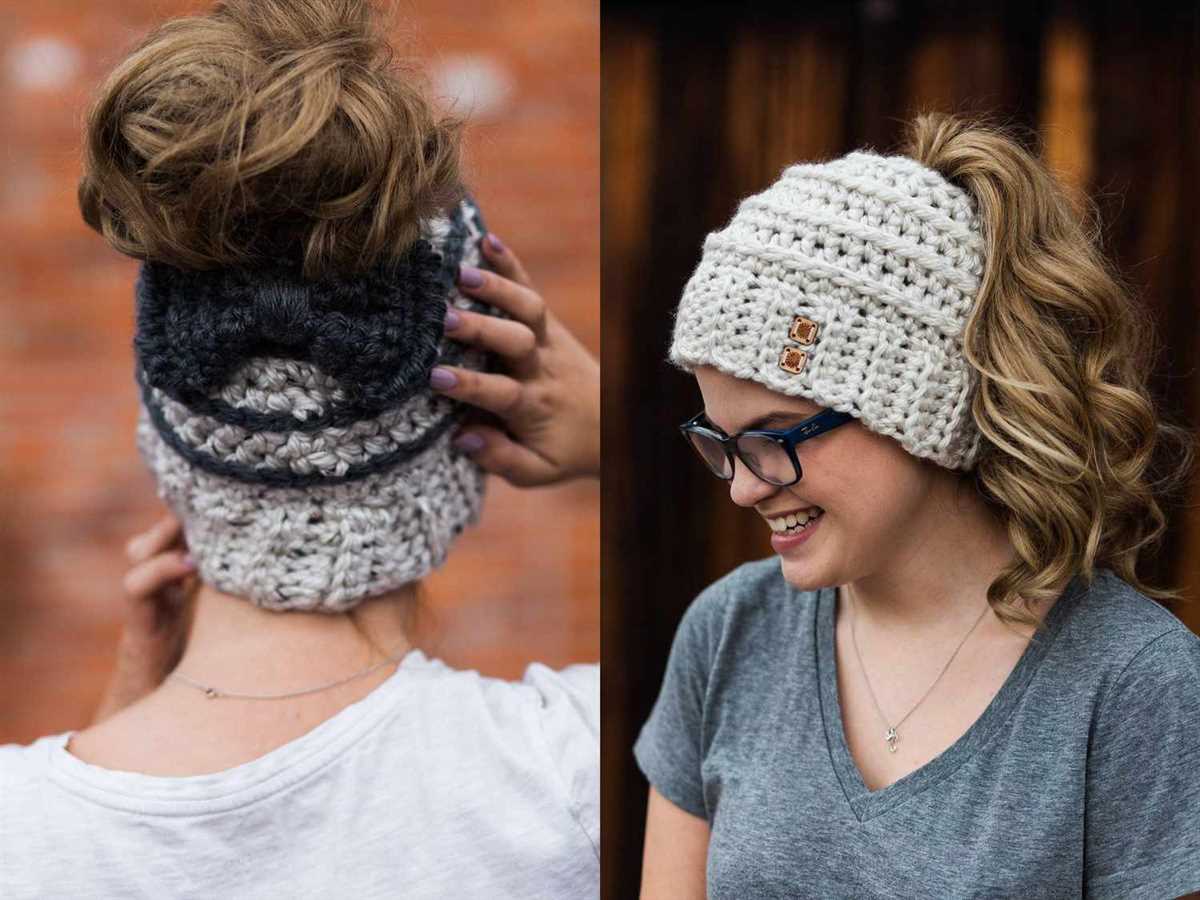
One key feature of this messy bun hat pattern is the opening at the top, which allows you to pull your hair through. The hat is designed to fit snugly around your head, keeping your ears and forehead warm. With its trendy design and practicality, the messy bun hat has become a favorite among knitters of all skill levels.
If you’re looking to add a fun and fashionable accessory to your winter wardrobe, try knitting your own messy bun hat. With this pattern, you’ll be able to create a hat that is both stylish and functional. So grab your knitting needles and get ready to make a cozy hat that you’ll love wearing all season long.
Messy Bun Knit Hat Pattern

The messy bun knit hat is a trendy and practical accessory that has gained popularity in recent years. This unique hat design features a hole at the top to allow for a messy bun or ponytail to be pulled through, while keeping the head and ears warm. Knitters of all skill levels can enjoy making this hat, as it is a relatively simple pattern that can be customized to suit individual preferences.
Materials:
- US size 8 circular knitting needles
- Worsted weight yarn
- Stitch marker
- Tapestry needle
- Scissors
Instructions:
- Cast on 80 stitches using the long-tail cast on method.
- Join in the round, being careful not to twist the stitches.
- Place a stitch marker to indicate the beginning of the round.
- Knit in a ribbed pattern (K2, P2) for 2 inches.
- Switch to stockinette stitch and knit every round until the hat measures 5 inches from the cast on edge.
- Begin decreasing: *Knit 6, k2tog* repeat until the end of the round. (70 stitches)
- Continue knitting every round until the hat measures 6.5 inches from the cast on edge.
- Switch to the double-pointed needles when necessary.
- Decrease again: *Knit 5, k2tog* repeat until the end of the round. (60 stitches)
- Knit every round until the hat measures 8 inches from the cast on edge.
- Switch to the double-pointed needles if necessary.
- Decrease one more time: *Knit 4, k2tog* repeat until the end of the round. (50 stitches)
- Continue knitting every round until you have 10 stitches left.
- Break the yarn, leaving a long tail. Thread the tail through the tapestry needle and slide it through the remaining stitches, removing them from the knitting needle.
- Pull the tail tight to close the top of the hat.
- Weave in any remaining ends.
This messy bun knit hat pattern allows you to create a stylish and functional accessory that can be worn in any season. Whether you’re heading out for a casual day or hitting the slopes, this hat will keep your head warm while allowing you to keep your hair up and out of the way. Experiment with different yarn colors and textures to make each hat unique to your style!
Choosing the Right Yarn

When it comes to knitting a messy bun knit hat, choosing the right yarn is key. Not only does the yarn determine the overall look and feel of the hat, but it also affects the durability and warmth of the finished product. With so many options available, it can be overwhelming to decide which yarn to use. Here are some factors to consider when choosing the right yarn for your messy bun knit hat:
Fiber Content:
The first thing to consider is the fiber content of the yarn. Different fibers have different characteristics and will produce different results. For a cozy and warm hat, consider using a yarn with a high percentage of wool or alpaca. These natural fibers have excellent insulation properties and will keep your head warm even in cold weather. If you prefer a lighter and more breathable hat, opt for a yarn with a blend of cotton or bamboo. These fibers are ideal for wearing in milder climates or during transitional seasons.
Weight:
The weight of the yarn is another important factor to consider. The weight determines the thickness and drape of the finished hat. For a chunky and cozy hat, choose a bulky or super bulky weight yarn. These yarns are thick and will create a hat with a lot of texture. If you prefer a more delicate and lightweight hat, go for a fingering or sport weight yarn. These yarns are thin and will result in a hat with a more delicate look and feel.
Color:
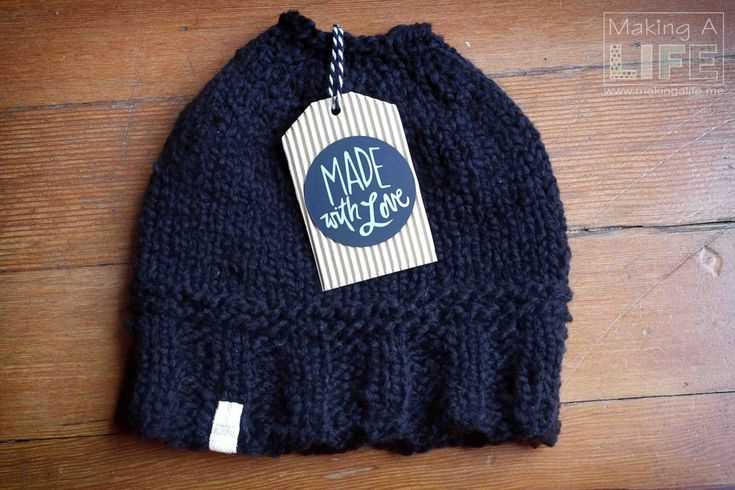
The color of the yarn is also something to consider. Do you want a hat in a vibrant and bold color, or do you prefer something more neutral and versatile? The color of the yarn can completely change the look of the hat. Consider the recipient’s personal style and preferences when choosing the color of the yarn. Additionally, keep in mind that lighter colors may show dirt and stains more easily, so if you’re making a hat that will be worn frequently, you might want to choose a darker color.
Conclusion:

Choosing the right yarn for your messy bun knit hat is an important decision. Consider factors like fiber content, weight, and color to ensure that your finished hat is warm, durable, and visually appealing. By carefully choosing the right yarn, you can create a hat that not only looks great but also meets the needs and preferences of the wearer.
Selecting the Proper Needle Size
When it comes to knitting, selecting the proper needle size is crucial to achieving the desired outcome for your project. The needle size you choose will determine the tension and overall appearance of your knitted item.
1. Gauge
Before you start your project, it’s important to determine the gauge you need to achieve. Gauge refers to the number of stitches and rows per inch in your knitting. To determine the gauge, you can make a swatch using the yarn and needles you plan to use. Measure the swatch and compare it to the suggested gauge in the pattern. If your gauge is too loose, you’ll need to choose a smaller needle size, and if it’s too tight, you’ll need to choose a larger needle size.
2. Yarn weight
The weight of your yarn will also play a role in determining the needle size you should use. Different yarn weights require different needle sizes to achieve a balanced and even fabric. For example, bulky yarn will require larger needles, while sock weight yarn will require smaller needles.
3. Desired drape and texture
The needle size you choose will also impact the drape and texture of your knitted item. Using larger needles will create a more open and airy fabric, while using smaller needles will result in a denser and more structured fabric. Consider the desired drape and texture of your project when selecting the needle size.
4. Personal preference and knitting style
Finally, personal preference and knitting style can also influence the needle size you choose. Some knitters prefer smaller needles for tighter and more intricate stitches, while others prefer larger needles for faster and looser knitting. Experiment with different needle sizes to find the one that best suits your knitting style and achieves the desired outcome for your project.
Gauge Swatch and Measurements
Before you start knitting your messy bun hat, it’s important to create a gauge swatch to ensure that your hat will turn out the correct size. The gauge swatch will help you determine how many stitches and rows you need to achieve the desired measurements for your hat.
Creating a Gauge Swatch
To create a gauge swatch, start by casting on a few extra stitches than what is specified in the pattern. For example, if the pattern states to cast on 20 stitches, you can cast on 30 stitches. This will give you a larger sample to work with. Then, work in the specified stitch pattern for a few inches.
Next, measure the gauge swatch by counting the number of stitches and rows within a given measurement, usually 4 inches. Use a ruler or tape measure to accurately measure the swatch. Compare your measurements to the gauge provided in the pattern. If your stitch count and row count match the gauge in the pattern, then you have achieved the correct gauge. If not, you will need to adjust your needle size and try again.
Measuring for the Hat
Once you have determined the correct gauge, it’s time to measure for the hat. You will need to measure the circumference of the head that the hat will be worn on. Wrap the measuring tape around the head, just above the ears, and measure the circumference in inches.
Next, you will need to decide on the desired length of the hat. Measure from the base of the ear to the desired length of the hat, whether it’s above the ears or longer. Make sure to take note of these measurements, as you will need them when following the pattern to create the perfect fit for your messy bun hat.
By taking the time to create a gauge swatch and accurately measure your head, you can ensure that your messy bun hat will be the perfect size and fit comfortably. Now, you’re ready to start knitting!
Casting On
When starting a messy bun knit hat, the first step is casting on. Casting on is the process of creating the foundation row of stitches on the knitting needle. There are various methods to cast on stitches, but for this pattern, we will be using the long tail cast on method.
To begin, you will need a pair of knitting needles and a ball of yarn. Measure out a length of yarn about four times the width of the hat you want to make. This is known as the “long tail.” Make a slipknot at the end of the long tail, leaving a small loop. Insert one of the knitting needles into the loop, and pull the long tail to tighten the loop around the needle.
Using your dominant hand, hold the needle with the slipknot in a comfortable position. Your other hand will hold the long tail of yarn, which will be used to create the stitches. Position your hands so that the working yarn (the yarn coming from the ball) is behind the needle and the tail is in front.
To cast on the first stitch, use your thumb and index finger to create an upside-down “U” shape with the tail end of the yarn. Insert the needle from left to right under the yarn, catching it with the tip of the needle. Bring the needle up and over the yarn, creating a loop on the needle. Pull the loop snugly, but not too tight. This is the first stitch.
Continue casting on stitches using the same method until you have the desired number of stitches for your hat. It’s important to keep the stitches loose enough so that they can easily move along the needle, but not so loose that they become too saggy. Once all the stitches are cast on, you are ready to start knitting the body of the hat.
Knitting the Ribbing
When knitting a messy bun knit hat, the ribbing is an important part of the pattern. The ribbing, typically knitted in a 1×1 or 2×2 rib, provides elasticity and helps the hat fit snugly around the head.
To start the ribbing, cast on the desired number of stitches using a stretchy cast-on method such as the long-tail cast-on. For a 1×1 rib, knit 1 stitch, then purl 1 stitch across the row. Repeat this pattern until the desired length of the ribbing is reached.
For a 2×2 rib, the pattern is slightly different. Knit 2 stitches, then purl 2 stitches across the row. Repeat this pattern until the desired length of the ribbing is reached. The 2×2 rib creates a thicker and more textured ribbing.
When knitting the ribbing, it’s important to maintain tension and ensure that the stitches are not too tight or too loose. It should have a comfortable stretch without being overly restrictive. If the ribbing is too tight, consider using larger needles. If it’s too loose, try using smaller needles or adjusting the tension of your stitches.
Once the ribbing is completed, you can move on to the main body of the messy bun knit hat pattern. The ribbing provides a neat and professional finish to the hat and sets the stage for the rest of the project.
Transitioning to Stockinette Stitch
As you progress in your messy bun knit hat pattern, you will eventually come to a point where you need to transition from the brim pattern to the stockinette stitch. This change in stitch pattern is what gives the hat its unique texture and look. However, transitioning from one stitch pattern to another can be a bit tricky, especially if you are a beginner knitter.
Here are some tips to help you smoothly transition to stockinette stitch:
- First, make sure that you have completed the desired number of rows for the brim pattern. This will depend on the specific pattern you are following, so refer to the instructions to determine how many rows you need to knit.
- Next, you will need to switch to the stockinette stitch. This stitch pattern is formed by knitting one row and purling the next row, repeating this pattern throughout. To begin the stockinette stitch, knit the first row after the brim pattern. Pay close attention to your tension as you switch stitches, ensuring that you are not knitting too tightly or loosely.
- Once you have completed the first row of stockinette stitch, you will need to purl the next row. Purling is the opposite of knitting, where you insert the needle from right to left instead of left to right. Repeat knitting one row and purling the next row until you have reached your desired length for the stockinette stitch section of the hat.
- It is also important to note that when transitioning from the brim pattern to the stockinette stitch, you may experience a slight change in gauge. The brim pattern is usually tighter than the stockinette stitch, so be prepared for a difference in stitch width. This is normal, and it can be adjusted by using a larger or smaller needle size if desired.
- Remember to always follow the pattern instructions for any specific details or modifications needed for transitioning to the stockinette stitch. Different patterns may have different techniques or stitch counts, so it is important to familiarize yourself with the specific instructions before making any changes.
Transitioning to the stockinette stitch in your messy bun knit hat pattern can be a challenging but rewarding process. By following these tips and practicing your knitting skills, you will be able to create a beautiful and professional-looking hat that you can be proud of.
Shaping the Crown
Creating the crown of the messy bun knit hat involves shaping the top portion to provide a comfortable and stylish fit. This is done by decreasing the number of stitches gradually as you work your way to the top.
To accomplish this, you will start by knitting a few rows even, maintaining the same number of stitches as the previous section of the hat. Then, you will begin the decrease rounds, where you will combine stitches together to eliminate a certain number of stitches in each round. This will create a gradual tapering effect, shaping the crown of the hat.
Decreasing
For the decrease rounds, you will typically use techniques such as knit two together (k2tog) or slip slip knit (ssk) to combine stitches. These techniques help to reduce the number of stitches in each round while maintaining a smooth and seamless appearance.
Example:
- Round 1: *Knit 2 stitches, k2tog* – repeat from * to * around
- Round 2: Knit all stitches
- Round 3: *Knit 1 stitch, k2tog* – repeat from * to * around
- Round 4: Knit all stitches
- Continue decreasing in this pattern until you have a small number of stitches left.
By following a specific decrease pattern, you can achieve a crown shape that fits snugly on the head and adds a stylish touch to the messy bun knit hat.
Once the crown shaping is complete, you can finish off the messy bun knit hat by binding off the remaining stitches and weaving in any loose ends. Then, your cozy and fashionable hat will be ready to wear and keep you warm during colder weather!
Knitting the Messy Bun Opening
When it comes to knitting a messy bun hat, one of the important elements to consider is the opening for the bun. The messy bun hat, also known as a ponytail hat, features a hole or opening at the top to allow for a bun or ponytail to be pulled through. This unique design is perfect for those who want to keep their heads warm while still being able to wear their hair up.
When knitting the messy bun opening, it’s important to choose the right size needles and yarn to ensure that the opening is the perfect size. Many patterns will specify the needle and yarn size to use, but generally, a medium-weight yarn and corresponding needle size will work well. It’s also important to pay attention to the gauge of the pattern to ensure that the opening is not too loose or too tight.
There are different methods for creating the messy bun opening. One common method is to knit a few rows in a smaller gauge and then switch to a larger needle size to create the opening. Another method is to cast on a certain number of stitches and then knit in rounds, gradually increasing stitches to create the desired opening size. Whichever method is chosen, it’s important to follow the pattern instructions carefully to achieve the desired result.
The size of the messy bun opening may vary depending on personal preference. Some individuals may prefer a smaller opening that fits tightly around their bun or ponytail, while others may prefer a larger opening that accommodates larger hairstyles. It’s important to consider the size of the bun or ponytail when choosing the size of the opening.
In conclusion, knitting the messy bun opening requires careful attention to detail and following the pattern instructions. With the right needle and yarn size, as well as the chosen method for creating the opening, knitters can easily create a stylish and functional messy bun hat that allows for wearing hair up while keeping warm.
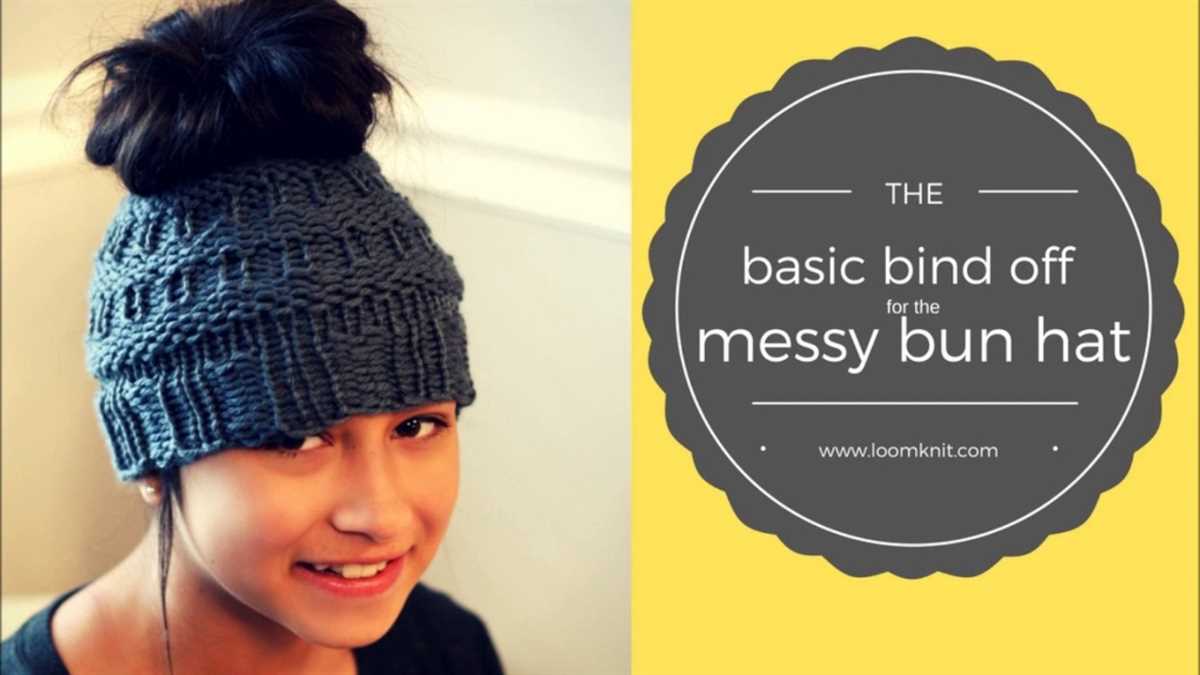
Binding Off and Seaming
Once you have completed knitting the messy bun knit hat pattern, it is time to bind off to secure the stitches and finish the edges of the hat. To bind off, knit the first two stitches as usual, then use the left needle to lift the first stitch over the second stitch and off the right needle. Continue binding off in this way until you have one stitch left on the right needle. Cut the yarn, leaving a long tail, and pull it through the remaining stitch. Weave in the ends to secure them.
Next, you will need to seam the edges of the hat together to create a finished look. To do this, fold the hat in half and line up the edges. Thread a tapestry needle with the excess yarn from the bind off and use it to sew the edges together. The whipstitch is a common method for seaming knitting projects. Insert the needle through the bottom edge of the fold and then through the corresponding stitch on the opposite side. Continue in this way, sewing stitch to stitch, until you reach the top of the hat. Secure the yarn and weave in any loose ends.
To add an optional pom pom to the top of the messy bun knit hat, simply use a pom pom maker or make one by wrapping yarn around your fingers or a cardboard template. Attach the pom pom to the top of the hat by sewing it on with a needle and yarn.
Tips:
- When binding off, make sure not to pull the yarn too tight, as this can make the edge of the hat gather and distort.
- When seaming the edges, try to maintain an even tension to create a clean and seamless look.
- Experiment with different yarn colors and textures to personalize your messy bun knit hat and make it unique.
Conclusion:
Binding off and seaming are the final steps in completing the messy bun knit hat pattern. By following these instructions and using the tips provided, you can create a beautiful and cozy hat that is perfect for keeping your head warm while still allowing you to wear your hair up in a messy bun.
Adding Embellishments
Once you have completed the main portion of your messy bun knit hat, you can add embellishments to personalize it and give it a unique touch.
There are various options for embellishment, including but not limited to:
- Pom Pom: You can make a pom pom using yarn in a contrasting color and attach it to the top of the hat.
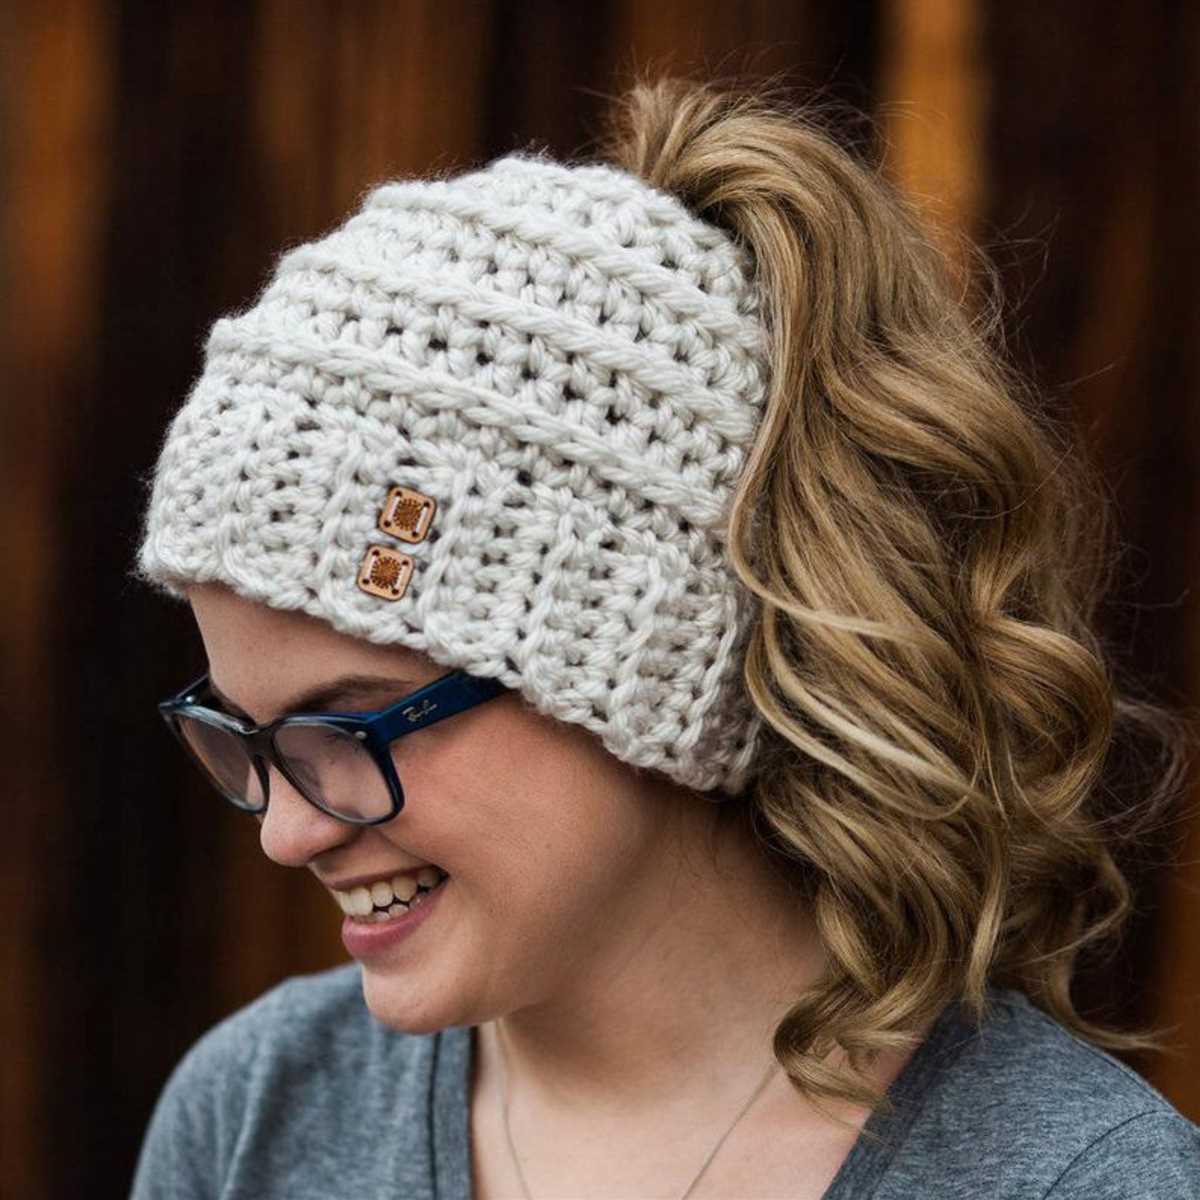
- Buttons: Sewing buttons onto the brim of the hat can add a decorative element.
- Flowers: You can crochet or knit flowers and sew them onto the hat to create a whimsical look.
- Bows: Adding a small knit or fabric bow to the side of the hat can be a cute addition.
- Ribbons: Attaching ribbons to the hat can create a more feminine and delicate look.
- Embroidery: Using embroidery thread, you can add intricate designs or simple monograms to the hat.
When adding embellishments, be sure to consider the overall style and color scheme of the hat. You want the embellishments to complement the hat rather than overpower it. Also, keep in mind that some embellishments may require additional sewing or attaching techniques.
Adding embellishments is a great way to put your own personal stamp on your messy bun knit hat. Whether you prefer a simple pom pom or want to get creative with embroidery, the choice is yours. Have fun experimenting and creating a hat that reflects your unique style!