
Are you looking to add a cozy and timeless staple to your winter wardrobe? Look no further than the classic fisherman sweater! With its textured stitch pattern and rich history, this sweater style has been a favorite among knitters for generations. Whether you’re an experienced knitter or a beginner looking for a new challenge, our free fisherman sweater knitting pattern is sure to become a beloved project.
Designed with warmth and comfort in mind, our fisherman sweater pattern features a chunky cable stitch that not only adds visual interest but also provides extra insulation against the cold. The pattern is written in clear and simple terms, making it accessible to even novice knitters. And the best part? It’s completely free!
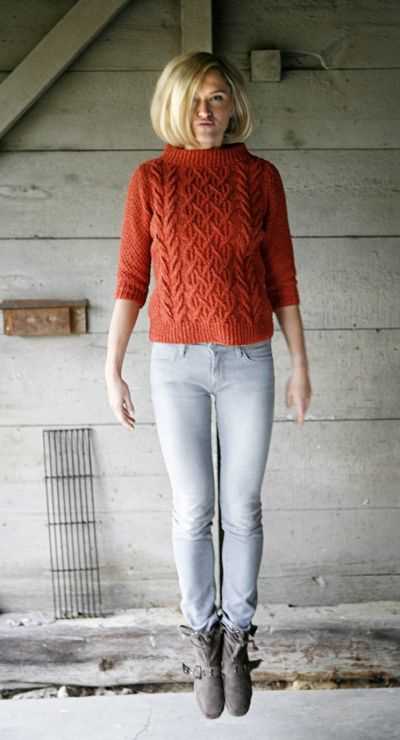
With our fisherman sweater knitting pattern, you’ll have the opportunity to create a one-of-a-kind sweater that is perfect for winter adventures or cozy nights by the fire. Knit it in a neutral color for a timeless look that pairs well with any outfit, or choose a bold and vibrant hue to make a statement. The possibilities are endless!
What is a fisherman sweater?

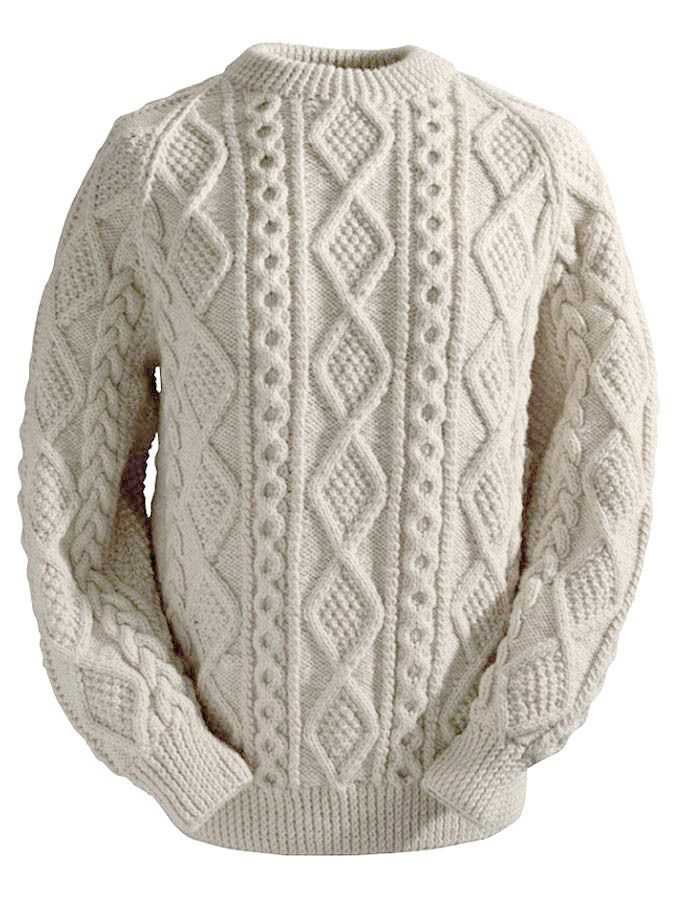
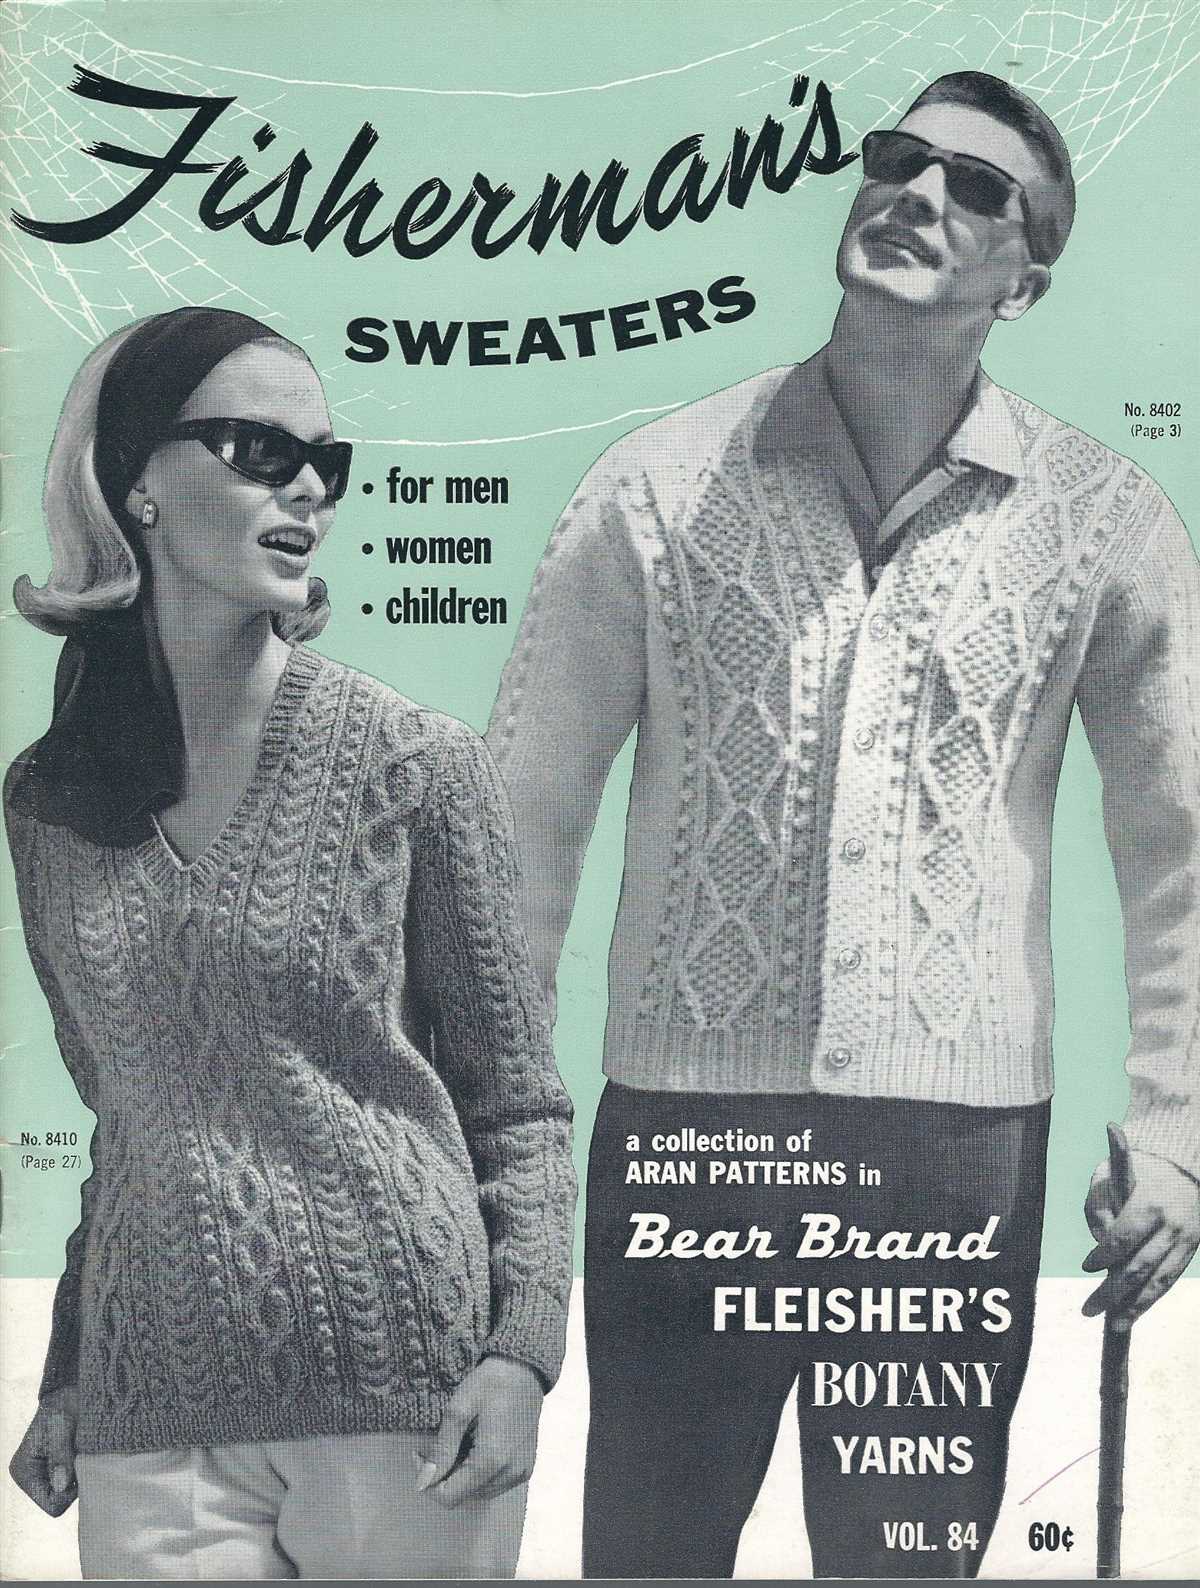
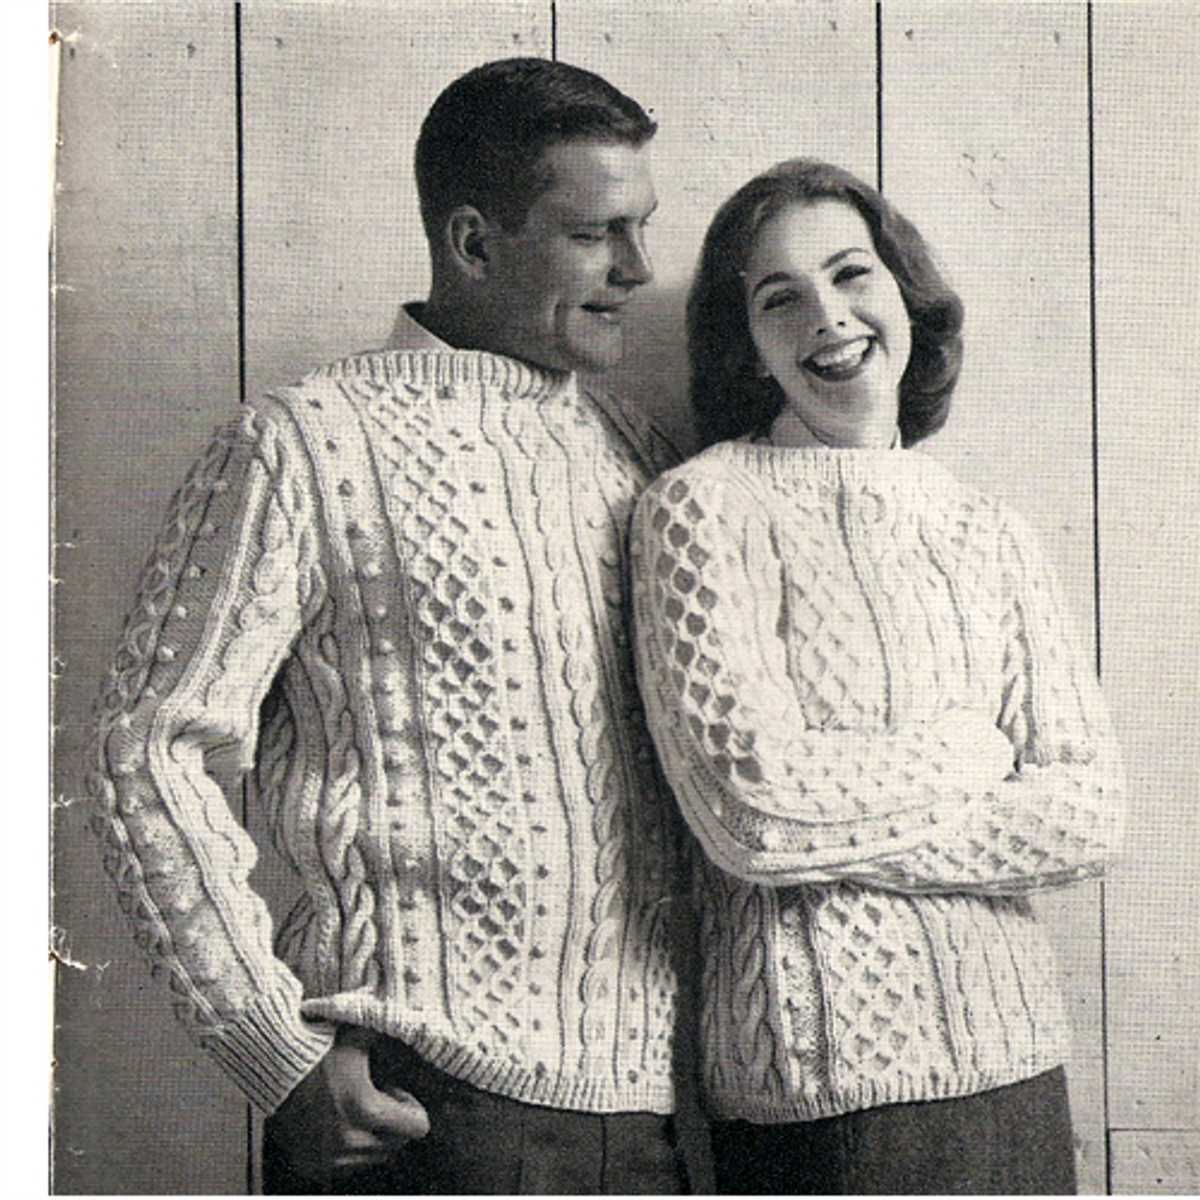
A fisherman sweater, also known as an Aran sweater, is a type of sweater that originated in the Aran Islands off the west coast of Ireland. It is traditionally made from wool and is known for its intricate cable and textured patterns.
These sweaters were originally worn by fishermen to protect them from the harsh weather conditions at sea. The cable patterns not only add a decorative element to the sweater, but also provide extra warmth and insulation. This makes fisherman sweaters ideal for outdoor activities and cold climates.
The cable patterns used in fisherman sweaters are often inspired by the ropes and nets used in fishing, hence the name. These patterns can vary from simple braids to more elaborate designs, and each has its own symbolism and meaning. For example, a honeycomb pattern may represent good luck and a diamond pattern may symbolize wealth and success.
Fisherman sweaters are not only functional and practical, but they have also become a fashion statement in their own right. They are versatile and can be styled in different ways, whether as a casual everyday item or as a cozy layering piece. The natural fibers of the wool used in fisherman sweaters make them breathable and insulating, ensuring comfort and warmth.
Overall, fisherman sweaters are timeless and classic pieces that have stood the test of time. Whether you’re a fisherman or simply appreciate the rich history and craftsmanship of these sweaters, they are a great addition to any wardrobe.
Why Knit a Fisherman Sweater?
If you’re looking for a knitting project that combines both style and functionality, a fisherman sweater is the perfect choice. These classic sweaters are not only timeless in their design, but they also offer warmth and durability, making them a staple in any wardrobe.
The main allure of knitting a fisherman sweater is the intricate cable patterns that adorn the garment. These patterns not only add visual interest but also provide extra insulation, making these sweaters perfect for colder climates. The texture of the cables gives the sweater a luxurious feel and adds a touch of sophistication to any outfit.
Another reason to knit a fisherman sweater is the versatility they offer. These sweaters can be dressed up or down, making them suitable for any occasion. Whether you pair it with jeans for a casual look or dress it up with a skirt and boots, a fisherman sweater will always add a touch of elegance to your outfit.
Knitting a fisherman sweater is also a great way to challenge yourself and improve your knitting skills. The intricate cable patterns may seem daunting at first, but with practice and patience, you’ll be able to master them and create a beautiful and unique garment.
Lastly, knitting your own fisherman sweater allows you to customize it to your liking. You can choose the color, yarn, and even modify the design to suit your preferences. This level of creativity and personalization is one of the many joys of knitting and allows you to create a truly one-of-a-kind garment that reflects your style.
In conclusion, knitting a fisherman sweater offers a plethora of benefits. From their timeless design to their warmth and durability, these sweaters are a worthwhile project for any knitter. So pick up your knitting needles, find a free pattern, and start creating your own cozy and stylish fisherman sweater.
Tips for choosing the perfect yarn
1. Consider the pattern: When choosing yarn for your fisherman sweater, it’s important to consider the pattern you will be knitting. Look for a yarn that matches the suggested gauge and weight specified in the pattern. This will ensure that your finished sweater has the right fit and drape.
2. Fiber content: Different yarn fibers have different qualities, so think about what you want from your fisherman sweater. If you’re looking for warmth and durability, wool or a wool blend would be an excellent choice. If you prefer something softer and lighter, consider a yarn made from alpaca or cotton. Each fiber has its own benefits and drawbacks, so do your research before making a decision.
3. Texture and stitch definition: Since a fisherman sweater typically features cables and textured stitches, it’s important to choose a yarn that will highlight these beautiful details. Look for a yarn that has good stitch definition, meaning that the stitches will stand out and create a visually appealing pattern. Yarns with a smooth texture, such as a tightly spun wool, tend to show off cables and textured stitches nicely.
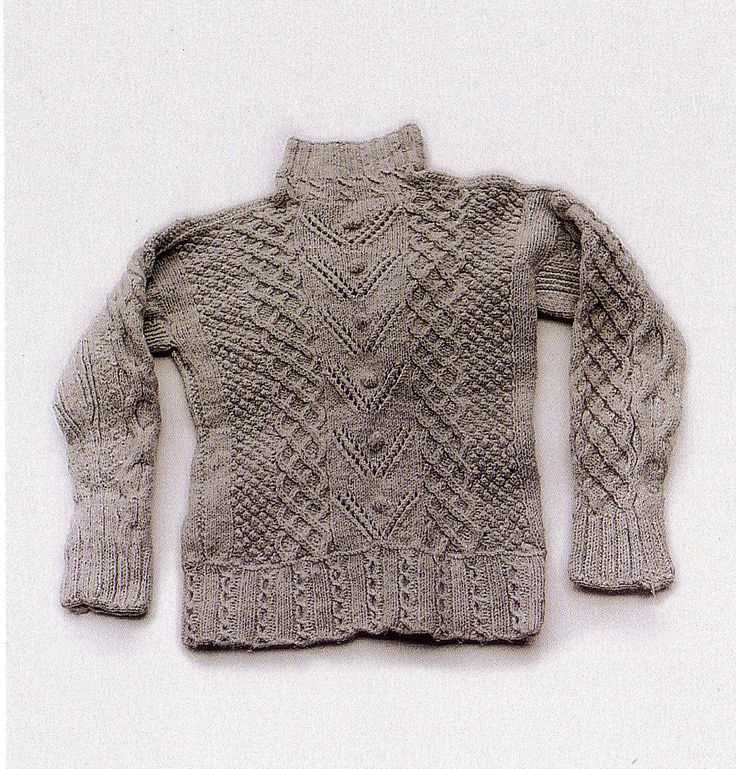
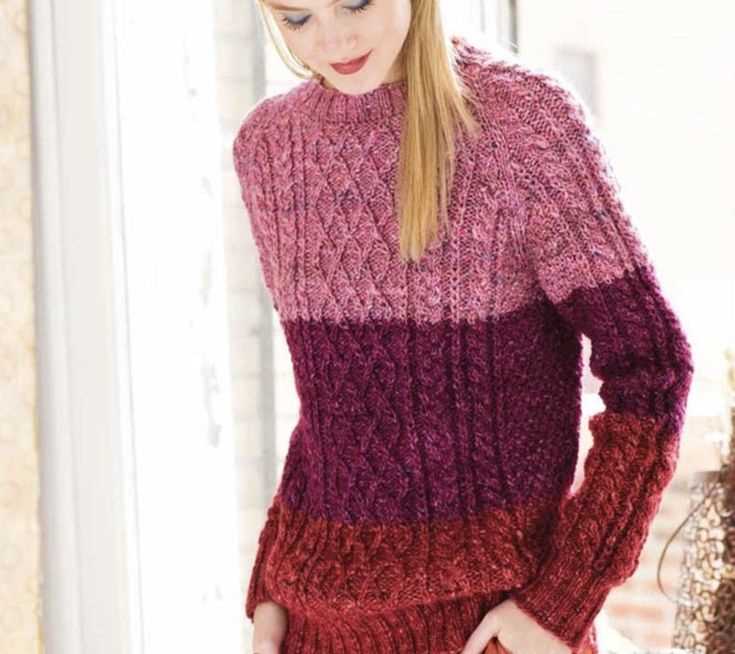
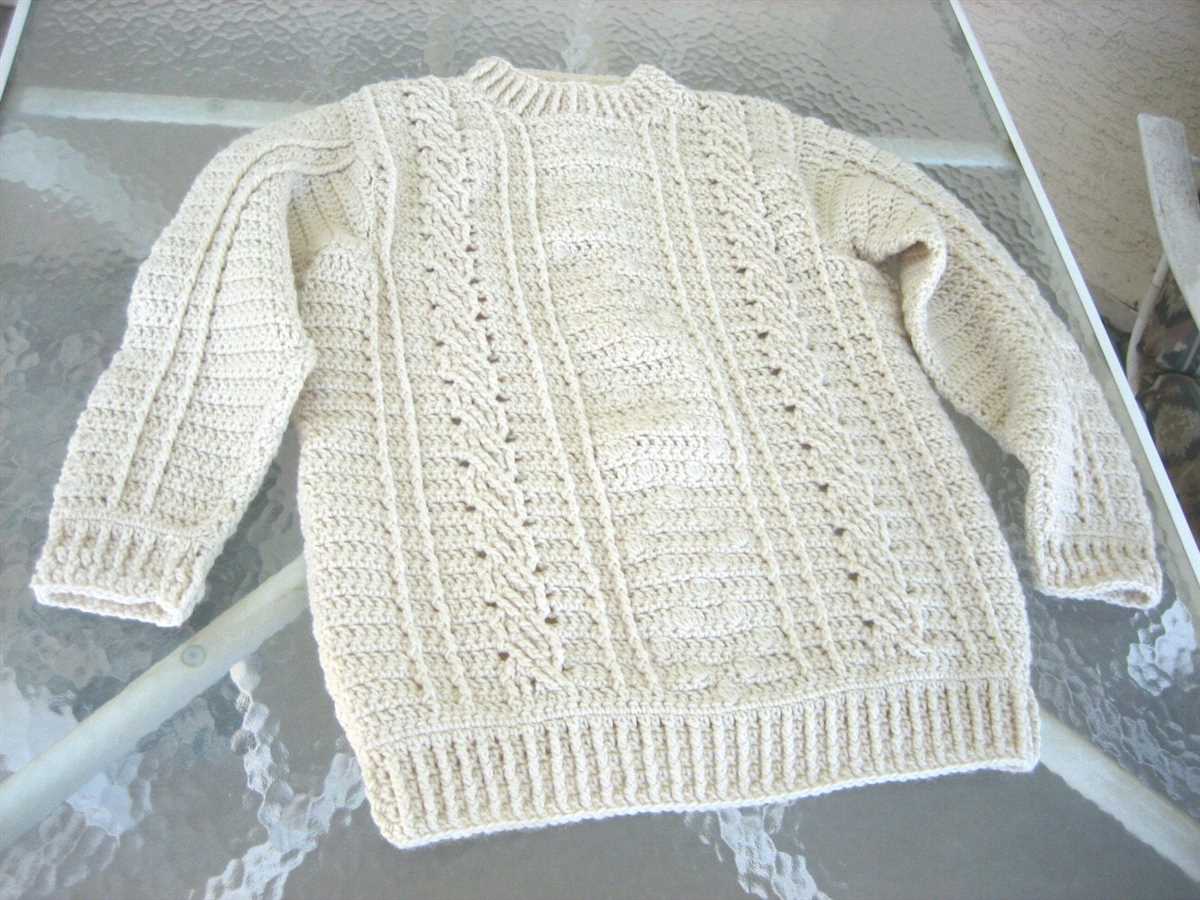
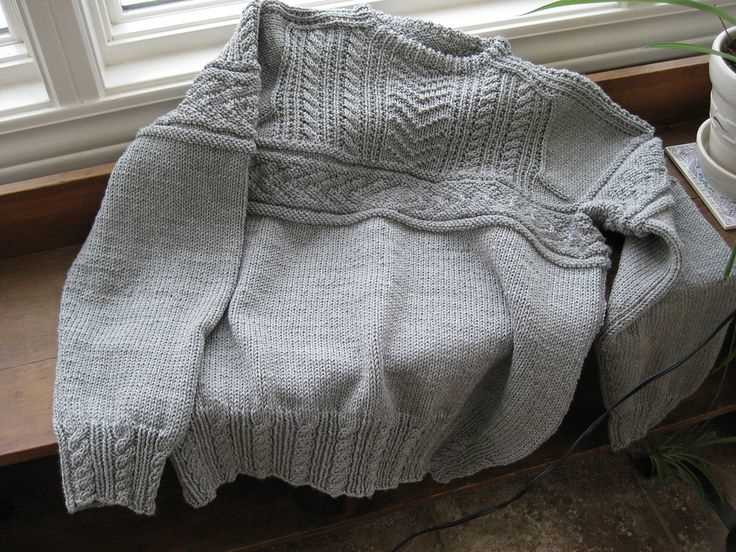
4. Color: Consider the color of yarn you want for your fisherman sweater. Traditional fisherman sweaters are often knit in neutral colors like cream, gray, or navy, but you can also go for bold and vibrant hues if that suits your style. Think about what looks best on you and what will match your wardrobe. Keep in mind that lighter colors may show dirt and stains more easily, so consider your lifestyle before making a decision.
5. Price: Lastly, consider your budget when choosing yarn for your fisherman sweater. Yarn prices can vary widely depending on the fiber content, brand, and quality. Decide how much you’re willing to spend and look for yarn options within your price range. Remember that investing in high-quality yarn can result in a sweater that will last for years to come.
Essential knitting stitches for fisherman sweaters
Knitting a fisherman sweater requires a solid understanding of basic knitting stitches. These stitches create the intricate patterns and textures that make fisherman sweaters so iconic. Here are some essential knitting stitches to master when knitting a fisherman sweater:
1. Cable Stitch:
The cable stitch is one of the most important stitches in fisherman sweaters. It creates the distinctive twisted, braided pattern that is often seen on the front and back panels of the sweater. To knit a cable stitch, you will need a cable needle to hold stitches in front or back of your work while you work another set of stitches. The cable stitch adds depth and interest to the overall design of the sweater.
2. Seed Stitch:
The seed stitch is a textured stitch pattern that is commonly used in fisherman sweaters. It is created by alternating knit and purl stitches in a specific pattern. The seed stitch adds visual interest and creates a dense, warm fabric. It is often used for cuffs, hems, and collar details in fisherman sweaters.
3. Ribbing:
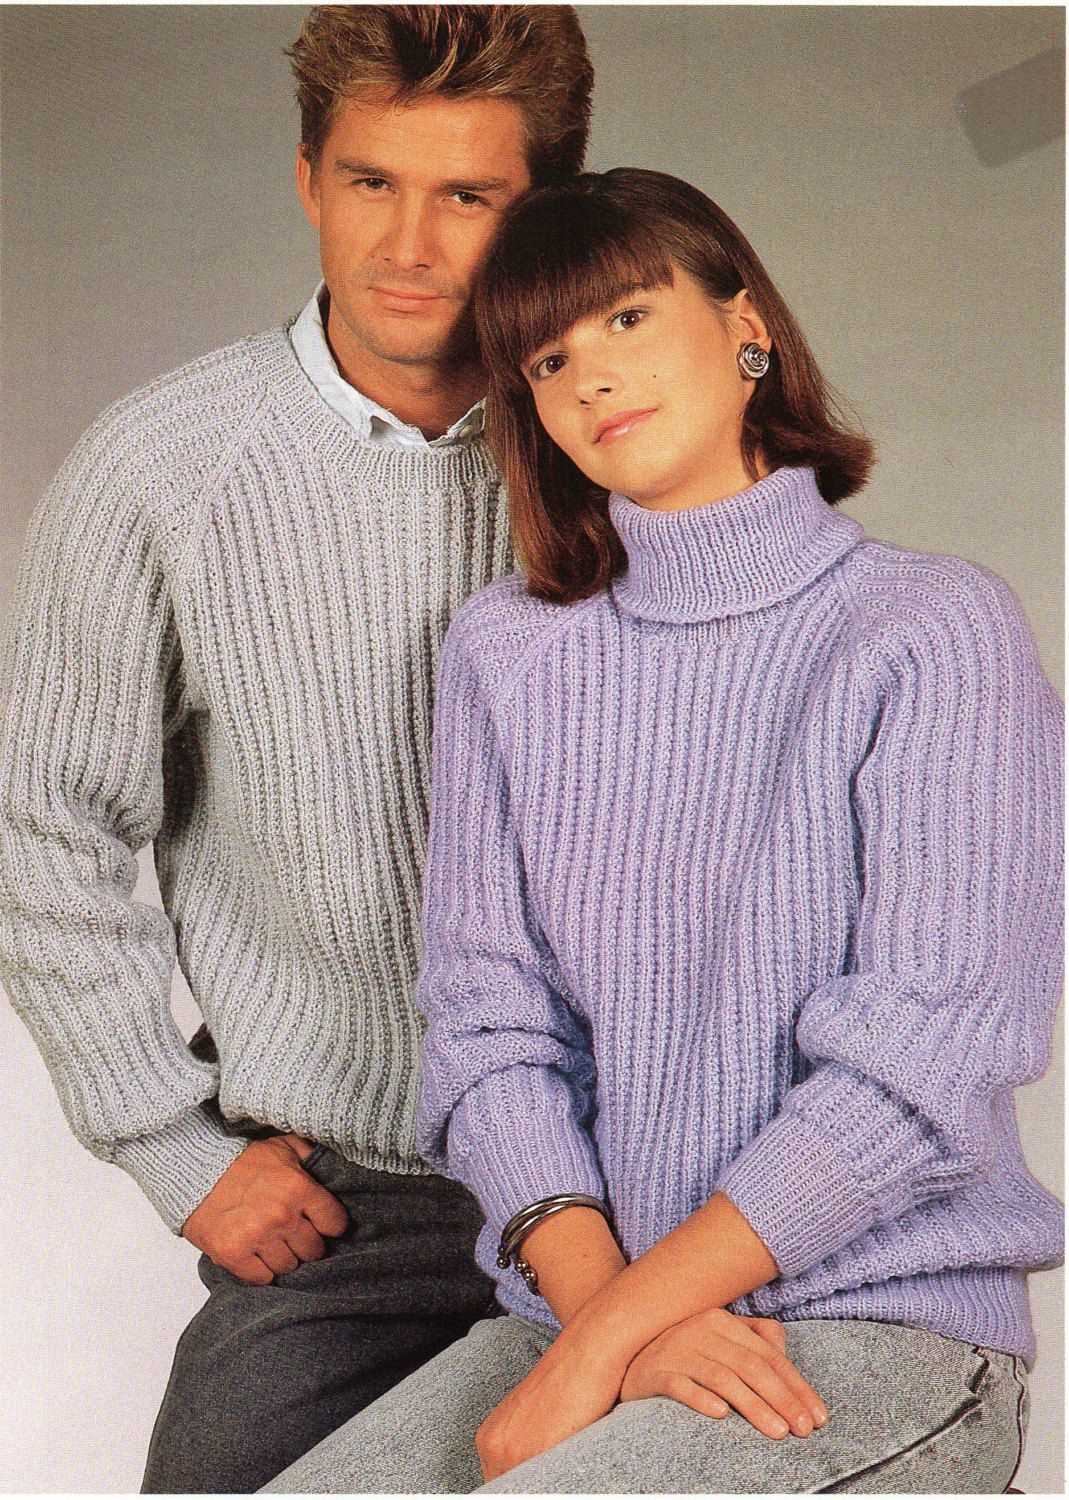
Ribbing is another important stitch pattern in fisherman sweaters. It is used for the cuffs, hems, and collars to create a stretchy and snug fit. Ribbing is typically created by alternating knit and purl stitches in a specific pattern, such as 1×1 ribbing (knit 1, purl 1) or 2×2 ribbing (knit 2, purl 2). Ribbing adds elasticity and structure to the sweater.
4. Garter Stitch:
The garter stitch is a basic stitch pattern that is often used for the borders and edgings of fisherman sweaters. It is created by knitting every stitch on every row. The garter stitch creates a squishy and reversible fabric that adds a classic touch to the sweater design. It is also easy to knit, making it a great stitch pattern for beginners.
By mastering these essential knitting stitches, you will be well-equipped to knit your own fisherman sweater. Experiment with different combinations of these stitches to create unique and personalized designs. Whether you’re a beginner or an experienced knitter, these stitches will help you achieve the timeless and cozy look of a fisherman sweater.
How to Measure for a Fisherman Sweater
Before you start knitting your fisherman sweater, it is important to take accurate measurements to ensure a perfect fit. Here are the key measurements you will need:
- Bust/Chest: Measure around the fullest part of your bust or chest, making sure the tape measure is parallel to the floor.
- Waist: Measure around the narrowest part of your waist.
- Hips: Measure around the fullest part of your hips.
- Shoulder Width: Measure from the outer edge of one shoulder to the outer edge of the other.
- Sleeve Length: Measure from the top of your shoulder down to the desired length of the sleeve.
- Armhole Depth: Measure from the top of your shoulder down to the desired depth of the armhole.
- Back Length: Measure from the base of your neck down to the desired length of the sweater.
When measuring, make sure the tape measure is snug but not too tight. You may find it helpful to have someone assist you in taking these measurements to ensure accuracy. Once you have your measurements, refer to the knitting pattern to determine the appropriate size to knit. Remember that different sweater styles may have different ease allowances, so choose your size accordingly.
Step-by-step instructions for casting on
Before you can start knitting your fisherman sweater, you need to cast on the required number of stitches onto your knitting needles. Casting on is the process of creating the foundation row of stitches that will be used to form the fabric of your sweater.
1. Start by making a slipknot: Take the end of your yarn and form a loop. Pass the end of the yarn through the loop, creating a slipknot. Tighten the slipknot by pulling both ends of the yarn.
2. Hold the needle with the slipknot: Insert one of your knitting needles into the slipknot and hold it in your right hand. The other end of the yarn should be on your left side.
3. Create the first stitch: Using your left hand, take the yarn that is coming from the ball and drape it over the top of the needle in your right hand. With your right hand, use the needle to catch the yarn and pull the loop through the slipknot, creating a new stitch. Place this stitch onto your right-hand needle.
4. Repeat the process: Continue to create new stitches by repeating step 3. Each time you create a new stitch, place it onto your right-hand needle. Keep going until you have cast on the required number of stitches for your sweater.
5. Check your stitches: Once you have finished casting on, take a moment to check that all your stitches are even and not twisted on the needle. Adjust them if needed.
6. Begin your pattern: With your stitches cast on and ready, you can now start following your fisherman sweater knitting pattern. The casting on process is complete, and you are ready to begin creating the fabric of your sweater.
Knitting the body of the fisherman sweater
Before starting to knit the body of the fisherman sweater, it is important to have already completed the ribbing at the bottom of the sweater. This ribbing is usually about 2-3 inches long and is worked in a smaller needle size than the body of the sweater. It helps to create a neat and snug fit at the waist.
Once the ribbing is complete, switch to the larger needle size and begin working the body of the sweater. The body is usually worked in a simple stockinette stitch, which consists of knitting all the stitches on the right side (RS) rows and purling all the stitches on the wrong side (WS) rows.
Continue working in stockinette stitch until the desired length for the body is reached. Refer to the pattern to determine the recommended length, or customize it to your own preference. Remember to keep checking your gauge as you go to ensure that the sweater will fit properly.
To add some visual interest to the body of the fisherman sweater, you can incorporate traditional cable or texture patterns. These patterns can be worked using a cable needle or by working stitches out of order to create the desired effect. They add depth and complexity to the sweater, making it more visually appealing.
Once the body is complete, you can proceed to work the sleeves and neckline of the fisherman sweater. The sleeves are typically worked in the same manner as the body, with the option to add cables or other decorative elements. The neckline can be shaped using decreases or increases, depending on the desired style.
Creating the sleeves
Once you have completed the body of the fisherman sweater, it’s time to move on to creating the sleeves. The sleeves are an important part of the sweater, as they provide warmth and coverage for the arms. Here, we will outline the steps to create the sleeves for your fisherman sweater.
1. Measuring and casting on stitches
First, you’ll need to measure the circumference of the arm opening of your sweater. This will determine the number of stitches you need to cast on for the sleeves. Use a measuring tape to measure around the arm opening, and take note of the measurement. Divide this measurement in half to determine the width of each sleeve.
Next, consult your knitting pattern to determine the required gauge for the sleeves. This will help you calculate the number of stitches you need to cast on. Multiply the desired width of the sleeve by the gauge to find the number of stitches per inch, and then multiply that number by the desired width of the sleeve in inches. This will give you the total number of stitches to cast on for the sleeves.
2. Knitting the sleeve body
Once you have cast on the required number of stitches, you can begin knitting the sleeve body. Follow the stitch pattern indicated in your knitting pattern, or continue with the same stitch pattern used for the body of the sweater. Work in rounds or rows, depending on the pattern instructions.
Continue knitting the sleeve body until it reaches the desired length. This will depend on your personal preferences and the length indicated in your knitting pattern. Remember to try on the sweater periodically to ensure the sleeves are the desired length.
3. Shaping the sleeve cap

After completing the sleeve body, it’s time to shape the sleeve cap. This is done by decreasing stitches gradually to create a curved shape that will fit the shoulder. Consult your knitting pattern for specific instructions on how to shape the sleeve cap.
Typically, you will need to decrease stitches evenly across the first few rows at regular intervals. This will depend on the desired fit and the size of the sleeve. Follow the pattern instructions carefully to ensure you shape the sleeve cap correctly. Once the desired number of stitches remain, bind off and repeat for the second sleeve.
Adding the classic fisherman sweater cable pattern
The classic fisherman sweater cable pattern is a timeless design that adds texture and interest to any knitted garment. It is a popular choice for creating cozy and warm sweaters, particularly for those who enjoy traditional and rustic styles. With its intricate twists and turns, the cable pattern creates the illusion of woven ropes, giving the sweater a unique and distinctive look.
To incorporate the fisherman sweater cable pattern into your knitting project, you’ll need to follow a specific set of instructions. Start by casting on the desired number of stitches, keeping in mind that the cable pattern will add width to the finished sweater. As you begin working the pattern, you’ll use a combination of knit and purl stitches to create the cables.
One of the key elements of the fisherman sweater cable pattern is the use of a cable needle. This small, double-pointed needle is used to hold stitches while you create the crossing effect that gives the cables their distinctive look. By slipping stitches onto the cable needle and holding them in front or behind the work, you can manipulate the order in which the stitches are worked, creating the twisted cable effect.
As you work through the pattern, it’s important to maintain an even tension and follow the instructions closely. The cable pattern typically involves repeating a series of stitches over a set number of rows, so it’s important to keep track of your progress and ensure that you’re working the correct stitches at the right time. By paying attention to detail and practicing the cable technique, you’ll be able to create a stunning fisherman sweater that showcases this classic knitting pattern.
Finishing touches: neckline, cuffs, and hem
When it comes to finishing the fisherman sweater, the neckline, cuffs, and hem are key areas that require attention to detail. These elements not only add a polished look to the sweater, but they also contribute to its fit and comfort.
The neckline is an important part of the sweater as it frames the face and adds visual interest. There are several options for finishing the neckline, including a rolled collar, a ribbed collar, or a simple bind-off edge. Each option creates a different look and can be tailored to the knitter’s preference and the style of the sweater. Adding decorative stitches or patterns to the neckline can also enhance its overall aesthetic.
The cuffs and hem of the fisherman sweater are areas where durability and functionality are key. The cuffs should be snug enough to keep the sleeves in place, but not too tight to restrict movement. A ribbed or garter stitch cuff is commonly used for its elasticity and ability to retain its shape over time. The hem, on the other hand, should be sturdy and provide a finished edge to the bottom of the sweater. A folded hem or a ribbed hem is often used for its clean look and ability to withstand wear and tear.
Blocking and caring for your fisherman sweater
After you have finished knitting your fisherman sweater, it is important to block it to give it the desired shape and to ensure that the stitches are evenly distributed. Blocking also helps to relax the fibers and make the sweater softer and more comfortable to wear.
To block your fisherman sweater, start by soaking it in lukewarm water with a gentle wool wash or mild detergent. Gently squeeze out the excess water, taking care not to wring or twist the sweater. Lay it flat on a clean towel and carefully shape it to the correct measurements. You can use blocking pins to secure the edges and keep them in place. Leave the sweater to dry naturally, avoiding direct sunlight or heat sources.
Once your fisherman sweater is dry, it is important to care for it properly to prolong its lifespan. Handwashing is recommended, using a gentle wool wash or mild detergent. Gently squeeze out the excess water and reshape the sweater while it is still damp. Lay it flat to dry again, and avoid hanging it up as this can cause the sweater to stretch.
When storing your fisherman sweater, make sure it is clean and completely dry. Fold it neatly and place it in a breathable storage bag or drawer, away from direct sunlight and potential moth damage. Avoid using plastic bags, as they can trap moisture and lead to mold or mildew.
Regularly checking for any signs of wear or damage is also important. If you notice any loose threads or holes, it is best to repair them as soon as possible to prevent further damage. A fisherman sweater is a timeless and classic piece that can be enjoyed for many years with proper care and attention.
Free Fisherman Sweater Knitting Patterns to Try
If you are a knitting enthusiast looking to tackle a new project, then a fisherman sweater can be a great option for you. These classic, cozy sweaters are not only stylish but also functional, perfect for keeping warm in the colder months. And the best part is, there are plenty of free knitting patterns available for you to try. Whether you’re a beginner or an experienced knitter, there’s a pattern out there that will suit your skill level and style preferences.
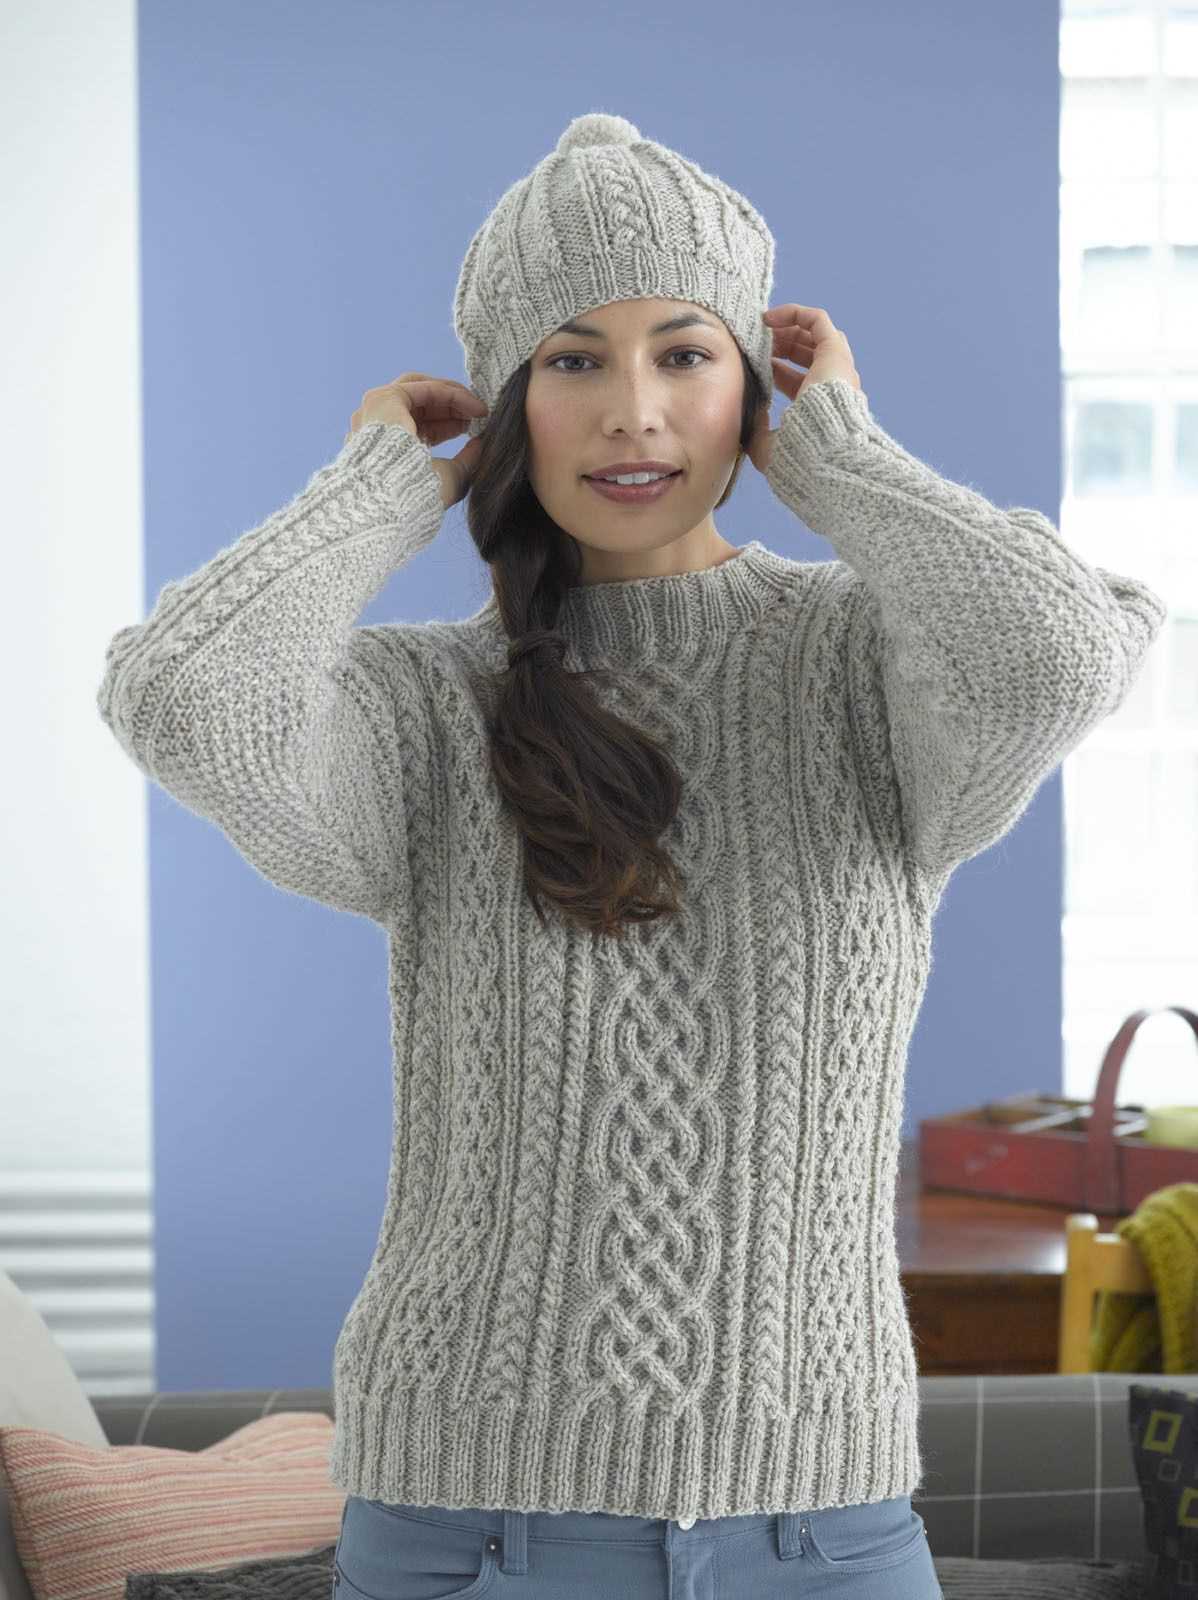
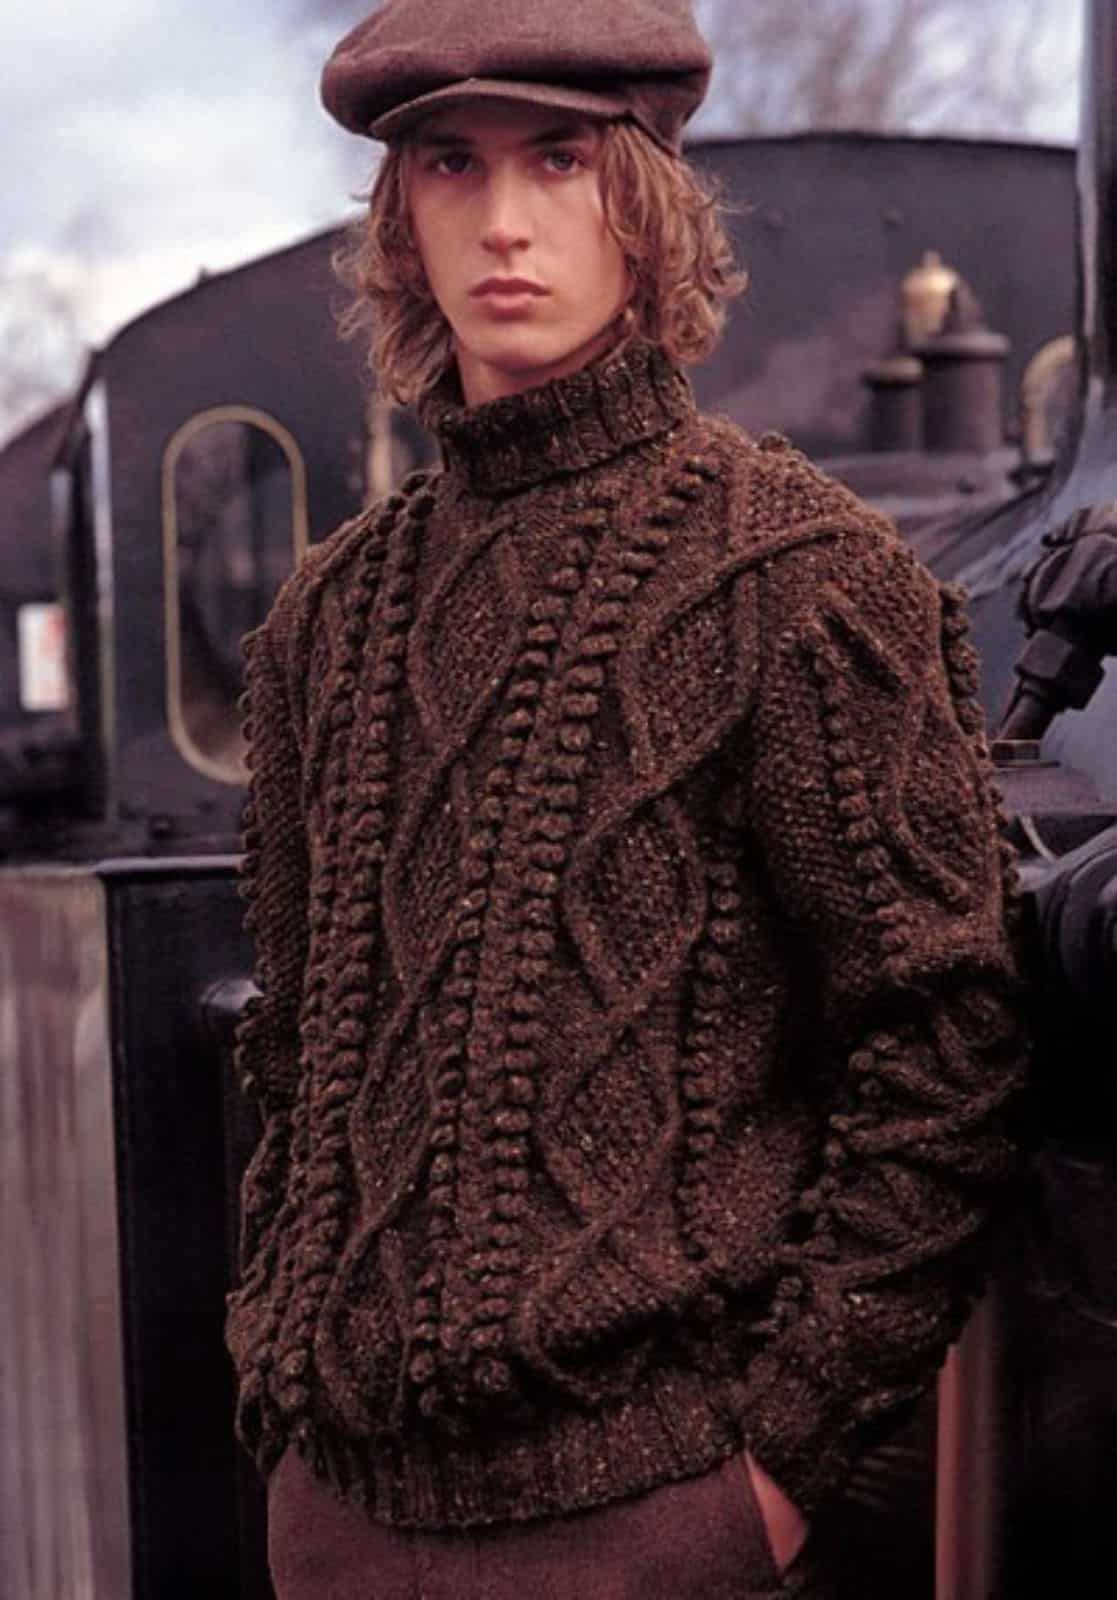
One popular fisherman sweater knitting pattern is the “Classic Aran Sweater.” This pattern typically features intricate cable patterns, reminiscent of the ropes used by fishermen. It often includes a high collar or turtleneck and can be knit in a chunky yarn for extra warmth. The “Classic Aran Sweater” pattern is great for intermediate to advanced knitters who are looking for a slightly more challenging project.
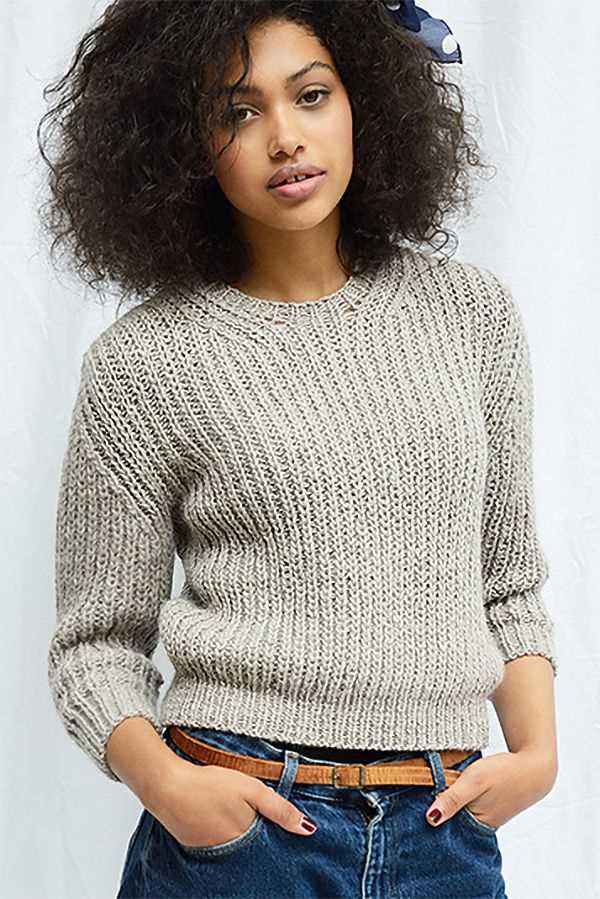
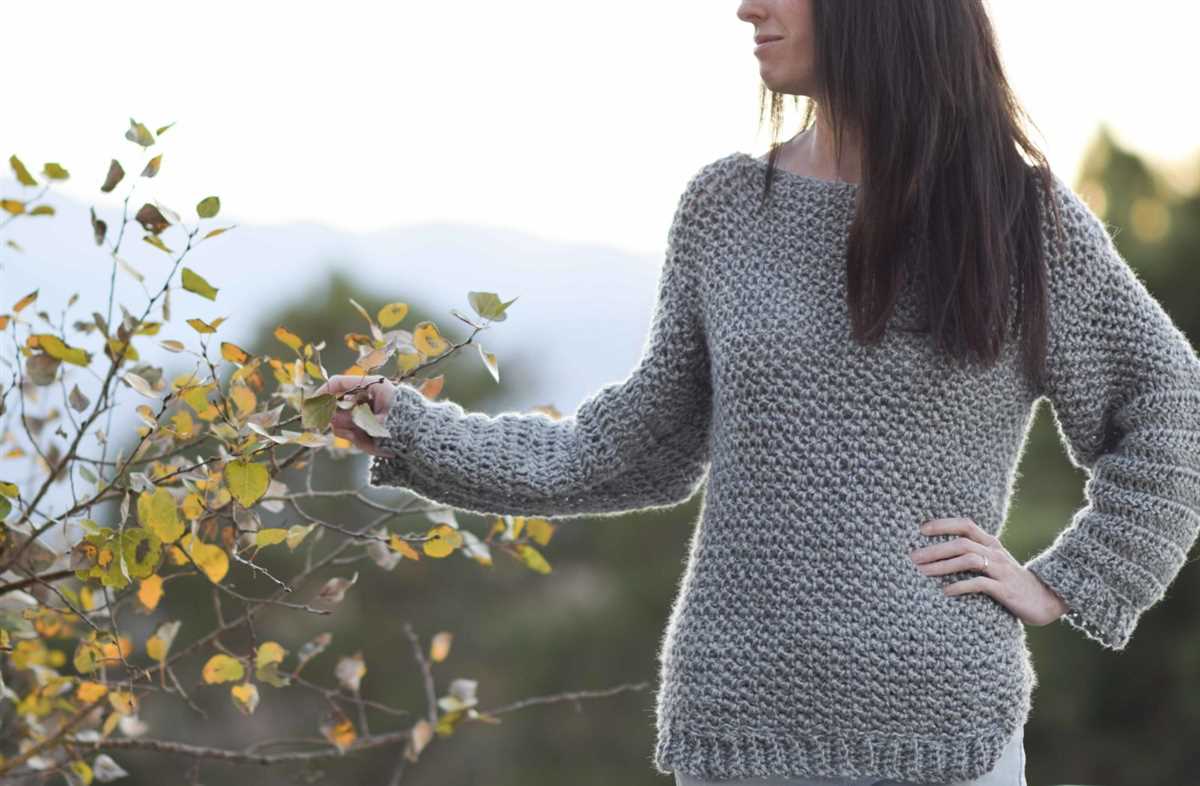
Another widely-used pattern is the “Simple Fisherman Sweater.” As the name suggests, this pattern is more straightforward and suitable for beginners. It usually involves basic cable knitting techniques and has a relaxed fit. The “Simple Fisherman Sweater” pattern is perfect if you’re new to knitting or looking for a quick and easy project that still results in a stylish and cozy sweater.
To find these free fisherman sweater knitting patterns and more, you can browse online knitting communities and websites. Many talented knitters generously share their patterns and tips, allowing you to access a wide range of designs and inspiration. Additionally, you can find knitting books and magazines that often include fisherman sweater patterns.
- Classic Aran Sweater
- Simple Fisherman Sweater
In conclusion, if you’re looking to expand your knitting repertoire and create a timeless and cozy sweater, fisherman sweater knitting patterns are a great choice. There are patterns available for all skill levels and style preferences, from intricate cabled designs to simple and relaxed fits. Take advantage of the generosity of the knitting community and start exploring these free patterns today!