
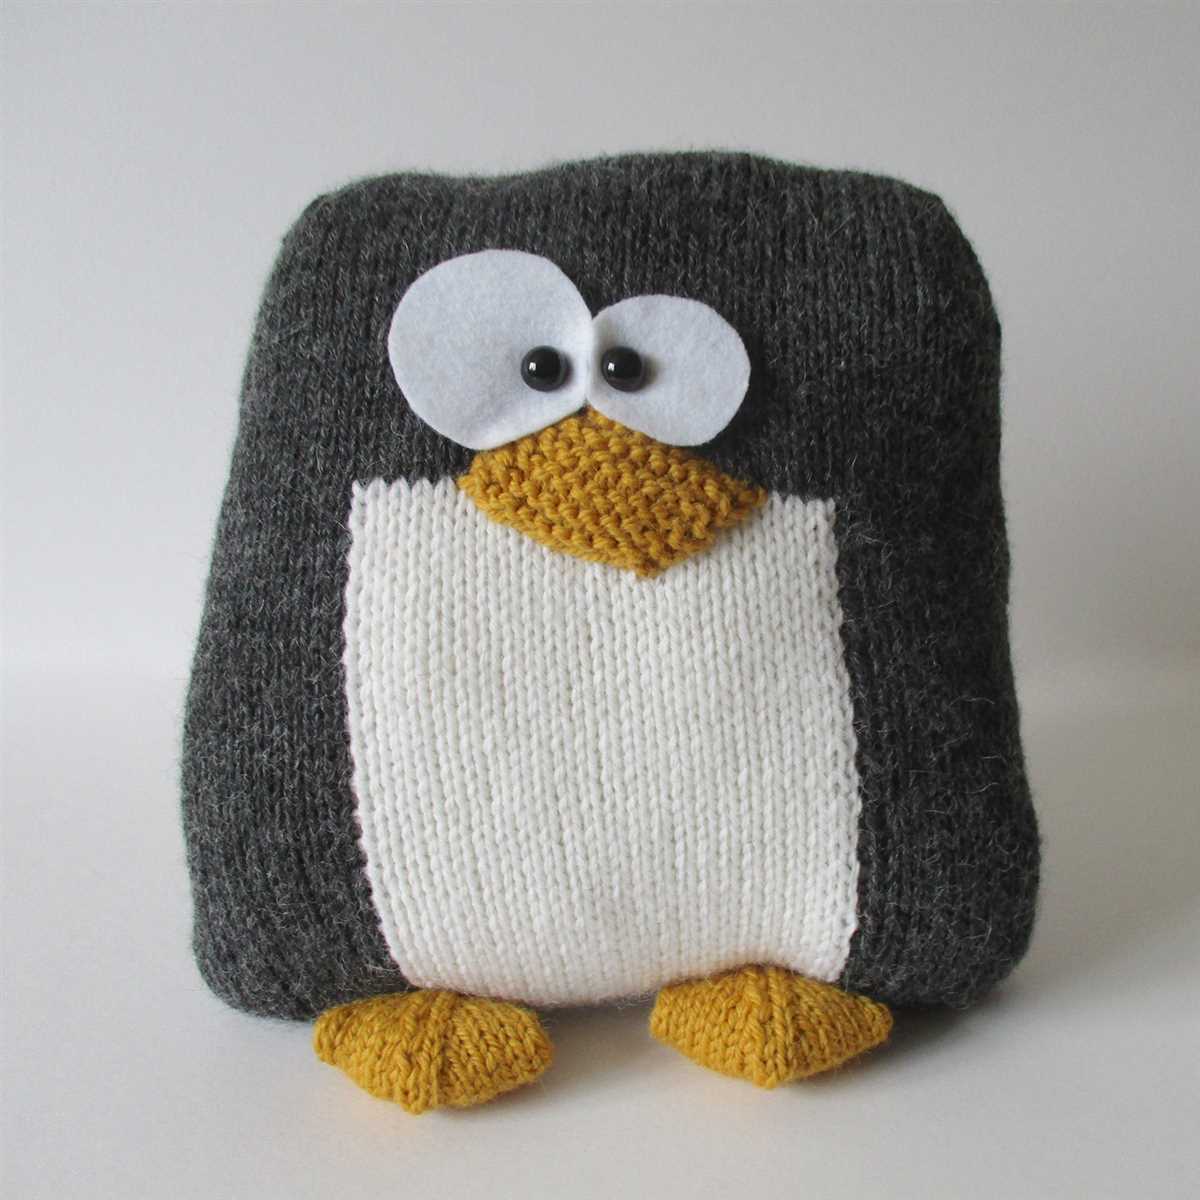
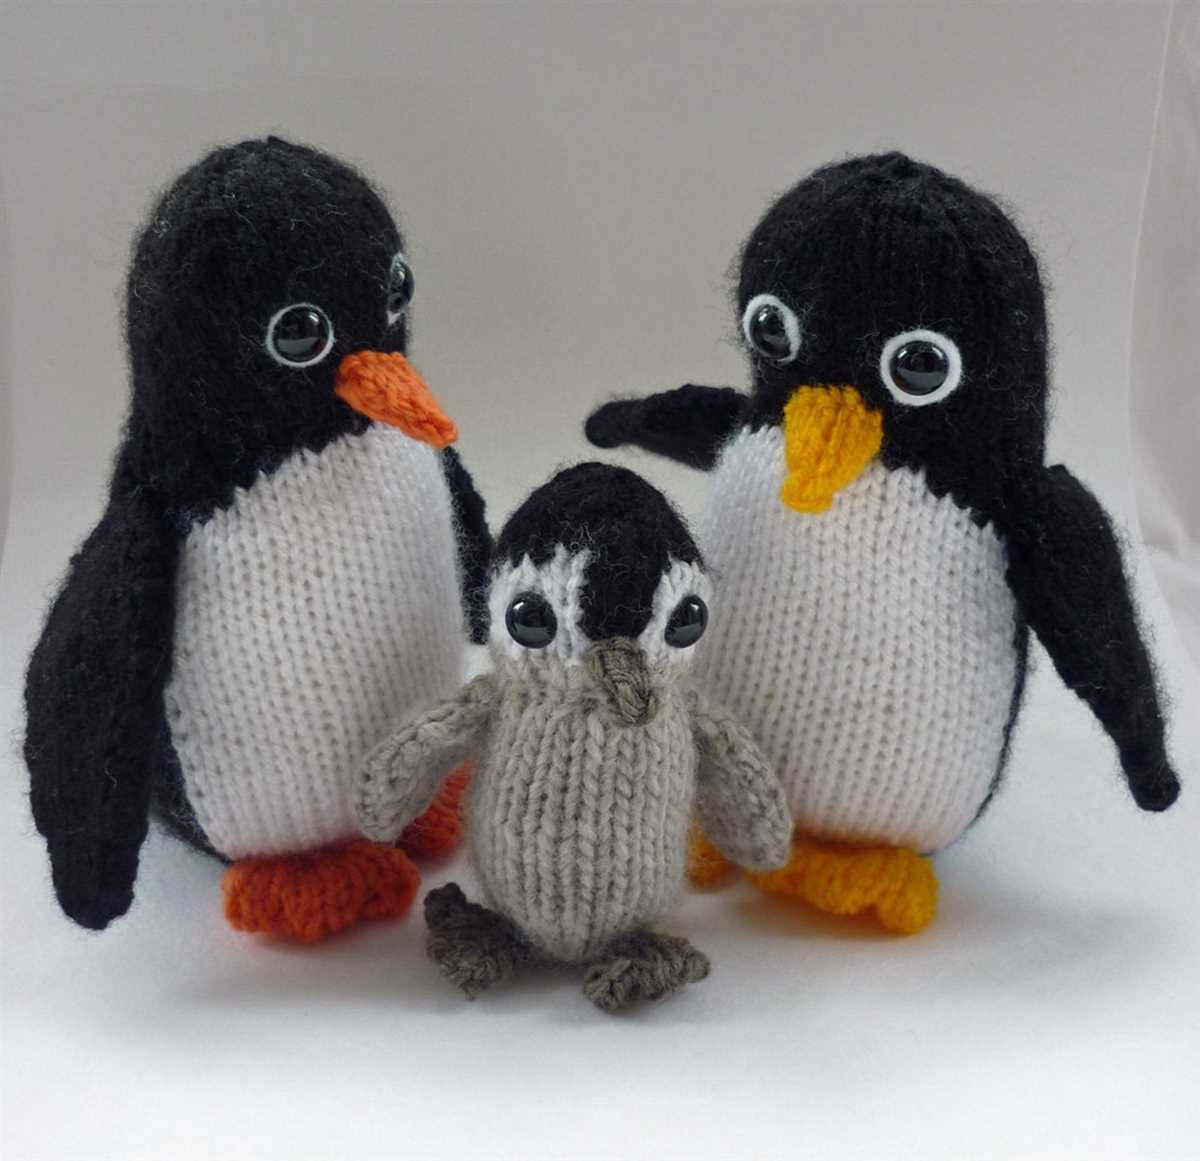
Knitting pattern penguin is the perfect project for any avid knitter who loves making cute and cuddly toys. Penguins are a popular choice for knitting patterns because they are adored by both children and adults. Whether you are a beginner or an experienced knitter, this pattern will provide you with the step-by-step instructions you need to create your very own knitted penguin.
This knitting pattern is suitable for knitters of all levels as it includes detailed instructions on how to knit each part of the penguin, from the body and head to the arms and legs. It also provides tips and tricks for achieving the perfect gauge and ensuring that your penguin turns out just right.
Not only will you enjoy the process of knitting this adorable creature, but you will also be left with a finished product that can be cherished for years to come. Whether you decide to keep your knitted penguin for yourself or gift it to someone special, it is sure to bring joy and smiles to everyone who sees it.
What is a knitting pattern penguin?
A knitting pattern penguin is a set of instructions that guides you in creating a knitted toy in the form of a penguin. It typically includes information on the materials needed, the gauge or tension required, and step-by-step instructions for each part of the toy.
The knitting pattern will often specify the type of yarn and knitting needles to use, as well as any additional materials such as safety eyes or stuffing. It may also provide guidance on techniques such as casting on, binding off, and basic stitches like knit and purl.
To create a knitting pattern penguin, you will start by casting on the required number of stitches and knitting the body in the specified pattern. The pattern will guide you through shaping the head, wings, and flippers, as well as adding details like the eyes, beak, and belly. Finally, you will finish off by stuffing the toy and sewing up any remaining seams.
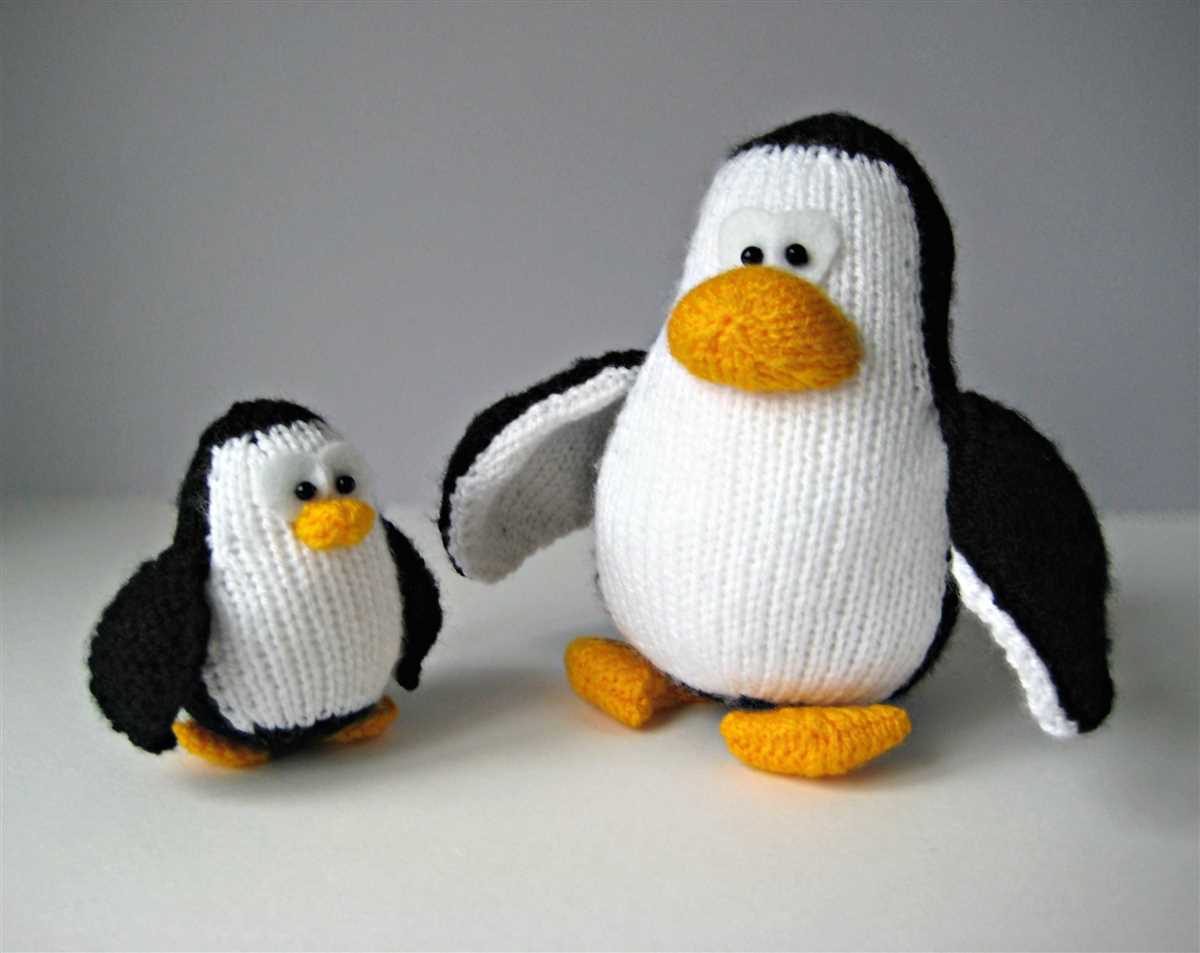
A knitting pattern penguin can be a fun and rewarding project for knitters of all skill levels. Whether you’re a beginner looking for a small and manageable project or an experienced knitter looking to challenge yourself with intricate stitch patterns and colorwork, there is a knitting pattern penguin out there for you.
Key phrases: knitting pattern penguin, instructions, knitted toy, materials, gauge, tension, step-by-step instructions, yarn, knitting needles, safety eyes, stuffing, techniques, casting on, binding off, basic stitches, knit, purl, shaping, head, wings, flippers, eyes, beak, belly, finishing, seams, skill levels.
Why knit a penguin?
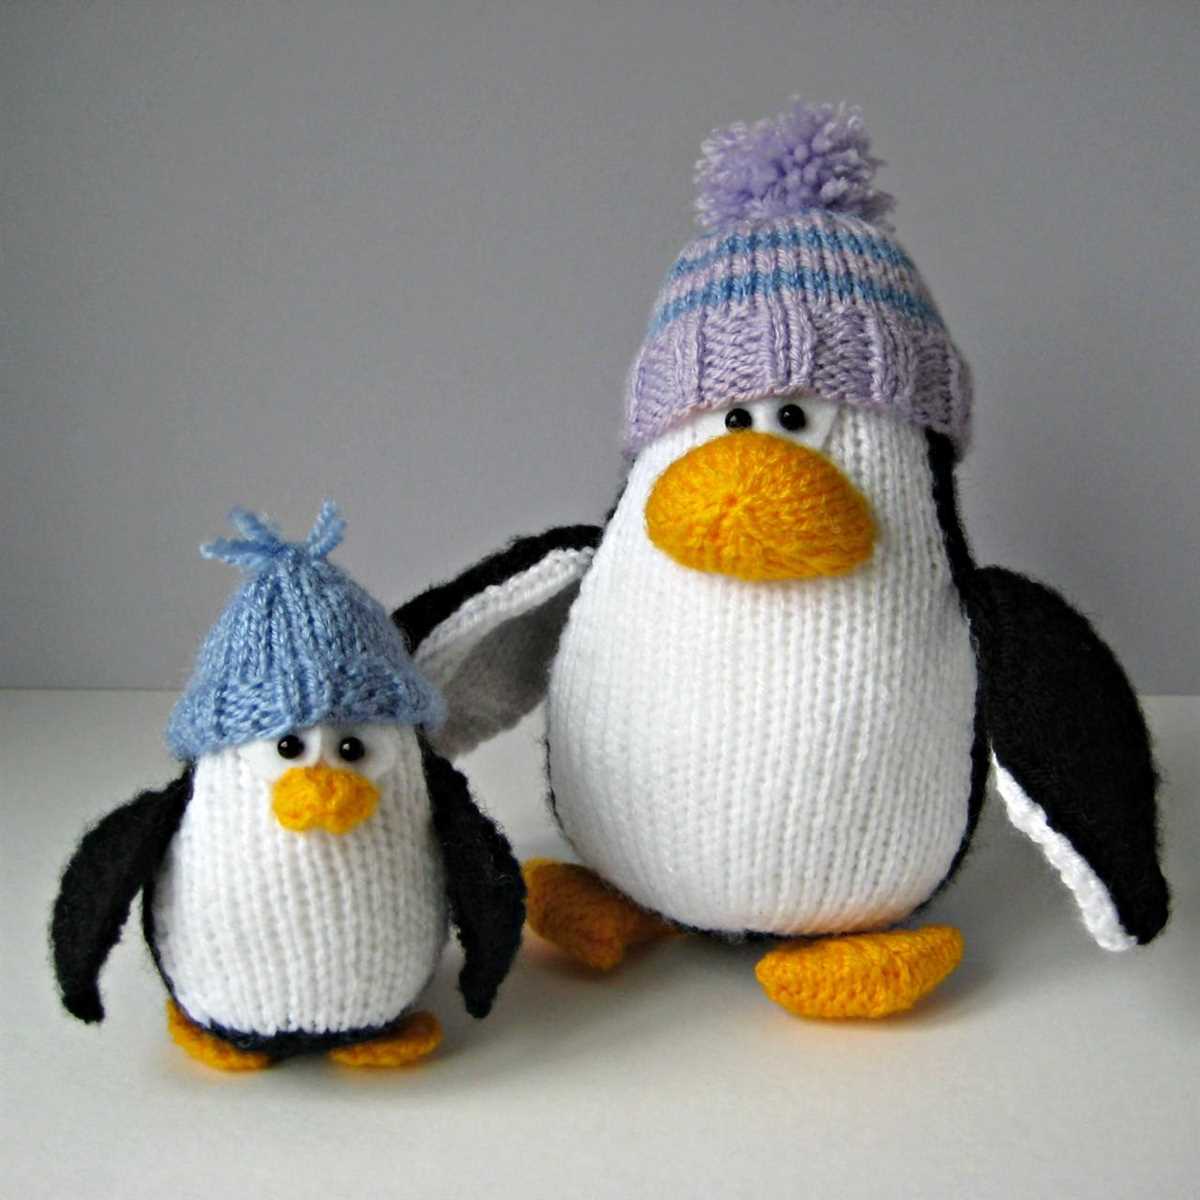
Knitting a penguin can be a fun and rewarding project for both experienced knitters and beginners. The penguin is a popular and lovable creature, and creating an adorable knitted version of it can be a great way to express your creativity and love for these unique animals.
One of the main reasons to knit a penguin is the joy it can bring. Penguins are often associated with happiness and cuteness, and having a knitted penguin can instantly brighten up your space and bring a smile to your face. It can also serve as a great gift for friends, family, or children, who will surely appreciate the thought and effort put into creating a handmade penguin.
Knitting a penguin is also an opportunity to develop and improve your knitting skills. Whether you are a beginner or an experienced knitter, penguin patterns can be a great way to learn new techniques or practice existing ones. From basic stitches to intricate colorwork, a penguin pattern can provide a challenge and help you hone your knitting abilities.
Additionally, knitting a penguin can be a therapeutic and relaxing activity. The repetitive motion of knitting can help reduce stress and promote mindfulness, allowing you to unwind and focus on the present moment. It can be a wonderful way to take a break from the busyness of daily life and indulge in a calming and creative hobby.
Furthermore, knitting a penguin can be a sustainable and eco-friendly choice. By knitting your own penguin instead of buying a mass-produced one, you can reduce your environmental impact and contribute to a more sustainable world. You can also choose environmentally friendly yarns and materials, supporting ethical and eco-conscious practices in the knitting industry.
In conclusion, knitting a penguin can bring joy, enhance your knitting skills, promote relaxation, and contribute to a more sustainable lifestyle. Whether you choose to keep the knitted penguin for yourself or give it as a gift, the process of creating it will undoubtedly be a rewarding and fulfilling experience.
Materials needed for knitting a penguin
Knitting a penguin requires a few essential materials to get started. Here is a list of the necessary supplies:
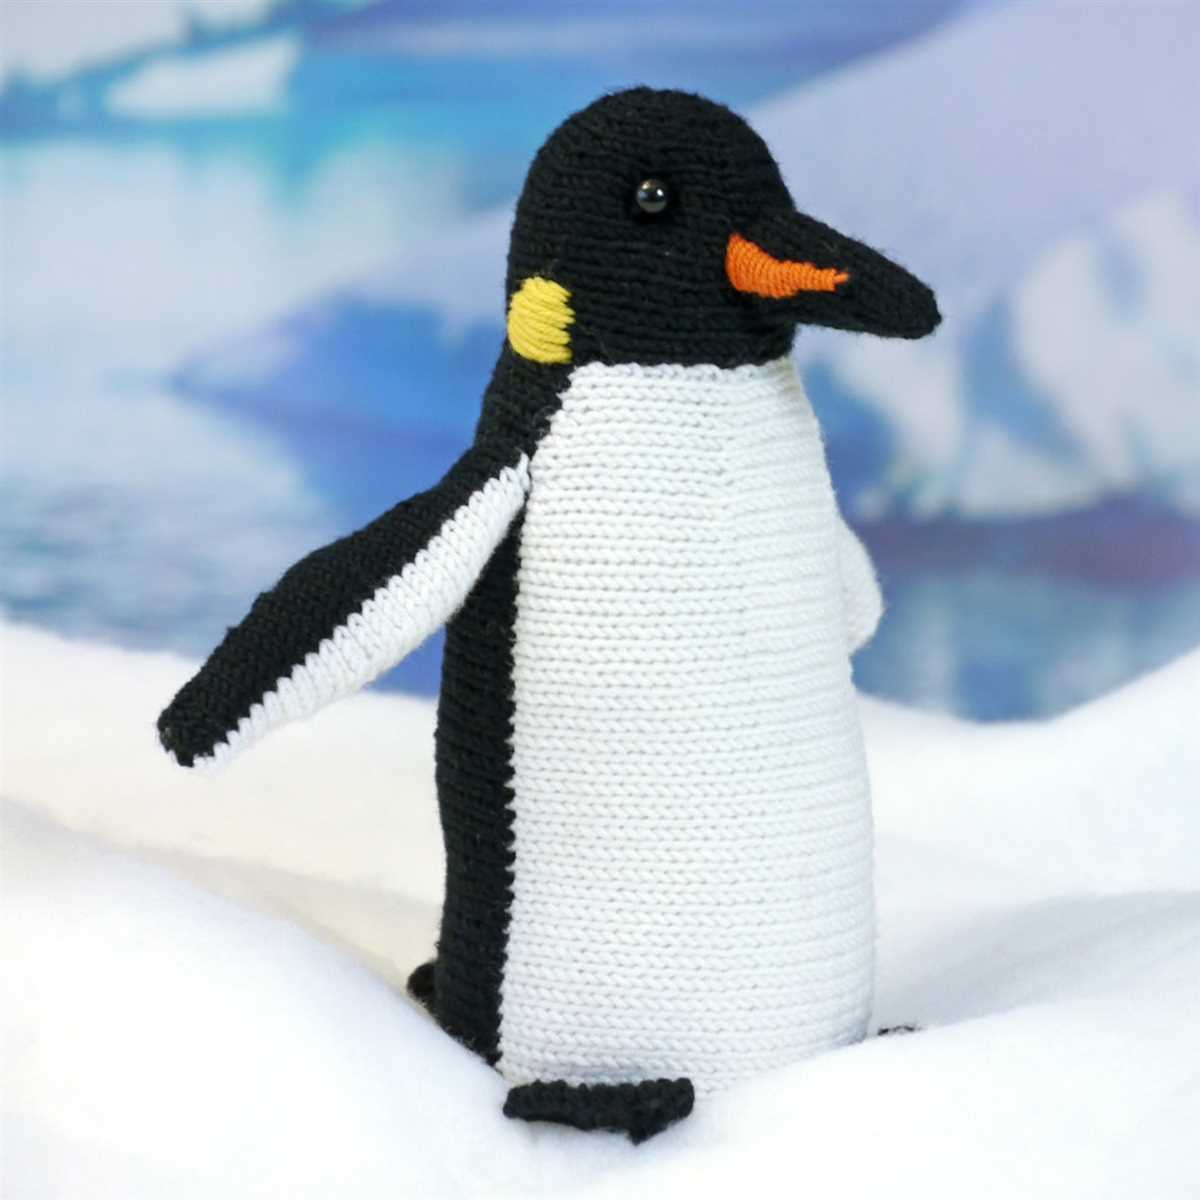
- Yarn: Choose a soft, medium weight yarn in black and white colors. This will create the traditional look of a penguin.
- Knitting needles: You will need a pair of knitting needles suitable for the chosen yarn. The size will depend on your personal knitting tension.
- Darning needle: This needle will be used for weaving in loose ends and sewing the penguin’s parts together.
- Scissors: A pair of sharp scissors is necessary for cutting the yarn and trimming any excess.
- Stuffing: To give your penguin a nice shape and form, you will need some stuffing. Polyfill or polyester fiberfill works well for this purpose.
- Black safety eyes: Safety eyes are commonly used for giving knitted toys a realistic look. Choose a suitable size for your penguin.
- Embroidery floss: Black embroidery floss will be used to embroider the penguin’s beak and other details.
- Stitch markers: These small rings or clips will help you keep track of your stitches and rounds.
Ensure that you have all these materials before you start knitting your penguin. Having everything ready will make the process smoother and more enjoyable.
Getting started with your penguin
Knitting your own penguin is a fun and rewarding project that can be enjoyed by both beginners and experienced knitters alike. Whether you’re looking to create a cute toy for yourself or a gift for a loved one, this knitting pattern will guide you through the process step by step.
Gather your materials: Before getting started, make sure you have all the necessary materials for your penguin. This includes yarn in black, white, and orange, knitting needles in the appropriate size, stuffing, and any additional embellishments you may want to add, such as buttons or ribbons.
Casting on:
To begin your penguin, you’ll need to cast on the required number of stitches using the black yarn. This will form the base of your penguin’s body. You can use either the long-tail cast-on or any other method you prefer.
Knitting the body: Once you have cast on, you will begin knitting in the round to create the body of your penguin. Follow the pattern instructions for the specific number of rows and stitches required. You may need to increase or decrease stitches at certain points to shape the body.
Creating the head and beak:
After completing the body, you will move on to knitting the head and beak. This is typically done separately and then attached to the body later. Use the white yarn for the head and the orange yarn for the beak. Follow the pattern instructions to knit these sections and shape them as needed.
Assembling your penguin: Once all the separate pieces of your penguin are complete, it’s time to assemble them. This usually involves sewing the head onto the body and attaching the beak. You can use the black yarn to sew the pieces together and create any additional details, such as eyes or feet.
Finishing touches: To complete your knitted penguin, stuff it with filling to give it a soft and cuddly feel. You can also add any additional embellishments or personal touches, such as a scarf or bowtie, to make your penguin unique. Finally, give your penguin a good fluff and reshape it if necessary.
With these steps, you’ll be well on your way to creating your very own knitted penguin. Enjoy the process and have fun bringing your penguin to life!
Choosing the right knitting needles
When it comes to knitting, choosing the right needles is essential for the success of your project. The type of needles you use can greatly impact the outcome of your knitting, as well as your overall knitting experience. Here are some factors to consider when selecting knitting needles:
Material:
The material of the knitting needles can greatly affect the way the yarn slides on the needles. Common materials for knitting needles include metal, wood, and plastic. Metal needles tend to be smooth and slick, making them great for quick knitting and intricate stitches. Wood needles have a warmer feel and provide more grip, making them ideal for slippery or delicate yarns. Plastic needles are lightweight and flexible, making them a good choice for those with joint pain or arthritis.
Size:
Knitting needles come in various sizes, and the size you choose will depend on the thickness of your yarn and the desired gauge of your project. The size of the needles can affect the appearance and drape of the finished piece. Smaller needles are used for finer yarns and result in tighter stitches, while larger needles are used for bulkier yarns and create looser stitches. It’s important to consult the pattern you’re working with to determine the recommended needle size.
Length:
The length of the knitting needles can impact the ease and comfort of your knitting. Shorter needles, like double-pointed needles, are best for small projects or working in the round, while longer needles provide more space for larger projects and can help distribute the weight of the knitting evenly. It’s worth considering the size of your project and your personal knitting preferences when selecting the length of the needles.
By taking into account the material, size, and length of the knitting needles, you can ensure that you are using the right tools for your knitting project. Experimenting with different types of needles can also enhance your knitting experience and help you achieve the desired results in your knitting projects.
Selecting the Perfect Yarn
When it comes to knitting, selecting the perfect yarn is crucial for the success of your project. The type of yarn you choose will not only affect the final feel and appearance of your knitted item, but also its durability and how it will hold up over time.
Fiber content is one of the most important factors to consider when selecting yarn. Different fibers have different properties, so it’s important to choose the one that suits your project best. For example, if you’re knitting a penguin toy, you might want to use a soft and cuddly yarn like acrylic or merino wool. On the other hand, if you’re knitting something that needs to be warm and insulating, such as a hat or scarf, you might want to consider using a yarn with a higher percentage of wool or alpaca.
Another important aspect to consider is the weight of the yarn. Yarns come in various weights, from super bulky to lace weight. The weight of the yarn will determine how thick or thin your knitted fabric will be, as well as the drape and stitch definition. The pattern you’re using will often specify the recommended yarn weight, so make sure to check that before making your selection.
Color is also an important factor to consider when selecting yarn. The color of the yarn can greatly impact the overall look of your knitted item. If you’re knitting a penguin toy, you might want to choose yarn in black and white. However, if you’re knitting a sweater or a shawl, you might want to have more options and choose a yarn that comes in a wide range of colors.
- Consider what the yarn is specifically for (toy, garment, accessory, etc.)
- Think about the fiber content and how it will affect the feel and durability
- Consider the weight of the yarn and how it will affect the thickness and drape of your fabric
- Choose a color that suits your project and personal style
- Read the pattern to determine the recommended yarn weight and yardage
Knitting Techniques for Your Penguin
If you are looking to create an adorable penguin using a knitting pattern, there are several key techniques that you should be familiar with. These techniques will help you bring your penguin to life and create a finished project that you can be proud of.
1. Basic Knit and Purl Stitches: Knitting and purling are the foundation of all knitting projects. These two simple stitches will be used throughout your penguin pattern to create the body, head, and other parts of your penguin. Make sure you are comfortable with these stitches before starting your project.
2. Increasing and Decreasing: To shape your penguin’s body and head, you will need to learn how to increase and decrease stitches. This will allow you to create the rounded shape of the penguin’s body and the tapered shape of its head. Common increases include knit front and back (kfb) and make one (M1), while common decreases include knit two together (k2tog) and slip, slip, knit (ssk).
3. Colorwork: Many knitting patterns for penguins feature colorwork to create the distinctive black and white coloring of these adorable birds. Colorwork involves knitting with two or more colors at the same time, creating a pattern or design. This can be done using intarsia or fair isle techniques, depending on the complexity of the pattern.
4. Seaming: After you have completed all the individual parts of your penguin, you will need to seam them together to create the final stuffed animal. This can be done using a mattress stitch or a whipstitch, depending on your preference. Take your time with the seaming process to ensure a neat and professional finish.
5. Finishing Touches: Once your penguin is fully assembled, you can add some finishing touches to bring it to life. This may include embroidering the eyes, beak, and feet onto your penguin using yarn or felt. You can also add additional details like a bow tie or a tiny scarf to give your penguin some extra personality.
By mastering these knitting techniques, you will be well-equipped to tackle any penguin knitting pattern and create an adorable stuffed animal that will be loved for years to come.
Casting on and binding off
Casting on and binding off are two essential techniques in knitting. Casting on is the process of creating the first row of stitches on your needle, while binding off is the process of finishing your knitting and securing the final row of stitches. These techniques are used at the beginning and end of a knitting project to create a clean, professional-looking edge.
Casting on
There are several different methods for casting on, but one popular method is the long tail cast on. To do this, you will need a long tail of yarn that is approximately three times the width of the knitting you want to make. Begin by making a slipknot near the end of the yarn, leaving a tail long enough to work with. Then, insert the needle into the loop of the slipknot and place it on your left-hand needle. Hold the yarn in your right hand and begin to wrap it around the needle, alternating between going over and under the needle. Repeat this process for the desired number of stitches, then tighten the stitches by pulling on the tail of the yarn.
Binding off
Binding off is the process of finishing the last row of knitting and securing the stitches so they don’t unravel. To bind off, knit the first two stitches as usual. Then, use the left-hand needle to lift the first stitch over the second stitch and off the right-hand needle. Continue knitting one stitch and passing the previous stitch over until you have reached the end of the row. Finally, cut the yarn, leaving a tail long enough to weave in. Thread the tail through the last stitch and pull tight to secure the edge.
Mastering the techniques of casting on and binding off will give you the foundation you need to begin and end your knitting projects with confidence. These techniques may take some practice to perfect, but once you have them down, you’ll be ready to tackle a variety of knitting patterns, including adorable penguin designs! So grab your needles and yarn and get ready to create some cozy knitted projects!
Basic knitting stitches
When learning to knit, it is important to start with a few basic stitches that form the foundation for more complex patterns. Mastering these stitches will allow you to create a wide range of knitting projects and understand the instructions for knitting patterns.
1. Knit stitch
The knit stitch is one of the most fundamental stitches in knitting. It creates a stockinette stitch, which is smooth on one side and bumpy on the other. To knit, you insert the right-hand needle into the front of the stitch on the left-hand needle, wrap the yarn around the right-hand needle, and pull it through the stitch, sliding the stitch off the left-hand needle. Repeat this process to create a row of knit stitches.
2. Purl stitch
The purl stitch is the opposite of the knit stitch and creates a bumpy texture on the right side of the fabric. To purl, you insert the right-hand needle into the front of the stitch on the left-hand needle, but this time you wrap the yarn around the right-hand needle counter-clockwise. Pull the yarn through the stitch, sliding the stitch off the left-hand needle. Repeat to create a row of purl stitches.
Once you have mastered these two stitches, you can combine them in different patterns to create a variety of textures and designs. Knitting patterns often include instructions for different combinations of knit and purl stitches, such as ribbing, cables, and lace. With practice, you can create intricate and beautiful knitwear using a combination of these basic stitches.
Shaping the body and head
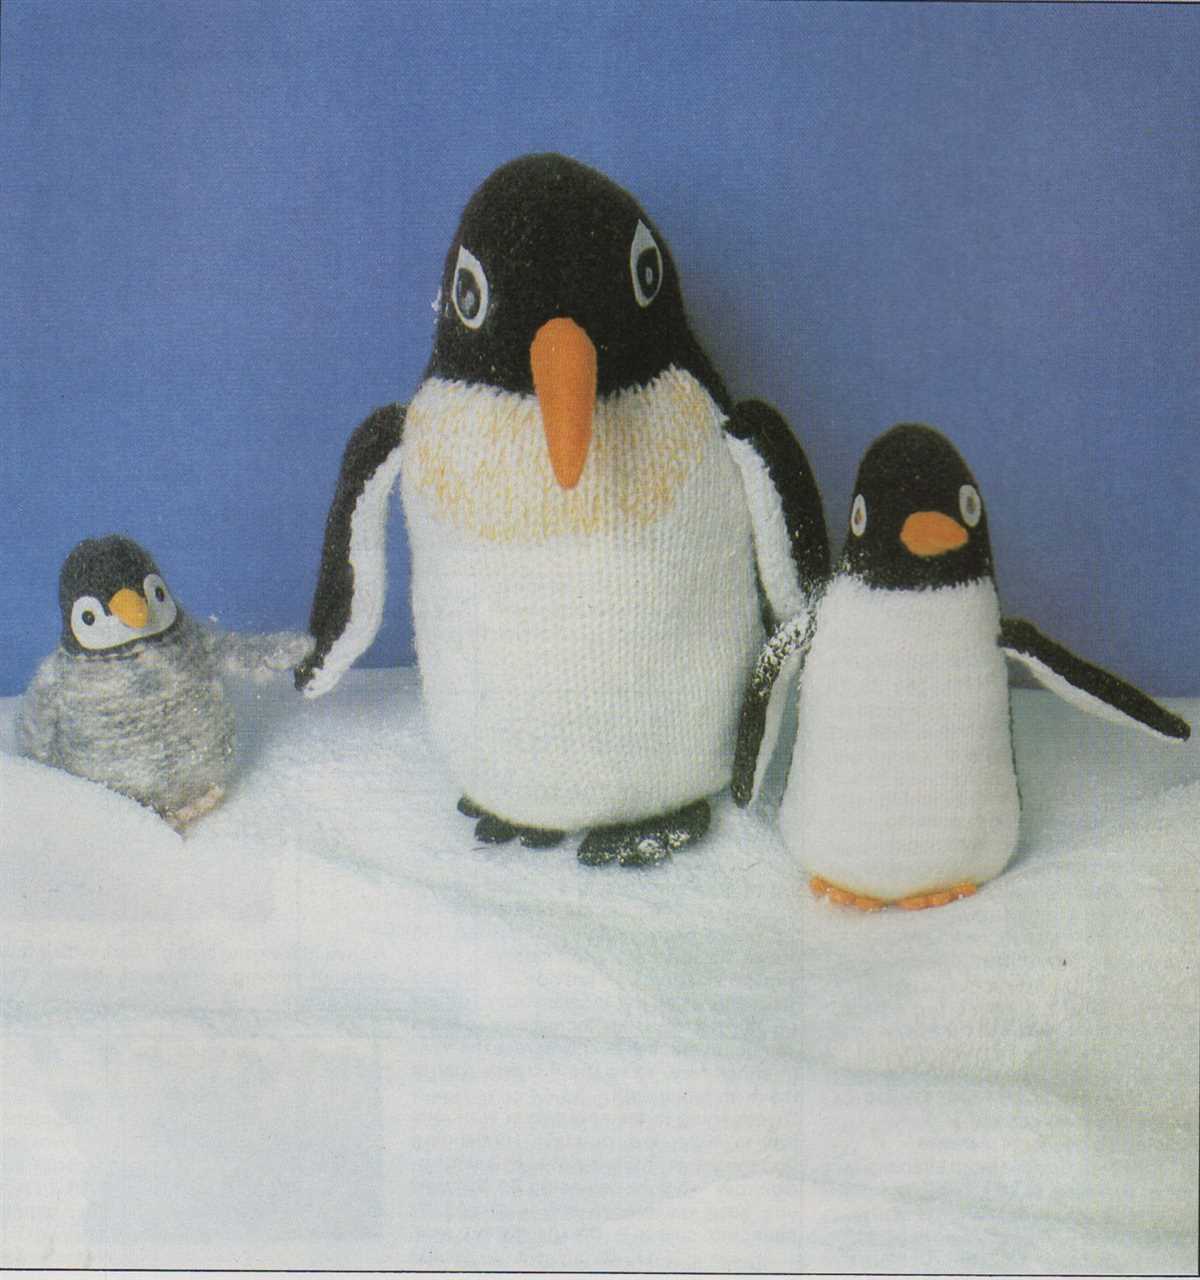
When knitting a penguin using the knitting pattern, it is important to carefully shape the body and head to create the distinct shape of a penguin. This involves increasing and decreasing stitches in specific areas to achieve the desired shape and proportions.
First, start by casting on the required number of stitches for the body. Work in the chosen stitch pattern until the desired length is reached. Then, it’s time to shape the body. Use decreases at both sides of the work to create a narrower waist. For example, you can knit two stitches together (k2tog) at regular intervals along a row. This will create a tapered shape for the penguin’s body. Repeat this decrease row a few times until the waist is the desired width.
Next, it’s time to shape the head. For most penguin knitting patterns, the head is shaped by increasing stitches gradually. To achieve this, start by knitting a few rows without shaping. Then, increase one stitch at each end of the row by knitting into the front and back (kfb) of the stitch. This will create a wider head shape, similar to the shape of a penguin’s head. Repeat this increase row a few times until the head is the desired width.
When shaping the body and head of the penguin, it is important to follow the specific instructions provided in the knitting pattern. Be sure to take your time and check your work as you go, adjusting the stitch count and shaping as needed to achieve the correct proportions. By carefully shaping the body and head, you can create an adorable penguin toy or decoration that captures the unique charm of these beloved creatures.
Adding details to your penguin
Once you have completed the basic body shape of your knitted penguin, it’s time to add some adorable details to make it truly come to life. These details will bring out the personality of your penguin and make it even more unique.
First, you can start by embroidering the eyes. Using black yarn or embroidery floss, create two small circles for the eyes. You can either sew them directly onto the body or create small patches and sew them on. This will give your penguin a charming and expressive look.
To make the beak, cut a small triangle shape from orange felt or fabric. Sew or glue it to the front of the penguin’s face, just below the eyes. This will complete the penguin’s face and give it a cute and distinct beak.
Next, you can add wings to your penguin. To do this, knit two small rectangles using black or gray yarn. Sew them onto the body, slightly below the neck, on either side. This will give your penguin a wing-like appearance and add a touch of realism.
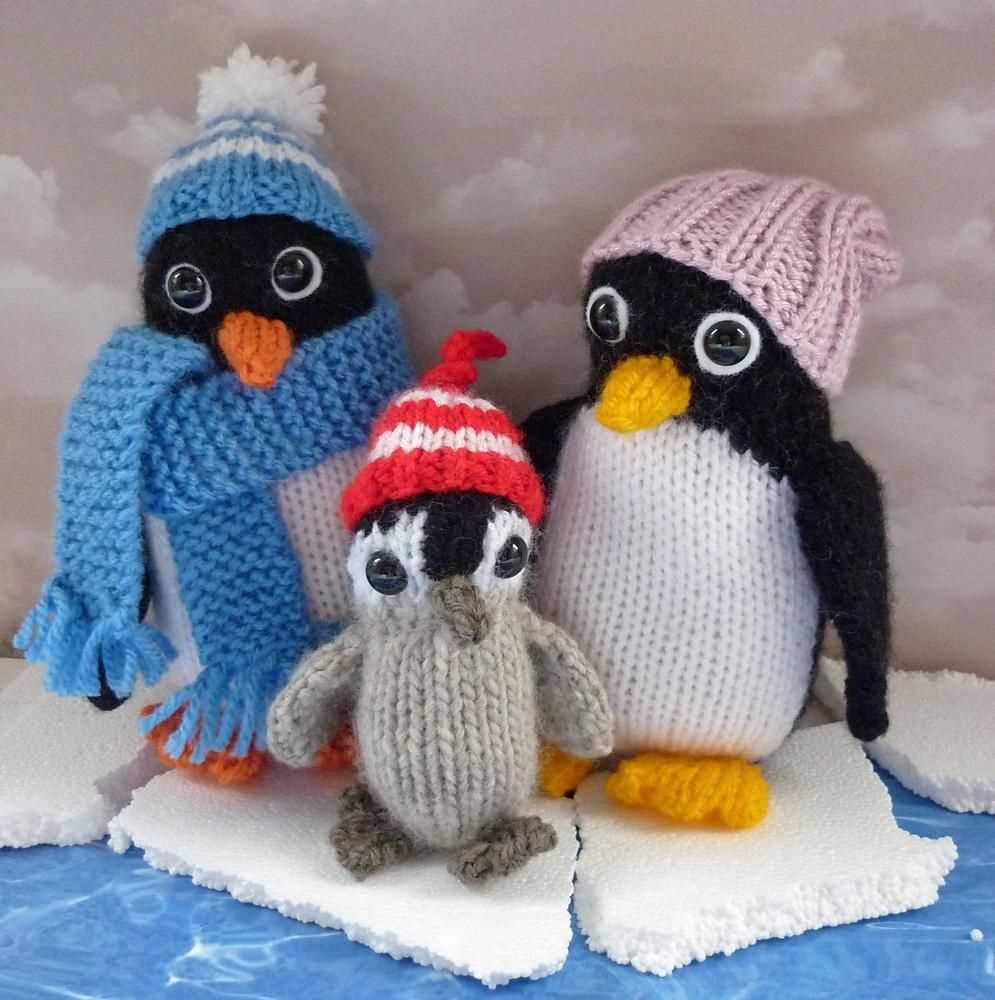
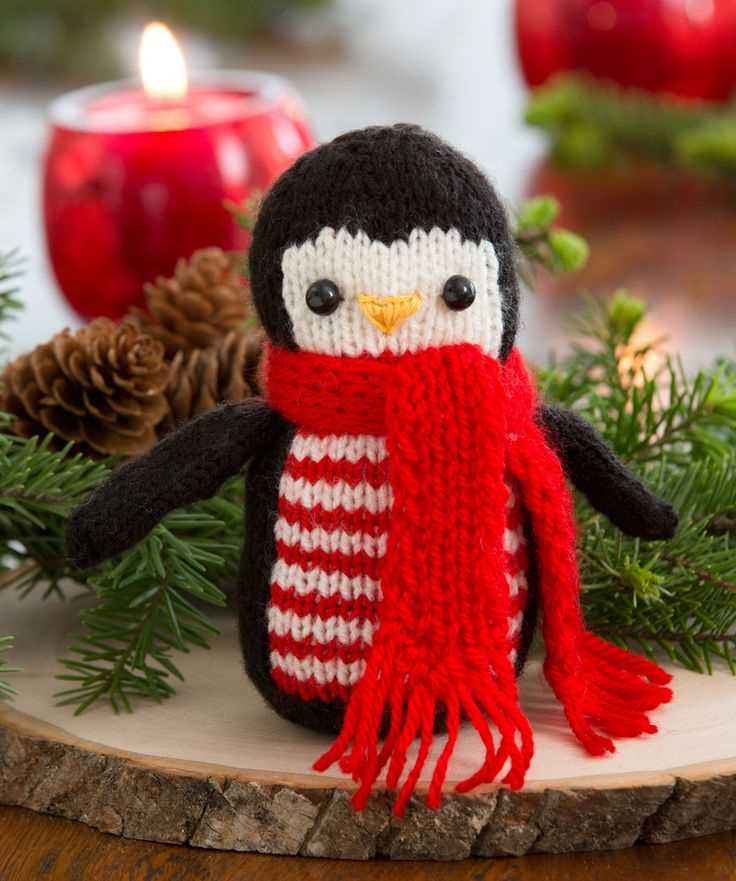
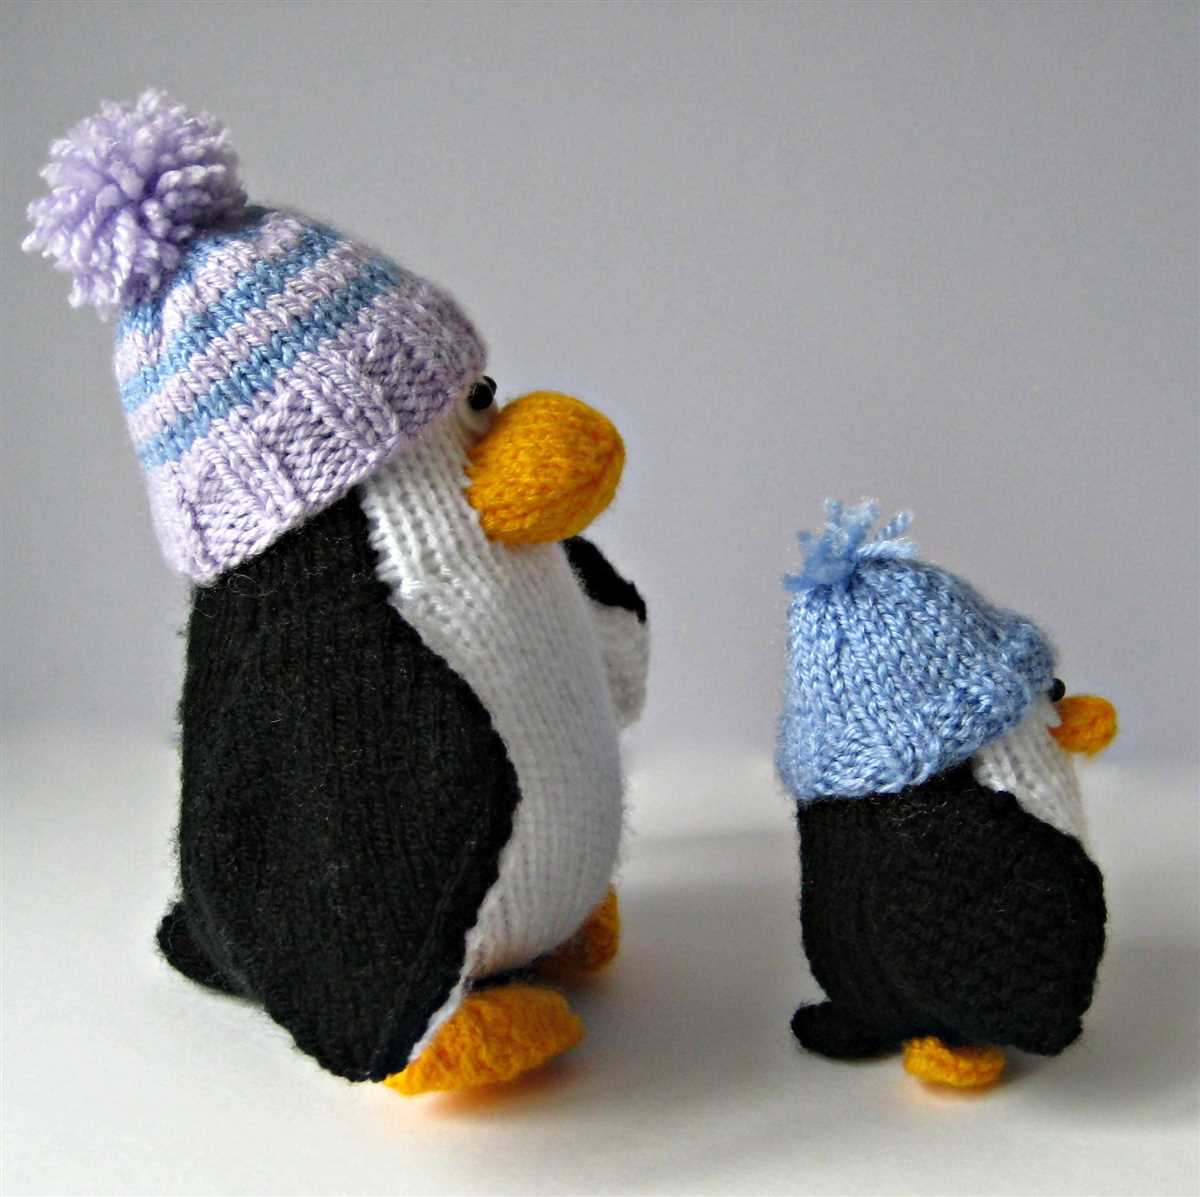
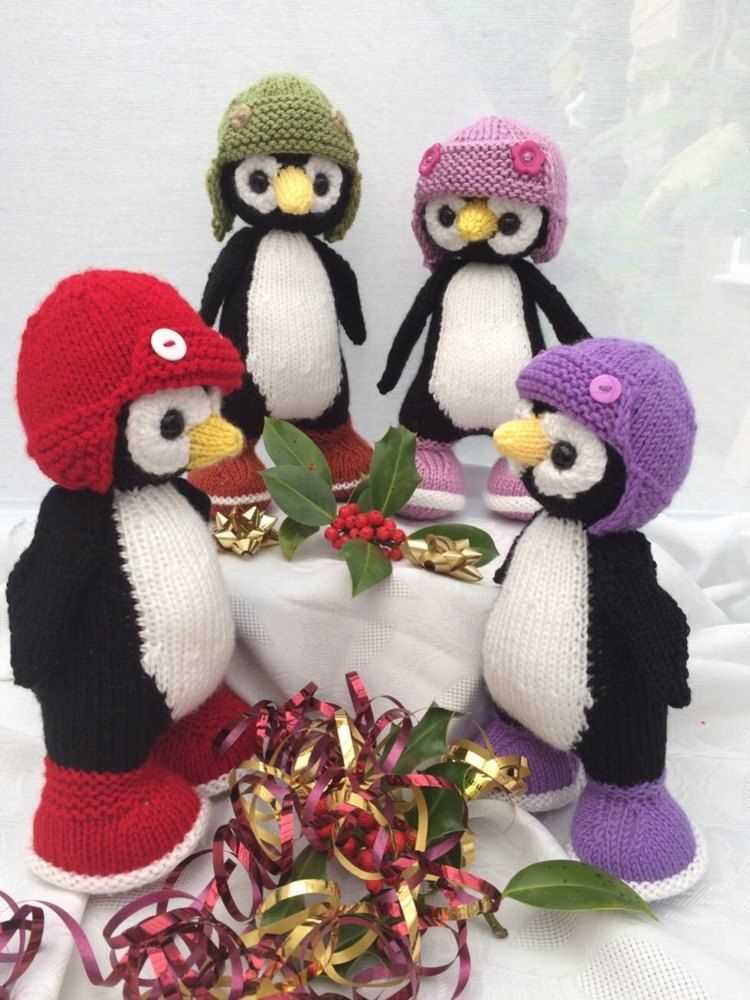
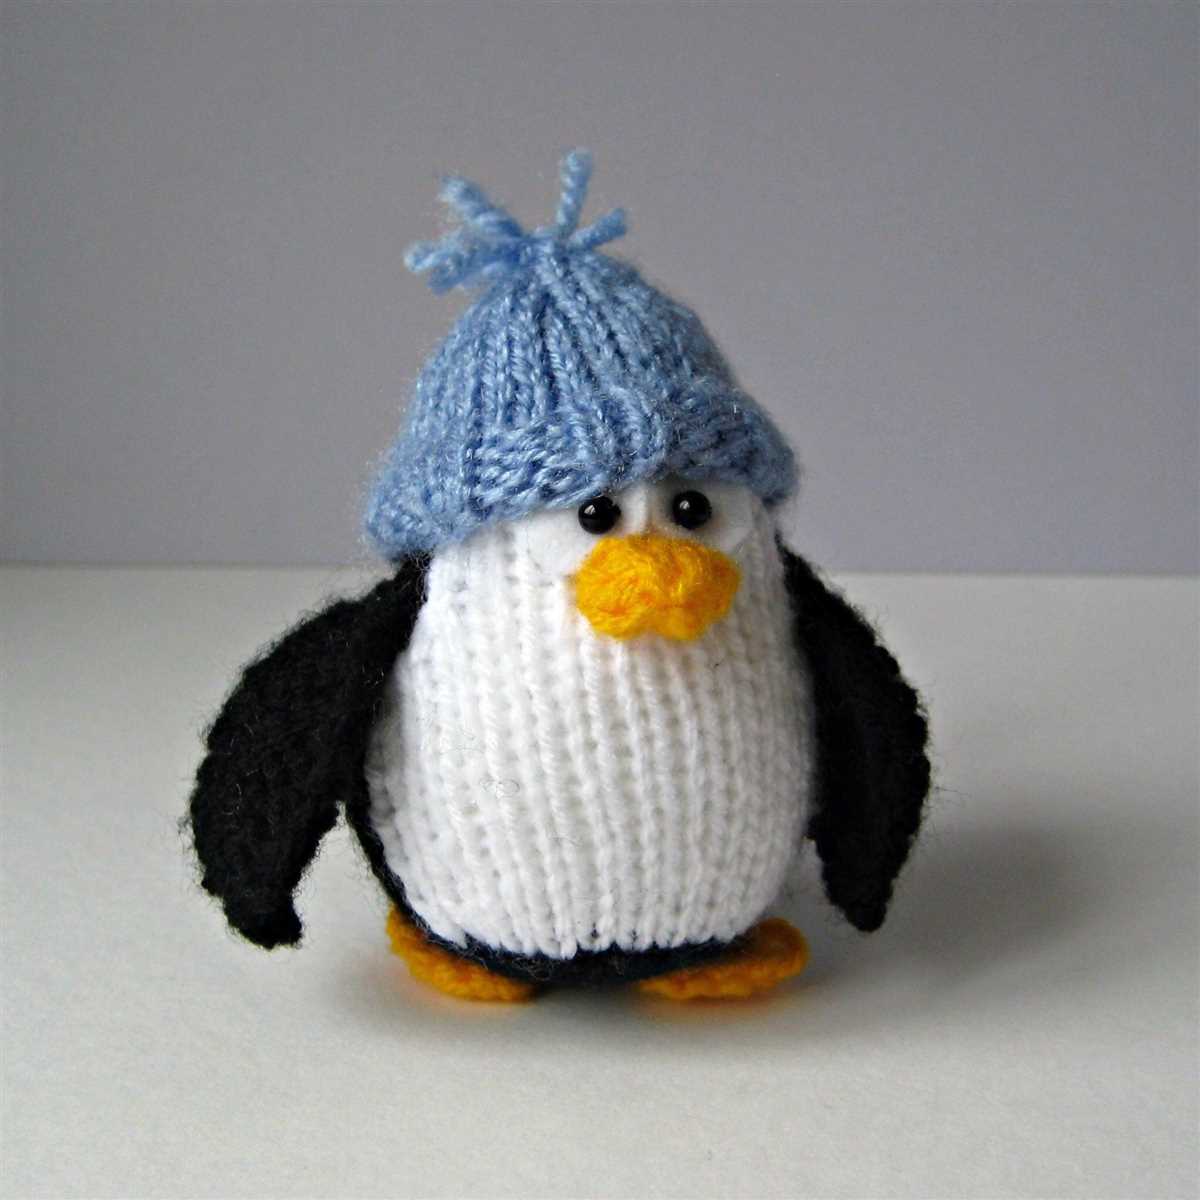
If you want to make your penguin even more festive, you can add a scarf or a hat. For the scarf, simply knit a long rectangle using any color of yarn you like. Wrap it around the penguin’s neck and secure it with a small stitch. For the hat, knit a small beanie shape and attach it to the penguin’s head. This will make your penguin look even more adorable and ready for winter.
Finally, don’t forget to give your penguin some feet! Cut small oval-shaped pieces from orange felt or fabric and sew them onto the bottom of the penguin’s body. This will complete the look and make your penguin stand upright.
Embroidering the eyes and beak
When it comes to creating a knitted penguin, one of the essential elements is embroidering the eyes and beak. These details are what bring the penguin to life and give it its characteristic features.
To embroider the eyes, you can use small black buttons or create French knots with black embroidery floss. Placing the eyes symmetrically on the penguin’s face adds to its cuteness. Remember to secure the buttons or knots tightly to ensure they don’t come off during play or washing.
The beak can be embroidered using orange or yellow embroidery floss. You can create a small triangle-shaped beak in the center of the penguin’s face. Alternatively, you can also use fabric or felt to cut out the beak shape and stitch it onto the knitted fabric. Whichever method you choose, make sure the beak is securely attached.
Making the wings and feet
Once you have finished knitting the body and head of the penguin, it’s time to add the wings and feet. These details will bring your penguin to life and make it even more adorable. Here’s how you can make them:
Wings:
To make the wings, you will need a set of double-pointed needles in the same size as the ones you used for the body. Pick up stitches along the side of the penguin’s body, near the top. You can use a crochet hook or your knitting needle to do this. Make sure to evenly distribute the stitches across the needles. Knit in the round for a few rows, then decrease at the edges to shape the wings. Continue knitting until the wings reach your desired length, then bind off the stitches. Repeat this process for the other wing.
Feet:
The feet of the penguin are made separately and then sewn onto the bottom of the body. Using the same double-pointed needles, cast on stitches for the feet. Knit in the round for a few rows, then shape the toes by decreasing at the ends of the rows. Continue knitting until the feet are the desired length, then bind off the stitches. Sew the feet onto the body, making sure to position them symmetrically.
Once you have attached the wings and feet, your knitting pattern penguin is complete! You can now enjoy your adorable creation or give it as a gift to someone special.
Q&A:
What materials do I need to knit a penguin?
To knit a penguin, you will need yarn in black and white colors, knitting needles in an appropriate size, stuffing material, tapestry needle, and safety eyes or buttons for the eyes.
Is it difficult to knit a penguin?
The difficulty level of knitting a penguin depends on your knitting skills and experience. Some penguin patterns may require advanced techniques, while others can be suitable for beginners. It’s best to choose a pattern that matches your skill level.
Where can I find a knitting pattern for a penguin?
You can find knitting patterns for penguins in various places. Online platforms like knitting websites, forums, and social media groups often have free or paid patterns available. You can also check knitting books or magazines for penguin patterns.
Can I customize the penguin pattern?
Yes, you can customize the penguin pattern to your liking. You can change the colors, add different accessories like scarves or hats, or modify the size of the penguin. Knitting patterns often provide instructions on how to make these customizations.
How long does it take to knit a penguin?
The time it takes to knit a penguin varies depending on the complexity of the pattern and your knitting speed. It can take anywhere from a few hours to several days or even weeks to complete a penguin. It’s best to check the pattern for an estimated time or gauge the size and complexity of the penguin to get an idea of the time required.
What is a knitting pattern for a penguin?
A knitting pattern for a penguin is a set of instructions that guide you on how to knit a penguin toy or decoration. It usually includes the materials needed, the stitches and techniques to use, and step-by-step instructions to create the penguin shape.