
Knitting is a craft that has been passed down through generations and has evolved over time. One style of knitting that has gained popularity in recent years is tapestry knitting. Tapestry knitting involves using multiple colors of yarn to create intricate and detailed designs. Unlike traditional Fair Isle knitting, which typically uses two colors per row, tapestry knitting can incorporate many colors into a single row, creating vibrant and eye-catching patterns.
Tapestry knitting patterns can be used to create a variety of projects, including sweaters, hats, scarves, and blankets. The possibilities are endless when it comes to designing with tapestry knitting patterns. Whether you prefer geometric shapes, floral motifs, or even images of animals, there are tapestry knitting patterns available to suit any style or taste.
One of the advantages of tapestry knitting is that it allows for great creativity and personal expression. With a wide range of colors and designs to choose from, you can create unique and one-of-a-kind pieces that reflect your personality and style. In addition, tapestry knitting can be a challenging but rewarding technique to master. It requires concentration, attention to detail, and an understanding of color theory. However, with practice and patience, you can create stunning pieces that will be cherished for years to come.
What is tapestry knitting?
Tapestry knitting, also known as stranded knitting or Fair Isle knitting, is a technique used to create intricate and colorful patterns in knitted garments. It involves working with multiple strands of yarn at the same time, carrying the unused strands along the back of the work, and creating a fabric with a dense, textured appearance.
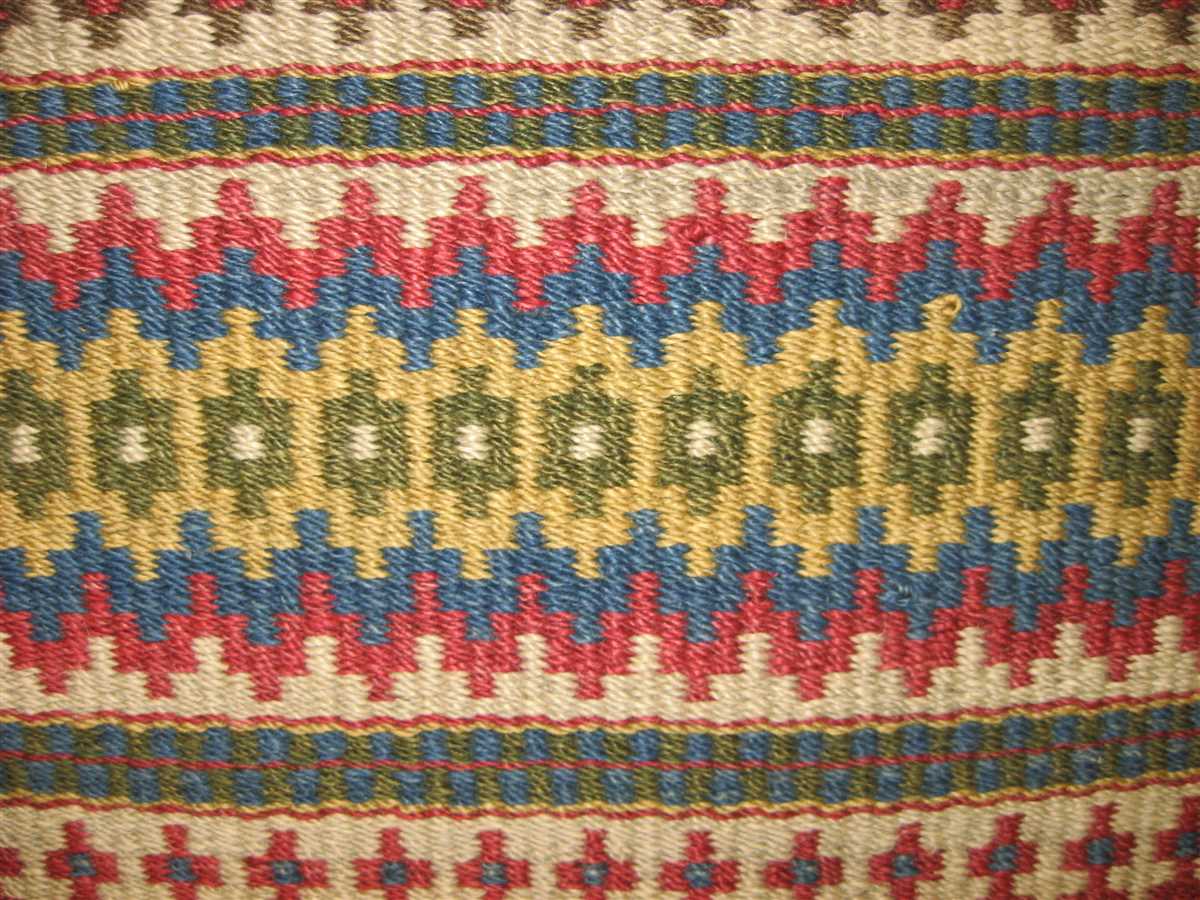
This technique is often used to create traditional patterns with motifs and designs inspired by historical tapestries, hence the name “tapestry knitting.” The patterns are usually created using two or more different-colored yarns, which are alternated in a specific order to create the desired design. The unused yarns are carried across the back of the work and are picked up as needed, resulting in a tightly woven fabric.
One of the key features of tapestry knitting is the use of stranded colorwork, where the different-colored yarns are used to create intricate patterns and motifs. This technique allows for endless design possibilities, as the color combinations and placement of the yarns can be varied to create different effects.
Tapestry knitting requires concentration and attention to detail, as each stitch needs to be carefully worked to ensure that the yarns are carried correctly and the patterns are executed accurately. It is often done using circular knitting needles or double-pointed needles to accommodate the multiple strands of yarn.
The resulting fabric in tapestry knitting is warm, durable, and visually stunning, making it a popular choice for sweaters, hats, scarves, and other cold-weather accessories. It is also a versatile technique that can be applied to different knitting projects, from small items like mittens and socks to larger garments like cardigans and blankets.
The history of tapestry knitting
Tapestry knitting, also known as stranded colorwork, is a technique that has a rich history and has been practiced for centuries. Its origins can be traced back to the traditional knitting techniques of Scandinavia and Northern Europe. The earliest examples of tapestry knitting can be found in the ancient Nordic cultures, where it was used to create warm and durable garments.
The intricate patterns and designs found in tapestry knitting were often inspired by nature and local folklore. These patterns were not only aesthetically pleasing, but also served a practical purpose. The use of multiple colors in the knitting created a dense and warm fabric, perfect for protecting against the harsh winter weather.
Tapestry knitting reached the peak of its popularity in the 19th century during the Victorian era. Knitters began to experiment with more complex designs and incorporated motifs from different cultures. The patterns became more intricate and detailed, with some even depicting scenes from famous works of art or historical events.
Today, tapestry knitting continues to be a popular technique among knitters. With the availability of a wide range of yarns in various colors and textures, there are endless possibilities for creating unique and beautiful tapestry knitting patterns. Whether you’re a beginner or an experienced knitter, exploring the history and artistry of tapestry knitting can be a rewarding and inspiring journey.
Benefits of tapestry knitting
When it comes to knitting, tapestry knitting is a technique that offers a wide range of benefits. Whether you are a beginner knitter or an experienced one, incorporating tapestry knitting patterns into your projects can enhance your skills and create stunning finished pieces.
One of the main advantages of tapestry knitting is the ability to create intricate and detailed designs. With the use of different colored yarns and various stitches, tapestry knitting allows you to incorporate complex patterns and images into your work. This opens up endless possibilities for creative expression and allows you to experiment with different textures, shapes, and motifs.
Tapestry knitting also offers the benefit of durability. By using multiple strands of yarn and working with a tight tension, tapestry knitting creates a dense and sturdy fabric that is perfect for items that need to withstand wear and tear, such as bags, cushions, and blankets. The tightness of the stitches also helps to trap warmth, making tapestry knitted items cozy and warm.
Another advantage of tapestry knitting is the versatility it offers. You can use the technique to create a wide range of items, from garments and accessories to home decor and even art pieces. The versatility of tapestry knitting allows you to incorporate your own personal style and create unique and one-of-a-kind pieces that reflect your individuality.
In summary, tapestry knitting offers a multitude of benefits, including the ability to create intricate designs, durability, and versatility. By incorporating tapestry knitting into your projects, you can take your knitting skills to the next level and create beautiful and functional pieces that stand out from the crowd.
Choosing the right yarn for tapestry knitting
Tapestry knitting is a technique that involves creating intricate patterns or images on a garment using multiple colors of yarn. When choosing yarn for tapestry knitting, there are several factors to consider to ensure the best results.
Fiber content: The fiber content of the yarn will greatly affect the finished look and feel of the tapestry. Wool is a popular choice for tapestry knitting as it has excellent stitch definition and is easy to work with. Cotton and acrylic yarns can also be used, but they may have less elasticity and may not hold their shape as well.
Yarn weight: The weight of the yarn refers to its thickness. For tapestry knitting, it is best to choose a yarn that is heavier than what you would typically use for knitting garments. A DK or worsted weight yarn is a good choice as it will provide good coverage and allow for more intricate details in the pattern.
- Color selection: When working with multiple colors in tapestry knitting, it is important to carefully consider the color selection. The colors should contrast well with each other to create a clear and defined pattern. It is also important to consider how the colors will look when blended together.
- Yardage: Depending on the size of the tapestry project, it is important to choose a yarn with enough yardage to complete the entire design. It can be frustrating to run out of yarn halfway through a project, so it is always a good idea to calculate how much yarn you will need and buy extra just to be safe.
- Texture: When choosing yarn for tapestry knitting, it is important to consider the texture of the yarn. A smooth and even texture will allow the stitches and colors to shine, while a textured yarn may obscure the pattern or create uneven tension.
By considering these factors and choosing the right yarn for tapestry knitting, you will be able to create beautiful, vibrant, and intricate designs that will stand out and impress. Take the time to experiment with different yarns and techniques to find what works best for your projects.
Essential tools for tapestry knitting
Tapestry knitting is a unique technique that requires specific tools to create beautiful and intricate designs. Whether you are a beginner or an experienced knitter, having the right tools will make the process easier and more enjoyable. Here are some essential tools for tapestry knitting:
1. Tapestry Needles
Tapestry needles, also known as yarn needles, are a must-have for tapestry knitting. These needles have a large eye and a blunt tip, making it easy to weave in yarn ends and work with multiple strands of yarn. They come in various sizes, so be sure to choose the right size for your project.
2. Tapestry Loom
A tapestry loom is a tool used to hold the warp threads in place while you weave the weft. It can be a simple frame or a more complex device with tensioning capabilities. The type of loom you choose will depend on your personal preference and the size of your project.
3. Stitch Markers
Stitch markers are essential for keeping track of your stitches and counting rows in tapestry knitting. They can be simple plastic rings or decorative charms that you attach to your knitting needles. Using stitch markers will help you avoid mistakes and ensure that your design is symmetrical and evenly spaced.
4. Tapestry Bobbins
Tapestry bobbins are small wooden or plastic tools that hold and organize different colors of yarn for tapestry knitting. They make it easy to switch between colors and keep your yarn from tangling. Using bobbins will ensure that your design has clean color changes and neat edges.
5. Tapestry Comb
A tapestry comb is a comb-like tool with narrow teeth that is used to beat down the weft threads on a tapestry loom. It helps create a tight and even weave, resulting in a well-defined design. You can use a tapestry comb in combination with your fingers to achieve the desired tension.
These are just a few of the essential tools for tapestry knitting. As you explore this technique further, you may discover other tools that suit your personal style and preferences. Remember to invest in good quality tools that will last and enhance your tapestry knitting experience. Happy knitting!
Basic Techniques for Tapestry Knitting
Tapestry knitting is a technique that allows you to create intricate and detailed patterns using multiple colors of yarn. It involves working with two or more colors at once, by stranding or carrying the unused colors along the back of the work.
Stranding: Stranding is a commonly used technique in tapestry knitting. This involves carrying the unused colors of yarn behind the work, always keeping them at the same tension as the working yarn. To prevent long floats (the strands of yarn that travel across the back of the work), it is recommended to twist the unused colors around the working yarn every few stitches.
Intarsia: Intarsia is another technique used in tapestry knitting, which involves using separate balls or bobbins of yarn for each color block in the pattern. Unlike stranding, the unused colors are not carried across the back of the work, but are instead joined in at the beginning of each color block and dropped at the end. This technique is particularly useful for larger color blocks or areas with sharp color changes.
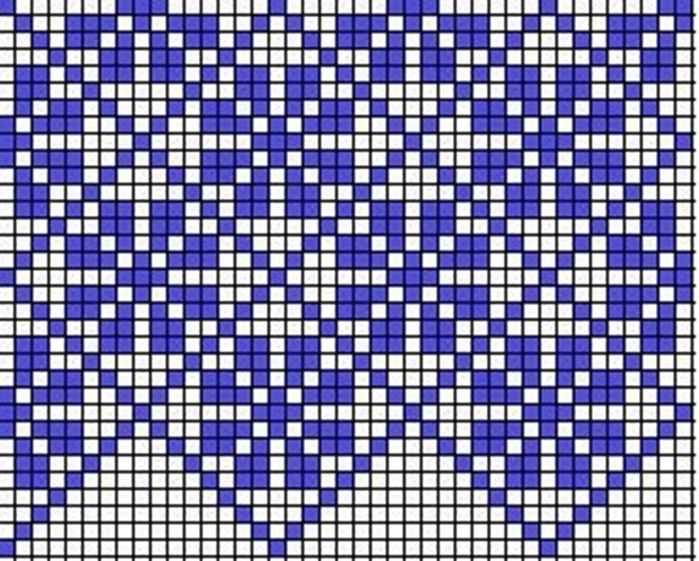
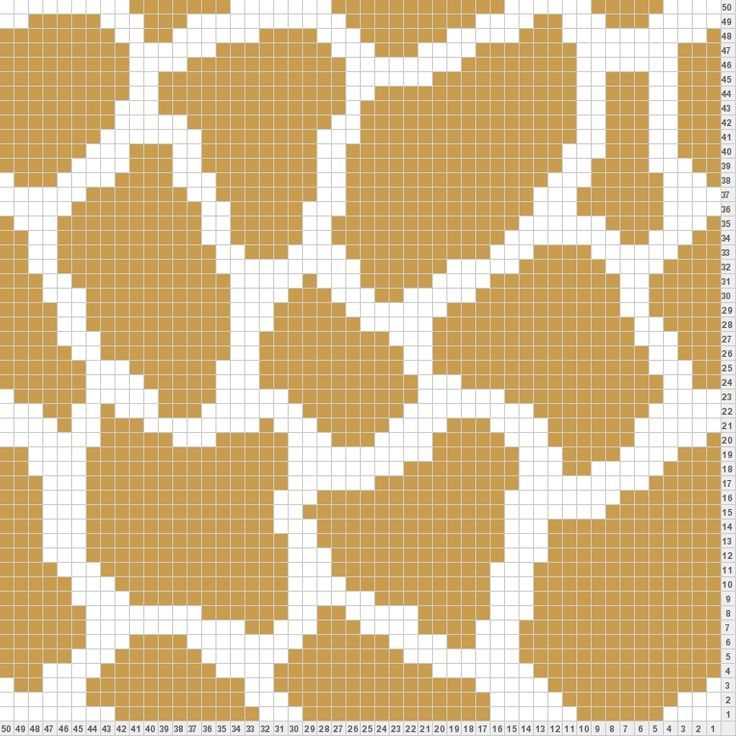
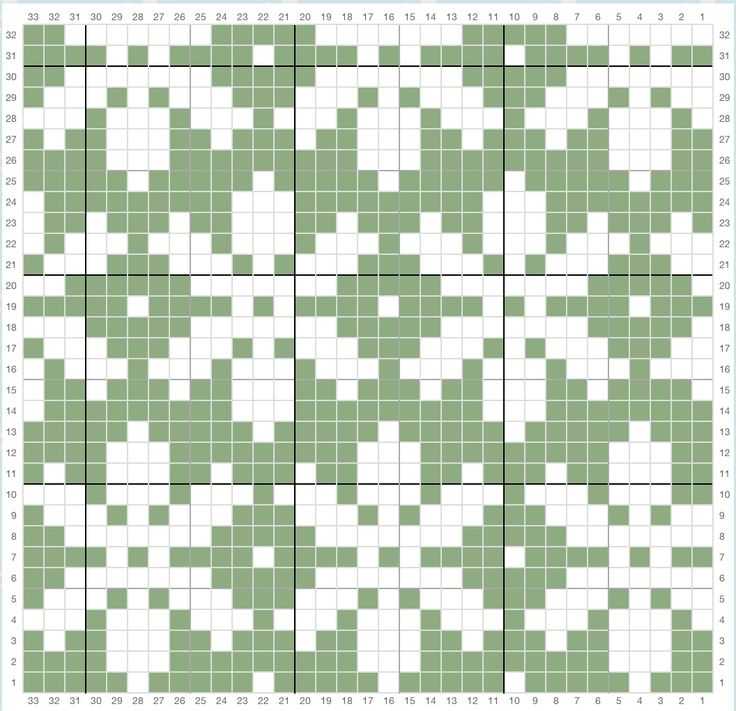
Chart reading: Tapestry knitting patterns are typically charted, with each square on the chart representing one stitch. It is important to have a good understanding of how to read these charts, as they provide a visual representation of the pattern and help to guide your color changes. Always start at the bottom-right corner of the chart and read row by row from right to left.
- Postive and negative space: When knitting tapestry patterns, it’s important to keep in mind the concept of positive and negative space. Positive space refers to the areas in the pattern that are filled with color, while negative space refers to the background areas. Paying attention to the balance between these two spaces will help you achieve the desired effect in your tapestry knitting.
- Blocking: Blocking is an essential step in tapestry knitting, as it helps to even out the tension in the finished piece and enhances the clarity of the pattern. After completing your tapestry knitting project, wet block it by soaking it in lukewarm water, then gently squeezing out the excess water and laying it flat to dry. This will give your tapestry knitting an overall polished look.
- Practice and experimentation: Like any knitting technique, tapestry knitting requires practice to master. Start with simple patterns and gradually work your way up to more complex designs. Don’t be afraid to experiment with different color combinations and variations in the pattern to make it uniquely yours.
Tips for reading tapestry knitting patterns
When it comes to tackling a tapestry knitting pattern, it’s important to understand the instructions and symbols used. Here are some tips to help you read tapestry knitting patterns:
1. Familiarize yourself with the key:
Before starting any tapestry knitting project, take the time to read the key or legend provided in the pattern. This will explain the symbols and abbreviations used throughout the pattern. Make sure you understand what each symbol represents, as this will help you follow the pattern correctly.
2. Pay attention to color changes:
Tapestry knitting often involves working with multiple colors to create intricate designs. The pattern will indicate when and how to change colors. Pay close attention to these instructions, as they are crucial for achieving the desired result. Take note of where the color changes occur and ensure you have the necessary yarn colors on hand.
3. Follow the chart or graph:
Many tapestry knitting patterns include a chart or graph that visually represents the design. This chart will typically correspond to a specific number of stitches and rows. Use the chart as a visual guide to follow along with the pattern. Pay attention to the symbols in the chart and match them to the key provided in the pattern instructions.
4. Read the pattern row by row:

Tapestry knitting patterns are usually written row by row, indicating the specific stitches and colors to use in each row. Take the time to read and understand each row before you begin knitting it. This will help prevent mistakes and ensure the design comes out as intended.
5. Take notes and mark your progress:
To keep track of your progress and make it easier to follow the tapestry knitting pattern, consider taking notes or using stitch markers. You can mark off each row as you complete it to stay organized and avoid confusion. This will also be helpful if you need to pause your knitting and come back to it later.
By following these tips, you’ll be well-equipped to read and understand tapestry knitting patterns. Enjoy the process of creating beautiful tapestry designs with your knitting skills!
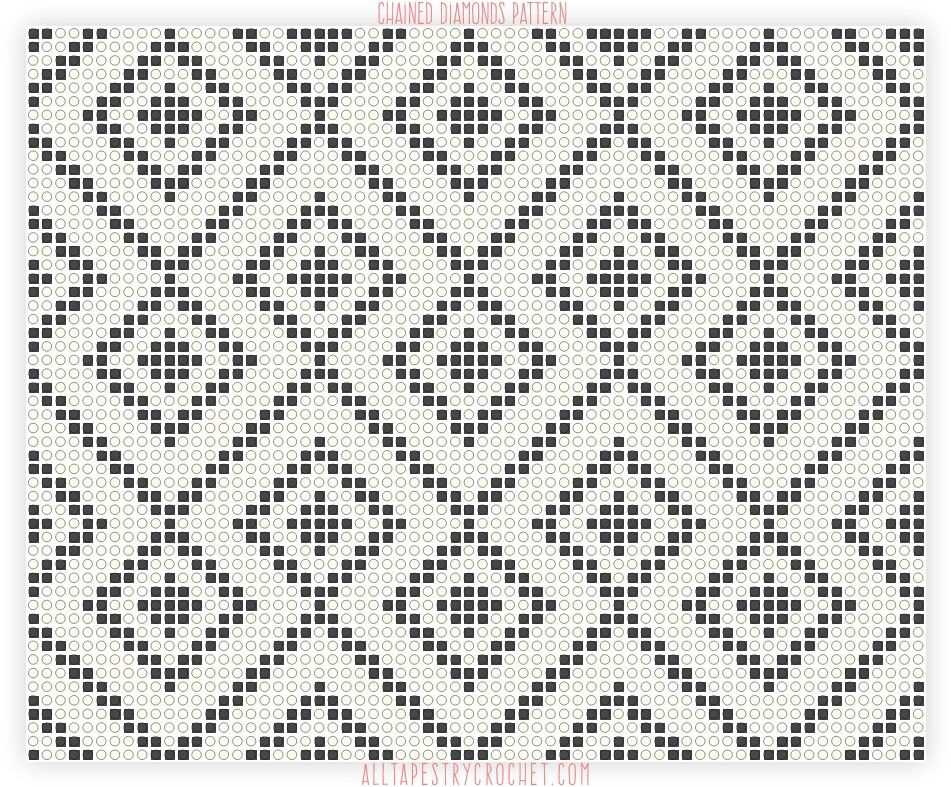
Popular tapestry knitting patterns
Tapestry knitting is a technique that involves creating intricate designs by using multiple colors and changing them throughout the pattern. It creates a beautiful textured fabric that is perfect for creating stunning garments and accessories. There are several popular tapestry knitting patterns that are loved by knitters all over the world.
1. Fair Isle: Fair Isle is a traditional tapestry knitting technique that originated in the Shetland Islands. It is characterized by its use of multiple colors in small repeated motifs. Fair Isle patterns often feature geometric shapes or motifs inspired by nature, such as flowers or animals. The technique creates a beautiful and intricate design that is perfect for sweaters, hats, and scarves.
2. Intarsia: Intarsia is another popular tapestry knitting technique that involves using different colors of yarn to create blocks of color in a design. Unlike Fair Isle, Intarsia does not involve carrying yarn across the back of the work. Instead, separate bobbins or balls of yarn are used for each different color. Intarsia patterns can be as simple or complex as desired and are perfect for creating pictures or bold graphic designs.
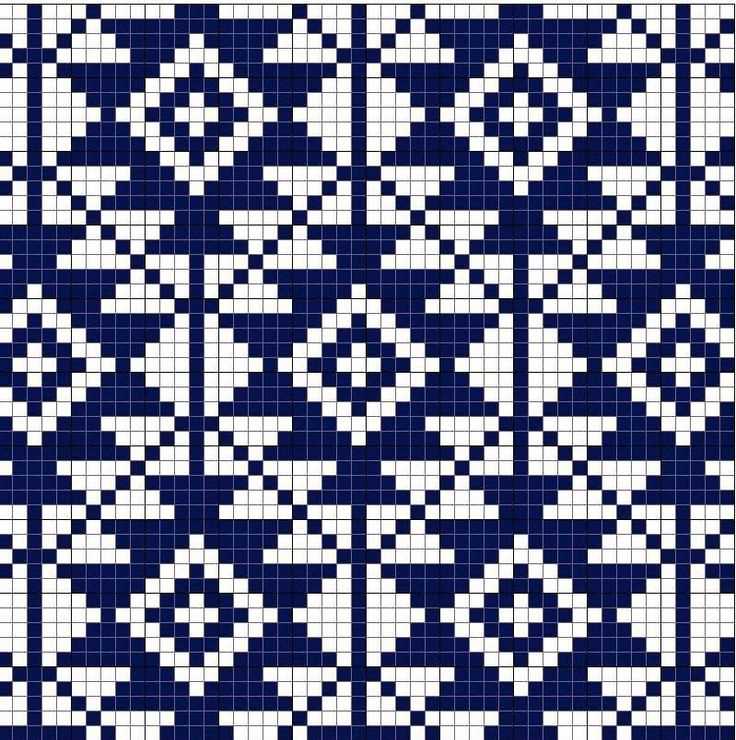
- 3. Scandinavian patterns: Scandinavian knitting patterns are known for their intricate and detailed designs. These patterns often feature geometric shapes and motifs that are inspired by Nordic folklore and nature. Traditional Scandinavian tapestry knitting patterns are perfect for creating warm and cozy sweaters, mittens, and socks.
- 4. Cables and twists: While not strictly tapestry knitting, cables and twists are often incorporated into tapestry designs to add extra texture and interest. Cables are created by crossing stitches over each other, while twists are created by knitting or purling stitches out of order. These techniques can be used to create stunning and intricate cable and twist patterns.
Tapestry knitting patterns offer endless possibilities for creating beautiful and unique knitted items. Whether you prefer traditional Fair Isle patterns or more modern graphic designs, there is a tapestry knitting pattern that will suit your style and skill level. Get creative and experiment with different colors and motifs to create your own stunning tapestry knitting designs!
Creating your own tapestry knitting patterns
Creating your own tapestry knitting patterns can be a fun and rewarding process. With tapestry knitting, you can create intricate and detailed designs using multiple colors and stitches. Here are some steps to help you get started:
1. Choose your design:
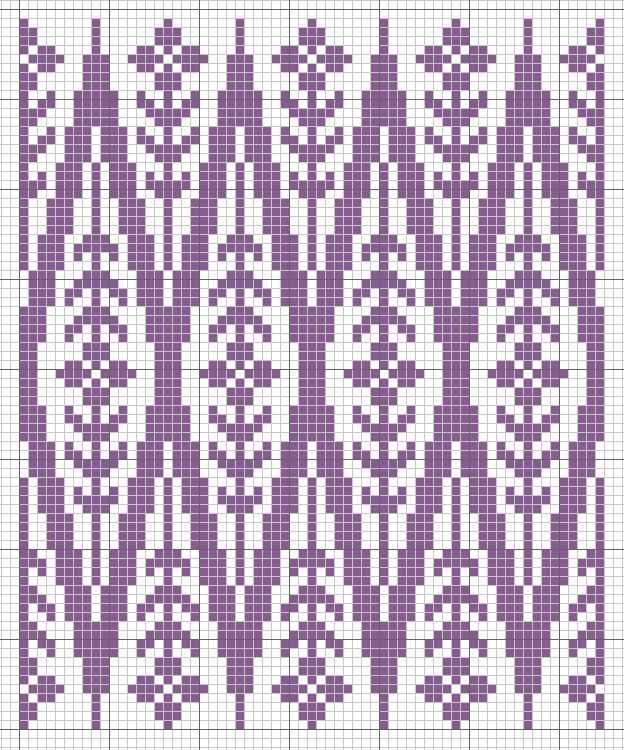
Begin by choosing a design or motif that you would like to incorporate into your tapestry knitting pattern. This could be anything from geometric shapes to animals or even landscapes. Look for inspiration in books, nature, or online resources.
2. Sketch your design:
Once you have chosen your design, sketch it out on graph paper or use a digital design software. This will help you visualize how the design will look when knitted and allow you to make any necessary adjustments before starting.
3. Decide on the colors:
Next, decide on the colors you want to use in your tapestry knitting pattern. Consider the mood or theme you want to convey and select colors that complement each other. Experiment with different color combinations to see what works best for your design.
4. Choose your stitches:
Depending on the complexity of your design, you may need to choose different knitting stitches to create the desired effect. Look for stitch patterns that can be easily adapted to your design or experiment with your own stitch combinations.
5. Start knitting:
Once you have your design, colors, and stitches finalized, it’s time to start knitting. Use your sketch or graph paper as a guide and follow the pattern row by row. Pay attention to the color changes and stitch variations as you go along to ensure your design is coming together as planned.
Creating your own tapestry knitting patterns allows you to unleash your creativity and customize your projects to your liking. Don’t be afraid to experiment and try new techniques to create unique and beautiful tapestry designs.
Using color in tapestry knitting
In tapestry knitting, color plays a vital role in creating intricate and visually stunning designs. With the use of various colors, you can bring depth, texture, and dimension to your tapestry project.
Color selection: When choosing colors for your tapestry knitting project, consider the overall theme or design you want to achieve. You can opt for a harmonious color palette, using shades that are close to each other on the color wheel, or create contrast by combining complementary colors. For a vibrant and eye-catching design, experiment with bold and bright colors. On the other hand, a more subtle effect can be achieved by using softer and muted tones.
Color placement: The way you place colors in your tapestry knitting project can greatly impact the overall design. You can create patterns and motifs by alternating colors in specific rows or sections. Using color blocks or stripes can add visual interest and structure to your tapestry. Consider the proportions and balance of colors, as well as the size and shape of the design elements, to create an aesthetically pleasing result.
Color blending: Blending colors in tapestry knitting can create stunning gradient effects and smooth transitions. This technique involves working with multiple strands of yarn, gradually introducing or removing colors as you knit. You can achieve this by holding different colors together while knitting or by changing yarns at specific points in your project. Experiment with different blending techniques, such as striping, fading, or marling, to achieve the desired color effect in your tapestry.
Color psychology: Colors have symbolic meanings and can evoke different emotions and moods. When designing your tapestry, consider the psychological impact of colors and how they can enhance the message or theme of your project. For example, warm colors like red and orange can create a sense of energy and passion, while cool colors like blue and green can evoke feelings of calmness and tranquility. Choose colors that resonate with the intended message or atmosphere of your tapestry.
With the careful selection, placement, blending, and consideration of color psychology, you can create beautiful tapestry knitting projects that are visually captivating and meaningful.
Finishing techniques for tapestry knitting projects
Tapestry knitting projects can result in beautifully textured and intricate designs. However, the process of finishing these projects requires careful attention to detail. Here are some essential techniques to consider when completing a tapestry knitting project:
Blocking: Before finishing your tapestry knitting project, it is important to block the knitted piece to shape and smooth out any uneven areas. Blocking helps to enhance the overall appearance and ensures that the finished project retains its intended shape. It is recommended to block tapestry knitting projects by gently steam blocking or wet blocking, depending on the type of yarn used.
Sewing in ends: As with any knitting project, tapestry knitting involves weaving in ends. To maintain a neat and professional finish, it is crucial to sew in all loose ends carefully. This is achieved by using a yarn needle to weave the ends in and out of the stitches on the wrong side of the knitting, ensuring that the ends are secure and discreetly hidden.
Adding a border: To frame and enhance the tapestry design, adding a border can be a beautiful finishing touch. Borders can be knit separately and sewn onto the edges of the tapestry or incorporated directly into the knitting process. This can be done using a contrasting or coordinating yarn, depending on the desired effect.
Blocking the finished project again: Once the ends are sewn in and any additional border is added, it is important to block the finished project once again to ensure that everything is in its proper place. This final blocking step helps to set the stitches and further smooth out the fabric, resulting in a polished and professional-looking tapestry knitting project.
Finishing touches: Finally, consider any additional finishing touches that can elevate the overall presentation of the tapestry knitting project. This may include attaching buttons, beads, or other embellishments that complement the design. These final details can add depth and interest to the finished piece, making it truly unique.
By using these finishing techniques, tapestry knitting projects can be transformed into stunning works of art. Whether it is blocking to achieve the desired shape, sewing in ends for a neat finish, adding a border for a decorative touch, or incorporating additional embellishments, attention to detail during the finishing process is crucial in creating a beautiful and professionally finished tapestry knitting project.
Caring for and Preserving Tapestry Knitting Projects
Tapestry knitting projects require special care to ensure their longevity and beauty. With proper maintenance and storage, you can enjoy your tapestry creations for years to come.
Here are some tips for caring for and preserving your tapestry knitting projects:
- Hand wash only: To prevent any damage, always hand wash your tapestry projects. Use lukewarm water and a mild detergent or wool wash. Gently agitate the item in the water, then rinse thoroughly. Avoid wringing or twisting the item, as this can cause stretching or distortion of the delicate stitches.
- Dry flat: After washing, lay your tapestry project flat on a clean towel or blocking board to dry. Avoid hanging or stretching the item, as this can cause it to lose its shape. Flip the item over periodically to ensure even drying.
- Block if necessary: If your tapestry project appears wrinkled or misshapen after drying, you may need to block it. Blocking involves reshaping the item to its intended dimensions by gently stretching and pinning it in place. Follow the blocking instructions provided in your pattern to ensure proper shaping.
- Store in a cool, dry place: When not in use, store your tapestry knitting projects in a cool, dry place to prevent damage from moisture, insects, and sunlight. Consider using acid-free tissue paper or a cotton bag to protect the item from dust and dirt.
- Avoid direct sunlight: Prolonged exposure to sunlight can cause fading and discoloration of your tapestry projects. Keep them out of direct sunlight to preserve their vibrant colors and overall appearance.
- Handle with care: When handling your tapestry projects, be gentle to avoid catching the delicate stitches on sharp objects or rough surfaces. Avoid wearing jewelry that could snag the yarn, and always fold or roll the item instead of folding it to prevent creases.
By following these tips, you can ensure that your tapestry knitting projects remain beautiful and well-preserved for years to come. With proper care, your handcrafted tapestries will continue to bring warmth and joy to your home or loved ones.