
Knitting is a popular hobby that allows you to create unique and personalized items. If you’re an avid golfer, why not combine your love for knitting and golf by creating your own knitted club covers? Not only will they protect your clubs from scratches and dents, but they will also add a touch of style to your golf bag.
This article will provide you with a free pattern for knitted golf club covers. Whether you’re a beginner or an experienced knitter, this pattern is easy to follow and will result in beautifully designed covers for your golf clubs. The pattern can be easily customized to fit any club size and can be knit using any color or pattern you desire.
By knitting your own golf club covers, you can show off your creativity and make a unique statement on the golf course. So, grab your knitting needles and get ready to create a set of stylish and functional club covers that will impress your fellow golfers!
Why Use Knitted Golf Club Covers

Golf is a sport that requires precision and attention to detail. Every golfer knows the importance of having properly maintained golf clubs, as they can greatly affect the game. Investing in knitted golf club covers is a smart decision, as they offer numerous benefits to both golfers and their equipment.
Protection: One of the main reasons to use knitted golf club covers is to protect your valuable clubs. Golf clubs are expensive and delicate, and the covers help prevent them from getting scratched, dented, or damaged during transportation or while in storage. The knitted material provides a soft and cushioned layer of protection that absorbs shocks and impacts, ensuring that your clubs remain in top condition for longer.
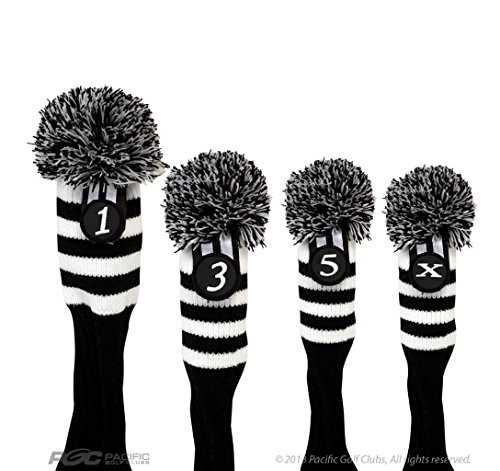
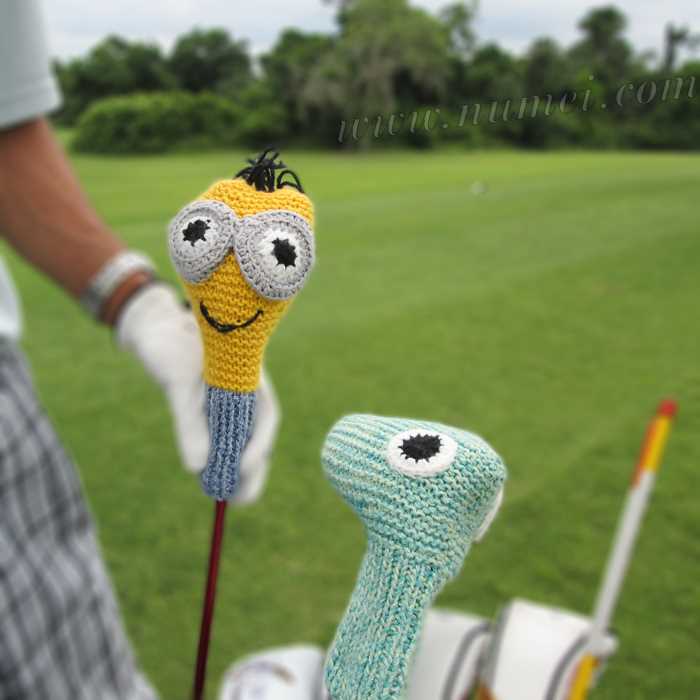
Style and Personalization: Knitted golf club covers are not only functional but also stylish. They come in a variety of colors, patterns, and designs, allowing golfers to express their personal style on the course. Whether you prefer a classic solid color or a quirky pattern, you can find knitted covers that match your personality and add a touch of uniqueness to your golf bag.
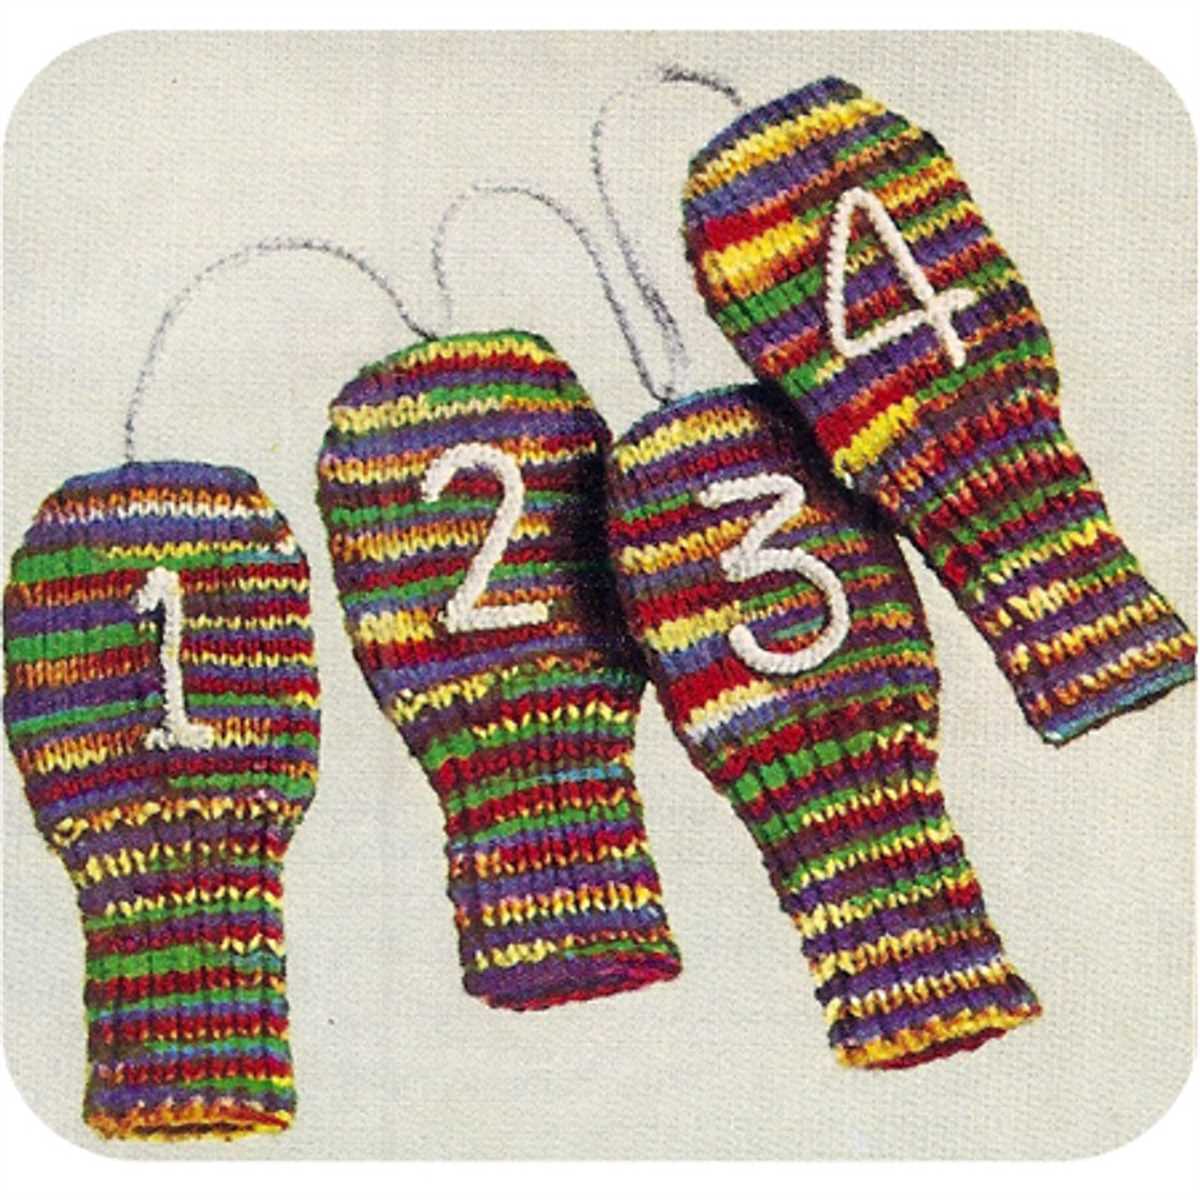
Easy Identification: Another advantage of using knitted golf club covers is that they make it easier to identify your clubs. When all your clubs are covered in the same material, it can be challenging to differentiate between them, especially if you have multiple clubs of the same type. With knitted covers, you can choose different colors or patterns for each club, making it easier to quickly identify the right club for each shot.
Durability: Knitted golf club covers are made of high-quality materials that are designed to withstand wear and tear. The knitted fabric is stretchable, ensuring a snug fit on the clubs and preventing them from slipping off during transportation. Additionally, the covers are often machine-washable, making them easy to clean and maintain for long-lasting use.
Gift Option: Knitted golf club covers also make great gifts for golf enthusiasts. They are practical, stylish, and can be customized with initials or logos, making them a thoughtful and personal present. Whether for a birthday, holiday, or special occasion, knitted golf club covers are a unique gift that any golfer would appreciate.
Materials Needed for Knitted Golf Club Covers
Knitting your own golf club covers can be a fun and rewarding project. To get started, you will need a few essential materials:
- Yarn: Choose a soft, durable yarn that is suitable for knitting. You can use any color or brand of yarn that you prefer.
- Knitting Needles: Select a pair of knitting needles that are appropriate for your chosen yarn weight. It is recommended to use circular needles or double-pointed needles for knitting in the round.
- Tape Measure: This will be useful for measuring the length and width of your golf club heads to ensure the covers fit snugly.
- Stitch Markers: These small plastic or metal rings can help you keep track of your stitches and ensure that you are working the pattern correctly.
- Darning Needle: This needle is used for weaving in ends and sewing the seams of your knitted pieces together.
- Scissors: A pair of sharp scissors will be needed for cutting yarn and trimming any excess.
- Cable Needle (optional): If your chosen pattern includes cables, you may need a cable needle to help you manipulate the stitches.
Once you have gathered all of these materials, you will be ready to start knitting your golf club covers. Make sure to follow the pattern instructions carefully and take your time to create beautiful and functional covers for your golf clubs.
Choosing the Right Yarn for Your Club Covers

When it comes to knitting golf club covers, one of the most important decisions you’ll make is choosing the right yarn. The yarn you use can greatly impact the durability, elasticity, and overall performance of your club covers. With so many options available, it can be overwhelming to decide which yarn is best. But don’t worry, we’ve got you covered!
1. Consider the weight: Golf club covers need to be lightweight to ensure they don’t add unnecessary bulk to your golf bag. Look for yarns that are categorized as sport, DK, or worsted weight, as these will provide the optimal balance between durability and weight.
2. Look for stretch: A key feature to consider when choosing yarn for your club covers is elasticity. Golf club covers need to be able to stretch and conform to the shape of the club head, so opt for yarns that have some wool or elastic content. This will ensure a snug fit and added protection for your clubs.
3. Durability matters: Golf clubs are often tossed around and exposed to various weather conditions, so it’s important to choose a yarn that can withstand the wear and tear. Consider yarns that are reinforced or have a high twist for added durability. Acrylic blends are also a good option as they are generally more resistant to fading and stretching.
4. Don’t forget about aesthetics: While functionality should be your top priority, there’s no harm in choosing a yarn that also looks good. Opt for yarns with vibrant colors or interesting textures to add a touch of personality to your club covers.
By taking these factors into consideration, you’ll be well-equipped to choose the perfect yarn for your knitted golf club covers. Remember, the right yarn can make all the difference in the performance and longevity of your covers, so choose wisely! Happy knitting!
Getting Started: Basic Knitting Techniques
If you are new to knitting or just need a refresher, here are some basic knitting techniques to get you started on your golf club cover project:
Casting On: This is the first step in any knitting project. To cast on, you create the foundation row of stitches. There are different methods of casting on, but the most common is the long-tail cast on. This method provides a stretchy edge and is easy to learn.
Knit Stitch: The knit stitch is the most basic stitch in knitting. It is created by inserting the right-hand needle into the first stitch on the left-hand needle, wrapping the yarn around the right-hand needle, and pulling it through the stitch to create a new stitch on the right-hand needle.
Purl Stitch: The purl stitch is the reverse of the knit stitch. It is created by inserting the right-hand needle from right to left into the first stitch on the left-hand needle, wrapping the yarn around the right-hand needle, and pulling it through the stitch to create a new stitch on the right-hand needle.
Knit 2 Together (K2TOG): This is a common decrease used in knitting. It is created by knitting the next two stitches together as if they were one stitch. This decreases the total number of stitches on the needle by one.
Bind Off: The bind off is the final step in knitting. It is used to create a finished edge and secure the stitches. To bind off, you knit the first two stitches, then pass the first stitch over the second stitch and off the needle. Repeat this process until only one stitch remains, then cut the yarn and pull it through the last stitch to fasten off.
These are just a few of the basic knitting techniques you will need to know to complete your golf club cover. With practice, you will become more comfortable with these techniques and be able to tackle more advanced knitting projects.
Knitting the Head Covers
Knitting head covers for golf clubs is a fun and practical project for any avid golfer. These covers not only serve to protect the club heads from scratches and damage during transportation, but they also add a touch of personal style and flair to the golf bag. With a simple free pattern and a few basic knitting skills, you can easily create a unique set of head covers that will make your clubs stand out on the course.
To begin knitting the head covers, gather your materials including yarn, knitting needles, and a pattern. The pattern will typically include instructions for each individual head cover, specifying the yarn type, needle size, and stitches needed. It may also provide guidance on color options and design variations, allowing you to customize the head covers to your personal preferences.
Step 1: Start by casting on the required number of stitches as indicated in the pattern. This will depend on the size and shape of the club head, as well as the desired fit of the cover. Be sure to make a note of the stitch pattern or any special instructions provided in the pattern.
Step 2: Work in the specified stitch pattern, following the pattern instructions row by row. This may involve knitting, purling, and occasionally decreasing or increasing stitches to achieve the desired shape and fit. Some patterns may also include color changes or embellishments, such as cable stitches or embroidered details.
Continue working on the head cover until you reach the specified length indicated in the pattern. This will typically be long enough to cover the entire club head, with a few extra inches to allow for stretching and flexibility. Once you have reached the desired length, finish off the head cover by binding off the stitches and weaving in any loose ends.
Repeat these steps for each head cover needed, following the pattern instructions and adapting as necessary for different club sizes. Once all the head covers are completed, you can proudly display them on your golf bag, knowing that your clubs are both protected and stylish.
Adding Personalization and Embellishments

When it comes to knitting golf club covers, one of the best ways to make them truly unique is by adding personalization and embellishments. By doing so, you can create a set of covers that reflects your personal style and adds a touch of individuality to your golf bag.
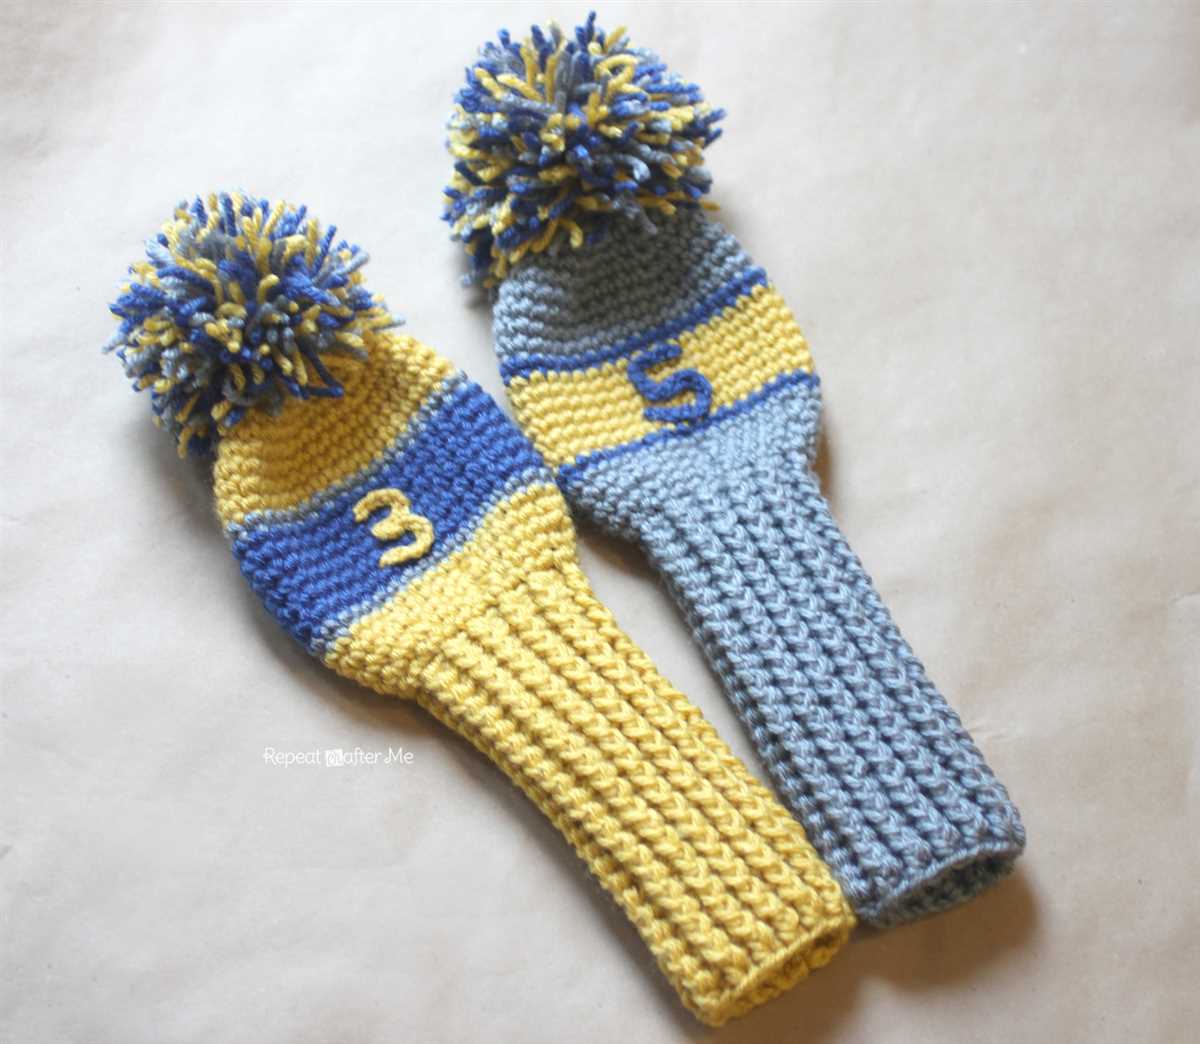
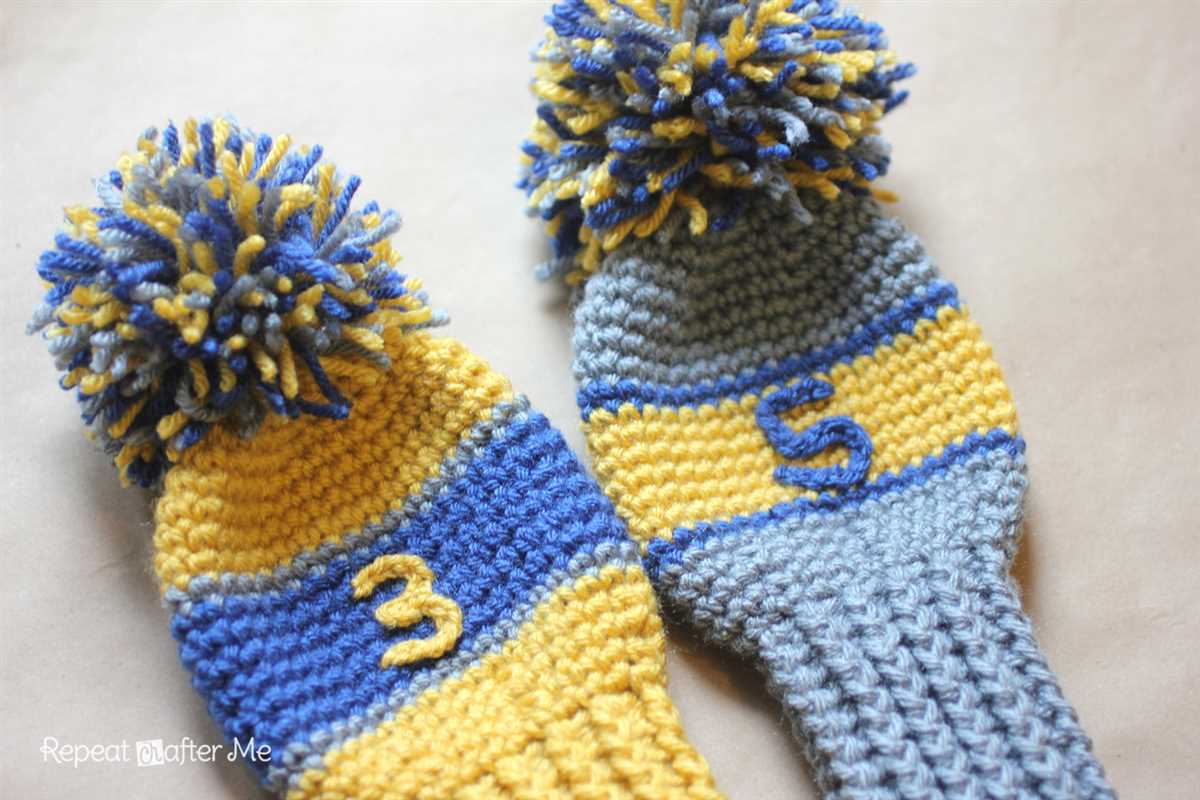
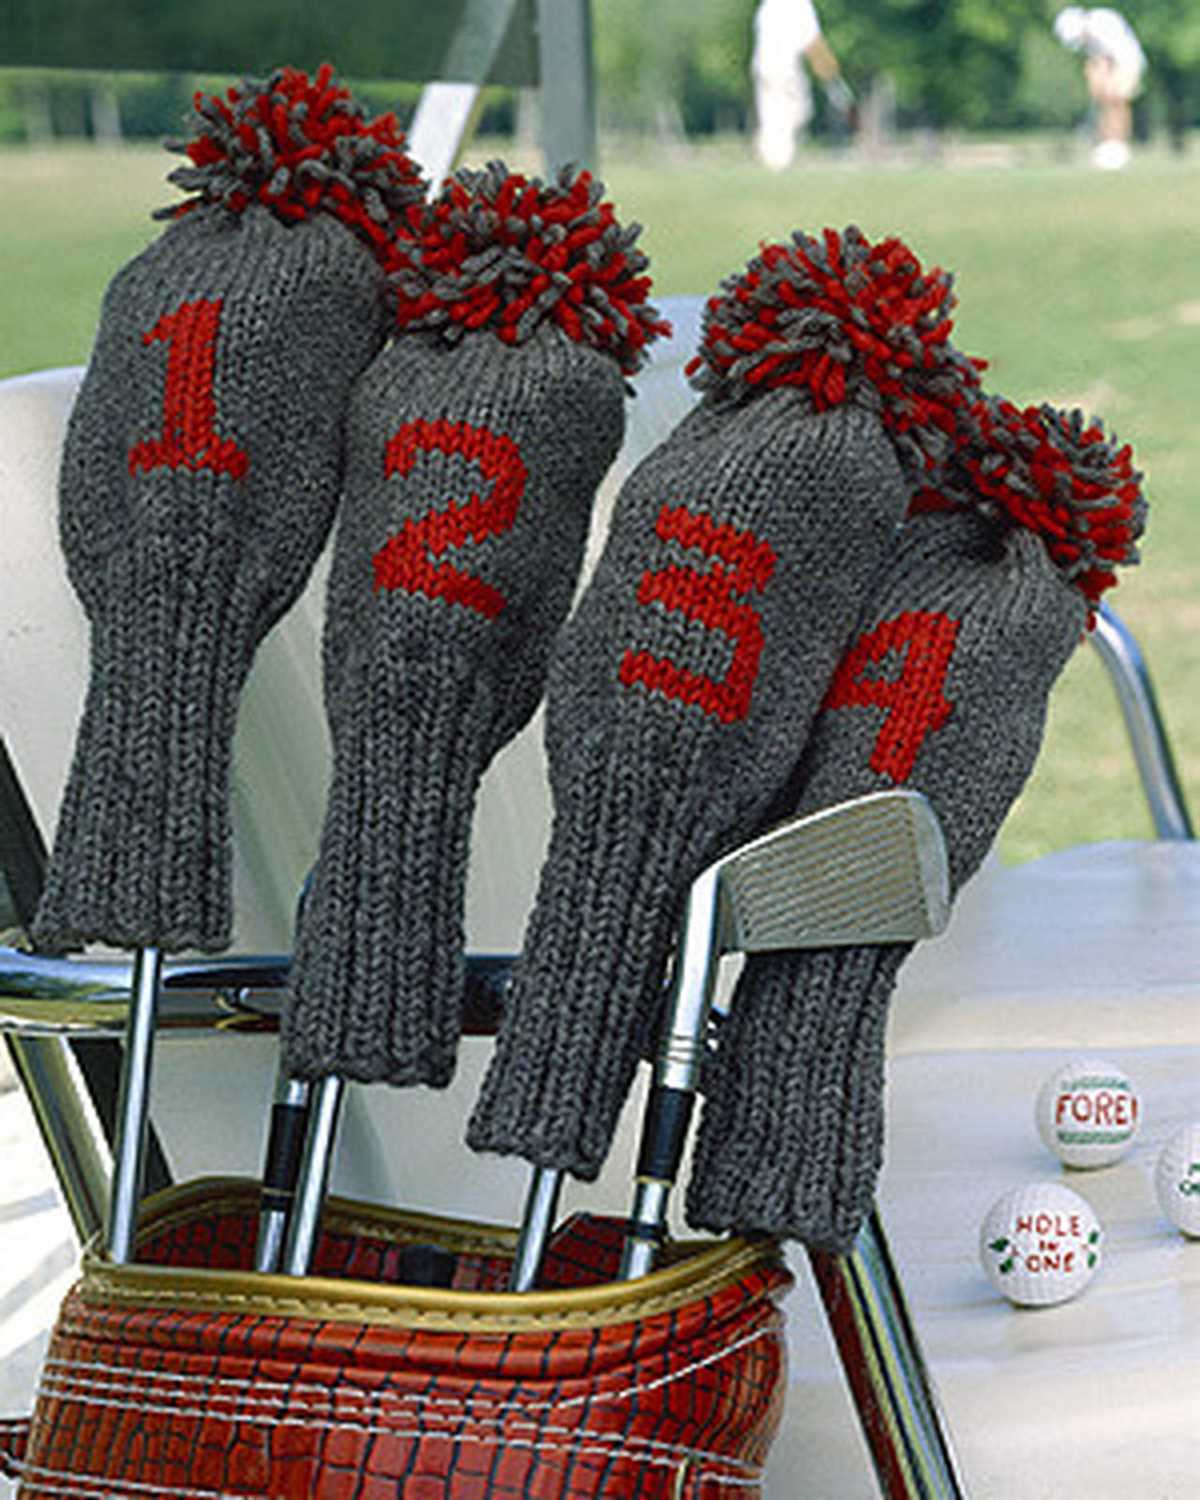
Personalization: One of the simplest ways to personalize your golf club covers is by adding initials or names to them. You can easily knit or embroider the initials onto the covers using contrasting yarn or thread. This not only adds a personal touch to the covers but also makes it easy to identify your clubs on the golf course.
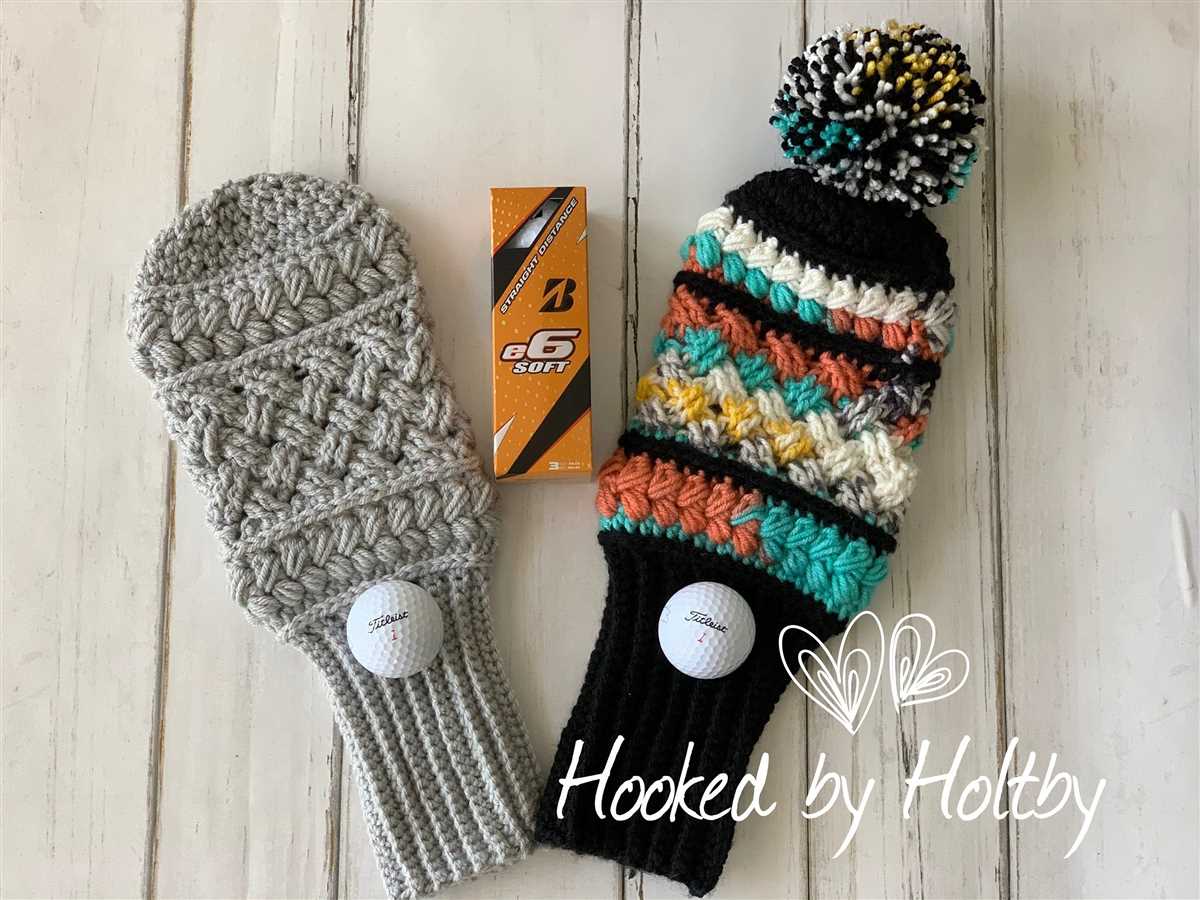
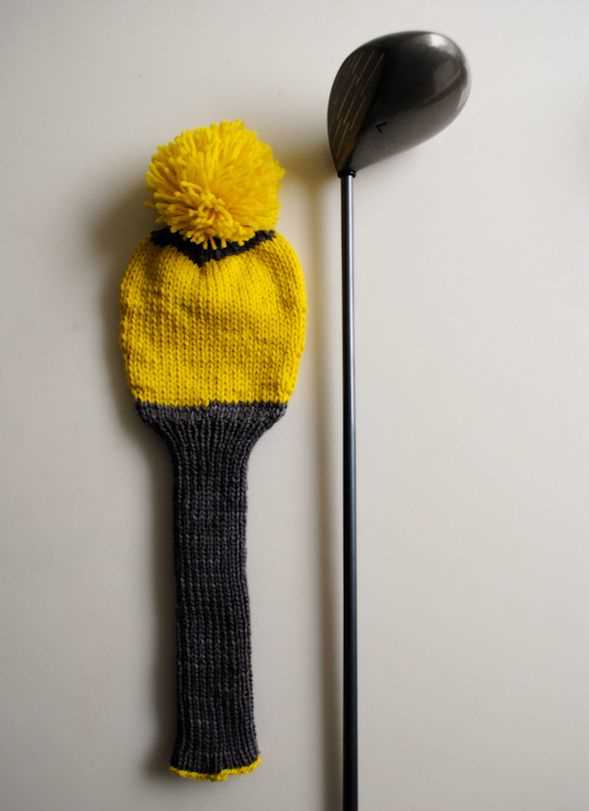
Embellishments: To make your golf club covers stand out even more, consider adding embellishments such as pom-poms, buttons, or patchwork. You can knit colorful pom-poms and sew them onto the top of each cover, creating a playful and fun look. Additionally, you can sew on buttons or create patchwork designs using different colors and patterns of yarn. These embellishments not only add visual interest but also make your covers more unique and eye-catching.
When adding personalization or embellishments to your golf club covers, it’s important to consider the materials you’re using. Choose yarn or thread that is durable and can withstand the rigors of the golf course. Additionally, make sure that any buttons or other embellishments are securely attached to prevent them from getting lost during use.
In conclusion, adding personalization and embellishments to your knitted golf club covers is a great way to make them truly one-of-a-kind. Whether it’s adding initials, colorful pom-poms, or patchwork designs, these personal touches will not only make your covers stand out but also reflect your individual style and personality.
Tips for a Professional Finish
When knitting golf club covers, achieving a professional finish is essential to ensure that the final product is both functional and aesthetically pleasing. Here are some tips to help you achieve a polished and professional look:
Use high-quality yarn:
Investing in high-quality yarn will result in a more luxurious and durable finished golf club cover. Look for yarns specifically designed for knitting projects, as they will have the right amount of stretch and resilience to hold up to regular use. Choose yarns in colors that complement your golf clubs and reflect your personal style.
Pay attention to gauge:
Gauge refers to the number of stitches and rows per inch in your knitting. It is crucial to match the gauge specified in the pattern to ensure that your golf club cover fits properly. Use the recommended needle size and yarn weight and swatch before starting your project to ensure that your tension is correct. Making a gauge swatch may seem tedious, but it will save you from disappointment later on when the finished cover doesn’t fit.
Practice even tension:
Consistent tension is key to achieving a professional finish. Take care to knit with even tension throughout the project, as loose or tight stitches can create an uneven appearance. If you notice that your tension is inconsistent, try adjusting your grip on the needles or using smaller or larger needles to achieve the desired tension.
Block your finished project:
Blocking is the process of shaping and stretching your finished knitting to ensure that it lays flat and has a polished appearance. When knitting golf club covers, blocking can help to smooth out any irregularities and give the finished product a professional-looking finish. Follow the blocking instructions for your specific yarn, but generally, it involves wetting the project, laying it flat on a blocking mat, and pinning it into shape. Allow it to dry completely before removing the pins.
By following these tips and paying attention to details, you can achieve a professional finish for your knitted golf club covers. The end result will be a set of covers that not only protect your clubs but also showcase your knitting skills and personal style. Happy knitting!
Care and Maintenance of Knitted Golf Club Covers
Proper care and maintenance of knitted golf club covers is essential to ensure their longevity and performance on the golf course. Here are some tips to keep your covers in great condition:
1. Hand wash: It is recommended to hand wash your knitted golf club covers using mild soap and lukewarm water. Avoid using harsh chemicals or bleach as it can damage the fibers.
2. Gently squeeze out excess water: After washing, gently squeeze out the excess water from the covers. Avoid wringing or twisting the covers, as it can cause them to lose their shape.
3. Air dry: Allow the knitted golf club covers to air dry naturally. Avoid using a dryer or direct heat, as it can shrink or distort the covers.
4. Store in a dry place: When not in use, store your knitted golf club covers in a cool, dry place. Avoid storing them in humid areas, as it can promote mold and mildew growth.
5. Avoid contact with sharp objects: Be cautious when handling your knitted golf club covers to avoid contact with sharp objects, such as golf club heads or spikes, as they can snag or tear the covers.
6. Inspect regularly: Regularly inspect your knitted golf club covers for any signs of damage or wear. Repair any loose threads or small holes to prevent further damage.
7. Rotate covers: If you have multiple knitted golf club covers, rotate their usage to distribute the wear evenly among them. This can help extend their lifespan.
8. Keep away from pets: Keep your knitted golf club covers away from pets, as they may mistake them for toys and chew on them, causing irreparable damage.
Conclusion: By following these care and maintenance tips, you can ensure that your knitted golf club covers remain in excellent condition for a long time. Regular maintenance will not only extend their lifespan but also enhance their performance and appearance on the golf course.