
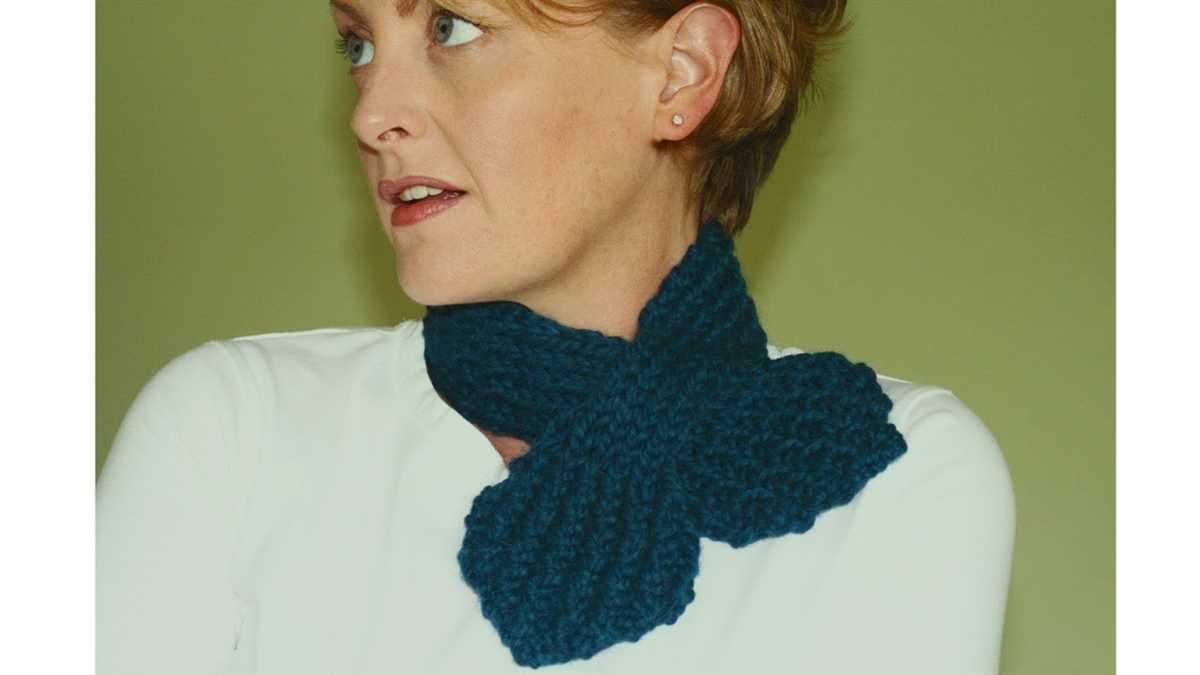
As the weather starts to turn colder, it’s time to pull out your knitting needles and cozy up with a new project. One popular choice is the collar scarf, a versatile accessory that combines the warmth of a scarf with the style of a collar. Whether you’re a beginner or an experienced knitter, this pattern is perfect for honing your skills and creating a fashionable accessory that will keep you warm all season long.
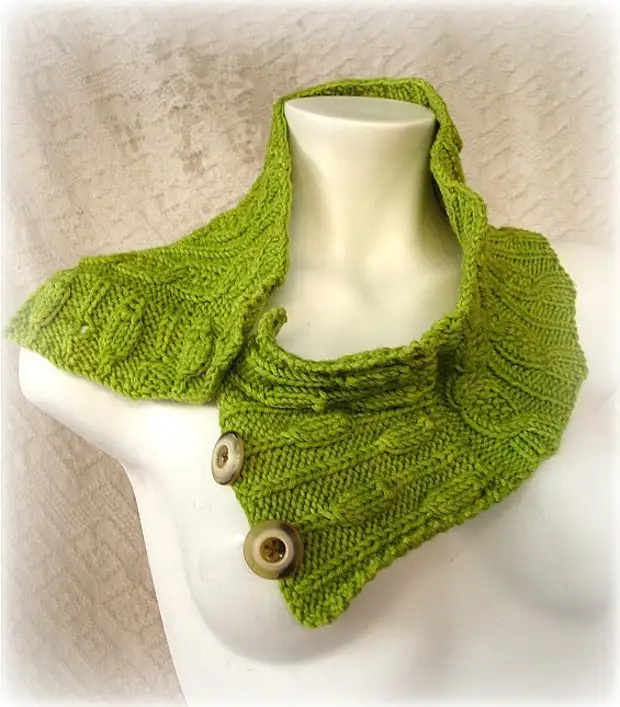
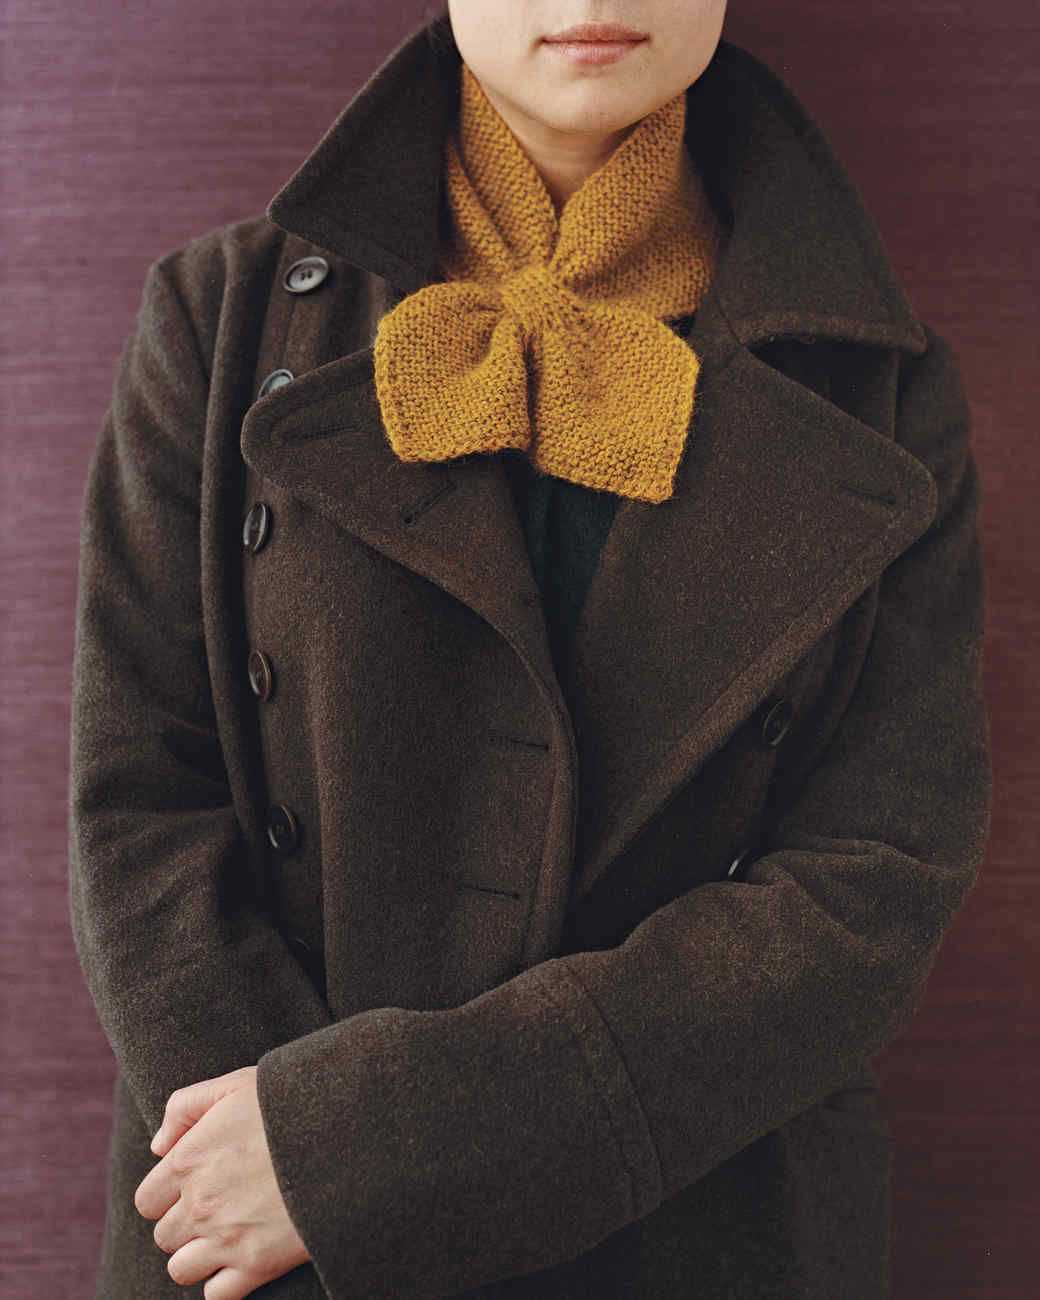
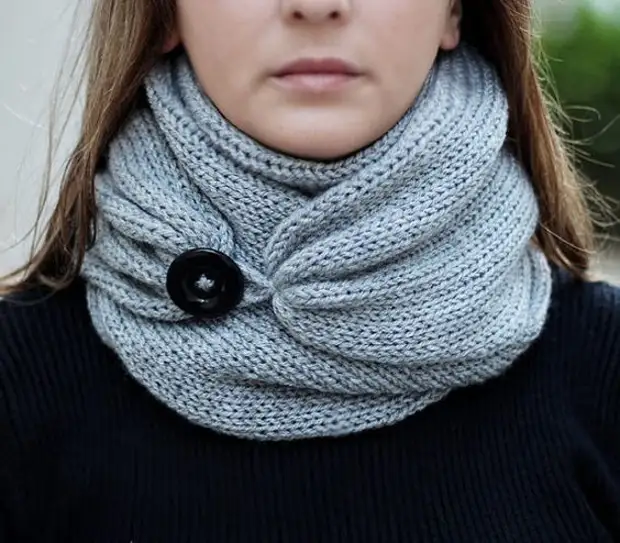
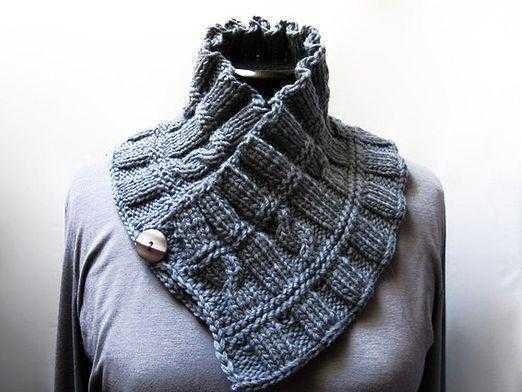
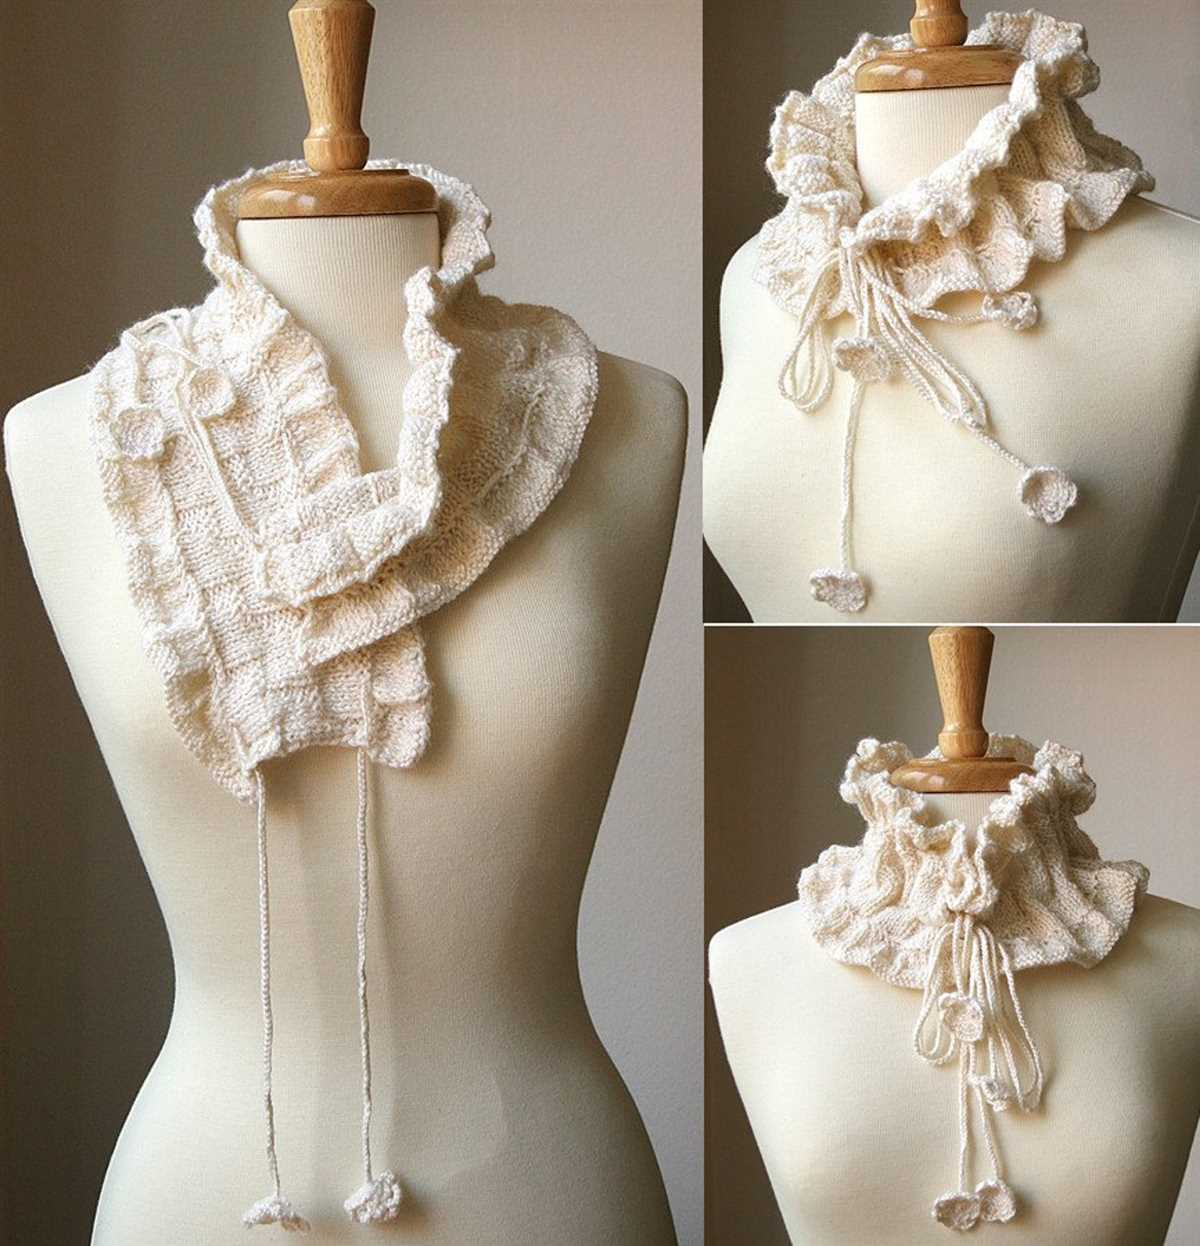
What sets the collar scarf apart from a traditional scarf is its design. Instead of a long, rectangle shape, the collar scarf is shorter and wider, creating a snug fit around the neck. This makes it perfect for staying warm and stylish without the bulk of a traditional scarf. The pattern typically includes a button or loop closure, allowing you to fasten it securely around your neck for added warmth.
Knitting a collar scarf is a great way to experiment with different stitch patterns and techniques. From cables and lace, to ribbing and colorwork, there are endless possibilities for customizing your scarf. You can also choose from a variety of yarn weights and fibers, allowing you to create a collar scarf that is as unique as you are.
So grab your knitting needles, pick out your favorite yarn, and get ready to create a stylish and cozy collar scarf. Whether you’re knitting one for yourself or as a gift for a loved one, this project is sure to be a hit. Not only will you stay warm and stylish, but you’ll also have the satisfaction of knowing you created a one-of-a-kind accessory that can be treasured for years to come.
Collar Scarf Knitting Pattern
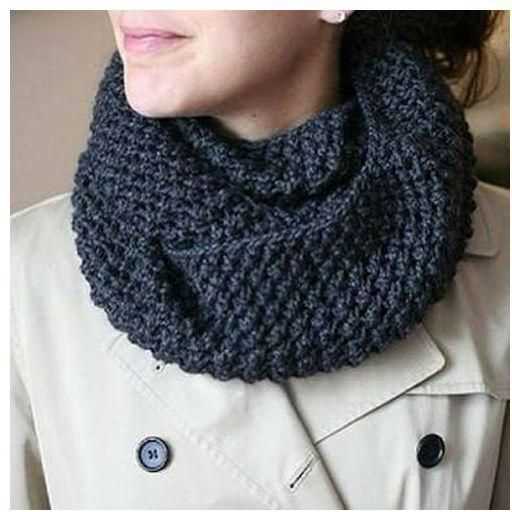
Knitting a collar scarf is a fun and rewarding project for knitters of all skill levels. This versatile accessory is perfect for keeping your neck warm and adding a touch of style to any outfit. Whether you’re a beginner or an experienced knitter, you can easily create a beautiful collar scarf using a simple knitting pattern.
To start, you’ll need a set of knitting needles and a chunky yarn in your desired color. You can choose a solid color for a classic look or experiment with different yarns for a more unique design. Once you have your materials ready, you can begin knitting your collar scarf using the following pattern:
Materials:
- Chunky yarn (100g)
- Knitting needles (size 10mm)
- Yarn needle
- Scissors
Instructions:
- Cast on 20 stitches.
- Knit in garter stitch (knit every row) for 10 inches.
- At the beginning of the next row, knit 10 stitches and place the remaining 10 stitches on a stitch holder or safety pin.
- Continue knitting the first set of stitches in garter stitch for another 4 inches.
- Bind off all stitches.
- With the yarn needle, sew the two ends of the scarf together to form a loop.
- Weave in any loose ends and trim excess yarn.
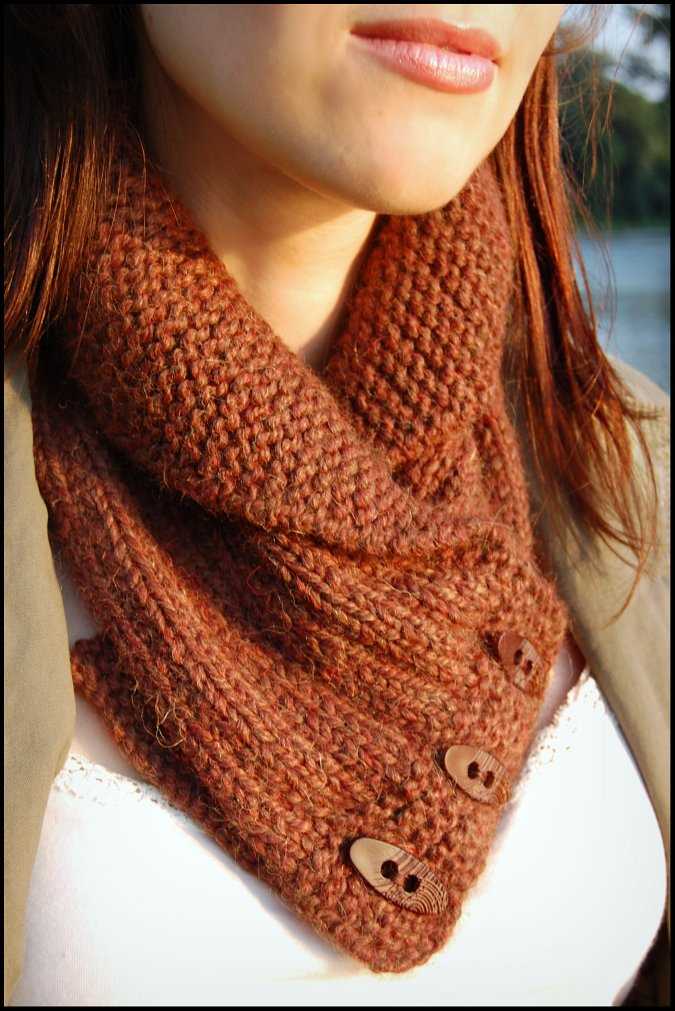
Once you’ve finished knitting your collar scarf, you can wear it by placing it around your neck and buttoning it up for a cozy and stylish look. The chunky yarn will keep you warm, while the collar design adds a touch of elegance to any outfit. It’s also a great accessory to give as a gift to friends and family.
So grab your knitting needles and yarn, and get started on this fun and easy collar scarf knitting project. With just a little time and effort, you’ll have a stylish and functional accessory that you can wear throughout the winter season.
The Basics of Knitting
Knitting is a popular craft that involves creating fabric by interlocking loops of yarn with knitting needles. It is both a functional skill and a creative outlet, allowing individuals to make a wide range of items such as scarves, hats, and sweaters. Knitting can be a relaxing and therapeutic activity, providing a sense of achievement as each stitch is completed.
Materials: To begin knitting, you will need a few essential materials. These include knitting needles, which come in various sizes and materials such as bamboo or metal. The size of the needles will dictate the tension and size of your knitted fabric. You will also need yarn, which comes in a wide range of colors and fibers. Choose a yarn that is suitable for your desired project and follow the recommended gauge on the yarn label.
Basic Stitches: There are two fundamental stitches in knitting: the knit stitch and the purl stitch. The knit stitch creates a smooth, V-shaped pattern on the fabric, while the purl stitch creates a bumpy texture. By combining these two stitches and their variations, you can create intricate patterns and textures in your knitting. It is essential to practice these stitches until they become second nature before attempting more complex patterns.
Knitting Patterns: Once you have mastered the basic stitches, you can start experimenting with various knitting patterns. The possibilities are endless, from simple garter stitch scarves to intricate lace shawls. Knitting patterns provide step-by-step instructions on the stitches and techniques needed to create a particular design. It is essential to carefully read and follow the pattern to ensure the desired outcome.
Finishing Techniques: Once you have completed your knitting project, there are a few finishing techniques to give it a polished look. These include blocking, which involves wetting the knitted fabric and shaping it to the desired dimensions. This helps even out the stitches and make the fabric drape nicely. Another finishing technique is weaving in the loose ends of yarn to secure them and prevent unraveling. Finally, adding buttons, zippers, or other embellishments can enhance the overall appearance of your knitted item.
Continued Learning: Knitting is a lifelong learning process, and there are always new techniques and patterns to explore. Joining a knitting group or taking a class can provide valuable tips and guidance from experienced knitters. Online resources, such as video tutorials and knitting forums, are also excellent sources of inspiration and information. With practice and patience, you can continue to expand your knitting skills and create beautiful, handmade items to cherish.
Why Choose a Collar Scarf
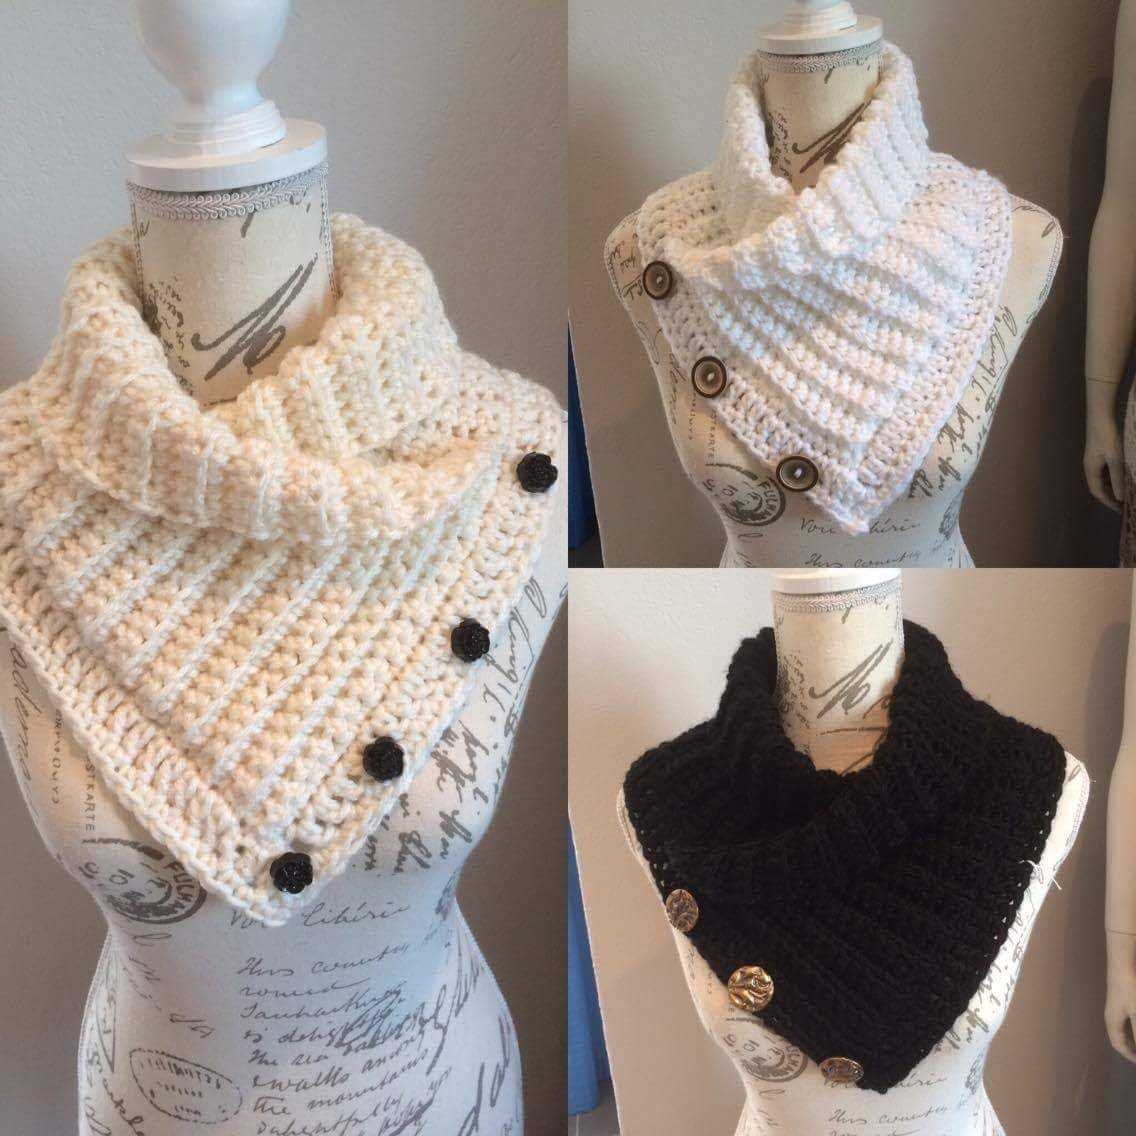
A collar scarf is a versatile and stylish accessory that can add warmth and flair to any outfit. Whether you’re looking to stay cozy during the winter months or add a fashionable touch to your ensemble, a collar scarf is the perfect choice.
One of the main reasons to choose a collar scarf is its practicality. Unlike traditional scarves, which can be bulky and awkward to wear, a collar scarf sits comfortably around your neck and shoulders, providing insulation from the cold while allowing you to move freely. It also eliminates the need for constantly adjusting and retying your scarf, making it a hassle-free accessory.
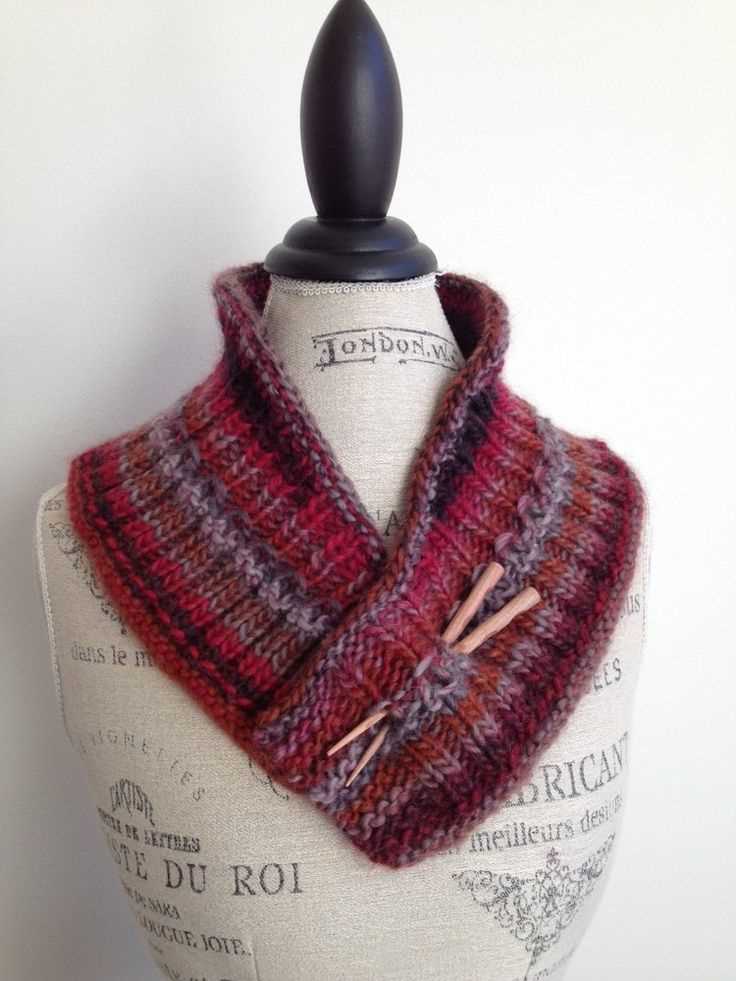
Collar scarves are also incredibly stylish and versatile. They come in a variety of patterns and colors, so you can find one that complements your personal style and pairs well with your existing wardrobe. Additionally, collar scarves can be worn with a variety of outfits, from casual jeans and a sweater to a more formal dress or coat. They can be dressed up or down depending on the occasion, making them a versatile accessory for any outfit.
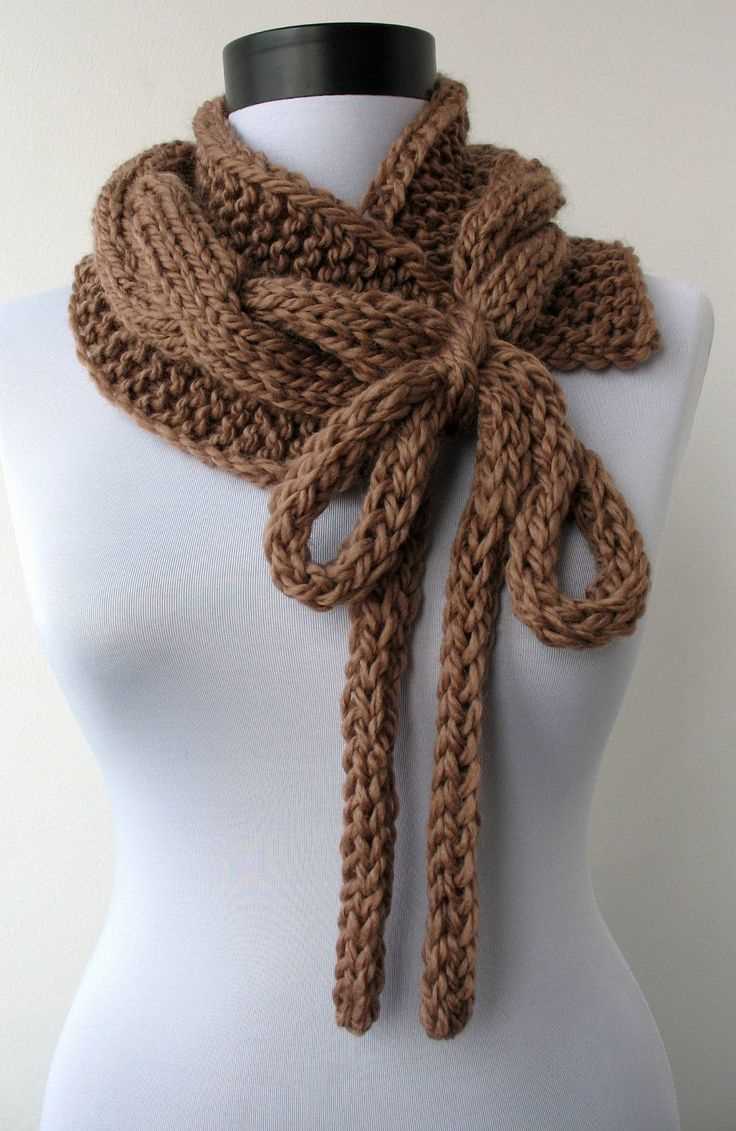
A collar scarf is also a great option for those who prefer a minimalist look. It provides just the right amount of warmth without overwhelming your outfit or drawing attention away from your other accessories. It can also be worn indoors as a fashionable collar or neckline detail, adding an extra element of style to your look.
Overall, a collar scarf is a practical, stylish, and versatile accessory that is a must-have in any wardrobe. Whether you’re looking to stay warm during the winter months or add a fashionable touch to your outfit, a collar scarf is the perfect choice.
Materials and Tools Needed
To create a collar scarf using the knitting pattern, you will need the following materials and tools:
Materials:
- Yarn: Choose a yarn that is suitable for scarfs and collars. You can go for a soft and chunky yarn for a cozy and warm collar scarf.
- Knitting Needles: Select the appropriate knitting needles according to the yarn weight and your knitting tension. Usually, size 6-8 US needles work well with medium-weight yarns.
Tools:
- Scissors: You will need a pair of sharp scissors to cut the yarn when necessary.
- Tapestry Needle: A tapestry needle is useful for weaving in the loose ends of yarn and sewing seams when finishing your collar scarf.
- Stitch Marker: It is helpful to have a stitch marker to mark the beginning of your rounds or to mark specific stitches.
- Measuring Tape: A measuring tape or ruler will come in handy to check your gauge and measure the length and width of your collar scarf.
Getting Started: Casting On
Before you can begin knitting your collar scarf, you will need to cast on your stitches. Casting on is the process of creating the foundation row of stitches on your knitting needle. There are several different methods for casting on, but for this pattern, we will be using the long tail cast on method.
To begin, you will need your knitting needle and your yarn. You will also need to leave a long tail of yarn, approximately three times the width of your finished scarf, as this will be used to create the initial stitches. Hold the end of the yarn in your right hand, and create a slipknot by crossing the yarn in front of the tail and pulling the end through the loop. Place the slipknot onto your knitting needle, and pull the yarn snugly to secure it.
Step 1: Using your thumb and index finger, hold the needle with the slipknot in your left hand. Wrap the yarn around your left thumb, going from front to back.
Step 2: With the yarn still wrapped around your left thumb, bring the needle from front to back, under the yarn on your thumb, and then back up and over the yarn, coming out towards you.
- Tip: Keeping the yarn taut around your left thumb will help to create even tension in your cast on stitches.
Step 3: Use your right hand needle to reach under the yarn on your left thumb, and pull a loop of yarn through the stitch on your left thumb. This loop of yarn will become the first cast on stitch on your left needle.
Step 4: Slip the new stitch onto your right needle, and tighten the yarn slightly.
Repeat steps 1-4 for the desired number of cast on stitches. Once you have cast on all your stitches, you are ready to begin knitting your collar scarf!
Knitting the Body of the Scarf
Once you have completed the collar of the scarf, it’s time to start knitting the body. This section will guide you through the steps to create a cozy and stylish scarf that will keep you warm during the colder months.
1. Cast on the desired number of stitches: Before starting the body of the scarf, determine the width you want your scarf to be. Using the same type of yarn and knitting needles as before, cast on the desired number of stitches. You can choose to keep the same number of stitches as the collar or increase/decrease for a different width.
2. Begin the main stitch pattern: Once you have cast on the stitches, you can start the main stitch pattern for the body of the scarf. There are various stitch patterns you can choose from, such as garter stitch, stockinette stitch, or a combination of different stitches. Follow the pattern instructions for each row, making sure to maintain the desired pattern throughout the body of the scarf.
3. Continue knitting rows: Knit each row according to the stitch pattern you have chosen. Make sure to keep track of your rows, especially if you want the scarf to have a symmetrical design. You can use stitch markers or a row counter to help you keep track.
4. Measure the length of the scarf: As you knit the body of the scarf, periodically measure the length to ensure it reaches your desired length. You may want to try the scarf on as you go to get an idea of how it will look when finished. Keep in mind that the scarf may stretch slightly when worn and blocked, so consider this when determining the final length.
5. Bind off: Once the body of the scarf has reached the desired length, it’s time to bind off. Knit the first two stitches, then pass the first stitch over the second stitch and off the needle. Continue this process until you reach the end of the row. Cut the yarn, leaving a long tail, and pull it through the last loop to secure.
Now that you have completed the body of the scarf, you can move on to blocking and finishing techniques to give your scarf a polished look. Follow the pattern instructions or consult knitting resources for guidance on blocking and finishing techniques.
Creating the Collar
Once you’ve gathered all the necessary materials, it’s time to start creating the collar scarf. First, cast on the required number of stitches onto your knitting needle. This will determine the width of your collar. Make sure to use a stitch marker or a piece of contrasting yarn to mark the beginning of each row.
To begin the pattern, knit the first few rows in your desired stitch pattern. You can choose a simple garter stitch for a classic look, or experiment with more complex patterns like cables or lace for added texture and interest. Remember to follow the pattern instructions carefully, as different stitch patterns may require different techniques.
As you continue knitting, be mindful of your gauge to ensure that the collar will fit comfortably around your neck. If you find that your stitches are too tight or too loose, you may need to adjust your needle size or tension. It’s also a good idea to periodically try on the collar as you knit to ensure that it’s the desired length and snugness.
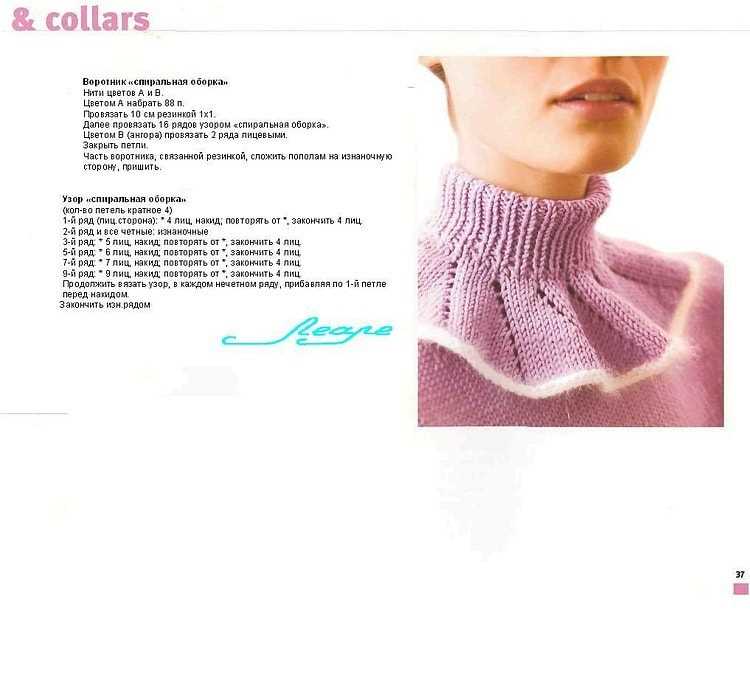
Once you’ve completed the main body of the collar, it’s time to finish off the edges. You can choose to add ribbing, which will give the collar a neat and finished look. To create ribbing, simply alternate between knitting and purling stitches for a few rows at the beginning and end of the collar.
Finally, bind off your stitches to secure the edge of the collar. Cut the yarn, leaving a long tail for weaving in and securing any loose ends. Give the collar a gentle stretch to relax the stitches and improve the drape. Block the collar by wetting it and laying it flat to dry, ensuring that it retains its desired shape and size.
With these steps complete, your collar scarf is now ready to be worn and enjoyed. Whether you created a simple and elegant design or an intricate and eye-catching pattern, your finished collar scarf is sure to keep you warm and stylish during the colder months.
Adding Decorative Elements
When knitting a collar scarf, you can add various decorative elements to make it more visually appealing. These elements can be added as you knit or incorporated at the end of the project. Here are a few ideas to consider:
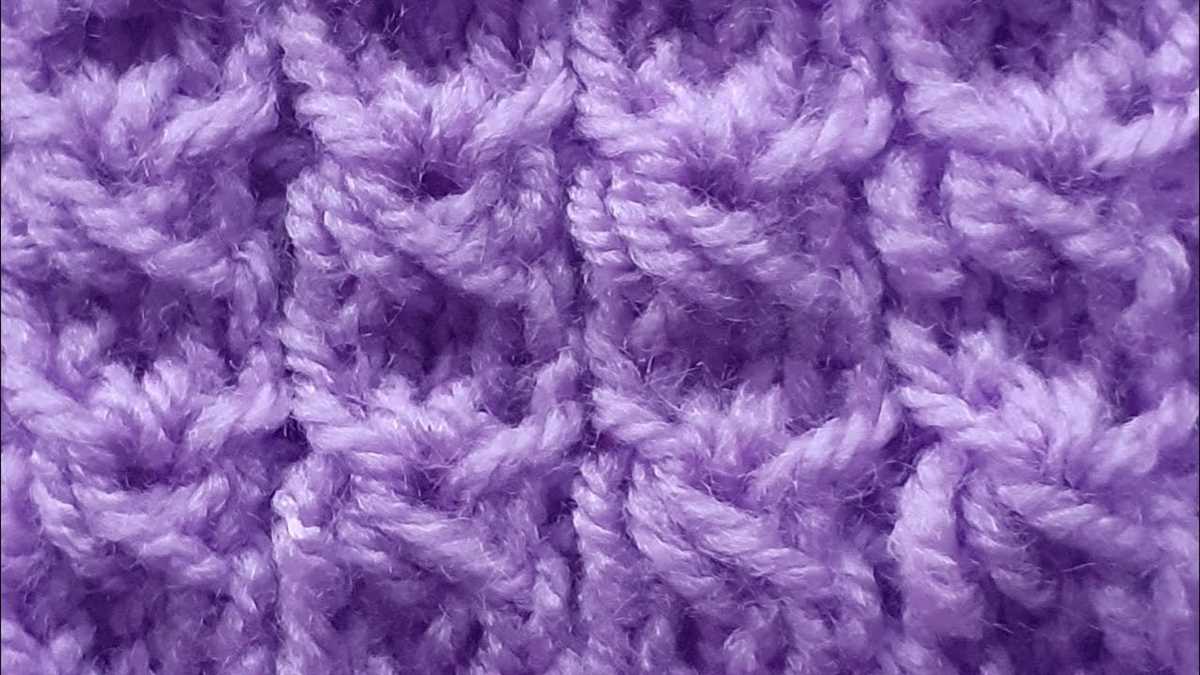
Cables
One way to add texture and interest to your collar scarf is by incorporating cable patterns. Cables are created by crossing stitches over each other, creating intricate designs. You can choose from simple cable patterns or more complex ones, depending on your skill level and desired aesthetic. Cables can be added in the main body of the scarf or used specifically for the collar section.
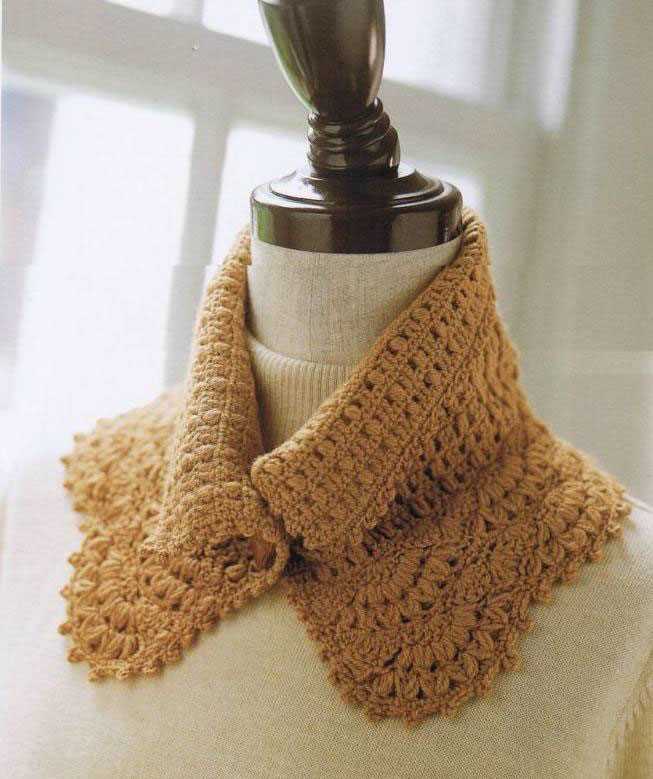
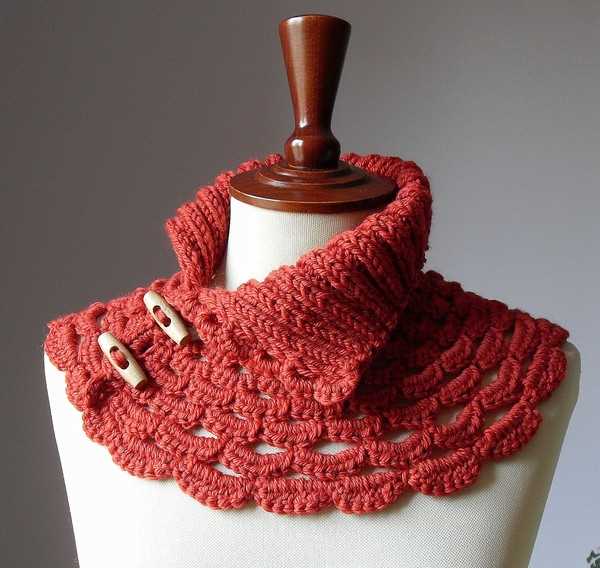
Lace
If you want to add a touch of femininity and delicacy to your collar scarf, consider incorporating lace patterns. Lace patterns create intricate openwork designs that add elegance to the scarf. You can choose from a wide range of lace patterns, from simple to intricate, depending on your preference. Lace patterns can be used throughout the scarf or focused on the collar section for a more delicate effect.
Colorwork
Another way to enhance the visual appeal of your collar scarf is by incorporating colorwork techniques. Colorwork involves knitting with multiple colors to create patterns or designs. You can use stranded knitting, intarsia, or fair isle techniques to incorporate color into your scarf. Consider using contrasting colors or subtle gradients to add depth and complexity to your collar scarf.
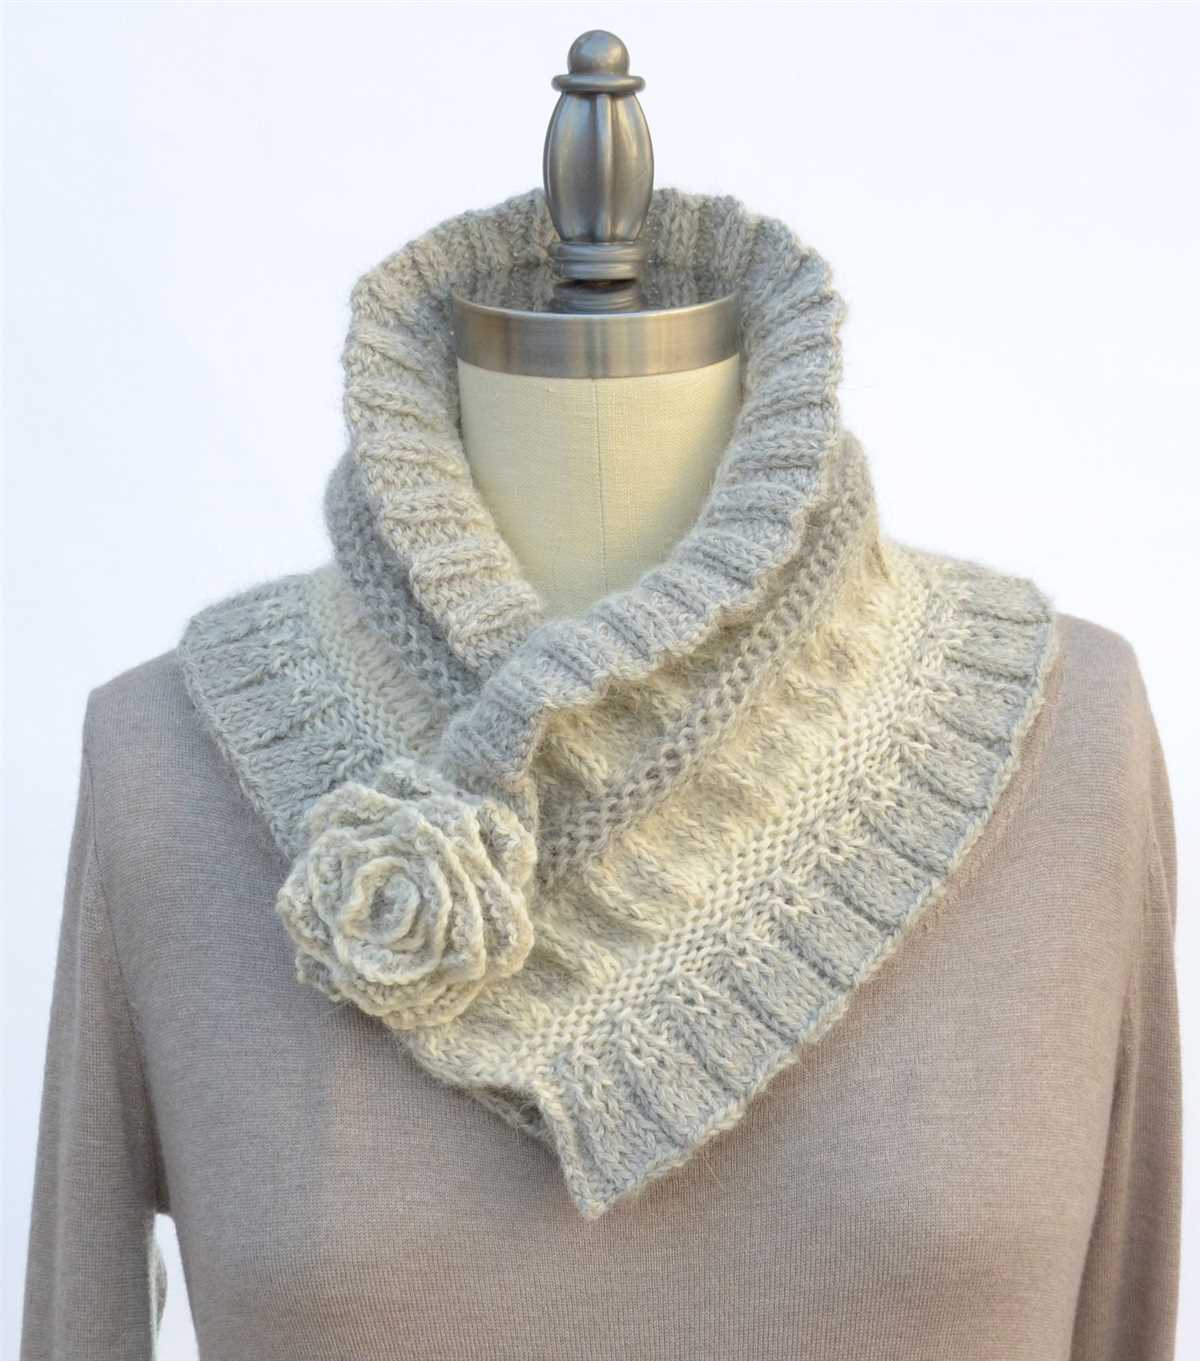
Embroidery and Appliques
If you want to add a touch of personalization and uniqueness to your collar scarf, consider adding embroidered details or appliques. You can use embroidery stitches to create patterns, motifs, or even intricate designs on your scarf. Alternatively, you can sew on fabric appliques or crochet motifs to add three-dimensional elements. These decorative elements can be added at specific sections of the scarf or scattered throughout for a more whimsical effect.
Remember, the possibilities for adding decorative elements to your collar scarf are endless. Don’t be afraid to experiment and let your creativity shine. Whether you choose to incorporate cables, lace, colorwork, or embroidery, these decorative elements will undoubtedly make your collar scarf a one-of-a-kind piece.
Finishing Touches: Binding Off
When it comes to completing your collar scarf, the final step is binding off. This process ensures that your stitches are secure and won’t unravel.
To bind off, you will need a pair of knitting needles or a crochet hook. The method you choose may depend on the pattern or your personal preference.
The Standard Bind Off Method
- Knit the first two stitches on your needle.
- Insert the left-hand needle into the first stitch on your right-hand needle.
- Lift the first stitch over the second stitch and off the right-hand needle.
- Knit the next stitch and repeat steps 2 and 3 until you have one stitch left on your right-hand needle.
- Cut your yarn, leaving a tail that is long enough to weave in later.
- Pull the tail of yarn through the last stitch and remove the needle.
This method creates a neat and finished edge for your collar scarf.
Alternative Bind Off Methods

If you want to add a decorative edge to your collar scarf, you may consider trying one of the following bind off methods:
- I-Cord Bind Off: This method creates a tubular edge and gives your collar scarf a polished look.
- Elastic Bind Off: This technique is great for adding stretch to your collar scarf, making it more comfortable to wear.
- Lace Bind Off: If you want to create a delicate edge with lace-like motifs, this method is perfect for you.
Whichever bind off method you choose, take your time and make sure to bind off evenly to achieve a professional finish for your collar scarf.
Blocking and Caring for Your Finished Scarf
Once you have finished knitting your scarf, it is important to block it before wearing or gifting it. Blocking helps to even out the stitches, open up any lace patterns, and give the scarf a polished look. Follow these steps to block your scarf:
- Fill a sink or basin with lukewarm water and add a mild wool wash or gentle detergent.
- Gently place the scarf in the water, making sure it is fully submerged.
- Let the scarf soak for about 15 minutes to allow the fibers to relax.
- Remove the scarf from the water and gently squeeze out excess moisture. Do not wring or twist the scarf.
- Lay the scarf flat on a clean towel and roll it up to remove more water.
- Unroll the towel and carefully place the scarf on a blocking mat or other flat surface.
- Using rustproof T-pins, pin the edges of the scarf to the desired dimensions, making sure to maintain straight lines and smooth curves.
- Leave the scarf to air dry completely, which may take 24-48 hours depending on the thickness of the yarn.
After your scarf has been blocked, it is important to properly care for it to ensure its longevity. To keep your scarf looking its best, follow these tips:
- Always hand wash your scarf in lukewarm water with a gentle detergent formulated for delicate fabrics.
- Do not wring or twist the scarf when washing or drying. Instead, gently squeeze out excess water and roll it in a towel.
- Never hang your scarf to dry, as this can cause stretching. Instead, lay it flat on a clean towel or blocking mat.
- If your scarf develops any snags or pulls, avoid pulling on the loose yarn. Instead, use a crochet hook or needle to carefully work the yarn back into place.
- Store your scarf in a cool, dry place away from direct sunlight to prevent fading or damage.
Variations and Additional Resources
Once you have mastered the basic collar scarf knitting pattern, there are endless opportunities for customization and variation. Here are a few ideas to get you started:
- You can play around with different colors of yarn to create unique and eye-catching designs. Consider using variegated, ombre, or self-striping yarn for added visual interest.
- Experiment with different stitch patterns to create texture and dimension. For example, you can try ribbing, cables, or lace motifs.
- Consider adding fringe or tassels to the ends of the scarf for a fun and playful touch.
- If you prefer a longer scarf, simply continue knitting until you reach your desired length. Keep in mind that you may need to purchase additional yarn if you choose this option.
- For added warmth, you can line the collar portion of the scarf with fleece or another soft fabric.
There are also many resources available online and in print for further inspiration and guidance. Here are a few recommendations:
- Knitting magazines and books: Check out your local library or bookstore for knitting publications and books that feature scarf patterns. These often include detailed instructions, diagrams, and helpful tips.
- Knitting blogs and websites: There are numerous knitting blogs and websites where you can find free knitting patterns, tutorials, and tips from experienced knitters. Some popular options include Ravelry, Knitty, and Purl Soho.
- Online video tutorials: If you prefer visual learning, there are many video tutorials available on platforms like YouTube. Simply search for “scarf knitting tutorial” and you will find a wealth of options to choose from.
- Local knitting groups and classes: Consider joining a local knitting group or taking a knitting class in your area. This can provide an opportunity to connect with other knitters, learn new techniques, and receive personalized guidance.
With these variations and additional resources, you can continue to expand your knitting skills and create beautiful collar scarves that are uniquely yours. Happy knitting!
Q&A:
What is a collar scarf knitting pattern?
A collar scarf knitting pattern is a set of instructions that guides you on how to knit a scarf that is designed to be worn around the neck like a collar. It typically has a button or closure to keep it in place and offers extra warmth and style.
How do I knit a collar scarf?
To knit a collar scarf, you will need a pattern, yarn, knitting needles, and basic knitting skills. Follow the instructions in the pattern to create the desired collar scarf design, which may include different stitches, color changes, or shaping techniques. Start by casting on the required number of stitches, and then work through the pattern row by row. After completing the scarf, finish off by binding off the stitches and attaching any closures or buttons.
Where can I find collar scarf knitting patterns?
Collar scarf knitting patterns can be found in various sources, including knitting books, magazines, and online resources. You can try searching on knitting websites, such as Ravelry, or check out knitting pattern databases like Knitting Pattern Central. Many knitting designers also offer their own collar scarf patterns for sale on their websites or on platforms like Etsy. It’s always a good idea to browse multiple sources to find the pattern that suits your style and skill level.