
If you’re new to loom knitting or looking for a quick and easy project, a loom knit headband is the perfect choice. Not only is it stylish and functional, but it’s also a great way to practice your loom knitting skills. Whether you’re looking to stay warm during the colder months or simply want to add a fashionable accessory to your outfit, this free loom knit headband pattern is a must-try.
This pattern is suitable for both beginner and experienced loom knitters, and it can be completed in just a few hours. You’ll need a loom loom and a loom knitting hook to get started, along with your choice of yarn. The best part is that this pattern can be easily customized to fit any head size or style preference.
With clear step-by-step instructions and helpful tips, this free loom knit headband pattern is perfect for beginners who are just learning the basics of loom knitting. And for experienced loom knitters, it offers a fun and relaxing project that can be completed in no time.
Free Loom Knit Headband Pattern
If you enjoy knitting with a loom and want to create a stylish headband, look no further than this free loom knit headband pattern. With just a few supplies and some basic knitting skills, you can create a cozy and fashionable accessory to keep your ears warm during the colder months.
To get started, you will need a loom with at least 18 pegs, a loom hook, and a skein of yarn in your desired color. This pattern uses a simple stitch, known as the e-wrap stitch, and is suitable for beginners.
First, cast on your desired number of stitches onto the loom using the e-wrap method. This will create a secure and stretchy base for your headband. Next, begin working in rows, wrapping the yarn around each peg in a clockwise direction. Use the loom hook to lift the bottom loop over the top loop, creating a knit stitch. Repeat this process for each peg until you have completed a row.
Continue working in rows, using the same e-wrap stitch, until your headband reaches your desired length. Remember to measure the headband against your head as you go to ensure a perfect fit. Once you have reached your desired length, cast off the stitches by lifting the bottom loop over the peg and removing it from the loom.
Finally, seam the two ends of the headband together using a yarn needle and some extra yarn. Be sure to secure the seam tightly to prevent it from coming undone. You can also add embellishments, such as buttons or flowers, to personalize your headband.
This free loom knit headband pattern is a fun and easy way to create a stylish and practical accessory. Whether you’re a beginner or an experienced loom knitter, you’ll love the versatility and simplicity of this pattern. So grab your loom and yarn, and start knitting your own headband today!
Materials Needed
In order to make a free loom knit headband, you will need a few specific materials. These materials are essential for the project and will ensure that you are able to create a high-quality and durable headband. Here is a list of the materials you will need:
- Loom knitting loom: You will need a loom specifically designed for knitting. These looms come in various sizes, so choose one that is suitable for making a headband.
- Loom knitting hook: This special hook is used to manipulate the yarn on the loom and create your stitches.
- Yarn: Select a yarn that is suitable for the headband. You may want to consider using a soft and warm yarn, such as acrylic or wool. The color choice is up to you!
- Tapestry needle: This needle is used to weave in any loose ends of yarn and finish off the headband.
- Scissors: You will need a pair of scissors to cut the yarn as needed.
These are the main materials you will need to create a free loom knit headband. Once you have gathered all of these materials, you will be ready to start knitting! Remember to choose high-quality materials to ensure that your headband turns out well and withstands regular use. Happy knitting!
Step 1: Cast On Stitches
Before you can start knitting your headband, you’ll need to cast on stitches. This is how you create the foundation row of loops that will be used to form the headband.
To cast on stitches for your loom knit headband, follow these steps:
- Hold the loom in front of you with the pegs facing upward. Choose the desired starting peg for your headband.
- Take your yarn and leave a tail that is long enough to weave in later. Place the yarn behind the chosen peg, and then bring it forward between the pegs.
- With your fingers or a knitting tool, wrap the yarn around the peg counterclockwise. This creates a loop of yarn on the peg.
- Move to the next peg in a clockwise direction and repeat the wrapping process. Continue wrapping each peg until you reach the desired number of stitches for your headband.
- Once all the pegs are wrapped, go back to the first peg and repeat the wrapping process. This creates a second layer of loops on each peg.
- After wrapping all the pegs for the second time, use your knitting tool to carefully lift the bottom loop over the top loop and off the peg. Do this for each peg, creating a knitted stitch.
- Continue knitting all the stitches on each peg until you reach the end of the loom.
Now that you’ve cast on your stitches, you’re ready to move on to the next step in creating your loom knit headband.
Step 2: Knit Rows

Now that you have your loom set up and the first row completed, it’s time to start knitting the rest of the headband. You will continue to work in a circular motion, going around the loom and creating rows of stitches.
1. Knit the first stitch:
Begin by inserting your loom hook into the first stitch on the loom, which is the loop that is closest to the peg nearest to you. Then, take the working yarn and place it over the loom hook, bringing it to the back of the peg. Use the hook to pull the yarn through the stitch, creating a new loop on the peg.
2. Continue knitting the remaining stitches in the row:
Once you have knitted the first stitch, move on to the next peg and repeat the process. Insert the loom hook into the loop on the peg, bring the working yarn over the hook and to the back of the peg, and pull it through to create a new loop. Repeat this for each peg until you have knitted all the stitches in the row.
3. Repeat the process for each row:
Continue knitting each row in the same manner, working your way around the loom. Make sure to pull the yarn tight after each stitch to create a firm and even tension. As you knit more rows, you will start to see the headband taking shape and growing longer.
Keep knitting rows until you have reached the desired length for your headband. You can refer to the pattern or instructions you are following for the specific number of rows needed. Once you have finished knitting, you can proceed to the next step to finish off the headband.
Step 3: Decrease Rows
Now that you have completed the desired length for your headband, it’s time to start decreasing rows to shape the headband and create a tapered effect.
To decrease rows, you will need to decrease a certain number of stitches at the beginning and end of each row. This can be done by creating a simple decrease stitch called “knit two together” (k2tog).
Here is how you can decrease rows:
- Start by knitting the first two stitches together using the k2tog method.
- Continue knitting the remaining stitches until you reach the last two stitches.
- Knit the last two stitches together using the k2tog method.
- Repeat these steps for each row until you have decreased enough rows to achieve the desired shape.
By decreasing rows, you will gradually narrow down the width of the headband, giving it a tapering effect. Make sure to keep track of the number of rows you have decreased to maintain symmetry and balance.
Step 4: Bind Off Stitches
Now that you have completed all the desired rows for your loom knit headband, it’s time to bind off the stitches. Binding off is the process of securing the stitches and creating a finished edge for your headband. Here’s how you can do it:
1. Knit two stitches. Start by knitting the first two stitches on your loom. This will create a base for your bind off.
2. Lift the first stitch over the second stitch. Using your loom tool or crochet hook, carefully lift the first stitch over the second stitch and off the loom. This will leave only the second stitch on the loom.
3. Knit another stitch. After lifting the first stitch off the loom, knit the next stitch on the loom. You should now have two stitches on the loom again.
4. Repeat steps 2 and 3. Continue lifting the first stitch over the second stitch and knitting a new stitch until you have reached the end of your loom. This process effectively binds off the stitches and creates a neat edge.
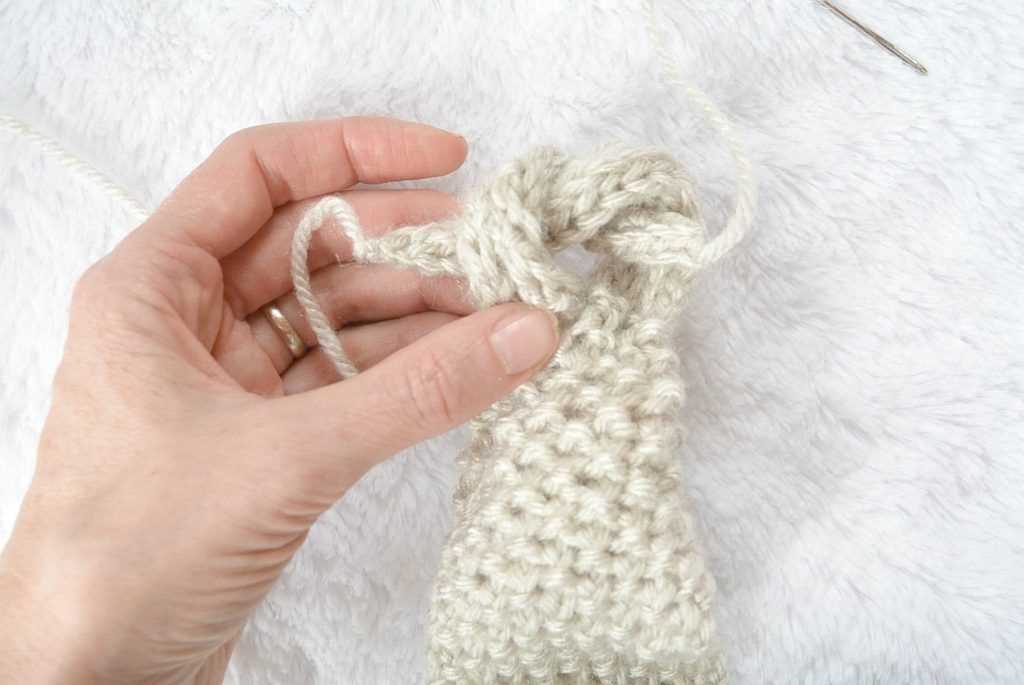
5. Cut the yarn and secure the end. Once you have bound off all the stitches, cut the yarn, leaving a tail of about 6 inches. Thread the tail through a yarn needle and weave it through the remaining stitches on the loom, securing the end.
Congratulations! You have successfully bound off the stitches for your loom knit headband. Now you can remove it from the loom, adjust the fit if necessary, and enjoy your new accessory!
Step 5: Seam the Edges
After you have completed the knitting portion of the headband, it’s time to seam the edges together. This will give the headband a finished look and prevent any unraveling or fraying of the yarn.
Here’s how to seam the edges:
- Place the headband on a flat surface, with the wrong side facing up.
- Fold one edge of the headband towards the center, overlapping it slightly with the other edge.
- Thread a tapestry needle with a length of matching yarn.
- Starting at one end, insert the needle into the first stitch of the folded edge.
- Bring the needle through the corresponding stitch on the opposite edge.
- Continue in this manner, stitching through each pair of stitches along the folded edges.
- Once you have reached the end, secure the yarn by making a few stitches in the same spot.
- Trim the excess yarn, leaving a small tail.
By seaming the edges of your loom knit headband, you will create a professional-looking finish that will hold up over time. It’s a simple step that adds a lot to the overall quality and durability of your headband.
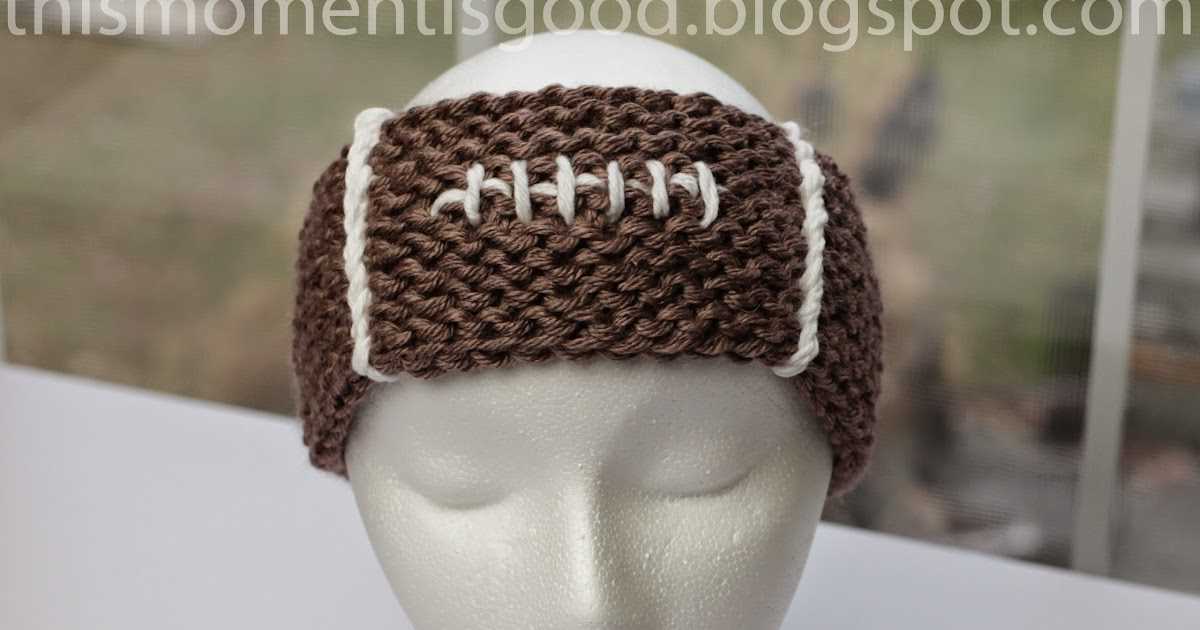
Step 6: Add Embellishments (optional)
Once you have finished knitting your headband, you have the option to add embellishments to make it unique and personalized. This step is completely optional, but it can add an extra touch of style to your headband.
One simple way to embellish your headband is to add a decorative button. Choose a button that matches the color and style of your headband. Sew the button onto the center or side of the headband, making sure it is securely attached.
If you prefer a more glamorous look, you can add some sparkly beads or sequins to your headband. Use a needle and thread to sew the beads or sequins onto the headband in a pattern or randomly. This will add a touch of glamour and make your headband stand out.
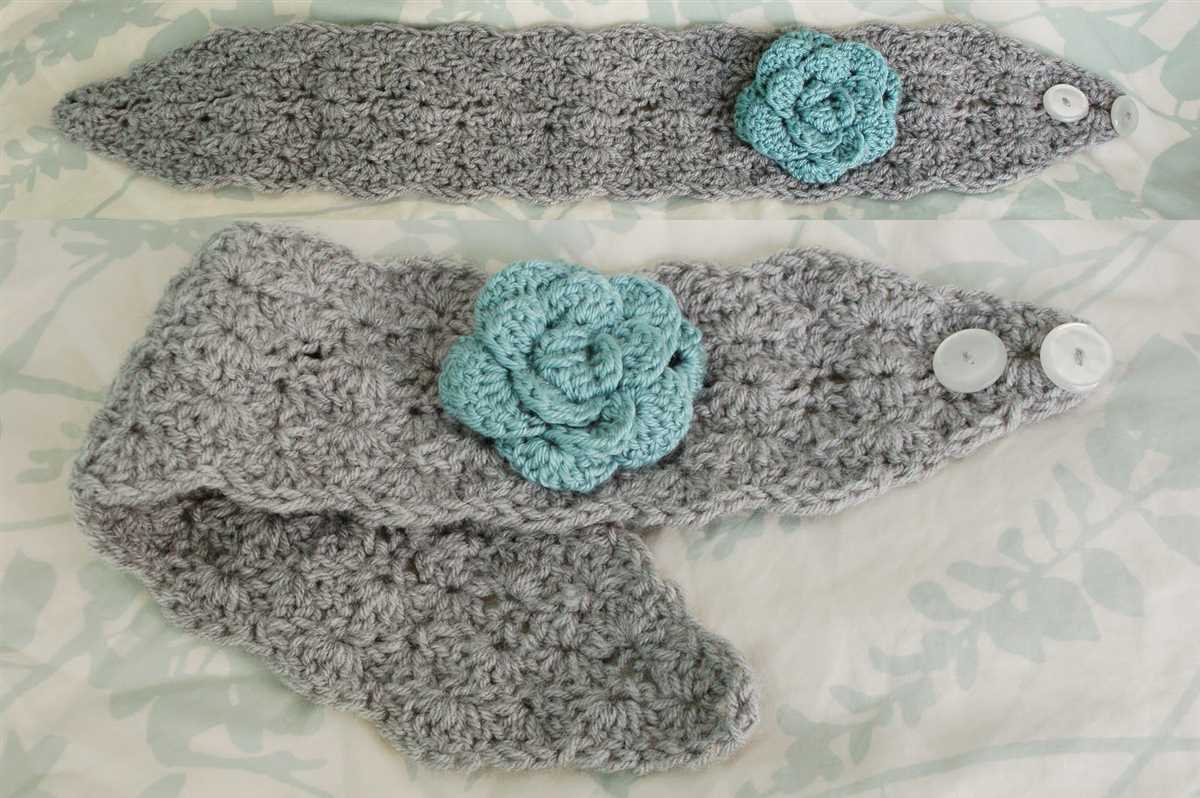
Another option is to attach a fabric flower to the headband. You can either purchase a ready-made fabric flower or make one yourself using fabric scraps. Sew or glue the flower onto the headband, positioning it wherever you prefer.
Remember, the embellishments are completely up to you and your personal style. Get creative and have fun with it! Just make sure that the embellishments are securely attached so that they don’t come loose while you’re wearing the headband.
Tips for Success
When working on a loom knit headband, there are a few tips that can help ensure success and make the process easier.
Choose the right yarn
First and foremost, it’s important to choose the right yarn for your project. Look for a yarn that is soft and comfortable to wear, as it will be in direct contact with your skin. Consider the weight and thickness of the yarn as well, as this can affect the final size and fit of the headband. Experiment with different yarns until you find the one that works best for you.
Follow the pattern carefully
When using a free loom knit headband pattern, it’s important to read and follow the instructions carefully. Take the time to understand the pattern before you begin and make sure you have all the necessary supplies. Pay attention to any special stitches or techniques that may be required and practice them before starting the project. Following the pattern precisely will help ensure that your headband turns out just right.
Take proper measurements
To ensure a good fit, it’s important to take accurate measurements of your head before starting the project. Use a measuring tape to measure the circumference of your head, as well as the width that you would like the headband to be. This will help you determine the number of pegs to use on your loom and how many rows to knit. Taking the time to measure properly will result in a headband that fits comfortably and securely.
Practice and have patience
Loom knitting takes practice and patience, especially when working on more complex patterns. Don’t be discouraged if your first few attempts don’t turn out perfectly. Keep practicing and trying different techniques until you feel comfortable and confident. Remember, knitting is a skill that improves with time and experience. So be patient with yourself and enjoy the process.
- Choose the right yarn
- Follow the pattern carefully
- Take proper measurements
- Practice and have patience
Alternative Designs
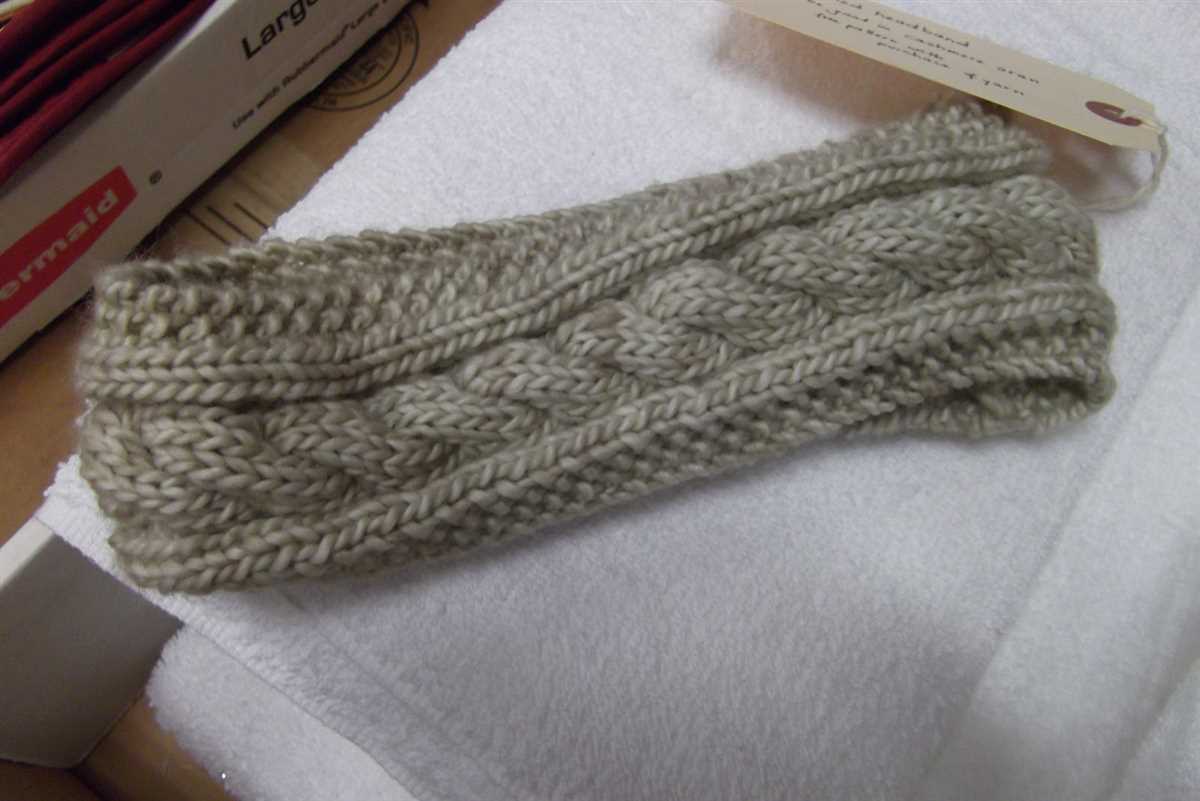
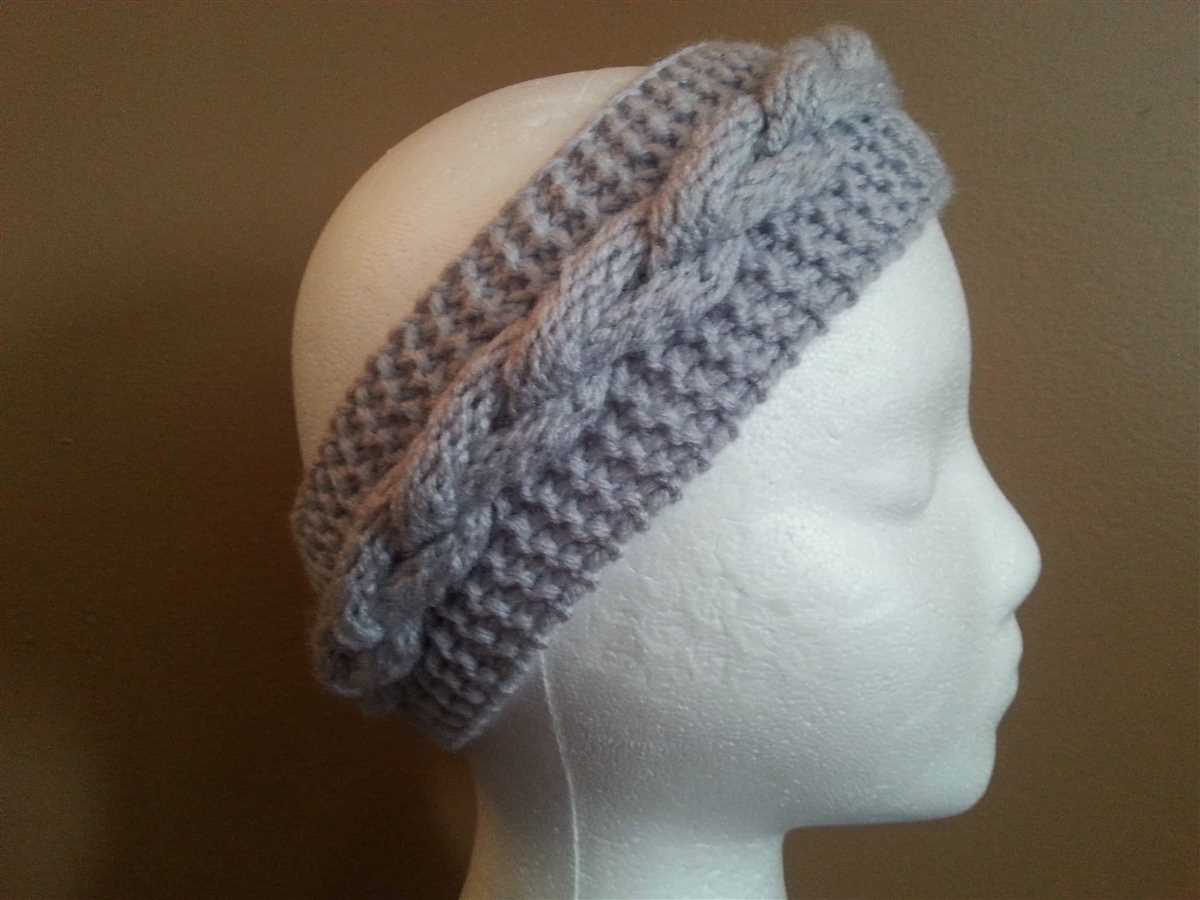
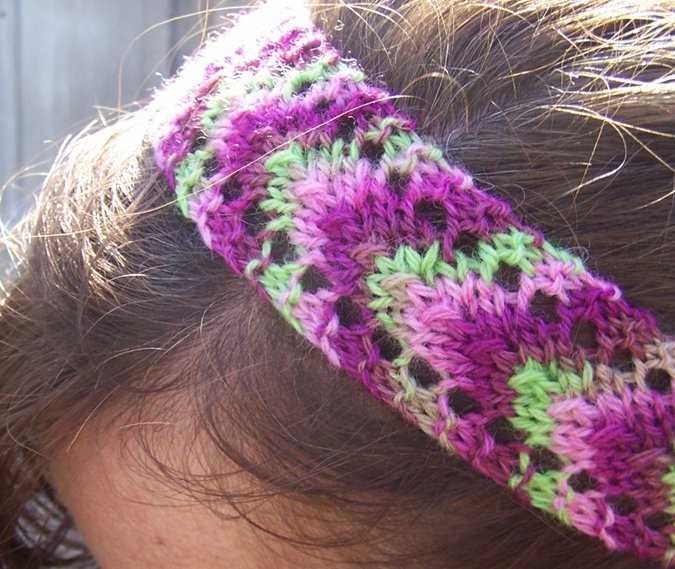
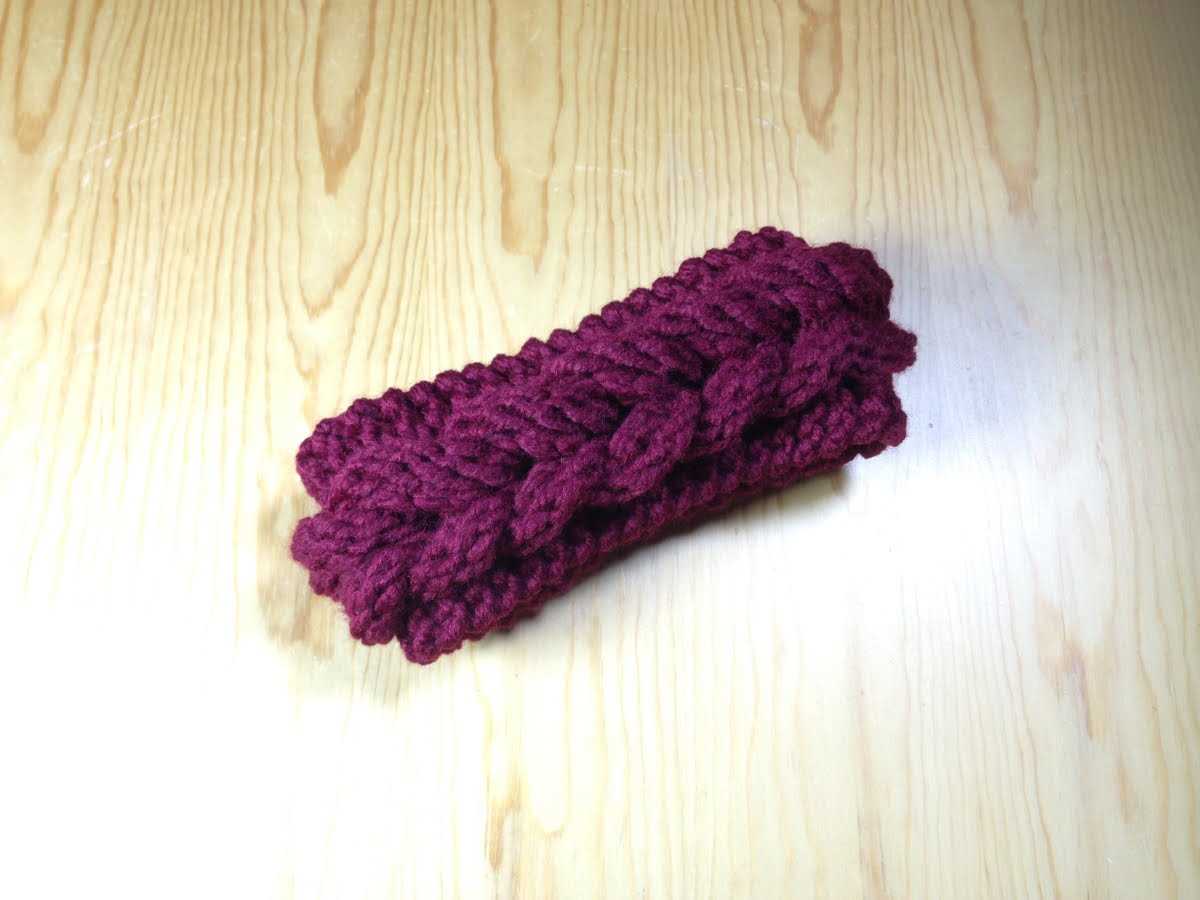
If you’re looking for alternative designs for your loom knit headbands, there are plenty of options to choose from. One popular design is the cable knit headband, which features a braided or twisted pattern that adds a touch of elegance to your accessory. The cable knit design can be achieved using a simple cable stitch technique on the loom, and it creates a beautiful textured look.
Another option is the ribbed knit headband, which features vertical ribs that give it a stretchy and snug fit. The ribbed design is created by alternating between knit and purl stitches on the loom, and it adds an extra layer of warmth and comfort to your headband. This design is perfect for those cold winter months.
Colorful Variations
If you want to add some color to your loom knit headbands, you can try incorporating different yarn colors into your designs. For a vibrant and eye-catching look, you can create a striped headband by using different colored yarns and alternating between them as you knit. You can also experiment with different color combinations to create unique and personalized headbands that match your style and outfit.
For a more subtle and sophisticated look, you can opt for a gradient or ombre effect in your headbands. This can be achieved by using yarns that transition from one color to another, creating a beautiful and seamless blend of colors in your design. The gradient effect adds depth and dimension to your headband, making it a stylish and fashionable accessory.
Embellishments and Accents
To take your loom knit headbands to the next level, you can add embellishments and accents to your designs. For a feminine touch, you can attach a decorative button or a ribbon bow to your headband. You can also experiment with different types of yarns, such as metallic or sparkly yarns, to add some shimmer and shine to your accessory.
If you’re feeling adventurous, you can even try adding some embroidery or beading to your headbands. This will create a unique and personalized look that reflects your creativity and individual style. The possibilities are endless when it comes to customizing your loom knit headbands with embellishments and accents.
Conclusion
With so many alternative designs and customization options available, you can create a wide variety of loom knit headbands to suit your style and preferences. Whether you prefer a classic cable knit design, a colorful striped pattern, or an embellished headband with accents, there is something for everyone. Get creative and have fun experimenting with different designs and techniques to create unique and stylish headbands that you’ll love to wear.
Additional Resources
If you’re looking for more free loom knit headband patterns, there are plenty of resources available online. Here are some websites and sources where you can find additional patterns and tutorials:
- Ravelry: Ravelry is a popular knitting and crochet community where you can find a wide range of patterns, including loom knit headbands. Simply search for “loom knit headband” in the patterns section to find various designs to choose from.
- YouTube: YouTube is a great platform for finding video tutorials on loom knitting. Many YouTubers create detailed step-by-step videos that can guide you through the process of creating different types of headbands.
- Blog websites: There are several knitting and crafting blogs that offer free loom knit headband patterns. These blogs often provide written instructions, photos, and sometimes even video tutorials to help you create beautiful headbands.
- Loom Knitting Facebook groups: Facebook groups dedicated to loom knitting are a great place to connect with other loomers and find resources. Members of these groups often share their own patterns, tips, and tricks for creating headbands and other loom knit projects.
- Craft stores: Some craft stores may have printed patterns or books on loom knitting that include headband patterns. Check your local craft store or online craft stores to see what resources are available.
With these additional resources, you’ll have plenty of options to explore and create beautiful loom knit headbands. Whether you’re a beginner or an experienced loomer, there’s something for everyone to enjoy and try out.
Frequently Asked Questions
Here are some commonly asked questions about loom knit headbands:
1. What size loom should I use for the headband?
It depends on the desired width of your headband and the thickness of your yarn. For a narrower headband, you can use a smaller loom, while a wider headband will require a larger loom. It’s best to refer to the instructions provided in the pattern to determine the appropriate loom size.
2. Can I use a different type of yarn for the headband?
Yes, you can use any yarn that is suitable for loom knitting. However, keep in mind that using a different type of yarn may result in a different finished texture and size. Be sure to check the gauge and follow the pattern instructions for the best results.
3. How do I adjust the size of the headband?
If you want to make the headband larger or smaller, you can adjust the number of stitches or the number of rows in the pattern. Adding or subtracting stitches will affect the width of the headband, while adding or subtracting rows will affect the length. It’s important to make a gauge swatch before starting the project to ensure the desired size.
4. How do I finish the headband?
After completing the last row of the pattern, you will need to bind off the stitches. This can be done using a crochet hook or a knitting tool. Follow the instructions provided in the pattern for the specific bind off method. Once the stitches are bound off, you can weave in any loose ends and sew the ends of the headband together to form a loop.
5. Can I add embellishments to the headband?
Yes, you can personalize your headband by adding embellishments such as buttons, bows, flowers, or beads. These can be attached using a needle and thread or a hot glue gun, depending on the type of embellishment and the material of the headband. Be creative and have fun with your design!
Conclusion
Loom knit headbands are a versatile and stylish accessory that can be easily made using a loom and basic knitting techniques. With the right pattern and materials, you can create unique headbands to match your style or give as thoughtful handmade gifts. We hope this free loom knit headband pattern and the frequently asked questions have been helpful in getting you started on your loom knitting journey. Happy knitting!