
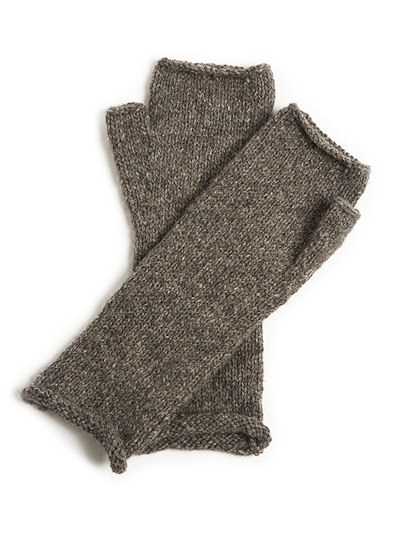
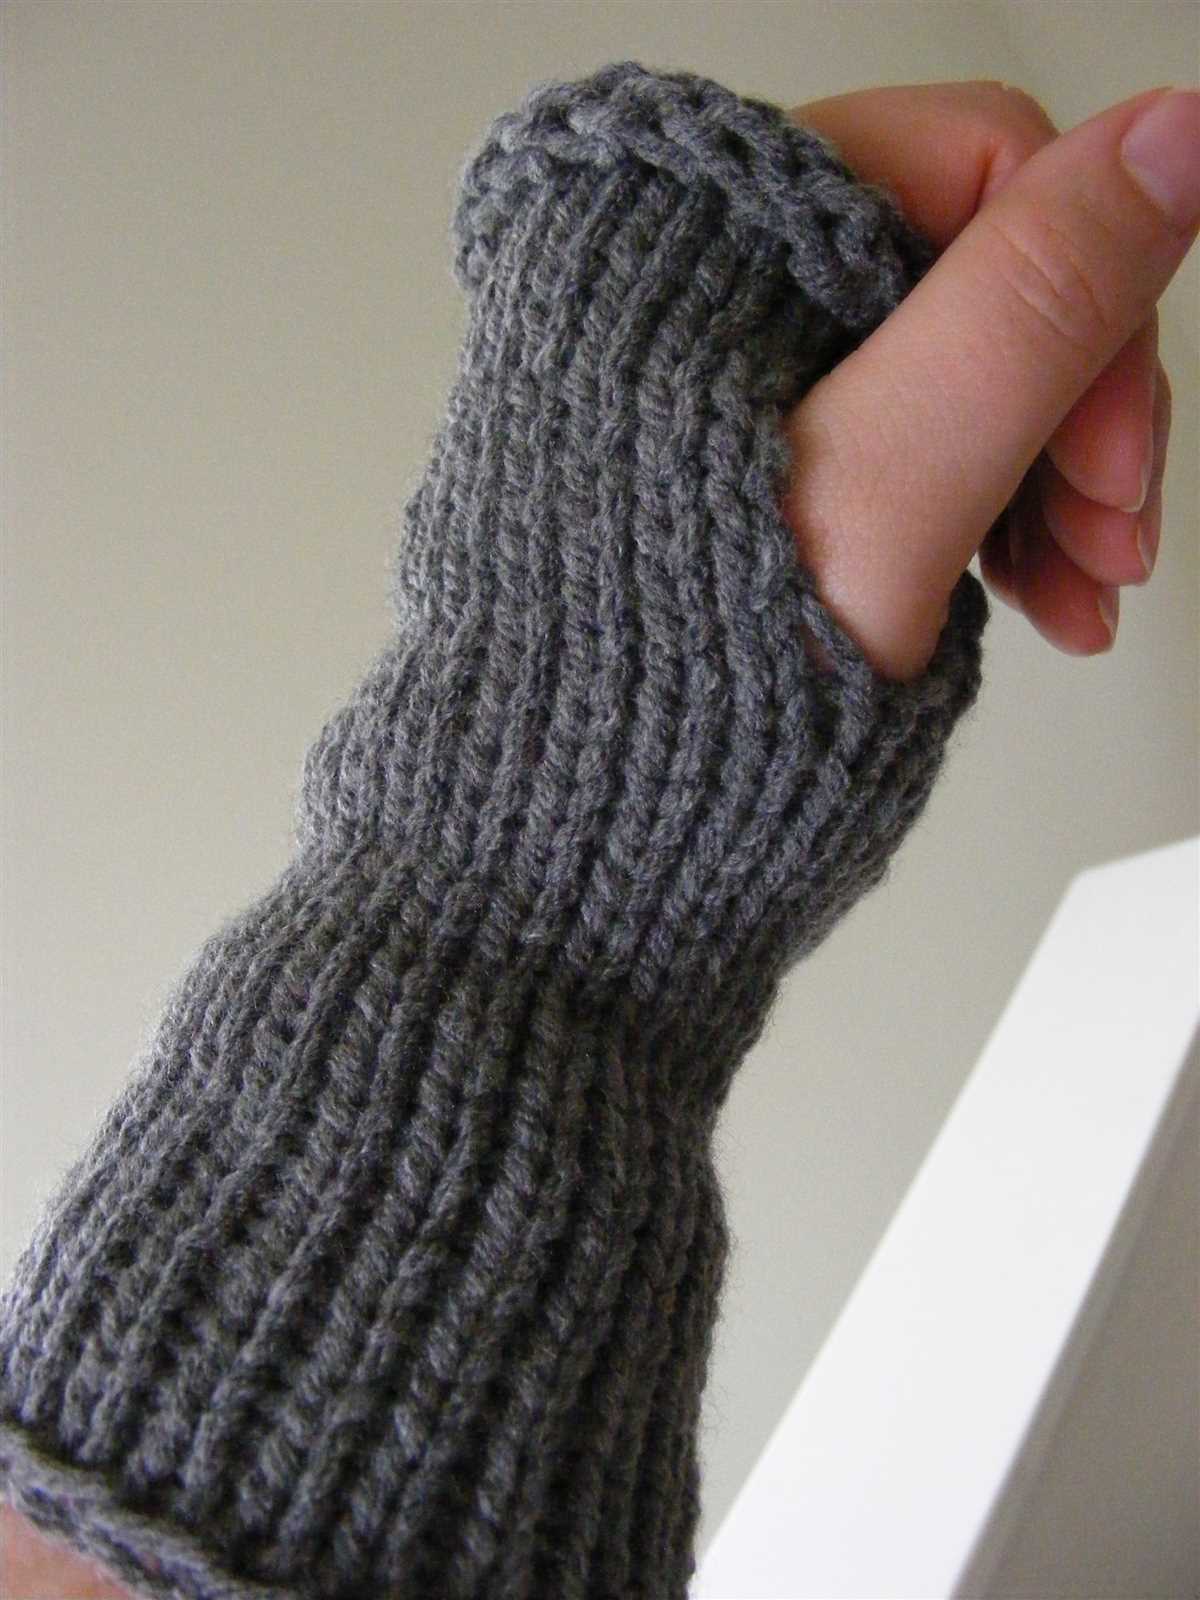
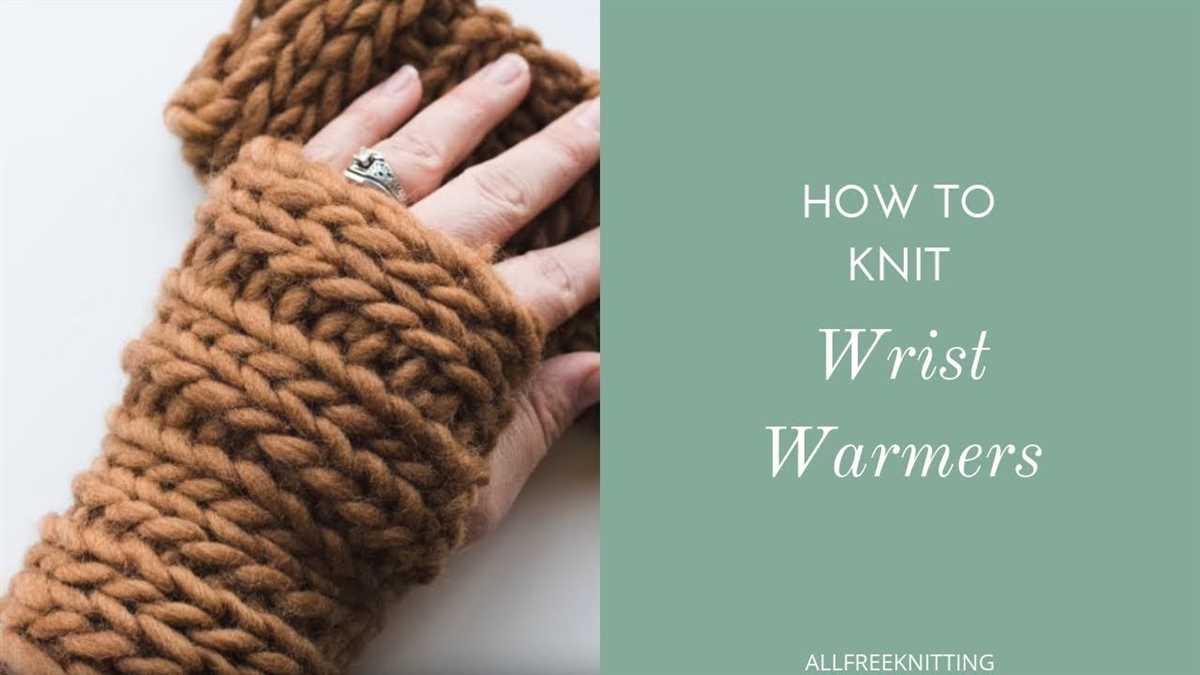
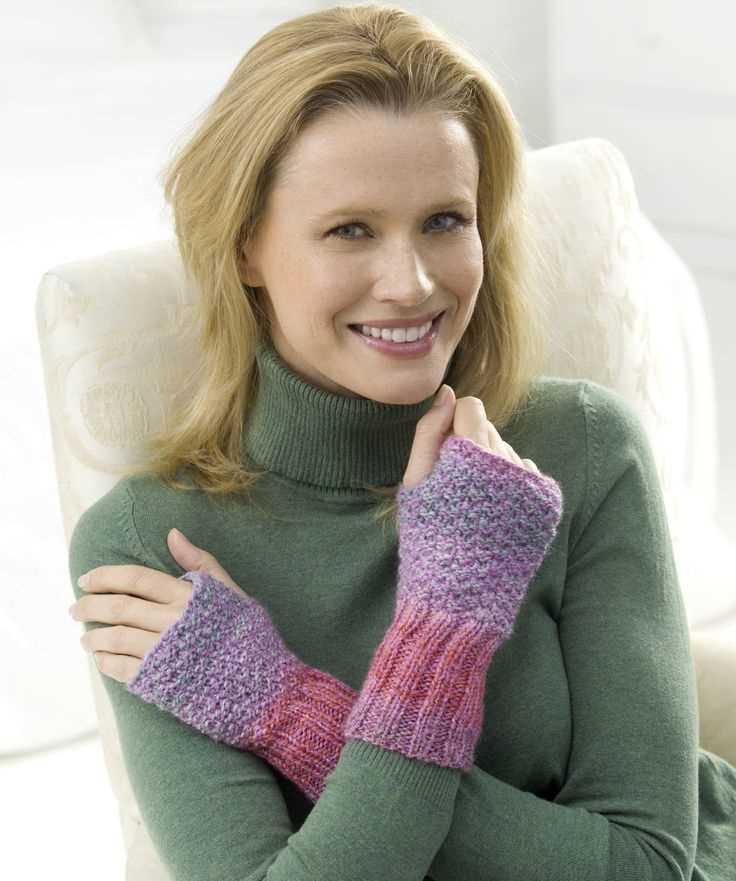
Winter is here, and that means it’s time to bundle up in cozy knits. One of the essentials for keeping warm during the colder months is a pair of wrist warmers. Wrist warmers are not only practical, but they also add a stylish touch to any outfit. If you’re looking for an easy and free knitting pattern for wrist warmers, you’re in luck! This pattern is perfect for beginners or anyone looking for a quick and satisfying project.
Knitting your own wrist warmers allows you to customize them to your own style and preferences. You can choose your favorite yarn color, experiment with different stitch patterns, or even add a personalized touch with embellishments like buttons or embroidery. With this easy pattern, you’ll be able to create a pair of wrist warmers in no time.
With just a few basic knitting skills and some yarn, you’ll be able to create a cozy pair of wrist warmers that will keep your hands warm and your style on point. Whether you’re a beginner or an experienced knitter, this easy wrist warmer knitting pattern is a great project to add to your winter knitting list. So grab your needles and get ready to create a stylish accessory that will keep you warm all winter long!
Easy Wrist Warmer Knitting Pattern Free
Are you in search of a simple and quick knitting project? Look no further! This easy wrist warmer knitting pattern is the perfect choice for beginners or anyone looking for a fast and satisfying project. Not only will you get to practice your knitting skills, but you’ll also end up with a cozy and stylish accessory to keep your hands warm during the colder months.
To get started, you’ll need a pair of knitting needles and some yarn of your choice. Worsted weight yarn works well for this pattern, but feel free to experiment with different types and colors to match your personal style. You’ll also need some basic knitting skills, such as casting on, knitting, and purling.
To create the wrist warmers, cast on the desired number of stitches, usually around 30-40 depending on the size of your wrist. Then, simply knit each row in a basic rib stitch pattern, alternating between knit and purl stitches. This rib stitch not only gives the wrist warmers a nice stretch and fit, but also adds an attractive texture.
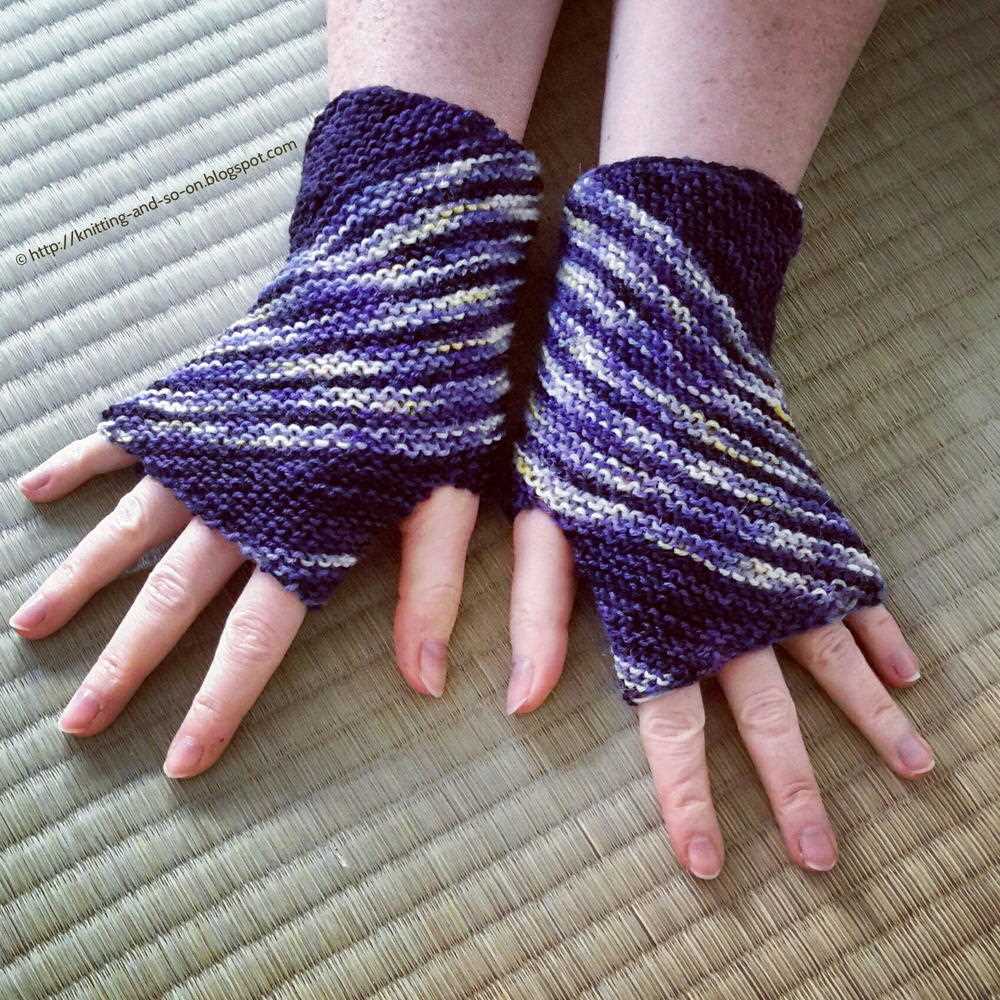
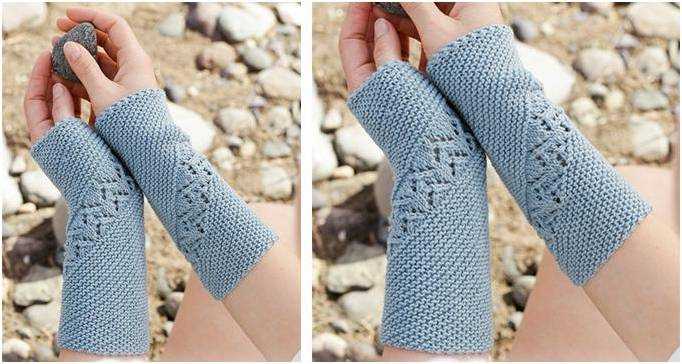
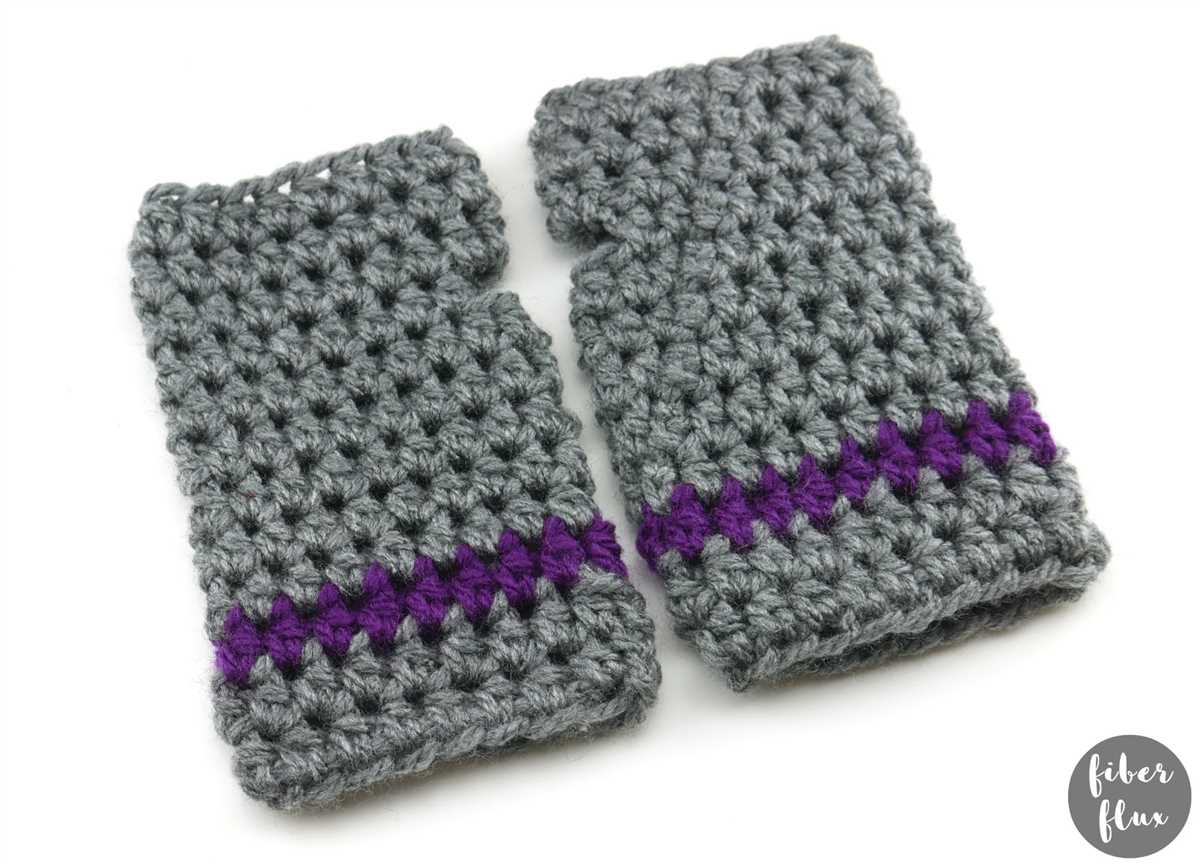
If you want to add some extra flair to your wrist warmers, you can try incorporating different stitch patterns or using multiple colors of yarn. For example, you could create a striped pattern by alternating between two different yarn colors every few rows. You could also experiment with different types of stitches, such as cables or lace, to create unique and eye-catching designs.
Once you’ve finished knitting the desired length for your wrist warmer, simply bind off and weave in any loose ends. Repeat the process to create a matching pair, and you’ll have a stylish and functional accessory to keep your hands warm in no time. These wrist warmers also make great gifts for friends and family, so consider spreading the warmth and happiness by sharing your knitting skills with others.
Why Choose Wrist Warmers
Wrist warmers are a practical and stylish accessory that can provide warmth and comfort during cooler weather. They are a great alternative to wearing gloves or mittens, as they keep your hands and wrists cozy while still allowing your fingers to be free.
One of the main advantages of wrist warmers is their versatility. They can be worn indoors or outdoors, making them suitable for various activities and occasions. Whether you’re typing on a computer, knitting, or enjoying a walk in the park, wrist warmers provide the perfect amount of warmth and flexibility.
Furthermore, wrist warmers are easy to make and customize. With a simple knitting pattern, you can create your own unique pair of wrist warmers that reflect your personal style. You can choose from a wide range of colors, yarns, and patterns to match your outfits or create a statement. Additionally, wrist warmers can be embellished with buttons, lace, or other decorations to add a touch of elegance or playfulness.
Another reason why wrist warmers are popular is their practicality. Unlike gloves, wrist warmers keep your wrists and lower arms warm while leaving your fingers free for tasks that require dexterity. This makes them ideal for activities such as texting, writing, cooking, or playing musical instruments. Wrist warmers also provide extra protection from the cold for individuals who suffer from arthritis or other hand conditions.
In conclusion, wrist warmers are a versatile and practical accessory that offers both style and comfort. Whether you’re looking for a fashionable accessory or need a practical solution to keep your hands warm while still being able to use your fingers, wrist warmers are the perfect choice.
Benefits of Wearing Wrist Warmers
Wrist warmers are not just fashionable accessories, but they also provide numerous benefits for your wrist and hand. Here are some reasons why you should consider wearing wrist warmers:
1. Warmth and Comfort:
Wrist warmers are designed to keep your hands and wrists warm, especially during cold weather. They provide insulation, preventing heat loss and reducing the risk of cold-related injuries such as frostbite. The soft and cozy fabric of wrist warmers offers a comfortable feel, making them perfect for outdoor activities or even for just lounging at home.
2. Joint Support:
Wrist warmers can provide gentle compression and support to the wrist joint. The compression helps improve blood circulation and reduce swelling, making them beneficial for individuals with arthritis, carpal tunnel syndrome, or repetitive strain injuries. Wearing wrist warmers can alleviate pain and discomfort, promoting better wrist mobility and function.
3. Versatility:
Wrist warmers are versatile accessories that can be worn with various outfits and for different occasions. Whether you’re dressing up for a formal event or going for a casual look, wrist warmers can add a stylish touch to your ensemble. They come in a wide range of colors, patterns, and materials, allowing you to express your personal style.
4. Easy to Knit:
One of the greatest benefits of wrist warmers is that you can easily knit them yourself. There are many free knitting patterns available online, making it a fun and cost-effective DIY project. Knitting wrist warmers can also be a relaxing and therapeutic activity, allowing you to unwind and create something beautiful with your own hands.
5. Practicality:
Wrist warmers are practical accessories that can be worn throughout the year. In addition to keeping your hands warm during winter, wrist warmers can also be used in other seasons to protect your wrists from scratches, sunburn, or insect bites. They are lightweight and easy to carry, making them convenient for outdoor activities like hiking, cycling, or gardening.
In conclusion, wearing wrist warmers offers a range of benefits, from providing warmth and joint support to adding style and practicality to your outfit. Whether you choose to knit your own wrist warmers or purchase them, they are a must-have accessory for anyone looking to keep their hands comfortable and protected.
Materials Needed
Before starting the wrist warmer knitting project, make sure you have all the necessary materials at hand. Here’s a list of what you’ll need:
- Yarn: Choose a soft, warm, and lightweight yarn in your preferred color. Worsted weight or DK weight yarn would be suitable for this project.
- Knitting Needles: Use a pair of knitting needles in the appropriate size for your selected yarn. Circular needles or double-pointed needles can be used, depending on your preference.
- Stitch Markers: These markers will be used to indicate the beginning of each round.
- Tapestry Needle: You’ll need a tapestry needle to weave in the loose ends and finish off the wrist warmers.
- Scissors: Keep a pair of scissors handy to cut the yarn.
- Measuring Tape: It’s always helpful to have a measuring tape nearby to check your gauge and ensure accurate sizing.
Once you have gathered all the required materials, you’re ready to start knitting your easy wrist warmers! The pattern will guide you through the steps, and soon you’ll have a cozy pair of wrist warmers to keep your hands toasty and stylish.
Getting Started
Welcome to our easy wrist warmer knitting pattern! This pattern is great for beginners and will help you create a cozy pair of wrist warmers to keep your hands warm during the colder months. With just a few materials and some basic knitting stitches, you’ll have a stylish and practical accessory in no time.
To get started, you’ll need the following materials:
- Yarn: Choose a soft and warm yarn in your favorite color. You’ll need approximately 100 grams.
- Knitting needles: Use a pair of 4mm (US 6) needles.
- Tapestry needle: This will be used for weaving in the ends.
- Scissors: You’ll need these to cut the yarn.
Once you have gathered all your materials, it’s time to cast on and begin knitting your wrist warmers. If you’re new to knitting, don’t worry! We’ll walk you through each step of the process. Follow the instructions carefully, and you’ll have a beautiful finished product.
Before you start, make sure you have a basic understanding of knitting terms, such as casting on, knitting, purling, and binding off. If you need a refresher, there are plenty of online tutorials available to help you. Once you have a good grasp of these techniques, you’ll be ready to dive into this easy wrist warmer knitting pattern.
Casting On
When starting a knitting project, one of the first steps is casting on, which is the process of creating the first row of stitches on the knitting needle. There are several methods of casting on, but the most common method is the “long tail cast on.”
To begin the long tail cast on, you will start by making a slip knot. This involves creating a loop with your yarn and pulling the working end through the loop. The loop should be tight enough to stay on the needle but loose enough to easily move along the needle.
Once the slip knot is created, you will hold the knitting needle in your right hand and insert it into the loop of the slip knot. With your left hand, hold the working yarn and the tail of the yarn together. Use your thumb and pointer finger of your left hand to create tension on the yarn.
Next, bring the needle under the loop of yarn held between your left thumb and pointer finger, and then over the loop that is on the needle. With your right hand, catch the working yarn and pull it through the loop on the needle. This creates a new loop on the needle.
Repeat this process until you have cast on the desired number of stitches for your project. It’s important to keep the tension consistent throughout the casting on process, as loose stitches can result in a loose edge and tight stitches can make it difficult to knit the first row.
Once you have finished casting on, you are ready to begin knitting your wrist warmers using the selected knitting pattern. The cast on edge will be the starting point of your project, and you can now proceed with the next steps in the pattern.
Knitting the Body
Knitting the body of a wrist warmer involves working on the main section of the pattern. Once you have finished knitting the cuff, you can move on to this part. The body is usually wider and longer than the cuff, providing more coverage and warmth to the wrist and lower arm.
To start knitting the body, you will need to follow the stitch pattern indicated in the pattern instructions. This could be a simple knit and purl combination or involve more complex stitches and techniques. Make sure to pay attention to any stitch markers that may be used to indicate pattern repeats or special stitch placements.
As you work on the body, it is important to maintain an even tension throughout your knitting. This will help ensure that your wrist warmer has a consistent and professional finish. Take breaks if needed to rest your hands and avoid any strain or discomfort. You can also use a row counter or keep track of your rows with a pen and paper to help you stay organized.
Tip: If you want to customize your wrist warmer, this is the part where you can get creative. You can add stripes or color changes, incorporate textured stitches, or even try out different stitch patterns. Just make sure to adjust your stitch count and follow any shaping instructions provided in the pattern.
Once you have reached the desired length for the body, you can proceed to the final section of the wrist warmer, such as the thumb gusset or shaping for the hand. Finish off your knitting by binding off the stitches and weaving in any loose ends. With the body complete, you are one step closer to having a cozy and stylish wrist warmer to keep you warm during the colder months.
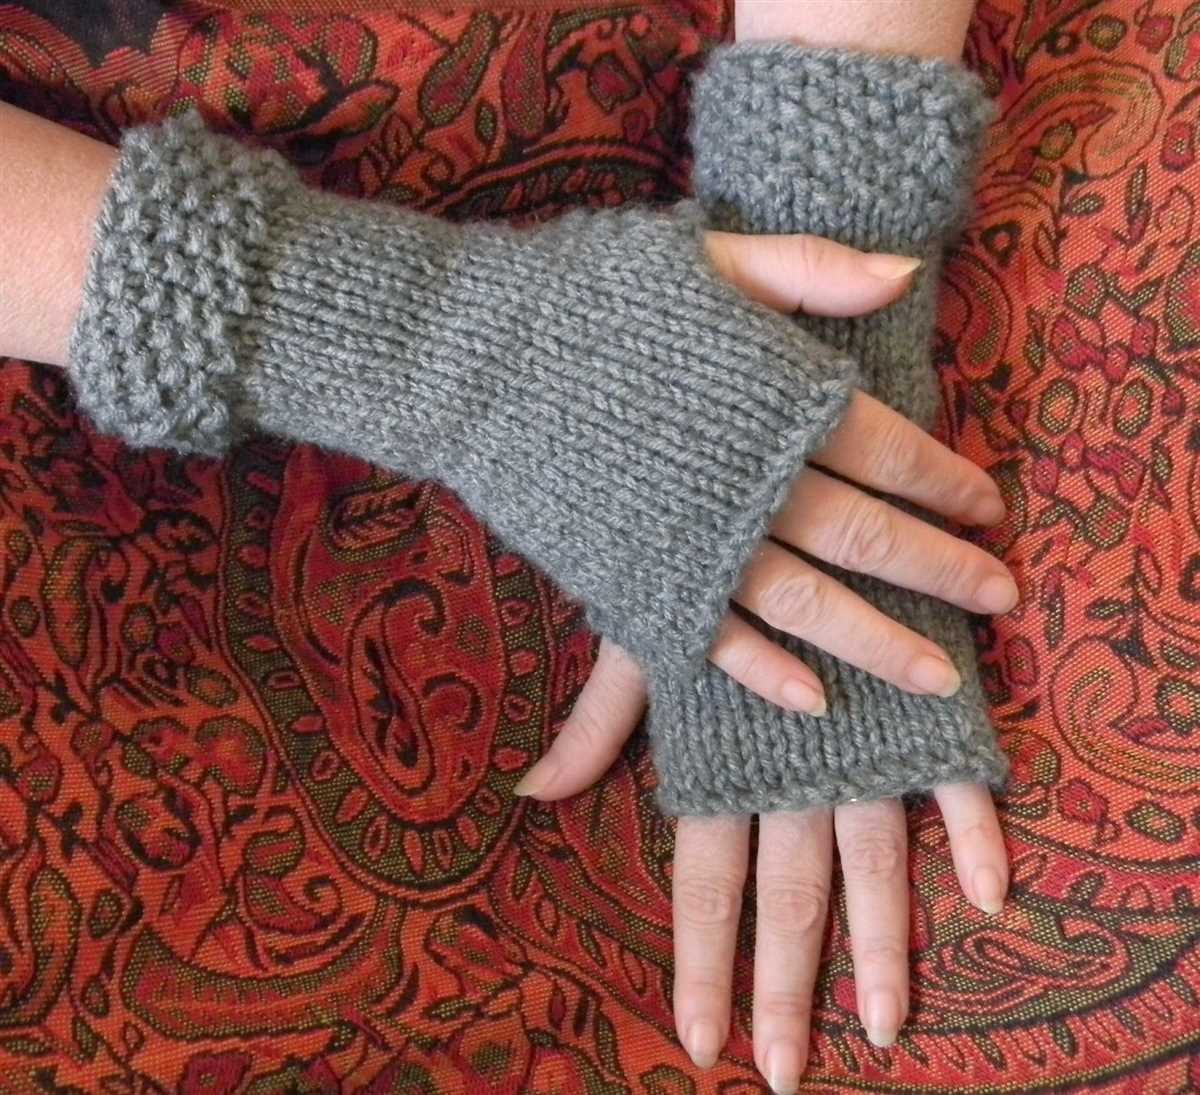
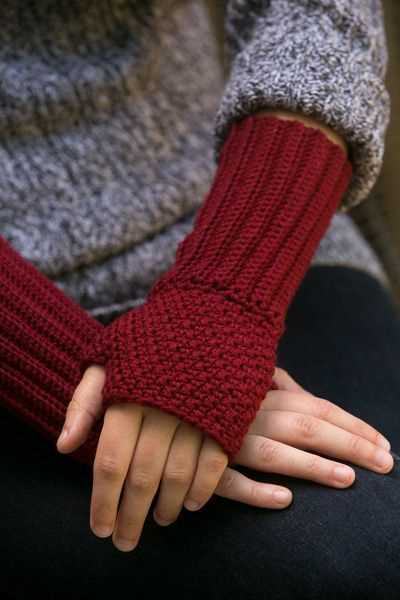
Adding Ribbing
When knitting wrist warmers, adding ribbing is a great way to create a snug fit and add a touch of style to your project. Ribbing is a stretchy and flexible stitch pattern that is perfect for creating cuffs on wrist warmers. It provides a nice texture and helps the wrist warmers stay in place.
To add ribbing to your wrist warmers, you will need to alternate between knit stitches and purl stitches. This creates a ribbed effect and allows the fabric to expand and contract easily. The most common ribbing pattern is the 1×1 rib, where you alternate one knit stitch with one purl stitch. However, you can also experiment with different ribbing patterns, such as 2×2 rib or 3×1 rib, to achieve different looks.
To start ribbing, you will need to determine how long you want the ribbed cuff to be. Usually, a cuff length of 1-2 inches is sufficient. Once you have decided on the length, cast on the required number of stitches for the ribbing pattern you are using.
For example, if you are using a 1×1 rib, cast on an even number of stitches.
- Row 1: *Knit 1, purl 1* – repeat from * to the end of the row.
- Row 2 onwards: Continue alternating between knit stitches and purl stitches until you have reached the desired length for the ribbed cuff.
Remember to keep the tension consistent while knitting your ribbing to ensure a nice, snug fit.
Once you have finished the ribbed cuff, you can continue knitting the rest of the wrist warmer using your desired stitch pattern. Ribbing can be added at both ends of the wrist warmer, or just at one end depending on your preference and the design of the wrist warmer.
Finishing Touches
Once you’ve finished knitting your wrist warmers using the easy pattern, it’s time to add the finishing touches to make them truly special. These small details will elevate your wrist warmers from basic to beautiful. Here are a few ideas to consider:
Add Buttons
One easy way to enhance your wrist warmers is by adding buttons. Choose buttons that complement the color or pattern of your wrist warmers. Sew them onto the side or top of the wrist warmers for a decorative touch. You can even mix and match different buttons for a unique look.
Embroidery Details
Another option for adding flair to your wrist warmers is embroidery. You can create intricate designs using colorful threads. Consider adding small flowers, hearts, or even your initials. Embroidery can give your wrist warmers a personalized touch and make them stand out.
Crochet Edging
If you have basic crochet skills, adding a crochet border to your wrist warmers can add a nice finishing touch. Choose a contrasting color and crochet a simple border along the edge of the wrist warmers. This not only adds a decorative element but also helps to reinforce the edges and prevent fraying.
Pom-pom Trim
For a fun and playful touch, consider adding pom-pom trim to your wrist warmers. This fluffy trim can be stitched along the edges, giving your wrist warmers a whimsical and cozy look. You can choose pom-poms in colors that match your wrist warmers or go for contrasting shades for a bold statement.
By incorporating these finishing touches, you can take your easy wrist warmer knitting project to the next level. Whether you choose buttons, embroidery, crochet edging, or pom-pom trim, these small details will add personality and style to your wrist warmers, making them truly unique. Get creative and have fun experimenting with different finishing touches!
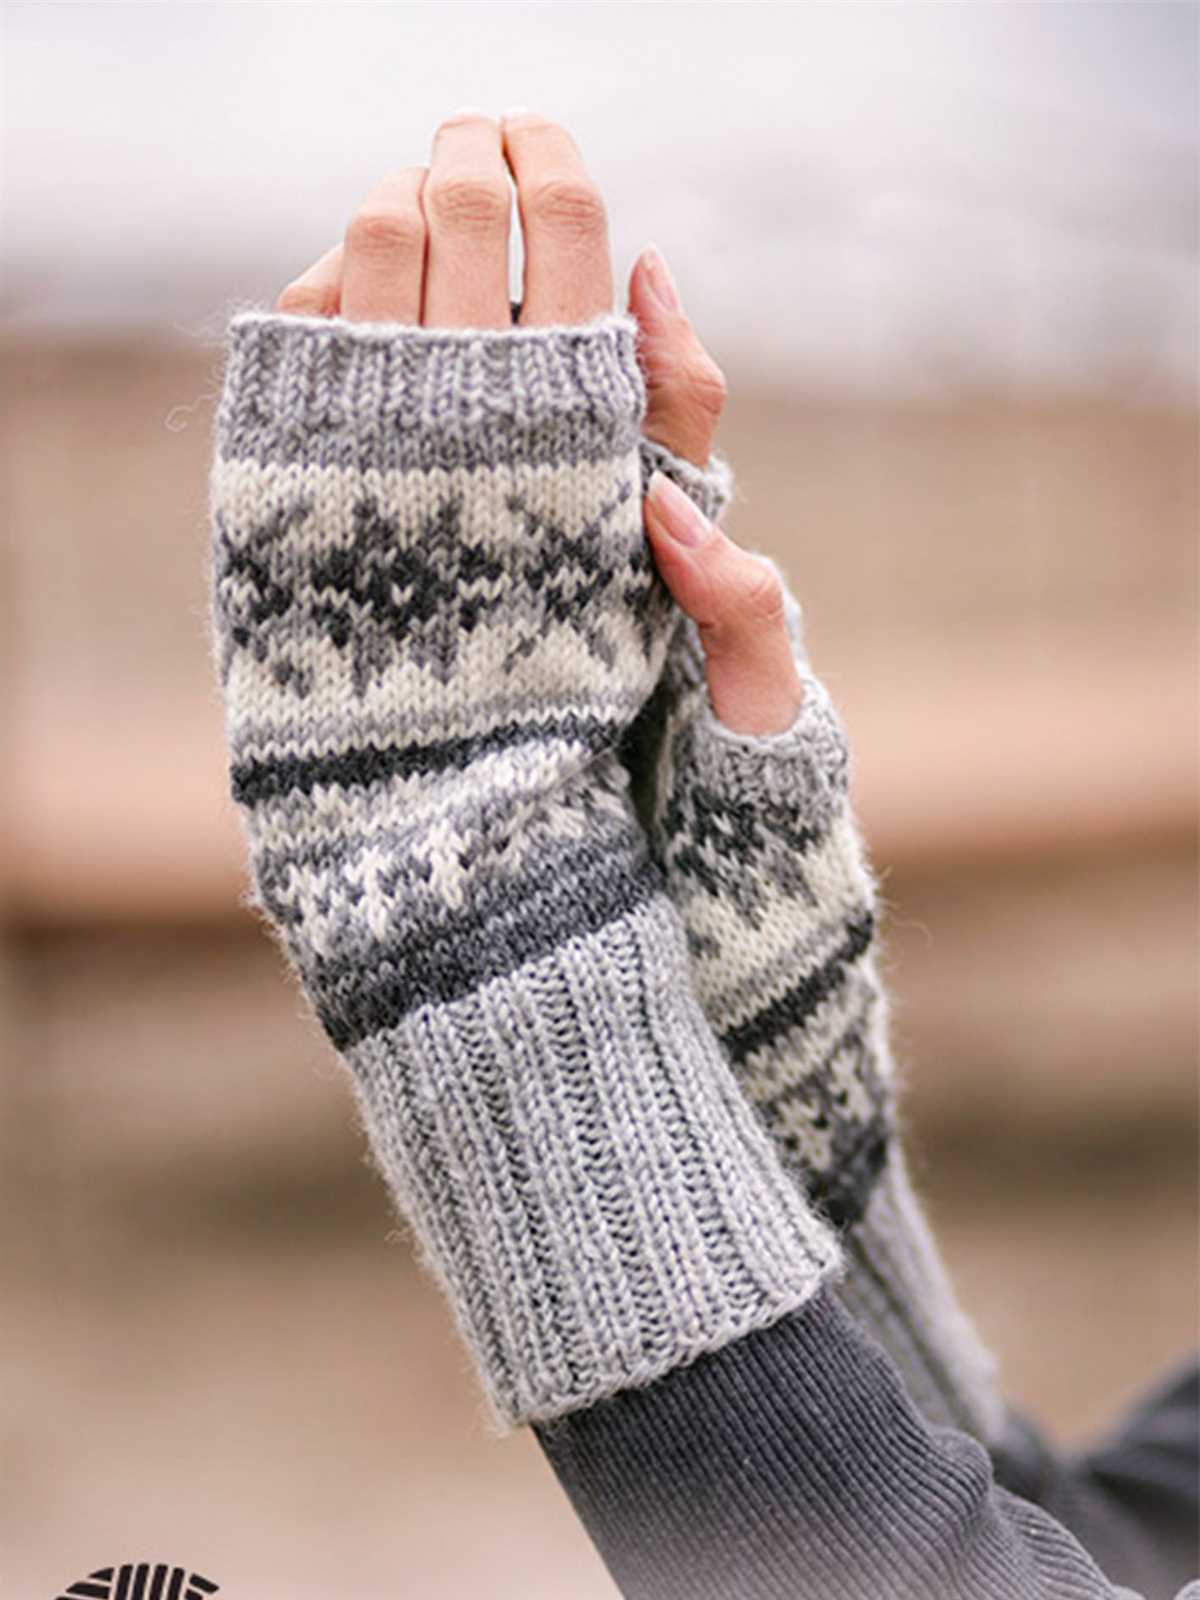
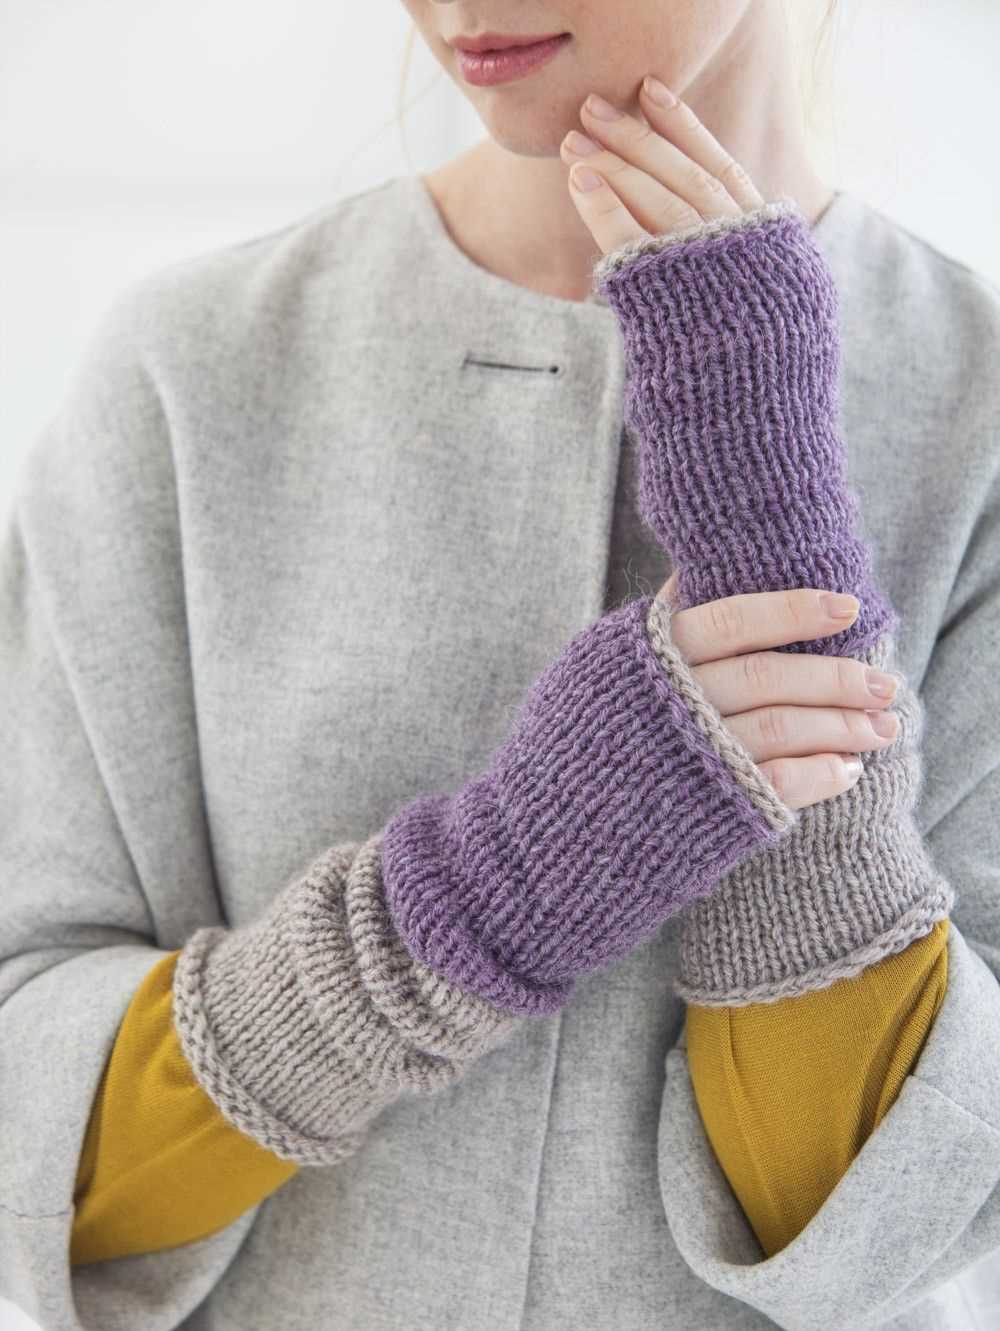
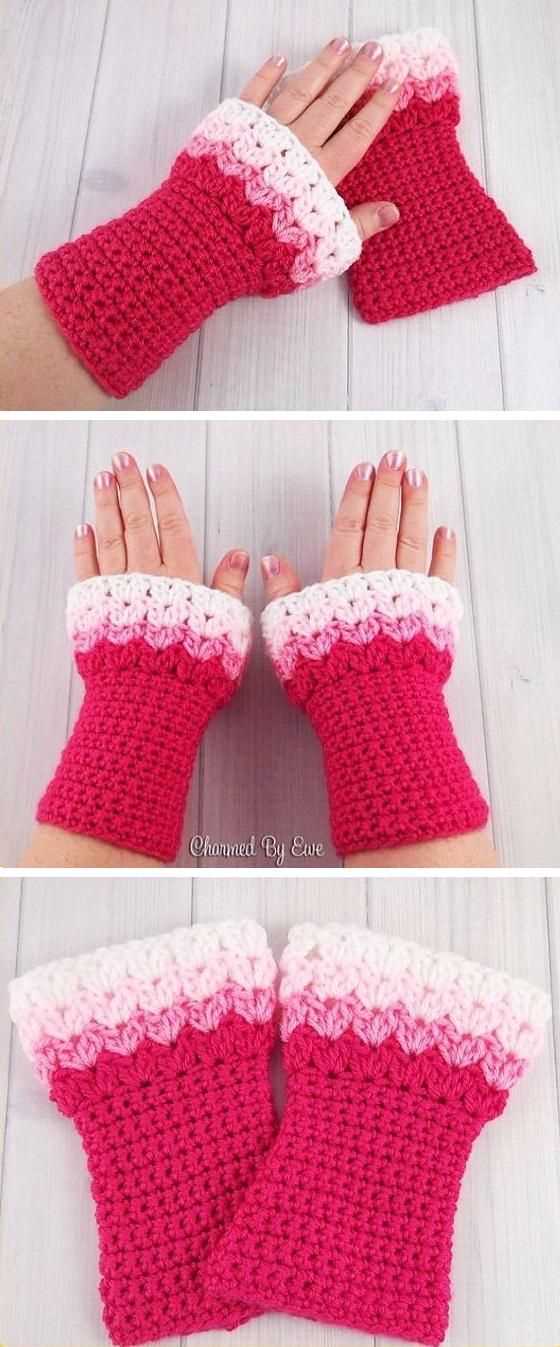
Various Patterns and Designs
When it comes to wrist warmers, there are endless patterns and designs available for knitters of all skill levels. Whether you prefer a simple and classic style or something more intricate and unique, there is a pattern out there for you.
For those who are new to knitting, there are plenty of easy wrist warmer patterns available that are perfect for beginners. These patterns typically use basic stitches and simple techniques, making them a great way to practice your knitting skills while creating something functional and stylish. One example is the basic stockinette stitch wrist warmer, which can be personalized with different colors and embellishments to suit your taste.
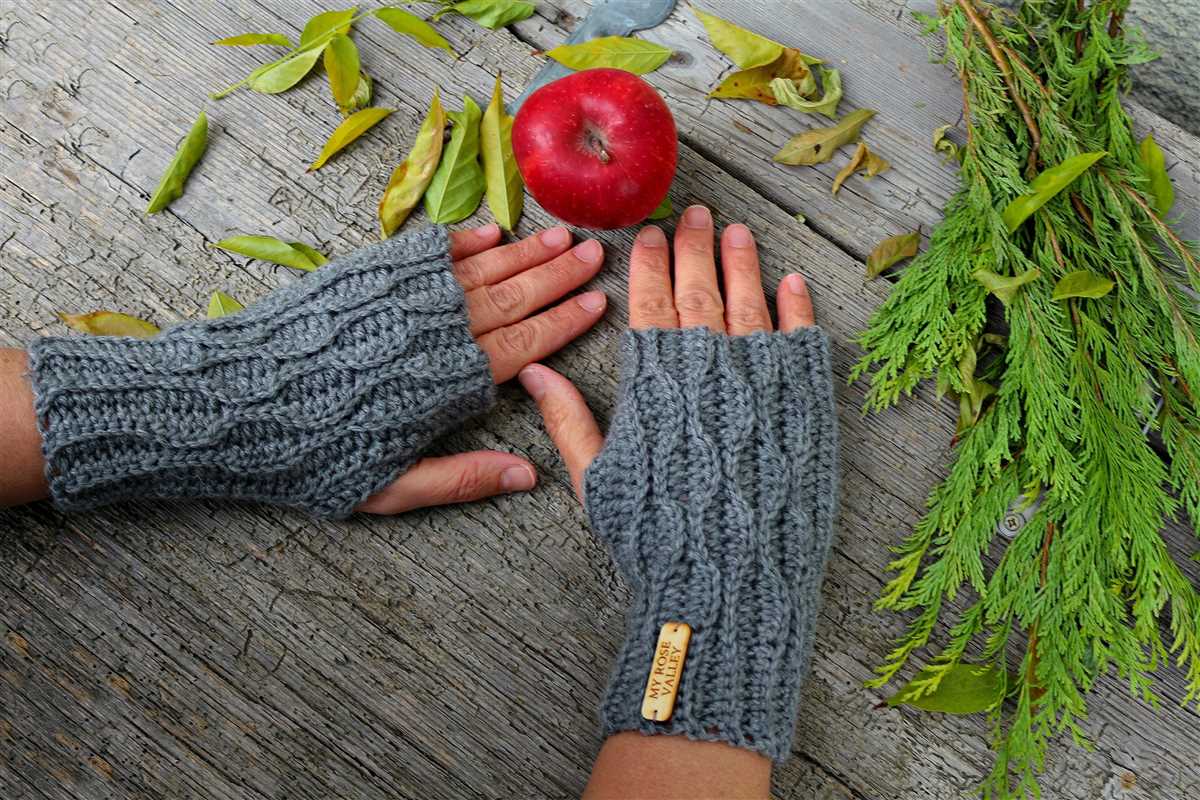
If you’re looking to take your knitting skills to the next level, there are also more advanced patterns available that feature complex stitch patterns and techniques. These patterns often incorporate cables, lace, or colorwork to create stunning and intricate designs. One example is the cable knit wrist warmer, which uses twisted stitches to create a beautiful cable pattern that adds texture and interest to the finished piece.
In addition to different stitch patterns, there are also various designs and shapes to choose from when it comes to wrist warmers. Some patterns feature a simple tube shape that can be worn on its own or layered with other gloves or mittens for extra warmth. Others have a thumb hole or opening to allow for better dexterity and functionality. There are even patterns available for fingerless wrist warmers, which are perfect for those who need to keep their hands warm while still being able to use their fingers for tasks such as typing or texting.
Whether you’re a beginner or an experienced knitter, the world of wrist warmer patterns is full of possibilities. With so many different patterns and designs to choose from, you’re sure to find the perfect one that suits your style and skill level.
Tips and Tricks
Knitting wrist warmers can be a fun and rewarding project for knitters of all skill levels. Whether you’re a beginner or an experienced knitter, these tips and tricks will help you create beautiful wrist warmers with ease.
1. Choose the Right Yarn: When selecting yarn for your wrist warmers, consider the level of warmth and comfort you desire. Bulky or chunky yarns will create thicker and warmer wrist warmers, while lighter weight yarns will result in more breathable and lightweight wrist warmers.
2. Gauge Swatch: Before starting your project, make a gauge swatch to ensure that your tension matches the recommended gauge in the pattern. This will help you achieve the correct size and fit for your wrist warmers.
3. Use Stitch Markers: Stitch markers can be a helpful tool to keep track of your pattern and maintain the correct stitch count. Place a stitch marker before the first stitch of each row or section to make it easier to spot mistakes or keep track of pattern repeats.
4. Blocking: Blocking your wrist warmers after finishing can help to even out stitches and improve the overall appearance of your project. Follow the blocking instructions provided in the pattern or gently steam block the wrist warmers to achieve the desired shape.
5. Add Embellishments: Get creative with your wrist warmers by adding embellishments such as buttons, bows, or embroidery. These small details can elevate your wrist warmers and make them unique to your style.
6. Keep Your Hands Warm: While knitting, you may find that your hands get cold. Consider using fingerless gloves or fingerless mitts to keep your hands warm while allowing your fingers the freedom to knit comfortably.
7. Practice Proper Technique: To achieve professional-looking wrist warmers, practice your knitting technique. Pay attention to your tension, stitches, and finishing techniques such as seaming or weaving in ends.
8. Experiment with Patterns: Once you feel comfortable with the basics of wrist warmer knitting, don’t be afraid to try new patterns and stitch designs. Experimenting with different patterns will expand your knitting skills and allow you to create unique and stylish wrist warmers.
Overall, wrist warmer knitting can be a fun and versatile project. With these tips and tricks, you’ll be able to create beautiful wrist warmers that will keep your hands cozy and stylish.