
If you are looking for a fun and practical knitting project, look no further than a knit dishrag. Dishrags are not only useful in the kitchen, but they also make great gifts for friends and family. Plus, knitting dishrags is a fantastic way to practice and improve your knitting skills.
This article will provide you with a simple and easy knit dishrag pattern that even beginner knitters can tackle. All you need is some cotton yarn, knitting needles, and basic knitting stitches. Whether you are new to knitting or a seasoned pro, this pattern is a great project to take on.
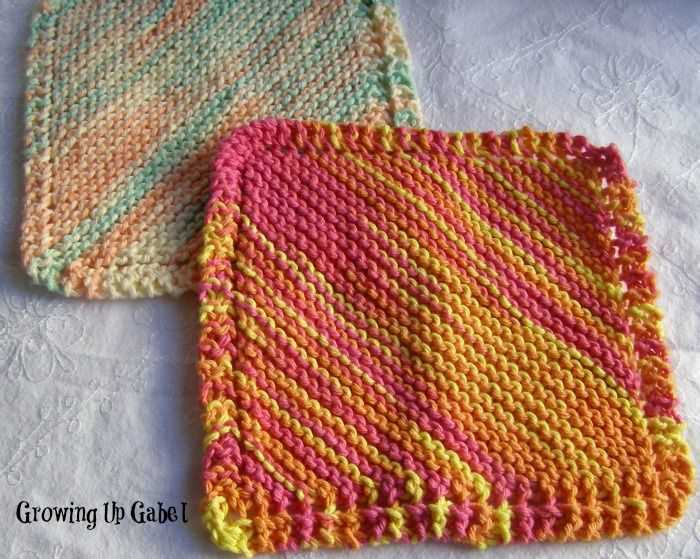
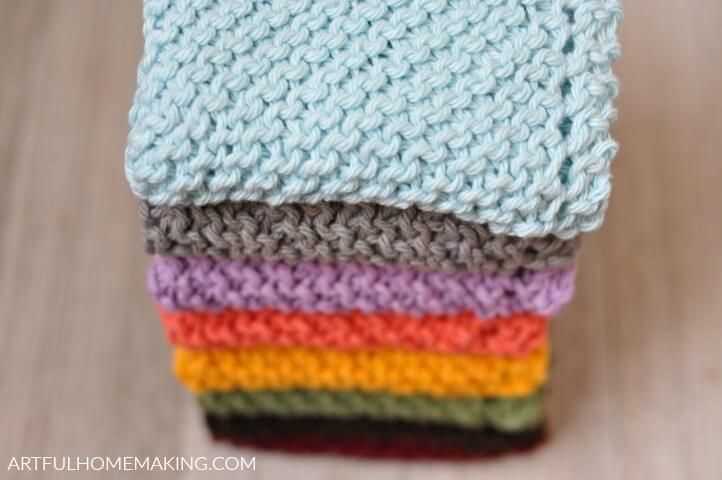
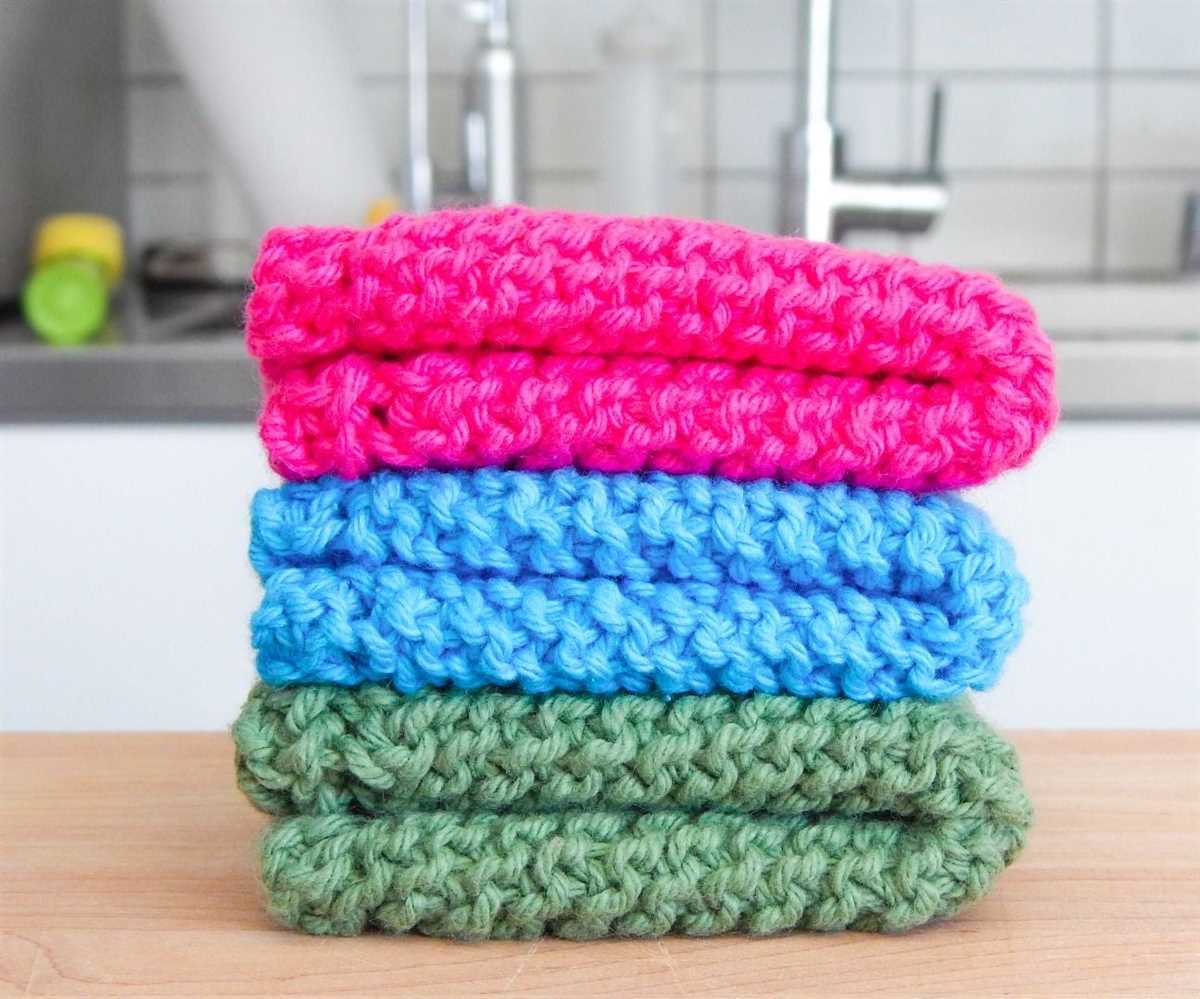
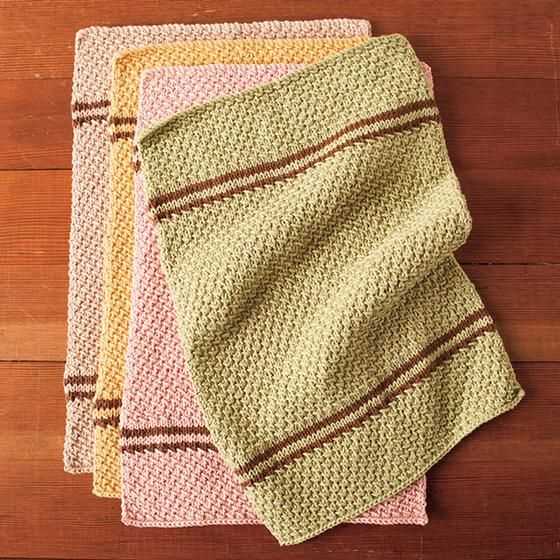
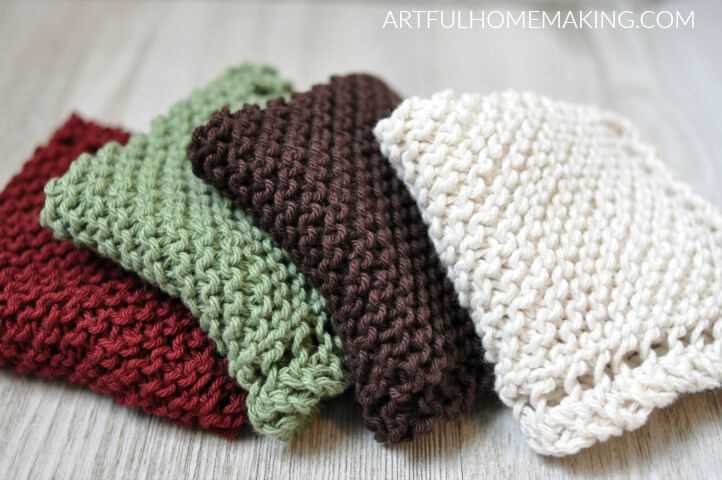
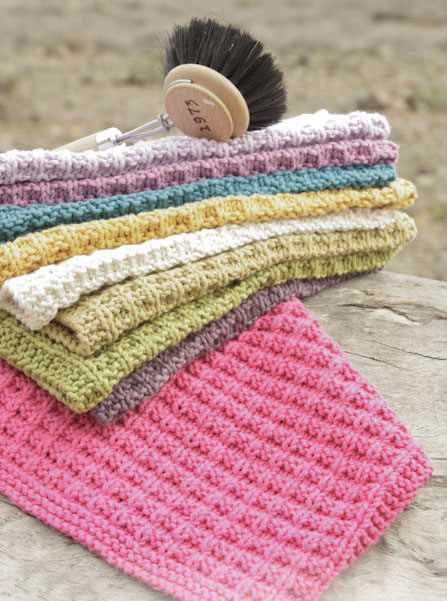
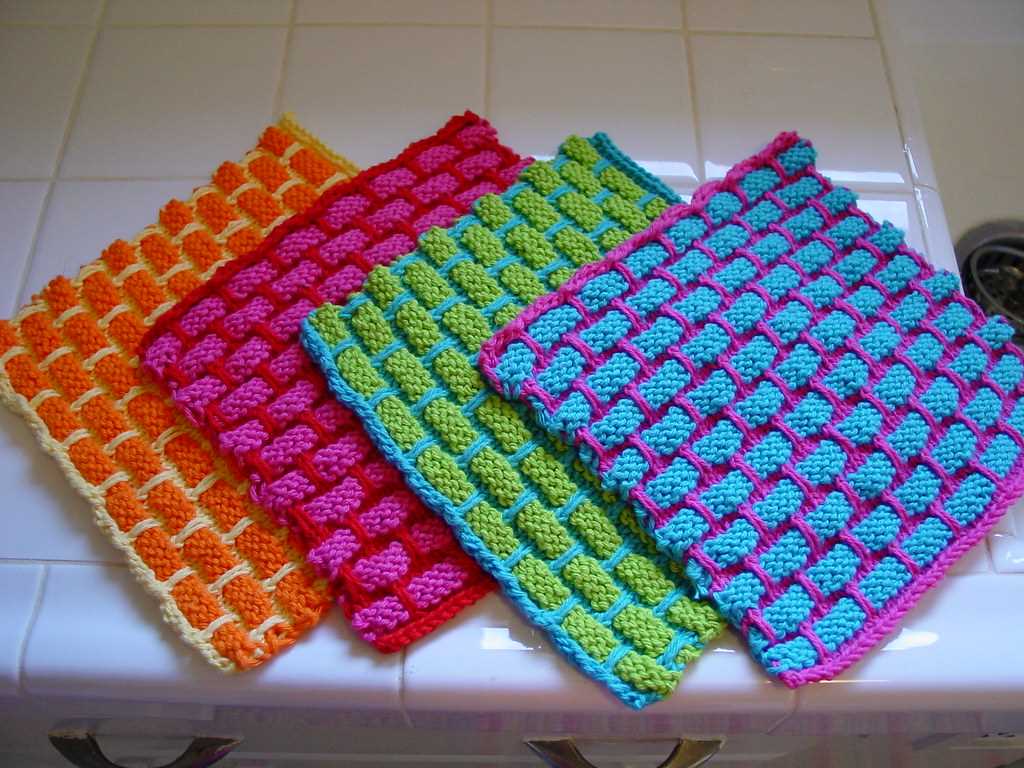
Not only are knit dishrags functional, but they can also add a touch of personality to your kitchen. You can choose from a variety of yarn colors and patterns to match your kitchen decor. With this knit dishrag pattern, you can create a set of dishrags that are as unique as you are.
Knit Dishrag Pattern
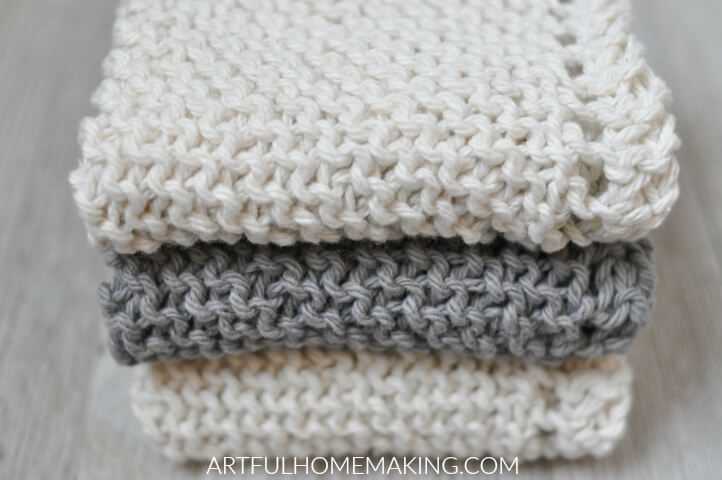
A dishrag is an essential item in any kitchen. Whether you’re washing dishes or wiping down countertops, a knitted dishrag can be both functional and stylish. Knitting your own dishrag allows you to customize the size, color, and texture to suit your preferences.
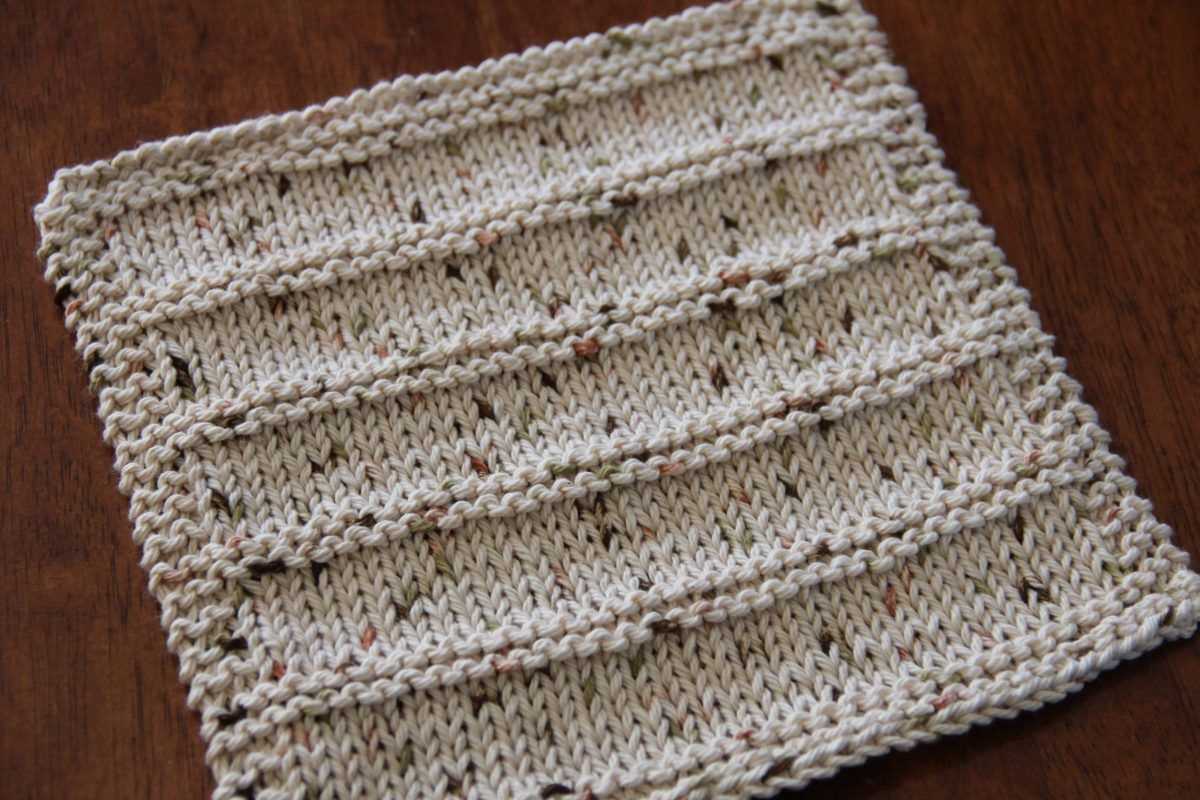
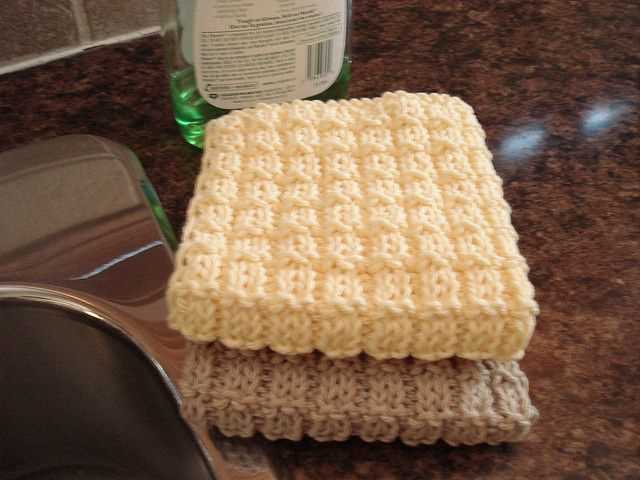
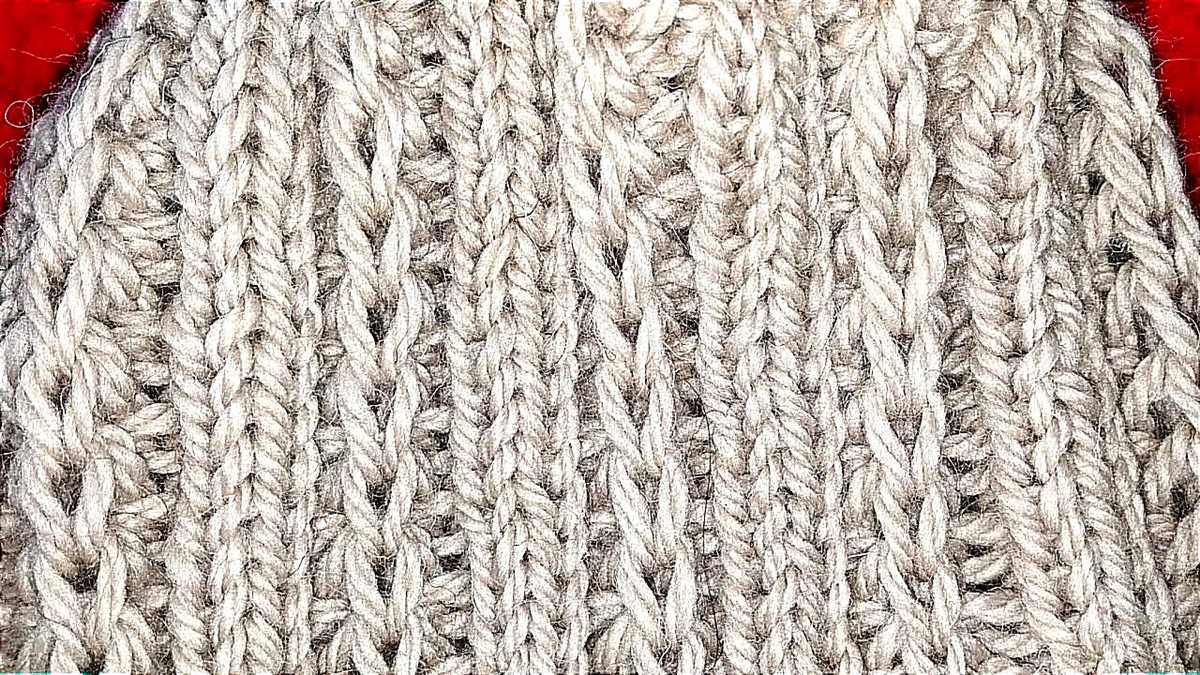
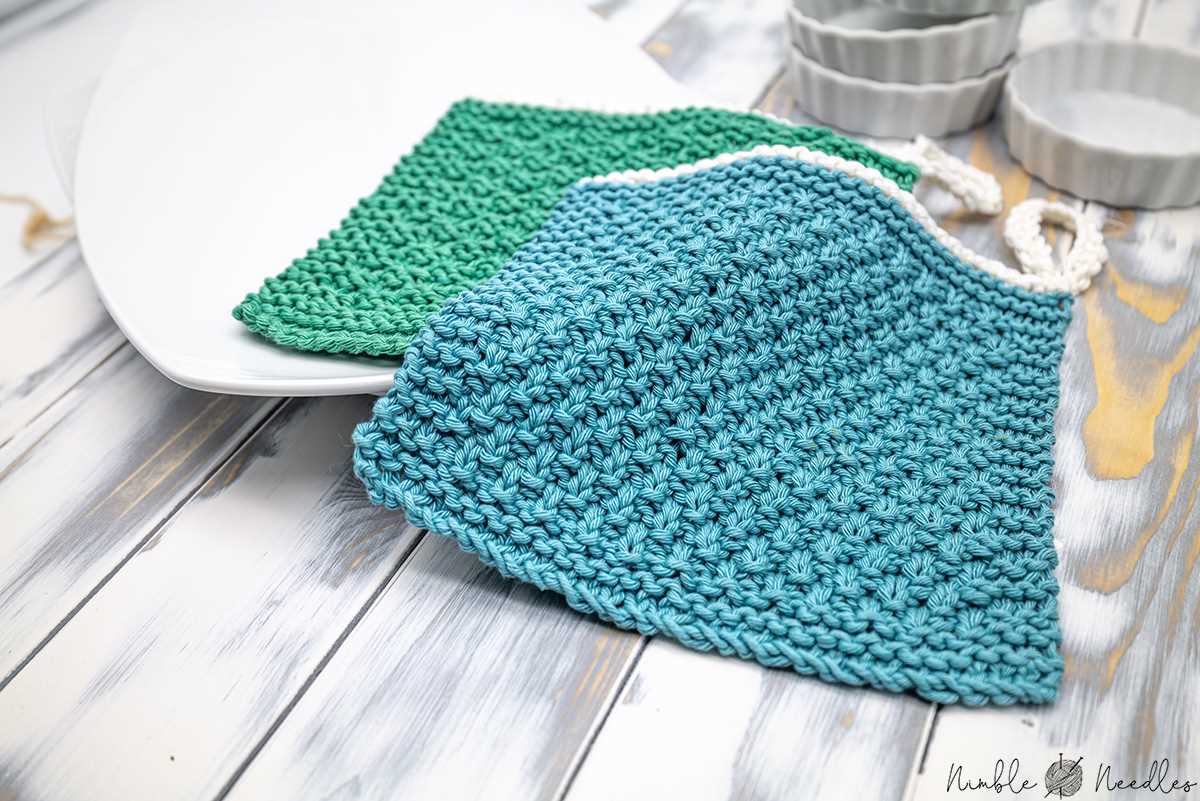
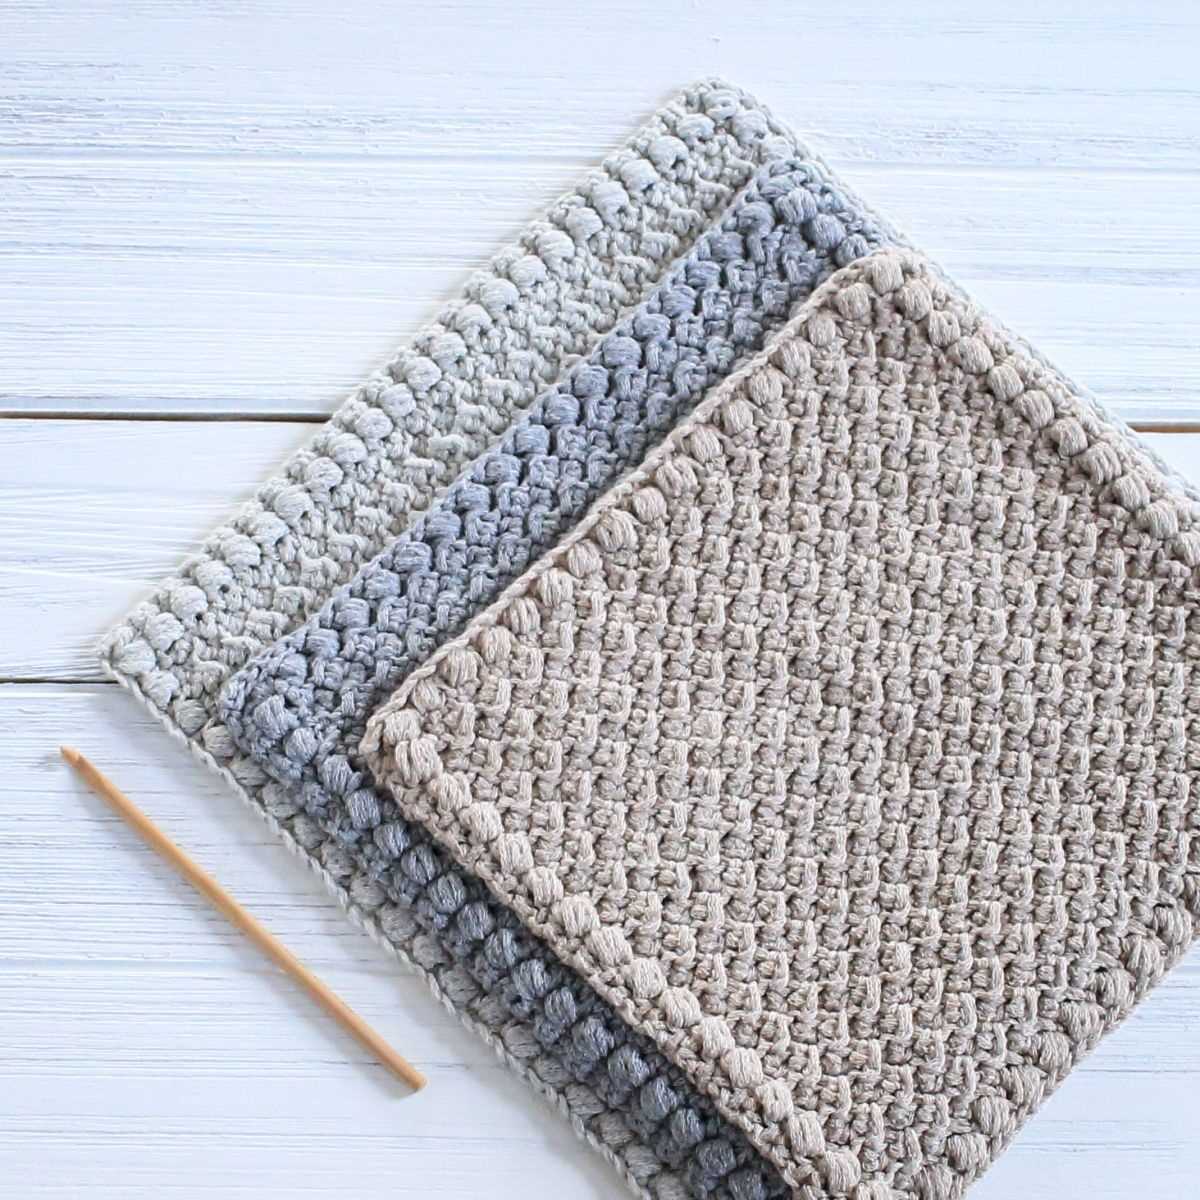
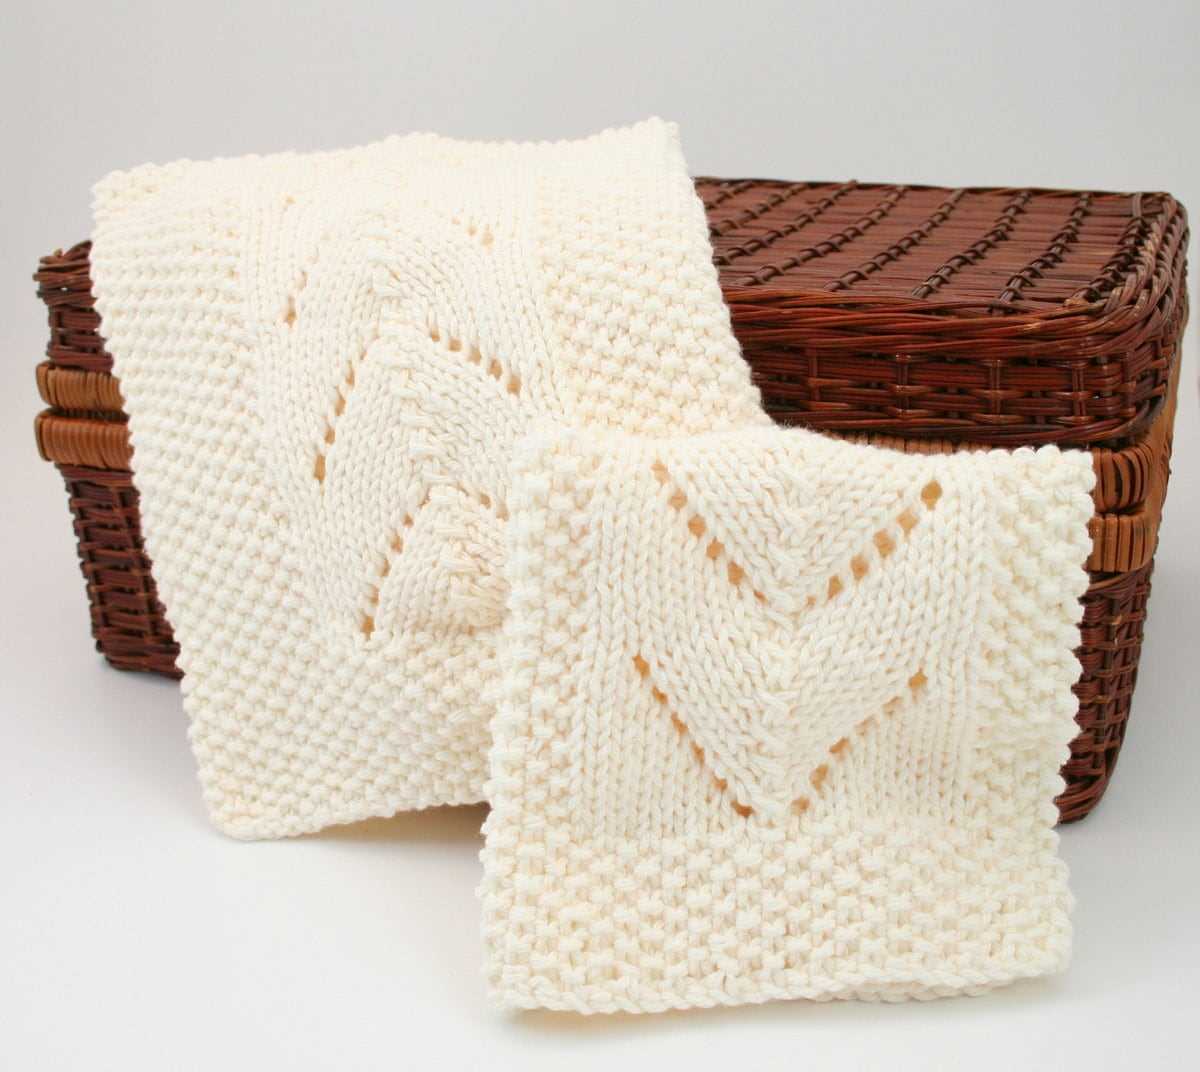
When it comes to choosing a pattern for your knitted dishrag, there are plenty of options available. One popular pattern is the classic garter stitch. This simple pattern creates a dense and textured fabric that is great for scrubbing dishes. Another option is the seed stitch, which creates a bumpy texture that is both pleasing to the eye and great for scrubbing. If you’re looking for something a bit more challenging, you can try a cable stitch pattern, which adds a touch of elegance to your dishrag.
When selecting yarn for your dishrag, it’s important to choose a material that is absorbent and durable. Cotton is a popular choice for dishrags as it is highly absorbent and soft on the hands. You can also consider using a cotton blend or a linen yarn, which will give your dishrag a rustic look and feel.
Materials:
- Size 8 knitting needles
- Approximately 100 yards of cotton yarn
- Tapestry needle for weaving in ends
Instructions:
- Cast on 40 stitches.
- Knit every row in garter stitch for 10 inches, or until desired length.
- Bind off all stitches.
- Weave in ends using a tapestry needle.
Once you’ve completed your knitted dishrag, you can start using it right away. To care for your dishrag, simply toss it in the washing machine on a gentle cycle and lay it flat to dry. With proper care, your knitted dishrag can last for years, making it a sustainable and eco-friendly option for your kitchen.
Materials Needed
Before you begin knitting your dishrag, you will need to gather the following materials:
- Knitting Needles: You will need a pair of knitting needles. The size of the needles will depend on the dishrag pattern you choose. Most dishrag patterns recommend using size 7 or 8 knitting needles.
- Cotton Yarn: Choose a cotton yarn in the color of your choice. Cotton yarn is preferred for dishrags because it is durable and absorbent. You will need approximately 50-100 grams of yarn, depending on the size of the dishrag you are making.
- Tapestry Needle: A tapestry needle is used for sewing in loose ends and finishing your dishrag. Make sure to have one on hand for this step.
- Scissors: You will need a pair of scissors to cut the yarn and trim any excess ends.
- Stitch Markers (optional): If you are working with a pattern that requires stitch markers, make sure to have a few on hand.
- Measuring Tape (optional): A measuring tape can be helpful for measuring your gauge and ensuring your dishrag is the desired size.
Once you have gathered all of the necessary materials, you will be ready to start knitting your dishrag. Make sure you have a comfortable and well-lit space to work in, and enjoy the process of creating a practical and beautiful kitchen accessory.
Basic Knitting Techniques
Knitting is a wonderful craft that allows you to create beautiful and functional items with just a pair of needles and some yarn. Whether you’re a beginner or an experienced knitter, it’s important to master the basic techniques that form the foundation of this craft. Understanding these techniques will help you tackle more complex projects and allow you to experiment with different patterns and stitches.
One of the first things you’ll need to learn as a knitter is how to cast on. Casting on is the process of adding stitches to your needle to start a project. There are several methods for casting on, including the long-tail cast on, the knit cast on, and the cable cast on. Each method has its own advantages and is suited for different types of projects. Once you’ve mastered casting on, you can move on to the next step: the knit stitch.
The Knit Stitch
- Garter Stitch: The garter stitch is one of the simplest and most commonly used stitch patterns in knitting. It is created by knitting every row, resulting in a fabric with a bumpy texture.
- Stockinette Stitch: The stockinette stitch is created by alternating rows of knitting and purling. This creates a smooth fabric with a “v” pattern on one side and a purl pattern on the other.
Purling is the opposite of knitting and is used to create different textures and patterns in your knitting. Just like with knitting, there are different methods for purling, including the English and Continental methods. Once you’ve mastered both knitting and purling, you’ll be able to create a wide variety of stitch patterns and textures.
Another important technique to learn is how to bind off, which is the process of finishing your project and removing the stitches from your needle. There are several methods for binding off, including the basic bind off, the stretchy bind off, and the picot bind off. The method you choose will depend on the desired finish and elasticity of your project.
Gauge and Sizing
When knitting a dishrag, it is important to pay attention to gauge and sizing in order to achieve the desired results. Gauge refers to the number of stitches and rows per inch in a knitted fabric. It is important to match the gauge specified in the pattern to ensure that the dishrag turns out the correct size.
The pattern will usually indicate the recommended gauge, which can be achieved by using the suggested yarn and needle size. Knitting a gauge swatch before starting the project is crucial to determine if adjustments need to be made. To make a gauge swatch, cast on a few more stitches than specified in the pattern and knit a square using the recommended needle size. After blocking the swatch, measure the number of stitches and rows per inch to compare with the gauge specified in the pattern.
To customize the size of the dishrag, additional stitches and rows can be added or subtracted. The pattern usually provides instructions on how to adjust the size. It is important to keep in mind that modifying the size may affect the amount of yarn required. Therefore, it is advisable to have extra yarn on hand to prevent running out in the middle of the project.
It is also worth noting that dishrags tend to shrink a bit after washing. Therefore, if a specific finished size is desired, it is recommended to knit the dishrag slightly larger to compensate for the shrinkage.
To ensure a successful knitting experience and a well-fitting dishrag, taking the time to check gauge, make necessary adjustments, and consider the desired size is essential. With careful attention to these factors, knitters can create beautiful and functional dishrags that meet their specific needs and preferences.
Choosing the Right Yarn
When starting a new knitting project, one of the most important decisions you’ll make is choosing the right yarn. The right yarn can make all the difference in the finished product, so it’s important to choose wisely. Here are some factors to consider when selecting yarn for your knit dishrag pattern:
Fiber Content
The fiber content of the yarn will greatly affect the feel and durability of your dishrag. Common fiber options include cotton, acrylic, and linen. Cotton is a popular choice for dishrags as it is absorbent and easy to care for. Acrylic yarns are durable and come in a wide range of colors. Linen yarn is known for its strength and natural sheen, but it can be more difficult to work with due to its stiffness.
Weight
The weight of the yarn refers to its thickness. A dishrag pattern may call for a specific weight of yarn, such as worsted or sport weight. It’s important to use the correct weight of yarn to achieve the desired outcome. Thicker yarns will create a denser fabric, while thinner yarns will produce a lighter, more delicate dishrag. Consider the look and feel you want for your finished project and choose the appropriate weight of yarn.
Color
Color choice is a matter of personal preference, but it’s important to consider the intended use of the dishrag. Lighter colored yarns may show stains more easily, while darker colors may hide stains but can fade over time. Consider the color scheme of your kitchen and choose a yarn color that complements it. If you’re feeling adventurous, you can even create a pattern or design using multiple colors.
Texture
The texture of the yarn will also impact the look and feel of your dishrag. Yarns with a smooth texture will create a sleek and polished finished product, while yarns with a more textured or boucle construction can add interest and dimension to your dishrag. Consider the overall aesthetic you want to achieve and choose a yarn with the appropriate texture.
By considering these factors – fiber content, weight, color, and texture – you can choose the perfect yarn for your knit dishrag pattern. Happy knitting!
Getting Started
If you are new to knitting or just want a quick and simple project, knitting a dishrag is a great place to start. Dishrags are small, useful items that can be made with just a few basic stitches. In this tutorial, we will walk you through the process of knitting a dishrag using a simple pattern.
Materials: To get started, you will need a pair of knitting needles (size 8 or 9), a ball of cotton yarn, and a pair of scissors to cut the yarn. Make sure to choose a yarn that is machine washable and durable, as dishrags will be exposed to water and wear over time.
Pattern:
1. Cast on: Start by making a slipknot and placing it on one of the needles. Hold the needle with the slipknot in your right hand and the empty needle in your left hand. Insert the left-hand needle through the slipknot and wrap the yarn around it counterclockwise. Bring the yarn through the slipknot, creating a new loop on the left-hand needle.
2. Knit stitch: Once you have cast on, you will begin knitting the dishrag using the knit stitch. Insert the right-hand needle into the loop on the left-hand needle, from front to back. Then, wrap the yarn around the right-hand needle counterclockwise. Use the right-hand needle to pull the yarn through the loop, creating a new stitch on the right-hand needle. Slip the old stitch off the left-hand needle, and repeat this process until you have completed a row of knit stitches.
- Tip: Keep your tension loose to make it easier to knit the stitches.
- Tip: Count your stitches after each row to make sure you have the correct number.
3. Continue knitting: Repeat step 2 until you have reached the desired length for your dishrag. You can make it square or rectangular, depending on your preference.
4. Bind off: To finish your dishrag, you will need to bind off. Knit the first two stitches as usual, then use the left-hand needle to lift the first stitch over the second stitch and off the right-hand needle. Knit one more stitch, then lift the second stitch over the third stitch and off the right-hand needle. Repeat this process until you have one stitch left on the right-hand needle. Cut the yarn, leaving a tail of a few inches, and pull it through the last stitch to secure it.
Once you have finished binding off, your dishrag is complete! Give it a quick wash and your new knitted dishrag is ready to use in the kitchen or as a thoughtful handmade gift.
Knitting the Body of the Dishrag
Once you have cast on the required number of stitches for your dishrag pattern, you can begin knitting the body of the dishrag. This is where you will be creating the main portion of the dishrag, using various knitting stitches and techniques to achieve the desired texture and design.
One common stitch pattern for dishrags is the garter stitch, which involves knitting every row to create a bumpy texture. To knit the garter stitch, simply knit every stitch of every row until your dishrag reaches the desired length. This stitch pattern is great for beginners and creates a sturdy and absorbent fabric.
Another option is to use the seed stitch, which creates a textured pattern with alternating knits and purls. To knit the seed stitch, alternate between knitting and purling every stitch of every row. This stitch pattern adds visual interest and can be used to create a more decorative dishrag.
If you want to get creative, you can experiment with different stitch patterns and combinations to create unique designs for your dishrag. Consider trying out cables, lace, or colorwork techniques to add extra flair to your knitting. Just make sure to keep track of your pattern and stitches so that you can replicate the design for a matching set of dishrags.
As you knit the body of the dishrag, periodically check your work to ensure that you are maintaining the correct gauge and size. This will ensure that your dishrag turns out the right dimensions and fits your needs. Once you have reached the desired length, you can move on to the next step, which is usually binding off the stitches to finish the edges of the dishrag.
Adding Borders
When it comes to knitting dishrags, adding borders can be a great way to enhance the overall look and functionality of your project. Borders not only provide a neat and finished edge, but they can also add an extra touch of style to your dishrag.
There are several different border options you can choose from when knitting dishrags. One popular choice is the garter stitch border, which is created by knitting every stitch on every row. This border creates a simple and clean edge that complements the dishrag pattern. Another option is the seed stitch border, which alternates between knit and purl stitches to create a textured and decorative edge. You can also experiment with different stitch patterns or color combinations to create unique and personalized borders.
Adding a border to your dishrag is relatively simple. To start, you’ll want to pick up stitches along the edges of your dishrag. You can use a crochet hook or knitting needle to pick up these stitches, making sure to space them evenly along the edge. Once you have picked up the desired number of stitches, you can begin knitting the border. You can choose to knit the border in the same stitch pattern as the main body of the dishrag or switch to a different stitch pattern for contrast. Make sure to continue knitting the border until you have reached the desired width.
Once your border is complete, you can finish off your dishrag by binding off the stitches. This will create a neat and secure edge. You can then weave in any loose ends and block your dishrag to ensure that it lays flat and maintains its shape.
- Consider adding a border to your next dishrag project to elevate its appearance.
- Experiment with different border options and stitch patterns to create a unique design.
- Pay attention to spacing when picking up stitches for the border to ensure an even and professional look.
- Remember to bind off your stitches and weave in any loose ends for a polished finish.
Shaping and Decreasing
When knitting a dishrag pattern, it is important to understand how to shape and decrease your stitches to achieve the desired shape and size. Shaping refers to adding or removing stitches to create curves or angles in your knitting. Decreasing, on the other hand, is a technique used to reduce the number of stitches in a row or round, usually to create a narrower section or to shape an edge.
One common way to decrease stitches is by knitting two stitches together. To do this, insert the right-hand needle into the next two stitches on the left-hand needle as if you were going to knit them separately. Then, wrap the yarn around the right-hand needle and pull it through both stitches, dropping them off the left-hand needle. This decreases the stitch count by one.
Another common decrease is the slip-slip-knit (SSK) decrease. To work this decrease, slip the next two stitches as if to knit, one at a time, onto the right-hand needle. Then, insert the left-hand needle into the front loops of these two slipped stitches from left to right. Finally, wrap the yarn around the right-hand needle and pull it through both stitches, dropping them off the left-hand needle. This results in a decrease that leans to the left.
In addition to these basic decreases, there are also more advanced techniques such as centered double decreases and vertical decreases that can be used to create various shaping effects in your dishrag pattern. It is important to follow the specific instructions provided in your pattern to achieve the desired shaping and decrease techniques for your project.
Finishing Touches
Once you have completed knitting your dishrag, it’s time to add the finishing touches to give it that final polished look. Here are some tips and techniques to help you achieve a professional finish:
Blocking
Blocking is an important step in finishing your dishrag as it helps shape and straighten the fabric. To block your dishrag, dampen it gently with water and lay it flat on a clean towel. Use rustproof pins or blocking wires to stretch and pin the edges of the dishrag to the desired shape and size. Leave it to dry completely before removing the pins.
Edging

Adding a decorative edging to your dishrag can enhance its appearance. You can choose to crochet a simple border, such as a single crochet or a picot stitch, around the outer edge of the dishrag. Alternatively, you can also pick up stitches along the edge and knit a ribbed or garter stitch border. Experiment with different edging options to find one that complements your dishrag pattern.
Weaving in Ends
To give your dishrag a neat and tidy look, make sure to weave in all loose ends. Use a tapestry needle to thread the ends through the stitches on the back side of the dishrag, following the direction of the knitting. Trim any excess yarn carefully to avoid unraveling the stitches.
Labeling
If you plan to give your knitted dishrag as a gift or sell it, consider adding a small label with your name or initials. This can add a personal touch and make your dishrag feel more special. You can sew the label onto a corner of the dishrag using a few discreet stitches.
By following these finishing touches, you can elevate your knitted dishrag from a simple kitchen accessory to a beautiful and thoughtful handmade item.
Tips and Variations
Here are some tips and variations to consider when knitting dishrags:
- Use different yarn: Experiment with different types of yarn to achieve different textures and effects. Try using cotton yarn for absorbency or variegated yarn for a fun color pattern.
- Experiment with stitch patterns: While the basic garter stitch pattern is simple and classic, feel free to explore other stitch patterns to add more interest to your dishrags. Try knitting in a rib stitch or a seed stitch for a different look.
- Change the size: If you want larger or smaller dishrags, you can easily adjust the size by adding or subtracting stitches and rows. Keep in mind that larger dishrags may require more yarn.
- Add a border: Give your dishrags a finished look by adding a border. You can knit a few rows of garter stitch or a contrasting color around the edges to create a nice frame.
- Personalize with embellishments: If you’re feeling creative, consider adding embellishments to your dishrags. You can sew on buttons, appliques, or even crochet edgings to make your dishrags unique.
- Gift idea: Knitted dishrags make great gifts! Pair them with homemade soaps or other kitchen accessories for a thoughtful and practical present.
Have fun knitting your dishrags and enjoy the process of creating functional and beautiful items for your kitchen. Happy knitting!
Q&A:
What is a knit dishrag pattern?
A knit dishrag pattern is a set of instructions that guide you through the process of knitting a dishrag. It typically includes details on the materials needed, stitches to be used, and specific directions for creating the dishrag.
What materials do I need to knit a dishrag?
To knit a dishrag, you will need yarn (cotton or acrylic is commonly used), knitting needles (size 7 or 8 are recommended), and a yarn needle or crochet hook for finishing.
Are there different knit dishrag patterns available?
Yes, there are numerous knit dishrag patterns available. Some patterns feature simple stitch patterns, while others may include more intricate designs. You can find patterns online, in knitting books, or even create your own pattern.
How long does it take to knit a dishrag?
The time it takes to knit a dishrag can vary depending on your knitting speed and the complexity of the pattern. On average, it can take a few hours to a couple of days to complete a dishrag.
Can beginners knit dishrags?
Yes, beginners can successfully knit dishrags. There are many simple dishrag patterns available that are suitable for beginners. It’s a great project for practicing basic knitting techniques and creating useful items for the kitchen.
What materials do I need to knit a dishrag?
To knit a dishrag, you will need knitting needles, cotton yarn, and scissors.
How do I start knitting a dishrag?
To start knitting a dishrag, cast on the desired number of stitches using the long-tail cast on method. Then, begin knitting in the desired stitch pattern, such as garter stitch or seed stitch.