
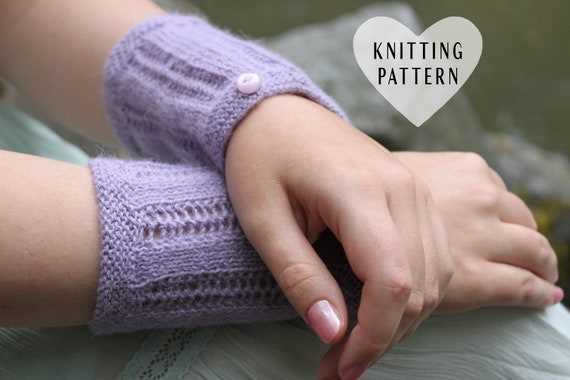
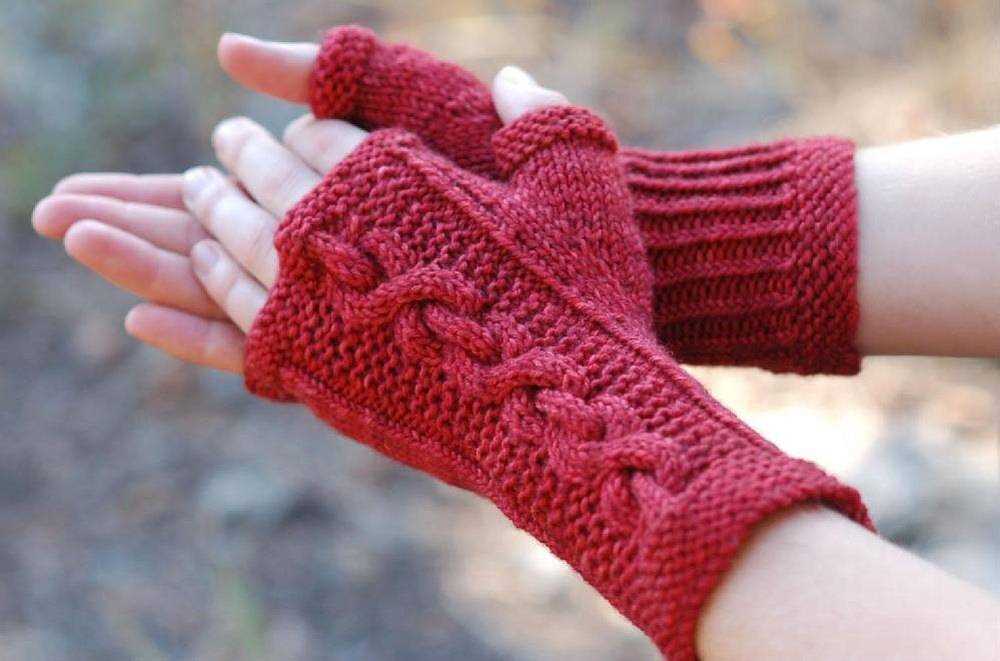
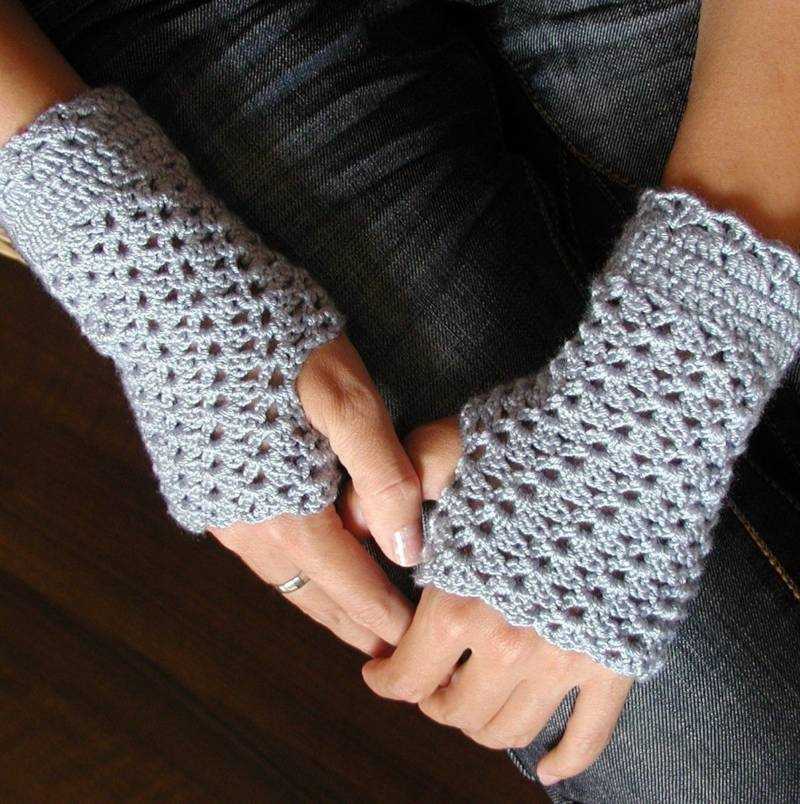
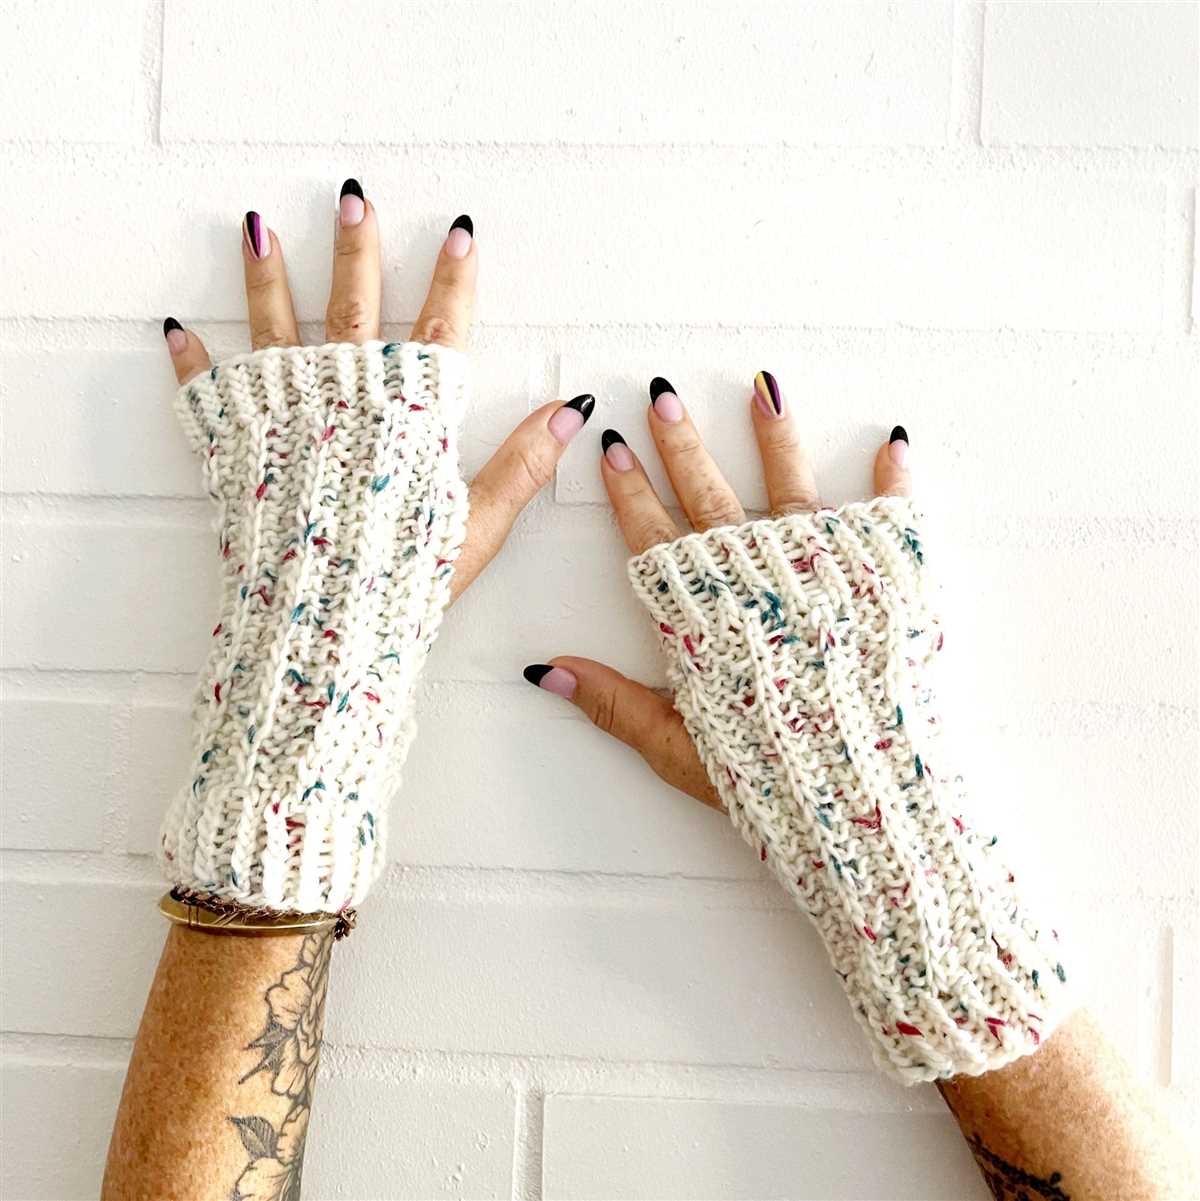
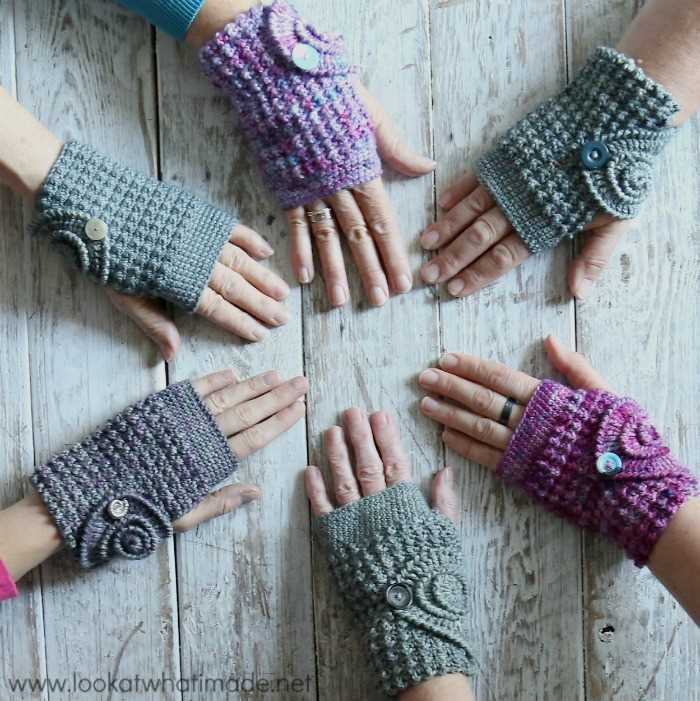
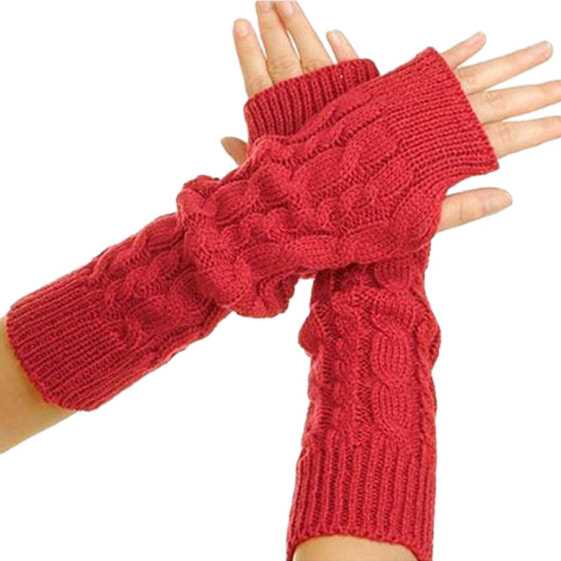
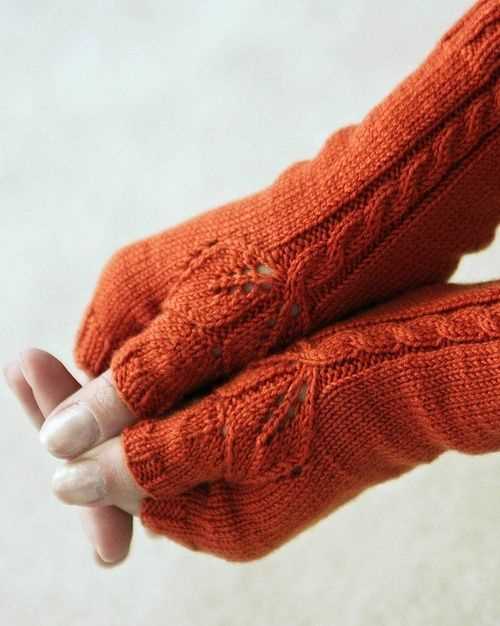
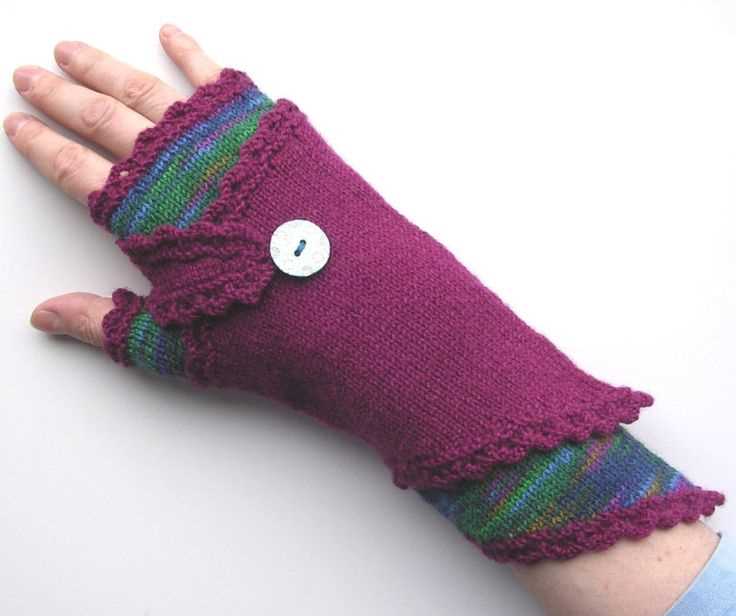
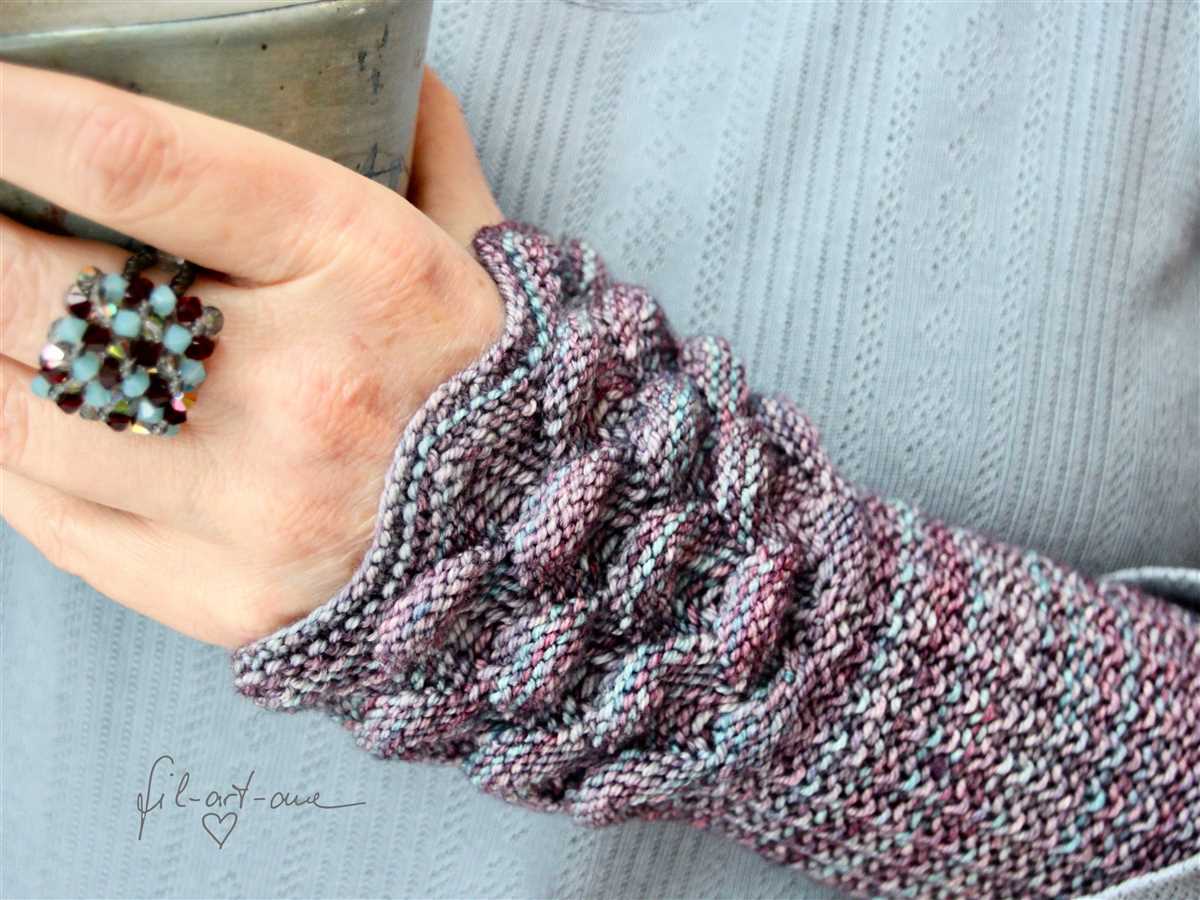
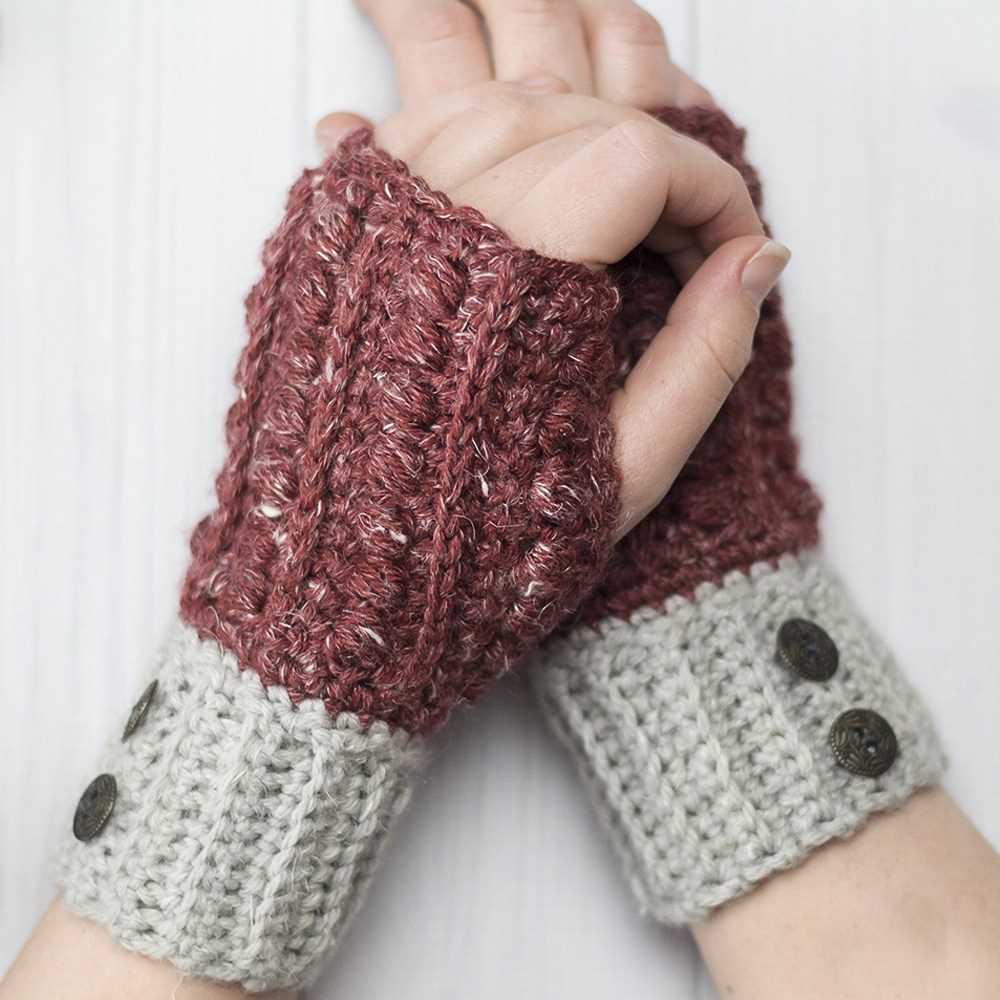
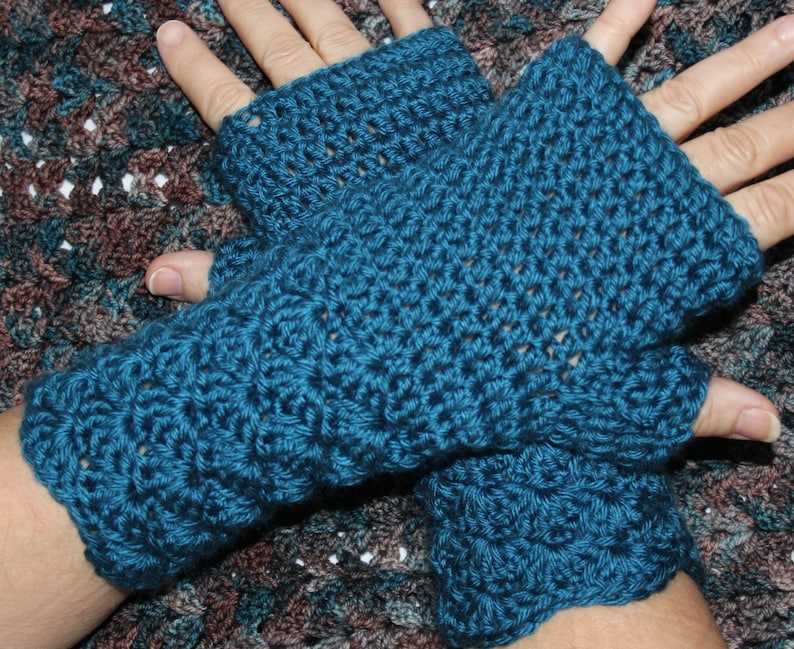
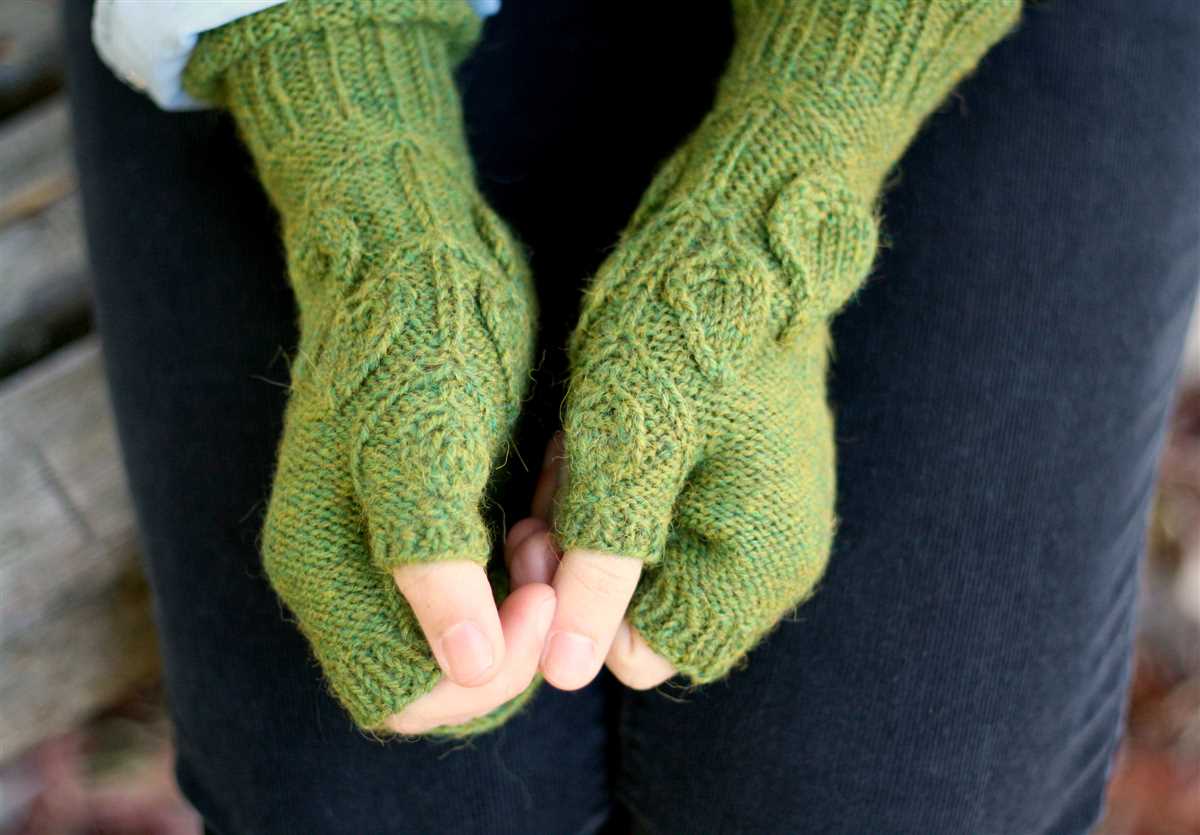
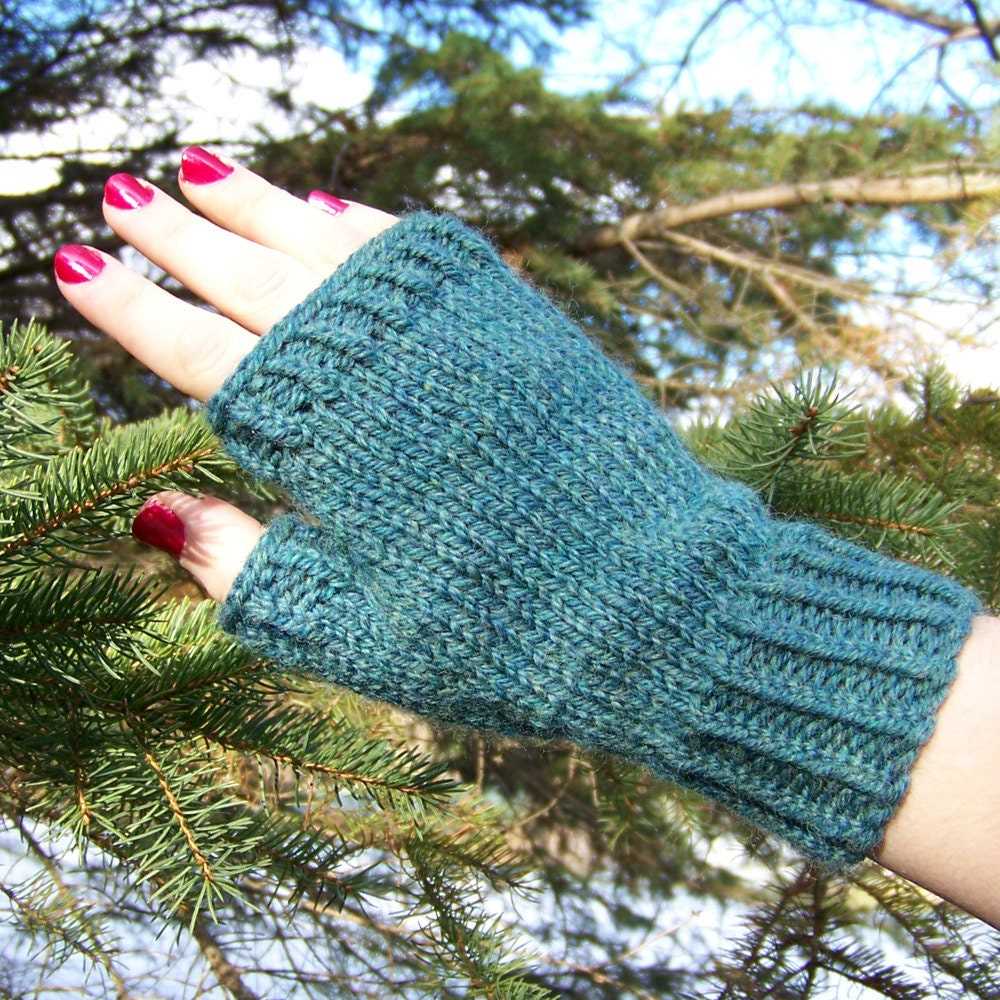
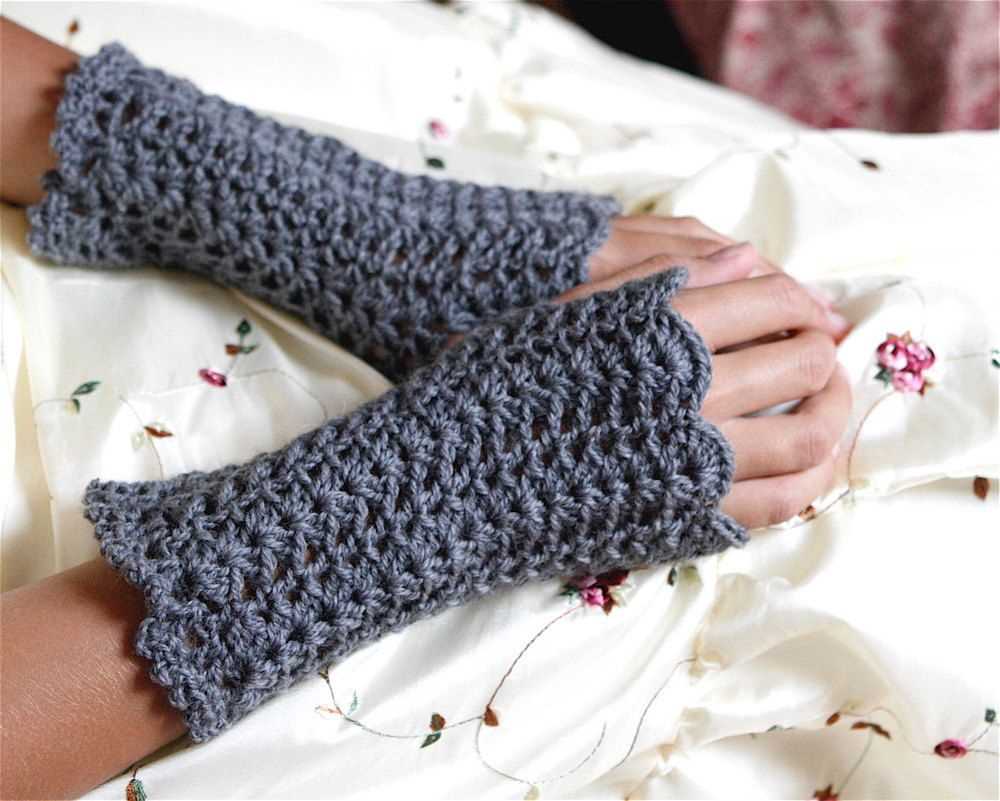
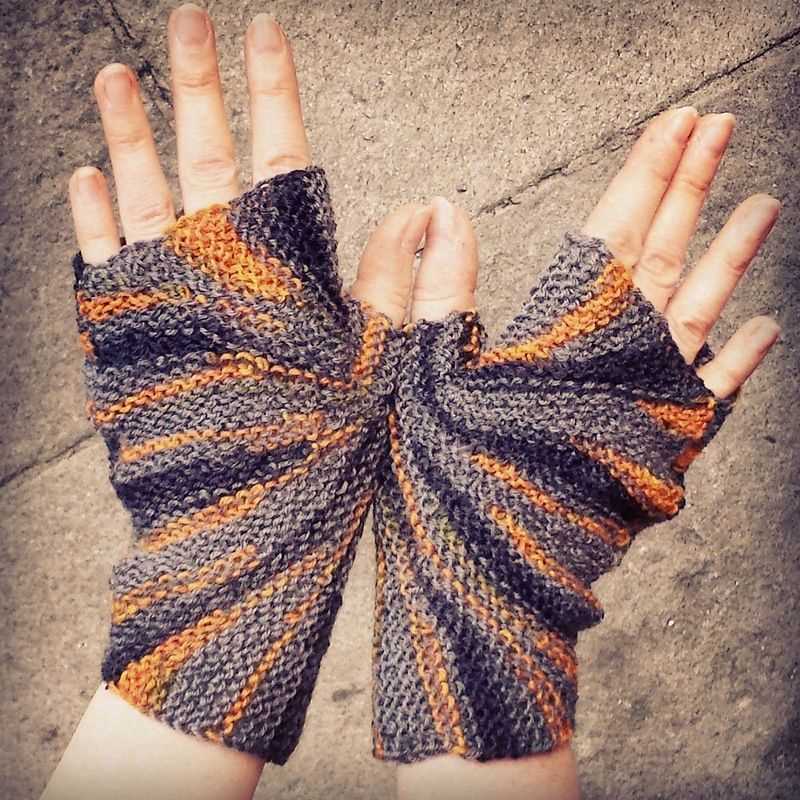
Wrist warmers with thumb are a trendy and functional accessory that you can knit yourself. They are perfect for keeping your hands warm in chilly weather while still allowing you to have your fingers free for tasks that require dexterity. Whether you’re an experienced knitter or just starting out, this knitting pattern is suitable for all skill levels.
These wrist warmers feature a snug fit and a ribbed cuff that helps keep them in place. The thumb opening adds extra comfort and flexibility, making them comfortable to wear for long periods of time. They can be made in any color you like, allowing you to personalize them to match your style and taste.
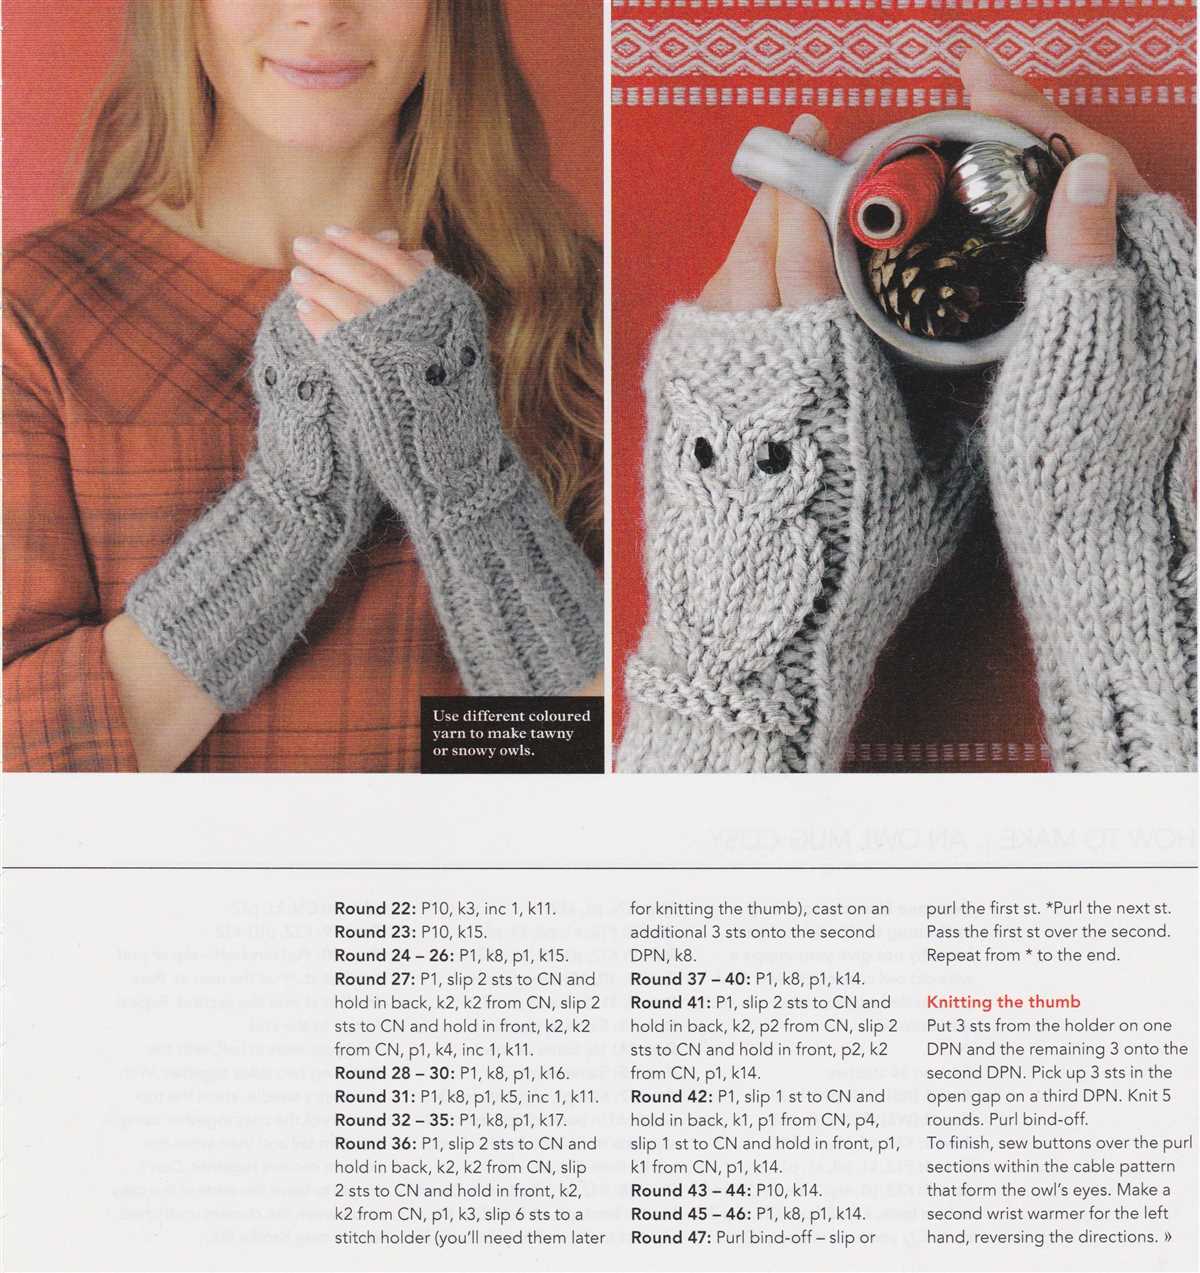
This knitting pattern provides step-by-step instructions, along with detailed explanations and clear pictures, to guide you through the process. It includes both written instructions and a chart, so you can choose the method that works best for you. With a few basic knitting techniques, you’ll have a beautiful pair of wrist warmers in no time.
Materials needed for the knitting pattern
In order to complete the knitting pattern for wrist warmers with thumb, you will need the following materials:
- Yarn: Choose a soft and cozy yarn that is suitable for winter accessories. A medium weight yarn is generally recommended, but you can adjust the size of your wrist warmers by using a different weight yarn. Depending on the length and size of your wrist warmers, you will need approximately 200-300 yards of yarn.
- Knitting Needles: Use a set of double-pointed knitting needles in the appropriate size for your chosen yarn. The recommended needle size will usually be indicated on the yarn label. Double-pointed needles are necessary for knitting in the round and creating the thumb opening.
- Stitch Markers: These are used to mark the beginning of rounds and any other specific points in the pattern. They can be as simple as small pieces of contrasting yarn or specialized stitch markers that can be easily moved as you progress in your knitting.
- Tapestry Needle: This needle is used for weaving in loose ends and sewing any seams if necessary.
- Scissors: A pair of scissors is always handy for cutting yarn and trimming any excess.
- Measuring Tape: This allows you to accurately measure your gauge and the length of your wrist warmers.
Once you have gathered all of these materials, you will be ready to start knitting your wrist warmers with thumb using the provided pattern. Make sure to read through the instructions carefully, and don’t hesitate to check your gauge before beginning to ensure the correct fit.
Choosing the Right Yarn for Your Wrist Warmers
When it comes to knitting wrist warmers with thumb, choosing the right yarn is essential. The yarn you select will ultimately determine the warmth, durability, and overall comfort of your wrist warmers. Here are some factors to consider when choosing the perfect yarn:
Weight:
The weight of the yarn refers to its thickness or thinness. For wrist warmers, a medium or worsted weight yarn is typically recommended as it strikes a balance between warmth and dexterity. However, if you prefer a lighter or bulkier feel, you can choose a lighter or chunky weight yarn accordingly.
Fiber:
The type of fiber used for your wrist warmers will affect their characteristics. For cozy and warm wrist warmers, choose yarns made from natural fibers such as wool or alpaca. Synthetic fibers like acrylic or nylon can provide added durability and easy care. Consider your preferences and the desired qualities of your wrist warmers when selecting the fiber.
Texture:
The texture of the yarn will contribute to the visual appeal and feel of your wrist warmers. You can choose smooth, plied yarns for a clean and polished look, or opt for textured yarns like boucle or tweed for added interest and dimension. Take into account the stitch pattern or design you plan to use for your wrist warmers when selecting the texture of the yarn.
Color:
The color of your yarn will play a significant role in the appearance of your wrist warmers. Consider the overall aesthetic you want to achieve and the outfits you intend to pair the wrist warmers with. Neutral or versatile colors like black, gray, or cream can easily coordinate with different outfits, while bold or vibrant colors can make a statement.
By considering the weight, fiber, texture, and color of the yarn, you can choose the perfect yarn for your wrist warmers. Experiment with different combinations to create unique and personalized wrist warmers that are both stylish and functional.
Knitting the wrist warmer cuff
In order to start knitting the wrist warmer cuff, gather the necessary materials, including yarn and appropriate knitting needles. Choose a yarn that is soft and comfortable to wear. For the wrist warmer cuffs, it is best to use a lighter weight yarn, such as a DK or sport weight, to ensure a snug fit.
Begin by casting on the desired number of stitches, taking into account the size of the wrist and the stretchiness of the chosen stitch pattern. A good starting point is typically around 30 stitches, but you can adjust this based on your own measurements. It is important to keep in mind that the cast-on edge should be stretchy enough to comfortably fit over the hand, while still staying in place on the wrist.
Once the stitches are cast on, join the round by knitting the first stitch on the left-hand needle with the last stitch on the right-hand needle. This will create a continuous loop of stitches, which is necessary for knitting in the round. Make sure to place a stitch marker to mark the beginning of the round.
Next, work the desired stitch pattern for the cuff. This can be a simple ribbing pattern, such as knit 2, purl 2, or a more intricate stitch pattern. It is important to maintain an even tension throughout the cuff to ensure a uniform appearance.
Continue knitting in the round until the cuff reaches the desired length. This can vary depending on personal preference, but a typical length for wrist warmers is around 2-3 inches. Make sure to periodically try on the cuff to check the fit and make any necessary adjustments.
Once the cuff is the desired length, bind off the stitches using a stretchy bind-off method, such as the suspended bind-off or the tubular bind-off. This will ensure that the cuff is comfortable to wear and has enough stretch to fit over the hand.
With the cuff complete, you can now move on to knitting the thumb opening and the hand section of the wrist warmers.
Creating the thumb opening
When knitting wrist warmers with a thumb, one of the most important steps is creating the thumb opening. This opening allows the wearer to comfortably slide their thumb through the warmers while keeping the rest of their hand and wrist covered. To create the thumb opening, follow these steps:
Step 1: Mark the thumb placement
Begin by knitting across the desired number of stitches for the hand and wrist portion of the warmers. Once you reach the desired location for the thumb opening, mark the two stitches where the opening will be placed. This can be done using stitch markers or by simply tying a small piece of contrasting yarn around the stitches.
Step 2: Begin knitting the thumb opening
Next, you will start working on the thumb opening. When you reach the marked stitches, carefully separate them from the main needle and transfer them onto a separate stitch holder or a spare piece of yarn. This will keep the thumb stitches secure while you continue to knit the rest of the wrist warmer.
Step 3: Continue knitting the wrist portion
With the thumb stitches safely secured, continue knitting the remaining stitches for the hand and wrist portion according to the knitting pattern. This may involve working in the round or back and forth, depending on the pattern and your preferred method of knitting.
Step 4: Rejoin the thumb stitches
Once you have completed the required number of rows or rounds for the hand and wrist portion, it’s time to rejoin the thumb stitches. Transfer the stitches from the stitch holder or spare yarn back onto the main needle, making sure they are in the correct orientation. Double-check that the right side of the thumb stitches is facing you, as this will ensure the thumb opening looks neat and tidy when the wrist warmers are finished.
With the thumb stitches back in place, you can now either continue knitting in the round or back and forth, depending on the pattern instructions. Follow the pattern to complete the thumb section and finish the wrist warmers as desired.
Shaping the wrist warmer for a snug fit
When knitting wrist warmers with a thumb, it’s important to shape the garment in a way that ensures a snug and comfortable fit. One way to achieve this is by gradually decreasing the number of stitches as you move from the wrist to the fingers.
Start by knitting the desired length for the ribbing at the wrist. This will provide elasticity and help the wrist warmer stay in place. Once the ribbing is complete, begin shaping the garment by decreasing stitches at regular intervals.
- To decrease stitches, knit the first two stitches together. This will reduce the stitch count by one.
- Continue knitting the remaining stitches until you reach the next decrease point, and repeat the process of knitting two stitches together.
- Repeat the decrease process until you reach the desired width for the wrist warmer.
By decreasing stitches along the length of the wrist warmer, you are creating a tapered effect that will fit snugly around the wrist and hand. This shaping technique not only ensures a comfortable fit but also adds an attractive design element to your wrist warmers.
Adding the thumb gusset
Once you have completed the main part of the wrist warmer, it is time to add the thumb gusset. This section of the pattern will allow for a comfortable fit and ease of movement for your thumb.
To start, you will need to pick up stitches along the side edge of the wrist warmer where the thumb will be located. Use a knitting needle of the same size as your project to easily pick up stitches. Insert the needle into the first stitch along the edge, wrap the yarn around the needle, and pull it through to create a new stitch. Repeat this process until you have picked up the desired number of stitches.
Continue knitting in the established pattern until you have reached the desired length for the thumb gusset. It is important to maintain the stitch pattern to ensure a cohesive look throughout the wrist warmer. You may need to adjust the number of stitches picked up or the number of rows knit for the thumb gusset, depending on the size of your hand.
Once the thumb gusset is complete, you can either continue knitting in the established pattern or bind off the stitches and finish the wrist warmer. Remember to leave a long enough tail to sew the side seam of the thumb gusset together for a secure fit. With this addition, your wrist warmer will be complete and ready to keep you warm and stylish!
Continuing the pattern for the hand part
Now that you have finished knitting the thumb section, it’s time to continue with the pattern for the hand part of the wrist warmers. Start by rejoining the yarn to the main body of the wrist warmer. If you have been using a stitch holder for the thumb stitches, transfer them back onto your knitting needles.
Next, you will need to knit in the established pattern for the hand part. This may involve knitting a certain number of rows in your chosen stitch pattern, or following a specific chart if you are using a colorwork design. Make sure to refer back to your knitting pattern for the exact instructions.
If you are knitting in the round, you can simply continue knitting each round in the established pattern until the wrist warmers reach the desired length. If you are knitting flat, you will need to alternate between knitting and purling rows to create the desired stitch pattern.
Remember to periodically check your gauge to ensure that your stitches are still consistent with the pattern. You may need to adjust your tension or needle size if necessary. Also, make sure to try on the wrist warmers as you go to check for proper fit.
Continue knitting the hand part of the wrist warmers until you reach the desired length or until the pattern instructs you to stop. Once you have finished knitting the hand part, you can move on to the final steps of finishing the wrist warmers, which may include binding off, sewing any seams, and adding any desired embellishments.
Finishing off the wrist warmers
Once you have completed knitting both wrist warmers, it is time to finish them off. This involves weaving in any loose ends and blocking the wrist warmers to give them a more polished look.
To start, thread a yarn needle with the same yarn you used for knitting the wrist warmers. Carefully weave in any loose ends on the inside of the wrist warmers, making sure to secure them to prevent unraveling. Take your time and be precise in your weaving to ensure a clean finish.
Next, you can block the wrist warmers to give them a more professional appearance. Blocking can help even out any uneven stitches and make the wrist warmers look more uniform. To block them, dampen the wrist warmers with water and gently stretch them to the desired shape and size. You can use pins or blocking mats to hold them in place while they dry.
Once the wrist warmers are dry, remove any pins or blocking mats and they are ready to wear! These cozy and stylish wrist warmers will keep your hands warm during the cold winter months. They are also a great accessory to add a pop of color and texture to your outfit. Whether you’re a beginner or an experienced knitter, this pattern is a fun and rewarding project that you can easily complete in just a few hours.
Customizing your wrist warmers
When knitting wrist warmers with thumb, there are various ways to customize the design to fit your personal style and preferences. Whether you want to add a touch of color, adjust the length, or modify the thumb opening, here are some ideas to help you make your wrist warmers unique.
Add a pop of color

One way to customize your wrist warmers is to incorporate an accent color. You can choose to knit the entire wrist warmer in a single color and add a contrasting color for the thumb opening, or you can alternate between two or more colors throughout the entire pattern. Adding a pop of color can make your wrist warmers stand out and match your favorite outfit.
Adjust the length
If you prefer longer wrist warmers that cover more of your forearm, you can easily adjust the length of the pattern. Simply add more rows to the main body of the wrist warmers before starting the thumb opening. Conversely, if you prefer shorter wrist warmers that only cover your wrist, you can decrease the number of rows to achieve the desired length.
Modify the thumb opening
The thumb opening in wrist warmers can be customized as well. If you prefer a snug fit around your thumb, you can decrease the number of stitches or rows for the thumb hole. On the other hand, if you want a looser fit, you can increase the size of the thumb opening. Experimenting with different sizes and shapes for the thumb opening can give your wrist warmers a unique and comfortable fit.
Remember, knitting is a versatile craft, and there are endless possibilities for customizing your wrist warmers. Whether you choose to add color, adjust the length, or modify the thumb opening, the final result will be a one-of-a-kind accessory that perfectly matches your style and keeps your hands warm and cozy. Let your creativity flourish as you make your own personalized wrist warmers!
Final Thoughts on the Knitting Pattern
Knitting wrist warmers with a thumb can be a fun and rewarding project for knitters of all skill levels. This knitting pattern provides a simple and versatile design that can be easily customized to suit your own personal style.
By following the instructions in this pattern, you can create a cozy and stylish accessory that will keep your hands warm during the colder months. The addition of a thumb opening ensures that these wrist warmers will be functional as well.
One of the great things about this pattern is its simplicity. It only requires basic knitting stitches and techniques, making it an ideal project for beginners who are looking to expand their skills. However, more experienced knitters can also find enjoyment in this pattern by experimenting with different yarns and stitches to create unique variations.
Key points to remember:
- Choose a yarn that is soft and warm for the best results.
- Be sure to knit a gauge swatch before starting the project to ensure the correct sizing.
- Feel free to customize the pattern by adding embellishments or using different stitch patterns.
- Take your time and enjoy the process of creating a beautiful and functional accessory.
Overall, this knitting pattern for wrist warmers with a thumb is a versatile and enjoyable project. Whether you’re knitting them for yourself or as a gift for a loved one, these wrist warmers are sure to be a hit. So grab your knitting needles and get started on creating your own cozy pair of wrist warmers!