
Knitting a scarf is a wonderful way to both stay warm and showcase your creativity. Whether you are a knitting novice or a seasoned pro, there are plenty of scarf patterns that cater to all levels of expertise. If you are just starting out and looking for a beginner-friendly project, this article is for you.
When it comes to knitting scarves for beginners, simplicity is key. You want to choose patterns that use basic techniques and stitches, allowing you to learn and practice without feeling overwhelmed. These patterns often involve basic knit and purl stitches, making them perfect for those who are new to knitting.
In this article, we will explore a range of easy and stylish scarf patterns that are perfect for beginners. From simple garter stitch scarves to ribbed and seed stitch designs, there is something for everyone. So grab your needles and let’s get started on your knitting journey!
Knitted Scarf Patterns for Beginners
Knitting your own scarf can be a rewarding and enjoyable project for beginners. With a basic understanding of knitting stitches and techniques, you can create beautiful and cozy scarves to keep you warm during the colder months. There are many simple scarf patterns available for beginners that are easy to follow and produce stunning results.
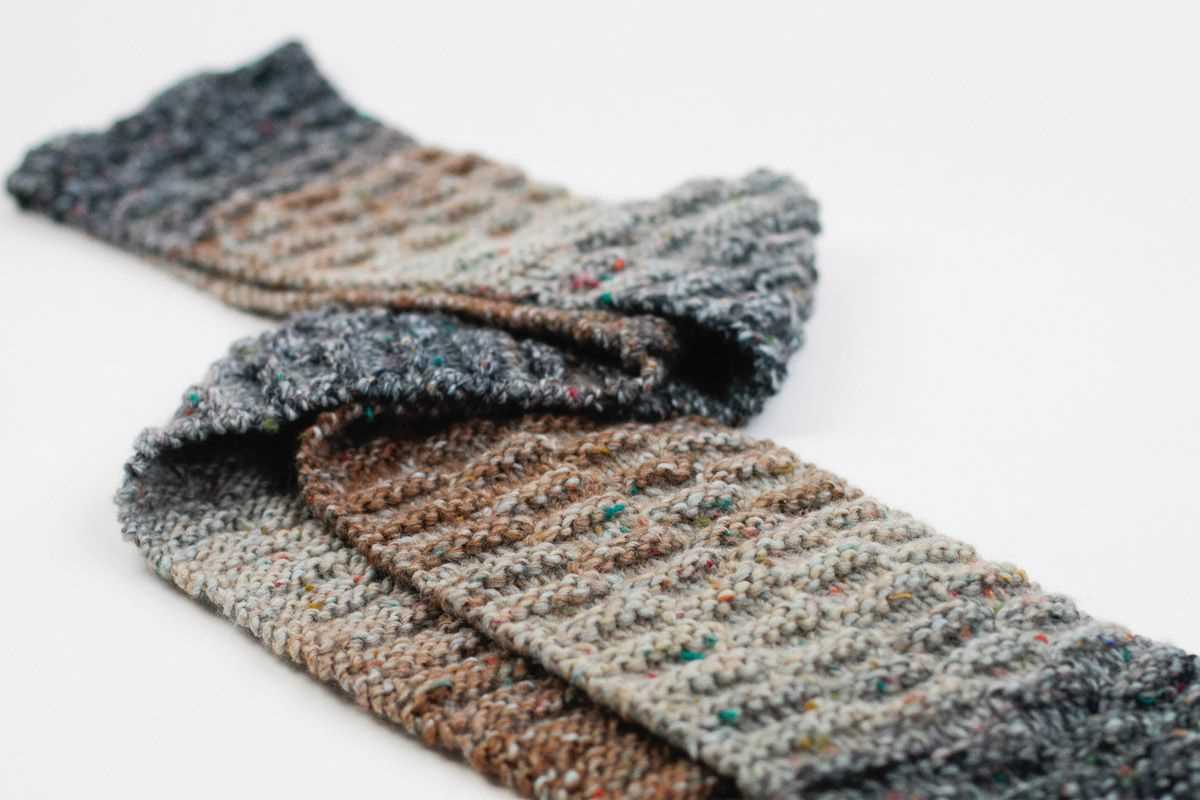
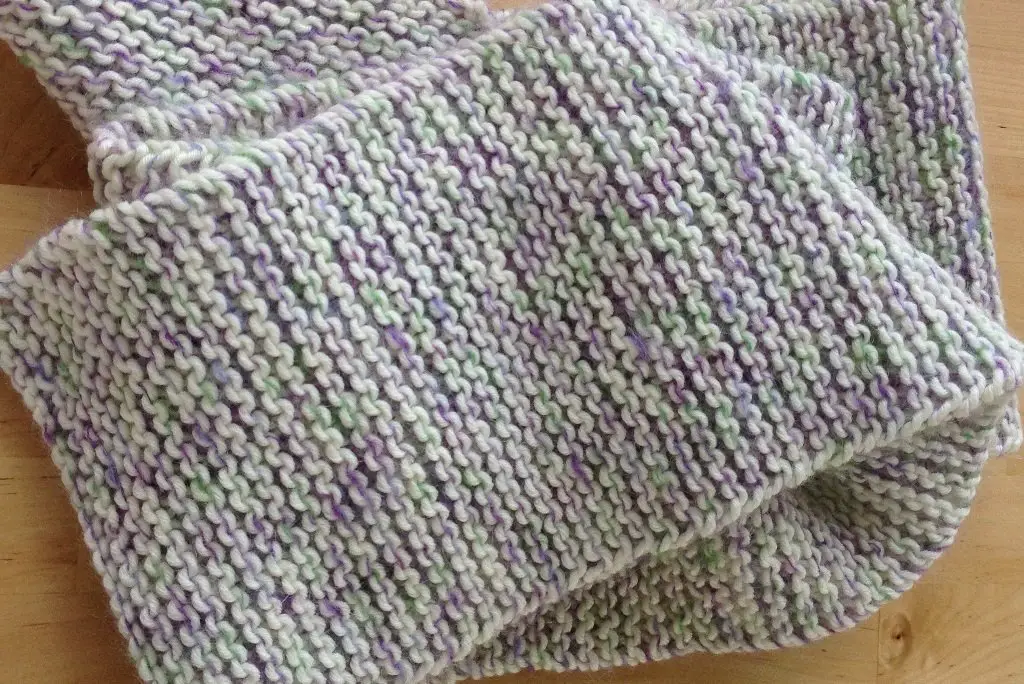
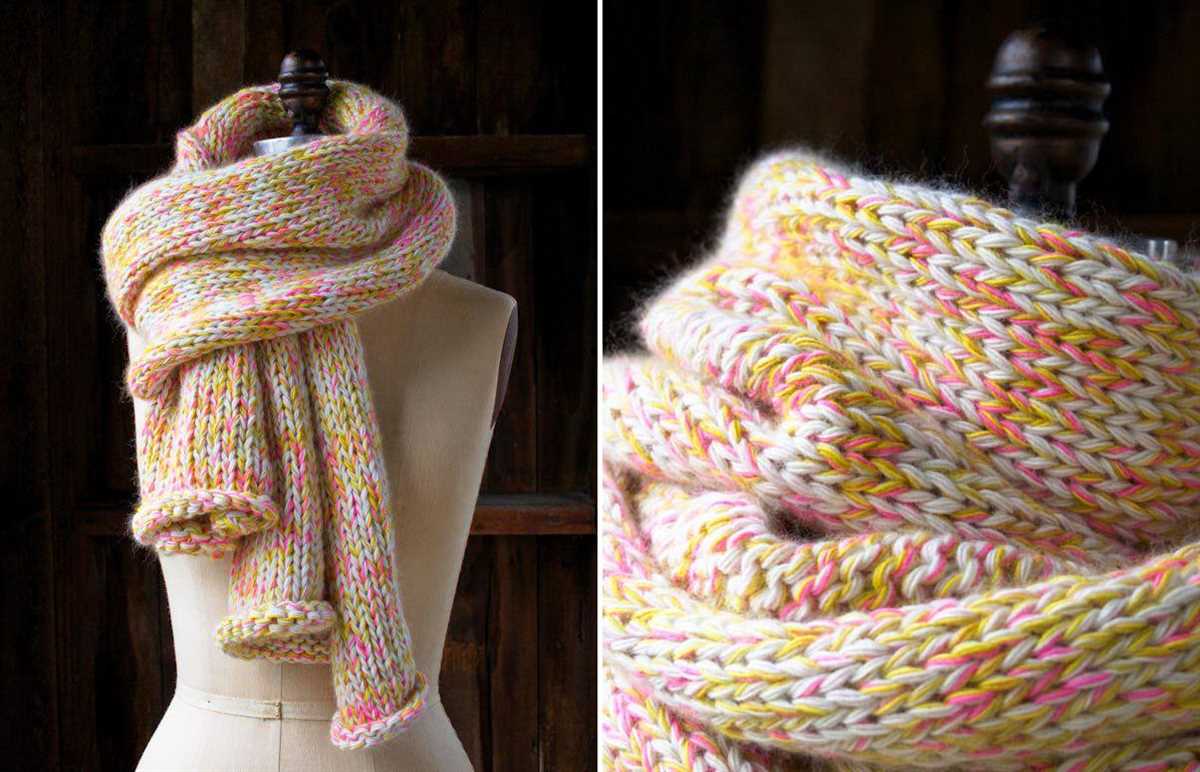
One popular pattern for beginners is the garter stitch scarf. The garter stitch is created by simply knitting every row, resulting in a textured fabric. This pattern is perfect for practicing the basic knit stitch and is great for showcasing the texture of the yarn. Another simple pattern is the ribbed scarf, which alternates between knit and purl stitches to create a stretchy and stylish fabric.
Pattern 1: Garter Stitch Scarf
Materials:
- Size US 10 knitting needles
- 1 skein of chunky yarn
Instructions:
- Cast on 20 stitches.
- Knit every row until the scarf reaches your desired length.
- Bind off all stitches and weave in any loose ends.
Pattern 2: Ribbed Scarf
Materials:
- Size US 8 knitting needles
- 2 skeins of worsted weight yarn
Instructions:
- Cast on an odd number of stitches, such as 30.
- Row 1: *K1, p1* repeat to the end of the row.
- Row 2: *P1, k1* repeat to the end of the row.
- Repeat rows 1 and 2 until the scarf reaches your desired length.
- Bind off all stitches and weave in any loose ends.
These are just two examples of simple scarf patterns for beginners. Once you feel more confident in your knitting skills, you can explore more complex patterns and experiment with different stitches and yarns. Knitting your own scarf not only allows you to create a unique accessory, but it also serves as a relaxing and creative outlet.
Choosing the Right Yarn
When starting a knitting project, one of the most important decisions to make is choosing the right yarn. The type of yarn you choose can greatly impact the outcome of your project, so it’s important to consider a few key factors.
Fiber content: Different yarns are made from different fibers, each with their own unique characteristics. Common fibers used in knitting yarns include wool, cotton, acrylic, and silk. Each fiber has its own pros and cons, so consider factors such as breathability, warmth, softness, and care instructions when selecting the fiber content of your yarn.
Weight: Yarn weight refers to the thickness of the yarn. The weight of the yarn you choose should be suitable for your pattern and the desired finished product. Common yarn weights include bulky, worsted, sport, and lace. Bulky yarns are thicker and make for quicker projects, while lace yarns are very fine and delicate. Consider the texture and drape you want for your finished scarf when selecting the weight of your yarn.
Color: The color of your yarn can greatly impact the appearance of your scarf. Consider the overall look you want to achieve and choose colors that complement each other or that match your personal style. If you’re a beginner, you may find it easier to work with solid or variegated yarns, as they hide mistakes more easily than highly textured or multi-colored yarns.
Recommended yarns:
For beginners, it’s often recommended to use a medium-weight yarn (worsted) made from a soft, easy-to-care-for fiber such as acrylic or a blend of acrylic and wool. These yarns are widely available and come in a variety of colors, making it easy to find one that suits your preferences. Some popular brands for beginners include Lion Brand Vanna’s Choice, Bernat Softee Chunky, and Red Heart Soft.
If you’re feeling more adventurous, you can experiment with different fibers and weights to achieve different effects. Just keep in mind that more delicate or textured yarns may be harder to work with for a beginner, so it’s usually best to start with a simpler yarn until you gain more experience and confidence in your knitting skills.
Essential Knitting Tools
When starting out with knitting, it’s important to have the right tools on hand to ensure a successful and enjoyable knitting experience. Here are some essential knitting tools that every beginner should have:
1. Knitting Needles
Knitting needles come in various sizes and materials, such as metal, wood, or plastic. It’s recommended to start with medium-sized needles made of a material that feels comfortable in your hands. Having a range of needle sizes is also useful for different types of projects.
2. Yarn
Choosing the right yarn is essential for your knitting project. Start with a medium-weight yarn that is easy to work with, such as acrylic or a wool blend. Avoid yarns that are too slippery or too textured as a beginner, as they can make knitting more challenging.
3. Scissors
A good pair of scissors is necessary for cutting yarn and finishing off your knitting project. Make sure they are sharp and easy to handle.
4. Stitch Markers
Stitch markers are small rings or clips that are used to mark specific stitches or sections in your knitting. They are particularly helpful when working on more complex patterns or when shaping pieces. They can be removable or fixed, and it’s useful to have a variety of sizes and types.
5. Yarn Needle

A yarn needle, also known as a tapestry needle, is used for weaving in loose yarn ends and sewing pieces together. Look for a needle with a large eye that can accommodate different types of yarn.
6. Measuring Tape
A measuring tape is essential for checking the gauge and measuring your work. Make sure it has both inches and centimeters for accurate measurements.
With these essential knitting tools, you’ll be well-equipped to start your knitting journey and create beautiful scarves and other projects with ease.
Basic Knitting Stitches
When starting out in knitting, it is important to learn the basic knitting stitches. These stitches form the foundation of many knitting patterns and mastering them will enable you to create a wide range of knitted items.
1. Knit Stitch: The knit stitch is the most basic knitting stitch and is often the first stitch that beginners learn. To create a knit stitch, insert the right-hand needle into the first stitch on the left-hand needle from left to right, then loop the yarn over the right-hand needle and pull it through the stitch, sliding the stitch off the left-hand needle. This creates a new stitch on the right-hand needle.
2. Purl Stitch: The purl stitch is another fundamental knitting stitch. To create a purl stitch, insert the right-hand needle into the first stitch on the left-hand needle from right to left, then loop the yarn over the right-hand needle and pull it through the stitch, sliding the stitch off the left-hand needle. This creates a new stitch on the right-hand needle with the yarn in front of the work, resulting in a row of bumps on the knitted fabric.
It is important to practice these basic knitting stitches until you feel comfortable with them. Once you have mastered the knit and purl stitches, you can start experimenting with different combinations and patterns to create beautiful knitted items such as scarves, hats, and blankets. Remember to always start with a small project and gradually work your way up to more complex patterns to build your knitting skills.
Simple Garter Stitch Scarf
A garter stitch scarf is the perfect project for beginners who are just starting to learn how to knit. This pattern is simple and easy to follow, making it a great way to practice your knitting skills.
To make a garter stitch scarf, you will need basic knitting supplies, including knitting needles and yarn. You can choose any type of yarn that you like, but for beginners, it is recommended to use a medium-weight yarn.
To begin, cast on the desired number of stitches onto your knitting needles. The width of your scarf will depend on the number of stitches you cast on. For a standard scarf, you can cast on around 30-40 stitches.
Once you have cast on your stitches, you will begin knitting every row in the garter stitch pattern. The garter stitch is created by knitting every stitch in every row. This creates a textured fabric that lies flat and is reversible.
Continue knitting in the garter stitch pattern until your scarf reaches the desired length. This can vary depending on personal preference, but a standard scarf length is typically around 60-70 inches.
When you are satisfied with the length of your scarf, bind off the stitches to secure them. Trim any excess yarn, and your garter stitch scarf is complete!
This simple garter stitch scarf is a great way to practice your knitting skills and create a useful and stylish accessory. Plus, it makes a great gift for friends and family!
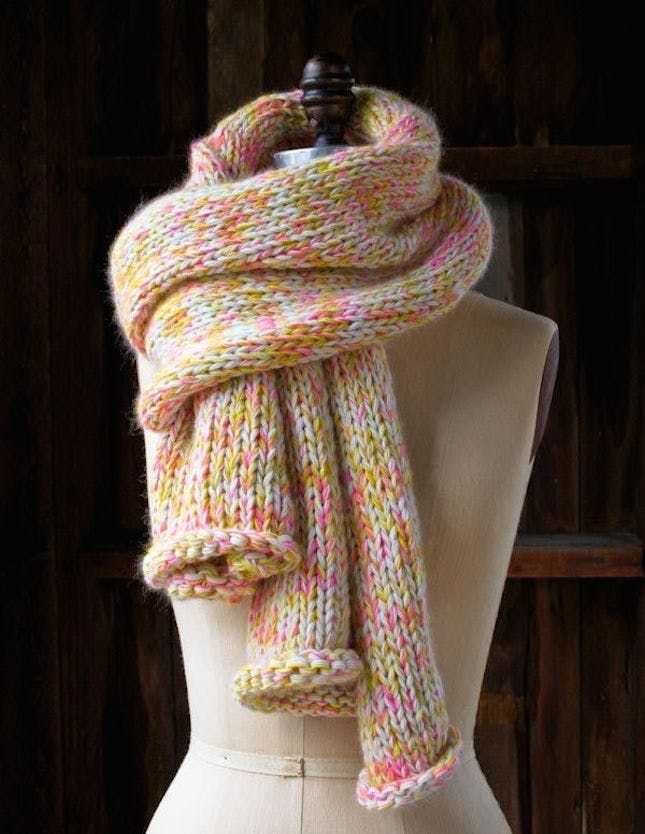
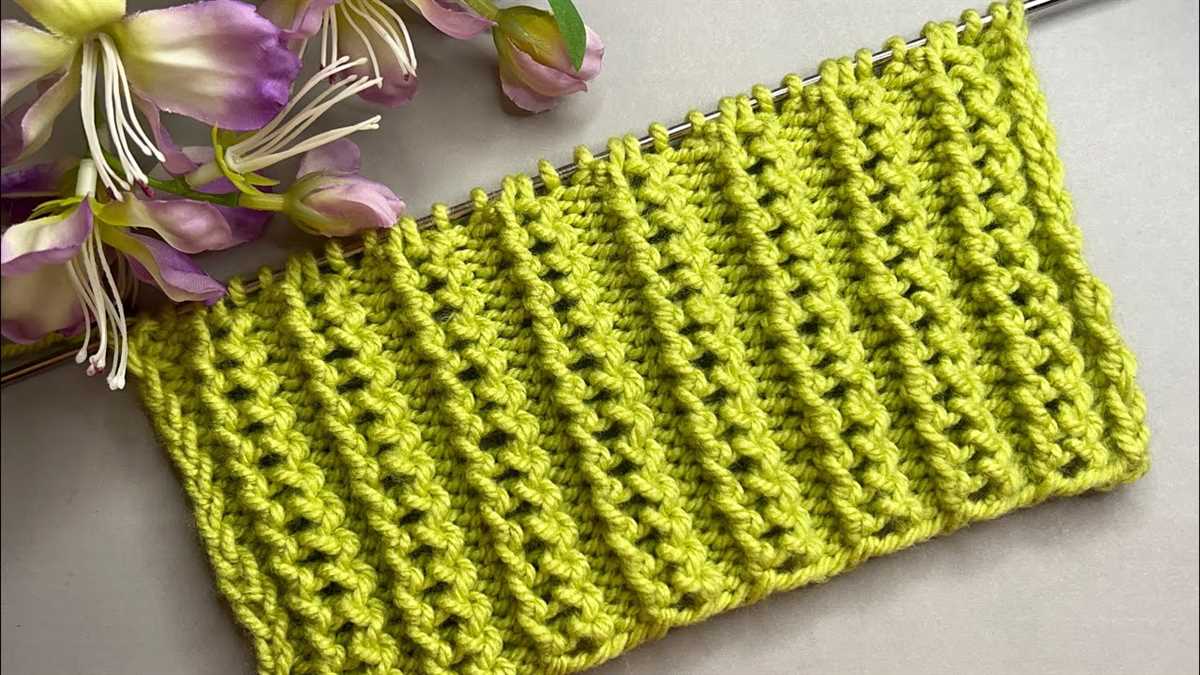
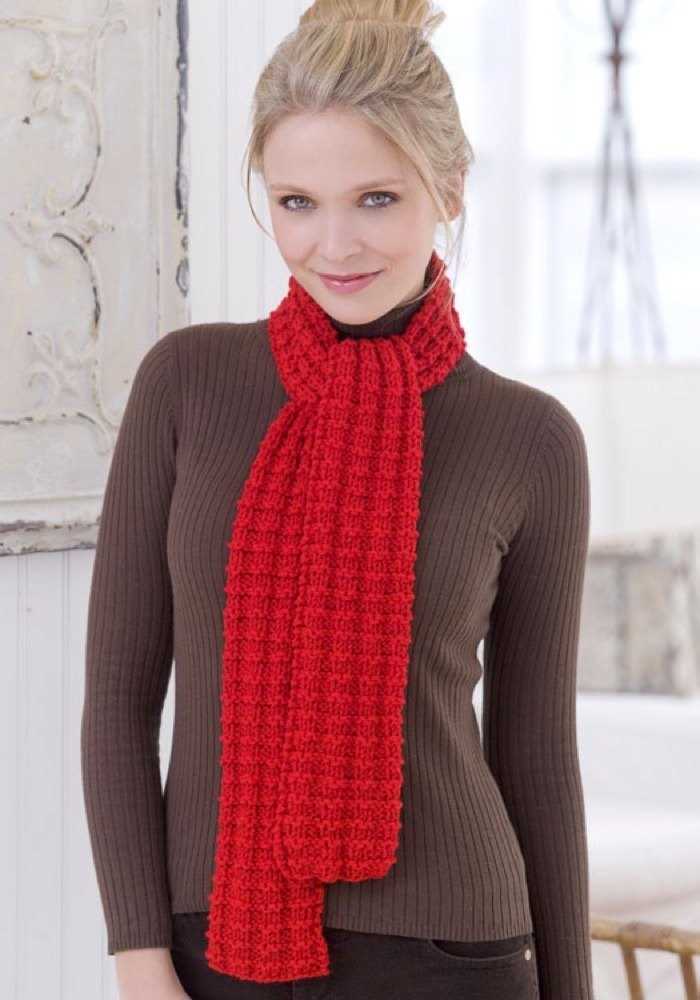
Ribbed Scarf
A ribbed scarf is a great option for beginner knitters. This pattern is simple, yet creates an interesting texture with alternating knit and purl stitches. The ribbed design also allows the scarf to stretch and retain its shape, making it a comfortable and versatile accessory.
Materials:
- Size 8 knitting needles
- Worsted weight yarn (approximately 200-250 yards)
- Tapestry needle
Instructions:
- Cast on 30 stitches.
- Row 1: *Knit 2, purl 2.* Repeat from * to * until the end of the row.
- Row 2: *Purl 2, knit 2.* Repeat from * to * until the end of the row.
- Repeat rows 1 and 2 until the scarf reaches your desired length, approximately 60 inches.
- Bind off all stitches.
- Weave in any loose ends with a tapestry needle.
Optional variations:
- Instead of using size 8 knitting needles, you can try different sizes to create different textures and densities in the scarf.
- Experiment with different colors of yarn to create a striped or color-blocked effect.
A ribbed scarf is a classic and timeless accessory that can be worn by anyone. It is also a great project for beginner knitters to practice basic knitting stitches and techniques. With its simple yet stylish design, the ribbed scarf is sure to keep you warm and cozy throughout the colder months.
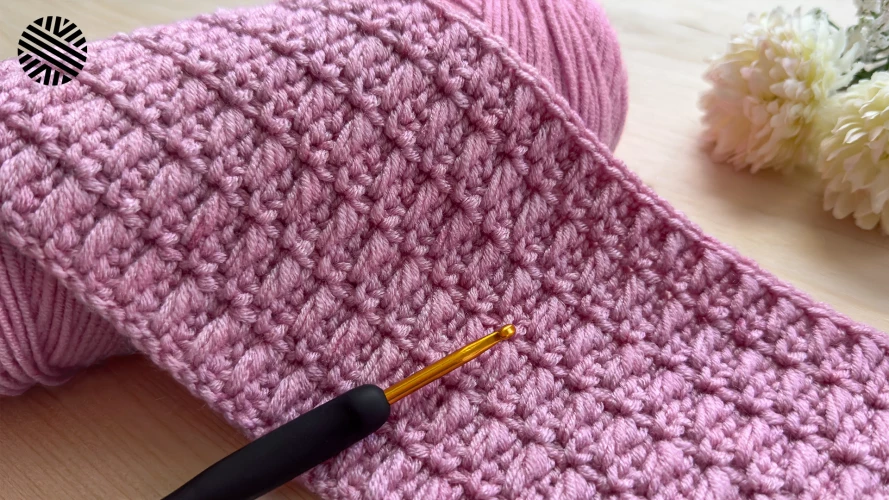
Seed Stitch Scarf
The seed stitch is a great pattern for beginners who want to create a simple and stylish knitted scarf. This pattern creates a fabric with a bumpy texture that is reversible, making it perfect for scarves that can be worn in different ways.
To create a seed stitch scarf, you will need a pair of knitting needles and a ball of yarn. Choose a yarn that is medium weight and soft to the touch. The size of your needles will depend on the thickness of your yarn, so be sure to check the label for recommended needle sizes.
Start by casting on an odd number of stitches. The seed stitch is created by alternating knit and purl stitches across each row. Begin the first row by knitting one stitch, then purling the next stitch. Repeat this pattern across the entire row. On the next row, start with a purl stitch, then knit the next stitch. Continue alternating knit and purl stitches for each row.
The seed stitch pattern creates a fabric with a lot of stretch, so you can make your scarf as wide or as narrow as you like. To finish your scarf, simply knit in the seed stitch pattern until you reach your desired length. Then, bind off the stitches and weave in any loose ends. You now have a beautiful seed stitch scarf that is sure to keep you warm and stylish during the colder months.
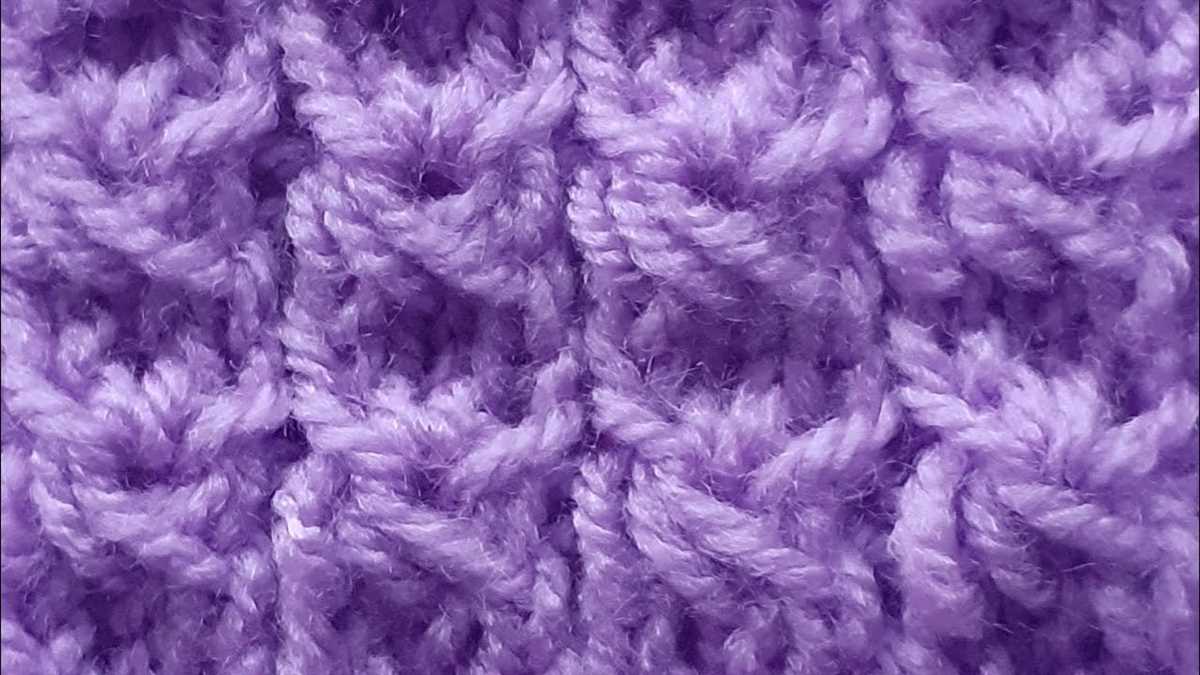
Basketweave Scarf
The basketweave stitch pattern creates a beautiful texture on a knitted scarf. This pattern is perfect for beginners who want to try something a little more challenging than a basic knit or purl stitch. The basketweave stitch creates a woven pattern that resembles a basket, hence its name.
To create a basketweave scarf, you will need a set of knitting needles and yarn of your choice. Start by casting on an even number of stitches to create a balanced pattern. The basketweave pattern is created by alternating between knit and purl stitches in blocks. For example, you could knit the first four stitches, then purl the next four stitches, and repeat this pattern until you reach the end of the row.
Once you have completed a row, you will repeat the same pattern, but offset the knit and purl stitches. If you started with a knit stitch in the first block of the previous row, you will start with a purl stitch in the first block of the current row. This creates the woven effect of the basketweave pattern.
To make your basketweave scarf even more interesting, you can experiment with different block sizes. Instead of knitting and purling four stitches in each block, you could try knitting and purling six, eight, or even ten stitches. This will create a larger basketweave pattern that adds more texture to your scarf.
Remember to always end your scarf with a few rows of garter stitch or a ribbed border to give it a finished look. You can also add fringes or tassels to the ends of your scarf for an extra touch of style. With the basketweave stitch pattern, you can create a unique and beautiful scarf that will keep you warm and stylish during the colder months.
Cable Knit Scarf
One popular pattern for knitted scarves is the cable knit design. Cable knitting creates a textured, braided pattern that adds depth and interest to the scarf. This pattern is perfect for beginners who are looking to try their hand at more complex stitch patterns.
To create a cable knit scarf, you will need to use a cable needle. This is a small, double-pointed needle that is used to hold stitches out of the way while creating the cable. The cable needle is inserted into the stitches and then the stitches are slipped back onto the main knitting needle in a specific order to create the cable twist.
Materials needed:
- Worsted weight yarn
- Cable needle
- Knitting needles
Instructions:
- Cast on the desired number of stitches.
- Work a few rows in a basic knit stitch for the border.
- Begin the cable pattern by following the written instructions or chart for the specific cable design.
- Continue working the cable pattern for the desired length of the scarf.
- Finish the scarf with a few more rows of the basic knit stitch for the border.
- Bind off and weave in any loose ends.
The cable knit scarf is not only practical for keeping warm, but it also adds a stylish touch to any outfit. With a little practice and patience, beginners can easily create a beautiful cable-knit scarf to wear or gift to a loved one.
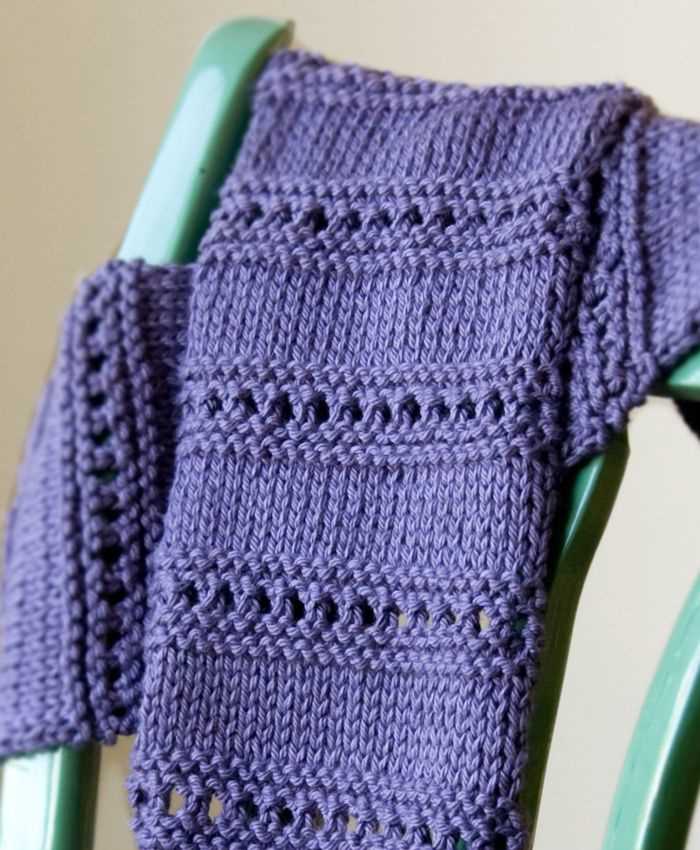
Lace Stitch Scarf
When it comes to adding a touch of elegance and sophistication to your winter wardrobe, a lace stitch scarf is the perfect accessory. With its delicate and intricate pattern, a lace stitch scarf can elevate any outfit and keep you warm during the colder months.
Creating a lace stitch scarf may seem daunting for beginners, but with a little practice and patience, it can be an achievable project. The key to success is selecting the right yarn and needles, as well as understanding the lace stitch pattern.
Materials:
- Yarn: Choose a lightweight yarn in a color of your choice.
- Needles: Select a pair of knitting needles in a size suitable for your yarn.
Pattern:
- Cast on the desired number of stitches, keeping in mind that the width of your scarf will depend on the number of stitches.
- Begin the lace stitch pattern by knitting two stitches together, followed by a yarn over. Repeat this pattern across the row.
- For the next row, purl all stitches.
- Continue alternating between the lace stitch pattern and the purl row until your scarf reaches the desired length.
- Finish off your lace stitch scarf by binding off all stitches and weaving in any loose ends.
A lace stitch scarf is not only a beautiful and fashionable accessory, but it also allows you to practice and improve your knitting skills. With its intricate pattern and delicate design, it is sure to become a cherished item in your winter wardrobe.
Adding Fringe or Tassels
One popular way to add a finishing touch to your knitted scarf is by adding fringe or tassels. This simple embellishment can give your scarf a playful and stylish look. Here are some methods you can try:
1. Fringe: To add fringe to your scarf, you will need to cut several strands of yarn that are twice the desired length of the fringe. Take a group of strands and fold them in half. Insert a crochet hook through the edge of your scarf, grab the folded strands with the hook, and pull them through. Then, pull the loose ends through the loop created by the folded strands and tighten. Repeat this process along both ends of your scarf, spacing the fringe strands evenly.
2. Tassels: Tassels can be made by wrapping yarn around a cardboard or a small piece of cardboard. Start by cutting a piece of cardboard to the desired length of your tassel. Then, wrap the yarn around the cardboard several times until you achieve the desired thickness. Cut the yarn at the edge of the cardboard. Take a separate strand of yarn and slide it under the wrapped yarn near one end of the cardboard. Tie a tight knot to secure the tassel. Slide the tassel off the cardboard and trim the ends to make them even. Attach the tassels to the ends of your scarf using a piece of yarn or by sewing them directly onto the fabric.
Adding fringe or tassels to your knitted scarf can help personalize your creation and make it stand out. This finishing touch is perfect for adding a boho or trendy touch to your winter accessories. Experiment with different colors and lengths to find the perfect style for your scarf.