
Knitting is a popular craft that offers endless possibilities for creating beautiful, wearable items. One item that is always in fashion is the shawl. Shawls come in a variety of shapes and sizes, but one of the most versatile styles is the rectangular shawl. Whether you’re an experienced knitter or just starting out, this knitting pattern will guide you through creating a stylish rectangular shawl that is sure to become a wardrobe staple.
This rectangular shawl pattern is perfect for knitters of all skill levels. With just a few basic techniques, you can create a stunning shawl that will keep you warm and stylish during the colder months. The pattern includes step-by-step instructions and detailed photos to help you along the way. So grab your knitting needles and let’s get started!
One of the great things about knitting a rectangular shawl is that it can be customized to suit your personal style. You can choose from a wide range of yarns, colors, and stitch patterns to create a shawl that is uniquely yours. Whether you prefer a classic design or something more modern and bold, this pattern is a great base to start from. Once you’ve mastered the basics, you can experiment with different stitch patterns and embellishments to make your shawl truly one of a kind.
Rectangular Shawl Knitting Pattern
If you’re looking for a knitting project that’s both stylish and versatile, look no further than a rectangular shawl. This classic accessory can be worn in multiple ways, making it a perfect addition to any wardrobe. With the right knitting pattern, you can create a beautiful and cozy shawl that will keep you warm and stylish throughout all seasons.
When choosing a rectangular shawl knitting pattern, consider the texture and weight of the yarn you want to use. A lace-weight yarn will create a delicate and airy shawl, while a chunky yarn will result in a cozy and warm piece. Determine how you want the shawl to drape and choose a yarn that will achieve that effect.
Pattern Options:
- Garter Stitch: The garter stitch is a simple yet classic pattern that can create a beautiful shawl. Knit every row for a textured and squishy shawl that’s perfect for cooler weather.
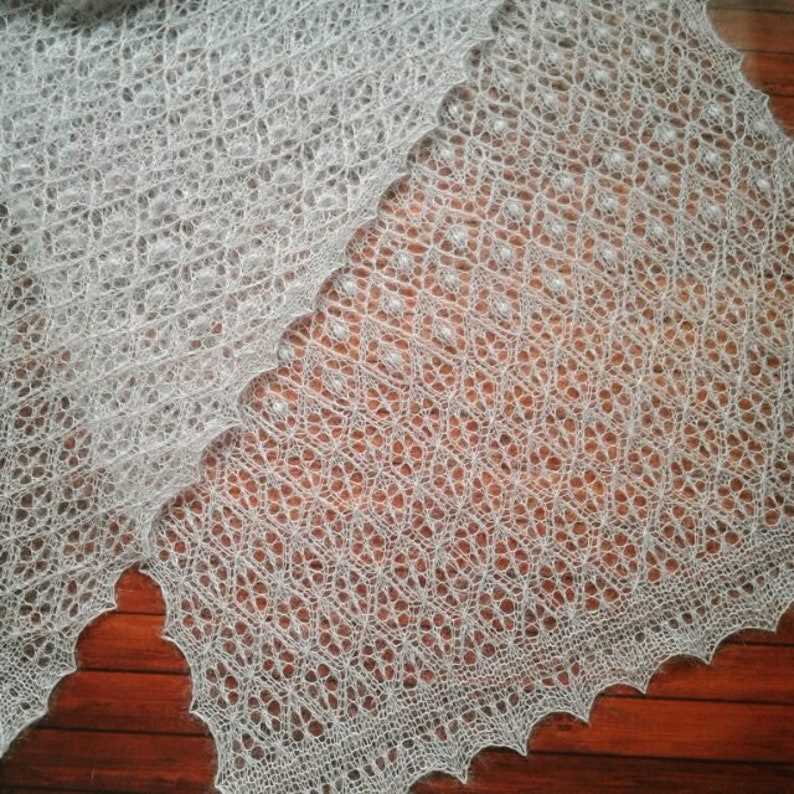
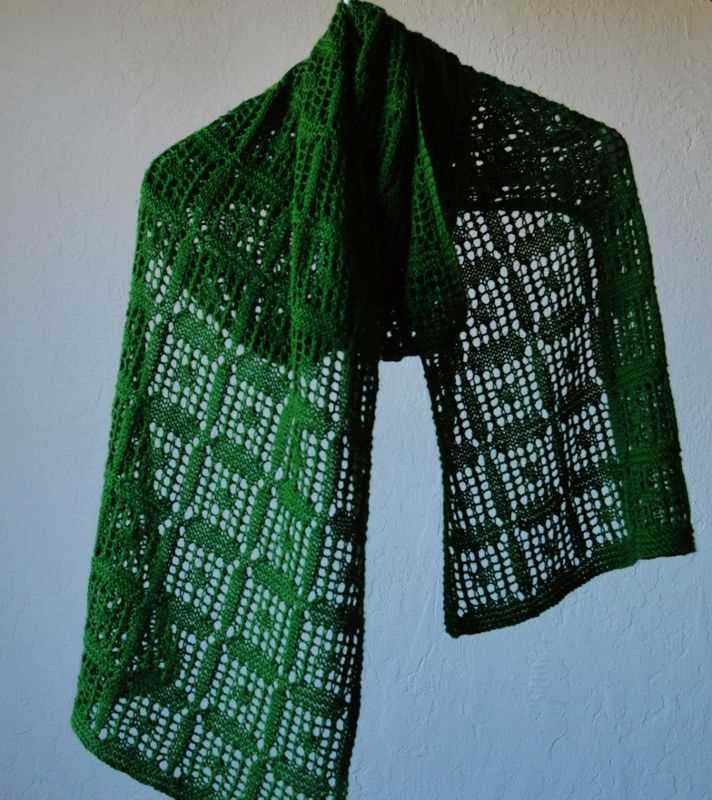
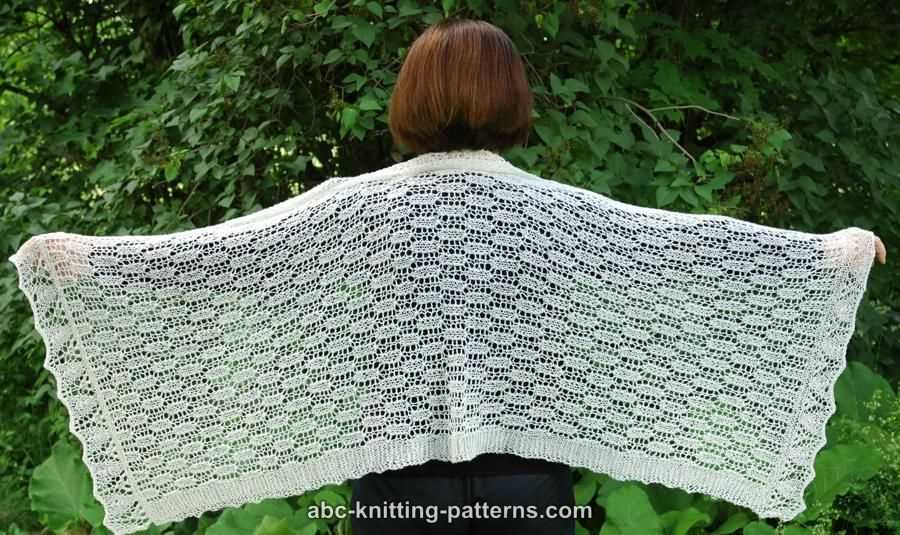
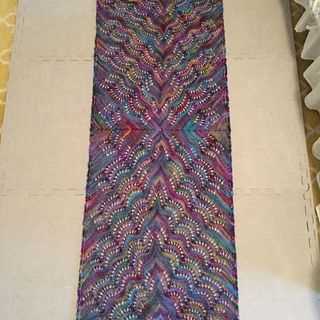
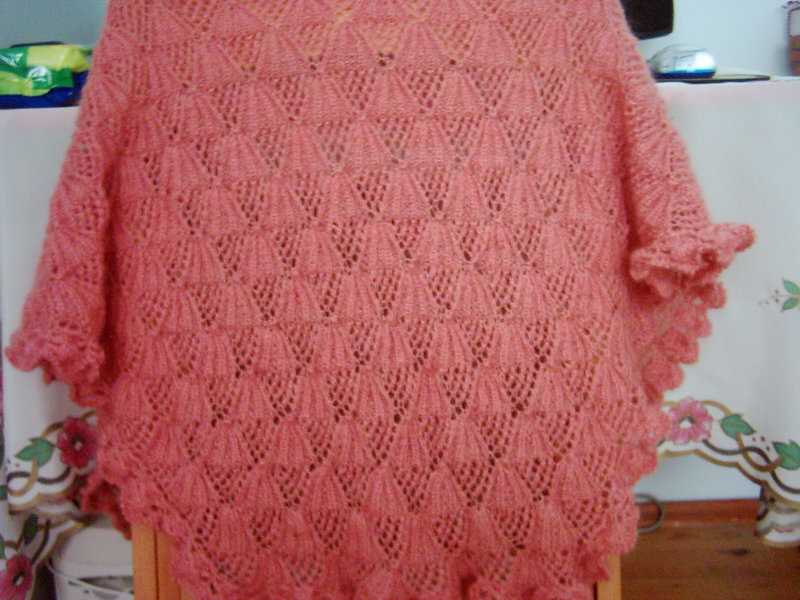
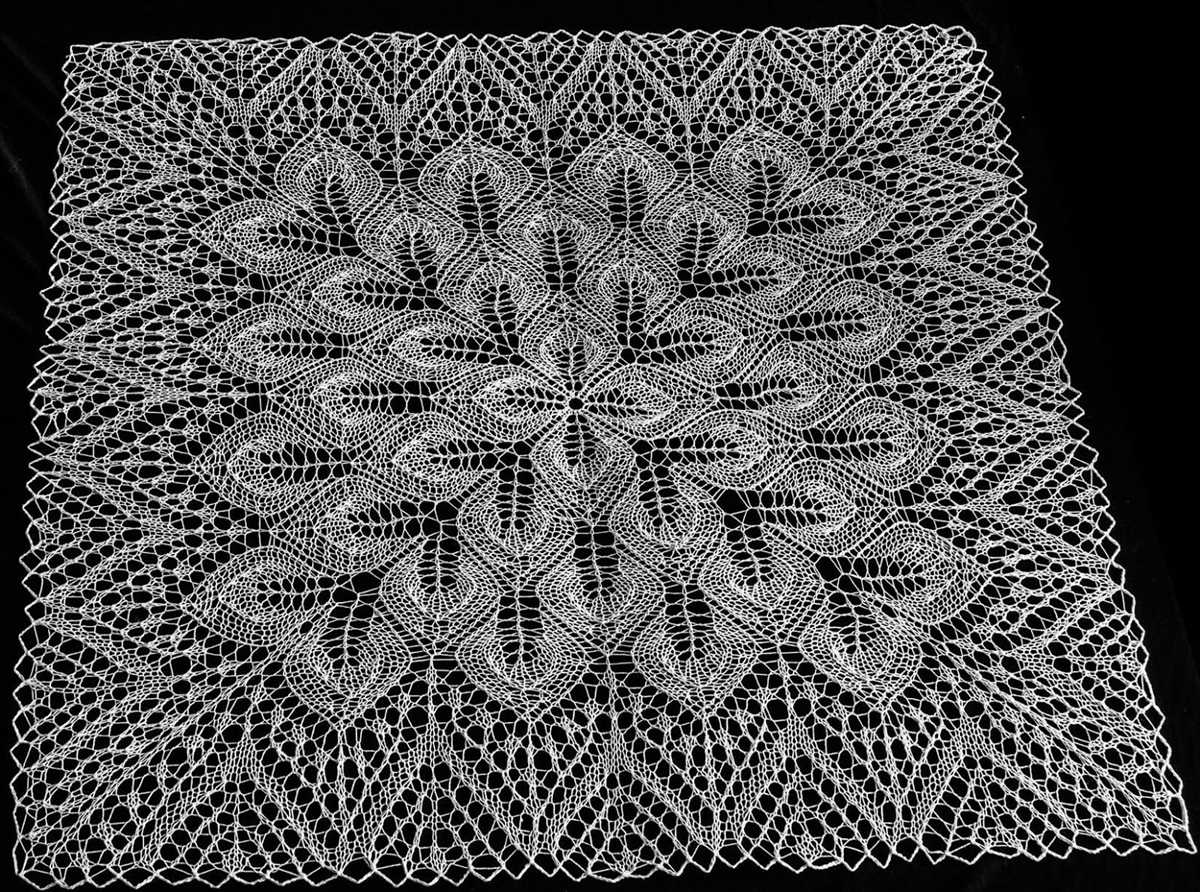
- Lacework: For a more intricate and feminine shawl, opt for a lacework pattern. Delicate lace stitches will add an elegant touch to your shawl, making it a perfect accessory for special occasions.
- Cable Knit: If you’re looking for a more textured and cozy shawl, consider a cable knit pattern. Cable stitches will create beautiful twists and braids, adding visual interest to your shawl.
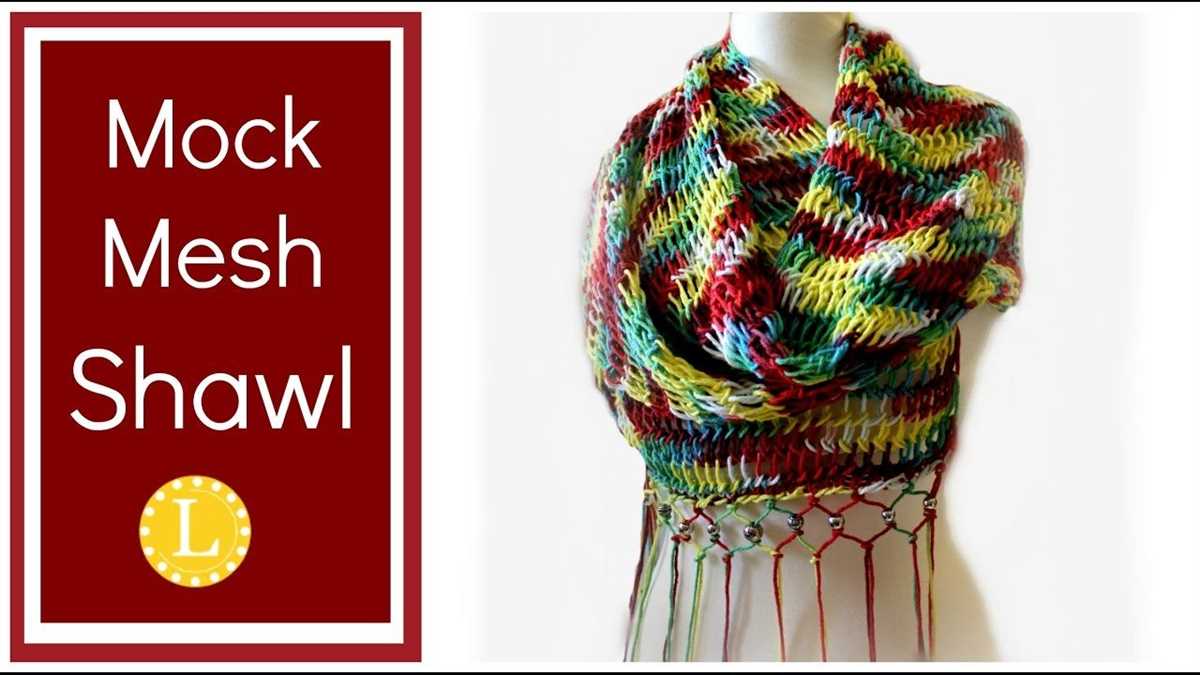
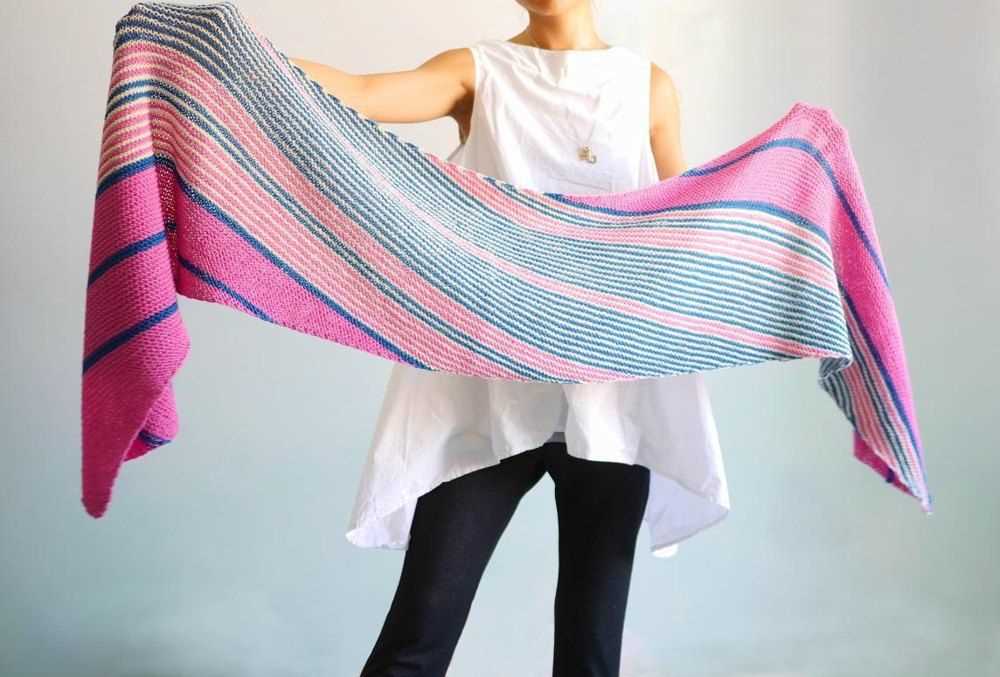
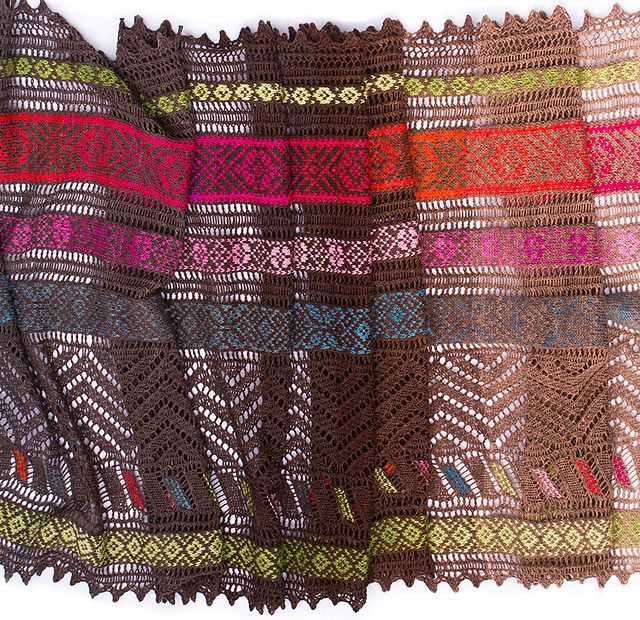
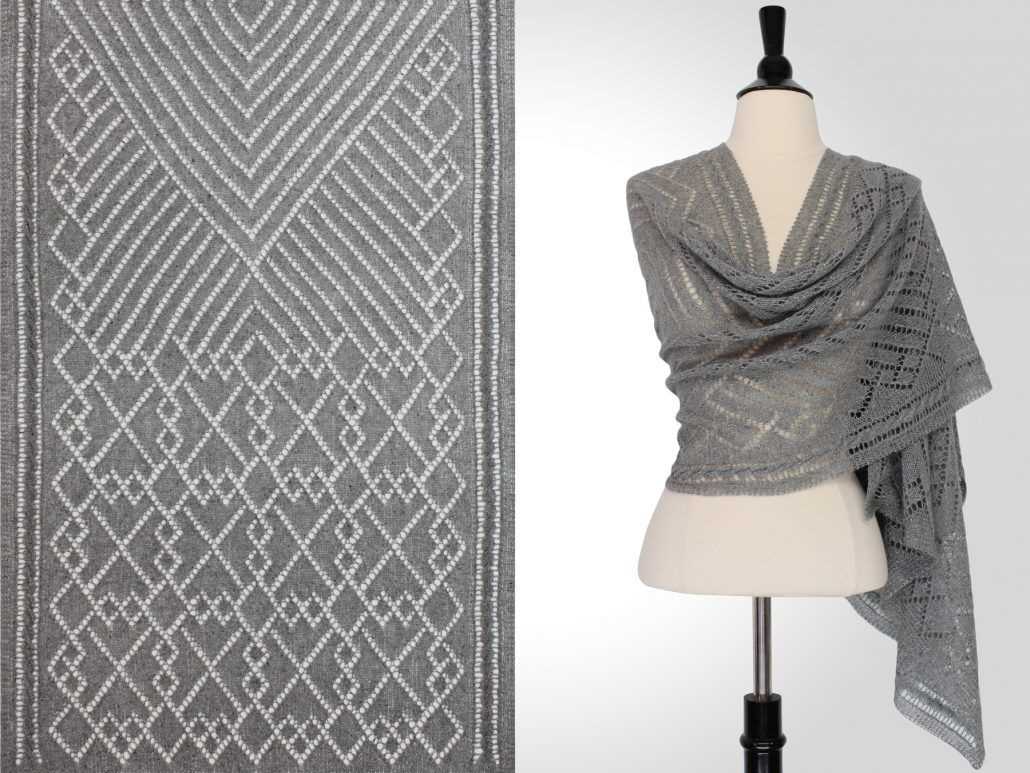
- Colorwork: For a bold and eye-catching shawl, choose a pattern that incorporates colorwork. Whether it’s stripes, fair isle, or intarsia, adding different colors to your shawl will make it truly unique.
Once you’ve chosen the right pattern, gather your materials, including knitting needles and yarn, and start casting on. Follow the instructions carefully, and don’t be afraid to ask for help if you’re a beginner. With practice and patience, you’ll be able to create a beautiful rectangular shawl that you’ll be proud to wear or gift to a loved one.
Remember, knitting is a relaxing and enjoyable hobby that allows you to unleash your creativity. Have fun with your rectangular shawl knitting project, and don’t be afraid to experiment with different patterns and yarns. The possibilities are endless, and you’ll end up with a unique and personalized accessory that reflects your style and skill as a knitter.
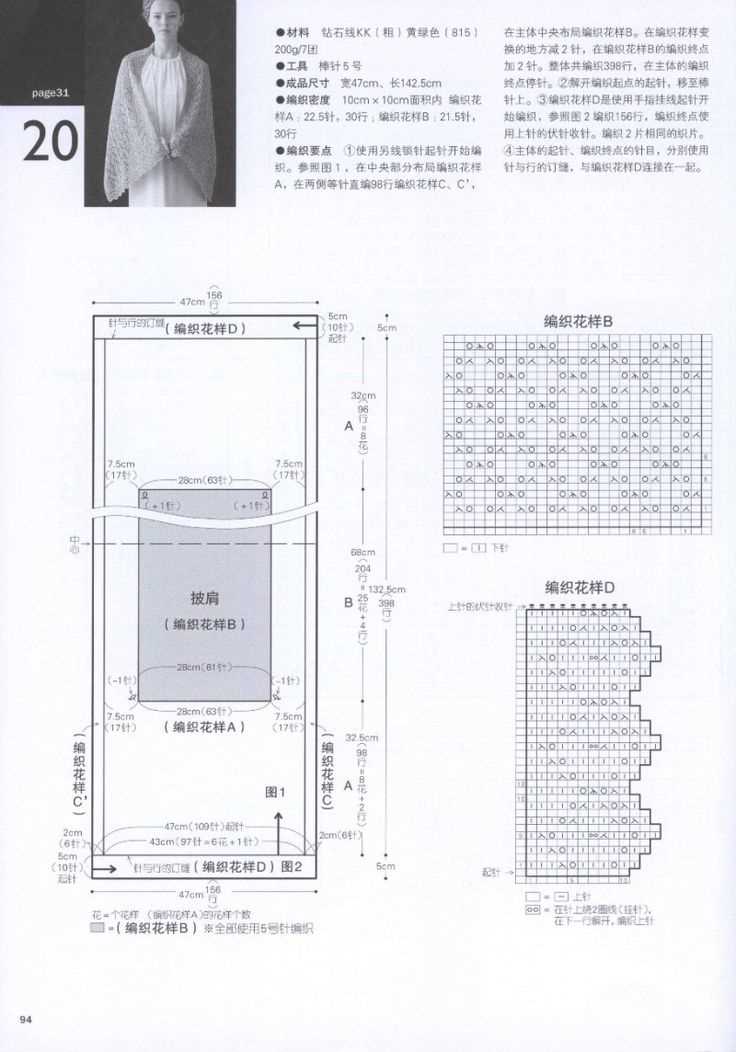
Materials
To knit the rectangular shawl, you will need the following materials:
- Yarn: Choose a soft and lightweight yarn that is suitable for shawls. You will need approximately 500 yards of yarn.
- Knitting Needles: Use size US 7 (4.5mm) knitting needles, or size needed to obtain gauge.
- Tapestry Needle: A tapestry needle with a large eye will be needed for weaving in the ends.
- Stitch Markers: Use stitch markers to help keep track of your progress and any pattern repeats.
- Row Counter: A row counter or a pencil and paper will be helpful for keeping track of the number of rows worked.
Make sure to choose materials that you are comfortable working with and that will create the desired drape and texture for your shawl.
Gauge
The gauge is an important factor in a knitting pattern as it determines the overall size and fit of the finished shawl. The gauge refers to the number of stitches and rows per inch in the knitted fabric. It is essential to achieve the correct gauge to ensure that the shawl turns out the way it is intended.
To check the gauge for the rectangular shawl knitting pattern, it is recommended to knit a swatch using the recommended yarn and needle size. The swatch should be large enough to provide an accurate measurement. Using a ruler or tape measure, count the number of stitches and rows within a one-inch section of the swatch.
To adjust the gauge, you can try changing the size of your needles. If you have fewer stitches and rows per inch than the pattern calls for, switch to a smaller needle size. Conversely, if you have more stitches and rows per inch, switch to a larger needle size. Keep in mind that the yarn choice and your personal knitting tension can also affect the gauge, so it’s always a good idea to make a swatch before starting the project.
Finished Size
The finished size of the rectangular shawl will depend on your gauge and the number of stitches and rows you knit. The pattern provides instructions for adjusting the size, so you can easily customize it to your desired dimensions.
To determine the finished size of your shawl, you can make a swatch using your chosen yarn and needles. Measure the gauge of your swatch, and then calculate the number of stitches and rows per inch. This information will help you determine how many stitches and rows you need to cast on in order to achieve your desired size.
- If you follow the pattern exactly and achieve the specified gauge, the finished size of the shawl will be approximately 60 inches in width and 30 inches in height.
- However, keep in mind that your finished dimensions may vary depending on your personal knitting tension and yarn choice.
Abbreviations

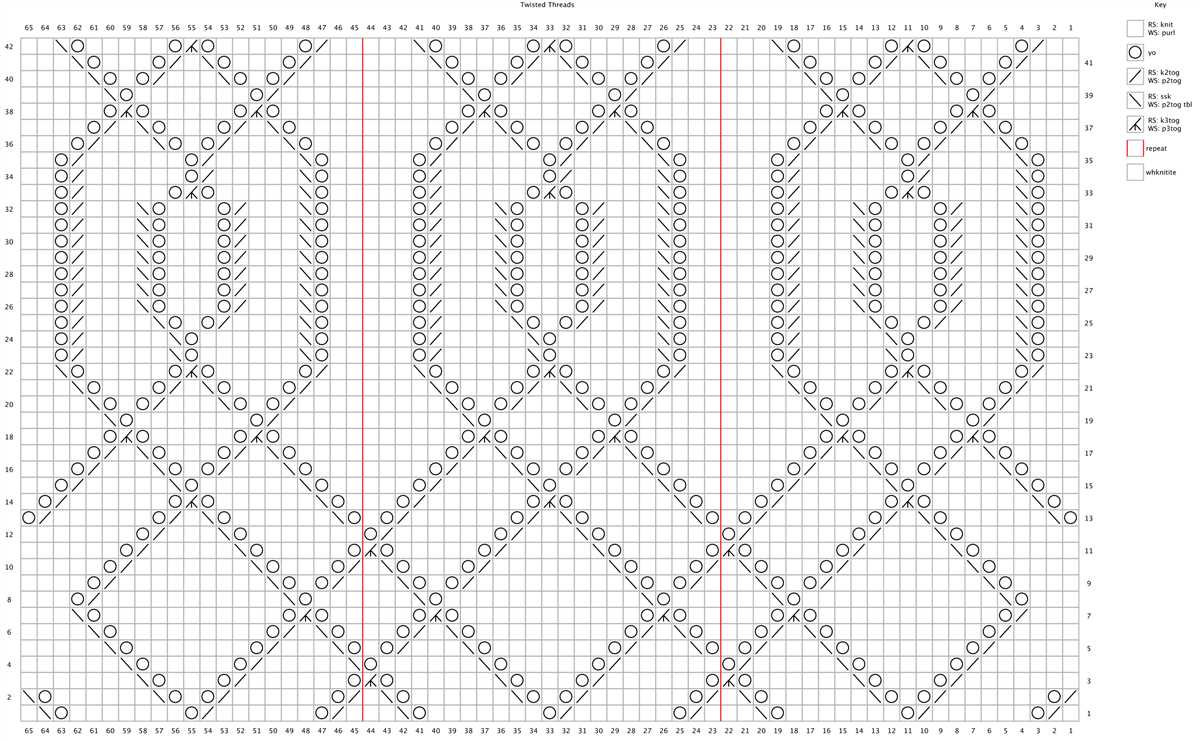
In the knitting pattern for a rectangular shawl, there are various abbreviations used to represent specific knitting techniques or stitches. Understanding these abbreviations is important in order to follow the pattern correctly and create the desired result. Here are some common abbreviations you may come across:
- K: Knit
- P: Purl
- YO: Yarn over
- SSK: Slip, slip, knit
- K2tog: Knit two stitches together
- P2tog: Purl two stitches together
- RS: Right side
- WS: Wrong side
- Rep: Repeat
These abbreviations are often found in knitting patterns to make the instructions more concise and easier to read. It is important to familiarize yourself with the abbreviations used in the specific pattern you are working on, as they may vary slightly from pattern to pattern. If you are unsure of any abbreviations, refer to the pattern’s key or a knitting abbreviations reference guide for clarification.
Pattern
A rectangular shawl is a versatile and elegant accessory that can add style and warmth to any outfit. Knitting your own shawl allows you to customize the design, size, and color to suit your personal taste. With the right pattern and a little patience, you can create a beautiful shawl that makes a statement.
To begin knitting a rectangular shawl, you will need a pattern that includes the necessary instructions and stitch counts. A well-written pattern will guide you through each step, from casting on to binding off, and will provide clear explanations of any special stitches or techniques required. It may also include helpful tips and suggestions for customizing the shawl to your desired length or width.
When choosing a pattern for your rectangular shawl, consider the level of difficulty that you are comfortable with. If you are a beginner, look for a pattern that is labeled as “easy” or “beginner-friendly.” These patterns will typically use basic stitches and simple techniques, making them ideal for those who are new to knitting. More experienced knitters may prefer patterns that offer more complex stitch patterns or shaping techniques, allowing for a greater level of challenge and creativity.
An important aspect of any shawl pattern is the choice of yarn. The yarn you select will greatly impact the drape, texture, and overall look of your finished shawl. Consider the weight and fiber content of the yarn, as well as the recommended needle size, when making your selection. It can be helpful to swatch with different yarns and needles to see how they interact before committing to a particular combination.
Once you have chosen your pattern and yarn, it’s time to get started! Follow the instructions provided in the pattern, carefully working each stitch and section until your shawl begins to take shape. Take your time and enjoy the process, knowing that with each stitch, you are creating a unique and beautiful accessory that will be cherished for years to come.
Cast On
The cast on is the first step in starting your rectangular shawl knitting project. It is important to choose a cast on method that matches the desired look and feel of your shawl. There are several cast on methods to choose from, each with their own advantages and disadvantages.
One common cast on method for shawls is the long-tail cast on. This method creates a neat and flexible edge, which is ideal for shawls that need to stretch and drape. To do the long-tail cast on, you will need to estimate the length of the tail, which should be approximately three times the width of your finished shawl. This method is popular because it is relatively easy to learn and produces a professional-looking edge.
Another option is the cable cast on, which creates a dense and sturdy edge. This method is often used for shawls that require a more structured look. To do the cable cast on, you will need to use a cable needle or a double-pointed needle to create the new stitches. This method is a bit more advanced, but it creates a beautiful and polished edge.
- Long-tail cast on: This method is ideal for shawls that need to stretch and drape. It is relatively easy to learn and creates a neat and professional-looking edge.
- Cable cast on: This method creates a dense and sturdy edge, making it suitable for shawls that require a more structured look.
When casting on, it is important to keep your tension even so that the edge of your shawl is not too tight or too loose. The number of stitches you cast on will depend on the size of your shawl and the desired width. Refer to the pattern instructions for the recommended number of stitches to cast on.
Overall, selecting the right cast on method for your rectangular shawl knitting project is an important decision. Consider the desired look and feel of your shawl, as well as your skill level, when choosing a cast on method. With careful attention to detail and practice, you will be on your way to creating a beautiful and cozy shawl.
Body
The body of the rectangular shawl is worked in a combination of knit and purl stitches to create a textured pattern. To begin, cast on the desired number of stitches, making sure to use an appropriate sized needle to achieve the desired drape and tension.
Once the stitches are cast on, begin working the pattern as follows: knit the first stitch, then purl the next stitch. Repeat this knit-purl pattern across the row until you reach the end, ending with a purl stitch. This creates a simple ribbed texture that adds interest to the shawl.
Note: The stitch pattern can be adjusted to create a variety of different textures. For example, you could alternate between knitting two stitches and purling two stitches to create a ribbed pattern, or you could experiment with different combinations of knit and purl stitches to create a more intricate design.
Continue working the body of the shawl in the chosen stitch pattern, repeating the same row or combination of rows until the desired length is reached. Remember to periodically check your work against the pattern instructions to ensure you are on track.
Tip: It’s a good idea to place stitch markers at regular intervals along the row to help keep track of the pattern and make it easier to count stitches.
Edging
The edging of a rectangular shawl is an important finishing touch that can add elegance and flair to the final piece. It is usually worked after the main body of the shawl is complete, using a contrasting or complementary yarn color. There are many different types of edgings that can be used, depending on the desired design and level of complexity.
One common type of edging is a simple garter stitch border, where the stitches are worked in every row to create a textured and slightly stretchy finish. This type of edging is easy to work and can be used to create a clean and minimalistic look.
Another popular option is a lace edging, which adds a delicate and intricate pattern to the border of the shawl. Lace edgings often feature lace motifs such as yarn overs, decreases, and decorative stitches, which create an open and airy fabric. This type of edging is more challenging to work, but the results can be stunning.
- Scalloped Edging: A scalloped edging can add a feminine and romantic touch to a rectangular shawl. The edges of the shawl are worked in a series of increases and decreases, creating a wavy or scalloped pattern.
- Bobble Edging: For a playful and textured finish, a bobble edging can be used. Bobbles are small 3-dimensional clusters of stitches that are formed by working multiple stitches into the same stitch or by wrapping the yarn around the needle multiple times.
- I-Cord Edging: An i-cord edging is a narrow tube of knitting that is worked along the edge of the shawl. It creates a clean and polished finish and can be used to add structure and stability to the edges.
Ultimately, the choice of edging for a rectangular shawl will depend on personal preference and the desired overall look of the finished piece. Whether it’s a simple garter stitch border, a delicate lace pattern, or a more decorative edging, the right choice can elevate a shawl from ordinary to extraordinary.
Blocking
Blocking is an essential step in the finishing process of knitting a rectangular shawl. It helps to shape the shawl, even out the stitches, and set the final dimensions.
Before blocking, it is important to wet the shawl by soaking it in lukewarm water with mild detergent or wool wash. Gently squeeze out the excess water, making sure not to wring or twist the fabric. Lay the damp shawl flat on a clean towel and roll it up to remove more moisture.
Wet Blocking
One method of blocking is wet blocking, where the shawl is pinned out to its desired dimensions while wet and left to dry. Lay the shawl on a clean, flat surface and use blocking pins to secure the edges and any pattern details. Stretch the fabric gently to achieve the desired shape and measurements. Once the shawl is completely dry, remove the pins and admire the beautifully blocked shawl.
Steam Blocking
Another method is steam blocking, which involves using a steam iron or garment steamer to shape the shawl. Hold the iron or steamer slightly above the shawl and allow the steam to penetrate the fabric. Gently manipulate the fabric into the desired shape while applying steam. Take care not to touch the iron or steamer directly to the fabric and use a pressing cloth if necessary. Once the fabric is steamed, allow it to cool and dry completely before removing any pins.
Regardless of the blocking method used, it is important to follow the specific blocking instructions provided with the shawl pattern. This will ensure that the shawl retains its shape and drape while showcasing the intricate stitches and patterns. Without blocking, the shawl may appear uneven or lack the desired drape, so take the time to block it properly for beautiful results.
Finishing
After completing your rectangular shawl, you will need to take some finishing steps to give it a polished look.
First, weave in any loose ends of yarn using a tapestry needle. Make sure to secure the ends tightly to prevent unraveling. Trim off any excess yarn.
Next, block your shawl to give it its final shape. Place it in warm water with a gentle detergent or wool wash, and let it soak for about 15 minutes. Gently squeeze out the excess water, then lay the shawl flat on a clean towel or blocking mat. Use T-pins or blocking wires to stretch the shawl into its desired dimensions. Allow it to dry completely before removing the pins or wires.
If you prefer a more decorative touch, you can add fringe or tassels to the edges of your shawl. Cut several strands of yarn to your desired length, then fold them in half. Use a crochet hook or tapestry needle to attach the fringe or tassels to the edge of the shawl. Space them out evenly or cluster them together, depending on your preference.
In conclusion, finishing your rectangular shawl involves weaving in ends, blocking to shape, and potentially adding fringe or tassels. Once these steps are complete, your shawl will be ready to wear or gift to someone special.