
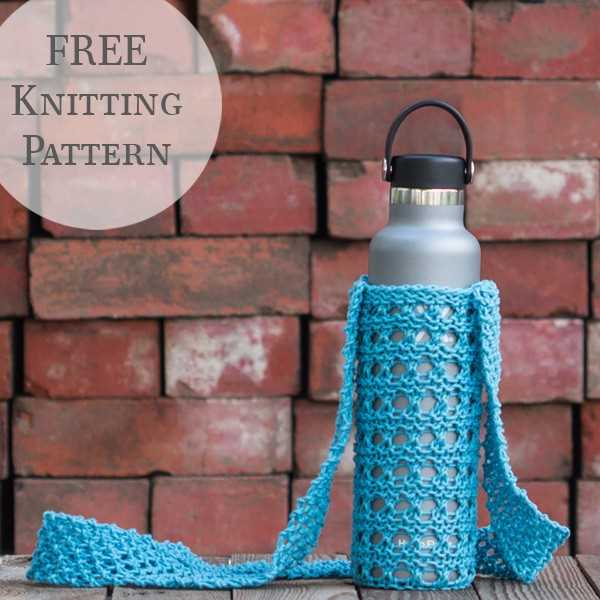
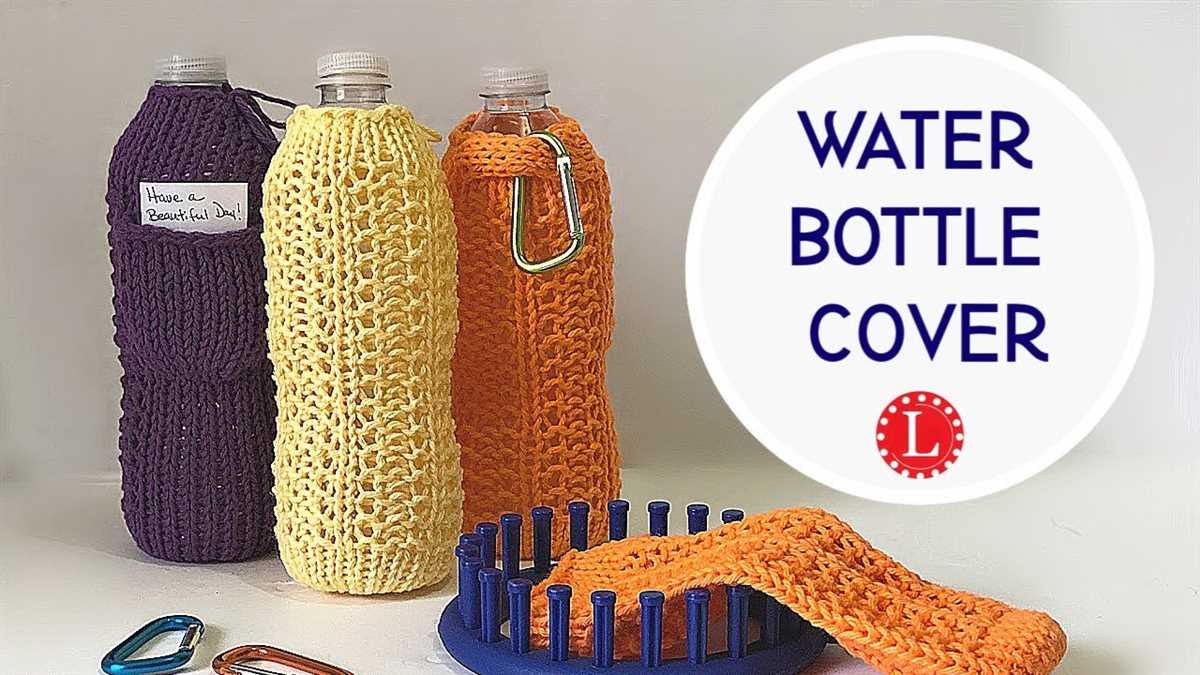
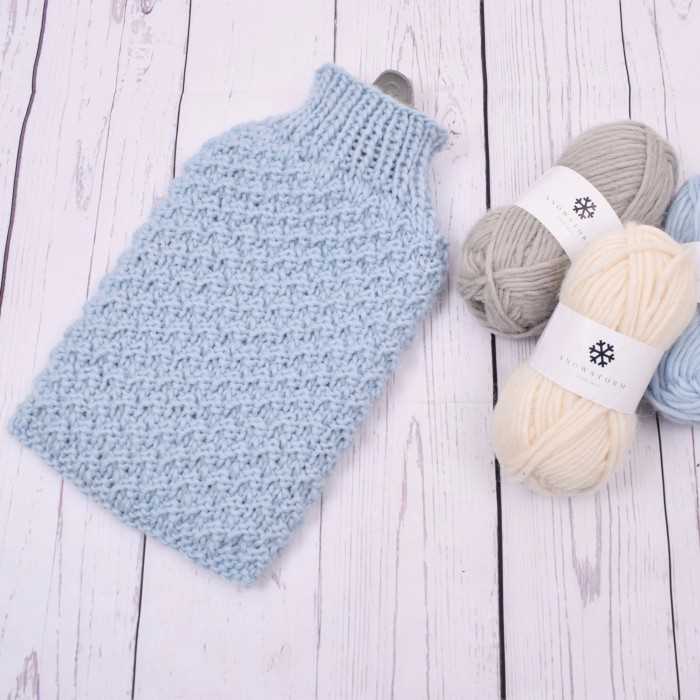
Do you want to jazz up your water bottle and keep it insulated at the same time? Look no further! Knitting your own water bottle cover is a fun and practical project that allows you to personalize your bottle and keep your drink cool.
This knitted water bottle cover pattern is suitable for beginner and intermediate knitters. With a few basic knitting techniques, you can create a cozy cover for your water bottle in no time.
The pattern uses a combination of knit and purl stitches, as well as simple decreases, to create a stretchy and snug cover. It also allows for customization, so you can adjust the size and colors to match your style.
Benefits of Using a Knitted Water Bottle Cover
Knitted water bottle covers offer various benefits when it comes to protecting your water bottle and enhancing your drinking experience. These covers are not only functional but also fashionable, making them a trendy accessory for keeping your water bottle safe and insulated.
1. Insulation: One of the key advantages of using a knitted water bottle cover is the insulation it provides. The thick and tightly stitched material helps to maintain the temperature of your beverage by preventing heat or cold from escaping. This means your water will stay cold for longer periods, and hot drinks will retain their warmth.
2. Protection: A knitted cover acts as a protective layer for your water bottle, preventing scratches, dents, and other damage that can occur from accidental drops or bumps. The soft and cushioned texture of the cover adds an extra layer of protection, reducing the risk of breakage and ensuring the longevity of your water bottle.
3. Style: With a wide range of designs and patterns available, knitted water bottle covers allow you to personalize your water bottle and showcase your unique style. Whether you prefer a simple and classic design or a vibrant and colorful pattern, there is a cover to suit every taste and preference.
4. Eco-friendly: By using a knitted water bottle cover, you are opting for a reusable and sustainable alternative to disposable beverage containers. By reducing the use of single-use plastic bottles, you are contributing to the preservation of the environment and reducing waste.
5. Easy to clean: Knitted water bottle covers are typically easy to clean and maintain. Most covers can be removed and machine washed, ensuring that your water bottle remains hygienic and free from any residue or odor. Additionally, the durable and high-quality materials used in making these covers ensure that they withstand multiple washes without losing their shape or color.
Overall, investing in a knitted water bottle cover is a smart choice for anyone looking to enhance their drinking experience, protect their water bottle, and make a fashion statement. With the added benefits of insulation, protection, style, eco-friendliness, and easy maintenance, these covers are a must-have accessory for those who value both functionality and aesthetics.
Choosing Materials for Your Knitted Water Bottle Cover
When it comes to knitting a water bottle cover, choosing the right materials is essential. The material you use will determine the durability, insulation, and overall appearance of your finished product. Here are some key factors to consider when selecting your materials.
Yarn:
1. Choose a yarn that is durable and easy to care for. Since a water bottle cover will likely be exposed to outdoor elements and frequent handling, it is important to select a yarn that can withstand wear and tear. Look for yarns made from synthetic fibers or blends with high durability ratings.
2. Consider insulation properties. If you want your water bottle cover to help keep your drink cool or warm, consider yarns with good insulation properties. Look for yarns made from natural fibers like wool or cotton, as they tend to provide better thermal regulation.
Needles:
1. Choose needles that are appropriate for your yarn weight. The size of your needles should match the yarn weight you have chosen. This will ensure that your stitches are even and that the fabric has the desired tension.
2. Consider the needle material. Different materials have different characteristics that can affect the knitting process. Metal needles are durable and slide easily through stitches, while bamboo or wooden needles provide more grip and can be gentler on your hands.
Additional Materials:
1. Buttons or closures. If you want to secure your water bottle cover with buttons or closures, choose ones that are suitable for the yarn and design you have in mind. Consider the size, shape, and functionality of the closures.
2. Embellishments. If you wish to add decorative elements to your water bottle cover, such as embroidery or beads, make sure to select materials that complement your chosen yarn and enhance the overall design.
By carefully considering the materials for your knitted water bottle cover, you can ensure that your finished product is not only functional but also visually appealing and long-lasting. Experiment with different combinations to find the perfect materials that suit your personal style and preferences.
Getting Started: Basic Knitting Techniques
Before you begin knitting a water bottle cover, it’s important to familiarize yourself with some basic knitting techniques. These techniques will help you create the desired pattern and ensure that your cover fits snugly around the bottle.
1. Casting On: The first step in any knitting project is to cast on. This is the process of creating the first row of stitches on your knitting needle. There are several methods for casting on, including the long tail cast on and the knitted cast on. Choose a method that you’re comfortable with and cast on the desired number of stitches for your water bottle cover.
2. Knit Stitch: The knit stitch is the most basic and commonly used stitch in knitting. It creates a smooth and even fabric. To knit, insert the right-hand needle into the first stitch on the left-hand needle from left to right, then wrap the yarn around the right-hand needle and pull it through the stitch, sliding the stitch off the left-hand needle. Repeat this process for each stitch on the needle.
3. Purl Stitch: The purl stitch is the opposite of the knit stitch and creates a textured fabric. To purl, insert the right-hand needle into the first stitch on the left-hand needle from right to left, then wrap the yarn around the right-hand needle and pull it through the stitch, sliding the stitch off the left-hand needle. Repeat this process for each stitch on the needle.
4. Decreasing: Decreasing is a technique used to shape your knitting by reducing the number of stitches. There are different methods for decreasing, such as knit two stitches together (k2tog) or slip, knit, pass (skp). Follow the pattern instructions to determine when and how to decrease in your water bottle cover.
5. Finishing: Once you have completed knitting your water bottle cover, it’s time to finish off your project. This typically involves binding off, which is the process of removing the stitches from the needle and securing the edges. There are various ways to bind off, such as the standard bind off or the stretchy bind off. Choose a method that suits your project and creates a neat and durable edge.
By mastering these basic knitting techniques, you’ll be well-equipped to start knitting your water bottle cover. Remember to read and follow the pattern instructions carefully, and don’t hesitate to seek guidance or practice with smaller projects before tackling the cover. With practice, you’ll soon be creating beautiful knitted items to personalize and protect your water bottles.
Step-by-Step Instructions for Knitting a Water Bottle Cover
Knitting a water bottle cover is a fun and practical project that can keep your water bottle insulated and protected. Whether you are a beginner knitter or have some experience, this pattern is straightforward and easy to follow. To get started, gather your materials: knitting needles, yarn of your choice, and a tapestry needle.
Step 1: Measure your water bottle
Before you begin knitting, measure the dimensions of your water bottle. This will help you determine the size and shape of the cover you need to create. Take note of the circumference and height of the bottle.
Step 2: Cast on stitches
Using your chosen yarn and appropriate size knitting needles, cast on the required number of stitches to match the circumference of your water bottle. Make sure to cast on loosely to ensure a comfortable fit around the bottle. If you are unsure of the number of stitches to cast on, a general guideline is to cast on around 30-40 stitches for an average-sized water bottle.
Step 3: Knit in the round
Once you have cast on your stitches, join them in the round by knitting the first stitch and bringing the yarn around to the back. This will create a seamless and continuous cover for your water bottle. Use a stitch marker to mark the beginning of your round.
Step 4: Knit the body
Continue knitting in the round until you reach the desired height for your water bottle cover. This may be determined by the height of your water bottle or personal preference. You can add decorative stitches or patterns if desired.
Step 5: Bind off
When you have reached the desired height, bind off your stitches to secure the top of the water bottle cover. Cut the yarn, leaving a tail for sewing up the remaining open end.
Step 6: Sew up the open end
Using a tapestry needle, sew up the remaining open end of the cover. Make sure to secure it tightly to prevent the water bottle from slipping out. Weaving in any loose ends to finish off the project.
With these step-by-step instructions, you can easily create a knitted water bottle cover that is both functional and stylish. Experiment with different yarn colors and textures to customize your cover to your liking. Happy knitting!
Adding Embellishments and Personalization to Your Knitted Cover

When it comes to knitted water bottle covers, there are countless ways to add personal touches and embellishments to make your cover truly unique. Whether you want to add a pop of color, incorporate additional textures, or personalize it with initials or a special design, there are plenty of options to explore.
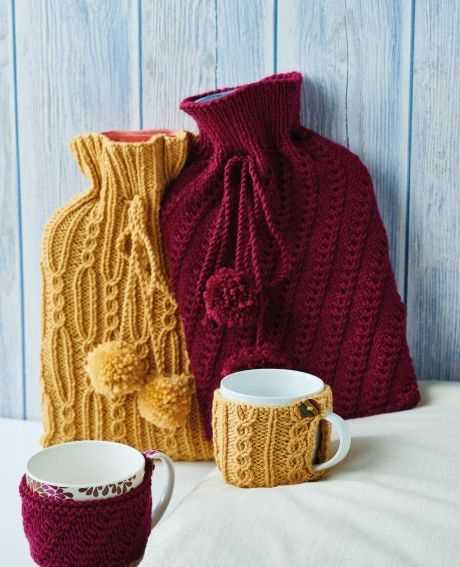
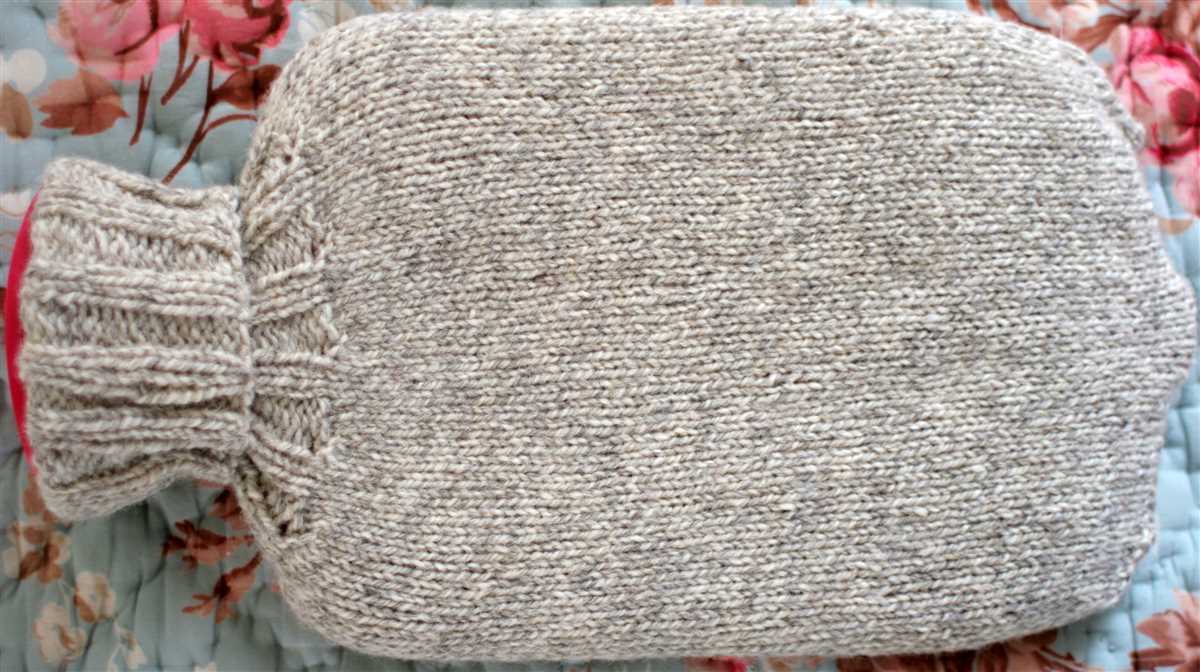
One simple way to add some flair to your knitted cover is by using contrasting colors. You can choose a different color for the ribbed sections, such as the bottom and top edges, or incorporate stripes or color blocks throughout the cover. This can create a fun and eye-catching design that reflects your personal style.
If you’re looking to add some extra texture, consider trying different stitch patterns. You can experiment with different cable patterns, lace patterns, or even bobbles to create a more intricate and interesting cover. Just make sure to choose a pattern that won’t stretch too much or affect the functionality of your cover.
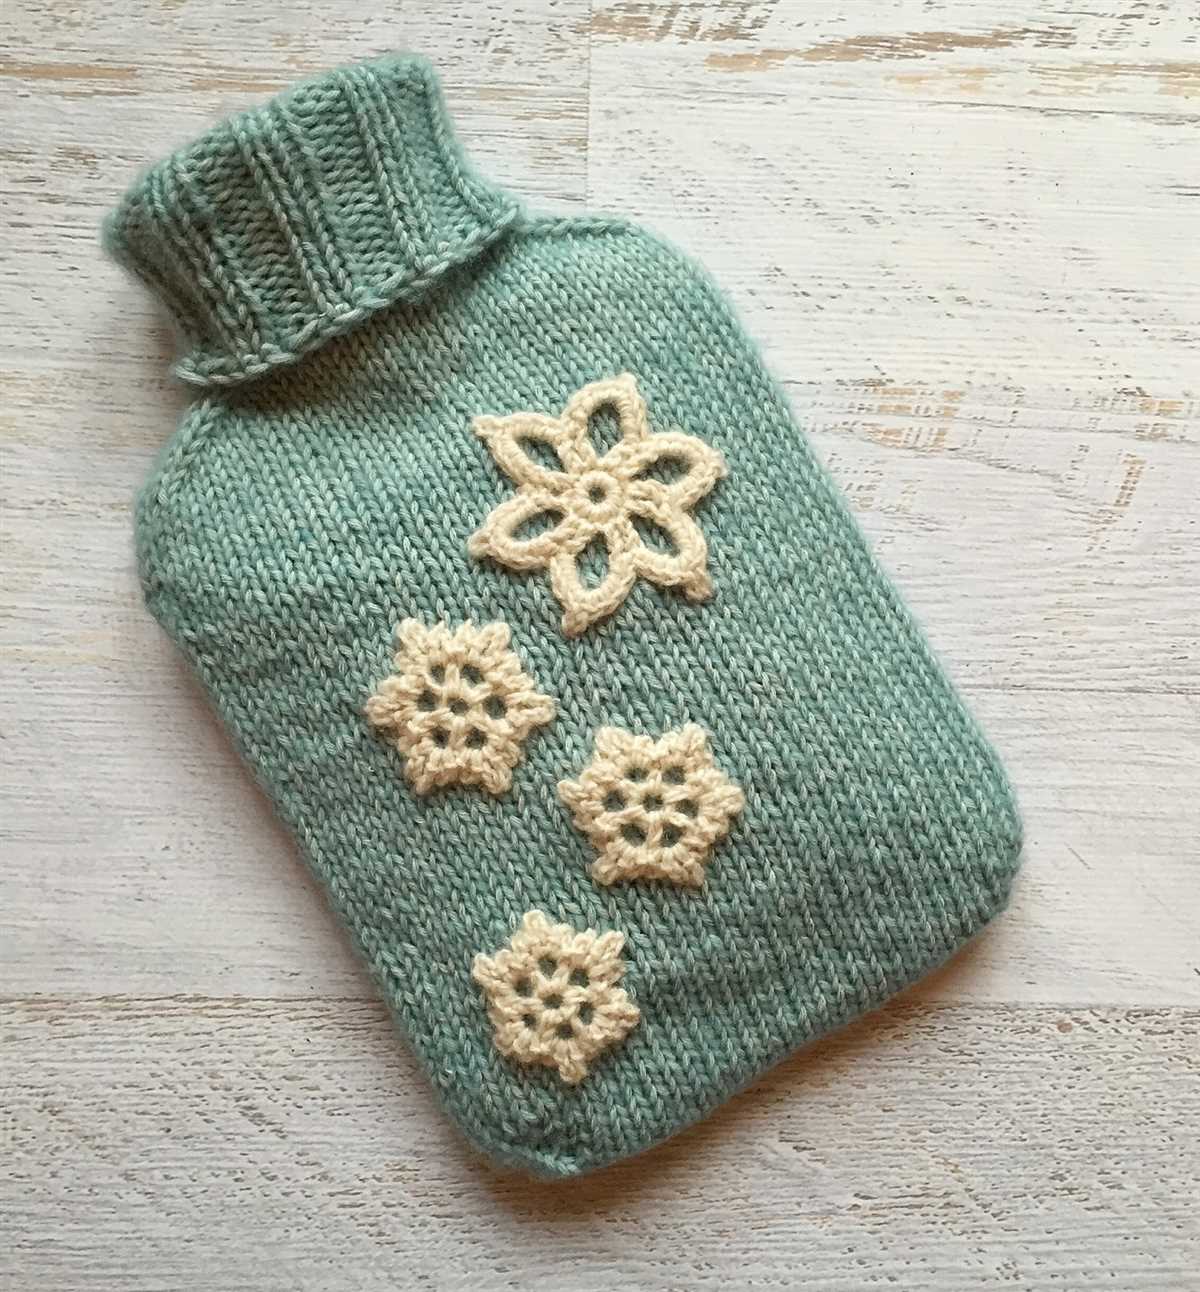
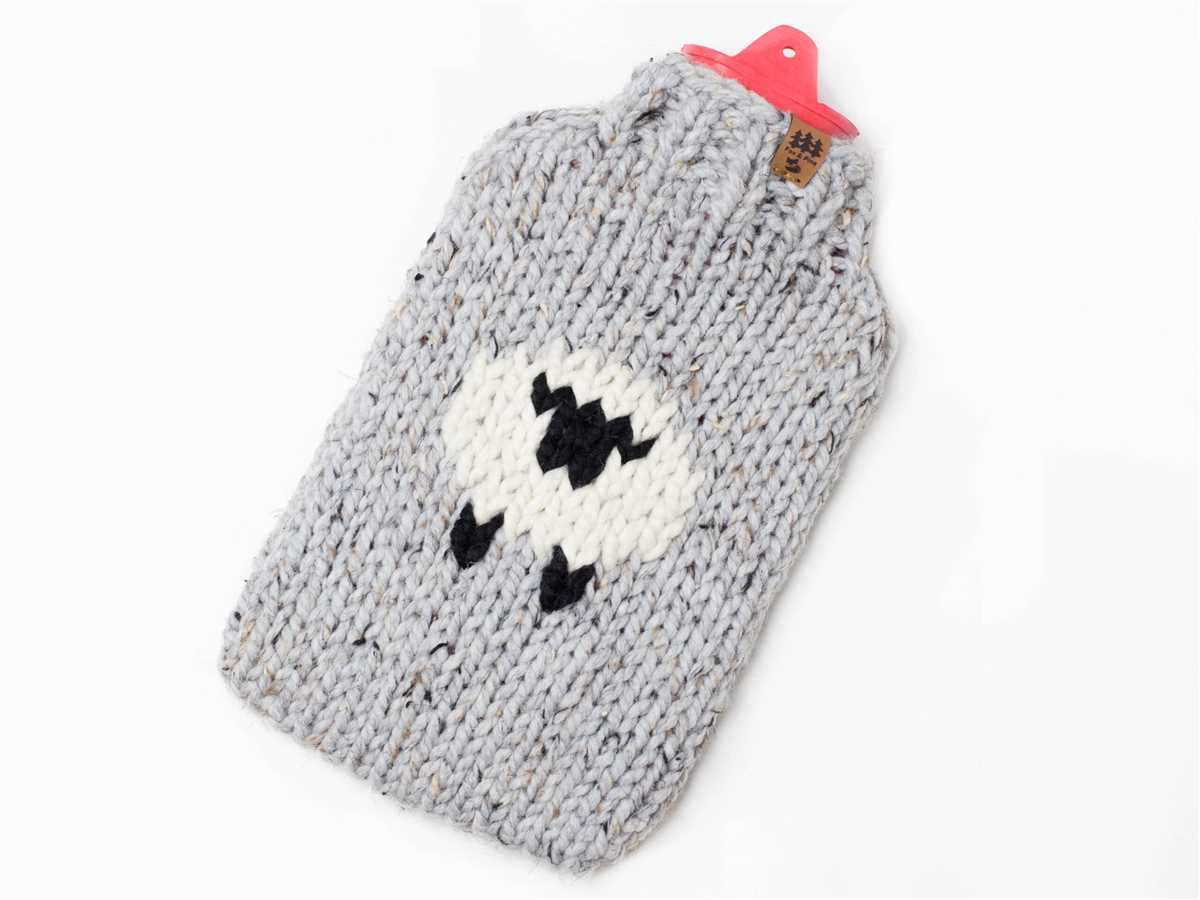
To make your knitted cover truly personal, you can add initials or a special design using duplicate stitch or intarsia techniques. Duplicate stitch is a method where you embroider over the knitted stitches to create a design, while intarsia involves knitting different colored yarns to build a design. These techniques allow you to add your own personal touch and make your cover truly one-of-a-kind.
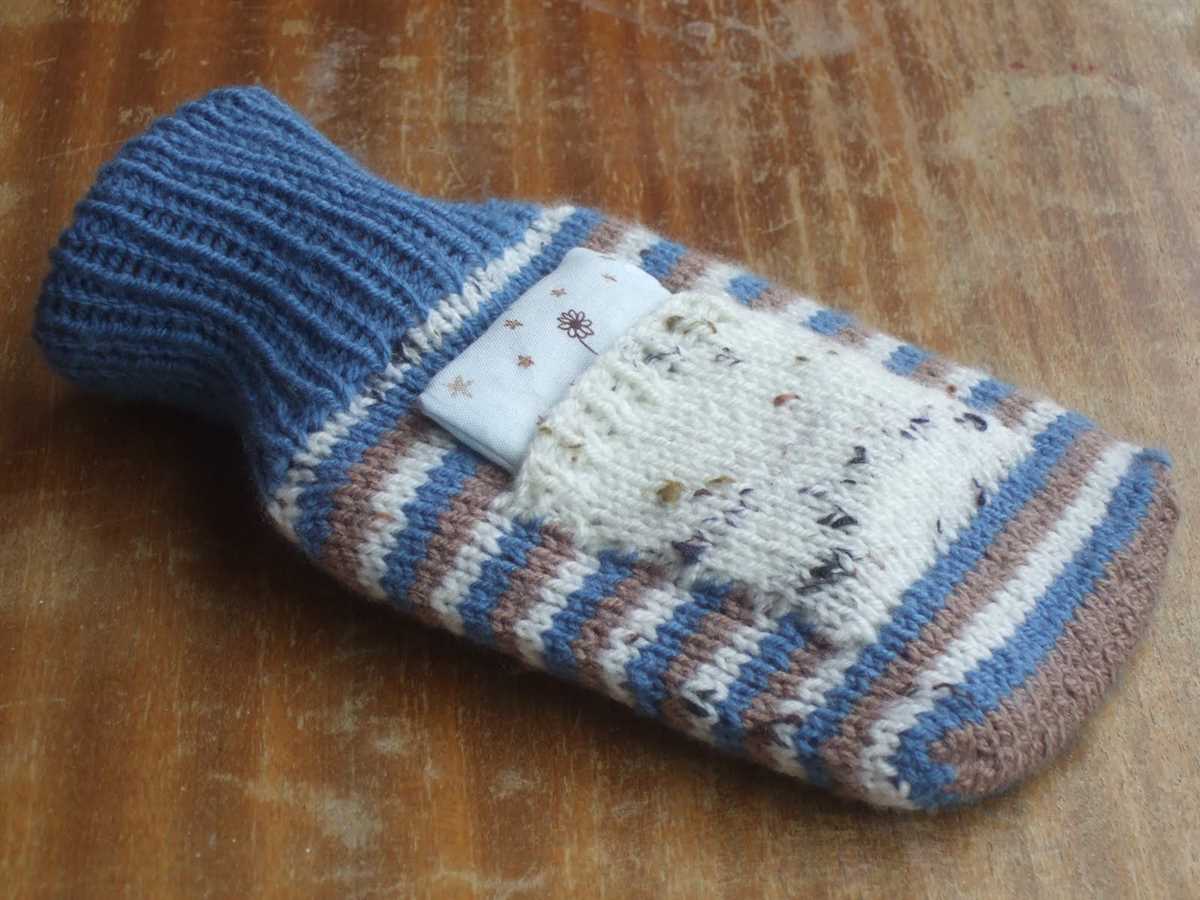
If you’re feeling adventurous, you can even incorporate other materials into your knitted cover. For example, you can add buttons, beads, or even fabric patches to give your cover a more unique and eclectic look. Just make sure to consider the practicality and comfort of these additions, as you don’t want anything to be too bulky or uncomfortable when carrying your water bottle.
Remember, the most important thing is to have fun and let your creativity shine. Whether you choose to add a subtle personalization or go all out with embellishments, your knitted water bottle cover will be a reflection of your own personal style and craftsmanship.
Tips and Tricks for a Perfectly Fitting Water Bottle Cover
When knitting a water bottle cover, achieving the perfect fit is crucial for both functionality and aesthetics. Here are some tips and tricks to ensure your water bottle cover fits snugly and looks great:
1. Measure your water bottle
Before starting your project, measure the height and circumference of your water bottle. This will help you determine the appropriate size for your cover and ensure a perfect fit. Be sure to also consider any tapering or bulging that may occur towards the top or bottom of the bottle.
2. Choose the right yarn and needle size
The yarn and needle size you choose will greatly influence the fit of your water bottle cover. Opt for a yarn with enough stretch to accommodate the shape of the bottle, such as a wool blend or a yarn with added elastic. Additionally, consider using a slightly smaller needle size than recommended for the yarn to create a tighter stitch and a snugger fit.
3. Use a rib stitch or stretchy stitch pattern
To ensure your water bottle cover stretches to fit snugly, use a rib stitch or another stretchy stitch pattern. Ribbing, such as a k2, p2 pattern, allows the fabric to expand and contract easily, accommodating variations in bottle size. Avoid tight, non-stretchy stitch patterns that may restrict the cover’s ability to conform to the bottle’s shape.
4. Incorporate shaping techniques
If your water bottle has a tapered or bulging shape, consider incorporating shaping techniques to ensure a better fit. For example, you can decrease the number of stitches towards the top of the cover to mimic the bottle’s narrowing shape. Conversely, you can increase stitches towards the bottom to accommodate any bulging. Additionally, shaping techniques can help create a more polished and professional look.
5. Adjust the length as needed
Depending on your personal preference and the desired coverage, you may need to adjust the length of your water bottle cover. Keep in mind that a longer cover can provide more insulation and protection, while a shorter one may be more portable and convenient. Experiment with different lengths and try the cover on the bottle as you go to ensure the perfect fit.
By following these tips and tricks, you can create a water bottle cover that fits perfectly, providing both functionality and style. Remember to customize the pattern to your specific bottle measurements and experiment with yarn and stitch choices to achieve the best results.
Different Pattern Variations to Try
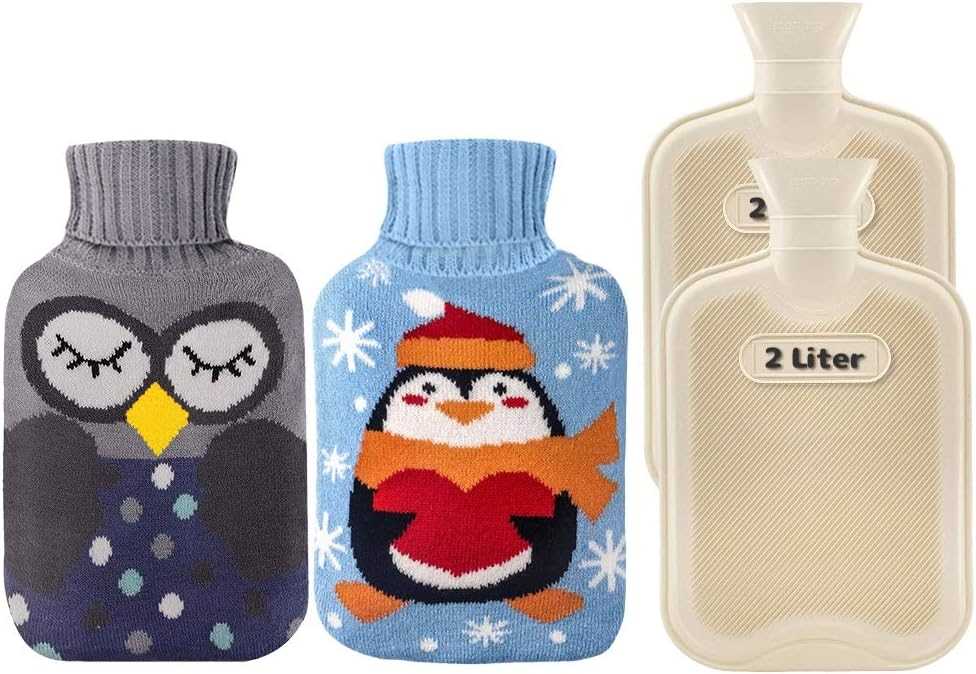
Knitted water bottle covers are a popular project for both beginners and experienced knitters. They provide a fun and practical way to keep your water bottle insulated and protected. One of the great things about knitting is that there are endless pattern variations to try, allowing you to create a water bottle cover that is unique to your style and preferences.
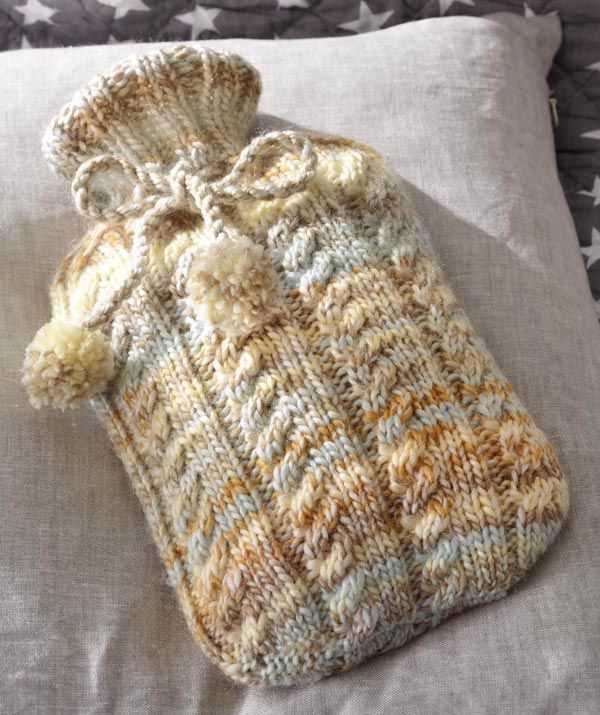
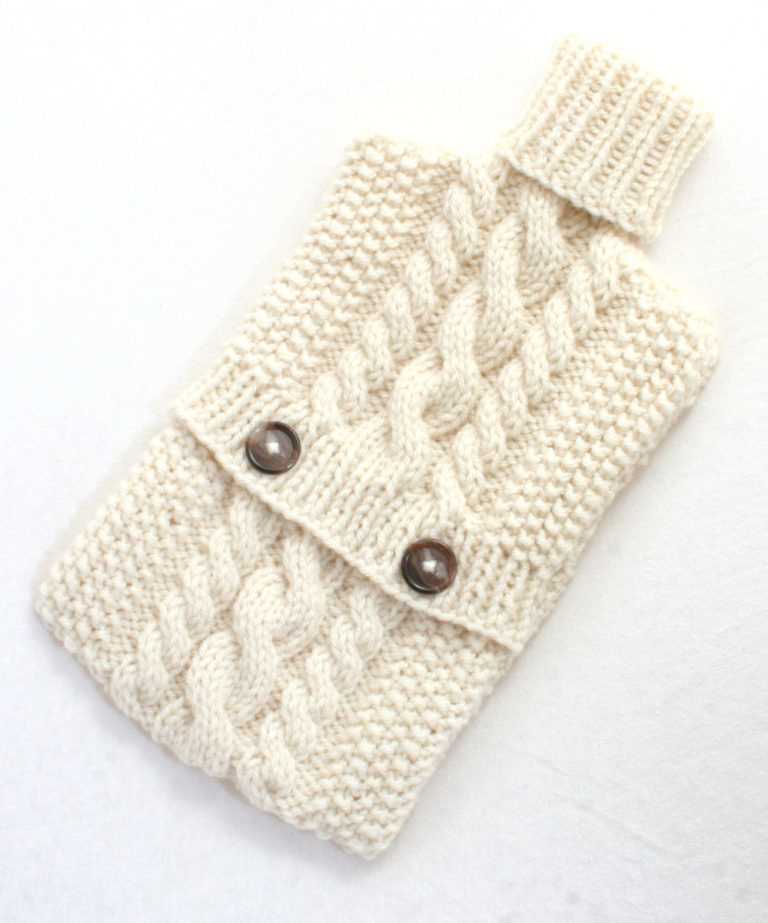
1. Cable Knit Pattern
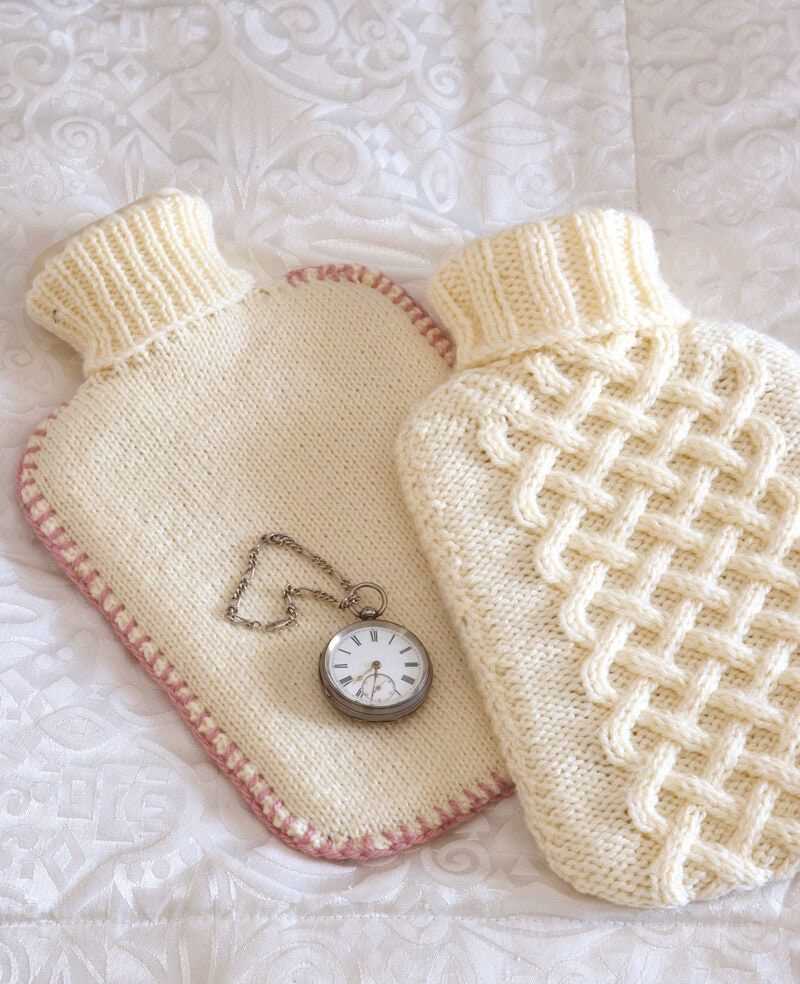
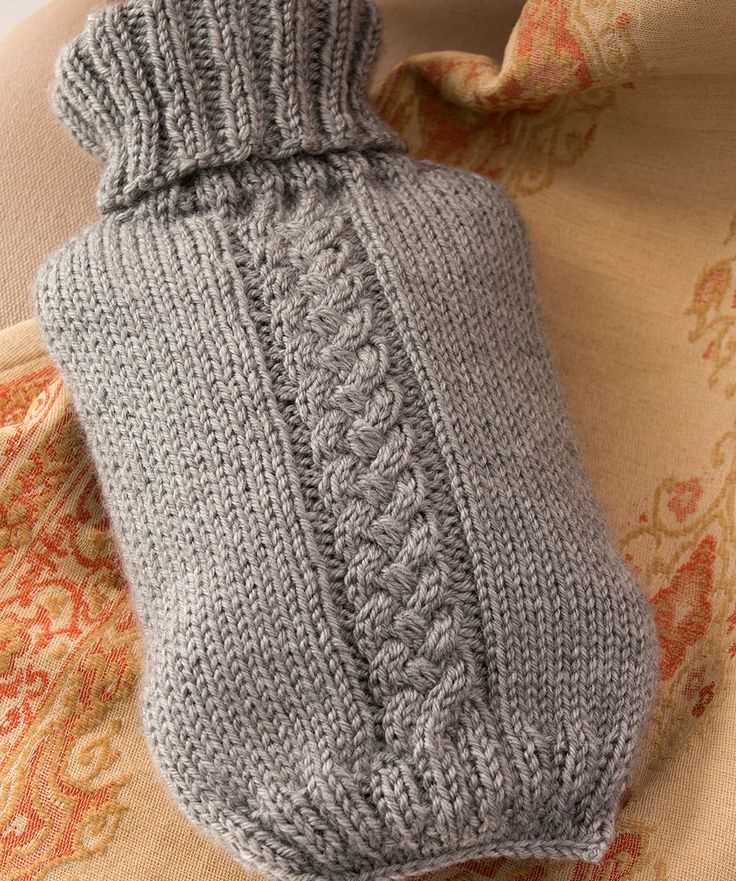
A cable knit pattern can add a beautiful and intricate design to your water bottle cover. This pattern involves crossing stitches to create twisting cables, giving your cover a textured and visually appealing look. You can experiment with different cable designs, such as braided cables or twisted ropes, to create a unique and personalized cover.
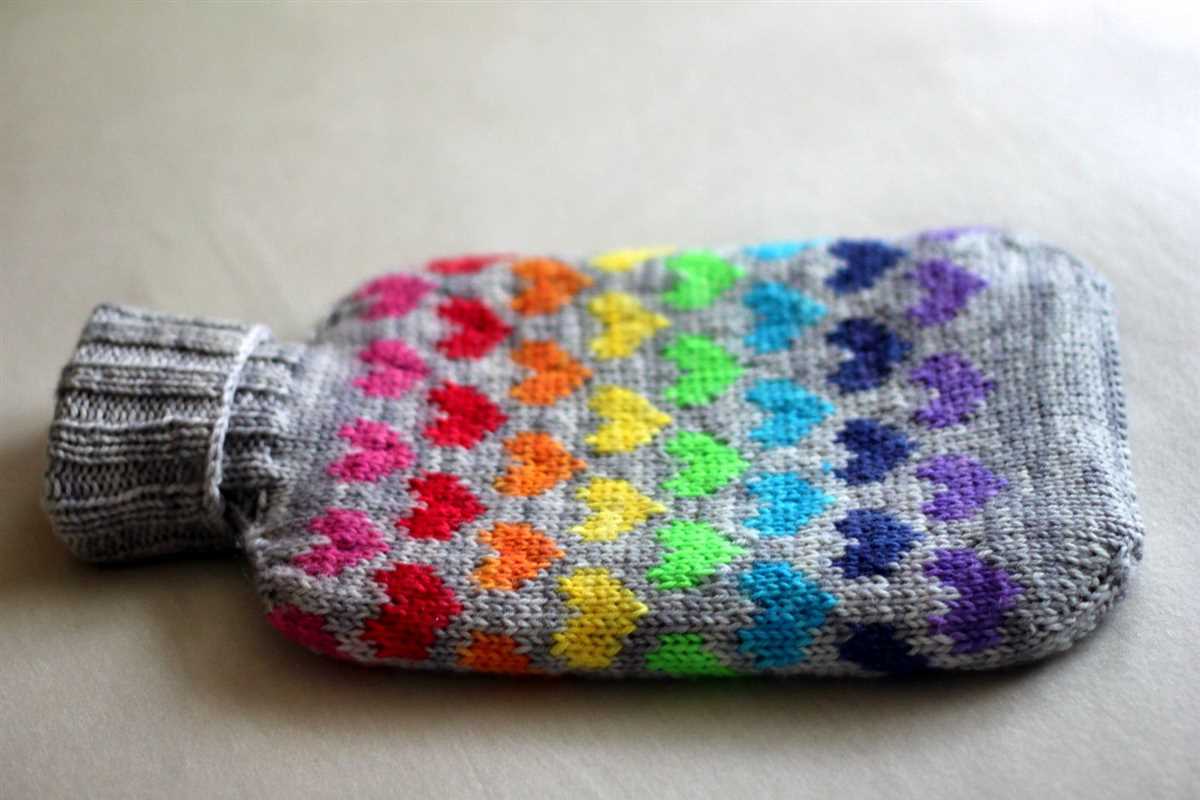
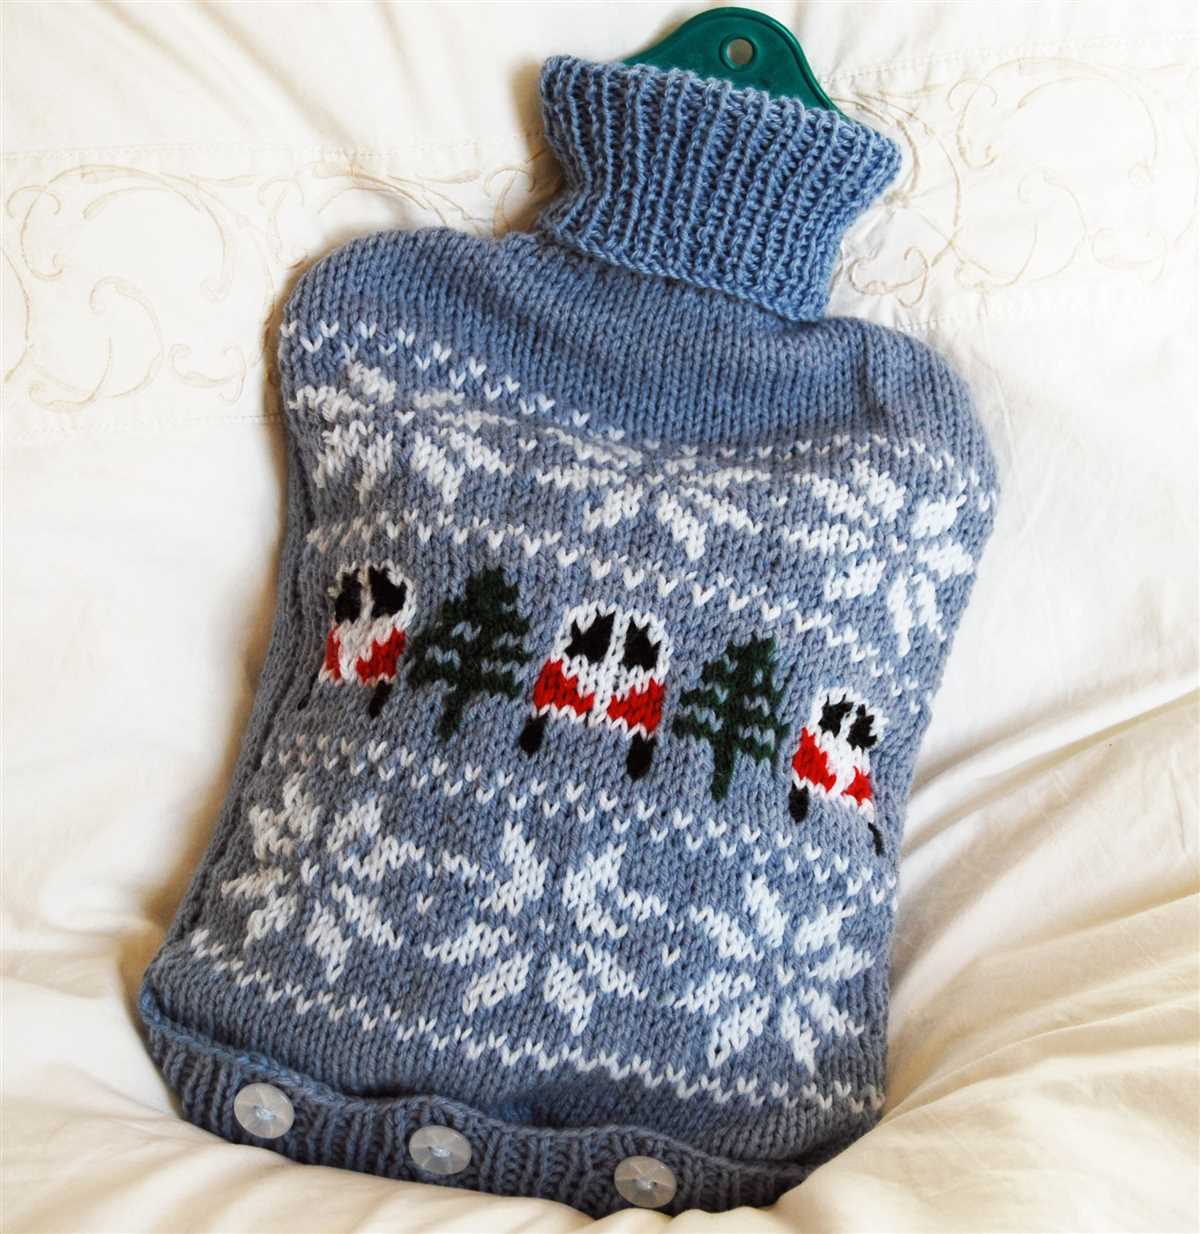
2. Fair Isle Pattern
If you enjoy working with multiple colors, a Fair Isle pattern is a great option to try. This pattern involves alternating between two or more colors in a stranded knitting technique. You can create different motifs, such as geometric shapes or traditional symbols, to add some visual interest to your water bottle cover.
3. Lace Pattern

A lace pattern can give your water bottle cover a delicate and airy look. Lace patterns typically involve creating decorative holes and openwork designs by working yarn overs and decreases. You can choose from a variety of lace stitch patterns, such as leaf motifs or floral designs, to create an elegant and feminine cover.
4. Textured Pattern
If you prefer a more textured and tactile cover, you can try a pattern that incorporates different textured stitches. This can include simple stitch patterns like the seed stitch or more complex patterns like the honeycomb stitch. Adding texture to your water bottle cover can make it more visually interesting and provide extra insulation.
- Conclusion:
These are just a few pattern variations to try when knitting a water bottle cover. Feel free to mix and match different patterns, experiment with colors, and add your own personal touches to create a cover that reflects your unique style. Whether you’re a beginner or an experienced knitter, these pattern variations will keep you inspired and motivated to continue knitting.
Caring for and Cleaning Your Knitted Water Bottle Cover
Knitted water bottle covers are not only functional but also add a touch of style to your everyday hydration routine. To ensure that your cover remains in good condition and lasts a long time, it is important to properly care for and clean it.
Handwashing: It is recommended to handwash your knitted water bottle cover to prevent any damage to the delicate yarn. Fill a basin or sink with lukewarm water and a gentle detergent. Gently agitate the cover in the soapy water, making sure to not stretch or pull on the fabric. Rinse thoroughly with clean water and press out the excess moisture without wringing or twisting. Lay the cover flat on a towel to air dry.
Stains: If your water bottle cover gets stained, it is important to treat the stain as soon as possible. Blot the stain gently with a clean cloth or sponge to remove any excess liquid. Avoid rubbing as this may push the stain further into the fibers. Apply a small amount of mild detergent or stain remover to the stained area and gently work it into the fabric. Rinse thoroughly and air dry as mentioned above.
Storage: When not in use, it is best to store your knitted water bottle cover in a clean and dry place. Avoid folding or creasing the cover to prevent any permanent damage to the fabric. It is also a good idea to keep it away from sharp objects or rough surfaces that could snag or tear the yarn.
Regular Inspections: It is recommended to regularly inspect your water bottle cover for any signs of wear or damage. Look for loose threads, holes, or stretched areas. If you notice any issues, repair the cover as soon as possible to prevent further damage.
By following these simple care and cleaning instructions, you can ensure that your knitted water bottle cover remains in pristine condition and continues to provide you with both functionality and style.
Conclusion
Knitted water bottle covers are a versatile and practical accessory that can be used in a variety of creative ways. Whether you are looking to keep your drink cold or add a touch of style to your water bottle, these covers offer a fun and customizable solution. From personal use to gift-giving, there are endless possibilities for how to use knitted water bottle covers.
Not only do these covers provide insulation for your drinks, but they also offer protection for your water bottle. The snug fit of the cover helps prevent scratches, dents, and other damage that can occur during transportation. Plus, the knitted texture adds an extra layer of comfort and grip, making it easier to hold onto your water bottle during workouts or outdoor activities.
With so many different patterns and designs available, you can easily find a knitted water bottle cover that suits your personal style. Whether you prefer a simple and classic design or a more intricate and colorful pattern, there is something for everyone. You can even customize your cover with additional embellishments such as buttons, beads, or embroidery to make it truly unique.
In addition to their practical uses, knitted water bottle covers can also be a great way to show off your creativity and style. You can use them as a fashionable accessory to complement your outfit or as a way to express your personality. With the ability to easily switch out covers, you can also change up the look of your water bottle to match different occasions or moods.
Overall, knitted water bottle covers are a practical and stylish accessory that can be used in a variety of creative ways. Whether you are looking for insulation, protection, or a way to express your personal style, these covers offer a fun and customizable solution. So why not give them a try and see how they can enhance your hydration routine?
Q&A:
Where can I find a knitted water bottle cover pattern?
You can find knitted water bottle cover patterns on various websites, such as knitting blogs, online knitting communities, and knitting pattern websites. You can also try searching for patterns on platforms like Ravelry or Etsy.
Are there different sizes available for knitted water bottle covers?
Yes, there are usually patterns available for different bottle sizes, ranging from small water bottles to larger thermoses. Some patterns even include instructions on how to customize the size to fit your specific bottle.
What materials do I need to knit a water bottle cover?
The materials you will need typically include a suitable yarn of your choice, knitting needles in the appropriate size, a yarn needle for finishing, and any additional embellishments you may want to add, such as buttons or pompoms.
Are knitted water bottle covers easy to make for beginners?
Knitted water bottle covers can be a great project for beginners to practice their knitting skills. There are many simple patterns available that utilize basic stitches and techniques. However, some patterns may be more advanced and require knowledge of more complex stitches.
Can I customize the design of a knitted water bottle cover?
Yes, you can customize the design of a knitted water bottle cover to make it unique. You can experiment with different yarn colors, stitch patterns, and embellishments to create a cover that reflects your personal style.
What is a knitted water bottle cover pattern?
A knitted water bottle cover pattern is a set of instructions and guidelines that help you create a cover for your water bottle using knitting techniques.