
Knitting is a popular craft that allows you to create beautiful and functional garments. One of the most popular items to knit is a sweater. Sweaters are versatile, comfortable, and perfect for keeping you cozy in the colder months. While there are many knitting patterns available, creating your own pattern can be a rewarding and creative experience. If you have some knitting experience and are ready to take your skills to the next level, designing your own sweater pattern is a great challenge to undertake.
Designing a knitting pattern for a sweater requires careful planning and attention to detail. You will need to consider various factors such as the desired size, shape, and stitch pattern, as well as the type and weight of yarn to use. The first step in designing a sweater pattern is to determine the measurements. Take accurate measurements of the individual who will be wearing the sweater, paying close attention to the bust, waist, and hip measurements. This will help you determine how many stitches and rows to cast on, as well as how many increases or decreases to make throughout the pattern.
Next, you’ll want to decide on the shape of the sweater. Common sweater shapes include pullovers, cardigans, and hoodies. Consider which style will best suit the wearer’s body type and personal preferences. Once you have determined the shape, you can start sketching out the design. This will give you a visual representation of how the sweater will look and help you plan the placement of any cables, colorwork, or other decorative elements.
When it comes to stitch patterns, the possibilities are endless. You can choose from simple knits and purls, traditional cables, lacework, or even create your own unique stitch pattern. Experiment with different stitch patterns and swatch them to see how they look and feel. Remember to take notes on your swatches so you can refer back to them when you start knitting the actual sweater.
Choosing the right yarn and needles
Choosing the right yarn and needles is an important step in designing a knitting pattern for sweaters. The yarn you choose will affect the overall look and feel of your sweater, as well as its drape and durability. Similarly, the size and type of needles you use will determine the stitch gauge and the finished size of your sweater.
When selecting yarn, consider the fiber content, weight, and color. There are many different types of yarn available, such as wool, cotton, acrylic, and blends. Each fiber has its own characteristics, so think about what qualities you want in your sweater. Wool is warm and insulating, while cotton is breathable and cool. Acrylic is easy to care for and comes in a wide range of colors. Consider the weight of the yarn as well. Thicker yarns will result in a bulkier sweater, while finer yarns will create a lighter, more delicate fabric.
Before choosing needles, you need to determine the desired gauge for your sweater. The gauge refers to the number of stitches and rows per inch in your knitting. To achieve the proper gauge, it’s important to use the right size needles. A larger needle size will result in larger stitches and a looser fabric, while a smaller needle size will create smaller stitches and a denser fabric. Consider the type of needles as well. Straight needles are traditionally used for flat knitting, while circular needles can be used for both flat and circular knitting. Interchangeable needle sets allow you to easily switch needle sizes and types, making them a versatile option for sweater design.
- Consider the fiber content, weight, and color when choosing yarn.
- Determine the desired gauge for your sweater before selecting needles.
- Choose needles of the appropriate size and type to achieve the desired gauge.
- Consider using interchangeable needle sets for versatility in sweater design.
Taking accurate measurements
Taking accurate measurements is a crucial step in designing a knitting pattern for sweaters. Whether you are knitting for yourself or for someone else, accurate measurements ensure that the finished sweater will fit properly and be comfortable to wear.
1. Bust measurement: Start by measuring the fullest part of the bust. Wrap the measuring tape around the body, under the arms, and over the shoulder blades. Make sure the tape is parallel to the floor and not too tight or too loose.
2. Waist measurement: Next, measure the narrowest part of the waist. This is usually an inch or two above the belly button. Again, ensure the tape is parallel to the floor and not too tight or too loose.
3. Hip measurement: For this measurement, wrap the tape around the fullest part of the hips and buttocks. This is usually around the hip bones. Keep the tape parallel to the floor and make sure it is not too tight or too loose.
4. Sleeve length: To determine the sleeve length, start at the shoulder and measure down to the desired length. This can vary depending on personal preference and the style of the sweater.
5. Body length: Measure from the top of the shoulder to the desired length of the sweater. This can be the hip, waist, or any other preferred length.
6. Neck circumference: Wrap the measuring tape around the base of the neck, where the collar of the sweater will sit. Make sure the tape is snug but not too tight.
By taking these accurate measurements, you will have the foundation for a well-fitting knitting pattern. It is always a good idea to double-check your measurements and make any necessary adjustments before starting the knitting process.
Understanding Different Sweater Styles
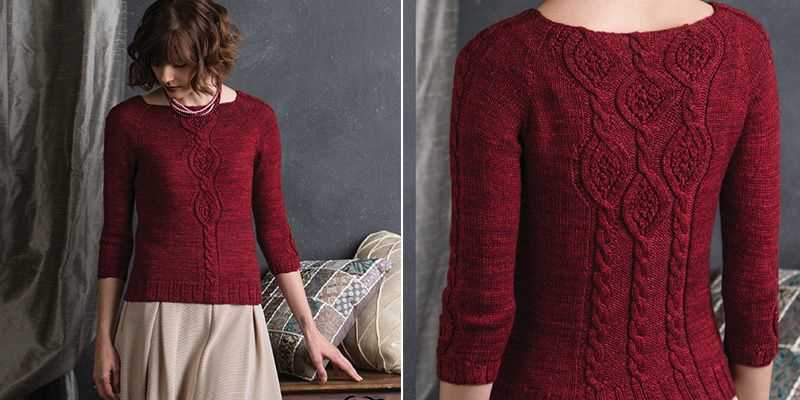
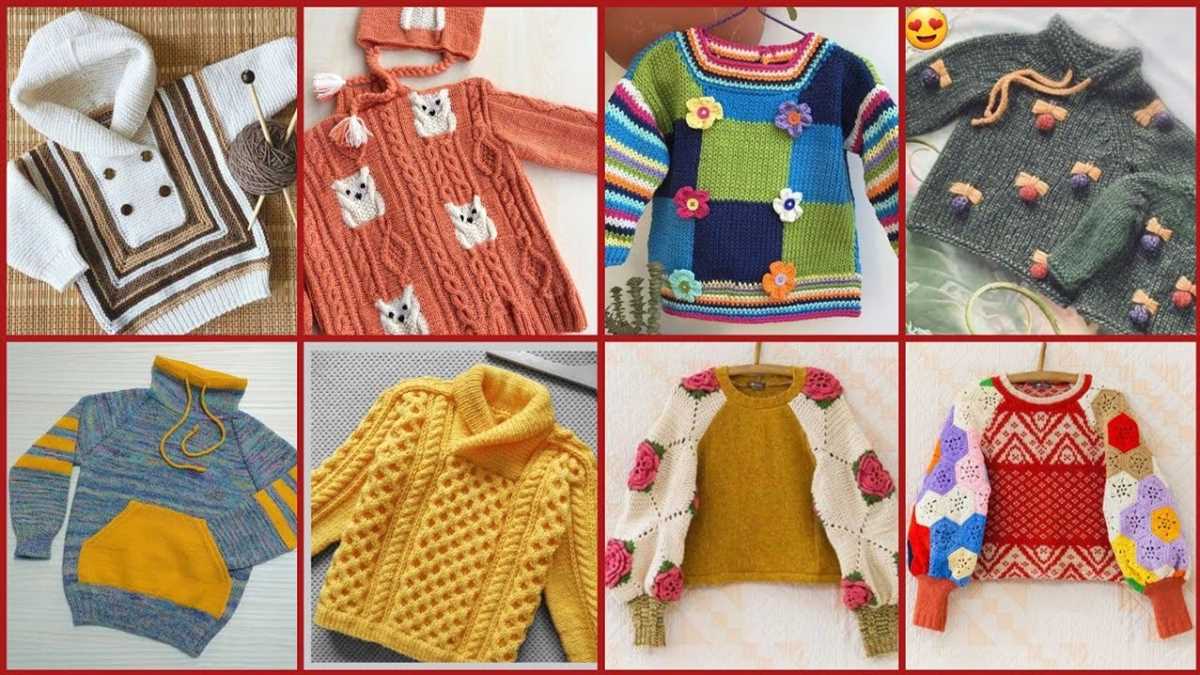
Sweaters come in a variety of styles, each with its own unique features and design elements. Understanding the different sweater styles can help you choose the right pattern and create a garment that fits your style and preferences. Whether you prefer a classic, timeless design or a trendy and fashion-forward look, there is a sweater style out there for everyone.
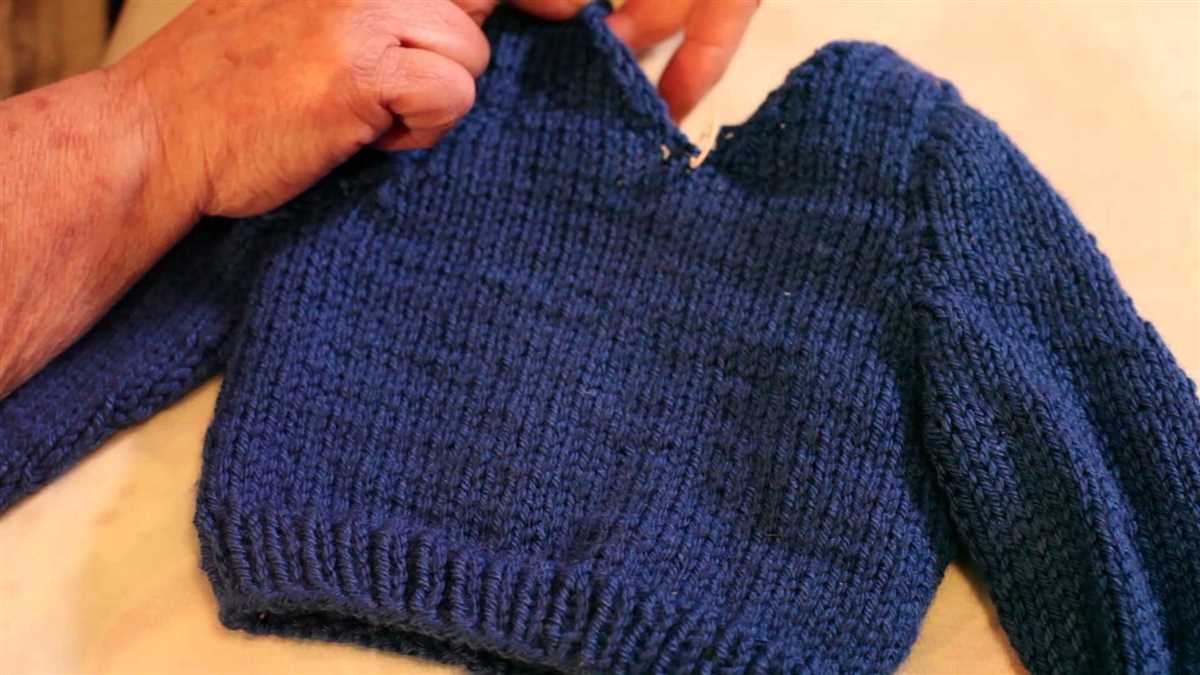
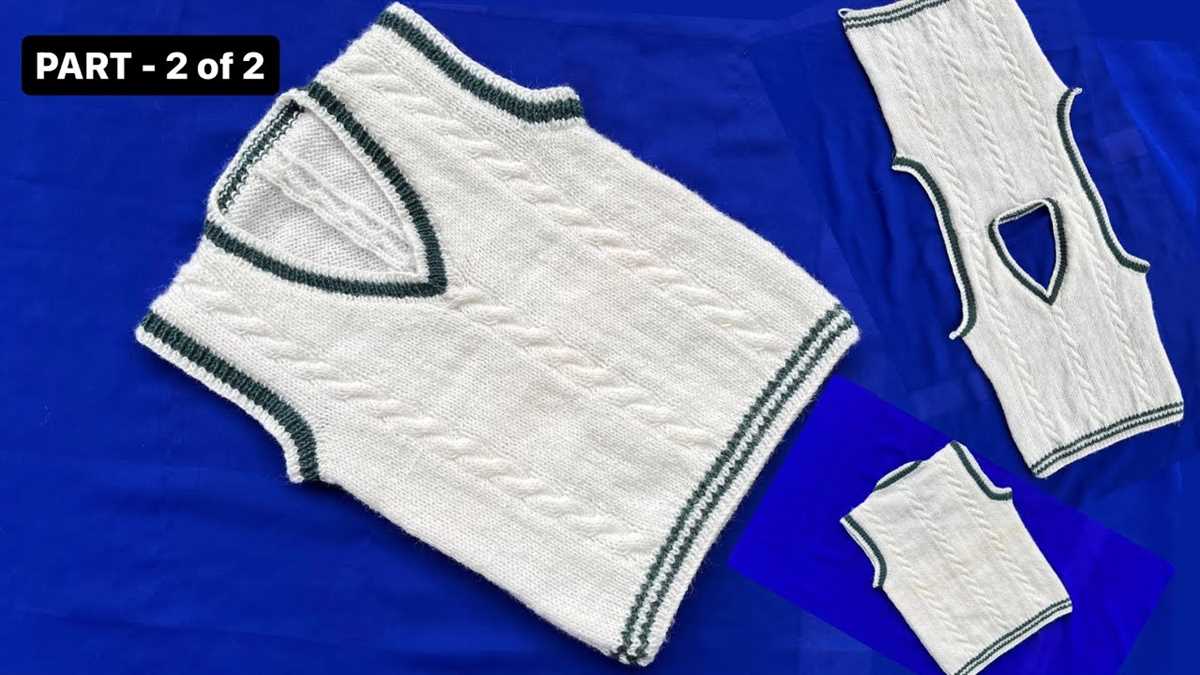
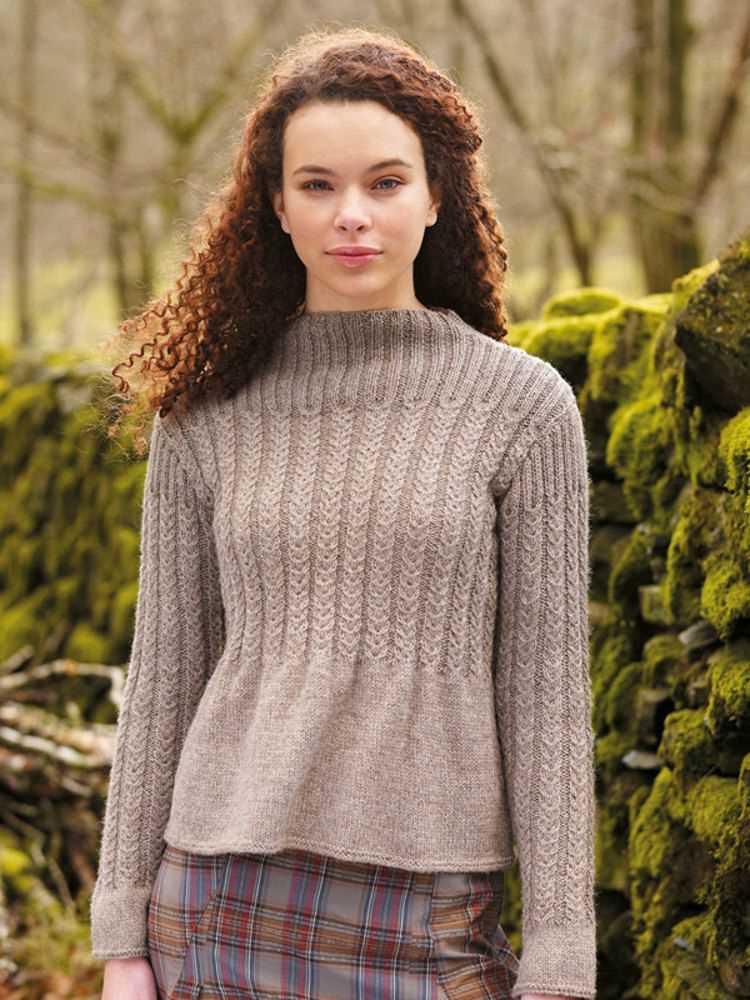
One popular sweater style is the crew neck, which features a high, rounded neckline that sits at the base of the neck. This style is versatile and works well with a variety of different outfits. It is a timeless classic that can be dressed up or down depending on the occasion. Another popular style is the V-neck, which features a V-shaped neckline that elongates the neck and adds a touch of femininity to the garment.
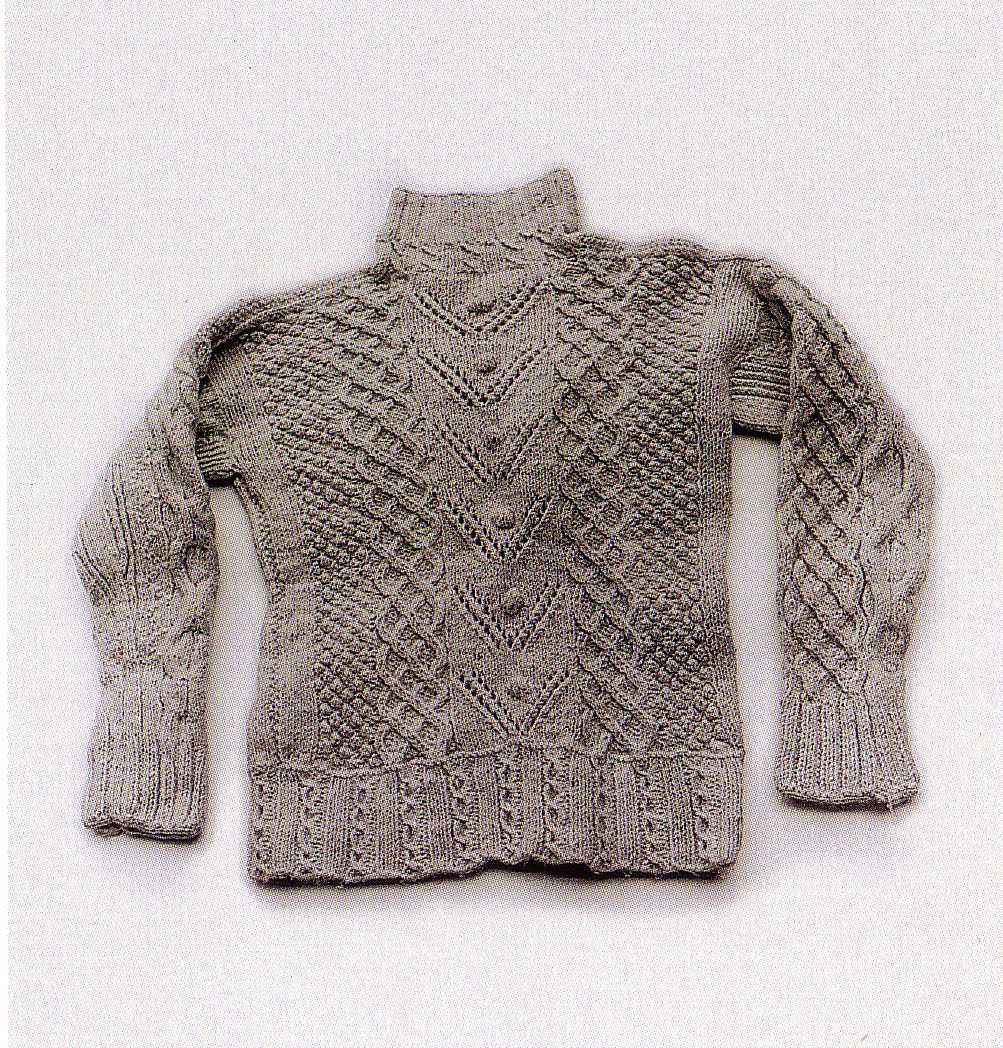
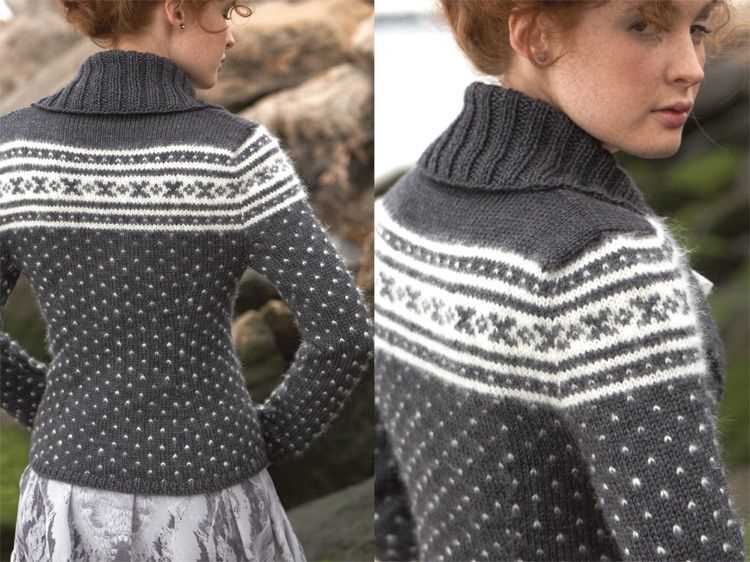
- The turtleneck is another popular sweater style that features a high, folded collar that extends up to cover the neck. This style is perfect for colder weather and provides extra warmth and insulation.
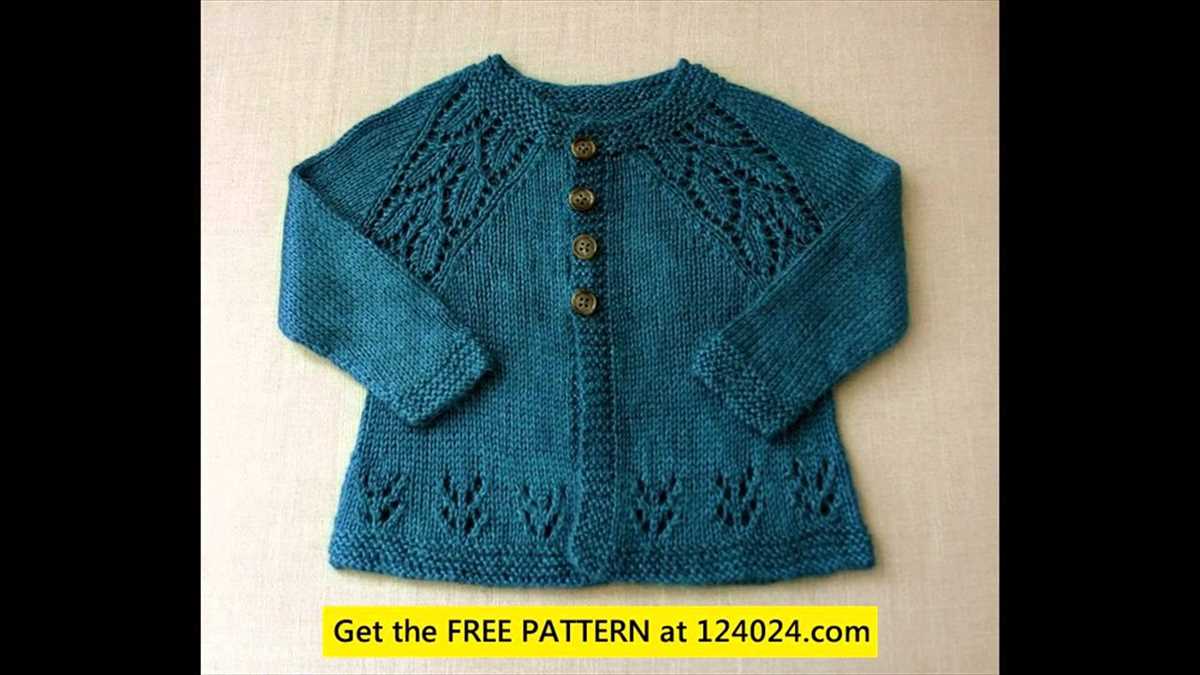
- The cardigan style is characterized by its open front and button or zipper closure. It can be worn as a layering piece or as a standalone garment, and it is perfect for adding a touch of sophistication and elegance to any outfit.
- The oversized or slouchy sweater style has gained popularity in recent years. This style features a loose, relaxed fit that is comfortable and cozy. It is great for casual, everyday wear and can be easily paired with jeans or leggings.
When designing a knitting pattern for sweaters, it is important to consider the different styles and choose one that aligns with your vision for the garment. Whether you want a classic, fitted sweater or a trendy, oversized design, understanding the different sweater styles will help you create a pattern that is both stylish and functional.
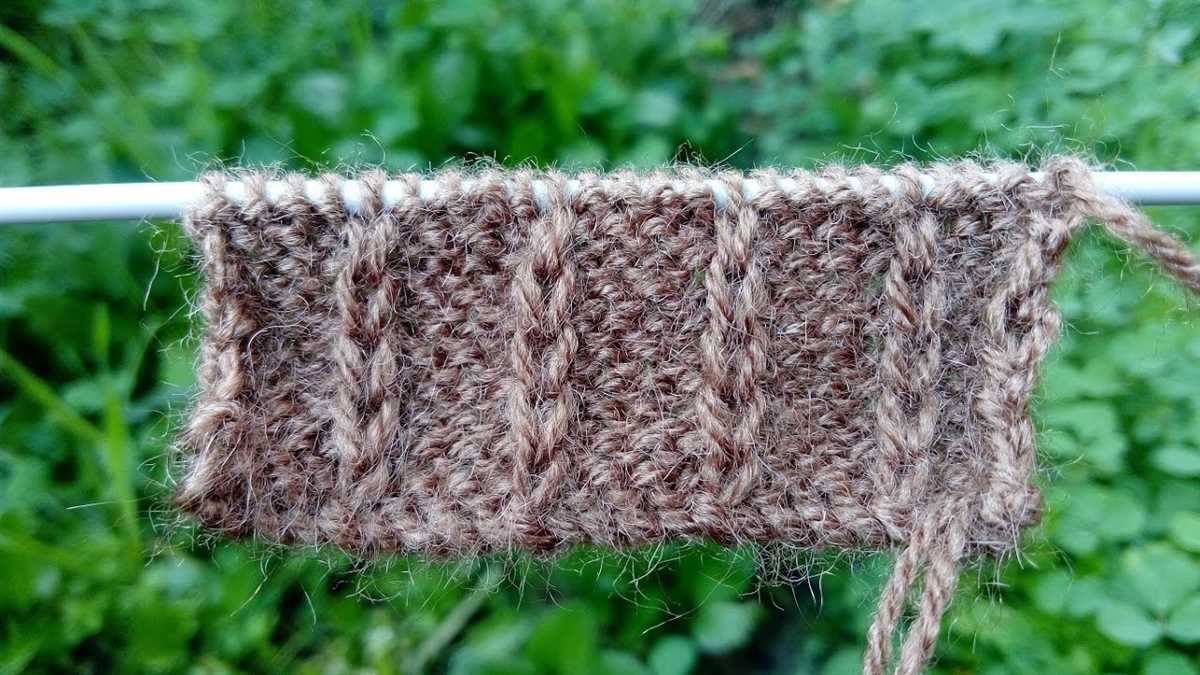
Creating a Gauge Swatch
Before starting any knitting project, it is essential to create a gauge swatch to ensure that the finished item will be the correct size and fit. A gauge swatch is a small, test section of knitting that allows you to measure the number of stitches and rows per inch.
Step 1: Choose your yarn and needles
First, select the yarn and needles you plan to use for your project. The yarn label will typically provide a recommended gauge, which is the number of stitches and rows that should be achieved over a 4×4 inch square. Choose needles that are appropriate for the yarn and will help you achieve the recommended gauge.
Step 2: Cast on and knit a swatch
Using the chosen yarn and needles, cast on a sufficient number of stitches to create a test section that measures at least 4 inches across. It is recommended to use a multiple of 4 or 8 stitches to ensure accuracy. Knit in the chosen stitch pattern for several rows until the swatch measures at least 4 inches in height.
Step 3: Measure your gauge
Once the swatch is complete, lay it flat on a surface and use a ruler or gauge tool to measure the number of stitches and rows within a 4×4 inch area. Compare these measurements to the recommended gauge on the yarn label. If your swatch has more stitches and rows than the recommended gauge, your knitting is too tight, and you may need to switch to larger needles. If the swatch has fewer stitches and rows, your knitting is too loose, and you may need to switch to smaller needles.
Step 4: Adjust and retest if necessary
If your gauge does not match the recommended gauge, make adjustments by changing the needle size and knitting another swatch. Repeat the measuring process until you achieve the correct gauge. It is important to note that even small differences in gauge can significantly impact the fit and size of the final garment.
By creating a gauge swatch before starting your knitting project, you can ensure that your finished sweater will have the desired fit and measurements. Taking the time to accurately measure your gauge will save you the frustration of having to adjust or remake your project later on.
Calculating the number of stitches
When designing a knitting pattern for a sweater, one of the most important steps is calculating the number of stitches. This will determine the size and fit of the sweater, as well as the overall pattern design.
To start, you will need to have the desired measurements for the sweater, such as the chest circumference and sleeve length. These measurements will serve as the basis for your calculations.
Next, you will need to determine your gauge, which is the number of stitches per inch or centimeter in your chosen yarn and needle size. You can achieve accurate gauge by knitting a swatch and measuring it. Once you have your gauge, you can use it to calculate the number of stitches needed for each section of the sweater.
In general, to calculate the number of stitches for the chest circumference, you will multiply the gauge by the desired chest measurement. For example, if your gauge is 5 stitches per inch and you want a chest circumference of 40 inches, you will need 200 stitches.
For the sleeves, you will need to consider the desired sleeve length and the shaping required. You may need to increase or decrease stitches to achieve the desired fit. Similarly, for the neckline and any other design elements, you will need to calculate the number of stitches based on your gauge and measurements.
It’s important to note that these calculations may vary depending on the stitch pattern and any additional design elements you plan to incorporate. It’s recommended to double-check your calculations and make adjustments as needed to ensure a proper fit and a well-designed knitting pattern.
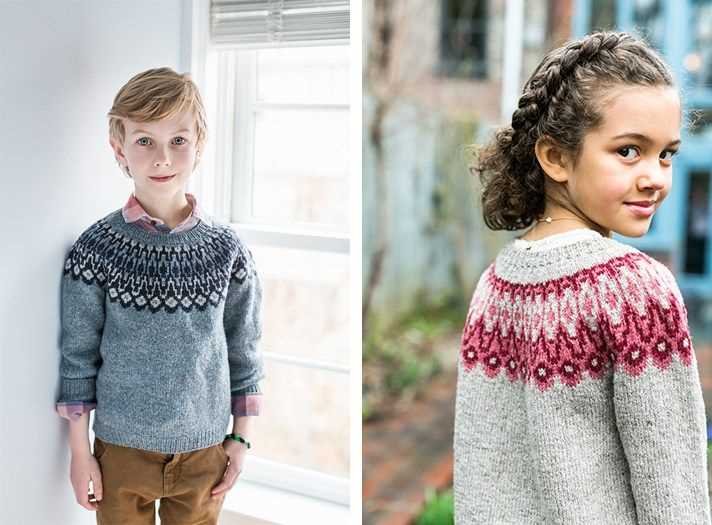
Designing the neck and shoulder shaping
When designing a knitting pattern for sweaters, one important aspect to consider is the neck and shoulder shaping. This is where the fit and comfort of the sweater can be greatly influenced. There are different methods to shape the neck and shoulder area, and the choice will depend on the style and design of the sweater.
1. Neckline options: There are several options for the neckline, such as crew neck, V-neck, scoop neck, boat neck, and more. Each neckline option creates a different look and feel for the sweater. It’s important to choose a neckline that complements the overall design and suits the wearer’s preferences.
2. Shaping the shoulder area: The shoulder area can be shaped in various ways, depending on the desired fit and style of the sweater. One common method is to use short rows to create a sloped shoulder, which provides a more natural and comfortable fit. Another option is to use decreases or increases to shape the shoulder area, creating a more structured or relaxed look, respectively.
- Short rows: Short rows are typically used to shape the back shoulder in a sloping manner. This technique involves knitting or purling a certain number of stitches partway across the row and then turning the work before completing the row. This creates extra fabric on one side, which results in a gradual slope along the shoulder line.
- Decreases: Decreases are used to shape the shoulder area by reducing the number of stitches across a row. This results in a more fitted and structured shoulder line. Different types of decreases, such as knit two together (k2tog) or slip, slip, knit (ssk), can be used to achieve different effects.
- Increases: Increases are used to shape the shoulder area by adding more stitches across a row. This creates a more relaxed and loose fit. Common types of increases, such as knit front and back (kfb) or yarn over (yo), can be utilized to achieve the desired effect.
In addition to the neckline and shoulder shaping, it’s important to consider the overall fit of the sweater and how it aligns with the intended design. Taking accurate measurements and incorporating proper ease will ensure that the finished sweater fits well and looks flattering on the wearer.
Adding decorative stitches and patterns
One of the most exciting parts of designing a knitting pattern for a sweater is incorporating decorative stitches and patterns. These elements can add visual interest and texture to the finished garment, making it truly unique and eye-catching.
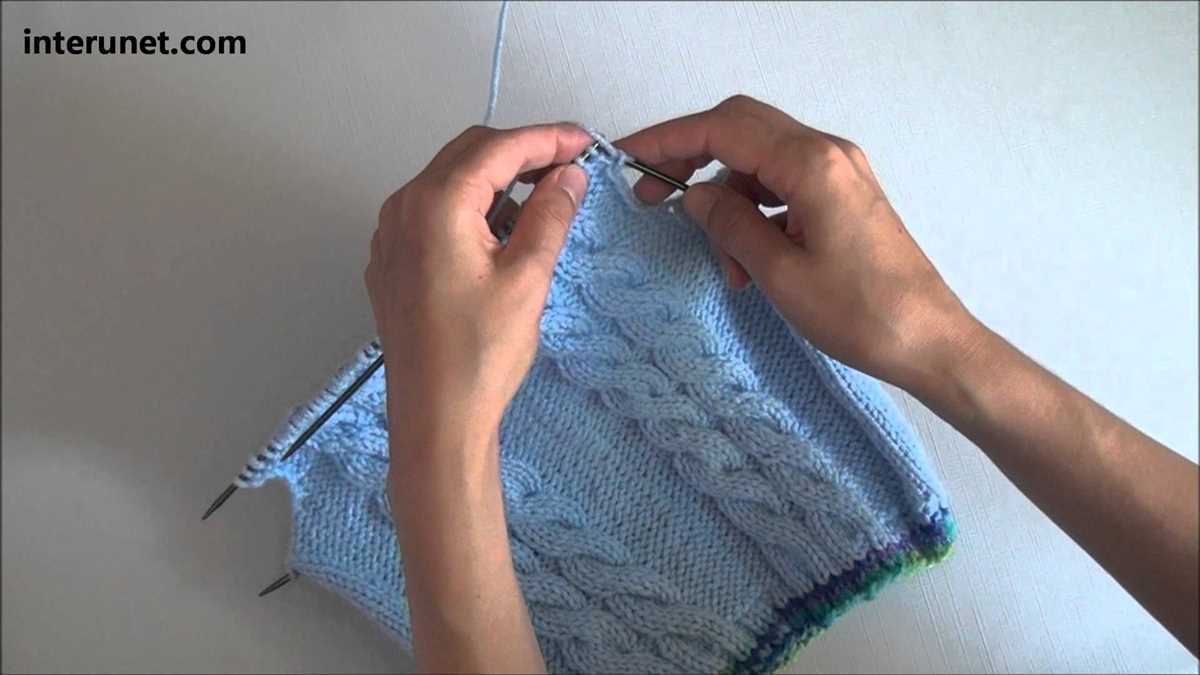
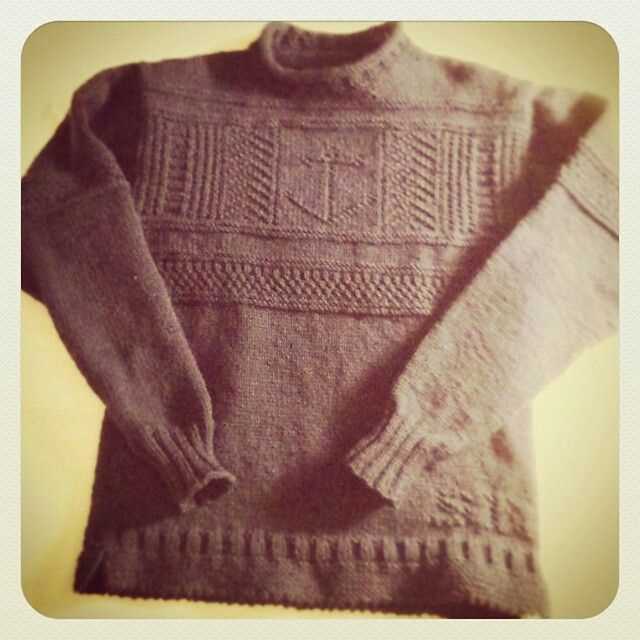
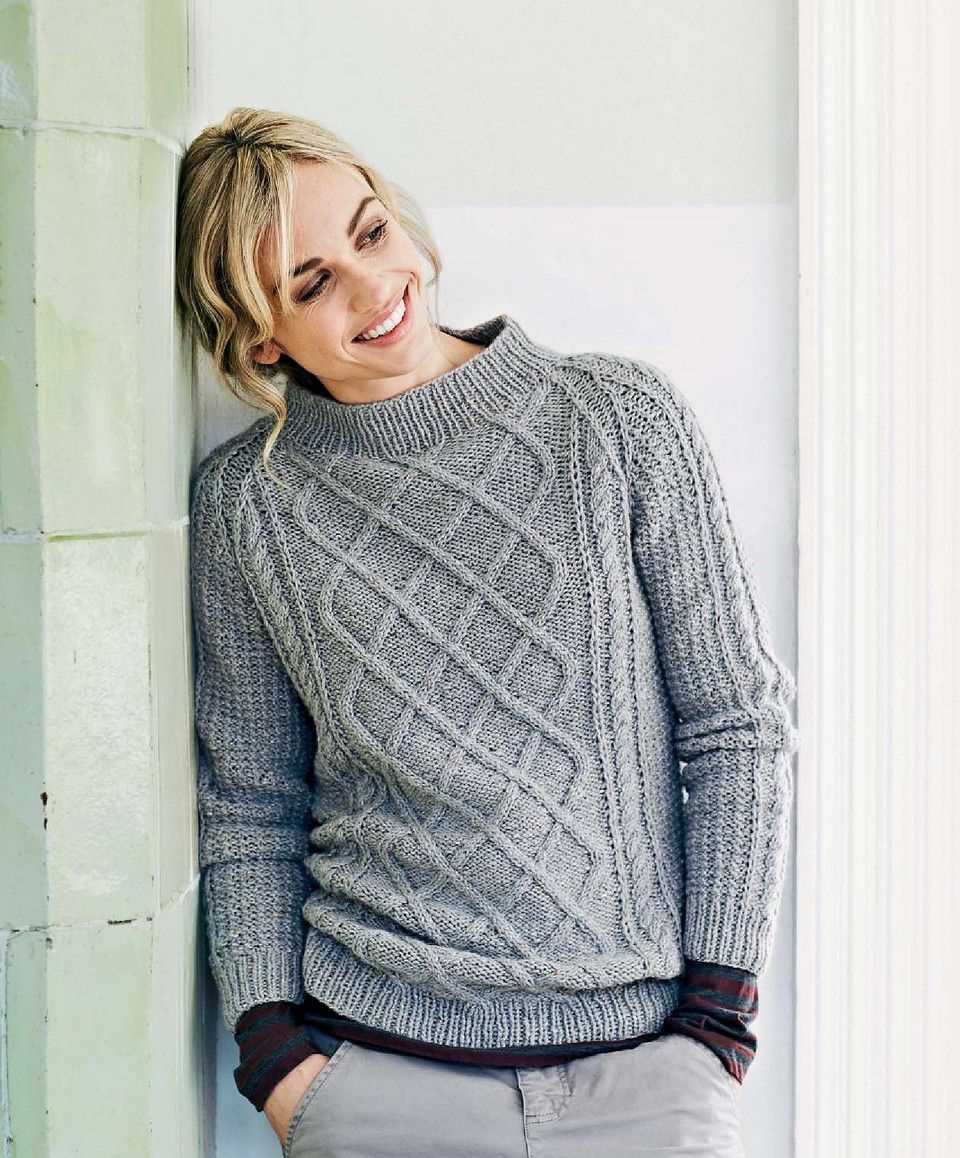
Choosing the right stitch patterns: When selecting decorative stitches and patterns for your sweater design, it’s important to consider the overall style and theme you want to achieve. Whether you opt for classic cables, intricate lace, or simple ribbing, each stitch pattern can convey a different mood and aesthetic. It’s a good idea to experiment with different swatches to see how these stitches look and determine which ones work best for your design.
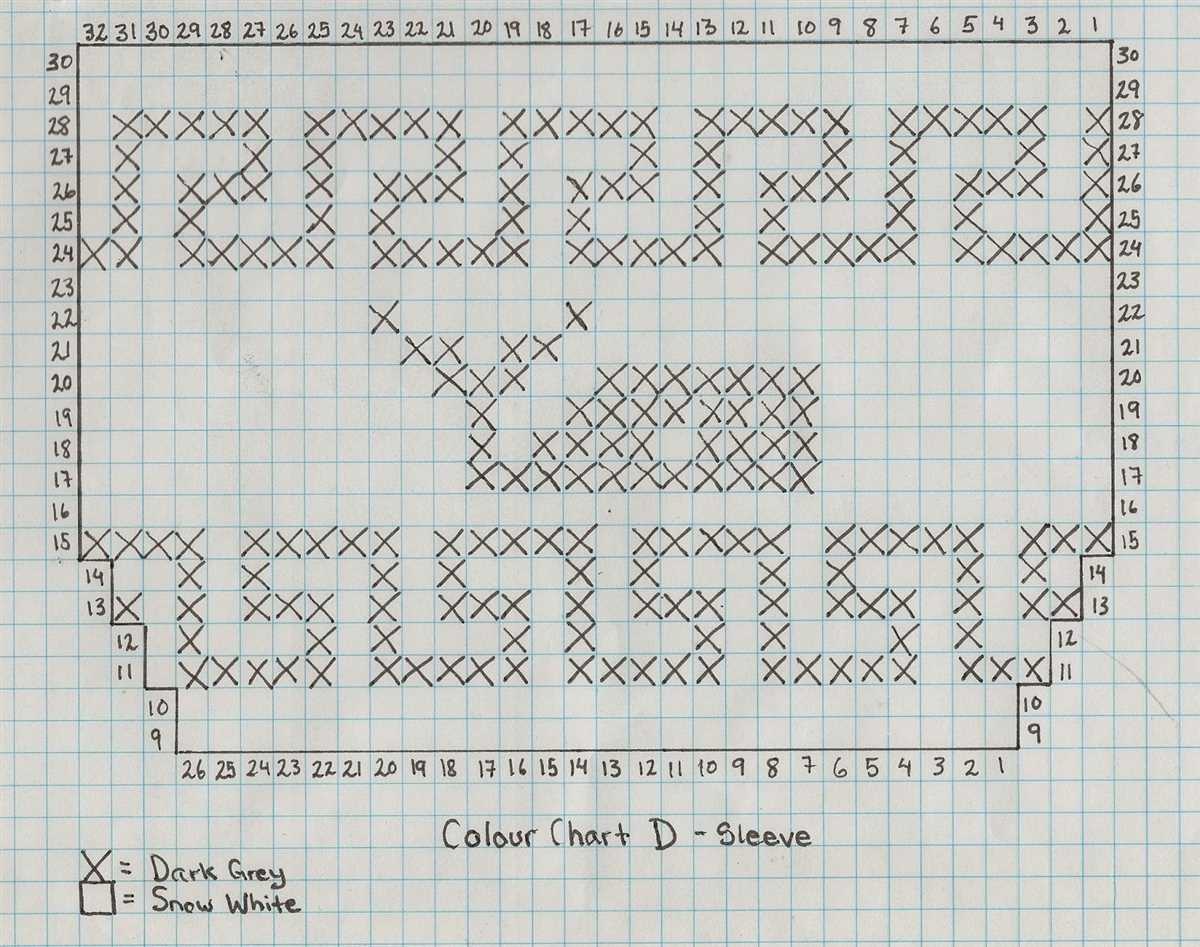
Creating a stitch chart: Once you have chosen the stitch patterns you want to use, it’s helpful to create a stitch chart. A stitch chart is a graphical representation of each stitch and how they are arranged within a row. This visual tool makes it easier to follow and track the pattern as you knit. You can create a stitch chart by hand or use knitting software or apps.
Incorporating pattern repeats: When designing a sweater, you will need to consider the size and placement of decorative stitches and patterns. To maintain a balanced and harmonious look, it’s often best to incorporate pattern repeats. This means repeating a certain number of stitches or rows across the garment. By doing so, you can create a cohesive and well-balanced design that is visually pleasing.
Combining stitches and textures: Don’t be afraid to mix and match different stitches and textures in your sweater design. For example, you can combine lace panels with ribbing or add cables to the sleeves. This blending of stitches and textures adds depth and dimension to the garment, creating a more visually interesting and dynamic pattern.
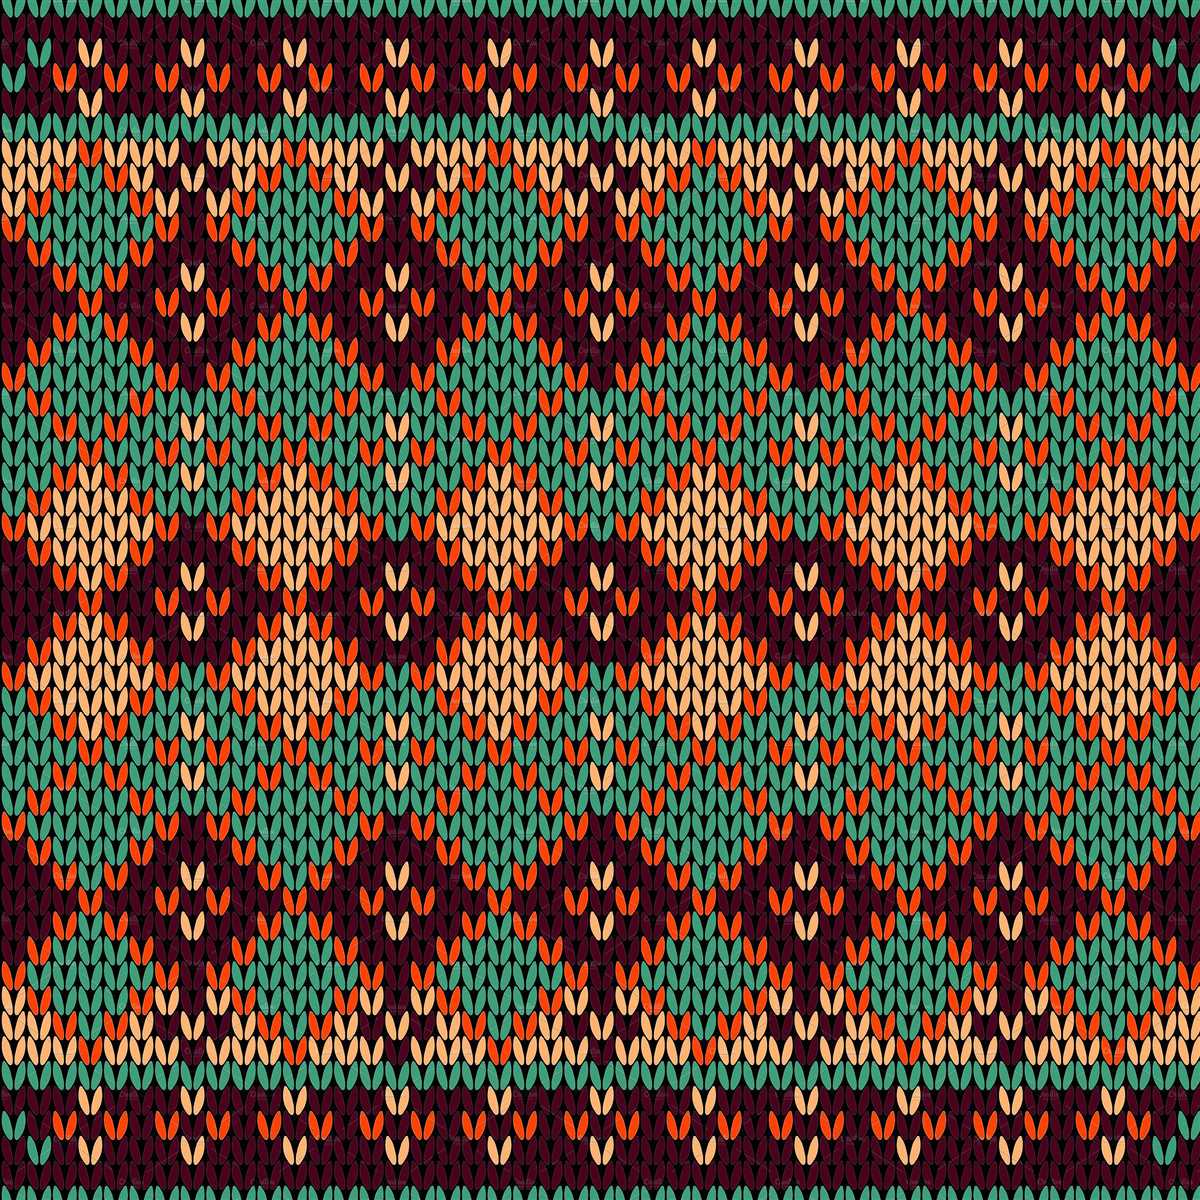
Using colorwork: Another way to add decorative elements to your sweater design is through colorwork. Colorwork involves incorporating different colors of yarn to create patterns and motifs. Fair Isle, intarsia, and stranded knitting are popular colorwork techniques that can be used to create beautiful and intricate designs on your sweater.
Experimenting and customizing: The beauty of designing knitting patterns for sweaters is that you have the freedom to experiment and customize to your heart’s content. Try different stitch combinations, alter stitch counts, or add your own unique twists to existing patterns. This creativity and personal touch will result in a one-of-a-kind sweater that reflects your individual style and flair.
Transitioning between stitch patterns
When designing a knitting pattern for sweaters, one of the key elements to consider is how to transition between different stitch patterns. This is important because it affects the overall appearance and structure of the sweater. A smooth and seamless transition between stitch patterns can create a cohesive and polished look, while a poorly executed transition can result in an uneven and unattractive finish.
There are several techniques that can be used to transition between stitch patterns in a knitting pattern. One common technique is to use a transitional row or round, where stitches are gradually worked in the new stitch pattern. This can be done by gradually introducing the new stitch pattern over a few rows or rounds, and gradually phasing out the old stitch pattern until the new one is fully established.
Using a transitional row example:
- Row 1: Knit in the old stitch pattern
- Row 2: Begin transitioning to the new stitch pattern by working a combination of the old and new stitches
- Row 3: Continue transitioning by working more stitches in the new stitch pattern
- Row 4: Fully establish the new stitch pattern by working all stitches in the new pattern
Another technique that can be used is to incorporate a simple and neutral stitch pattern as a bridge between two more complex stitch patterns. This can help create a smooth and visually appealing transition. For example, if transitioning from a lace stitch pattern to a cable stitch pattern, you can incorporate a few rows of stockinette stitch or a simple rib pattern to bridge the two.
It’s also important to consider the stitch pattern repeats when transitioning between different patterns. It can be helpful to plan the transition in such a way that the stitch pattern repeats align with each other, or that any differences in stitch count are evenly distributed throughout the transition. This can help maintain balance and symmetry in the design.
Creating a custom fit
When designing a knitting pattern for sweaters, one of the most important factors to consider is achieving a custom fit. Every body shape is unique, and it’s essential to create a garment that flatters the individual wearer. To do this, there are several key steps to follow.
Measurements
The first step in creating a custom fit is taking accurate measurements of the wearer. This includes measuring the bust, waist, hips, arm circumference, and length from shoulder to hem. It’s crucial to use a flexible measuring tape and have the individual stand in a relaxed, natural posture to get the most precise measurements.
Gauge swatch
Once the measurements are taken, it’s time to determine the correct gauge for the knitting pattern. The gauge indicates how many stitches and rows should be knitted per inch. Knitting a gauge swatch using the intended yarn and needle size is essential to ensure the final garment will have the correct measurements. This step helps to avoid unwanted surprises, such as a sweater that turns out too small or too big.
Pattern adjustments
Designers must have a good understanding of how to adjust a knitting pattern to fit different body shapes. This includes modifying the number of stitches, increasing or decreasing the length or width, and adjusting the shaping of the neckline, sleeves, or waist. By making these adjustments based on the wearer’s measurements, the knitted sweater will fit perfectly and be incredibly comfortable to wear.
Try-on fittings
Once the knitting is complete, it’s important to have the wearer try on the sweater for a fitting session. This allows for any final adjustments to be made, such as shortening or lengthening the sleeves or altering the overall length of the garment. This step ensures that the finished sweater fits the wearer like a glove and meets their expectations.
By following these steps and considering the individual’s measurements and body shape, it’s possible to create a custom fit knitting pattern for sweaters that will make the wearer feel stylish and confident.
Writing the knitting instructions
Once you have created your knitting pattern chart and determined the necessary measurements and stitch counts, it’s time to write out the knitting instructions. These instructions will guide the knitter step-by-step through the process of creating the sweater.
When writing the knitting instructions, it’s important to be clear and concise. Use standard knitting abbreviations and terminology to make it easier for knitters to follow along. Specify the stitch pattern, the number of stitches to cast on, and any increases or decreases that need to be made.
Example:
CO: Cast on 100 stitches.
Ribbing: Work in k1, p1 ribbing for 2 inches.
Main Body: Switch to stockinette stitch and work even until the piece measures 15 inches from the cast-on edge.
Shape Armholes: On the next row, bind off 5 stitches at the beginning of the row, and then decrease 1 stitch at each end of every other row 4 times.
Shape Neck: On the next row, bind off the center 20 stitches, and then decrease 1 stitch at the neck edge every other row 4 times.
Continue: Work even until the armhole measures 7 inches from the beginning of the armhole shaping.
Shape Shoulders: On the next row, bind off 10 stitches at the beginning of the row, and then bind off the remaining stitches.
It’s also helpful to include any other important details in the instructions, such as finishing techniques, blocking instructions, and any special notes or tips. This will ensure that the knitter has all the information they need to successfully complete the sweater.
Remember to proofread your instructions and test knit the pattern to catch any errors or areas of confusion. Providing clear and accurate instructions will help knitters have a positive experience while making your sweater pattern.