
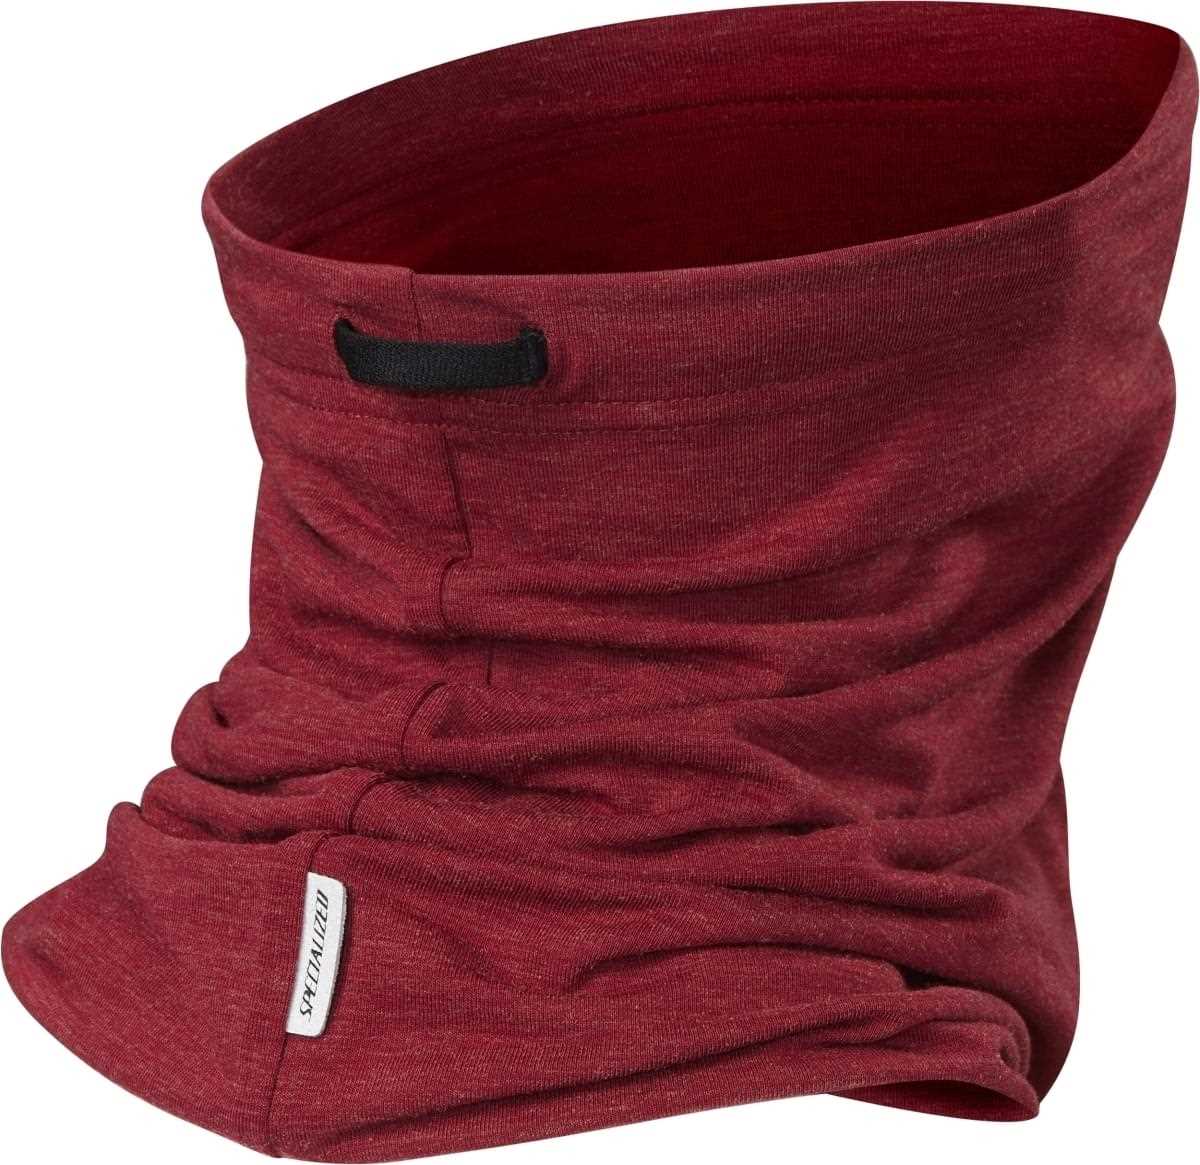
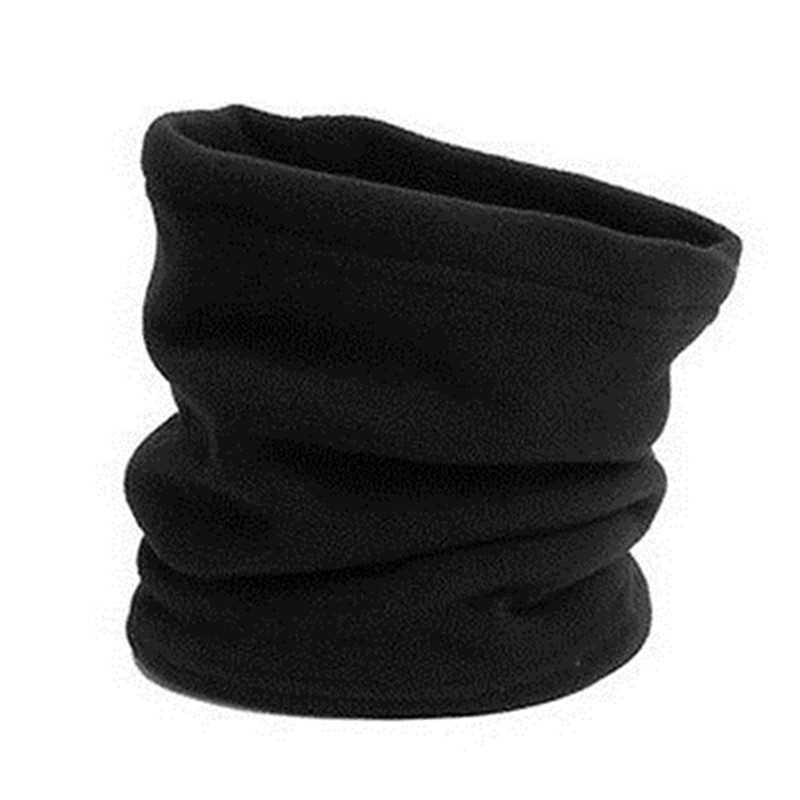
A neck gaiter, also known as a neck warmer or a snood, is a versatile accessory that can be worn in a variety of ways to provide warmth and protection from the elements. It is a tubular piece of fabric that can be pulled up over the lower half of the face, worn as a scarf, or used as a headband.
Knitting your own neck gaiter allows you to customize the size, shape, and color to suit your personal style and preferences. It’s also a great way to showcase your knitting skills and create a one-of-a-kind accessory that you can be proud of. Whether you’re a beginner knitter or an experienced yarn enthusiast, there are plenty of knitted neck gaiter patterns available to cater to every skill level.
This article will provide you with a step-by-step guide on how to knit your own neck gaiter, as well as a selection of popular patterns to get you started. From simple ribbed designs to intricate cable stitches, there’s a pattern out there for everyone. So grab your knitting needles and get ready to create a cozy and stylish accessory that will keep you warm all winter long!
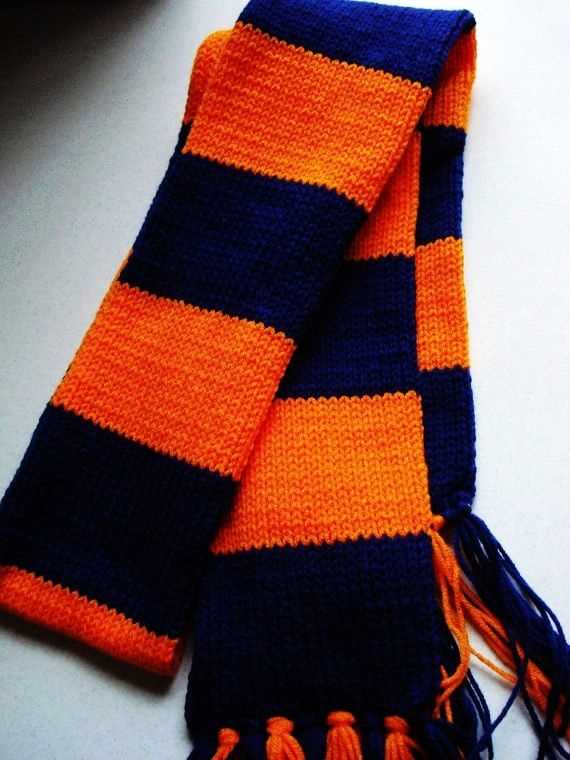
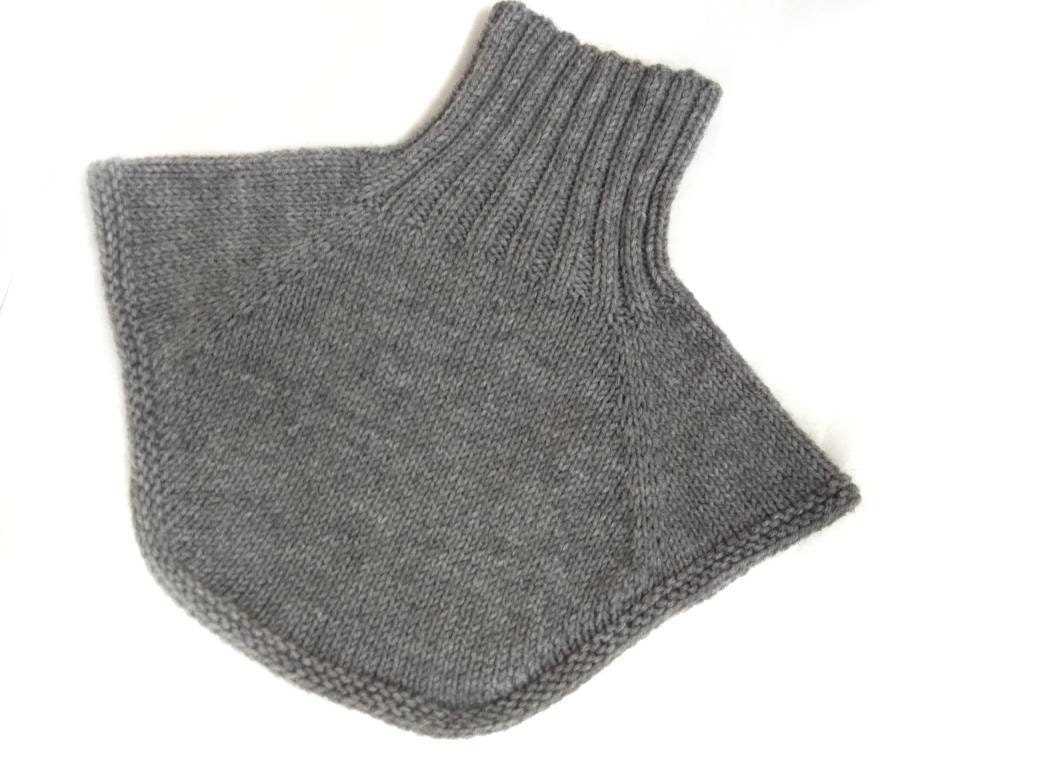
Knitted Neck Gaiter Pattern
A neck gaiter is a versatile accessory that can provide warmth and protection from the elements. Knitting your own neck gaiter allows you to customize the color, texture, and thickness to suit your preferences. Here is a simple knitted neck gaiter pattern that is suitable for beginners:
Materials:
- Size 8 (5mm) knitting needles
- Worsted weight yarn (approximately 200 yards)
- Tapestry needle for weaving in ends
Instructions:
Step 1: Cast on 60 stitches.
Step 2: Knit every stitch for the first row.
Step 3: Repeat step 2 for every row until the gaiter reaches your desired length (approximately 12 inches).
Step 4: Bind off all stitches.
Step 5: Use a tapestry needle to weave in any loose ends.
Once you have finished knitting your neck gaiter, you can wear it by pulling it over your head and adjusting it around your neck. The ribbed texture of the gaiter will help it stay in place and provide warmth. You can also fold it over for extra thickness and insulation.
This knitted neck gaiter pattern is a great project for beginners who are looking to improve their knitting skills and create a practical accessory. Experimenting with different yarns and stitch patterns can help you create unique and personalized gaiters to suit your style. Stay warm and cozy with your handmade neck gaiter!
What is a Neck Gaiter?

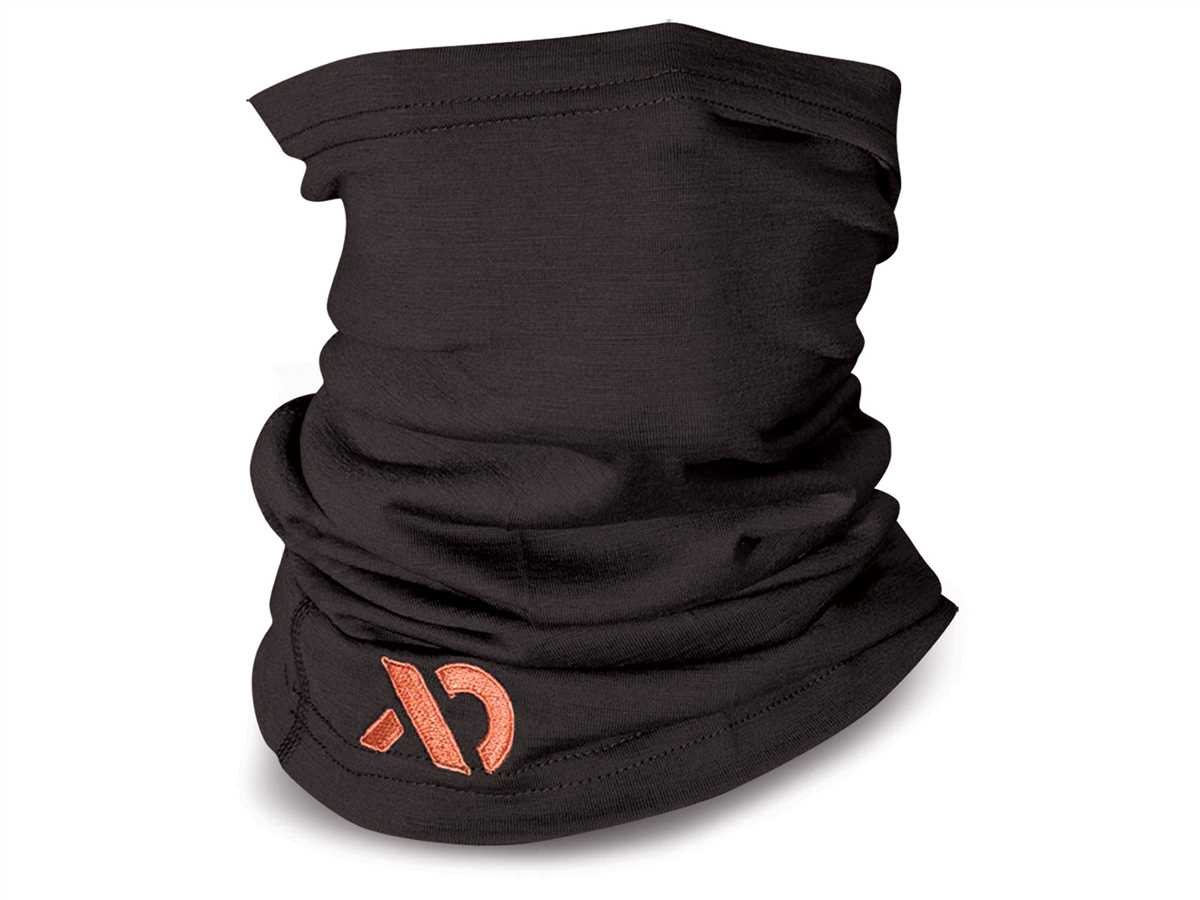
A neck gaiter, also known as a neck warmer or a neck tube, is a versatile accessory that can be worn around the neck or pulled up over the face and nose. It is typically made from a stretchy fabric such as fleece or knitted material, which allows it to comfortably fit around the neck and provide warmth and protection from the elements.
Neck gaiters are popular among outdoor enthusiasts and athletes for their functionality and convenience. They can be worn in various ways, depending on the weather conditions and personal preference. When worn as a neck warmer, the gaiter provides insulation and helps to retain body heat, making it an essential accessory for cold weather activities such as skiing, snowboarding, hiking, and camping.
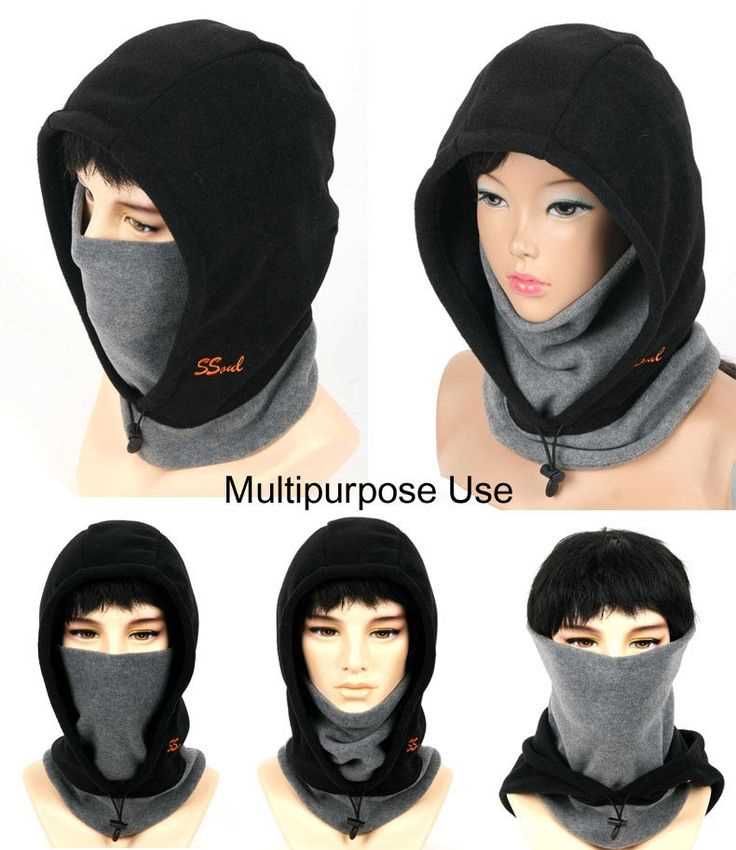
When the weather becomes more extreme, a neck gaiter can be pulled up to cover the face and nose, providing additional protection against wind, dust, and snow. This makes it a great choice for winter sports enthusiasts and individuals who spend a lot of time outdoors in harsh conditions.
The versatility of a neck gaiter extends beyond outdoor activities. It can also be used as a fashion accessory, adding a stylish touch to any outfit. Whether worn as a neck scarf, a headband, or even a wristband, a neck gaiter can be a functional and fashionable addition to your wardrobe.
In conclusion, a neck gaiter is a practical and multipurpose accessory that offers warmth, protection, and style. Whether you’re an outdoor enthusiast or simply looking for a stylish accessory, a neck gaiter is a must-have item.
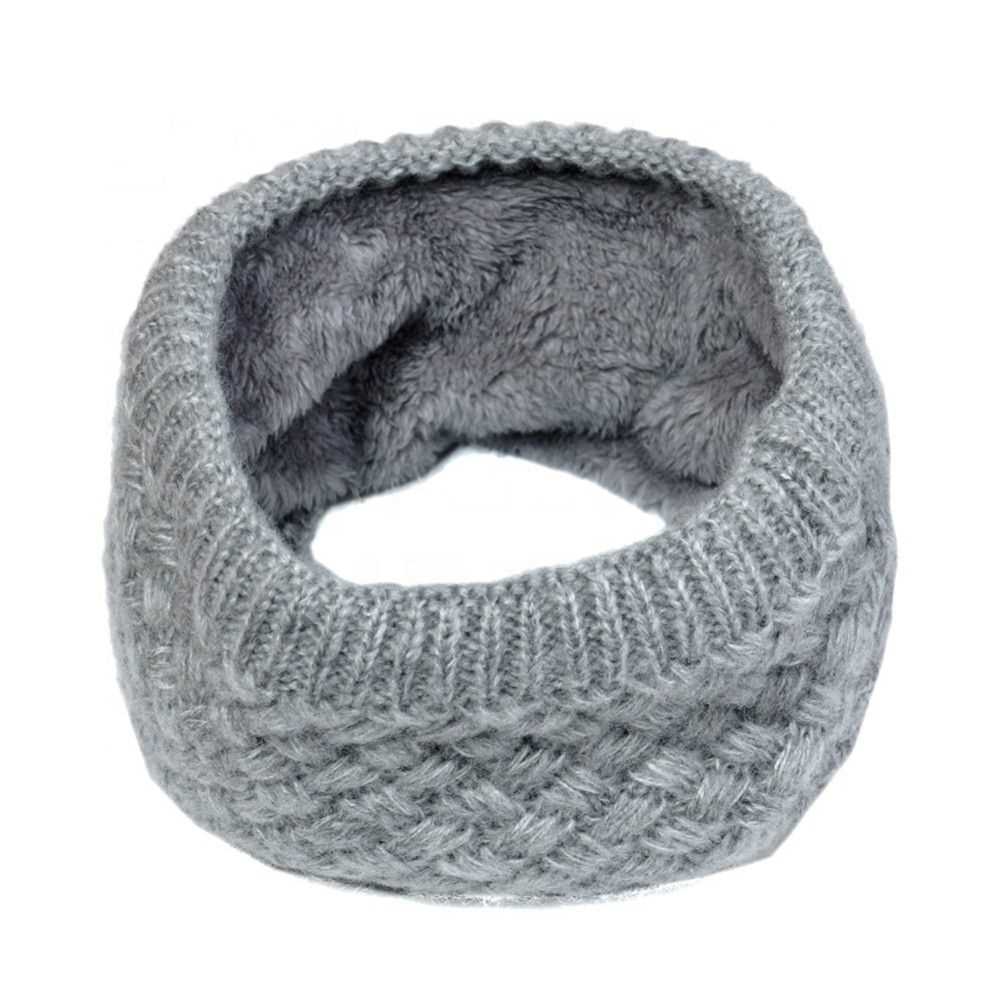
Benefits of Knitted Neck Gaiter
Knitted neck gaiters are stylish accessories that provide numerous benefits to the wearer. Whether you’re heading out for a winter hike or simply running errands on a chilly day, a knitted neck gaiter can keep you warm and protected in style.
Warmth: One of the main benefits of a knitted neck gaiter is its ability to provide warmth. The knitted fabric acts as a barrier against cold air, helping to keep your neck and face cozy and protected from the elements. The snug fit ensures that no cold air can enter, making it a great option for those who want to keep warm without wearing a bulky scarf.
Comfort and Versatility: Knitted neck gaiters are known for their comfort and versatility. The soft and stretchy fabric feels gentle against the skin, making it a pleasure to wear all day long. Additionally, the gaiter can be worn in a variety of ways, such as a neck warmer, face covering, or even a headband. This flexibility makes it a valuable accessory for any outfit or activity.
Protection: A knitted neck gaiter not only provides warmth but also offers protection against the elements. The tight-knit fabric acts as a barrier against wind, dust, and other outdoor pollutants, keeping your face and neck shielded. This is particularly useful during outdoor activities like skiing, hiking, and biking, where you need extra protection from the elements.
Style: Beyond its practical benefits, a knitted neck gaiter adds a touch of style to any outfit. With a wide range of colors, patterns, and textures available, you can find a gaiter that complements your personal style and adds an extra element of fashion to your winter wardrobe. Whether you prefer a minimalist design or a bold and colorful pattern, there’s a knitted neck gaiter to suit your taste.
Ease of Use: Finally, knitted neck gaiters are incredibly easy to use. Unlike traditional scarves, which require wrapping and tying, a gaiter is simply slipped over the head and adjusted for the desired fit. This makes it a convenient option for those who are always on the go and don’t want to spend time fussing with their accessories.
In conclusion, a knitted neck gaiter offers a range of benefits including warmth, comfort, versatility, protection, style, and ease of use. With so many advantages, it’s no wonder that knitted neck gaiters have become a popular accessory for both fashion and function.
Choosing the Right Yarn for Your Neck Gaiter
When it comes to knitting a neck gaiter, choosing the right yarn is essential for both comfort and functionality. The type of yarn you select will determine the warmth, breathability, and overall feel of the finished garment. There are a few key factors to consider when making this decision.
Fiber Content
The fiber content of the yarn is an important consideration. Wool is a popular choice for neck gaiters due to its excellent insulating properties and natural moisture-wicking abilities. It keeps you warm even in wet conditions, making it a great option for outdoor activities. Alpaca is another warm and soft choice, while acrylic is a more affordable and easy-to-care-for option.
Weight
The weight of the yarn will determine how thick or thin your neck gaiter will be. Bulkier yarns, such as a chunky or super bulky weight, will create a thicker and warmer neck gaiter, perfect for colder climates. On the other hand, lighter weight yarns, like fingering or sport weight, will create a more lightweight and breathable garment, suitable for milder temperatures or indoor wear.
Texture and Stretch
The texture of the yarn can add visual interest to your neck gaiter. Consider whether you want a smooth and polished look or prefer a more textured and rustic appearance. Additionally, look for yarns with built-in stretch or elasticity. This will ensure a snug and comfortable fit around your neck, allowing for easy on and off without compromising warmth.
Color and Pattern
Lastly, consider the color and pattern of the yarn. Depending on your personal style and the purpose of the neck gaiter, you may want to choose a solid color that matches your wardrobe or opt for a variegated or self-striping yarn for a more unique look. Additionally, some yarns come in a variety of patterns, such as Fair Isle or tweed, which can add extra visual appeal to your finished garment.
By considering the fiber content, weight, texture, color, and pattern of the yarn, you can choose the perfect yarn for your knitted neck gaiter. Remember to also take into account your own preferences and the intended use of the garment to ensure the best possible outcome.
Essential Knitting Techniques
Knitting is a popular craft that involves creating fabric by interlocking loops of yarn with needles. Just like any other craft, knitting requires a set of essential techniques to master. Whether you are a beginner or an experienced knitter, it is important to have a good understanding of these techniques to create high-quality knitted items.
One of the most fundamental knitting techniques is casting on, which involves creating the foundation row of stitches on the knitting needle. There are several methods for casting on, such as the long-tail cast on, the knit cast on, and the cable cast on. Each method has its own advantages and creates different effects on the finished project.
Another important technique is knitting itself, where you actively create new stitches by pulling loops of yarn through existing stitches. Knitting can be done in two basic styles: the English style, where the yarn is held in the right hand, and the Continental style, where the yarn is held in the left hand. Both styles are widely used and it’s a matter of personal preference which one to choose.
Once you have mastered the basic knitting technique, you can explore various stitch patterns and techniques to create texture and design in your projects. These include techniques like ribbing, cables, lace, and colorwork. Each technique requires different skills and adds a unique touch to your knitted items. It’s worth practicing these techniques to expand your knitting repertoire.
In addition to these techniques, it is also important to learn how to read knitting patterns and understand knitting abbreviations. Knitting patterns provide instructions for creating specific projects and often include abbreviations to shorten the instructions. Understanding these abbreviations will help you follow the pattern accurately and achieve the desired result.
In conclusion, mastering essential knitting techniques is crucial for anyone who wants to create beautiful knitted items. With the right techniques and practice, you can create unique and personalized items that showcase your knitting skills and creativity.
Step-by-Step Knitting Instructions
To create a knitted neck gaiter, follow these step-by-step knitting instructions:
1. Gather the necessary materials
Before you start knitting, make sure you have all the materials you need. This includes a pair of knitting needles, yarn of your choice, a tapestry needle, and scissors.
2. Measure and cast on
Start by measuring the circumference of your neck to determine how long your neck gaiter should be. Once you have the measurement, cast on the desired number of stitches using the Long Tail Cast On method.
3. Knit in the round
Join the cast on stitches in a circle, being careful not to twist the stitches. Begin knitting in the round, using the knit stitch for each row. Continue knitting until the neck gaiter reaches the desired height.
4. Bind off
When you are ready to finish your neck gaiter, bind off the stitches by knitting the first two stitches, then passing the first stitch over the second stitch. Repeat this process until all the stitches are bound off.
5. Seam the ends
Using a tapestry needle, seam the ends of the neck gaiter together to create a seamless loop. Make sure to weave in any loose yarn ends to secure the seam.
With these step-by-step knitting instructions, you can easily create your own knitted neck gaiter to keep you warm and stylish in the colder months. Experiment with different yarn colors and patterns to personalize your neck gaiter and make it truly unique.
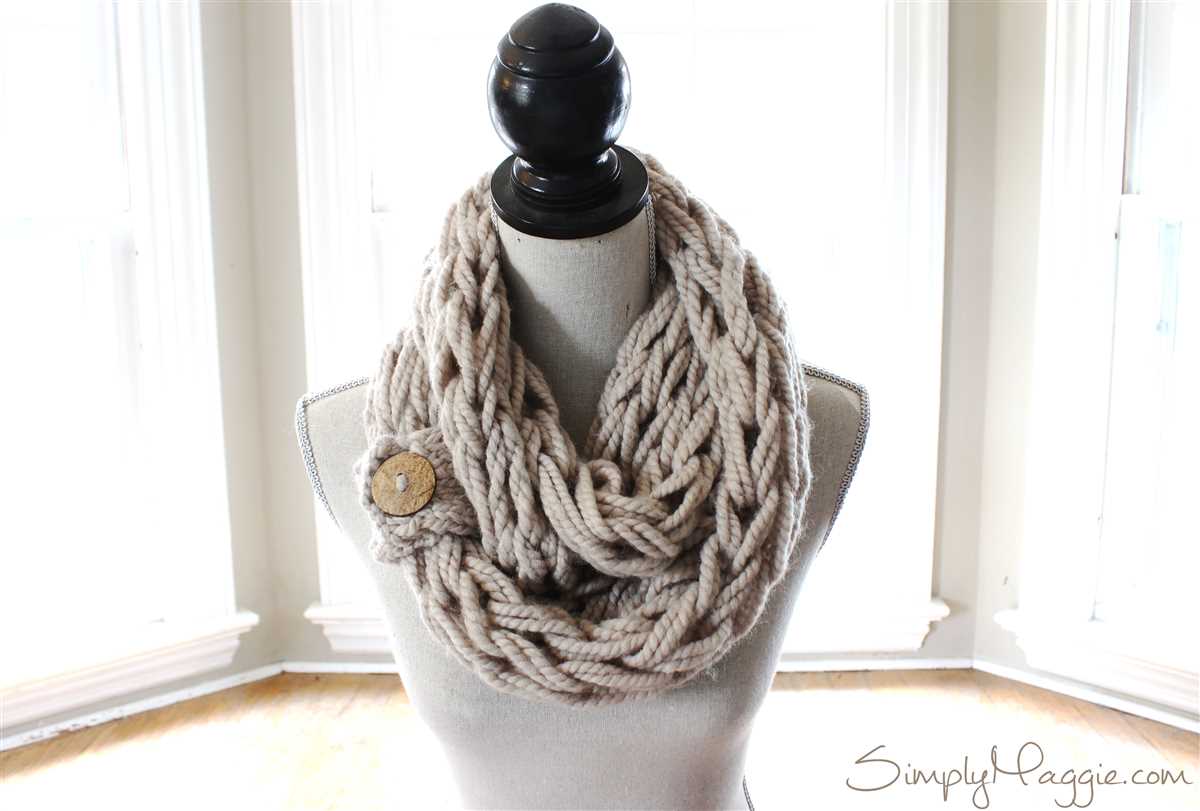
Adding Decorative Touches to Your Neck Gaiter
Knitted neck gaiters not only offer warmth and protection from the elements, but they are also a great canvas for adding decorative touches. Whether you want to personalize your gaiter or simply enhance its appearance, there are several creative options to consider.
Embroidery: Embroidery is a versatile way to add decorative elements to your knitted neck gaiter. You can use different colored threads to create intricate patterns or add personalized designs, such as initials or symbols. Consider using embroidery stitches like the satin stitch, French knot, or backstitch to add texture and dimension to your gaiter.
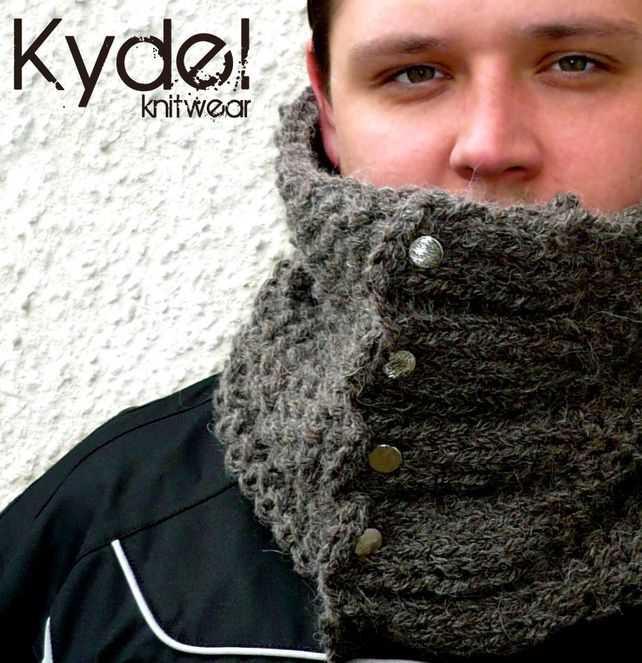
Buttons: Adding buttons to your neck gaiter not only serves a functional purpose but can also enhance its overall look. Choose buttons in different shapes, sizes, and colors to complement the yarn used in your gaiter. You can sew the buttons in a specific pattern or randomly scatter them for a more whimsical touch.
Pom-Poms: Pom-poms are a fun and playful addition to any knitted neck gaiter. You can make small or large pom-poms using yarn in coordinating or contrasting colors. Attach the pom-poms to the corners or edges of your gaiter using a needle and thread, or tie them securely with yarn. Pom-poms add a touch of flair and can also serve as a tactile element to play with.
Color Blocking: If you want to give your neck gaiter a modern and bold look, consider color blocking. Choose two or more contrasting colors of yarn and create sections of different colors on your gaiter. You can knit each section separately or use the intarsia or stranded colorwork techniques. Color blocking allows you to experiment with different color combinations and create a unique and eye-catching gaiter.
Patterned Stitches: Another way to add decorative touches to your neck gaiter is by incorporating patterned stitches. Choose stitches like cables, lace, or seed stitch to create different textures and visual interest. You can knit an entire gaiter with a specific pattern or use patterned stitches as borders or panels. Patterned stitches can elevate the look of your gaiter and make it stand out.
Adding decorative touches to your knitted neck gaiter is a creative way to showcase your personal style and make your gaiter truly unique. Whether you prefer embroidery, buttons, pom-poms, color blocking, or patterned stitches, there are endless possibilities to explore. Let your imagination run wild and have fun customizing your neck gaiter!
How to Wear a Knitted Neck Gaiter
If you’ve recently knitted a neck gaiter or are planning to make one, it’s important to know how to wear it properly for maximum comfort and warmth.
Step 1: Before putting on your knitted neck gaiter, make sure it is clean and free of any debris or loose threads. Give it a gentle shake to remove any dust or lint.
Step 2: Hold the knitted neck gaiter with both hands and open it up to its full length. You should have a tube-shaped piece of knitted fabric with an opening at each end.
Step 3: With one hand, hold onto the top opening of the neck gaiter and bring it up to the back of your head. Place it around your neck, making sure the fabric covers your entire neck area.
Step 4: Adjust the neck gaiter so that it sits comfortably around your neck. Make sure it is not too tight or too loose, but snug enough to provide warmth and protection from the cold.
Step 5: If you prefer, you can pull the neck gaiter up over your chin and mouth to provide additional coverage during particularly cold or windy weather. This can help keep your face protected from the elements.
- Tips:
- Experiment with different ways of wearing your knitted neck gaiter to find the most comfortable and stylish look for you.
- If your neck gaiter has a pattern or design, make sure it is facing outward when you wear it.
- Consider pairing your knitted neck gaiter with a matching hat or gloves for a coordinated and stylish winter look.
By following these steps and tips, you can confidently wear your knitted neck gaiter and enjoy the warmth and comfort it provides during the colder months. Stay cozy!
Caring for Your Knitted Neck Gaiter
Knitted neck gaiters are a popular choice for keeping warm during the colder months. Whether you’ve made one yourself or purchased one, it’s important to properly care for your knitted neck gaiter to ensure its longevity and to keep it looking its best.
Handwashing is recommended: To preserve the shape and quality of your knitted neck gaiter, it is best to handwash it rather than machine wash. Fill a sink or basin with lukewarm water and add a mild detergent. Gently agitate the gaiter in the water, being careful not to stretch or twist it. Rinse thoroughly and gently squeeze out excess water, taking care not to wring or twist the gaiter.
Avoid harsh chemicals and excessive heat: Harsh chemicals and high heat can damage the delicate fibers of your knitted neck gaiter. Avoid bleach and fabric softeners, as well as exposure to direct sunlight or high heat sources like radiators or dryers. Instead, lay the gaiter flat on a clean towel to air dry, away from direct heat or sunlight.
Store it properly: To prevent stretching or damage, it is important to store your knitted neck gaiter properly when not in use. Fold it neatly and store it in a drawer or on a shelf away from direct sunlight or moisture. If you prefer to hang it, make sure to use a padded hanger to avoid stretching the gaiter.
Keep it away from sharp objects: Knitted neck gaiters can easily snag on sharp objects like jewelry or rough surfaces. Be mindful of where you are wearing your gaiter and avoid contact with rough, abrasive surfaces to prevent any potential damage.
Regularly inspect for damage: It’s a good practice to regularly inspect your knitted neck gaiter for any signs of damage or wear. Check for loose threads, holes, or signs of stretching. If you notice any issues, promptly repair them to prevent further damage.
By following these care tips, your knitted neck gaiter can continue to keep you warm and stylish for seasons to come.
Tips and Tricks for Successful Knitting

Knitting can be a rewarding and relaxing hobby, but it can also be frustrating at times. Whether you’re a beginner or an experienced knitter, here are some tips and tricks to help you achieve successful results in your knitting projects.
1. Choose the Right Needles and Yarn
Using the right needles and yarn for your specific project is essential. Make sure to check the yarn label for the recommended needle size and choose a needle that is suitable for your yarn weight. Using the wrong needles can affect the tension and overall appearance of your knitted piece.
2. Gauge Matters
Always check your gauge before starting a project, especially if you’re using a different yarn or needle size than what the pattern recommends. Knitting a gauge swatch will help you determine if your tension is correct and ensure that your finished piece will turn out the right size.
3. Count Stitches and Rows
Keeping track of your stitches and rows is crucial, especially when working on complex patterns or shaping. Use stitch markers or a row counter to help you stay organized and avoid mistakes.
4. Read and Understand the Pattern
Before starting a new project, make sure to read the pattern thoroughly and understand all the instructions. Pay attention to any special stitches or techniques that may be required and take the time to familiarize yourself with the abbreviations and symbols used in the pattern.
5. Practice Proper Tension
Knitting with consistent tension is essential to achieve a professional-looking finish. Avoid knitting too tightly or too loosely by practicing proper tension techniques. If you notice that your tension varies throughout your work, try using a different needle size or adjusting your hand position.
6. Fix Mistakes as You Go
Mistakes happen, even to experienced knitters. Don’t be afraid to unravel or “tink” (knit spelled backward) your work to fix any errors. Catching and correcting mistakes early on will save you time and frustration in the long run.
7. Take Breaks and Relax
Knitting should be an enjoyable and relaxing activity. If you find yourself getting frustrated or tired, take a break. Stretch, rest your hands, and come back to your project with a fresh perspective. Remember, knitting is meant to be a fun and creative process!
By following these tips and tricks, you’ll be well on your way to successful knitting projects. Remember to be patient with yourself and enjoy the journey of creating beautiful knitted pieces.