
Knitting is a craft that has been enjoyed by people all over the world for centuries. It allows you to create beautiful, warm and functional items with just a few simple tools. Round loom knitting is a technique that can help beginners get started with this timeless art form.
One of the most popular projects for beginners is knitting a blanket. Blankets are not only practical, but they also make wonderful gifts for loved ones. With round loom knitting, you can create a cozy blanket without the need for traditional knitting needles.
There are many different round loom knitting patterns available for beginners. These patterns provide step-by-step instructions and helpful tips to ensure success. Whether you prefer a simple design or a more intricate pattern, there is a round loom knitting blanket pattern that is perfect for you.
So if you have been wanting to try knitting but have been intimidated by traditional knitting needles, round loom knitting is a fantastic place to start. With the right pattern and a little bit of practice, you will be knitting beautiful blankets in no time. Give it a try and discover the joy of creating your own cozy, handmade blankets!
Round Loom Knitting Blanket Patterns for Beginners
Knitting a blanket on a round loom can be a great project for beginners who are looking to try their hand at a larger knitting project. Round looms are easy to use and can create stunning and cozy blankets with minimal effort. Here are a few round loom knitting blanket patterns that are perfect for beginners:
1. Basic Garter Stitch Blanket
The basic garter stitch is a simple pattern that is perfect for beginners. To knit this blanket, simply use the garter stitch (knit every row) on a round loom. You can choose any color or yarn thickness to create a personalized and cozy blanket. This pattern is great for practicing your knitting technique and creating a warm and comfortable blanket.
2. Ribbed Blanket
The ribbed blanket pattern is another simple option for beginners. To create this pattern, alternate between knitting and purling stitches on the round loom. This creates a raised ribbed effect, giving the blanket both texture and visual interest. The ribbed blanket is perfect for adding a touch of sophistication to your knitting projects.
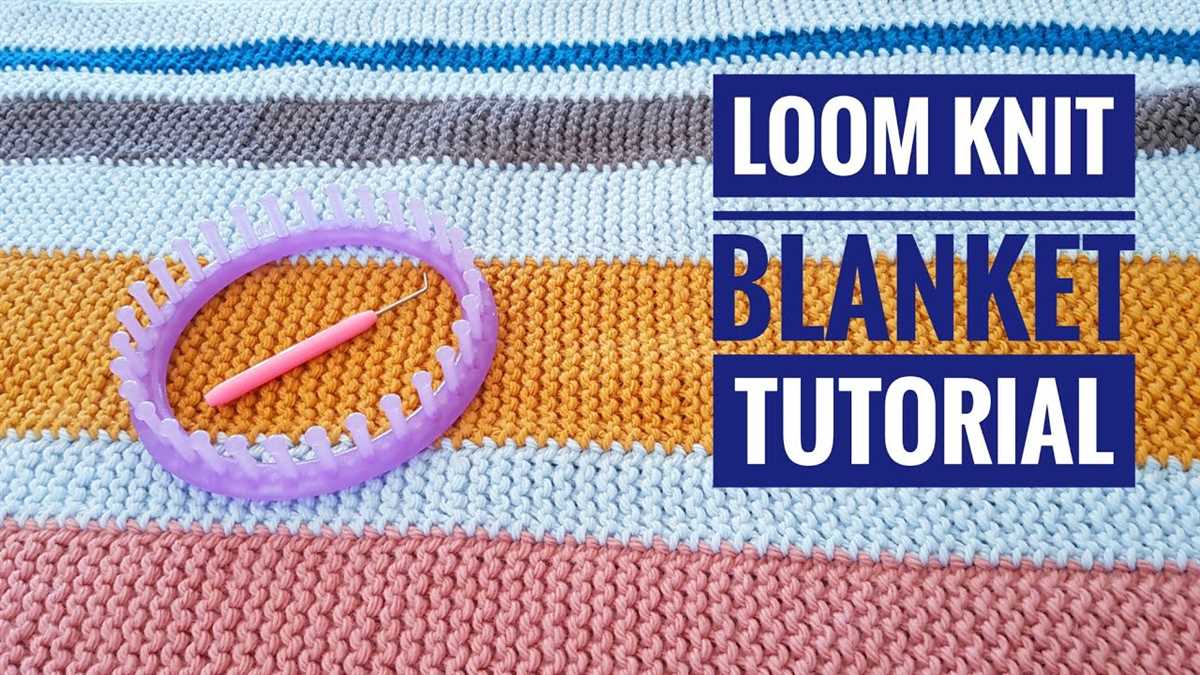
3. Striped Blanket
If you want to add some color and variety to your knitting, a striped blanket is a great option. With this pattern, you can use multiple colors of yarn to create stripes on the round loom. You can choose to knit each stripe in a different width to create a unique and vibrant blanket. This pattern allows you to experiment with color combinations and create a truly personalized and eye-catching blanket.
These round loom knitting blanket patterns are perfect for beginners who are looking to create their first cozy project. Whether you choose a simple garter stitch, a ribbed pattern, or a colorful striped design, knitting a blanket on a round loom is a fun and rewarding experience that will keep you warm and cozy for years to come.
Understanding the Basics of Round Loom Knitting
Round loom knitting is a popular technique for creating beautiful blankets, scarves, hats, and more. It is an excellent option for beginners who are looking to learn the art of knitting. Understanding the basics of round loom knitting is essential to get started on your knitting journey.
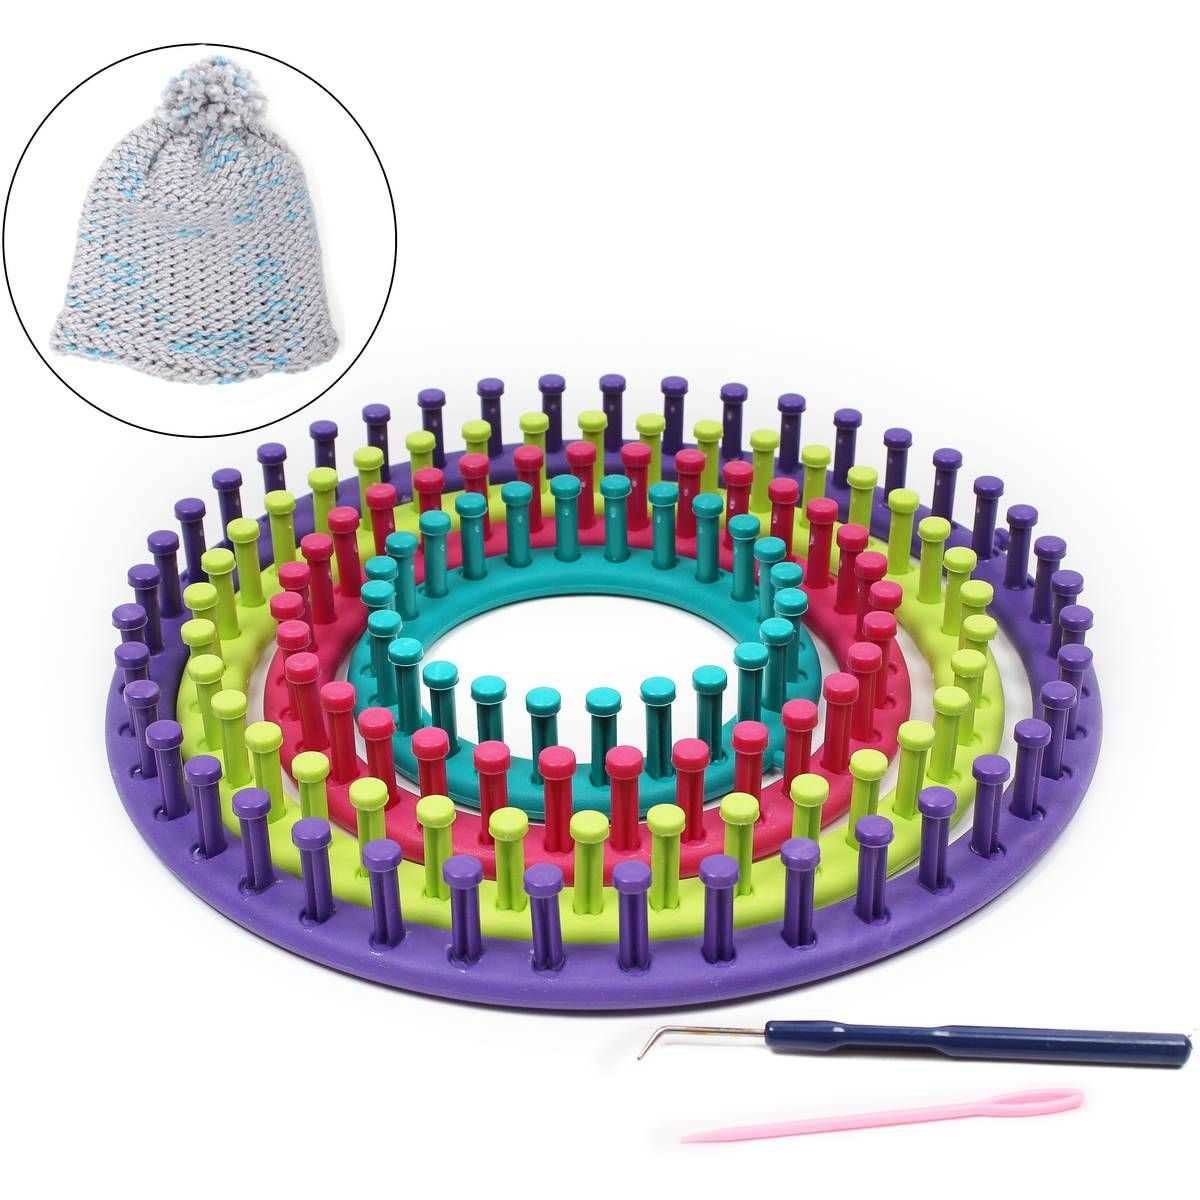
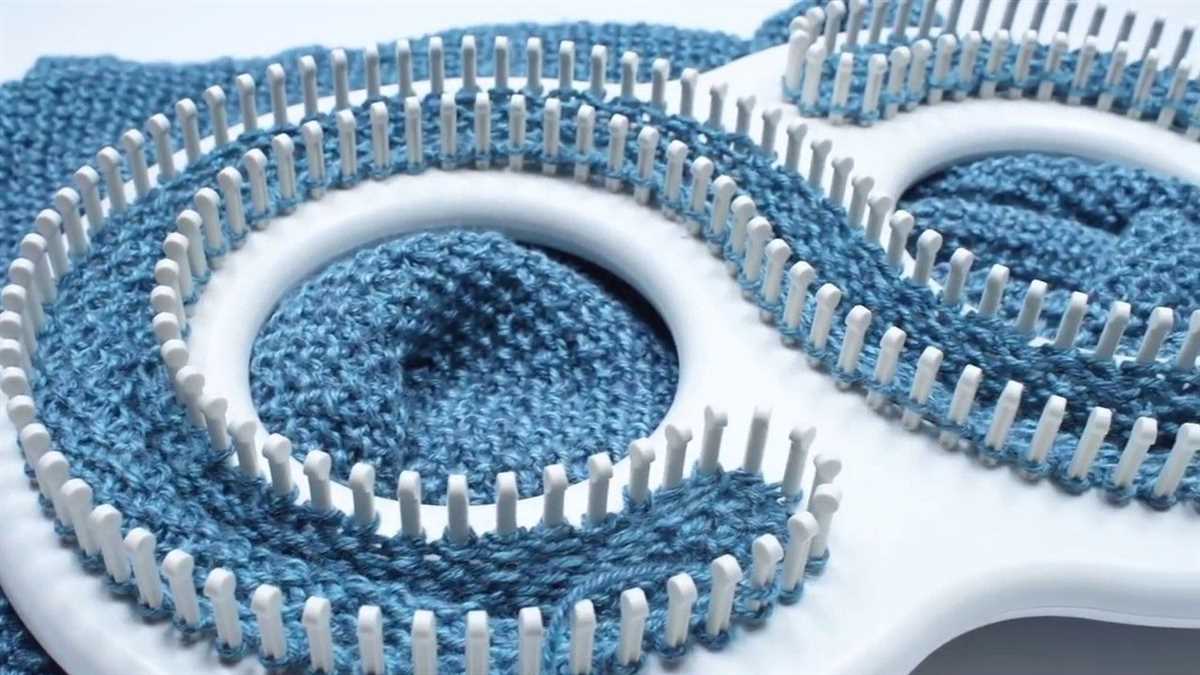
One of the first things to understand is how a round loom works. A round loom consists of a circular frame with pegs evenly spaced around the edge. The yarn is wrapped around the pegs in a specific pattern to create the desired stitch. Each peg represents a stitch in the final knitted fabric.
To start knitting on a round loom, you need to cast on. Casting on is the process of creating the foundation row of stitches. This is done by wrapping the yarn around each peg in a clockwise or counter-clockwise direction, depending on the desired stitch pattern. Once all the pegs are wrapped, the working yarn is brought behind the first peg and the process is repeated until the desired number of stitches is achieved.
After casting on, the actual knitting process begins. This involves using a specialized loom knitting hook to pull the bottom loop of yarn over the top loop and off the peg. The loop is then transferred to the next peg in the sequence. This process is repeated for each peg until all the stitches have been worked and the first row is complete.
As you continue knitting, the fabric is built up row by row, stitch by stitch. The round loom is rotated in a clockwise direction to work on each row, ensuring that the working yarn is always on the inside of the loom. This creates a seamless, tube-like fabric.
Once you have mastered the basics of round loom knitting, you can explore different stitch patterns and techniques to create unique and beautiful projects. With practice, you’ll be able to create cozy blankets using various colors and textures of yarn, making each one a personal work of art.
Choosing the Right Yarn and Loom Size
When starting a round loom knitting project, one of the most important considerations is choosing the right yarn and loom size. The yarn you choose will determine the overall look and feel of your blanket, while the loom size will determine the size of your project. Here are some tips to help you make the right choices:
Yarn Selection:
- Consider the thickness: The thickness of the yarn will determine how warm and cozy your blanket will be. Thicker yarns are ideal for colder climates, while thinner yarns may be more suitable for warmer weather.
- Check the fiber content: Different fibers have different properties, so consider your preferences and the intended use of the blanket. For example, wool yarns are known for their warmth, while cotton yarns are more lightweight and breathable.
- Look for washability: If you want to be able to wash your blanket without any hassle, look for yarns that are machine washable. This will save you time and effort in the long run.
Loom Size:
The size of your loom will determine the final dimensions of your blanket. Here are some factors to consider when choosing a loom size:
- Consider the intended use: If you want to make a small baby blanket, a smaller loom size will be sufficient. However, if you want to make a larger blanket for an adult, you will need a larger loom size.
- Check the number of pegs: Looms come in various sizes with different numbers of pegs. The number of pegs will determine the width of your blanket and how many stitches you can use. A larger number of pegs will allow for more intricate patterns.
- Think about portability: If you plan on taking your loom and project on-the-go, consider a smaller, more compact loom that is easier to transport.
By considering these factors and making informed choices, you can ensure that you choose the right yarn and loom size for your round loom knitting project. This will set you on the path to creating a beautiful and cozy blanket.
Essential Tools for Round Loom Knitting
Round loom knitting is a great way for beginners to get started with this popular crafting technique. To begin your journey into round loom knitting, there are several essential tools that you will need to gather. These tools will help make your knitting process easier and more enjoyable.
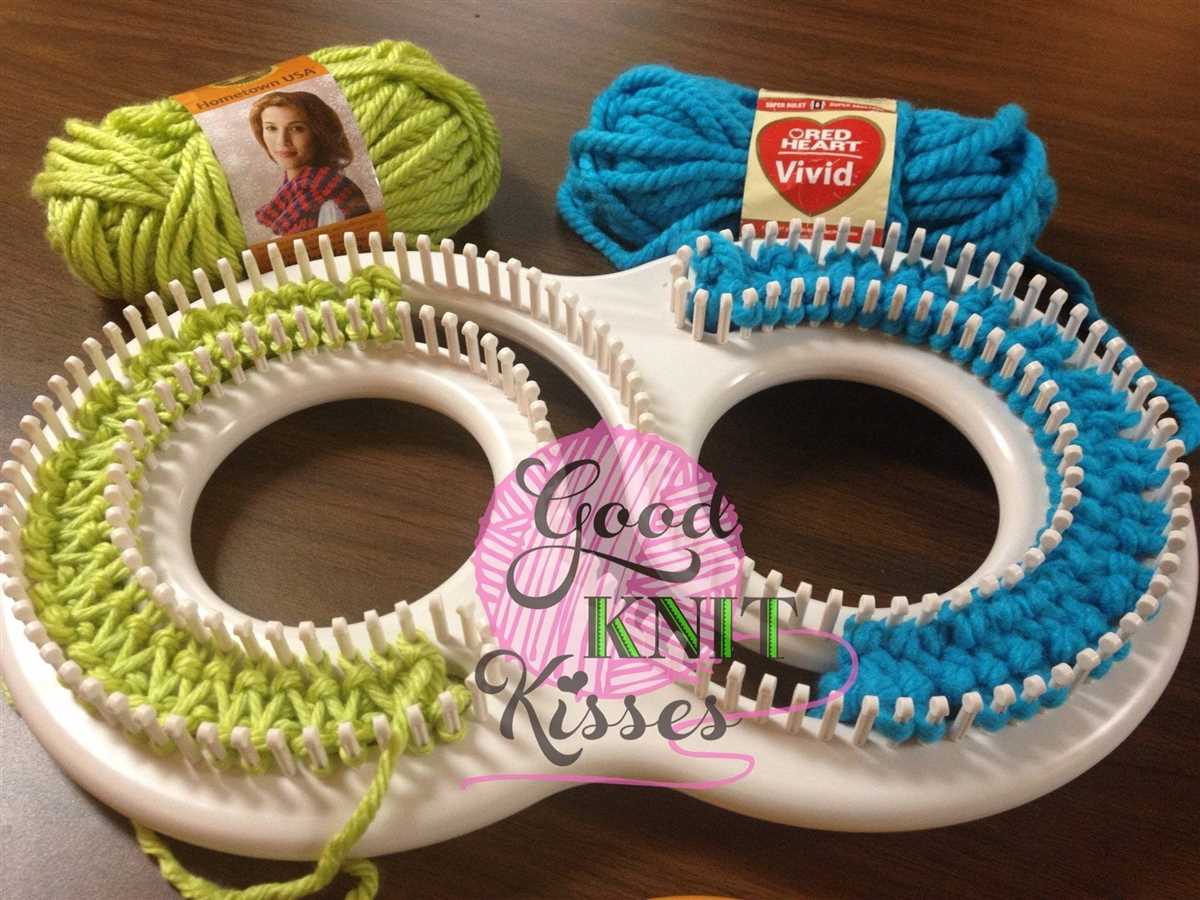
Loom: The primary tool you will need for round loom knitting is, of course, the loom itself. Round looms come in various sizes and materials, so it’s important to choose one that suits your project. Beginners may find it helpful to start with a loom that has a larger diameter, as it provides more space to work with and is easier to handle.
Yarn: Another indispensable tool for round loom knitting is yarn. Choose a yarn that is suitable for your project and that you enjoy working with. The thickness and texture of the yarn will impact the finished product, so consider this when making your choice. It’s also helpful to have a variety of colors on hand to add interest and creativity to your projects.
Knitting Needle or Hook: While round looms eliminate the need for traditional knitting needles, you will still need a knitting needle or hook to help manipulate your stitches. This tool is used to pull the loops over one another and create the knitting stitches. It’s important to choose a knitting needle or hook that is compatible with your loom and comfortable for you to hold.
Tapestry Needle: A tapestry needle is an essential tool for finishing your round loom knitting projects. This needle is used to weave in the loose ends of yarn, secure seams, and add any decorative elements to your project. A tapestry needle with a large eye is ideal for working with yarn of various thicknesses.
Crochet Hook: While not mandatory, a crochet hook can be a handy tool to have when round loom knitting. It can be used to fix any mistakes in your stitches, pick up dropped stitches, or create decorative edgings. It’s recommended to have a crochet hook that corresponds to the size of your knitting needle or hook.
Stitch Markers: Stitch markers are small, removable devices that are used to mark specific stitches or sections of your knitting. They are particularly useful when working on more complex patterns or when you need to keep track of specific stitches. These markers can be easily moved as you progress through your project, ensuring that you stay on track.
Scissors: Finally, a good pair of scissors is essential for any knitting project. They are used to cut the yarn and trim any excess ends. It’s important to have a sharp pair of scissors that can easily cut through yarn without fraying or damaging it.
In conclusion, these essential tools, including a loom, yarn, knitting needle or hook, tapestry needle, crochet hook, stitch markers, and scissors, will set you on the path to success in round loom knitting. With these tools in hand, you’ll be ready to start creating beautiful and cozy blankets, scarves, hats, and more.
Getting Started: Casting On with a Round Loom
Before you can begin your round loom knitting project, it’s important to learn how to cast on. Casting on is the process of creating the initial loops on your loom that will serve as the foundation for your knitting. With a round loom, casting on is slightly different than with traditional knitting needles, but it’s just as easy to master.
To cast on with a round loom, start by attaching your yarn to the anchor peg, which is typically located at the center of the loom. Secure the yarn by tying a slip knot around the anchor peg, making sure it is snug but not too tight. Once the yarn is securely attached, you’re ready to start casting on.
Begin by holding the loom in one hand and the working yarn in the other. Take the end of the working yarn and place it behind the loom, bringing it up and over the anchor peg, toward you. Continue wrapping the yarn around the pegs in a clockwise direction, making sure to keep the tension consistent. Repeat this process until all of the pegs have been looped, creating a full circle of yarn.
Once you have completed the first round of casting on, you can start knitting your first row. Simply use the knitting tool to lift the bottom loop over the top loop and off the peg, creating a new loop on the peg. Repeat this process for each peg until you have completed one full round of knitting. This is known as the knit stitch.
Casting on with a round loom may feel a bit awkward at first, but with a little practice, it will become second nature. Take your time and be patient with yourself as you learn this new technique. Soon enough, you’ll be ready to dive into your round loom knitting project and create beautiful blankets, scarves, and more!
Knitting Stitches for Round Loom Blanket Patterns

When it comes to round loom knitting blanket patterns, there are several stitches you can use to create beautiful and unique designs. These stitches add texture and interest to your blankets, making them more than just a cozy covering. Whether you’re a beginner or an experienced knitter, here are some stitches you can try:
1. Stockinette Stitch:
The stockinette stitch is a classic knitting stitch that creates a smooth and even fabric. To create this stitch on a round loom, alternate between knit stitches and purl stitches on each round. This stitch is perfect for creating simple and elegant blankets.
2. Garter Stitch:
The garter stitch is another basic knitting stitch that is easy to do on a round loom. To create this stitch, simply alternate between knit and purl stitches on every row. The garter stitch creates ridges and a bumpy texture, which adds visual interest to your blanket.
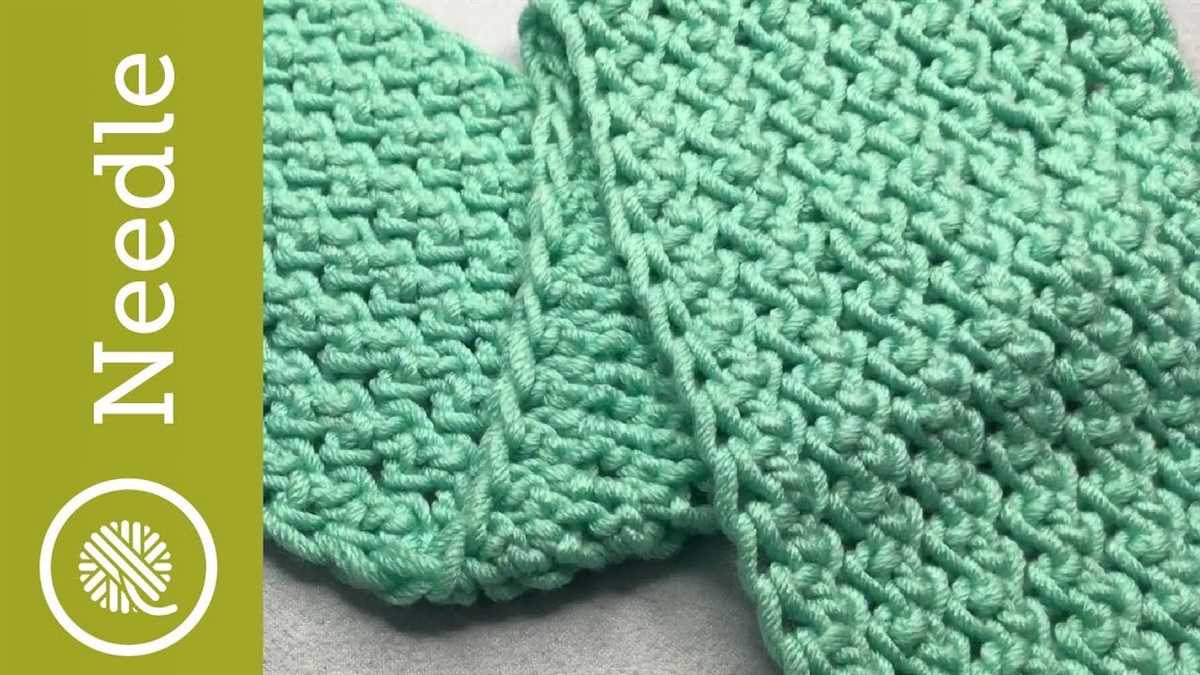
3. Seed Stitch:
The seed stitch is a textured stitch that creates a pattern of alternating knit and purl stitches. To create this stitch on a round loom, alternate between knit and purl stitches in a checkerboard pattern. The seed stitch is perfect for adding a decorative touch to your blanket.
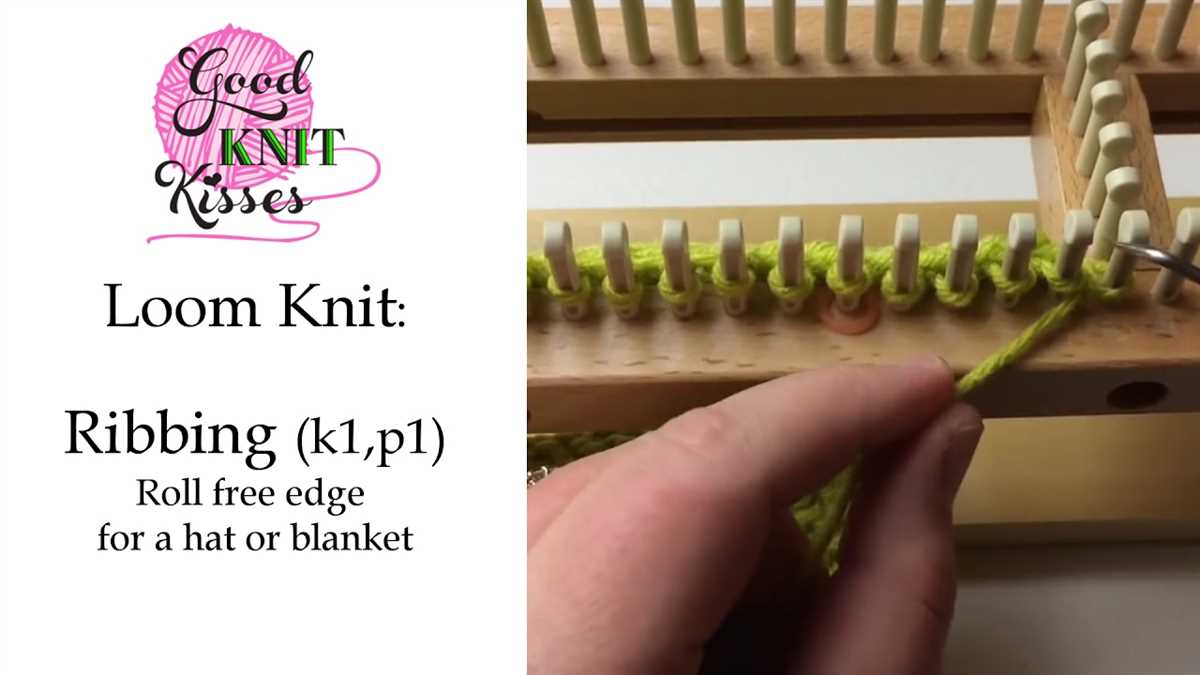
4. Ribbing Stitch:
The ribbing stitch is a stretchy and elastic stitch that is perfect for creating the edges of your blanket or adding some texture to the design. To create this stitch on a round loom, alternate between knit and purl stitches in a specific pattern, such as 2×2 or 1×1. The ribbing stitch adds a nice touch of detail to your blanket.
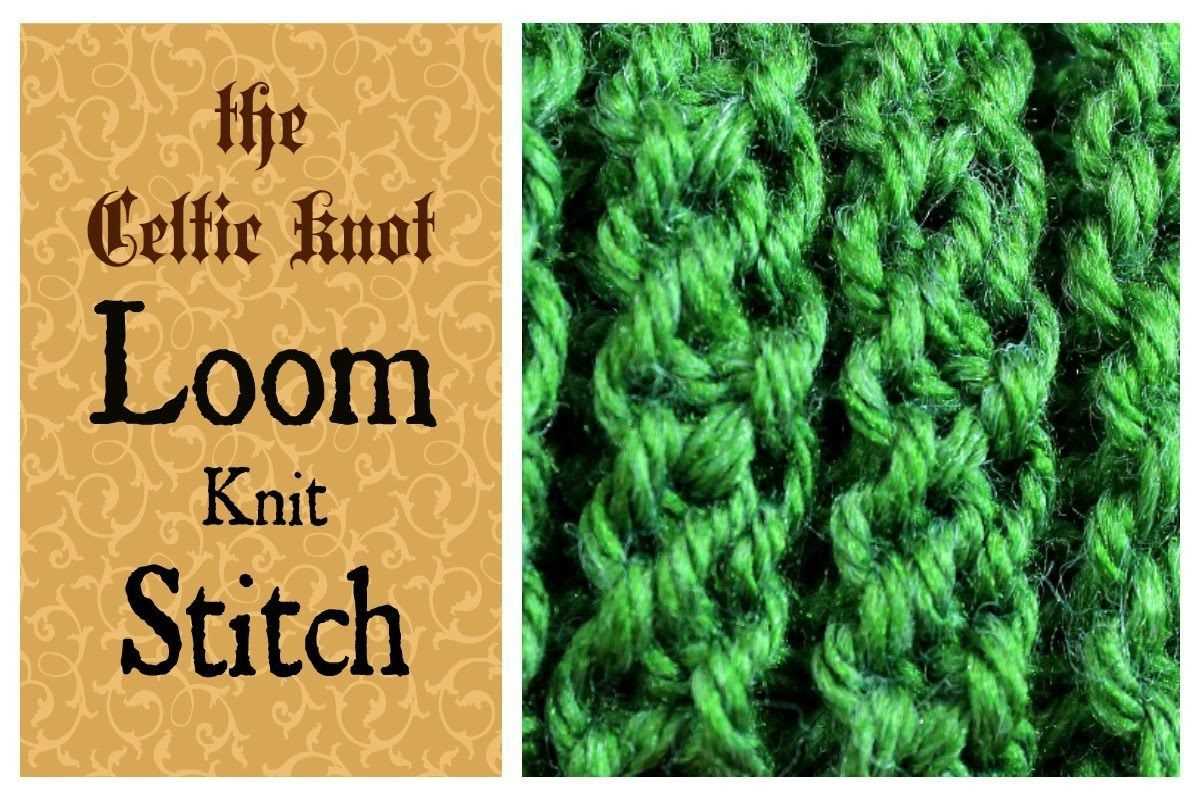
5. Cable Stitch:

If you want to add some intricate and advanced details to your blanket, try the cable stitch. This stitch creates a twisted and braided pattern that gives a sophisticated look to your knitting. To create this stitch on a round loom, you will need a cable needle to hold the stitches while you cross them over each other. The cable stitch is perfect for adding a touch of elegance to your blanket.
These are just a few knitting stitches that you can use in your round loom blanket patterns. Experiment with different stitches and combinations to create your own unique designs. Have fun and enjoy the process of creating beautiful blankets!
Creating Basic Patterns: Stripes and Color Blocks
When starting out with round loom knitting, it’s helpful to begin with basic patterns that allow you to practice different techniques and stitches. Stripes and color blocks are two popular patterns that are perfect for beginners.
Stripes: Striping is a simple and versatile technique that can create visually appealing designs. To create stripes, you will alternate between two or more colors of yarn as you work your rounds. This pattern is great for using up leftover yarn or creating a vibrant, multi-colored blanket. To achieve clean and crisp stripes, make sure to carry the non-working yarn loosely up the inside of your loom. This will prevent the yarn from being too tight or causing puckering in your finished project.
Color Blocks: Color blocking is another beginner-friendly pattern that involves using different colors to create distinct blocks of color in your project. You can experiment with different color combinations and sizes of color blocks to achieve the desired effect. To create color blocks, simply switch to a different color of yarn at the desired point and continue knitting in that color for a certain number of rounds or until the desired block size is achieved. This pattern allows you to create bold and graphic designs while still keeping your knitting simple and straightforward.
Both stripes and color blocks are great patterns for beginners to practice their knitting skills and experiment with different yarn colors. They are also versatile patterns that can be used in a variety of projects, including blankets. So grab your round loom and some colorful yarn, and start creating your own unique designs!
Adding Texture: Ribbing and Seed Stitch
When it comes to creating beautiful and unique blankets using a round loom knitting technique, adding texture can really enhance the overall design. Two popular stitches that can be used to achieve this are ribbing and seed stitch.
Ribbing: Ribbing is a technique that creates vertical lines or ridges on the fabric. It is achieved by alternating between knit and purl stitches in a specific pattern. The result is a stretchy and textured fabric that is often used for the cuffs, collars, and hems of garments. To create ribbing on a round loom, simply follow the specified pattern and repeat it for the desired length.
Seed Stitch: Seed stitch, also known as moss stitch, creates a pattern of textured dots or seed-like bumps on the fabric. It is achieved by alternating between knit and purl stitches, but in a different sequence compared to ribbing. The pattern is usually worked over an odd number of stitches and rows. This stitch is great for adding subtle texture to a blanket and can be used as a border or as the main pattern for the entire fabric.
Both ribbing and seed stitch can be used in combination with other stitches and patterns to create unique and eye-catching designs. They add depth and interest to a blanket, making it more visually appealing and enjoyable to touch. Additionally, these stitches are relatively easy to learn, making them perfect for beginners who want to experiment with different textures in their knitting projects.
Advanced Techniques for Round Loom Blanket Patterns
Once you have mastered the basic techniques of round loom knitting, you may want to explore some more advanced techniques to elevate your blanket patterns. These techniques can add texture, design elements, and even lace-like patterns to your blankets, creating unique and eye-catching pieces.
Cable Stitch:
The cable stitch is a popular technique used in traditional knitting, and it can also be adapted for round loom knitting. This stitch creates a twisted, braided effect that adds depth and interest to your blanket. To create a cable stitch on a round loom, you will need a cable needle or a double-pointed knitting needle. By crossing the stitches over each other, you can create intricate cable patterns on your round loom blanket.
Lace Stitch:
If you want to add a delicate and lacy touch to your round loom blanket, you can incorporate lace stitch patterns. Lace stitches create openwork designs that are perfect for lightweight and airy blankets. To create lace stitches on a round loom, you will need to work with yarn overs, decreases, and increases. By following lace stitch patterns and manipulating the stitches, you can create intricate lace patterns that are sure to impress.
Colorwork:
Introducing multiple colors into your round loom blanket can bring it to life and create stunning visual effects. Colorwork techniques, such as stripes, fair isle, or intarsia, allow you to incorporate different colors and create unique patterns on your blanket. By carefully managing the placement of colors and working with multiple strands of yarn, you can achieve beautiful and intricate designs.
Joining Techniques:
When working on larger round loom blankets, you may need to join multiple panels together to create a seamless and cohesive finished product. There are various joining techniques you can use, such as the mattress stitch or the whipstitch, to seamlessly attach panels and create an almost invisible seam. By mastering these joining techniques, you can create large and intricate round loom blankets without any visible seams.
By exploring and practicing these advanced techniques, you can take your round loom knitting to the next level and create blankets that are truly works of art. Whether you choose to incorporate cable stitches, lace stitches, colorwork, or use seamless joining techniques, these techniques will allow you to create unique and stunning round loom blanket patterns.
Finishing Off: Binding Off and Weaving in Ends
Once you have completed your round loom knitting blanket, it’s time to finish off the project by binding off and weaving in the ends. Binding off is the process of closing off the stitches and securing them so that they don’t unravel. Weaving in the ends involves hiding the loose yarn tails within the finished fabric, ensuring a neat and tidy appearance.
To bind off, start by knitting two stitches onto the loom. Then, using the tool provided with your loom, lift the bottom stitch over the top stitch and off the peg. Repeat this process for each pair of stitches until you reach the end of the row. Finally, cut the yarn, leaving a tail that is long enough to weave in.
Next, it’s time to weave in the ends. Thread one of the loose yarn tails onto a tapestry needle. Starting on the backside of the blanket, insert the needle under a few stitches to secure the end. Then, weave the needle in and out of the stitches, making sure to follow the path of the yarn already in the fabric. Repeat this process with the other loose yarn tail.
Tips:
- When binding off, be careful not to pull the stitches too tight, as this can cause the edge of the blanket to pucker.
- When weaving in the ends, try to distribute the yarn evenly throughout the fabric, avoiding any noticeable lumps or bumps.
- If desired, you can also add a border to your blanket using a different color or stitch pattern. This can give your project a finished look and help hide any imperfections in the binding off or weaving in process.
By following these steps, you can successfully finish off your round loom knitting blanket, creating a beautiful and cozy piece that you can enjoy for years to come.
Inspiration and Ideas for Round Loom Knitted Blankets
Round loom knitting blankets are a versatile and enjoyable project to create. Whether you are a beginner or an experienced loom knitter, there are endless possibilities for designs and patterns that you can try. Here are some inspirations and ideas to get you started on your next round loom knitted blanket:
1. Colorful Stripes
One of the simplest yet most stunning designs for a round loom knitted blanket is to create colorful stripes. You can choose a combination of contrasting or complementary colors to create a vibrant and eye-catching pattern. Experiment with different thicknesses of stripes and varying widths to add visual interest to your blanket.
2. Geometric Patterns
If you want to add a touch of sophistication to your round loom knitted blanket, consider incorporating geometric patterns into your design. You can create simple shapes such as squares, triangles, or diamonds, or explore more intricate patterns like chevron or herringbone. These patterns can be achieved by changing colors or using different knitting techniques.
3. Textured Stitches
Add some depth and texture to your round loom knitted blanket by incorporating different stitches and techniques. You can try using the purl stitch to create a ribbed effect or experiment with the popcorn stitch to create playful, raised bumps on your blanket. Mixing and matching different stitch patterns can create a visually interesting and unique blanket.
4. Ombre Effect
Create a gradient effect on your round loom knitted blanket by using different shades of the same color. Start with a dark shade and gradually transition to a lighter shade or vice versa. This ombre effect adds a sense of depth and dimension to your blanket, making it visually appealing.
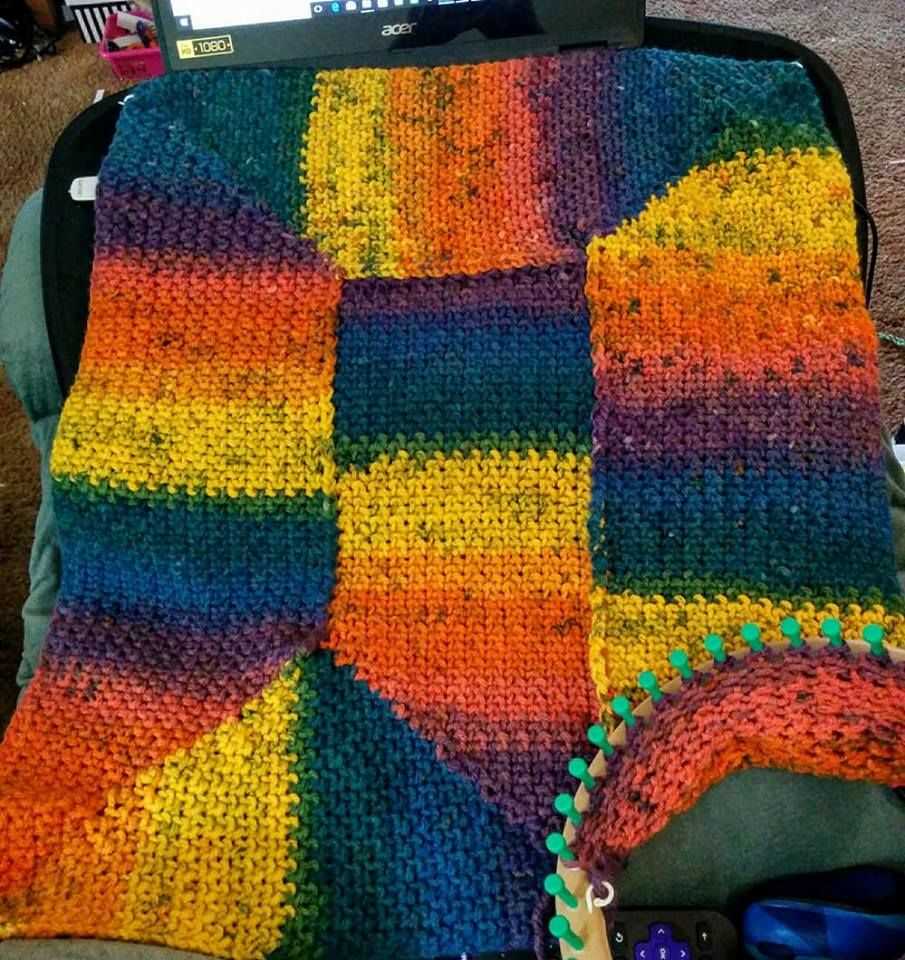
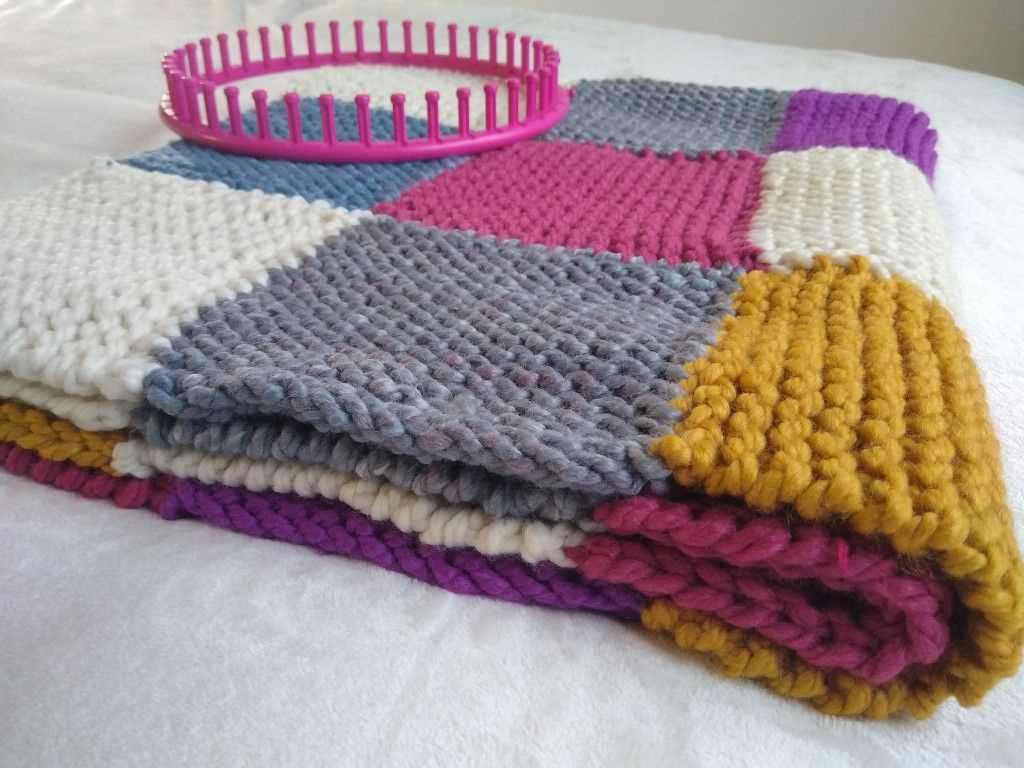
5. Patchwork Design
If you love the look of patchwork quilts, you can replicate this design on your round loom knitted blanket. Create smaller individual panels using different colors or stitch patterns, and then join them together to form your blanket. This technique allows you to showcase your creativity and experiment with various combinations.
Remember, these are just a few ideas to inspire your round loom knitting projects. Feel free to mix and match these ideas or come up with your own unique designs. The joy of round loom knitting is that there are no limits to what you can create!